How to create Invoice in Supplier Portal
In this guide, we will see the invoice creation process in the Supplier Portal. Please follow the detailed steps to create an invoice efficiently in the Supplier Portal.
After logging on to Oracle Fusion, navigate to the Supplier Portal tab and click on the Supplier Portal infolet.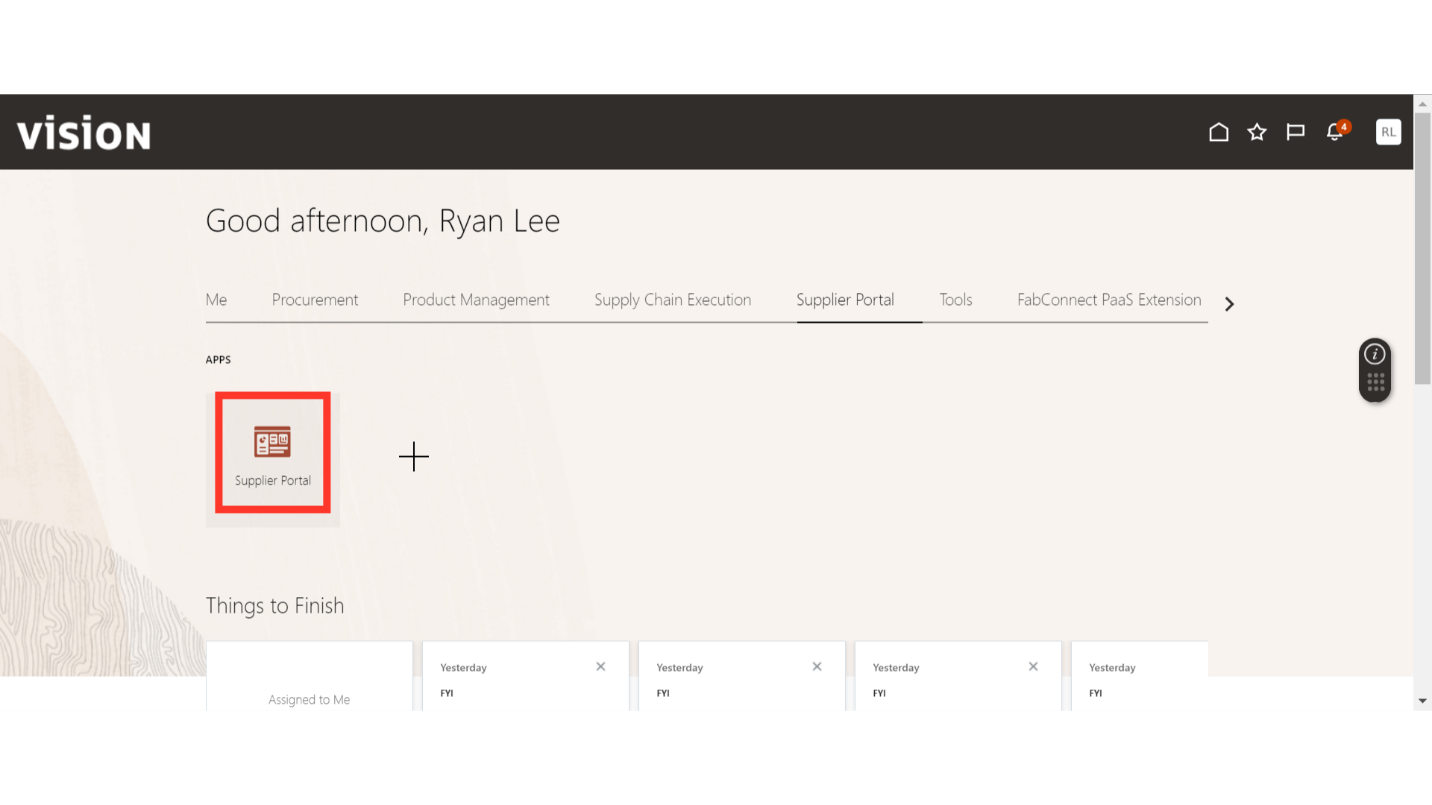
In the Supplier Portal, scroll down to the Invoice and Payments section under Tasks.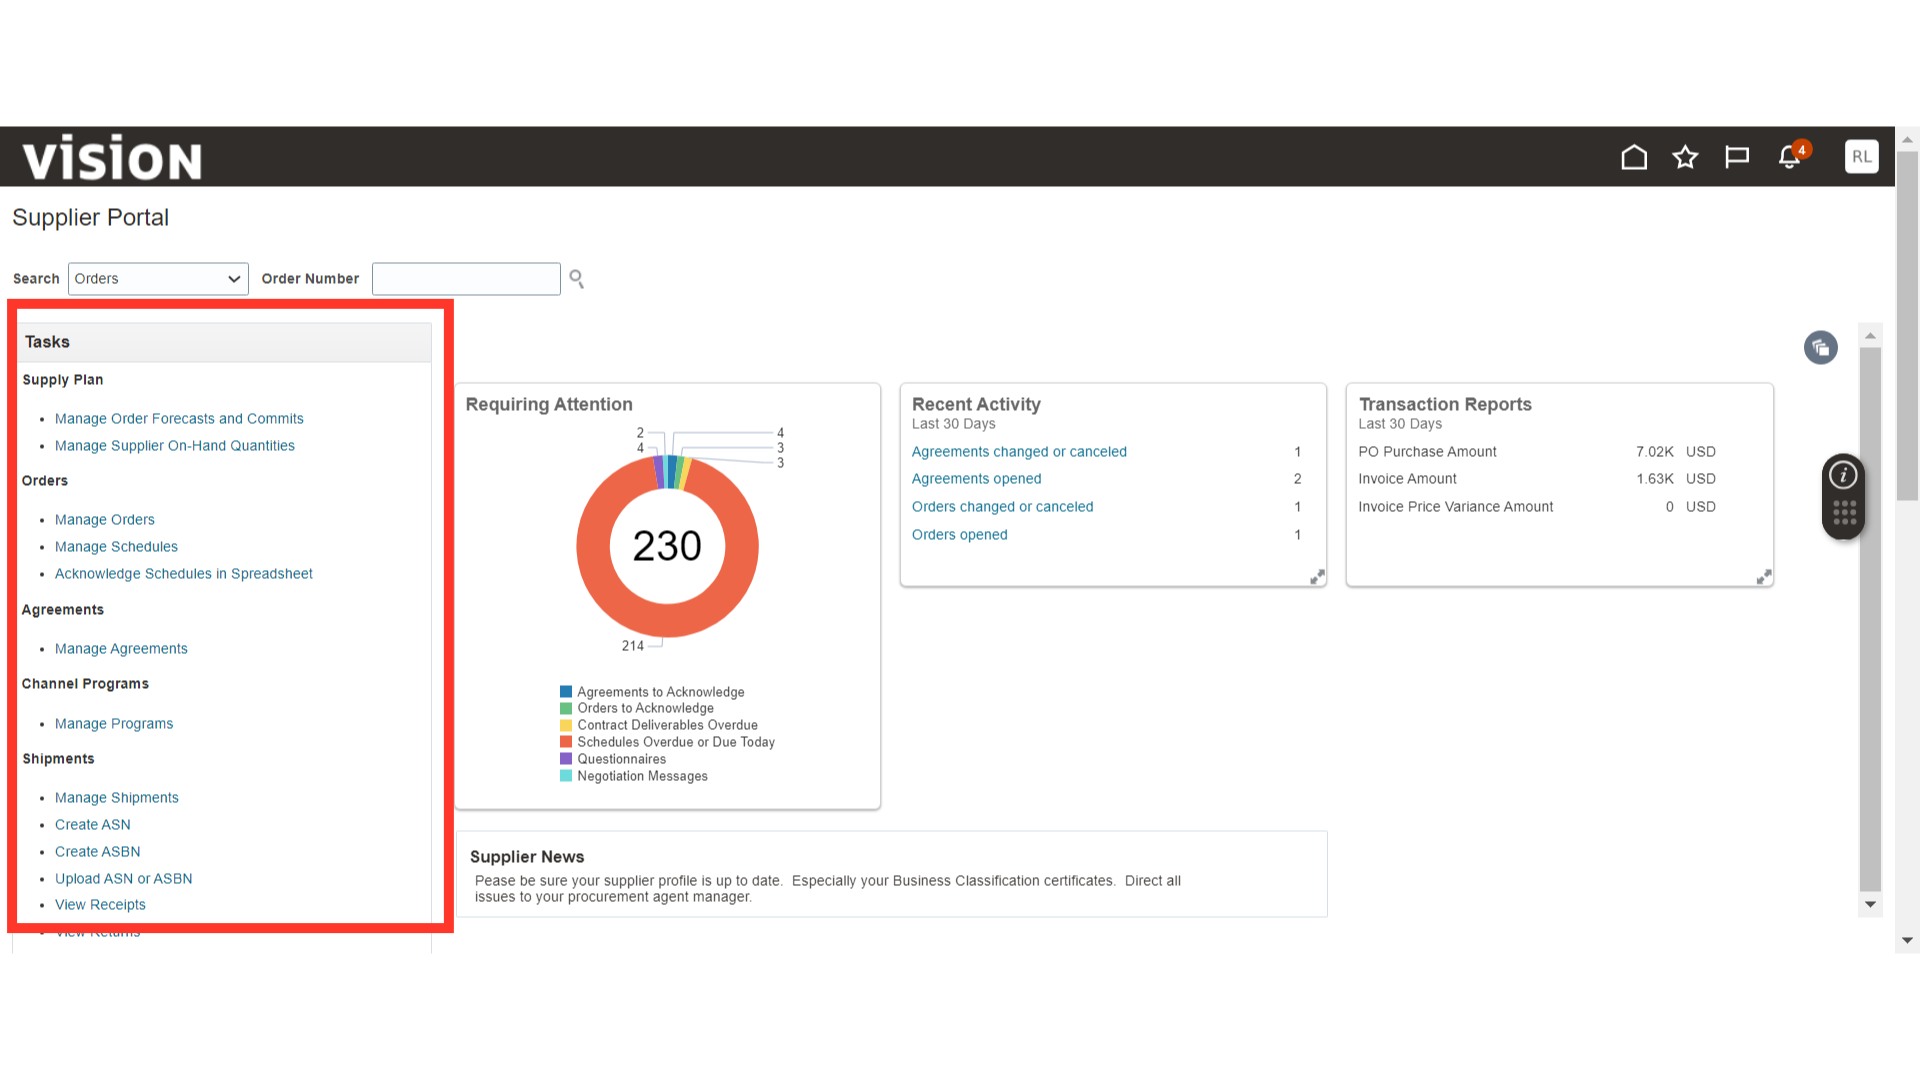
Click on Create Invoice under the Invoice and Payments section.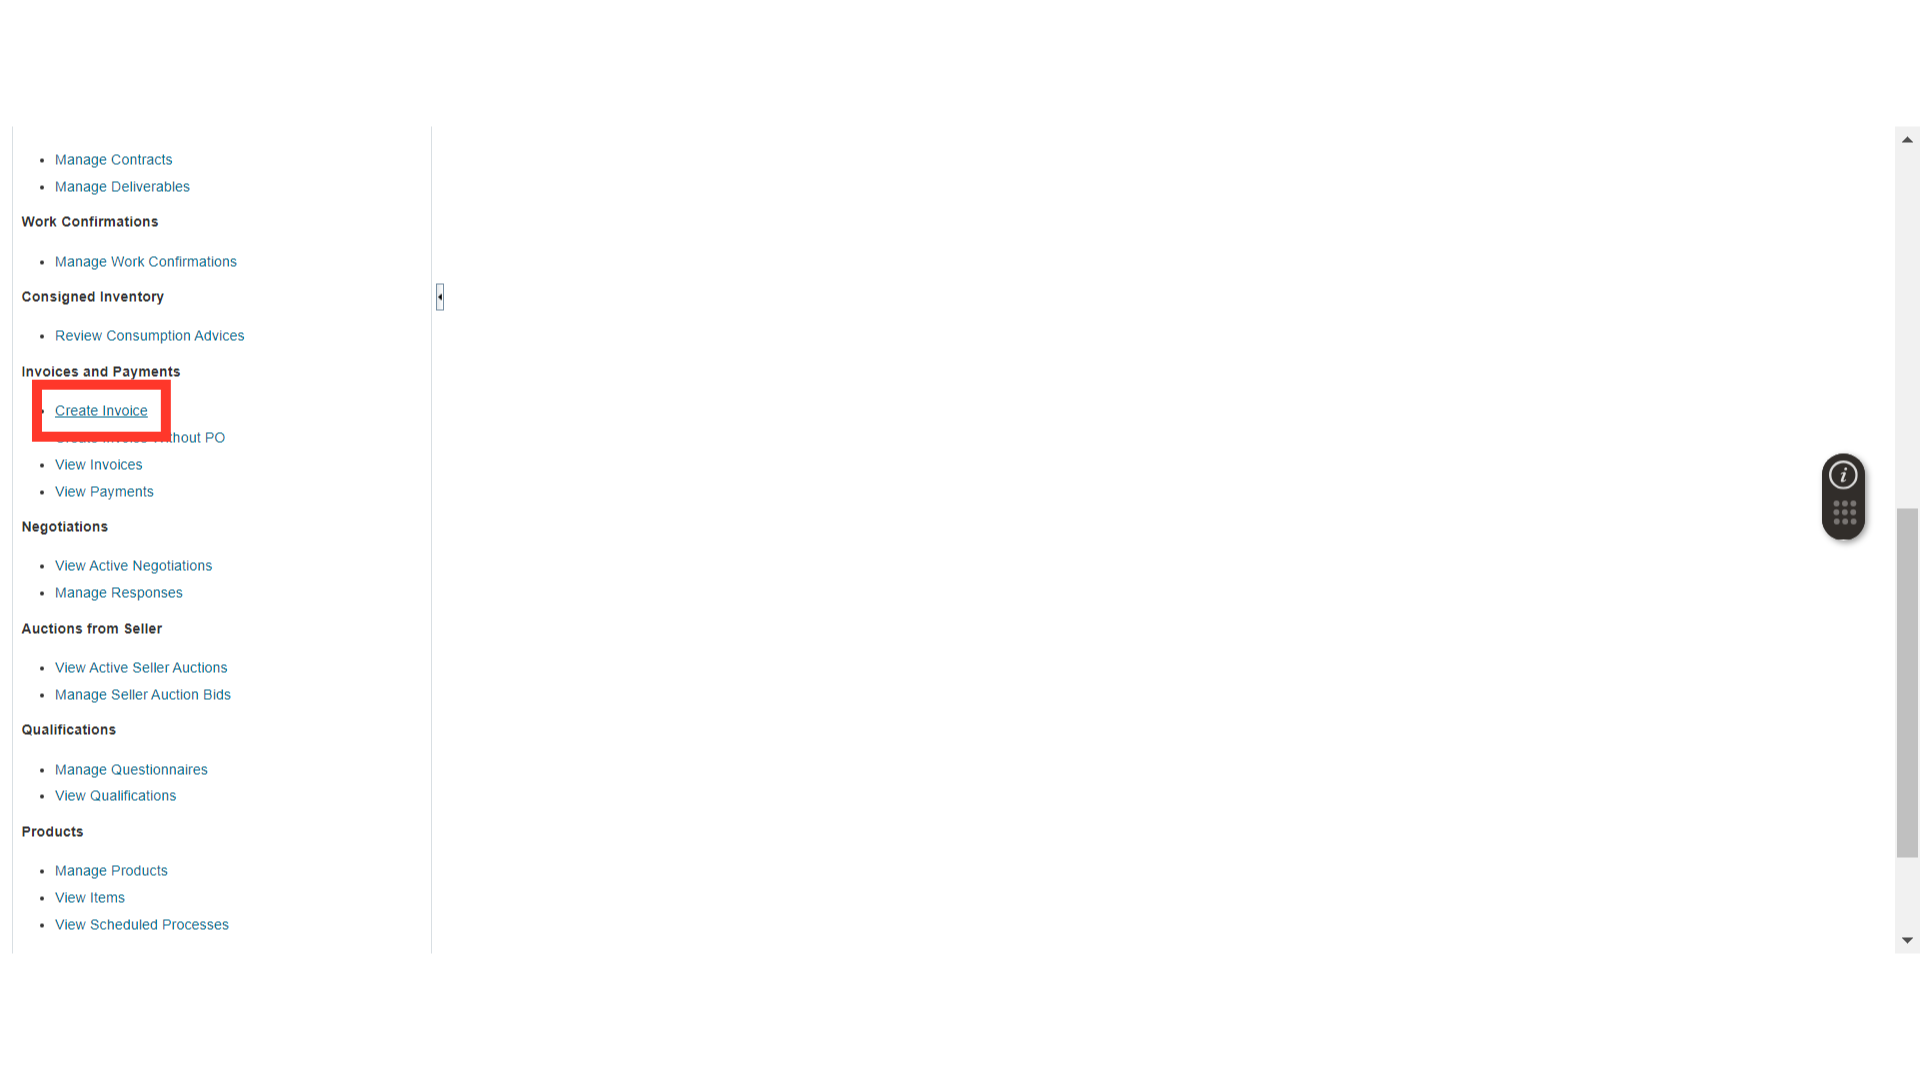
In the Create Invoice window, enter the PO number in the Identifying PO field, which will default all the details related to the PO for invoice creation. Also, provide the Invoice Number, Remit to Bank Account, Invoice Date, and Invoice Type.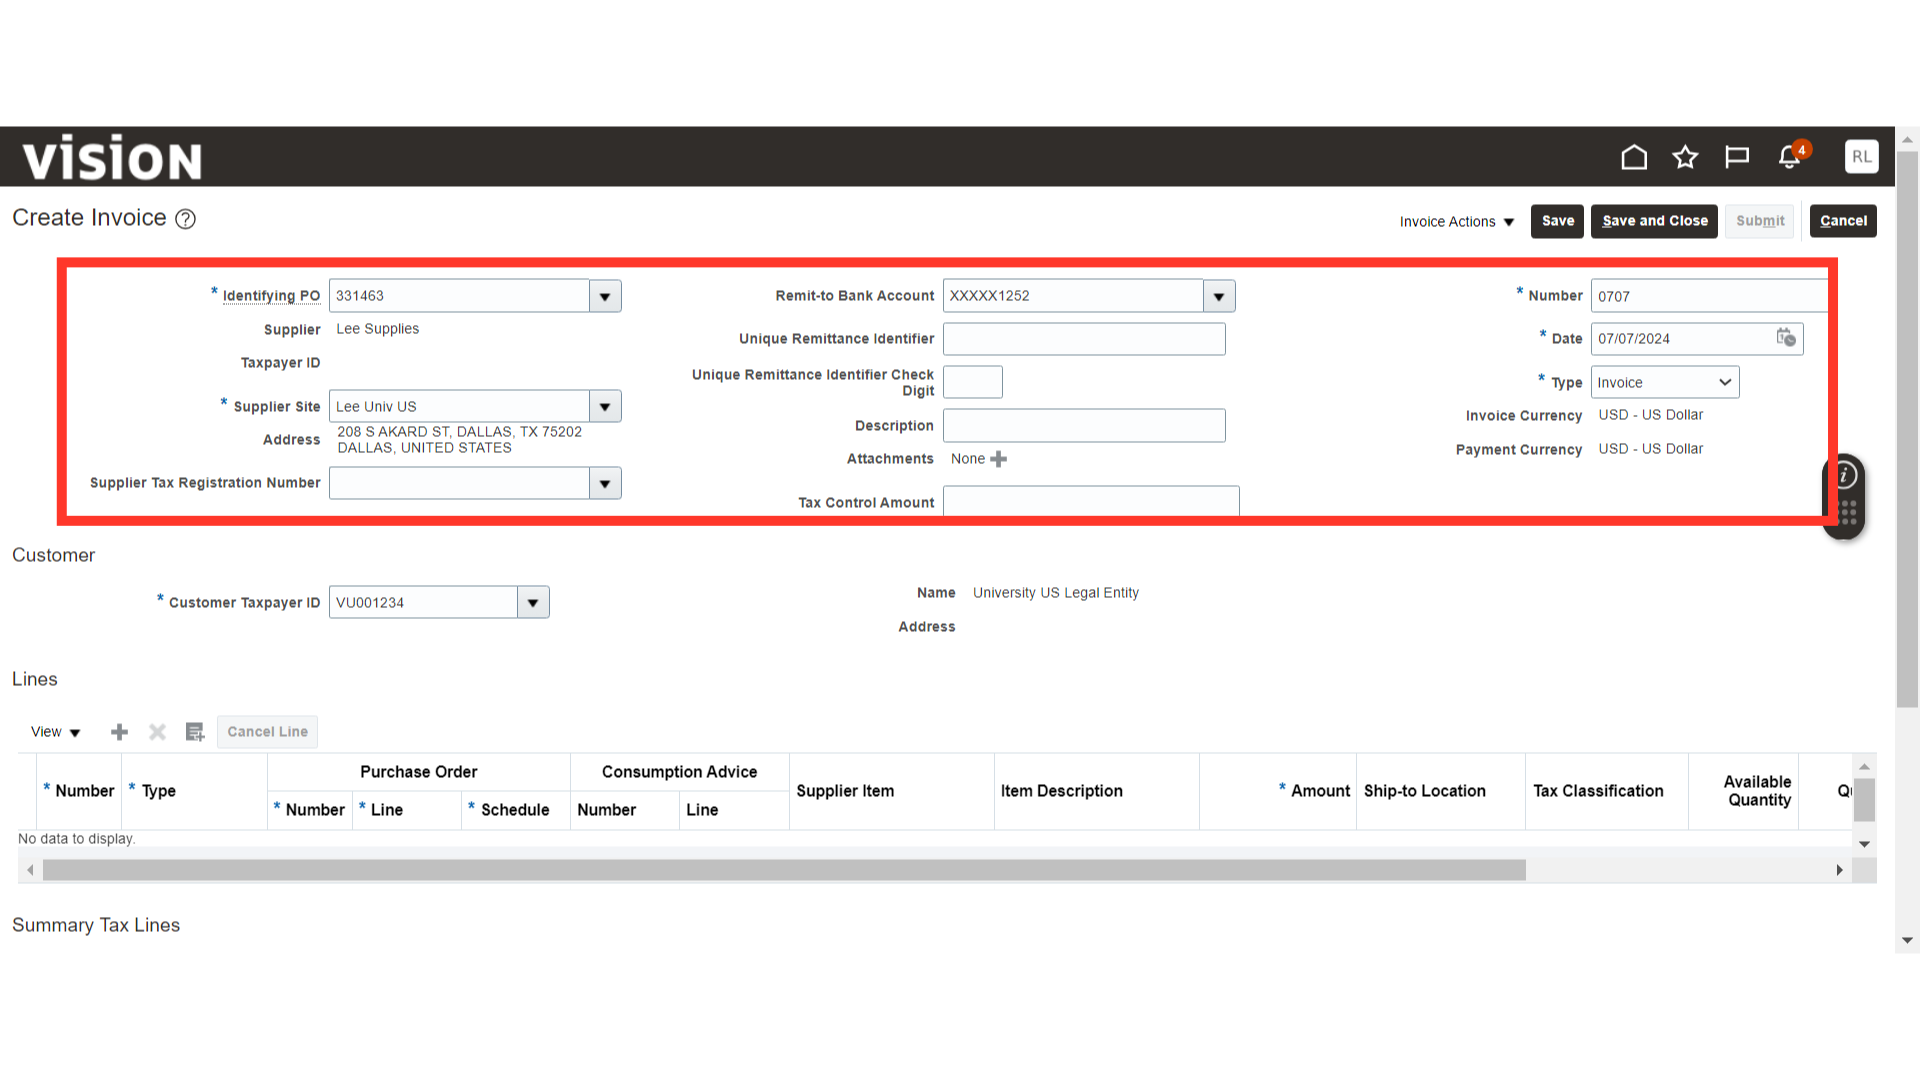
Click on the Search and Add button in the Lines section.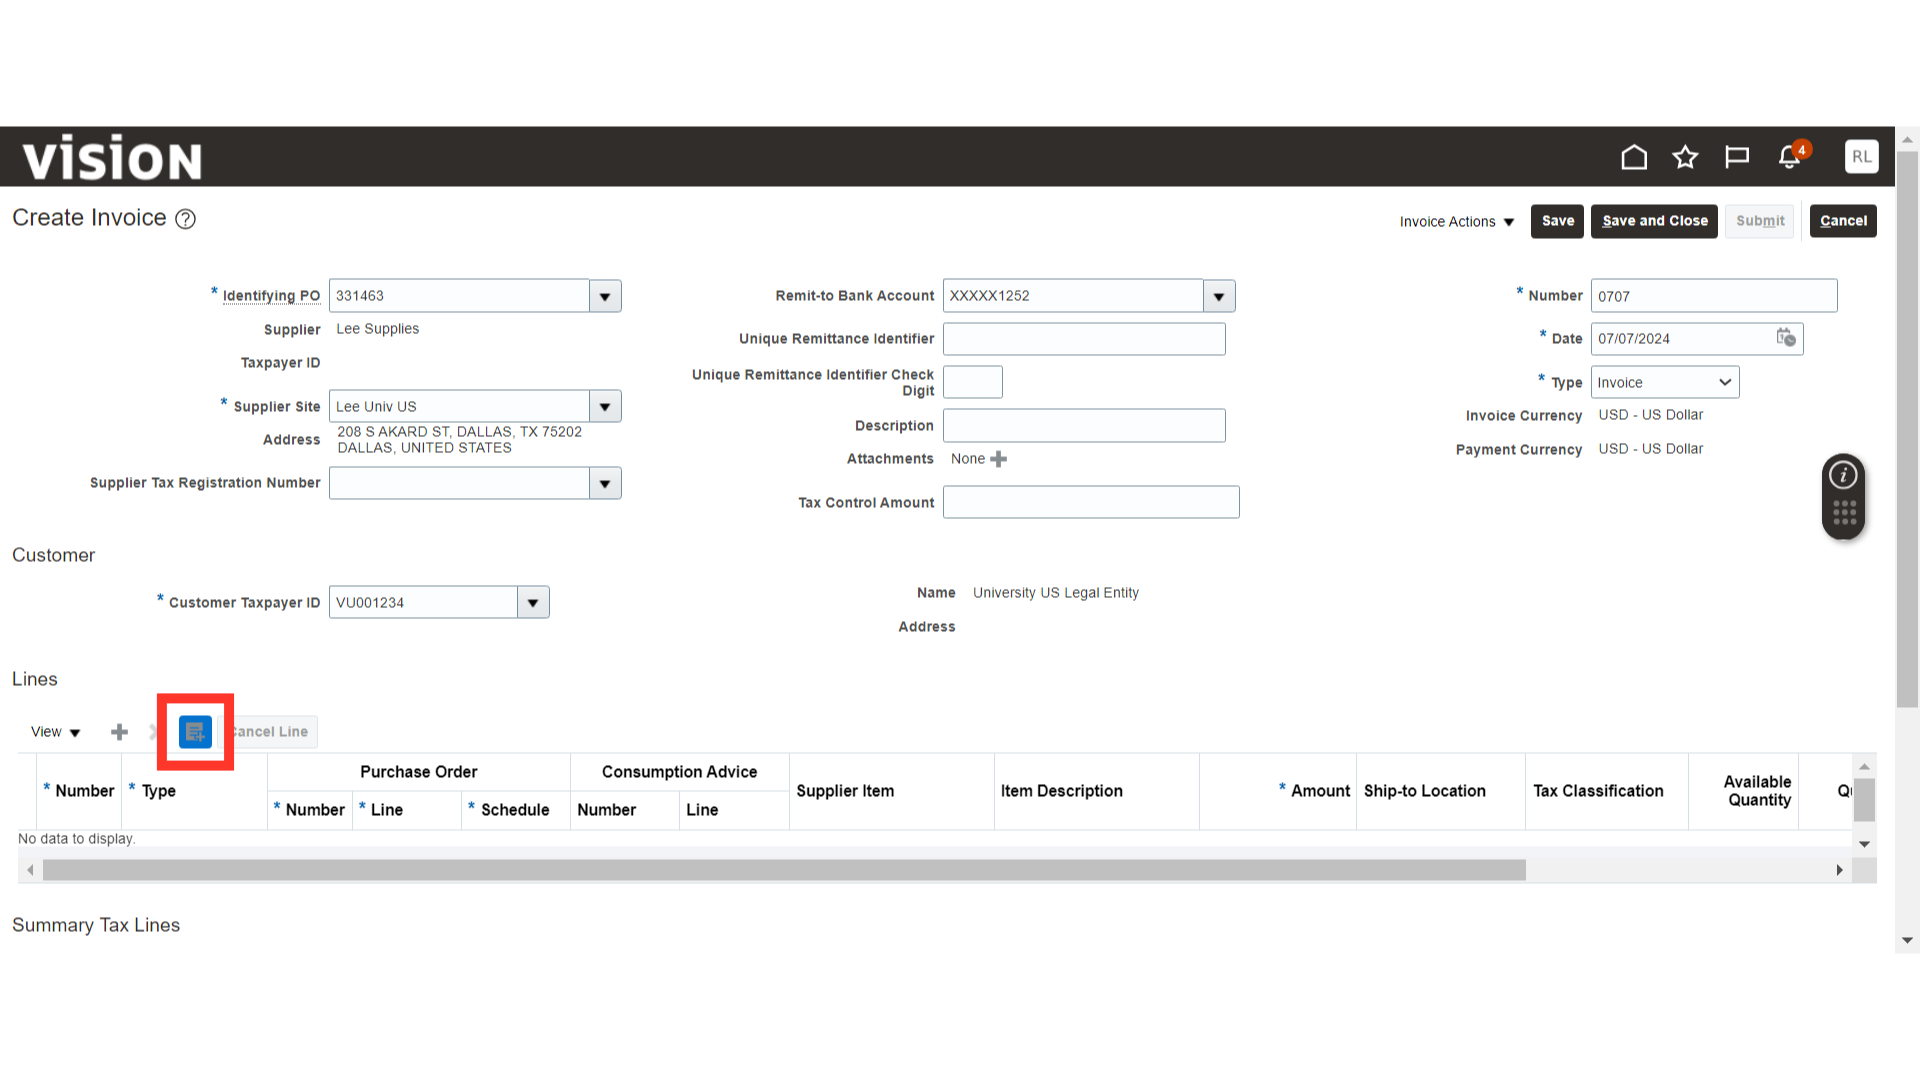
In the Select and Add window, select the line and click on the Apply and OK buttons.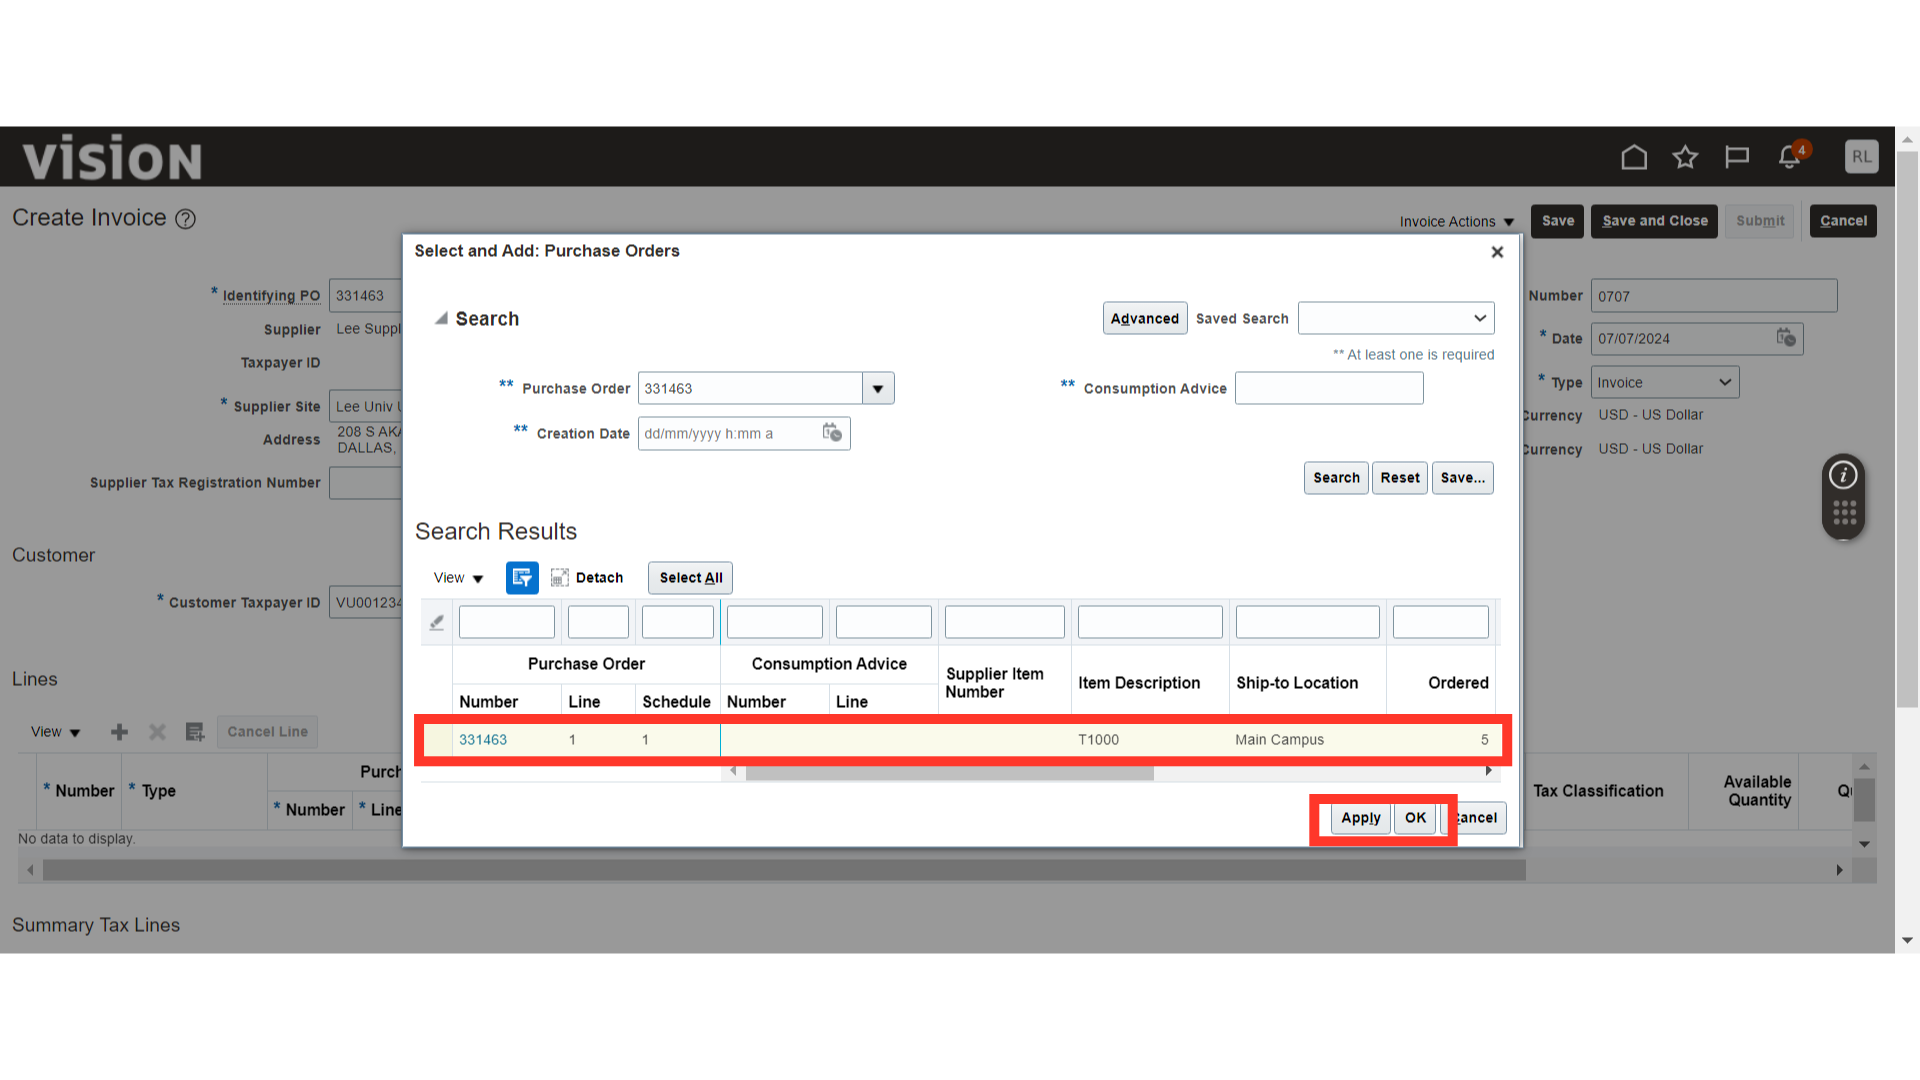
Once the line is added to the invoice, validate the line details.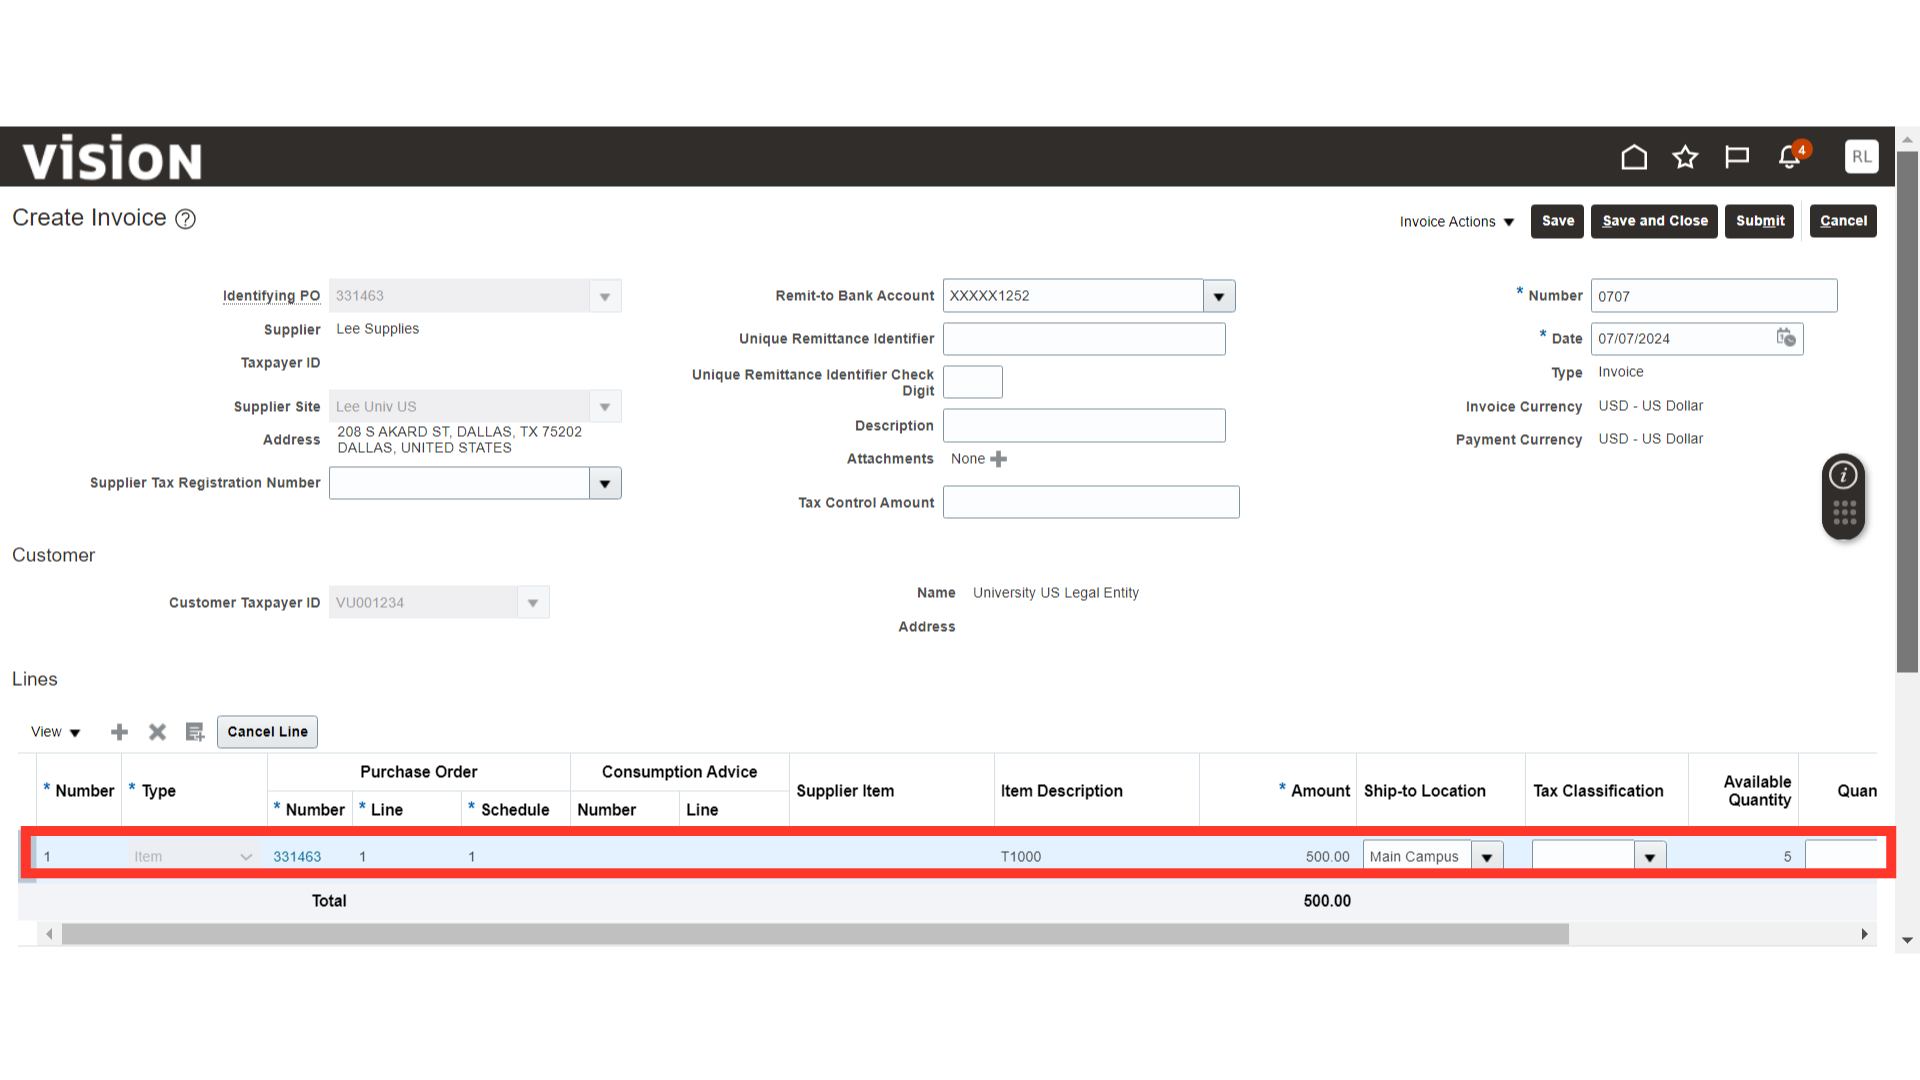
Click on the Submit button to complete the invoice creation.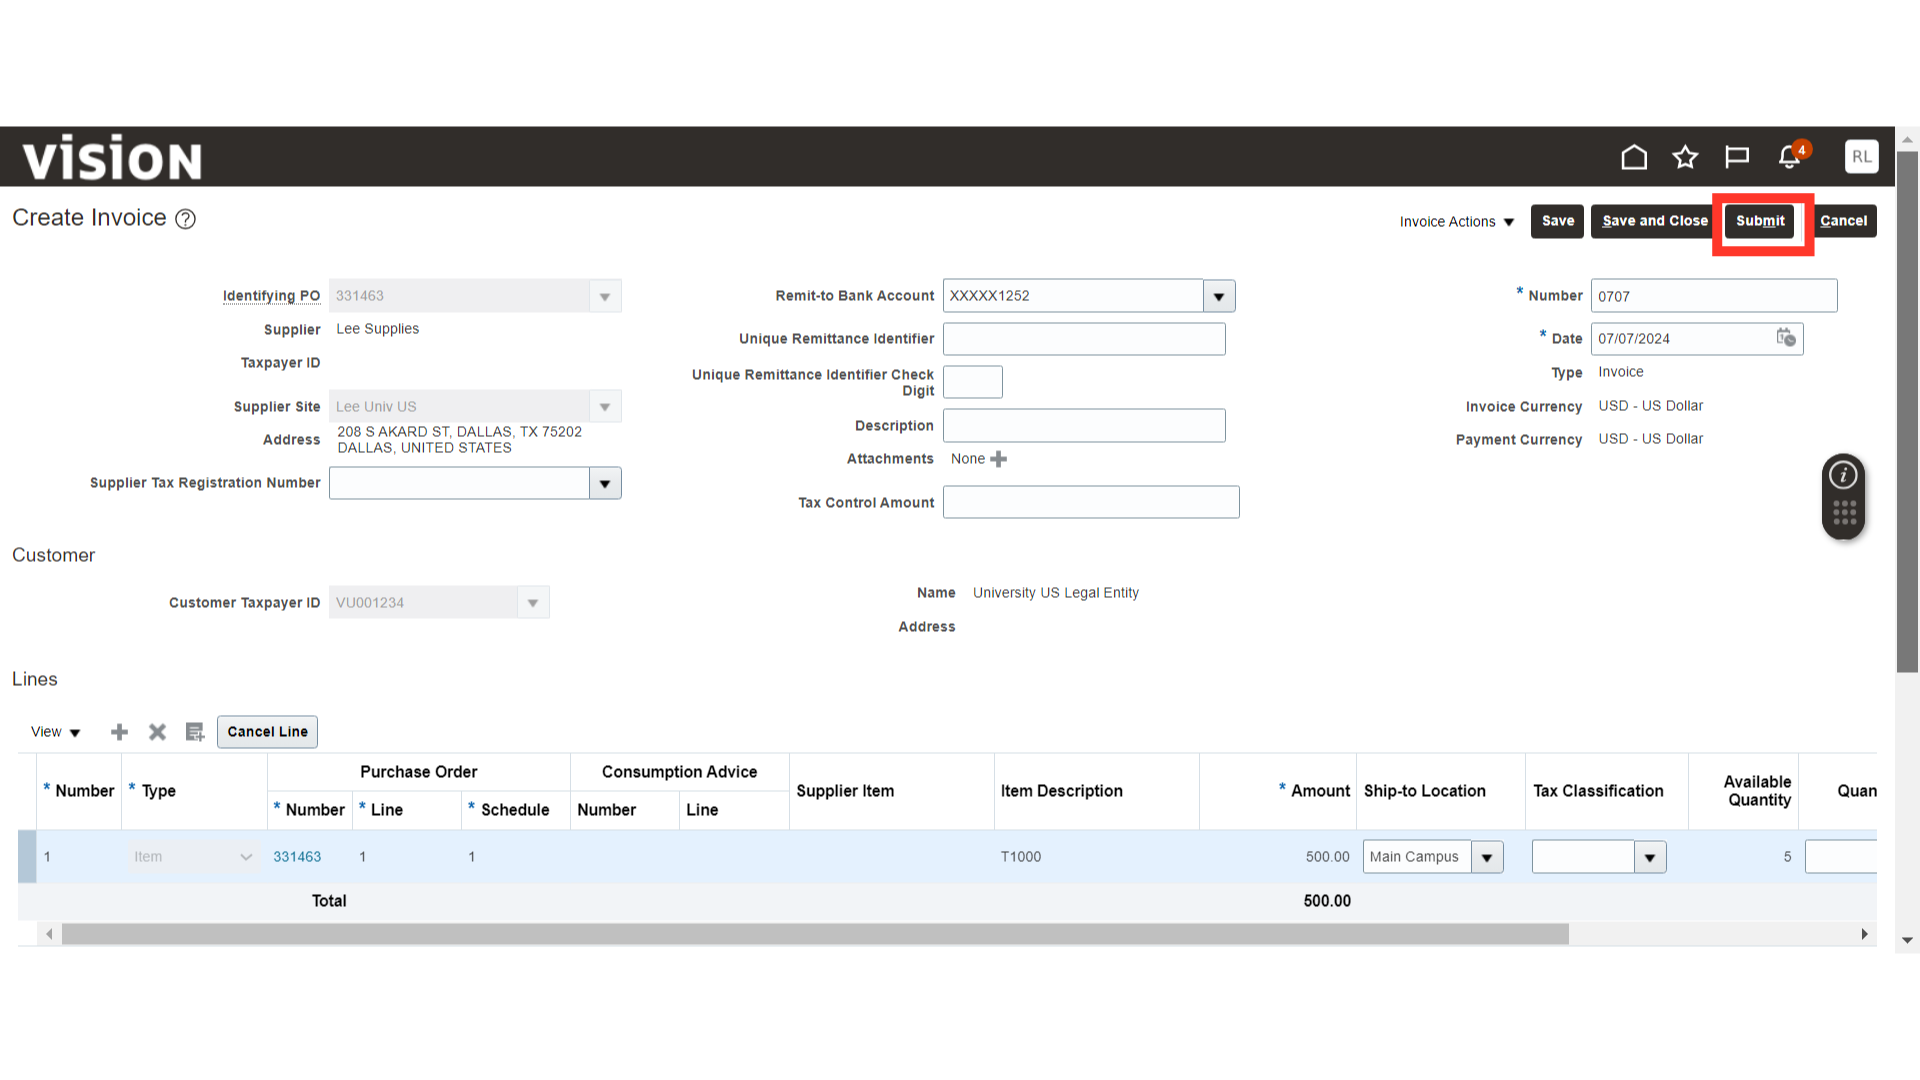
This guide covered the detailed steps of creating an invoice for a PO in the Supplier Portal.