Correct Import Errors
This guide will give a thorough explanation of how to fix the invoices from different imported sources that are stuck in the interface table and how to re-import them after making the necessary corrections.
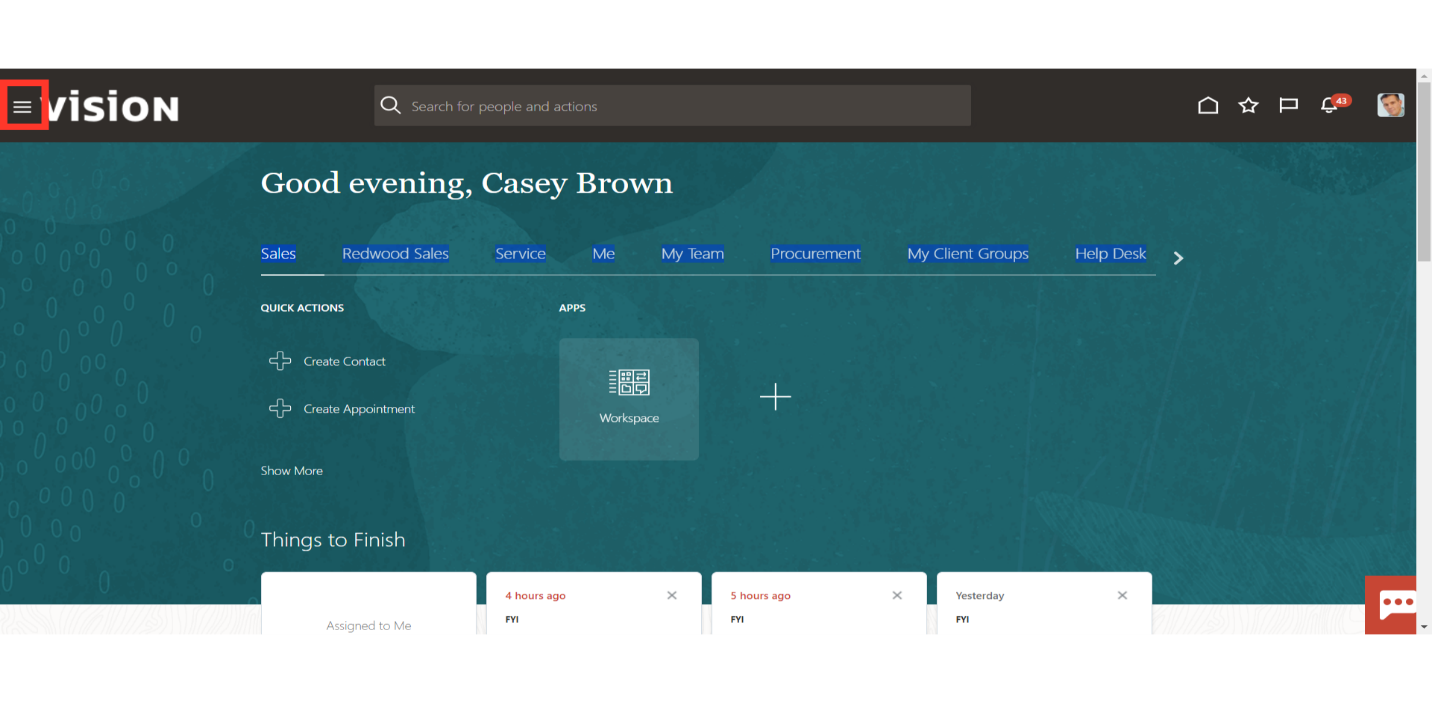
Click on Navigator Icon to access the Payables module.
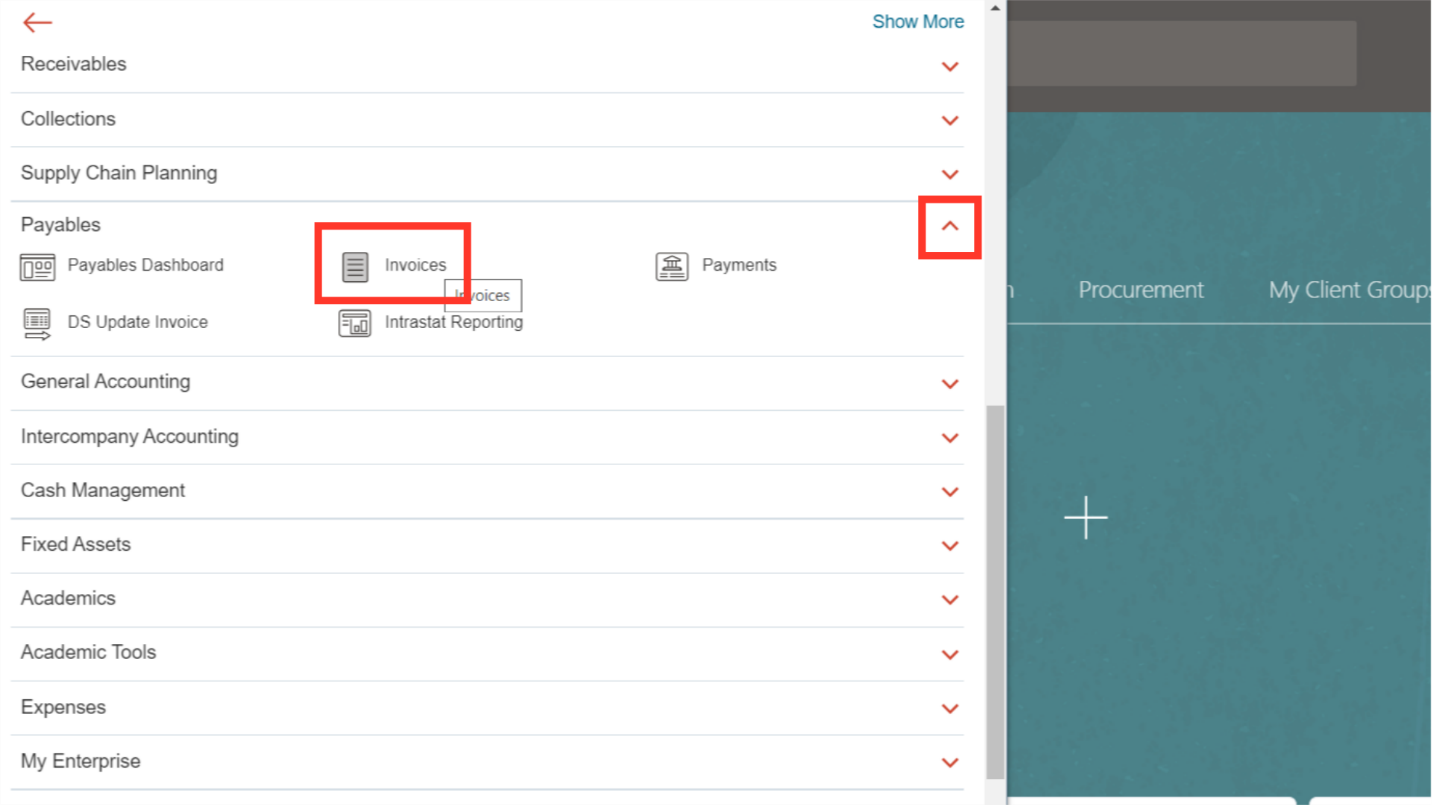
Expand the Payables menu to select the Invoices submenu.
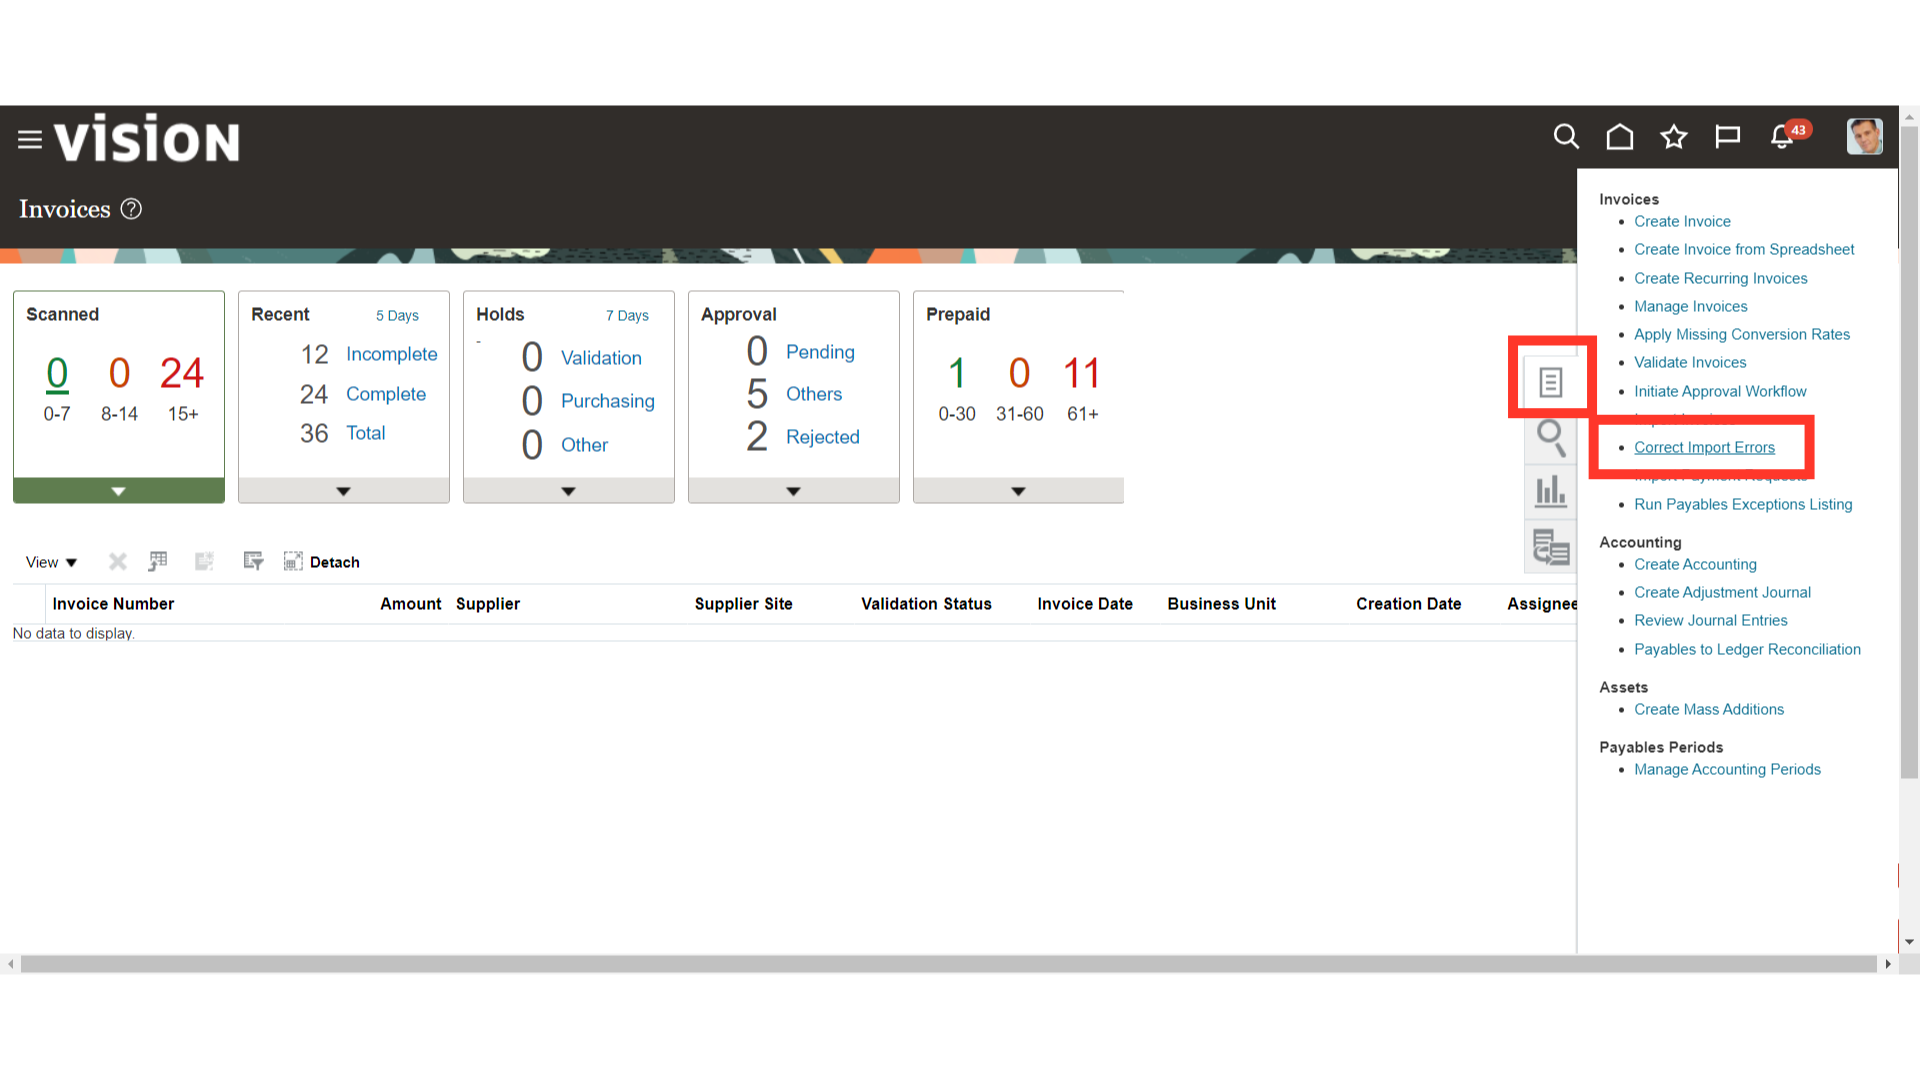
To download the ADFDI spreadsheet for correcting invoices in error status click on “Correct Import Errors” from the task list.
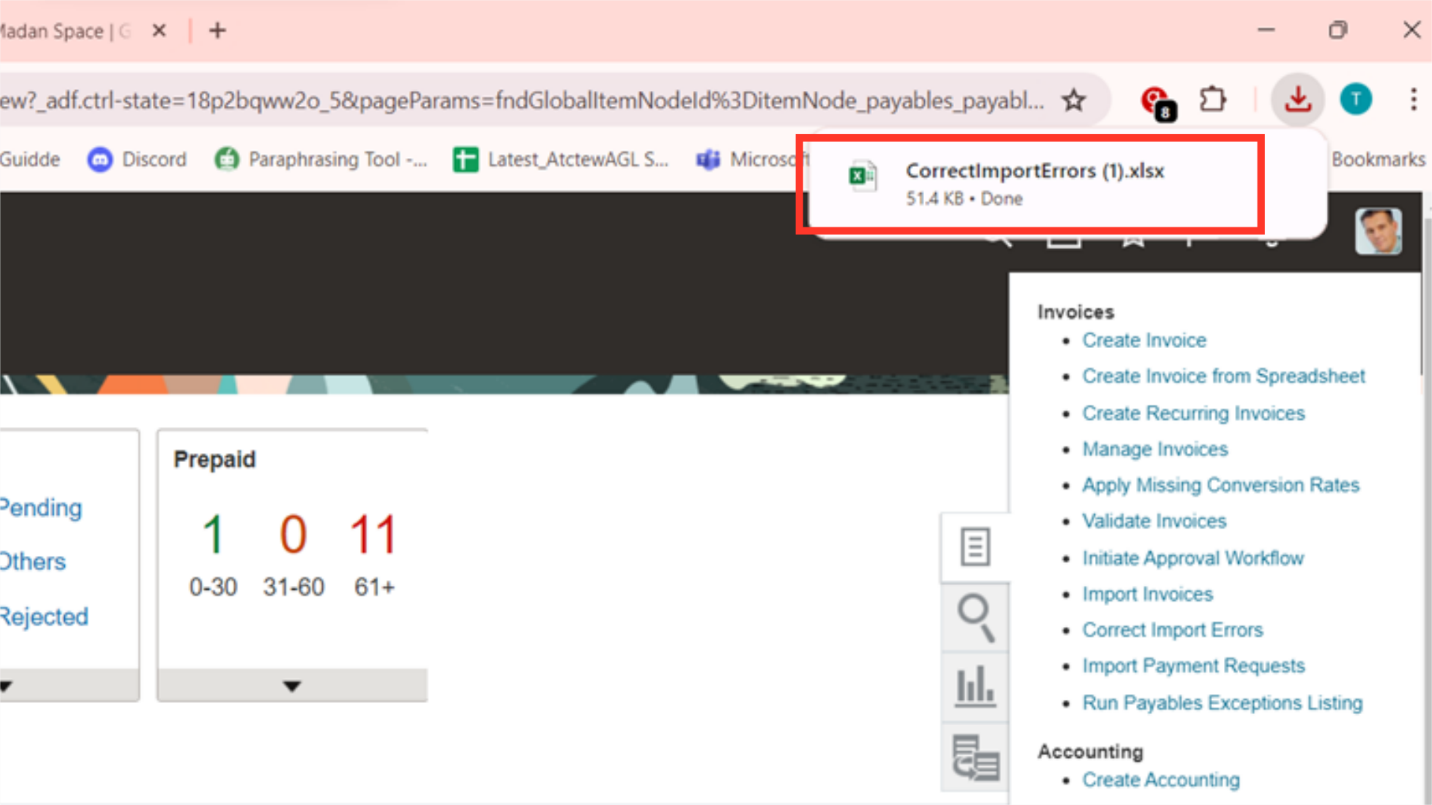
Open the downloaded ADFDI spreadsheet from your local desktop to correct the Invoice details.
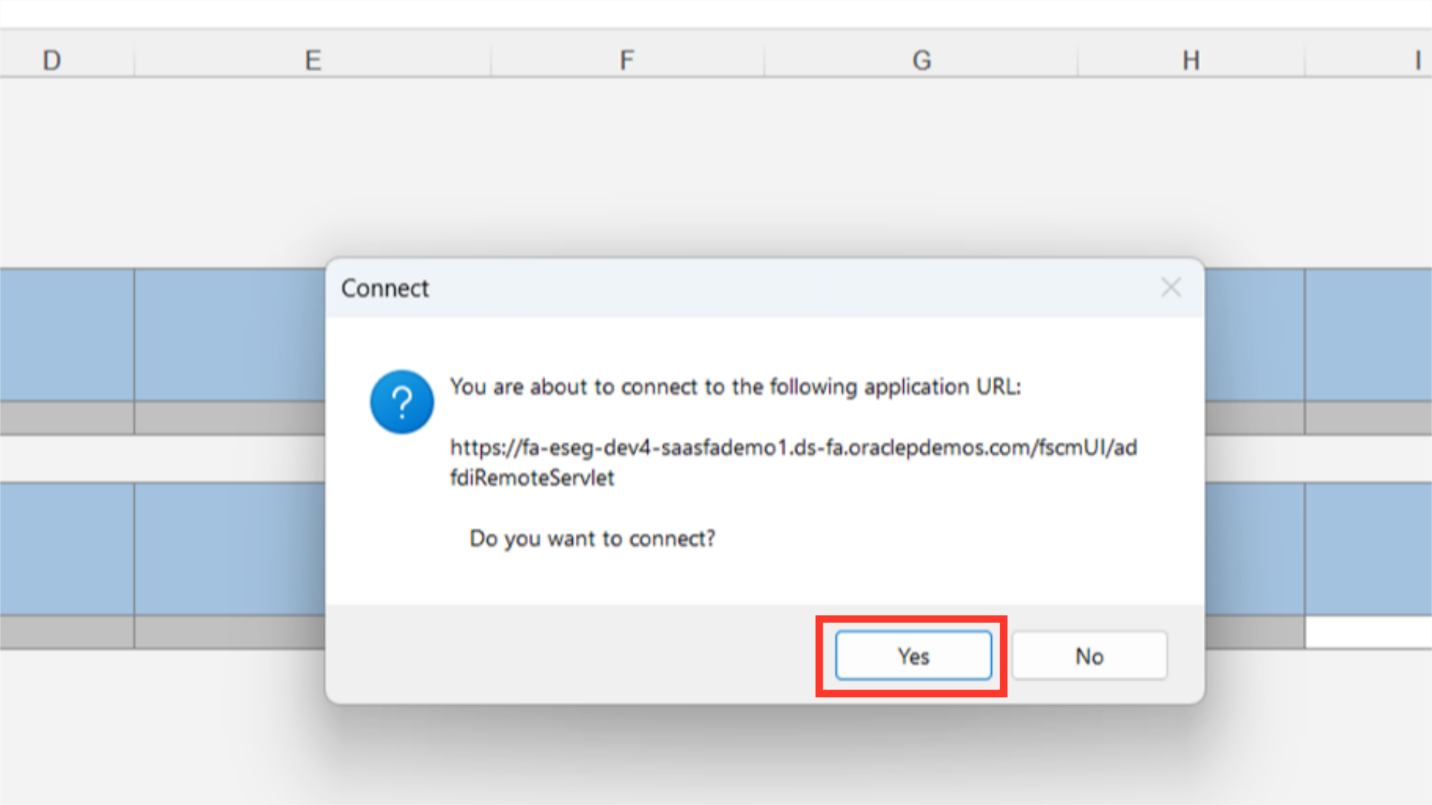
Click on the “Yes” button to log into the ADFDI spreadsheet.
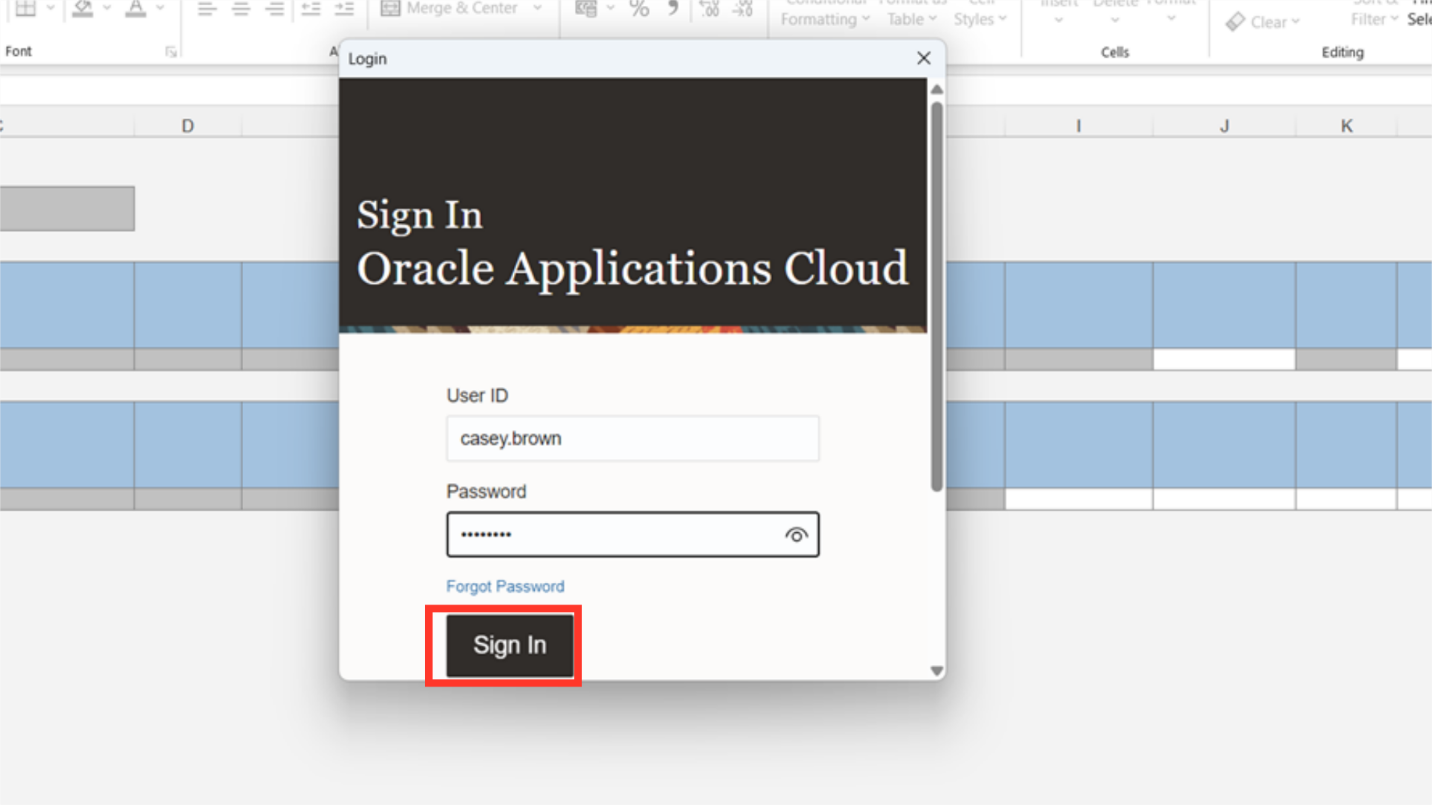
After entering the user credentials same as oracle fusion click on the Sign in button.
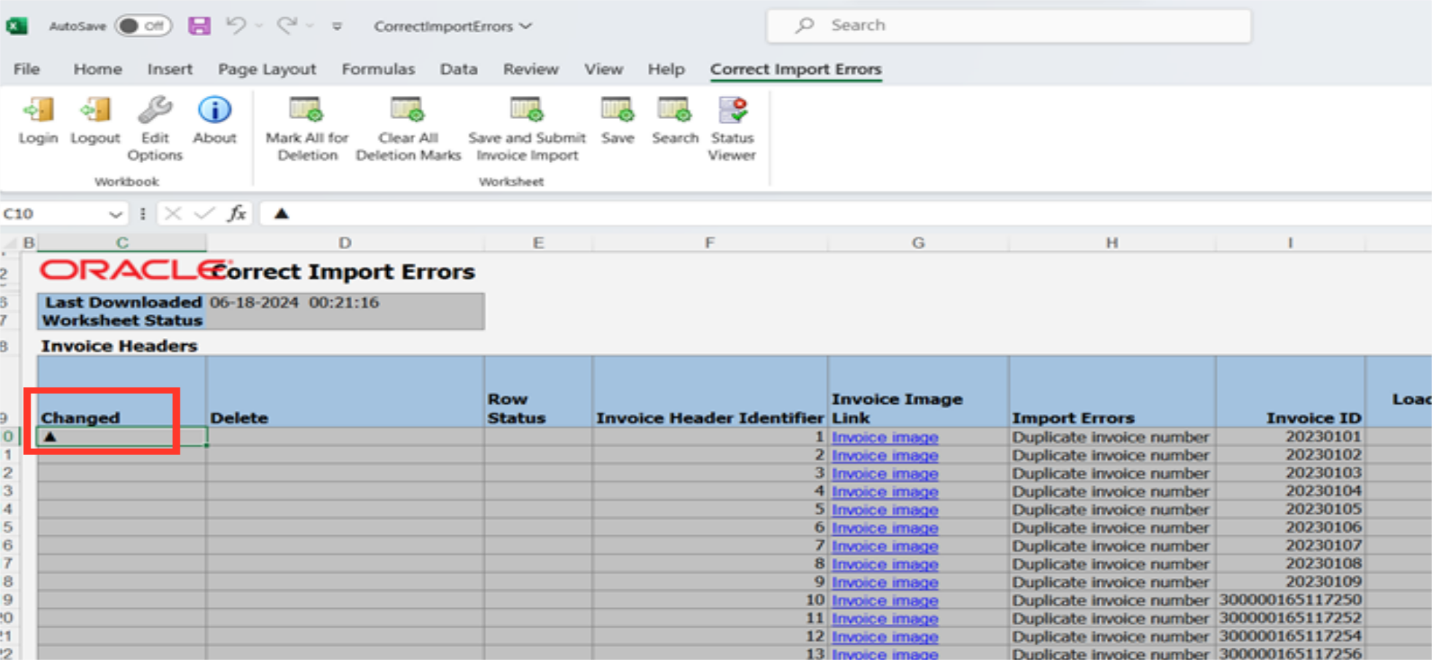
After login error details of all invoices under the various business units to which user has the access will be displayed.
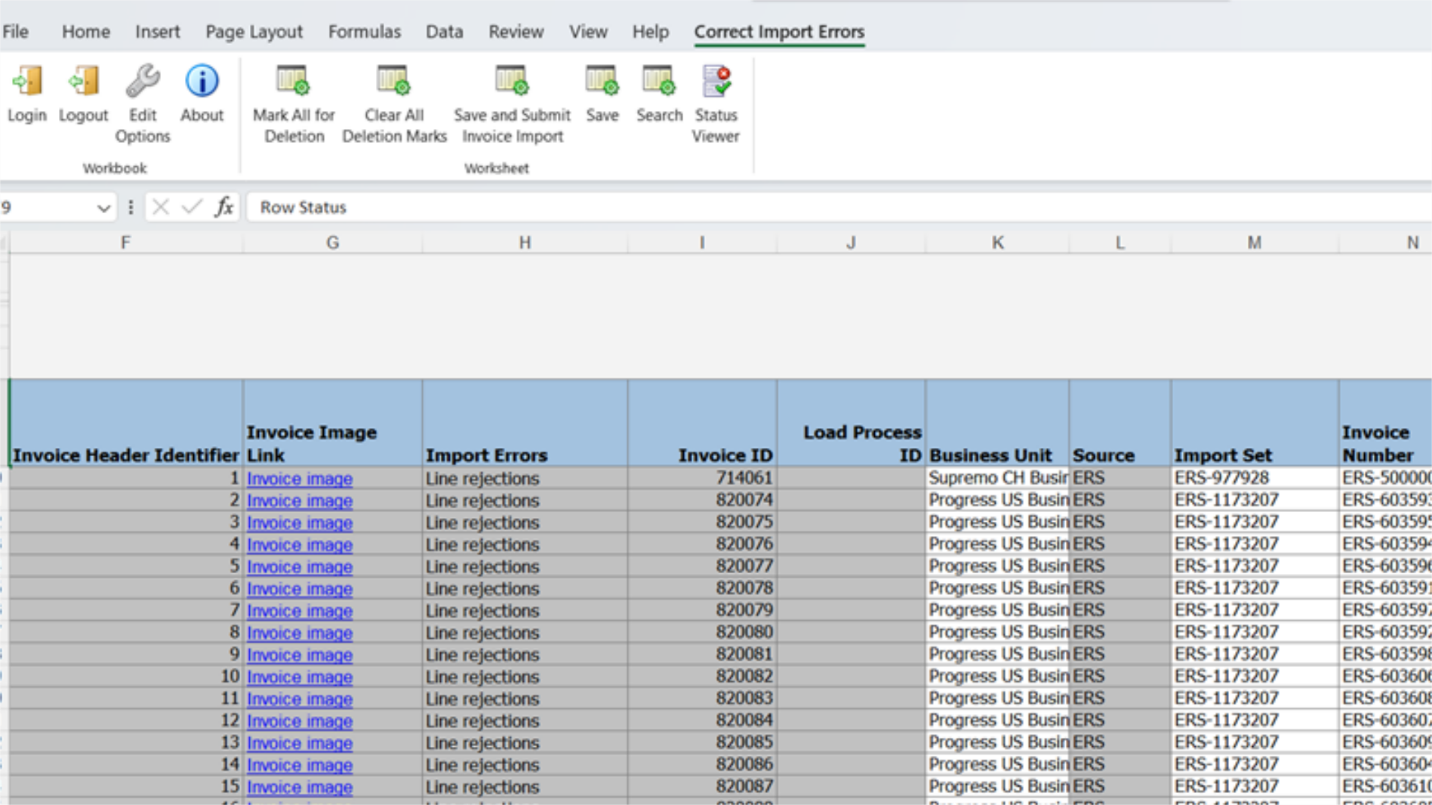
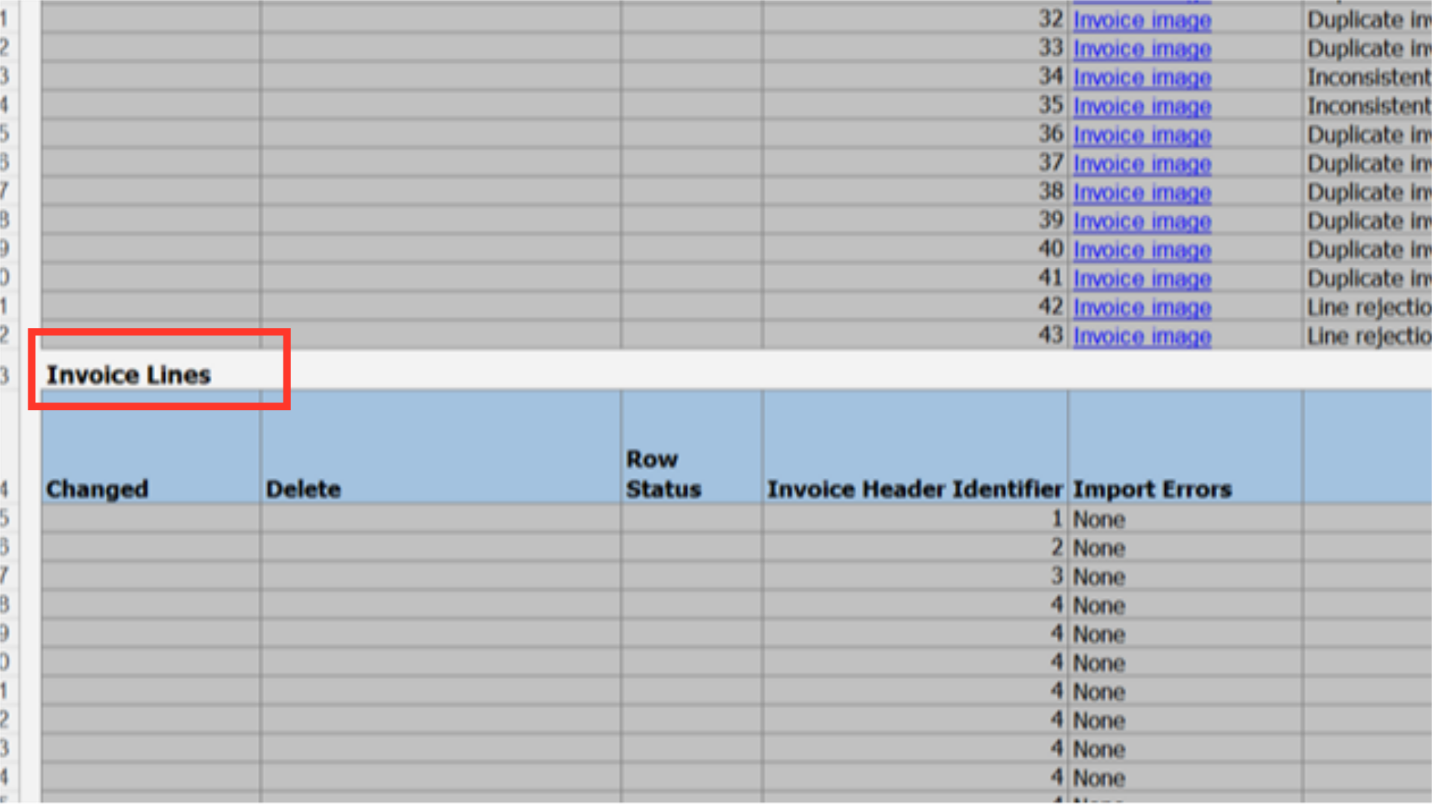
Here, Both the Invoice header and attached line details are displayed below the invoice header table
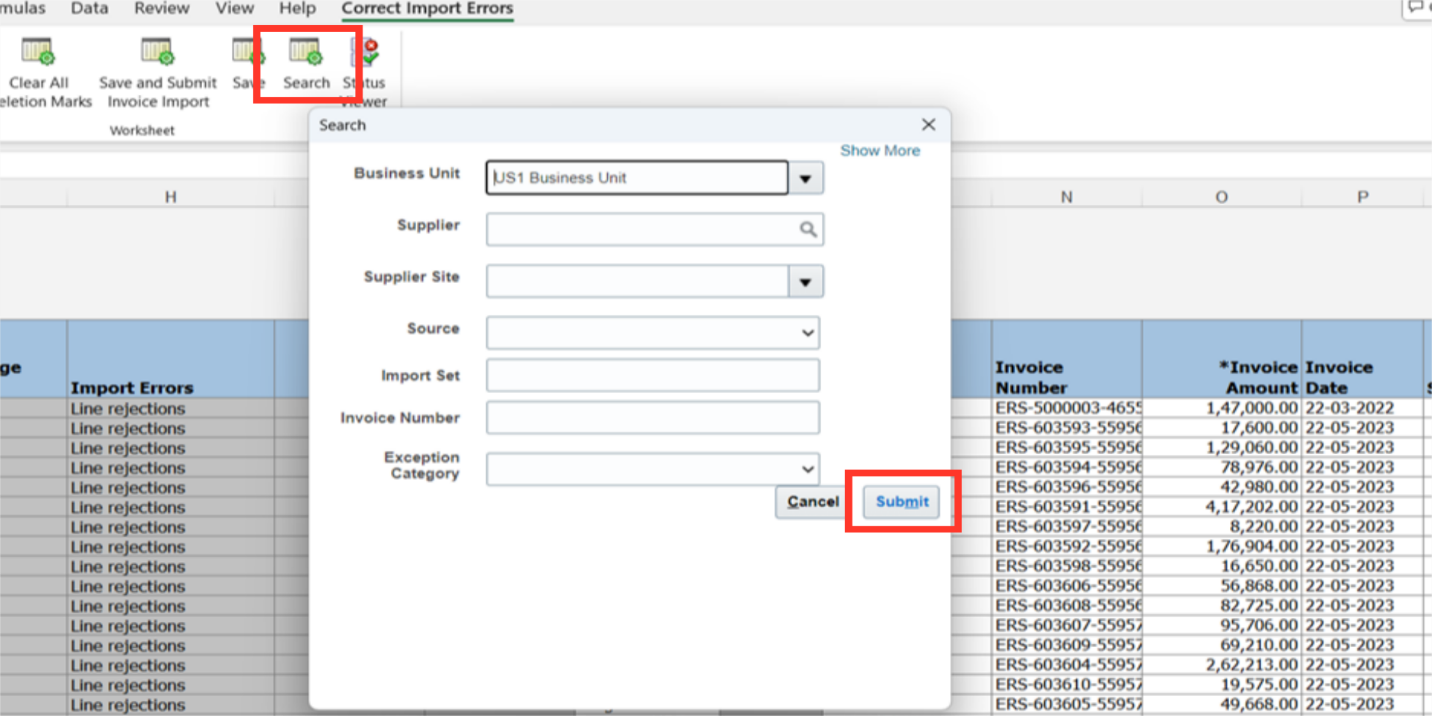
To obtain a specific list of invoices that are in error status, click the Search icon located under the Correct Import Errors tab. Enter the business unit, supplier, or source details, among other information, to search the invoices. In order to search the invoices, click Submit.
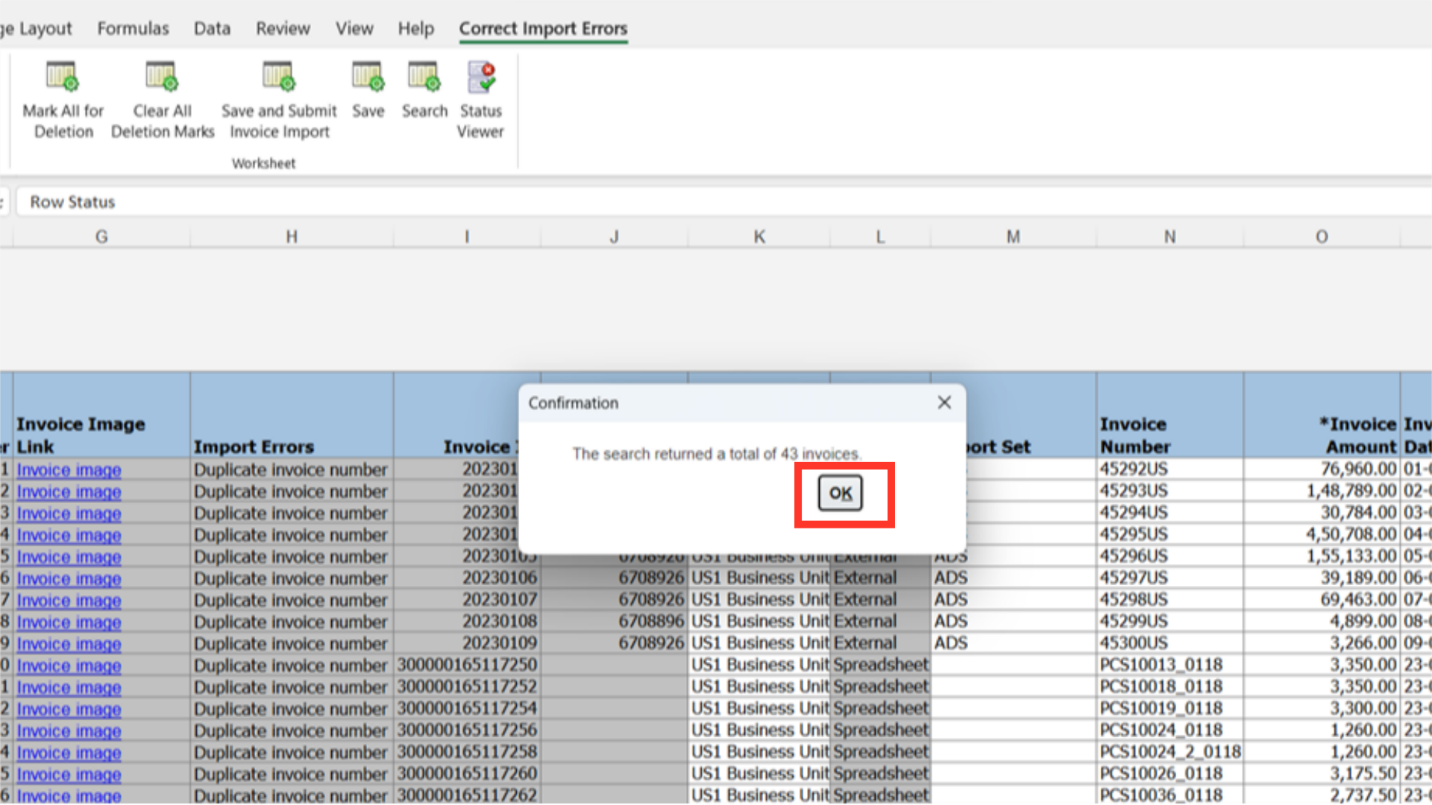
A confirmation message is displayed mentioning the number of Invoices fetched. Click on OK to continue.
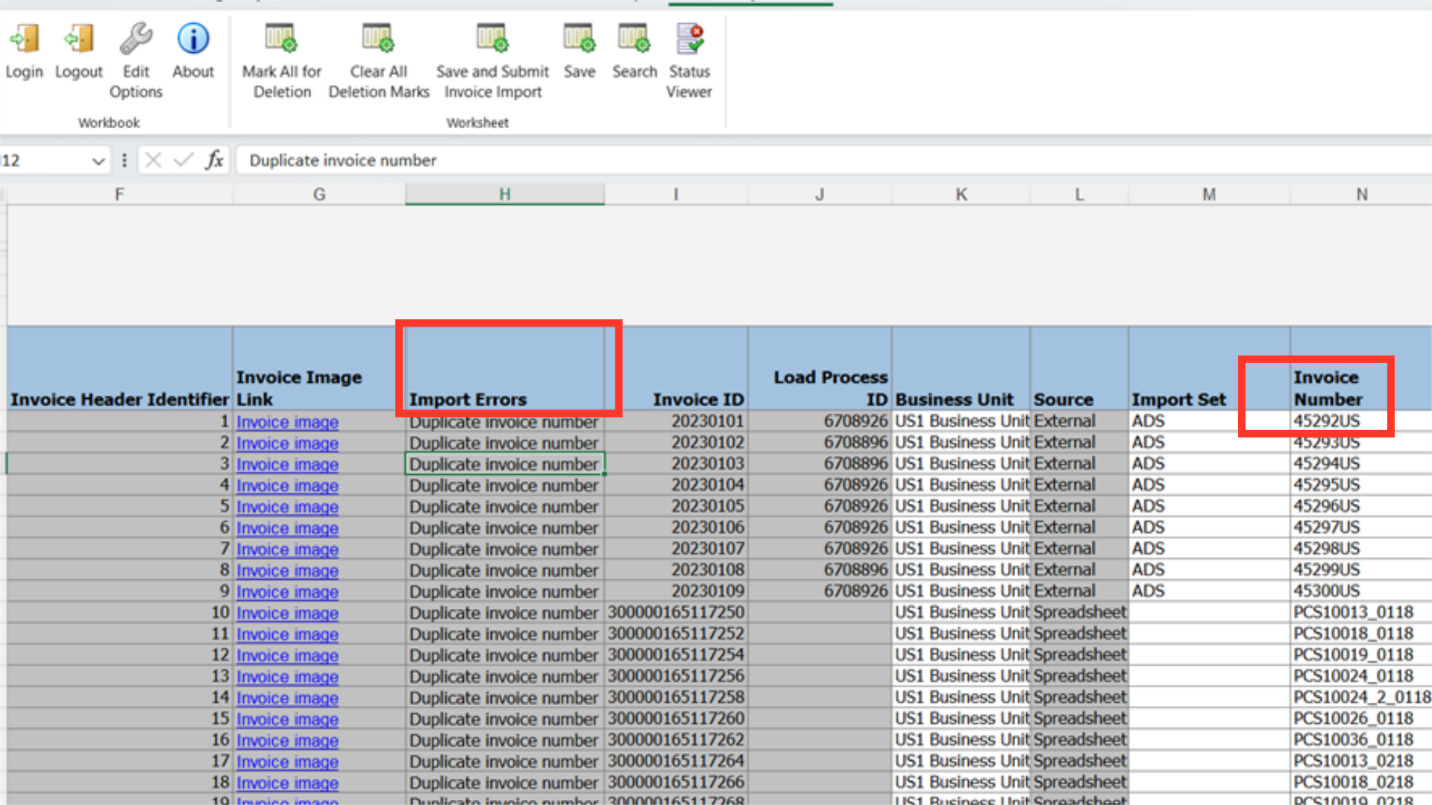
The spreadsheet provides a way to take corrective action for re-importing these invoices by mentioning the reason for rejection in the Import Errors column. Since there is a duplicate invoice number error, the invoice number header at the first invoice header identifier will be changed for demonstration purposes.
Double-click in the Delete column to remove any invoice rows from the interface table, and then select the Save option under Correct Import Errors.
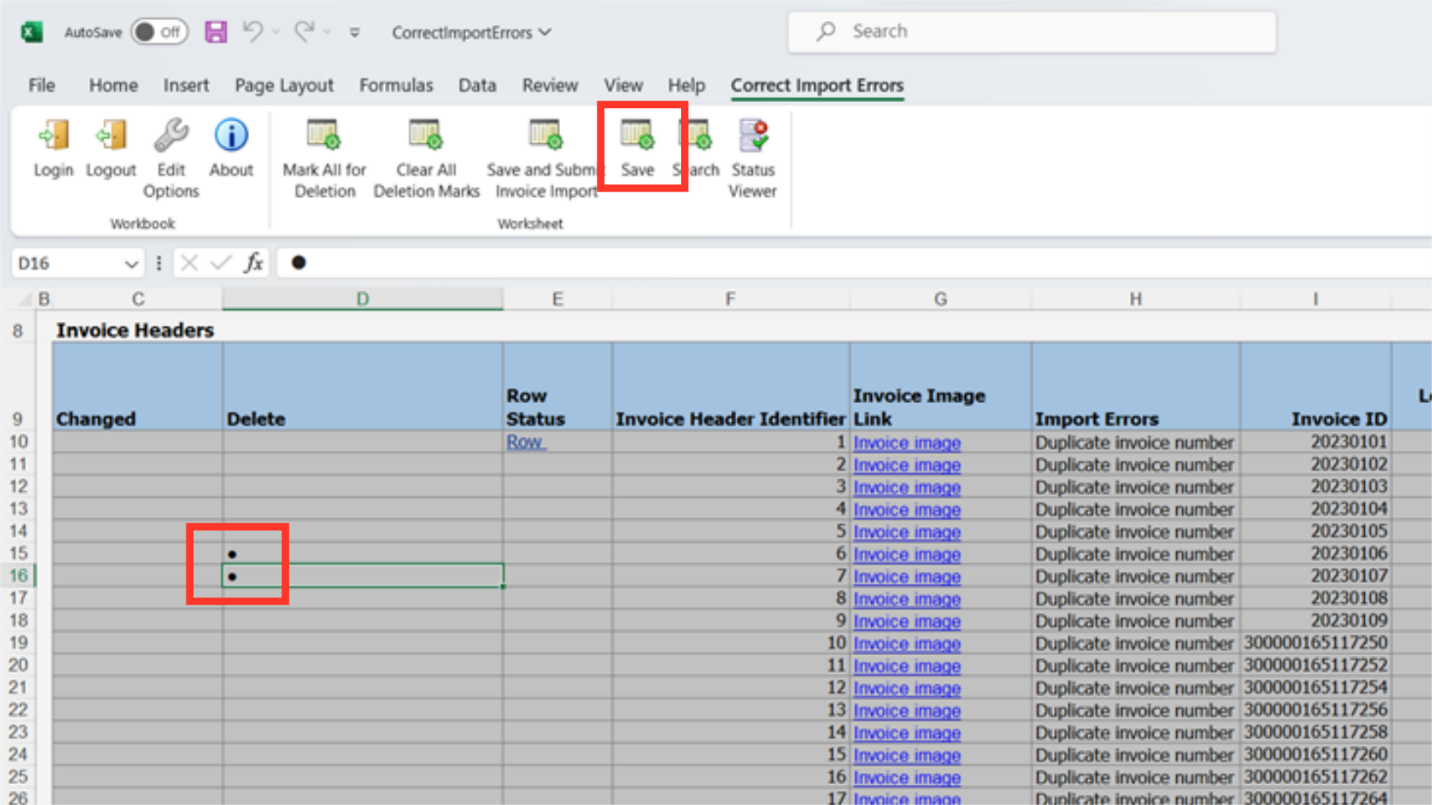
The rows with the triangle-shaped icons are the ones that will be chosen to be uploaded. The Triangle icon appears in the column that has changed next to the row whenever any rows are updated or new details are added.
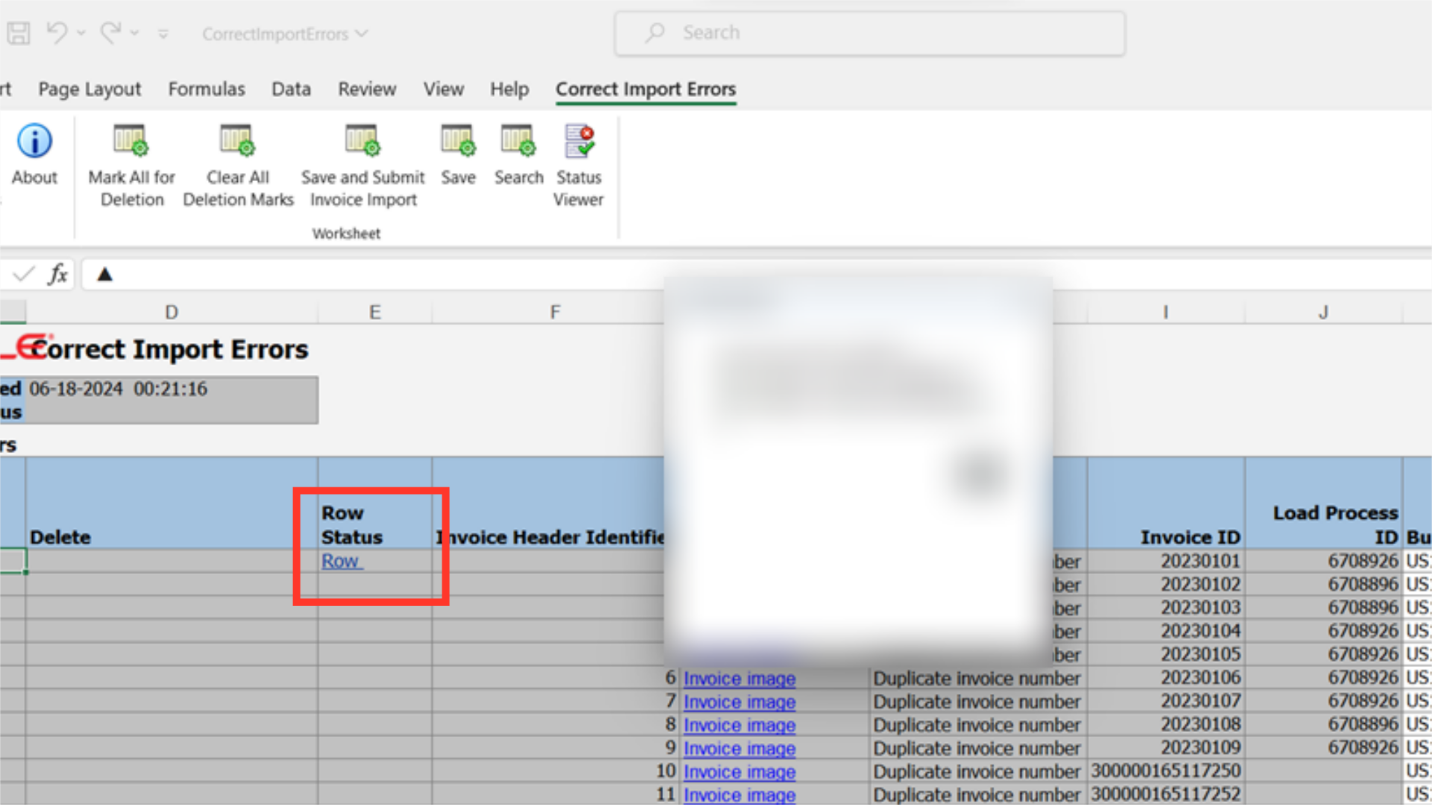
As the line get uploaded successfully, the Raw Status changes to ‘Raw Inserted successfully’. If the message says otherwise you need to select that raw, click on the ‘Status Viewer’ and check for the errors preventing the upload. After the errors are rectified then try to upload again those invoices.
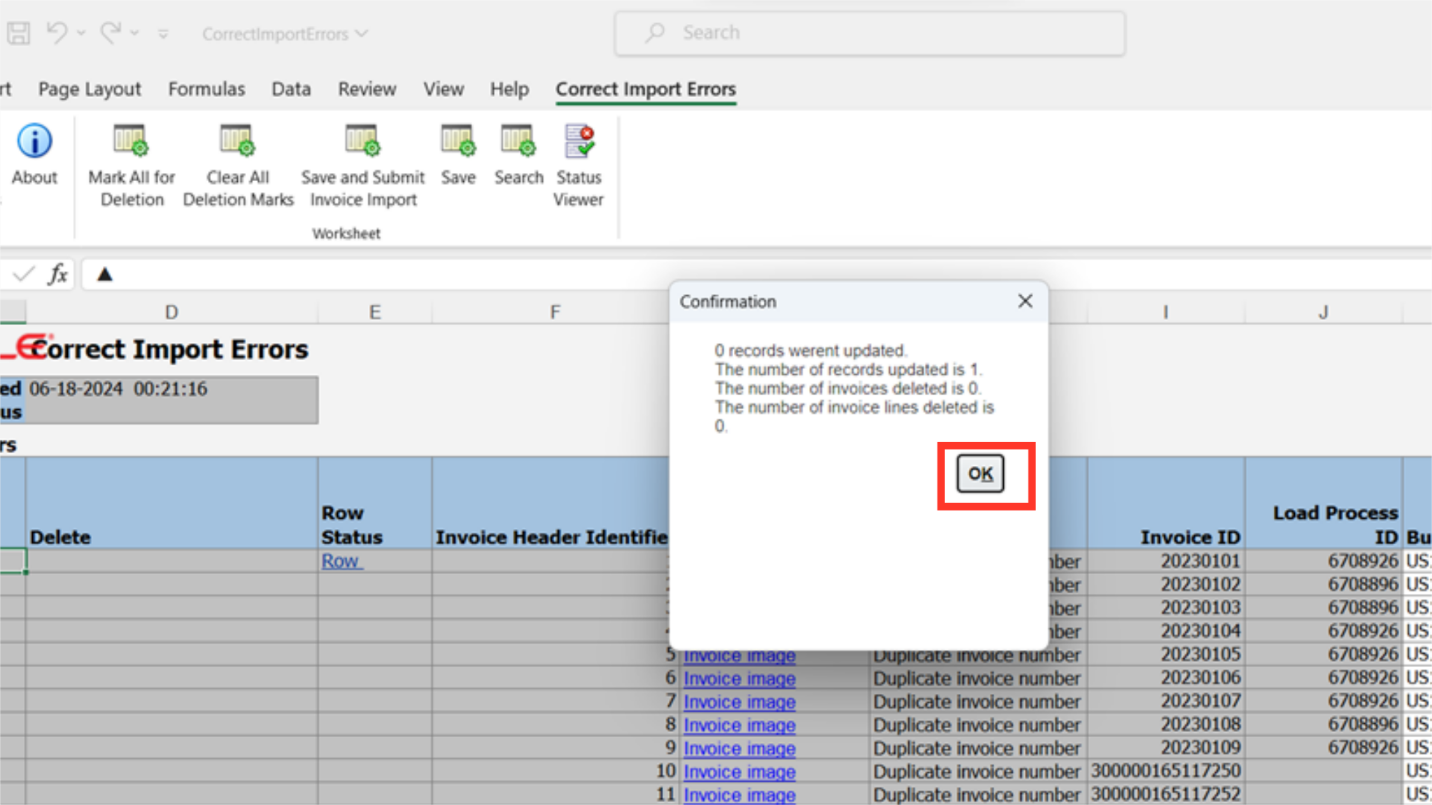
A confirmation message is displayed along with a number of records updated. Click on the OK button to continue.
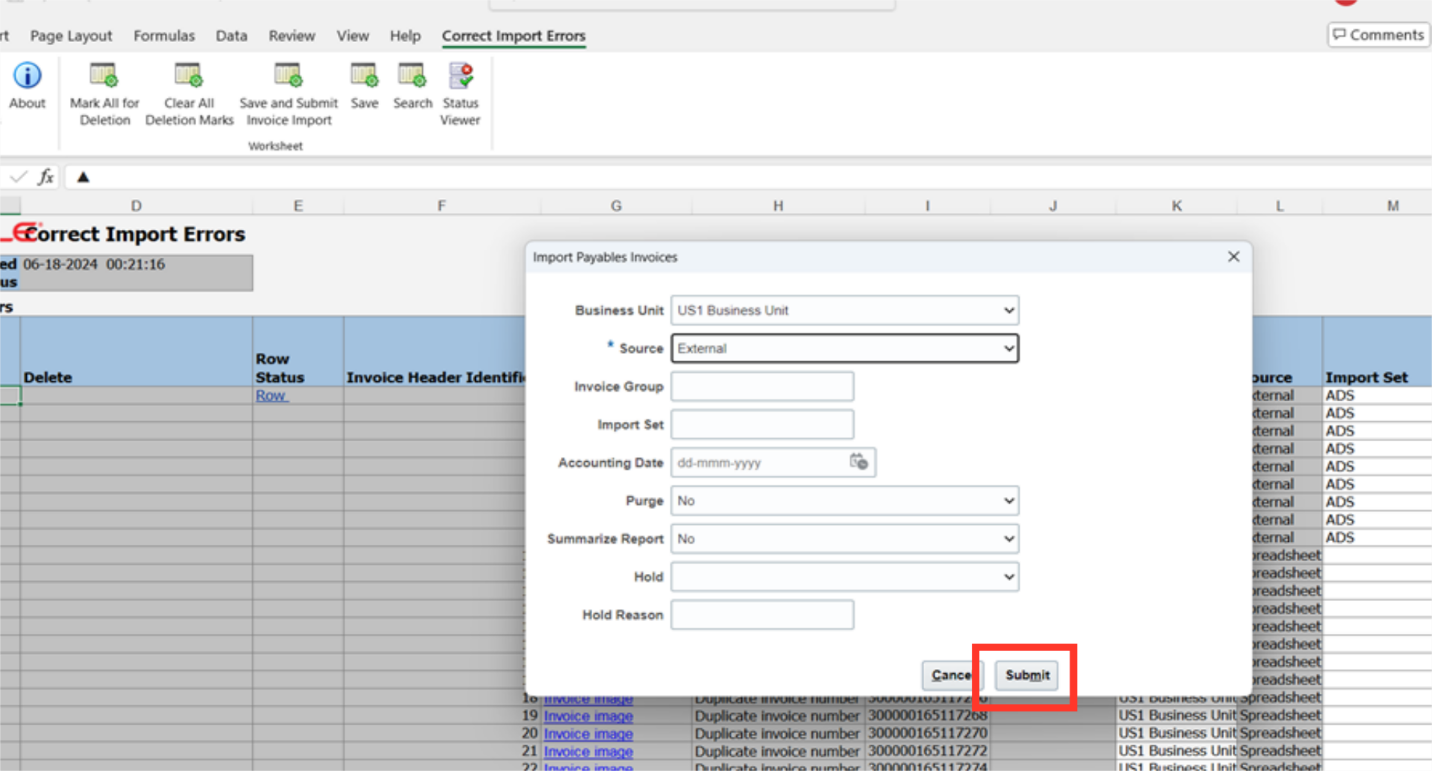
Click on Save and Submit Invoice import icon under Correct Import Errors tab to import the Invoices.

Select the Business unit for which invoices are required to be uploaded, and invoice will be created with source mentioned in this sheet. Invoice Group , Import set and Accounting date can be entered to import invoices specifically falling under that parameter details. Additionally, Hold parameter can be selected To apply a hold to all imported invoices. After entering all the required parameters click on Submit button to run the import process.
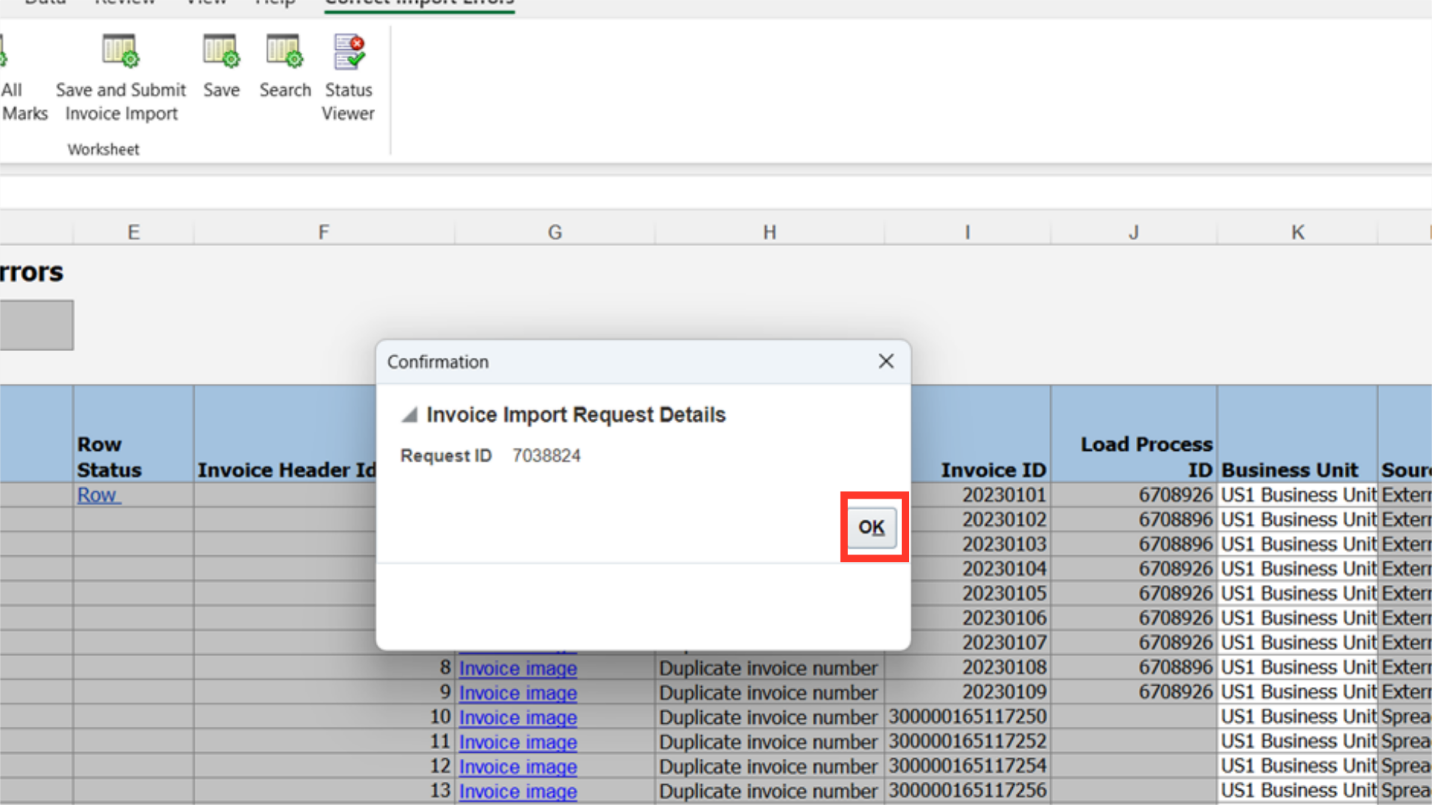
A confirmation message is displayed along with the request ID number. Click on OK to continue.
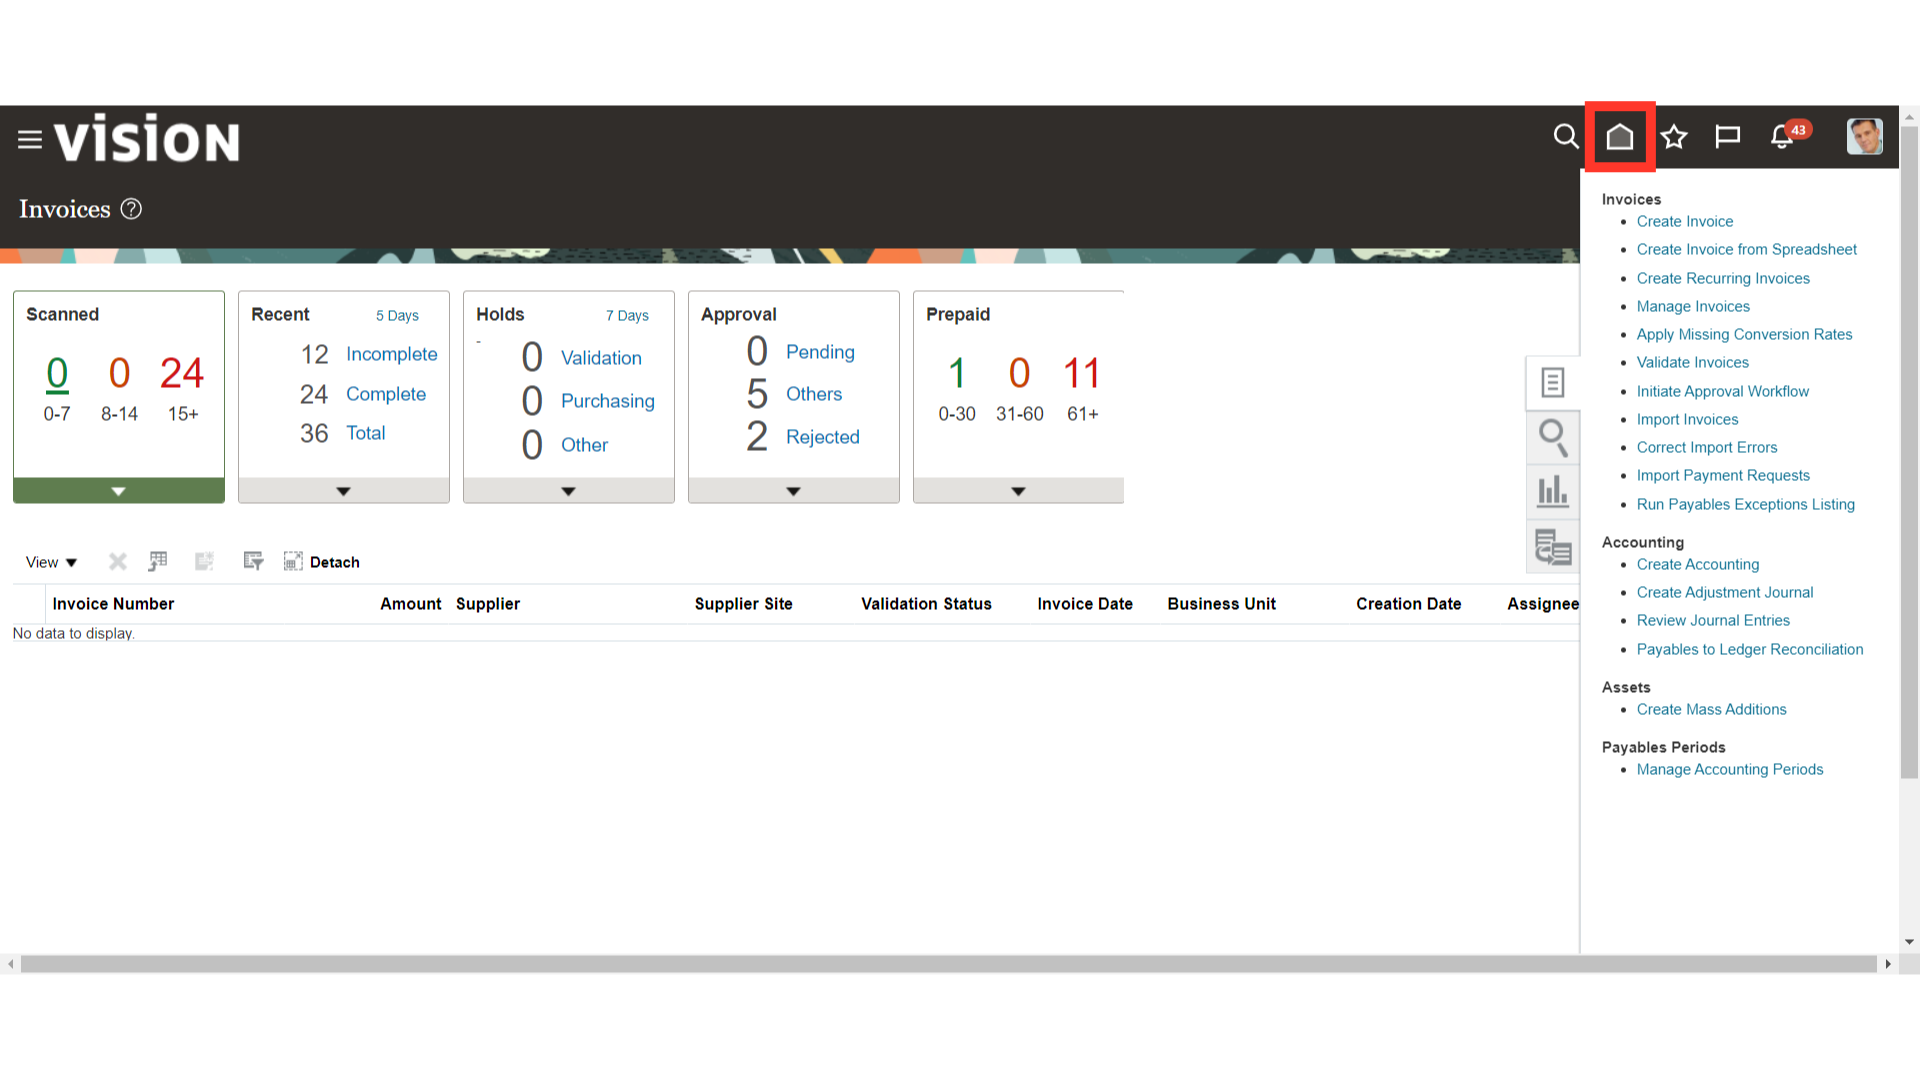
After uploading the Invoices open the oracle fusion, and then click on the Home icon to navigate to Scheduled Processes.
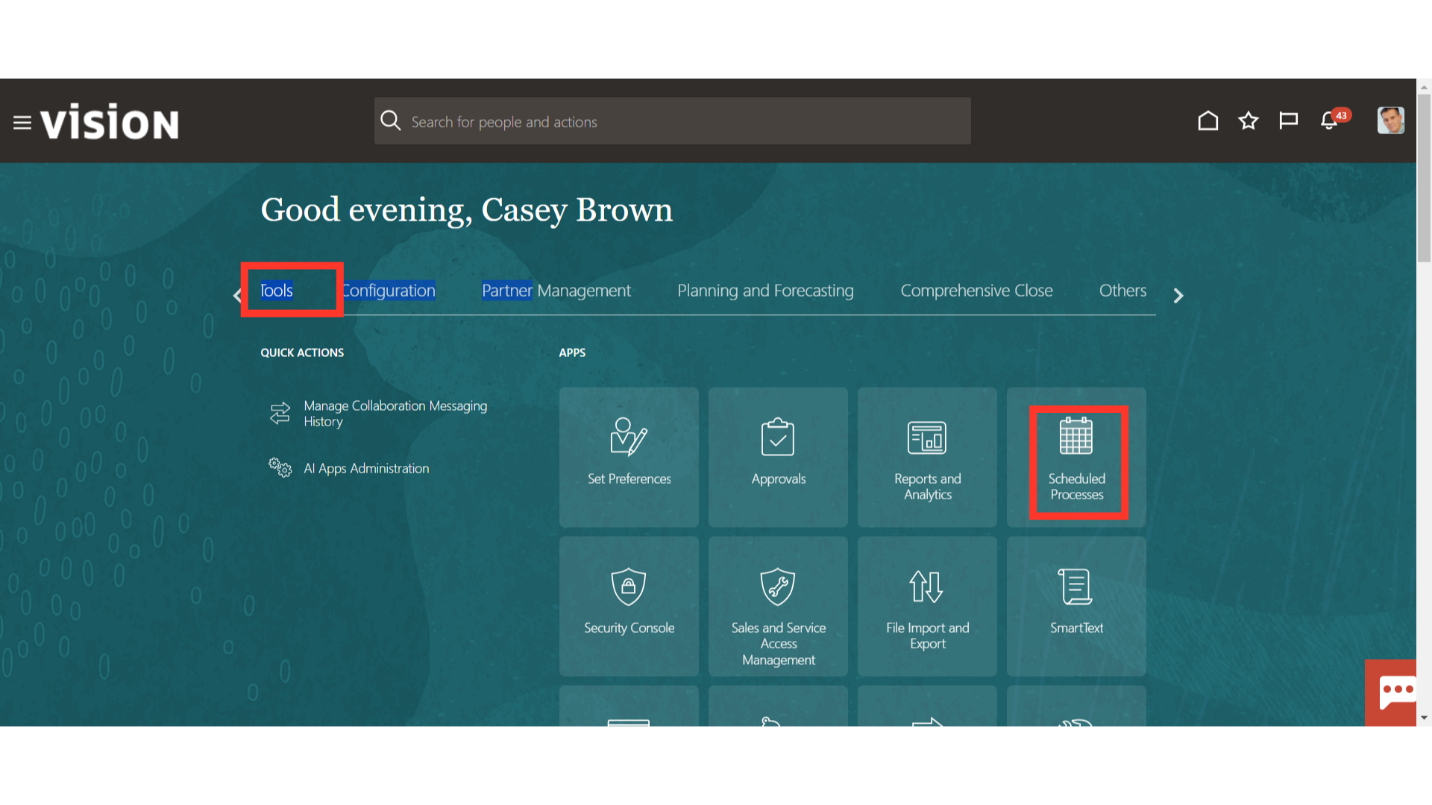
To view the import process’s status, select the “Scheduled Processes” submenu from the Tools menu.
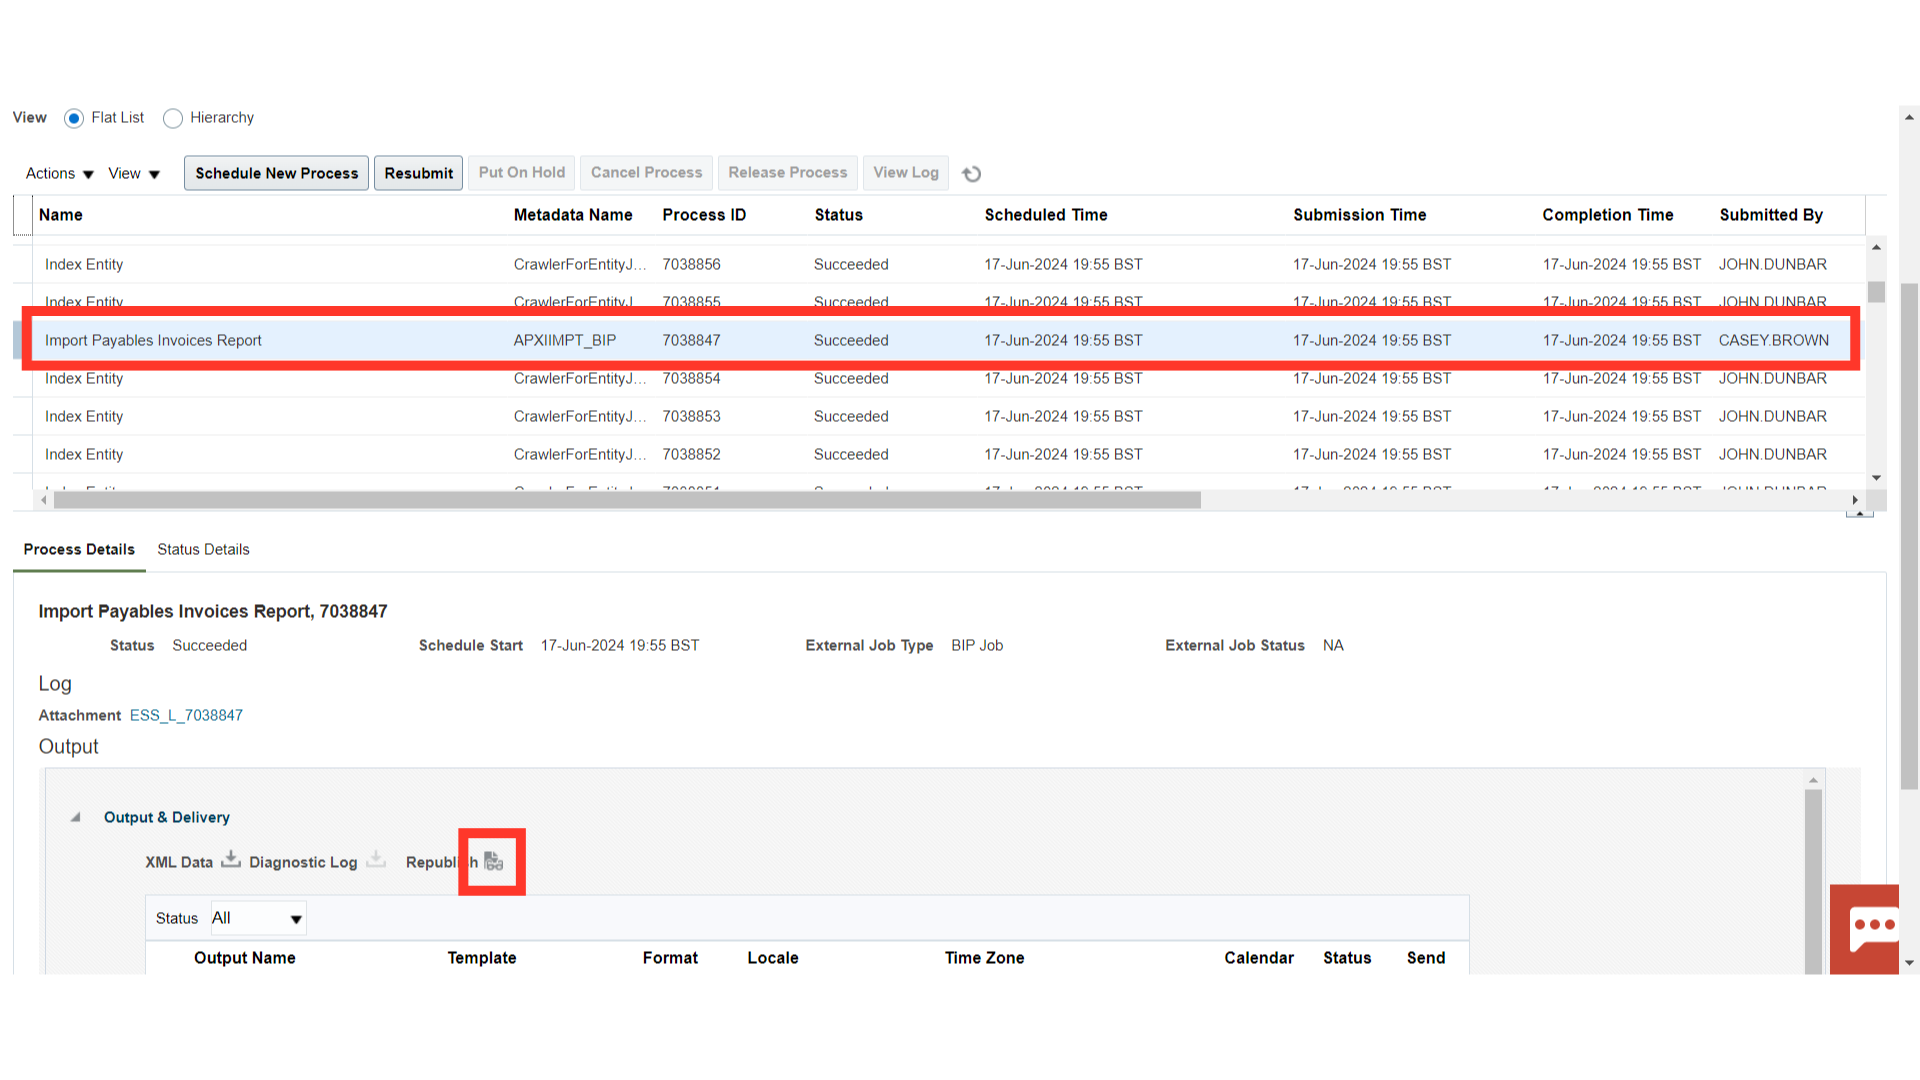
To download the report, select Import Payables Invoice report process and click republish after the Import Payables Invoice process has been successful.
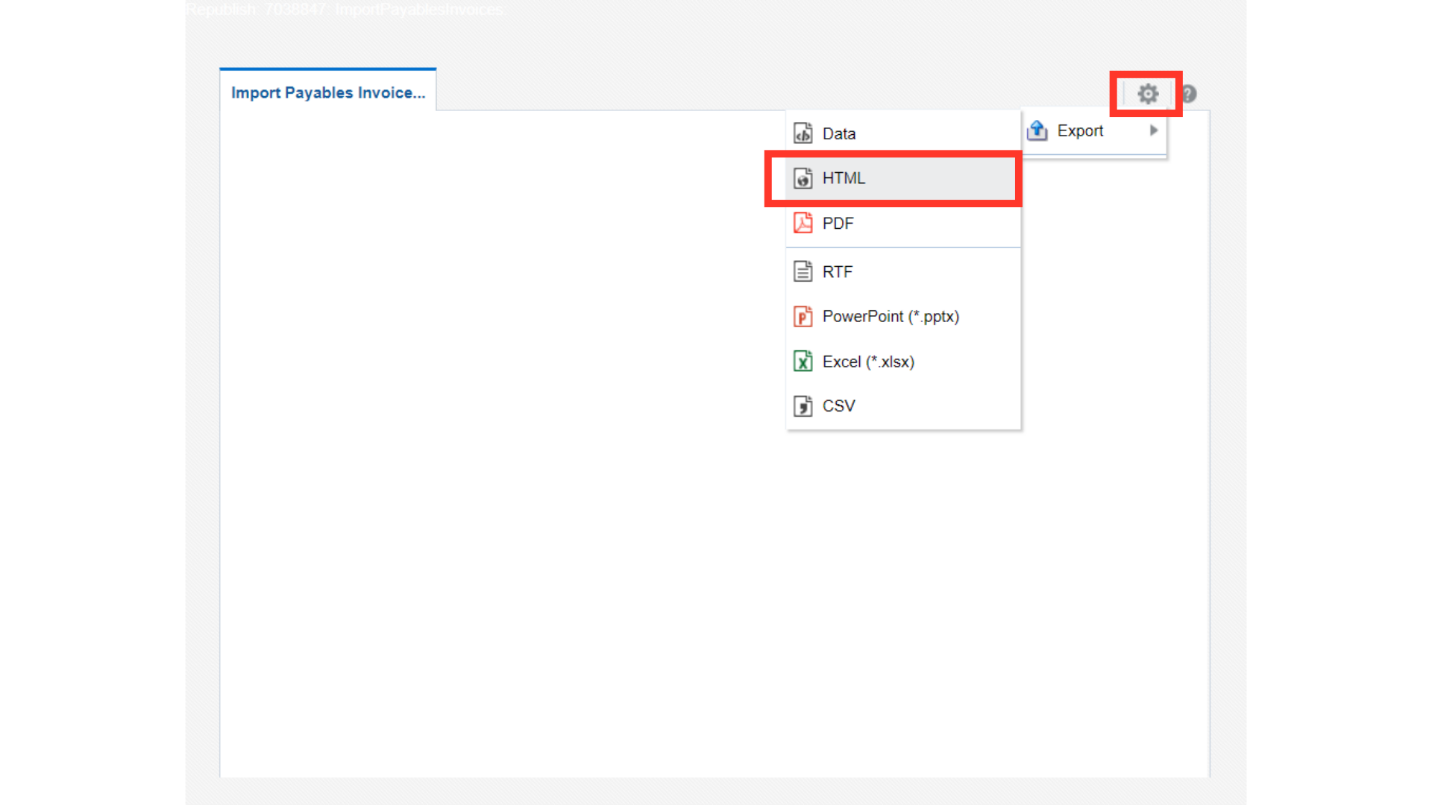
After expanding the settings icon, click on HTML format under Export option.
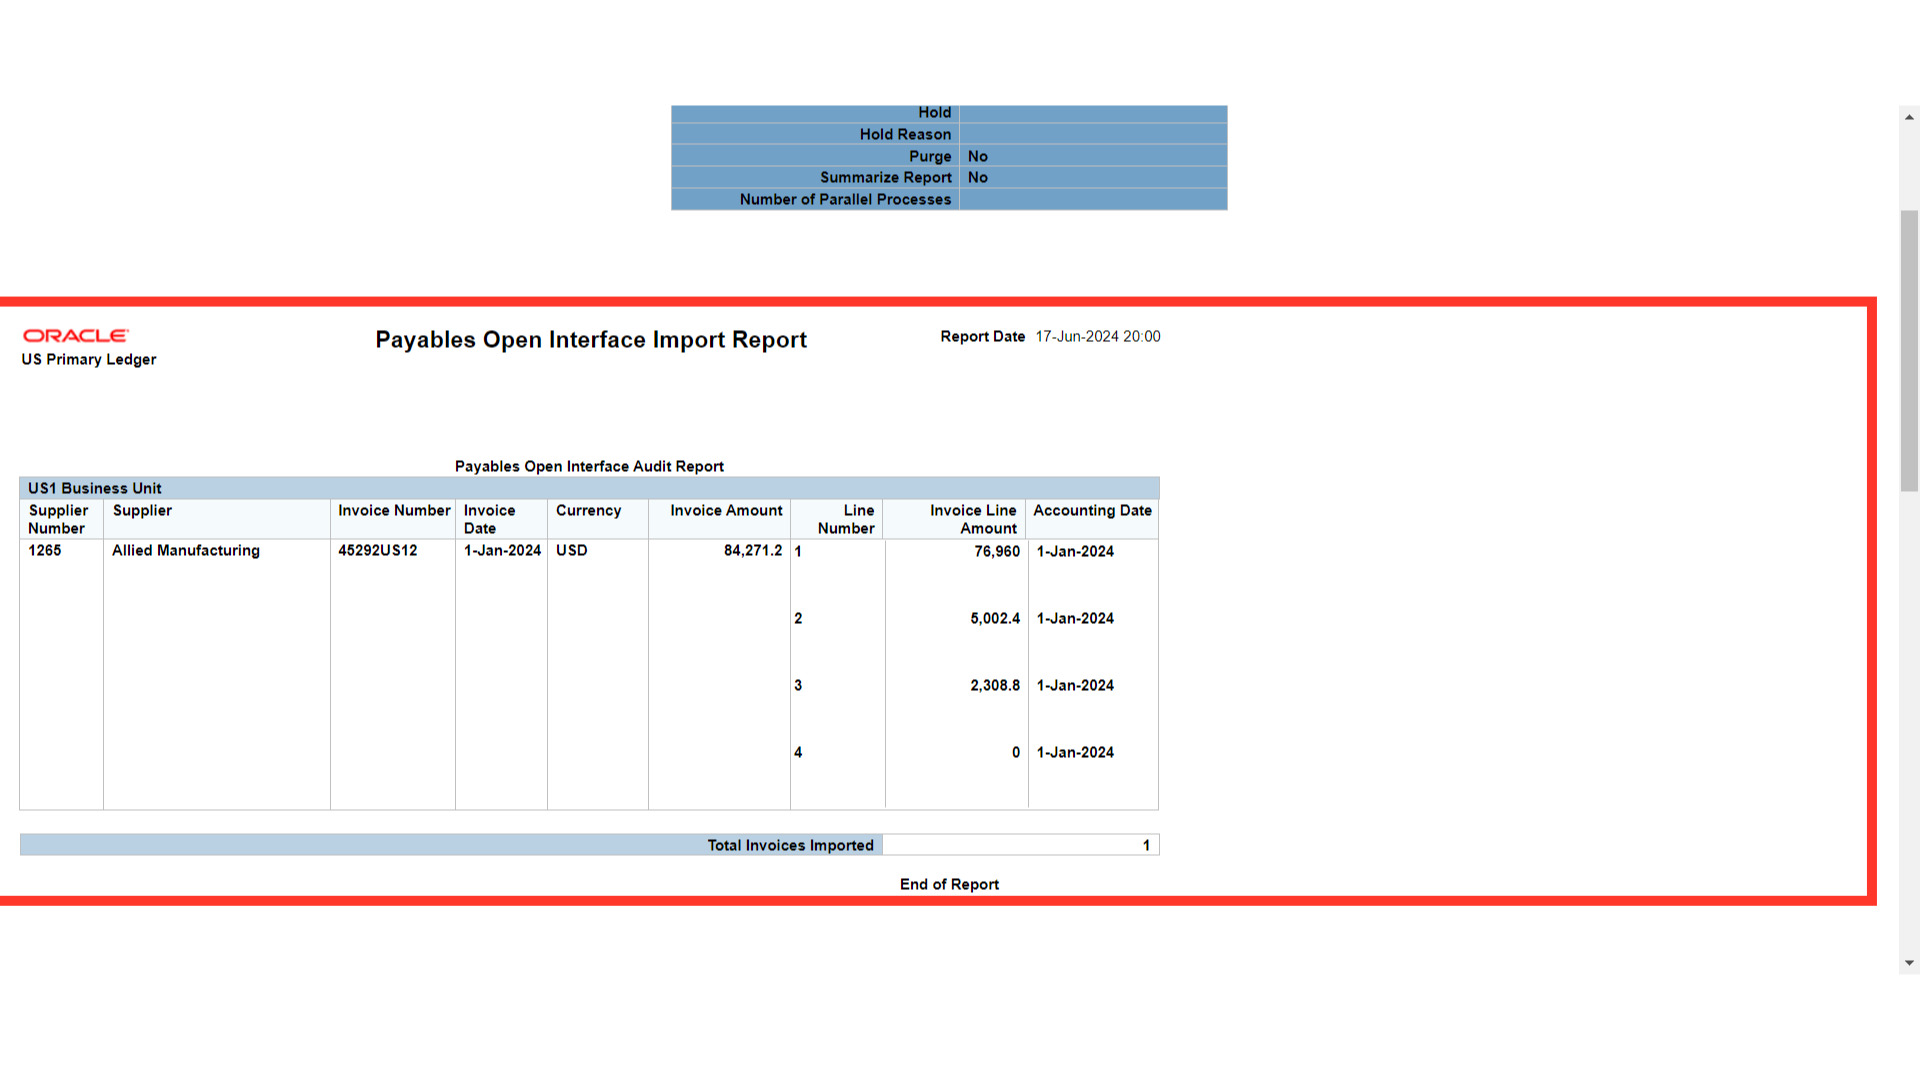
The report contains details of invoice imported successfully in the Payables Open Interface Audit Report table.
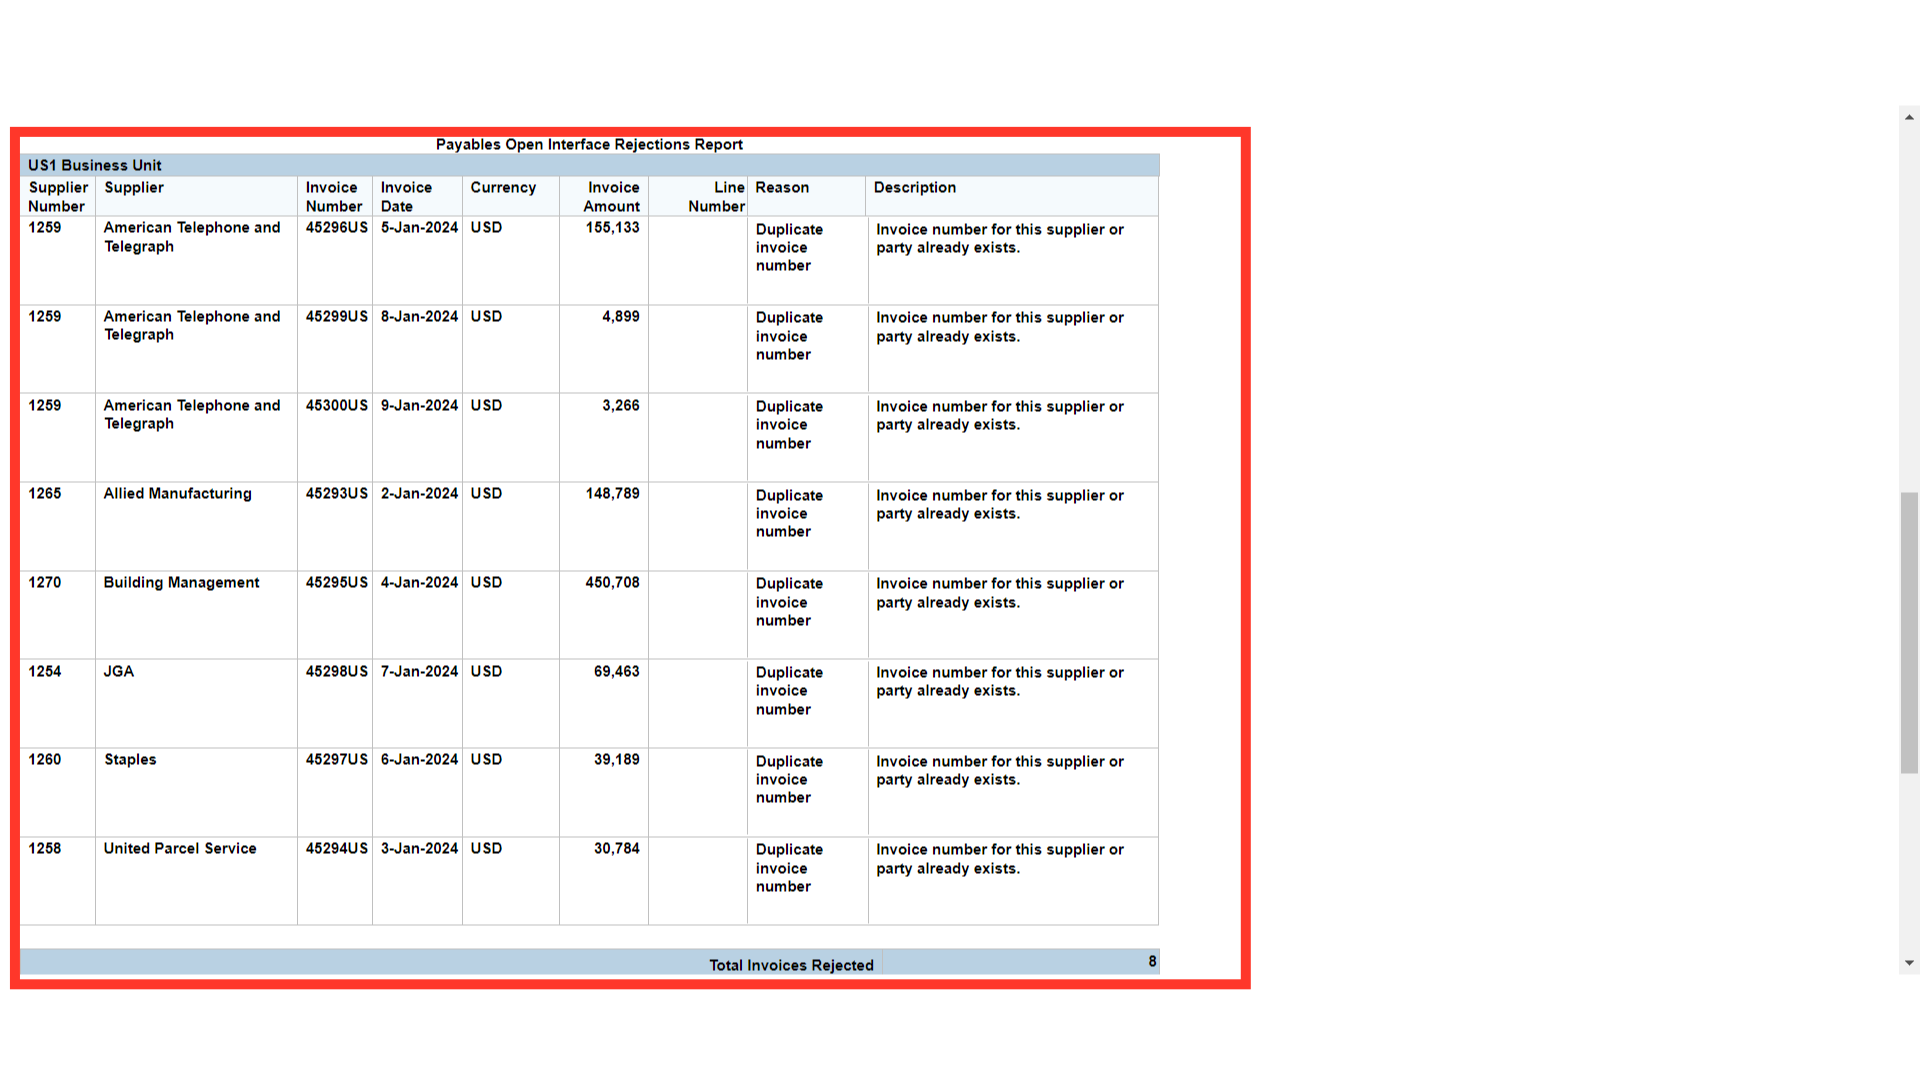
On the other hand, the Payables Open Interface Rejections report displays rejected invoices. You can fix these invoices by re-importing them using the Correct Import errors ADFDI spreadsheet.
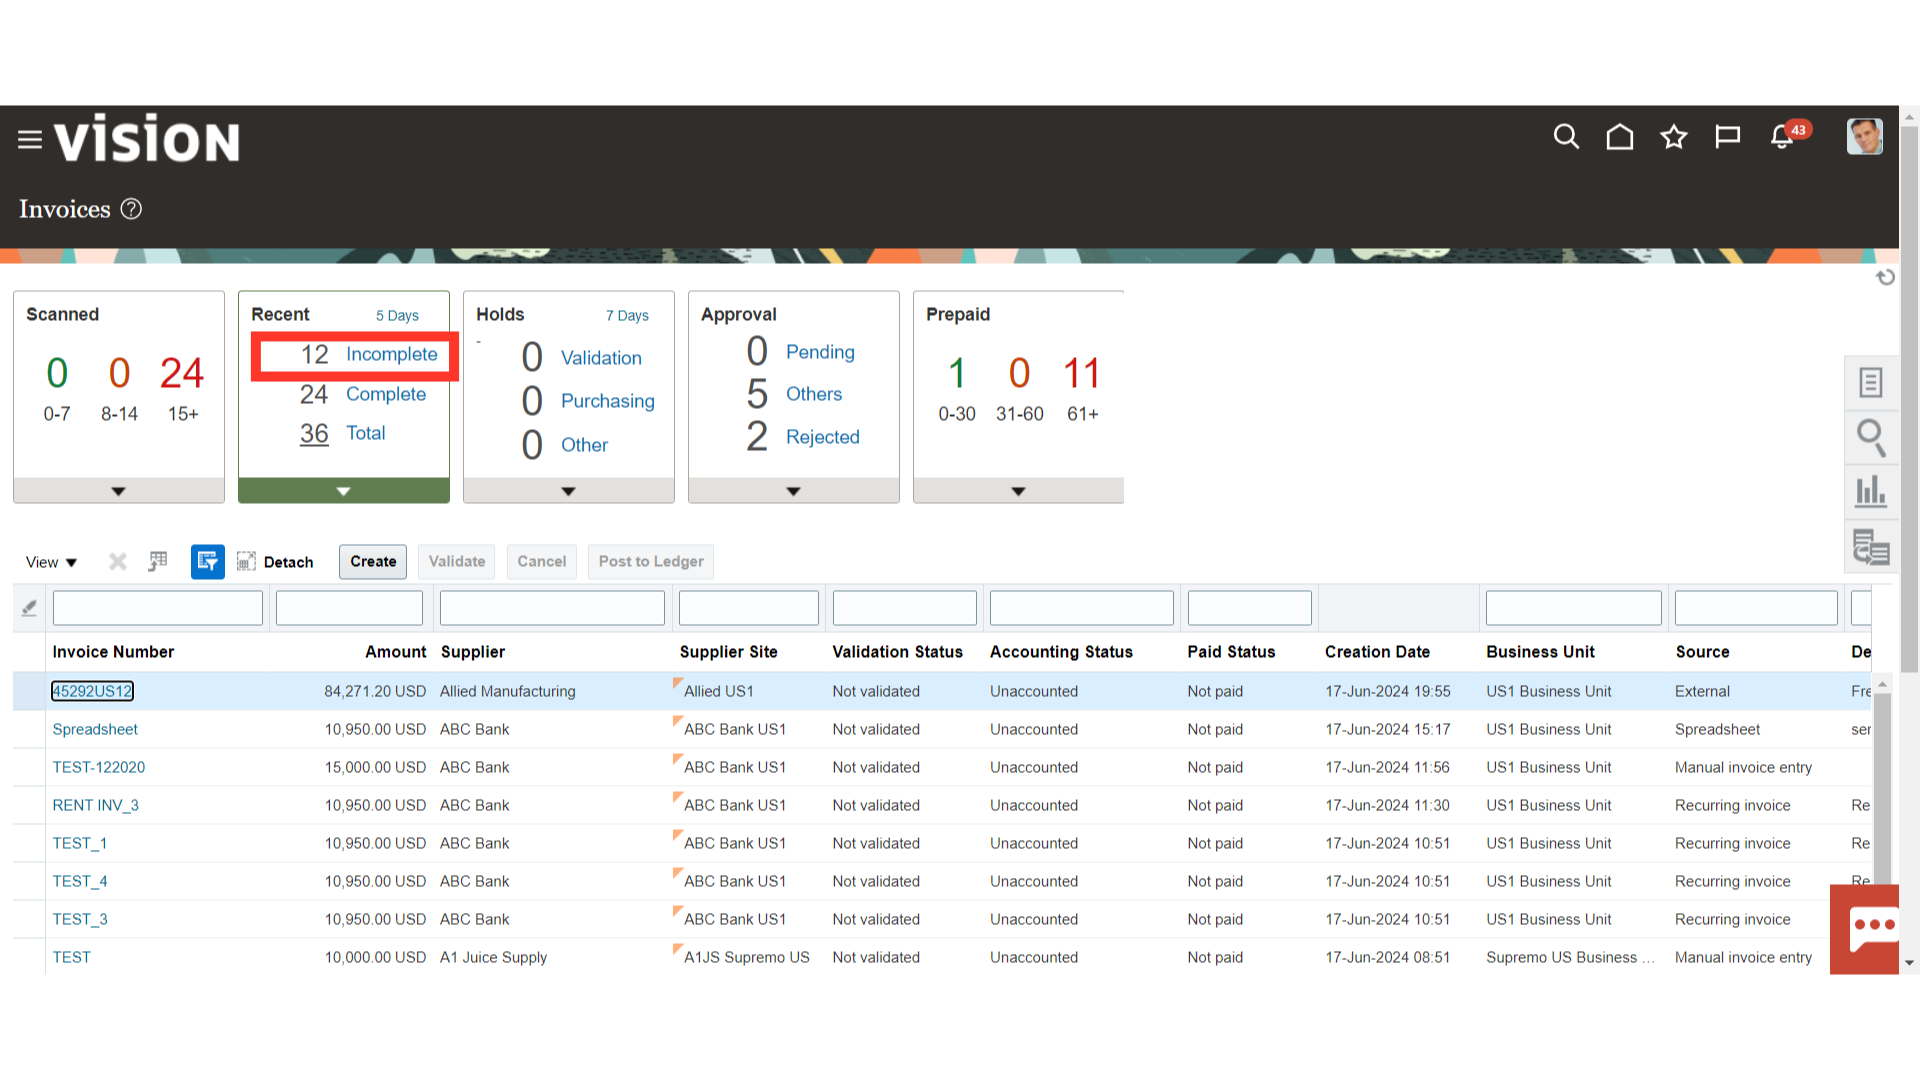
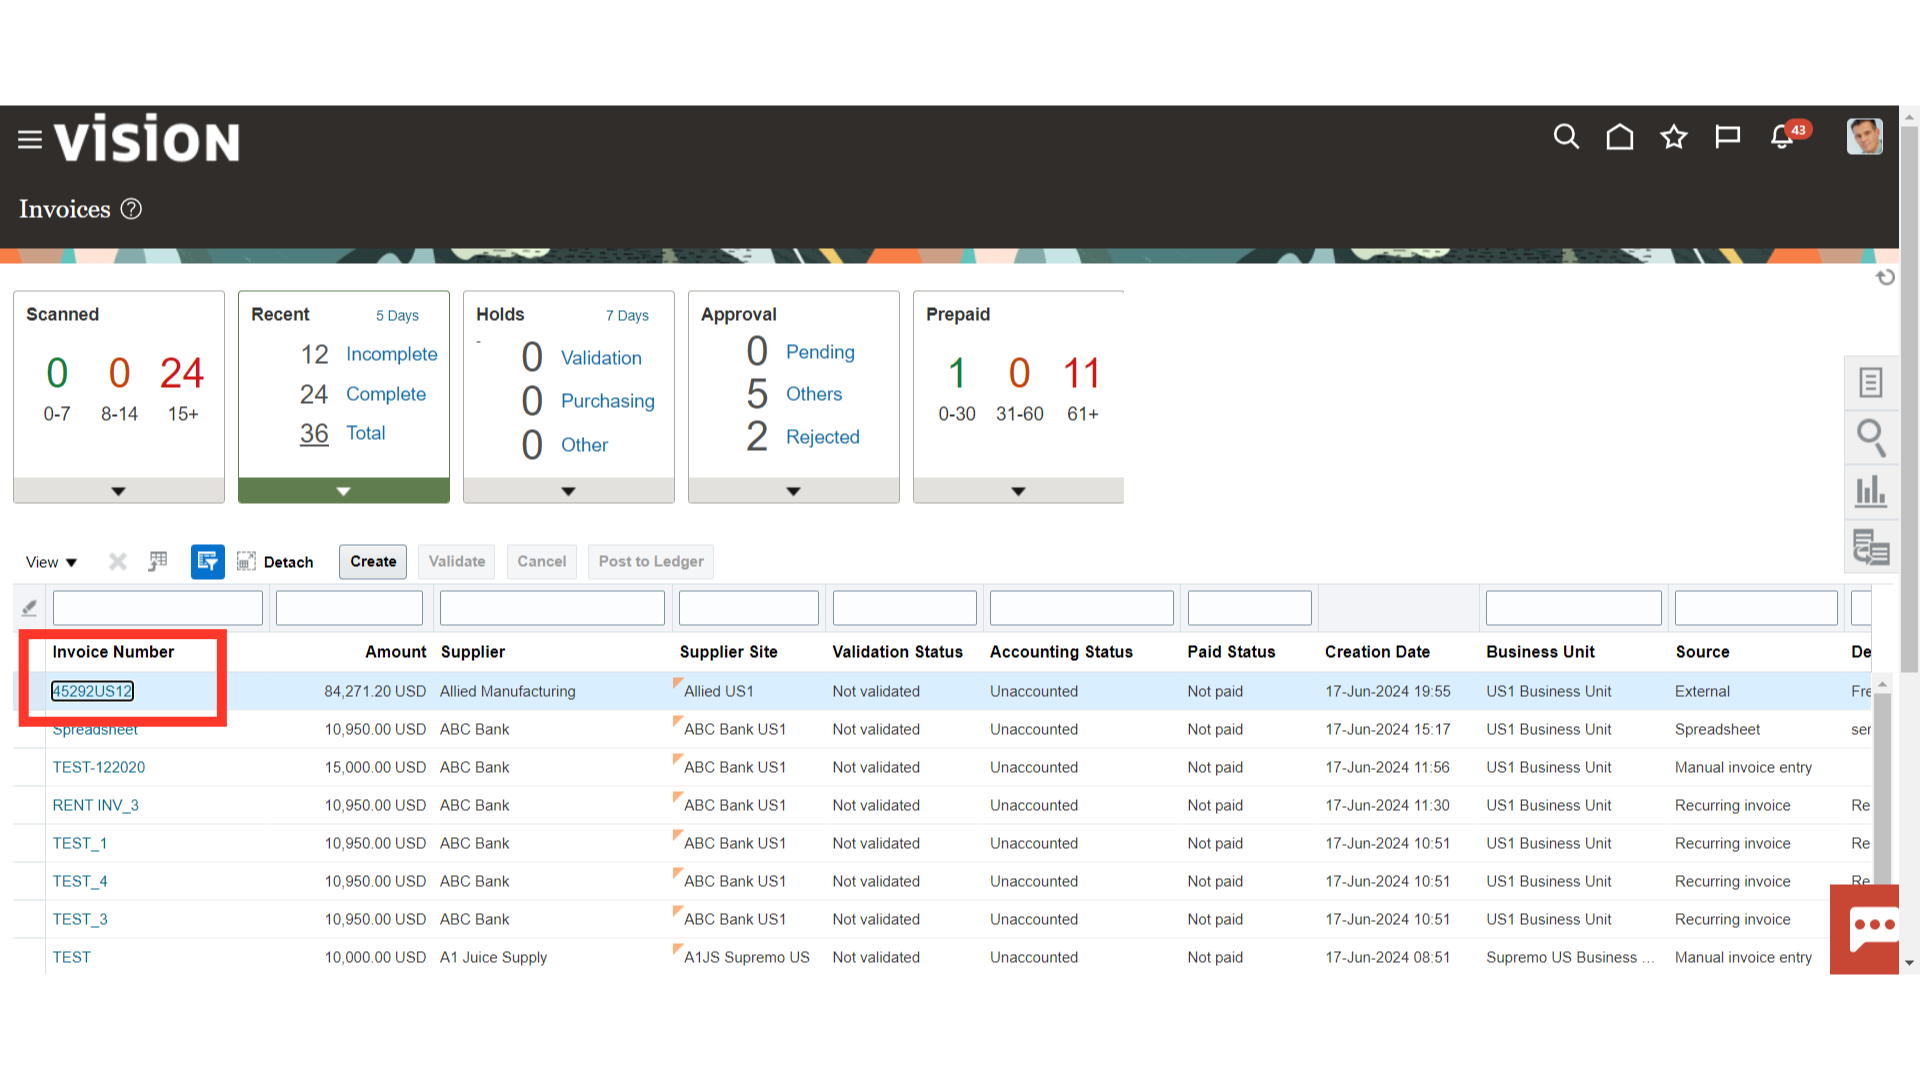
Once verifying the Import payables spreadsheet report navigate to the Invoice workbench to view the created invoices. To do so, select the Incomplete link found under the recent infotile.
To finish the remaining steps, like validating and starting the approval process, click the invoice number to open it.
This guide outlined a step-by-step procedure for fixing invoices that were stuck, beginning with the download of the ADFDI Correct Import Errors spreadsheet, fixing the invoices, reimporting them, and then verifying the reimported invoices.
Thank you for reviewing and using our guide; we hope you have found it helpful. If you have any questions on the content included in this guide, please contact our Training & Learning team at learn@camptratech.com