Invoice Management
This guide will walk you through the process of managing invoices in Oracle Fusion cloud. The Manage Invoices page is the central location and starting point for maintaining the supplier invoices. Use the search and sort features to streamline the search results. After you enter search criteria, access the roster area, where you can view invoice details, edit the invoice, submit invoices, or cancel invoices.
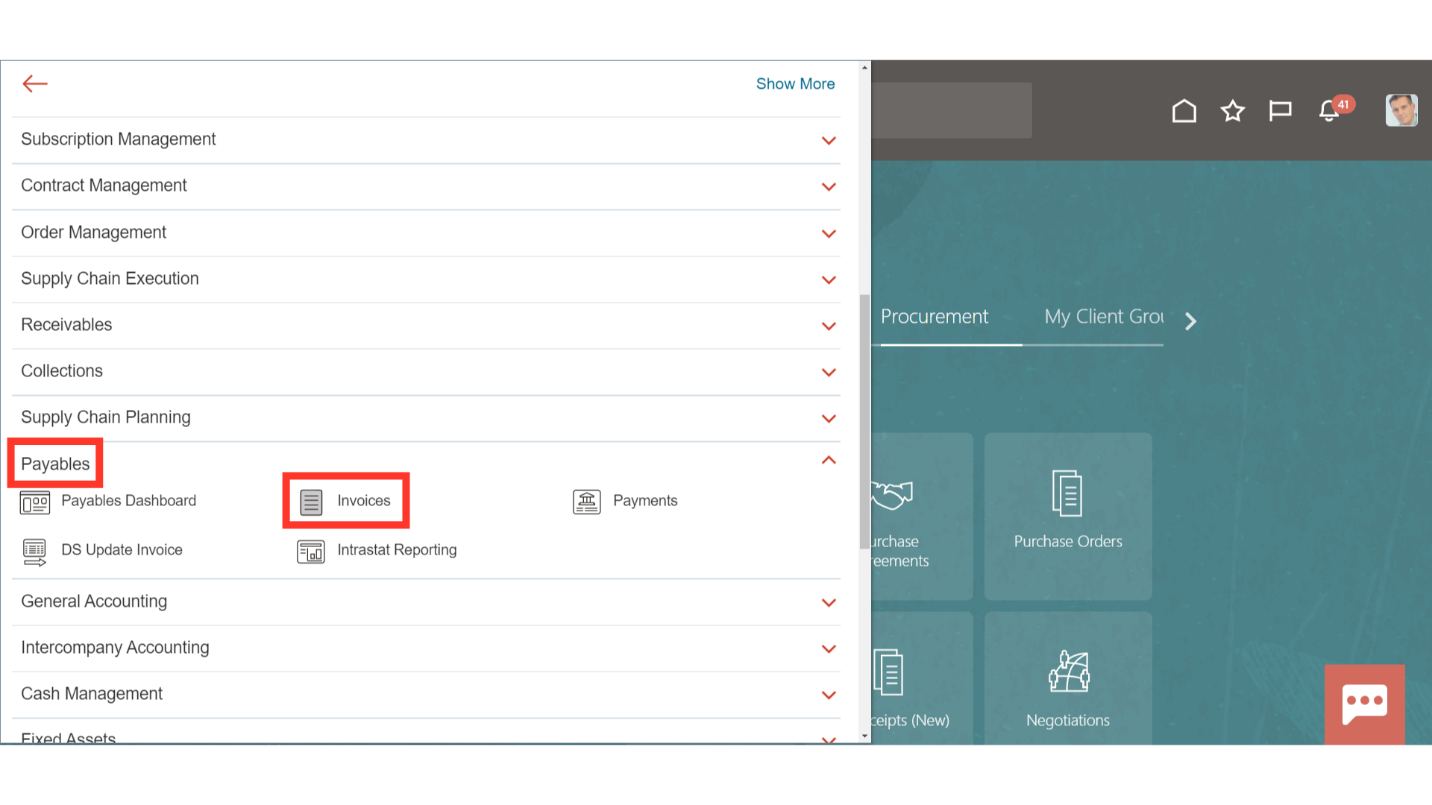
Click on the Navigator icon to access the Payables menu.

Access the Invoice work area by selecting Invoices option under Payables from the navigator. Alternatively, on the Home page, you can select the Payables menu and under that select the Invoices submenu.
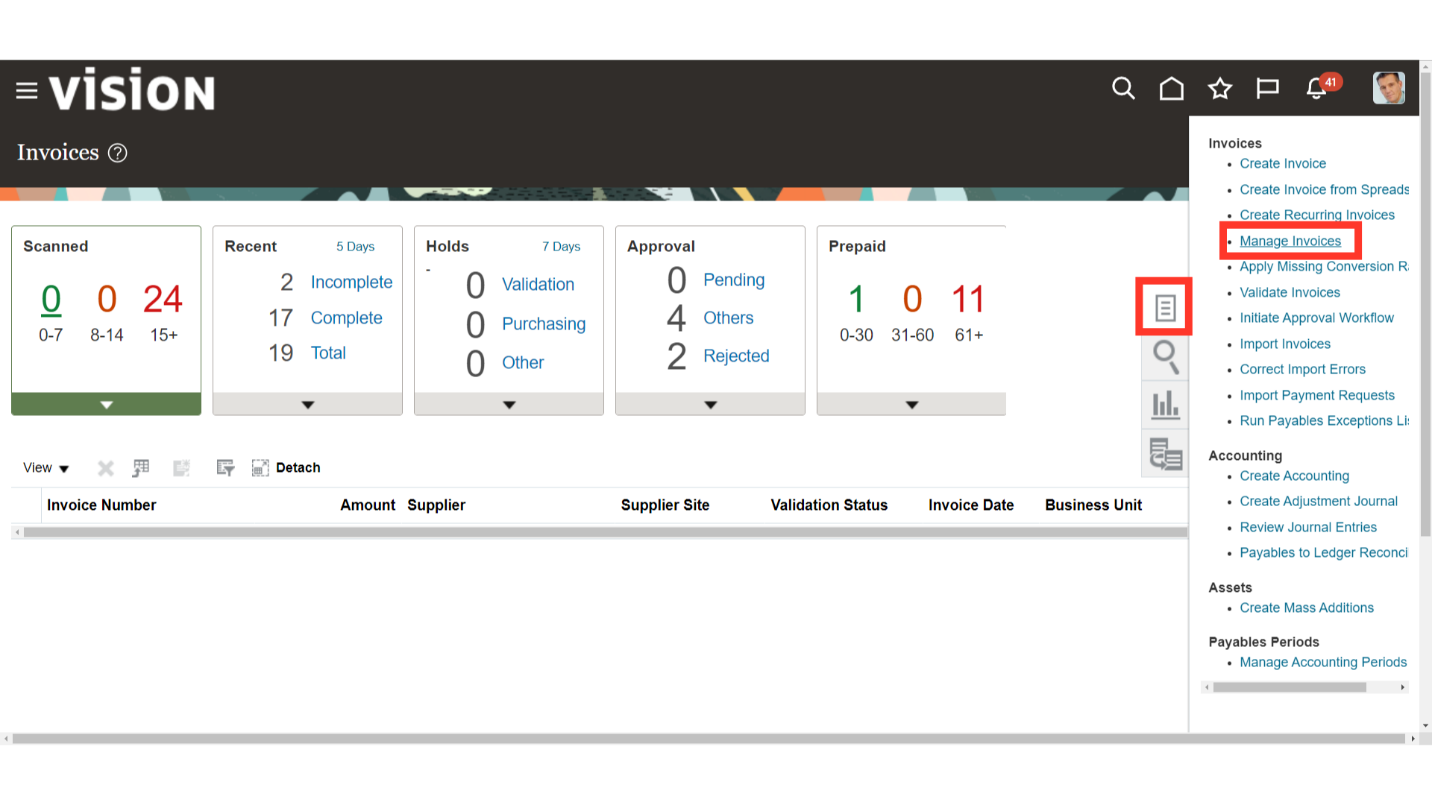
This is the Invoices Landing Page. To search for the invoices already created, click on the Tasks icon and select the Manage Invoices option from the list.
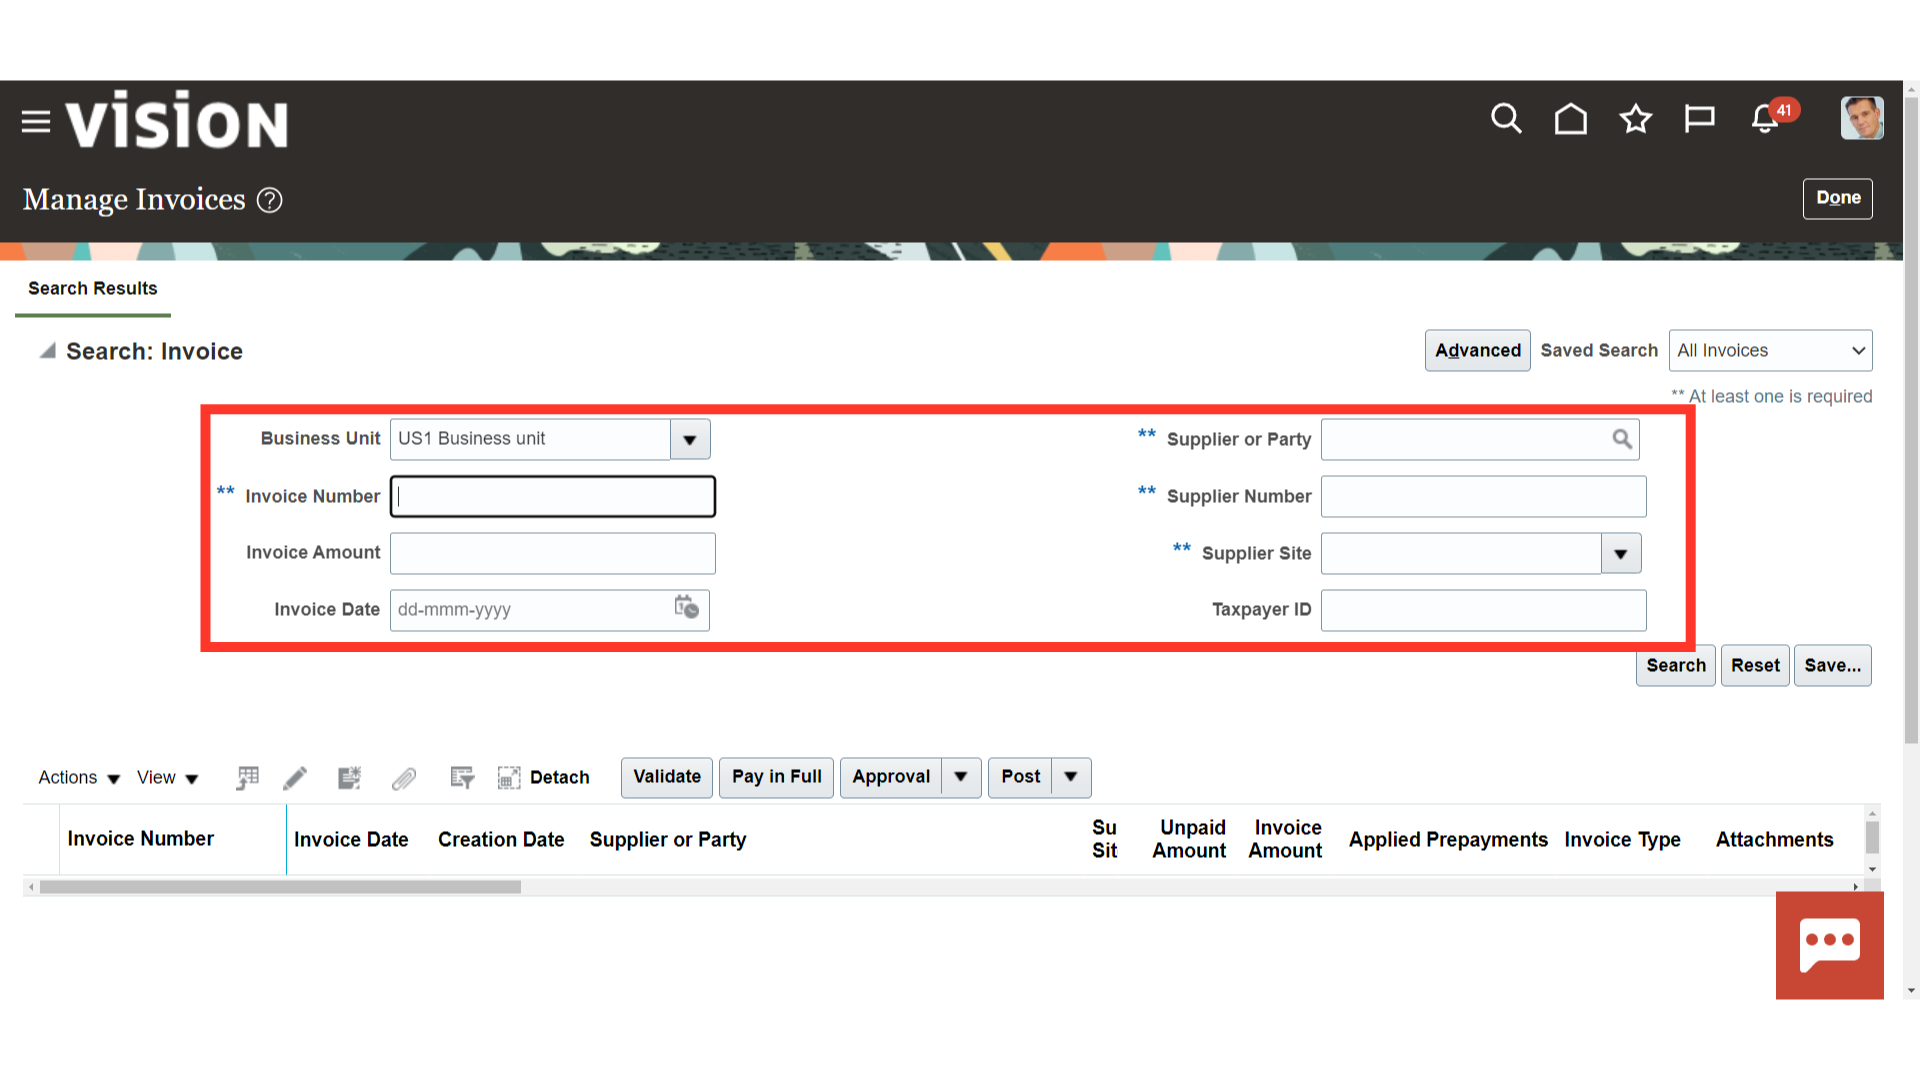
Enter various search criteria to narrow down the search for the required invoice. If a field has a double asterisk (**) mark against it, then it means it is mandatory to enter at least one of the said fields before searching. The fields which do not have any asterisk mark are non-mandatory and can be used to further filter on the search criteria.
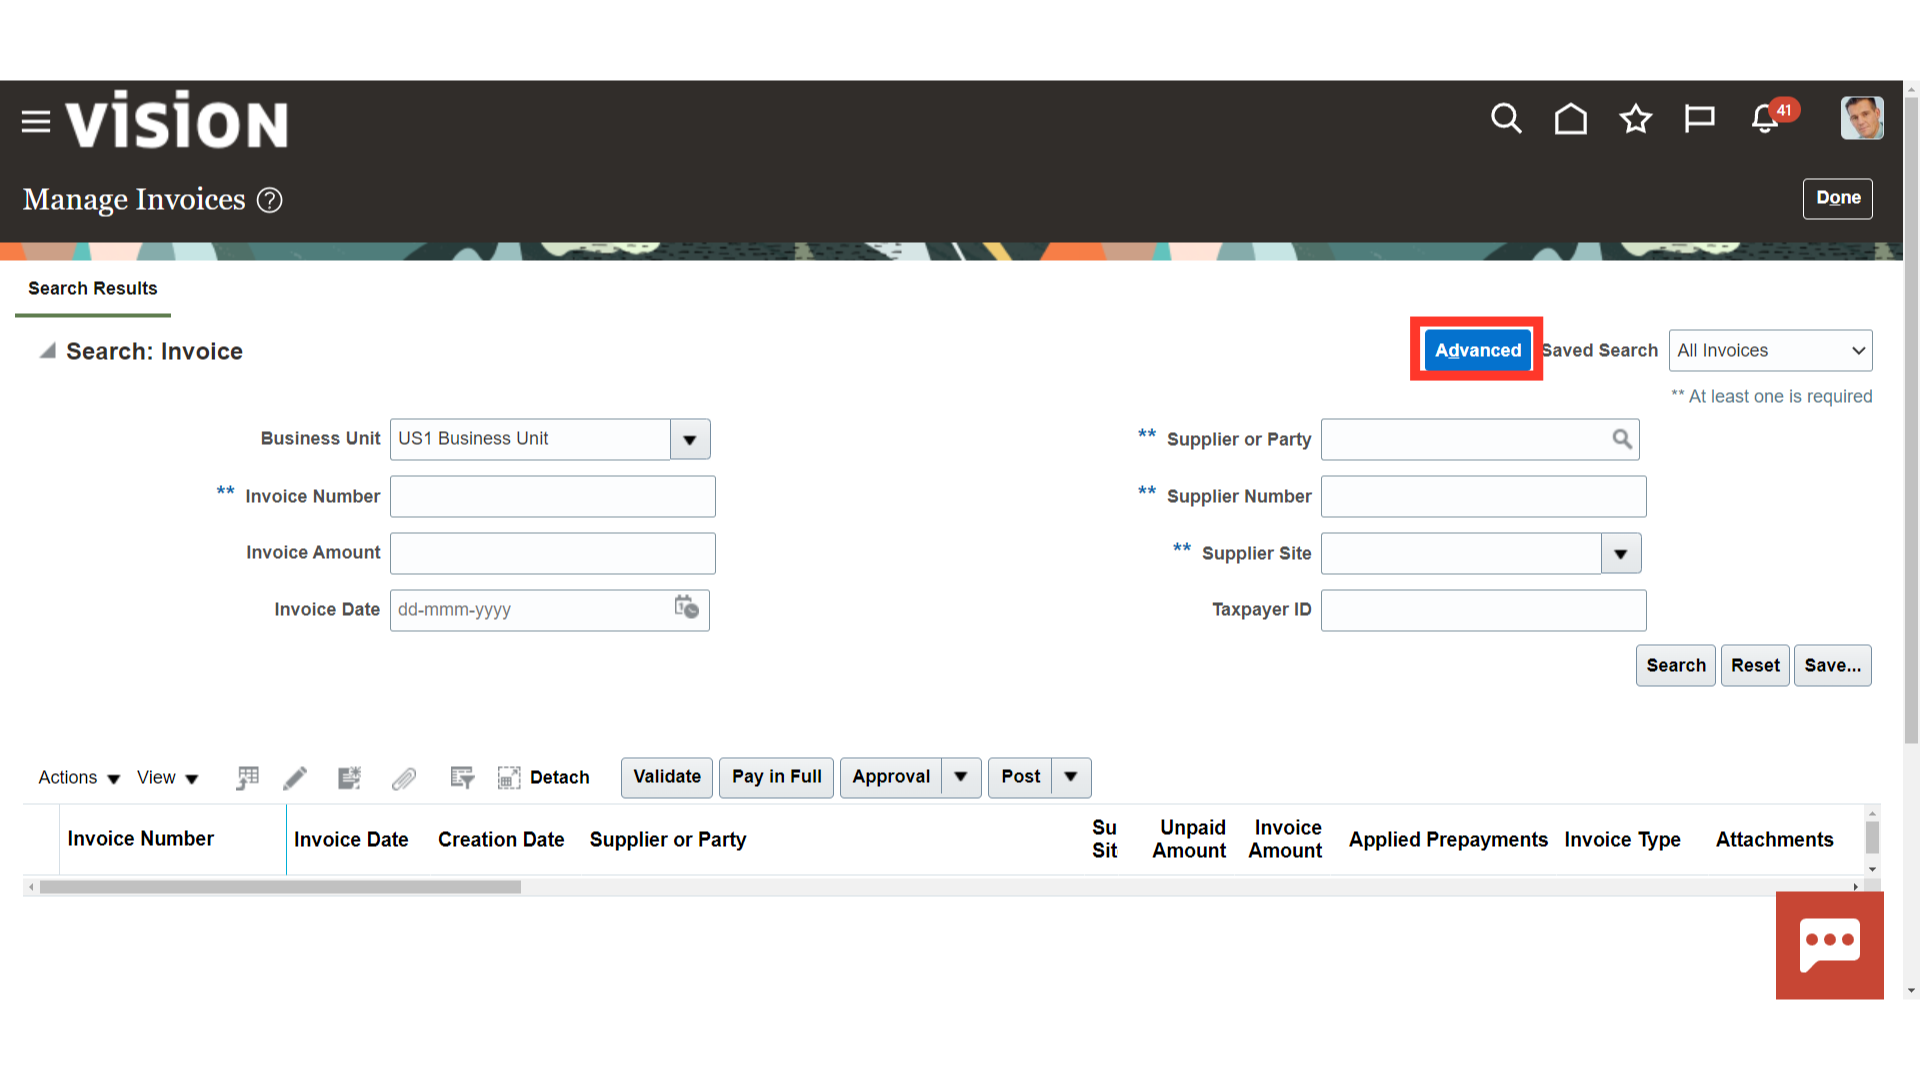
If the required search criteria is not available, you can add the parameters by clicking on Advanced button.
Once done, Add Fields button will be activated. Select the field required from the list and the field will be added in the Search section.
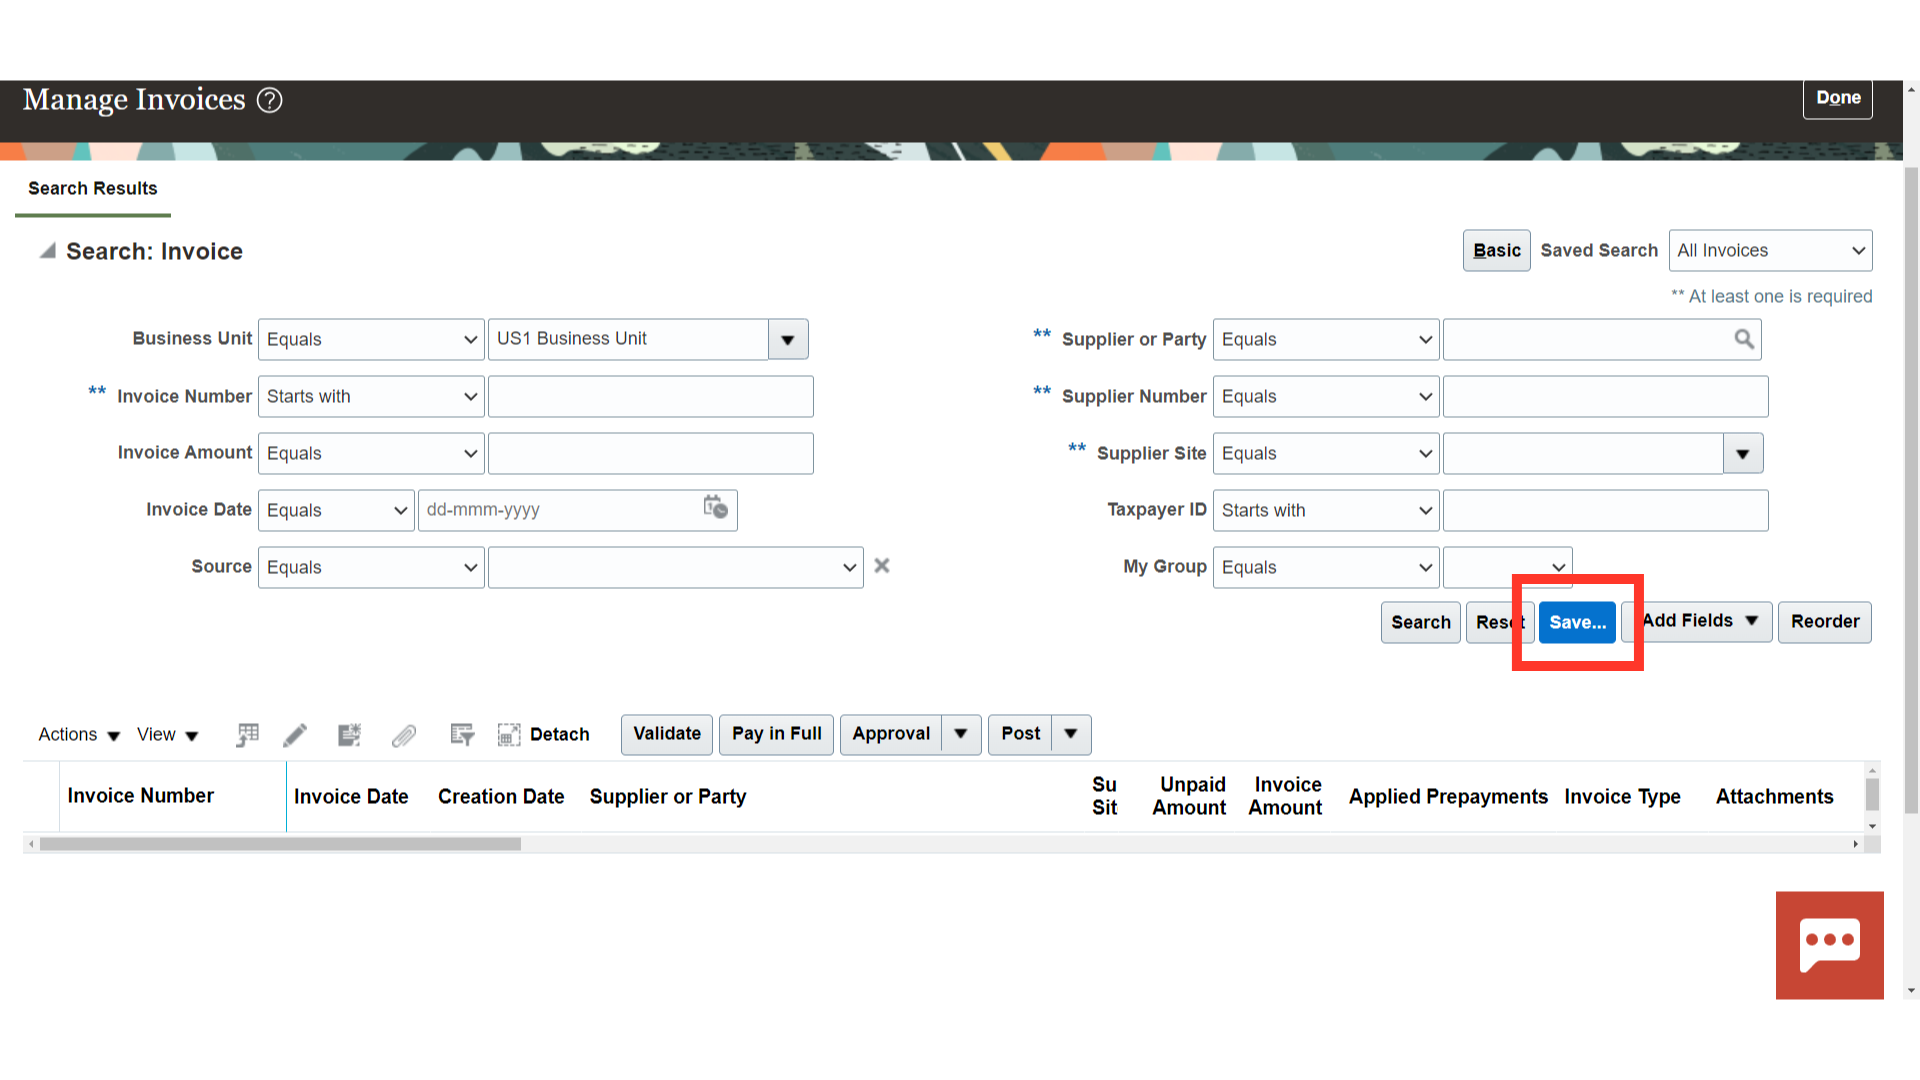
If the search parameters entered are required frequently then Oracle provides the option to save the parameters and the values selected for future use. After all the parameter details are entered, click on the Save button.
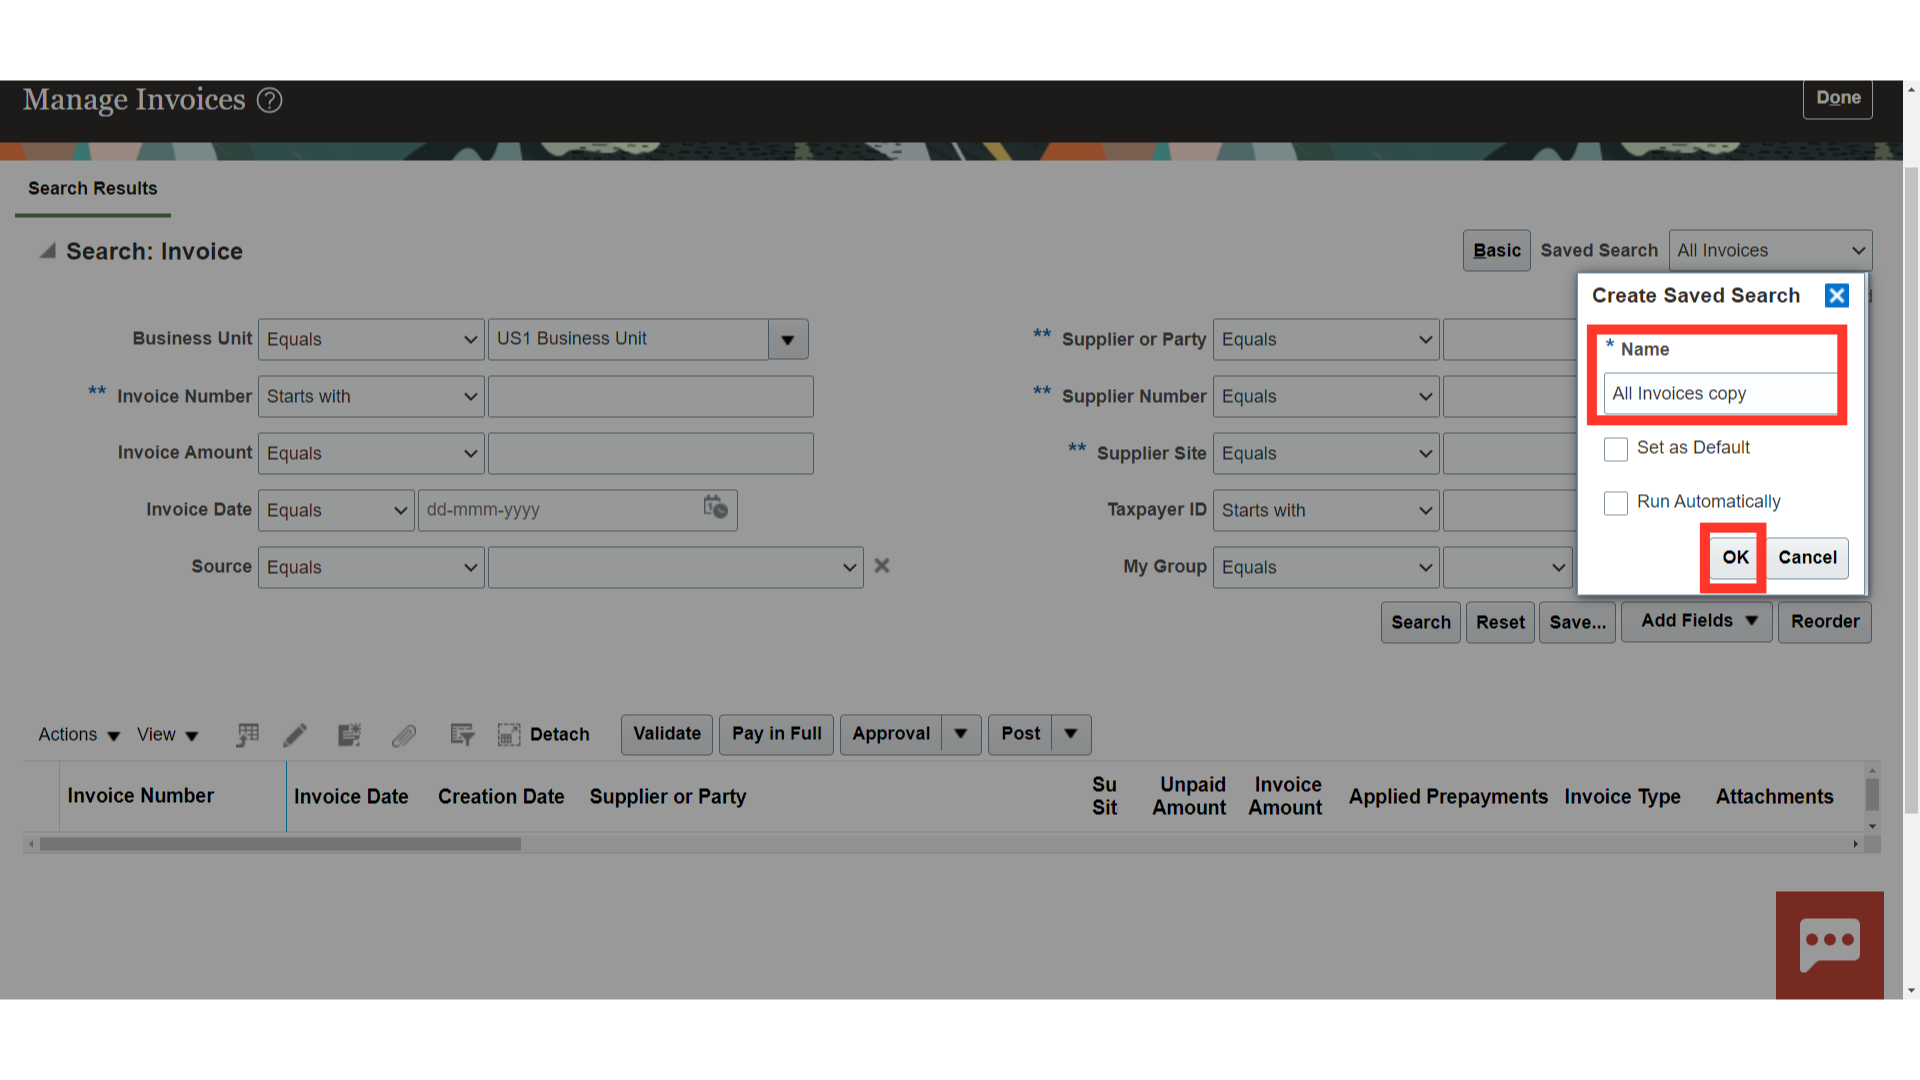
Enter the name of the Search Criteria and click on OK. There are other options also available. If Set as Default is selected, whenever the Manage Invoice page is opened, the parameters will be already populated. You only need to click on Search. If Run Automatically is selected then clicking on the Search button will also not be required and every time the Saved Search is selected system will automatically start the search using the defined parameters.
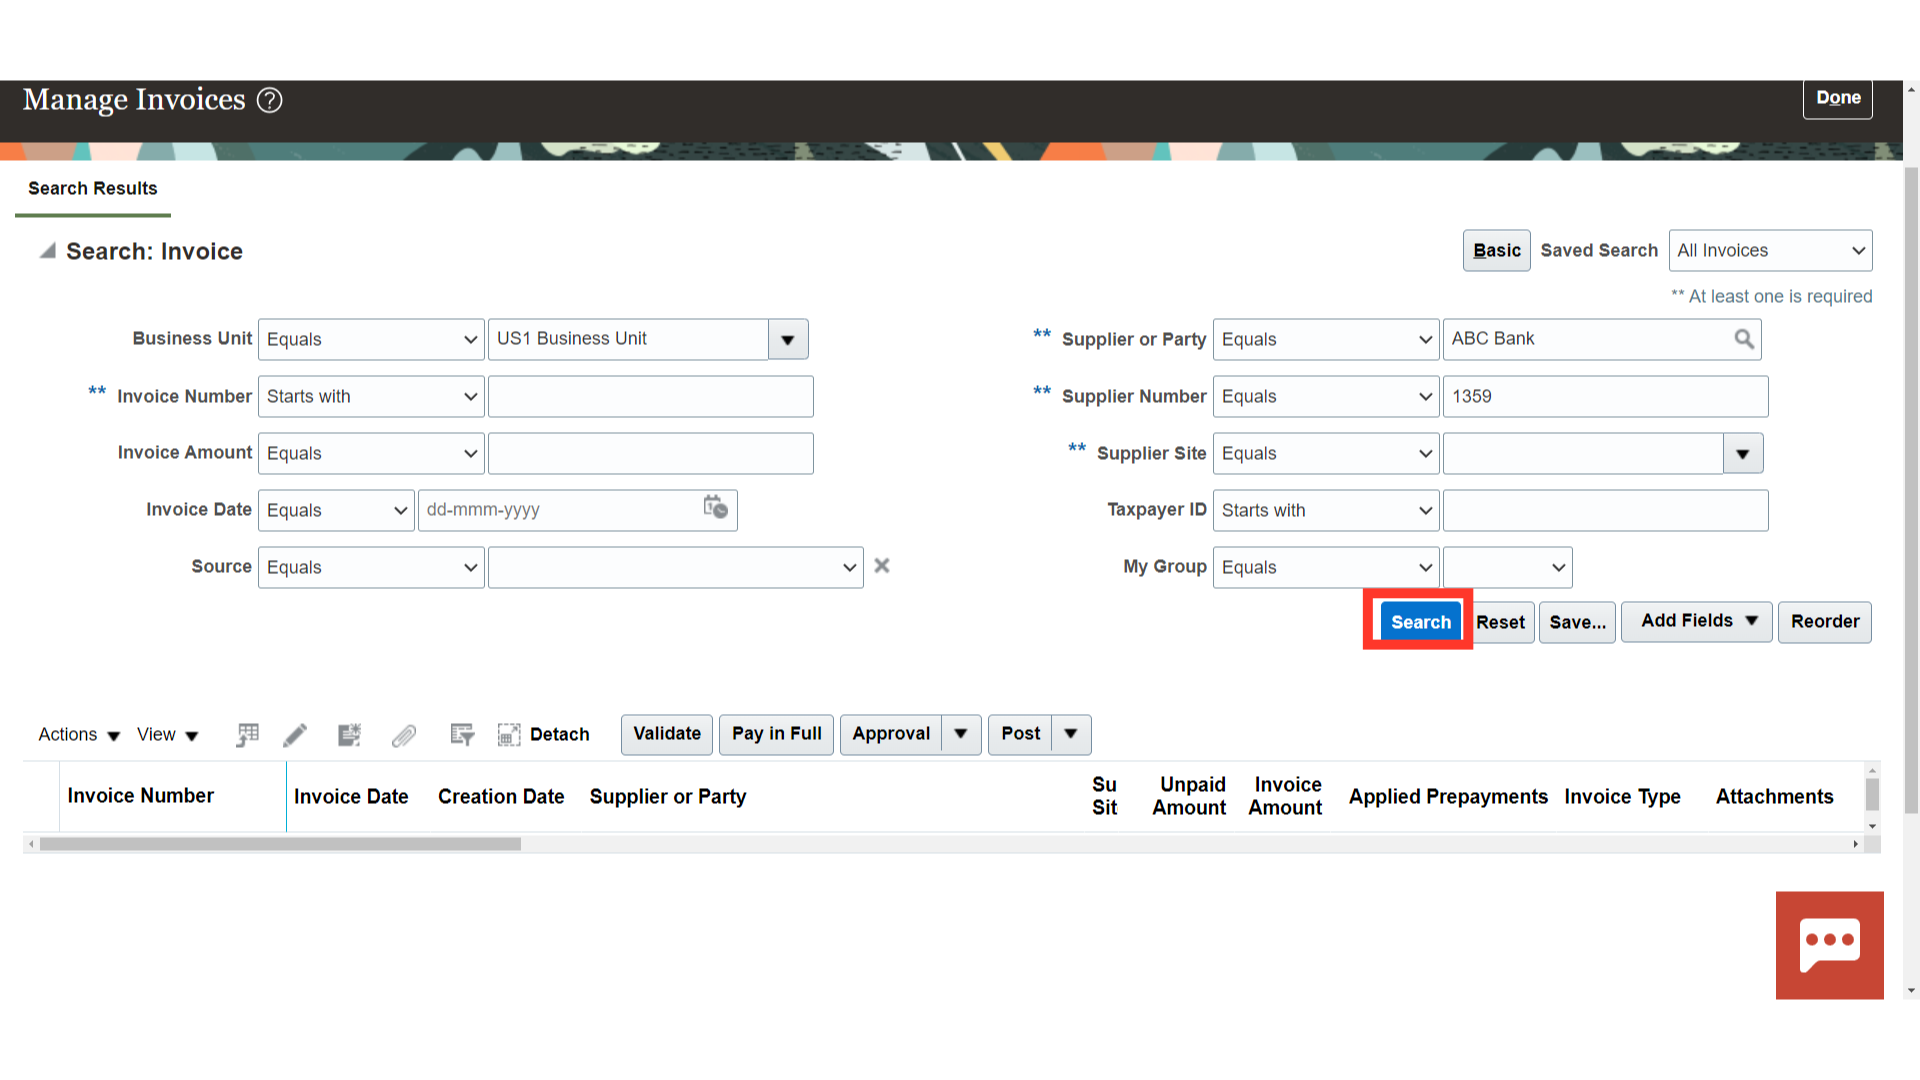
To search, once all the required parameters are entered, click on the Search button.
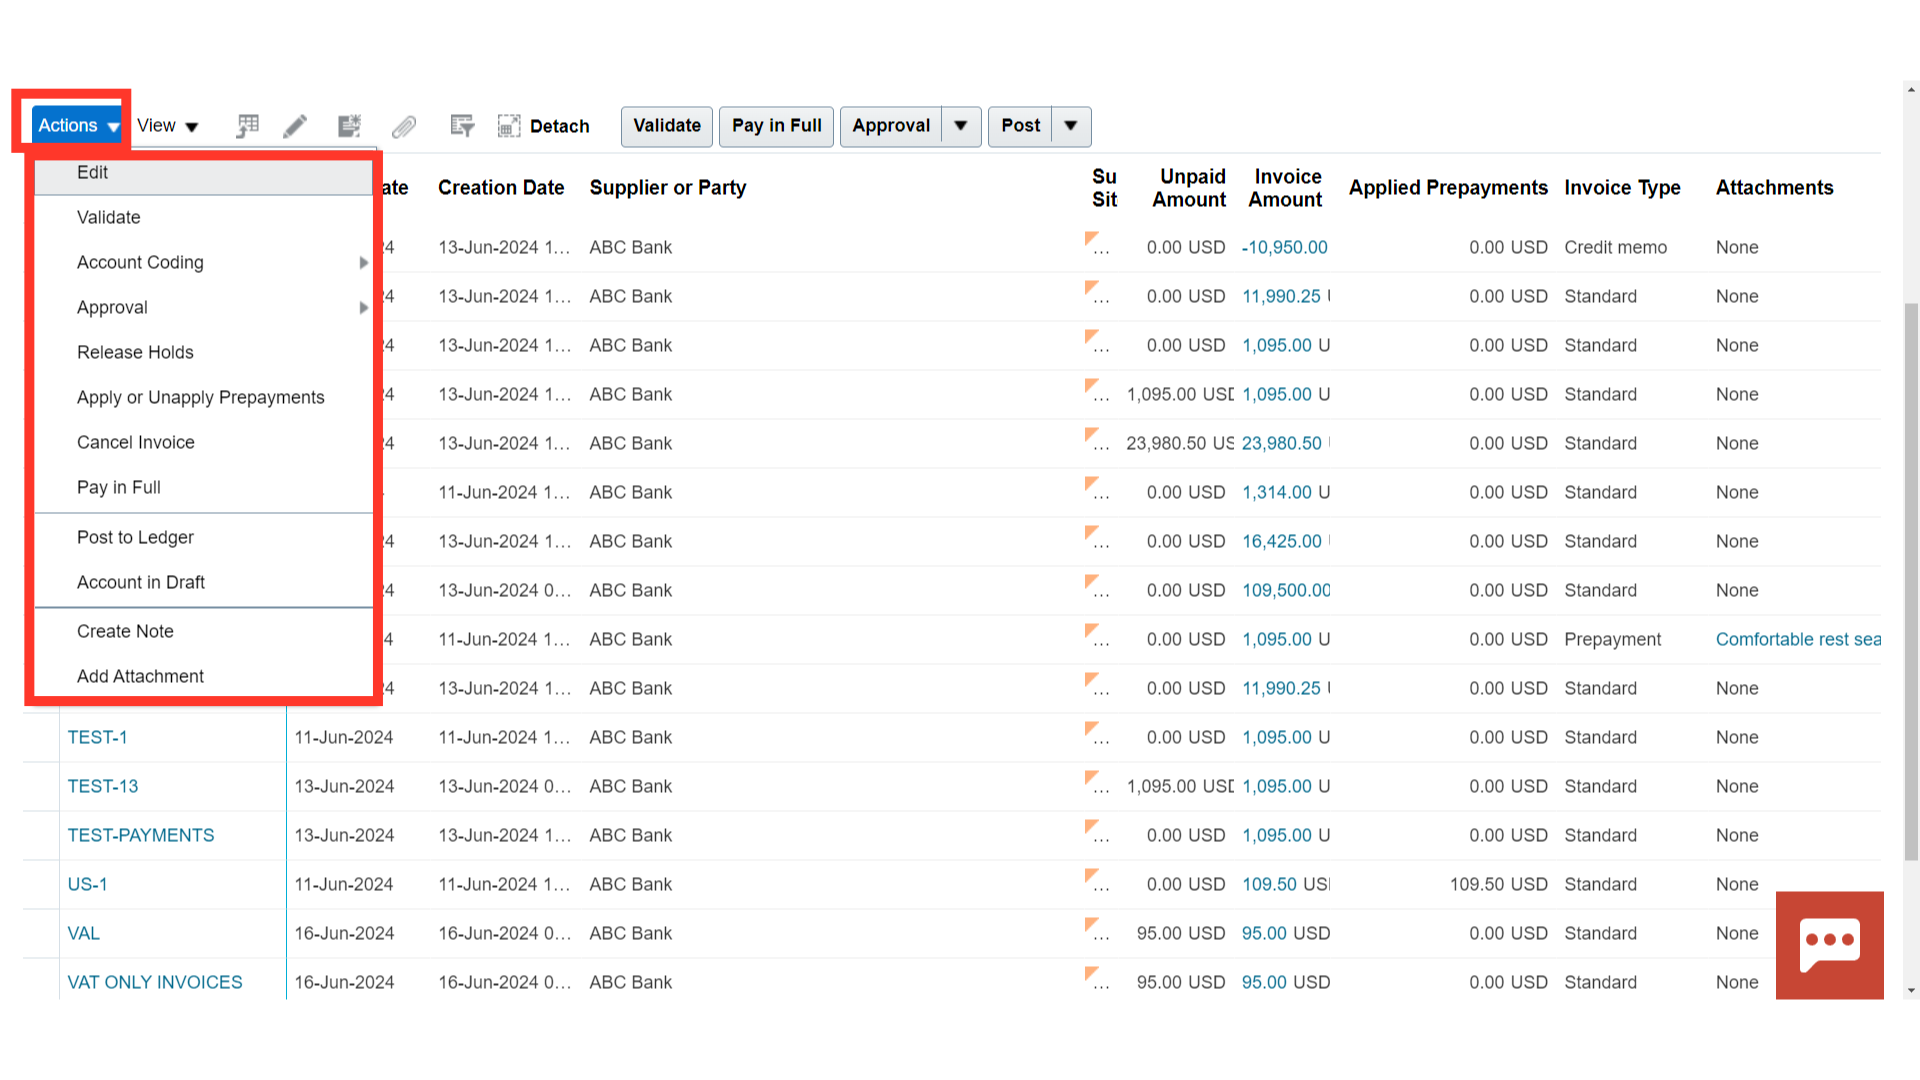
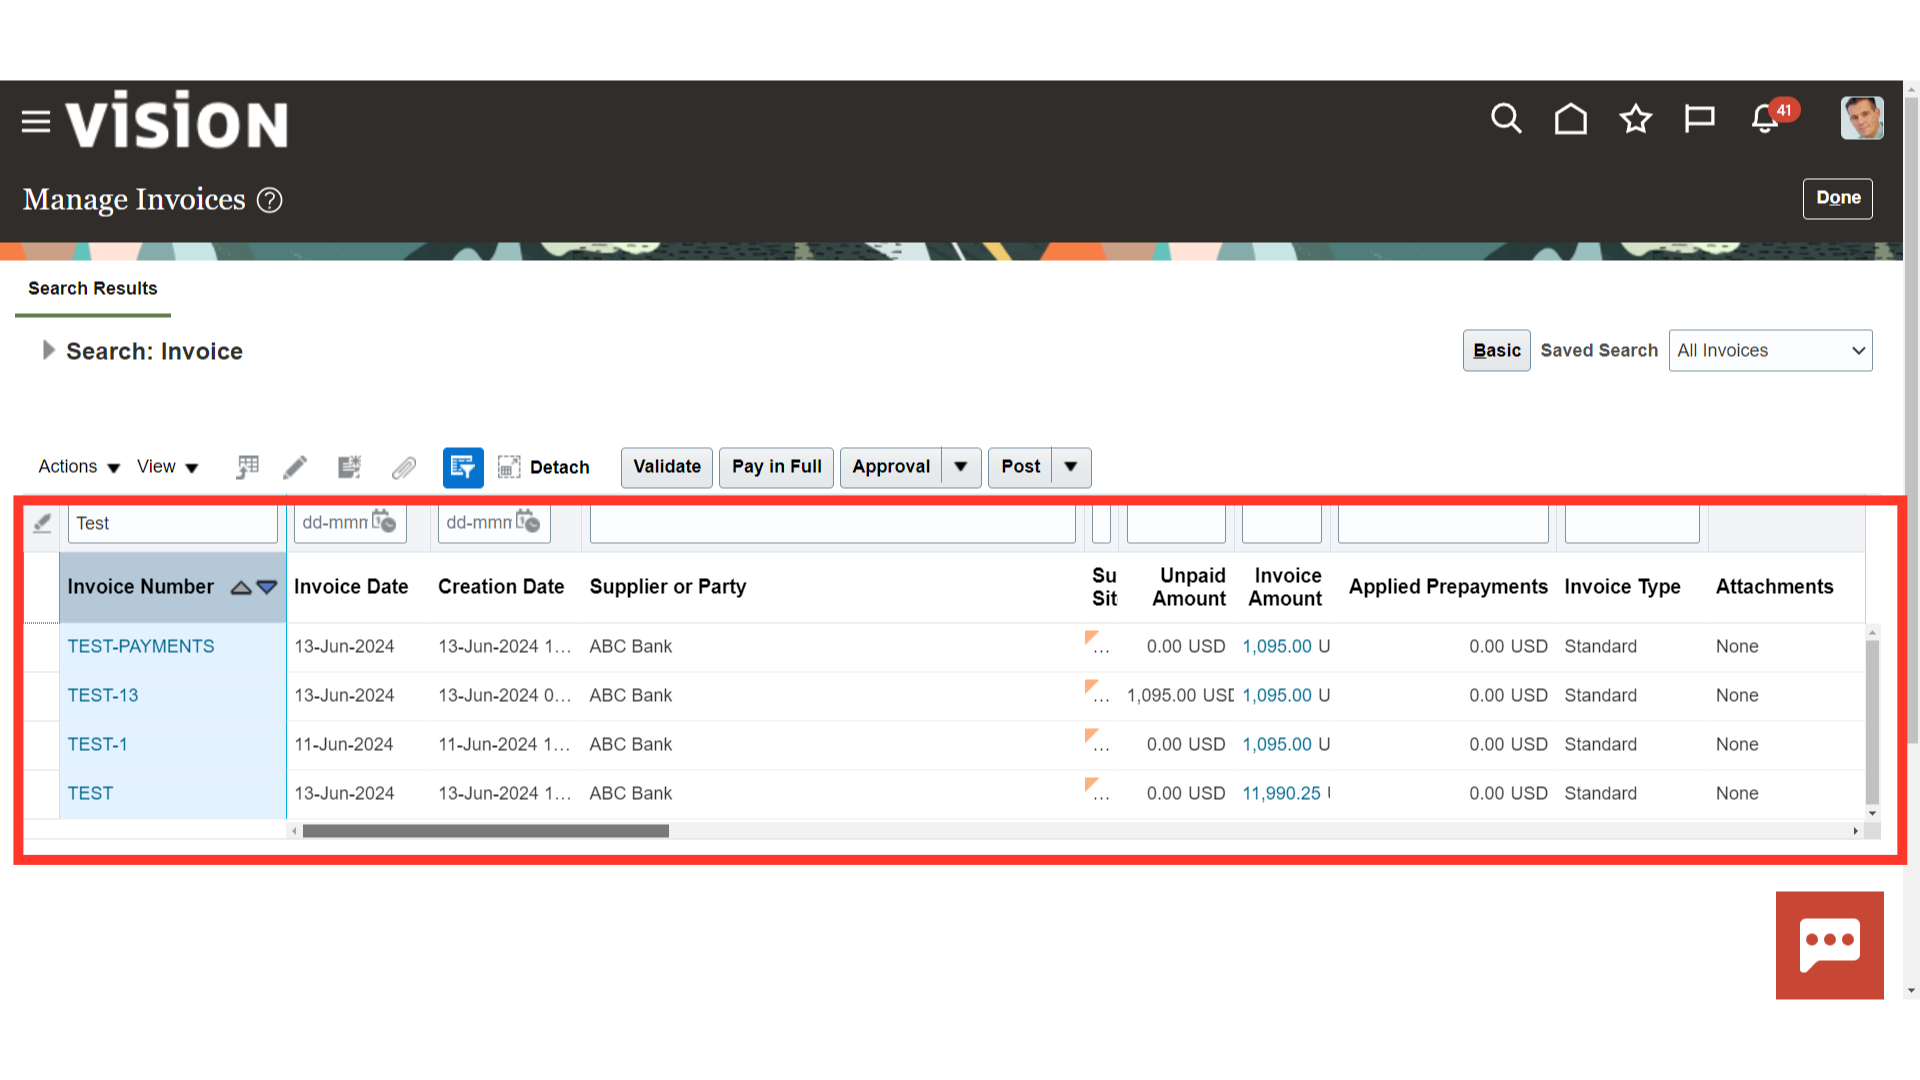
All the invoices as applicable will appear. Select the invoice row for which any action is to be performed.
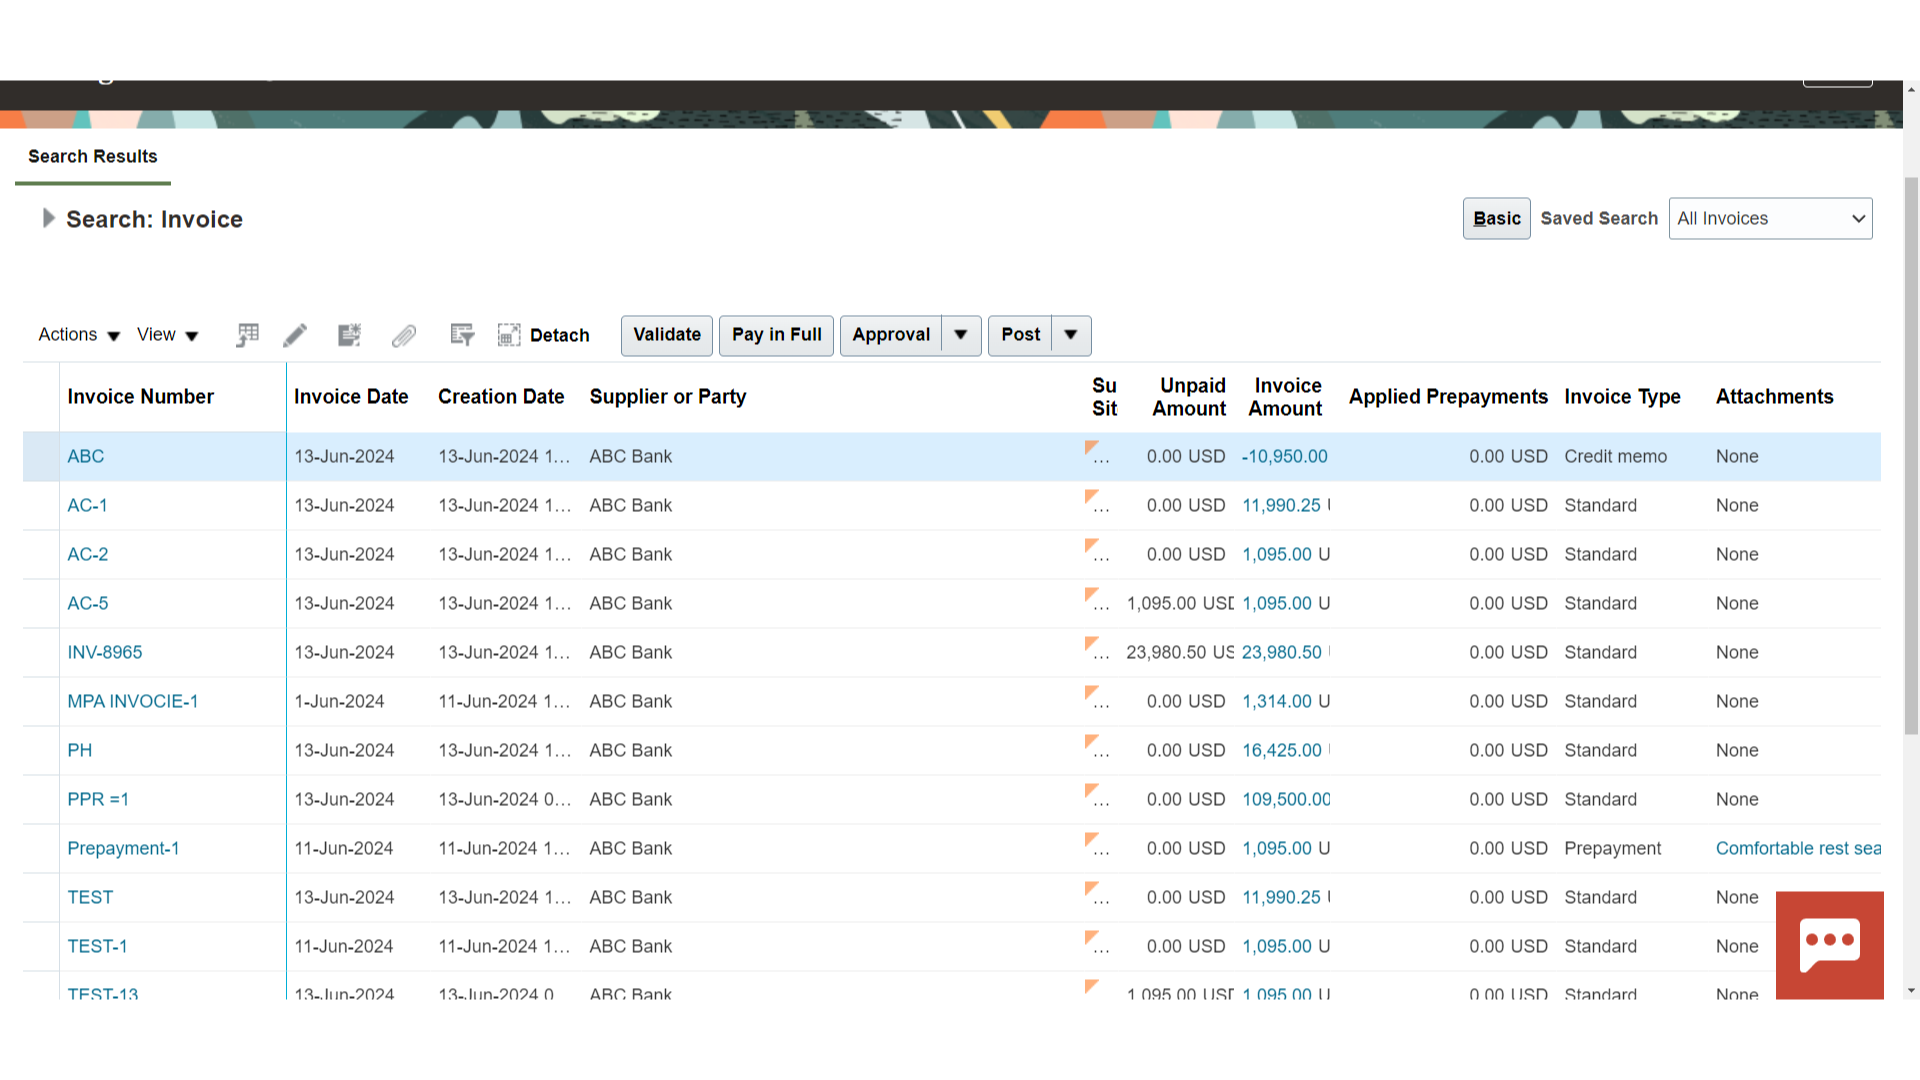
Select the Actions button. The list of actions that can be taken on the invoice selected will be there. Select the relevant action required to be performed.
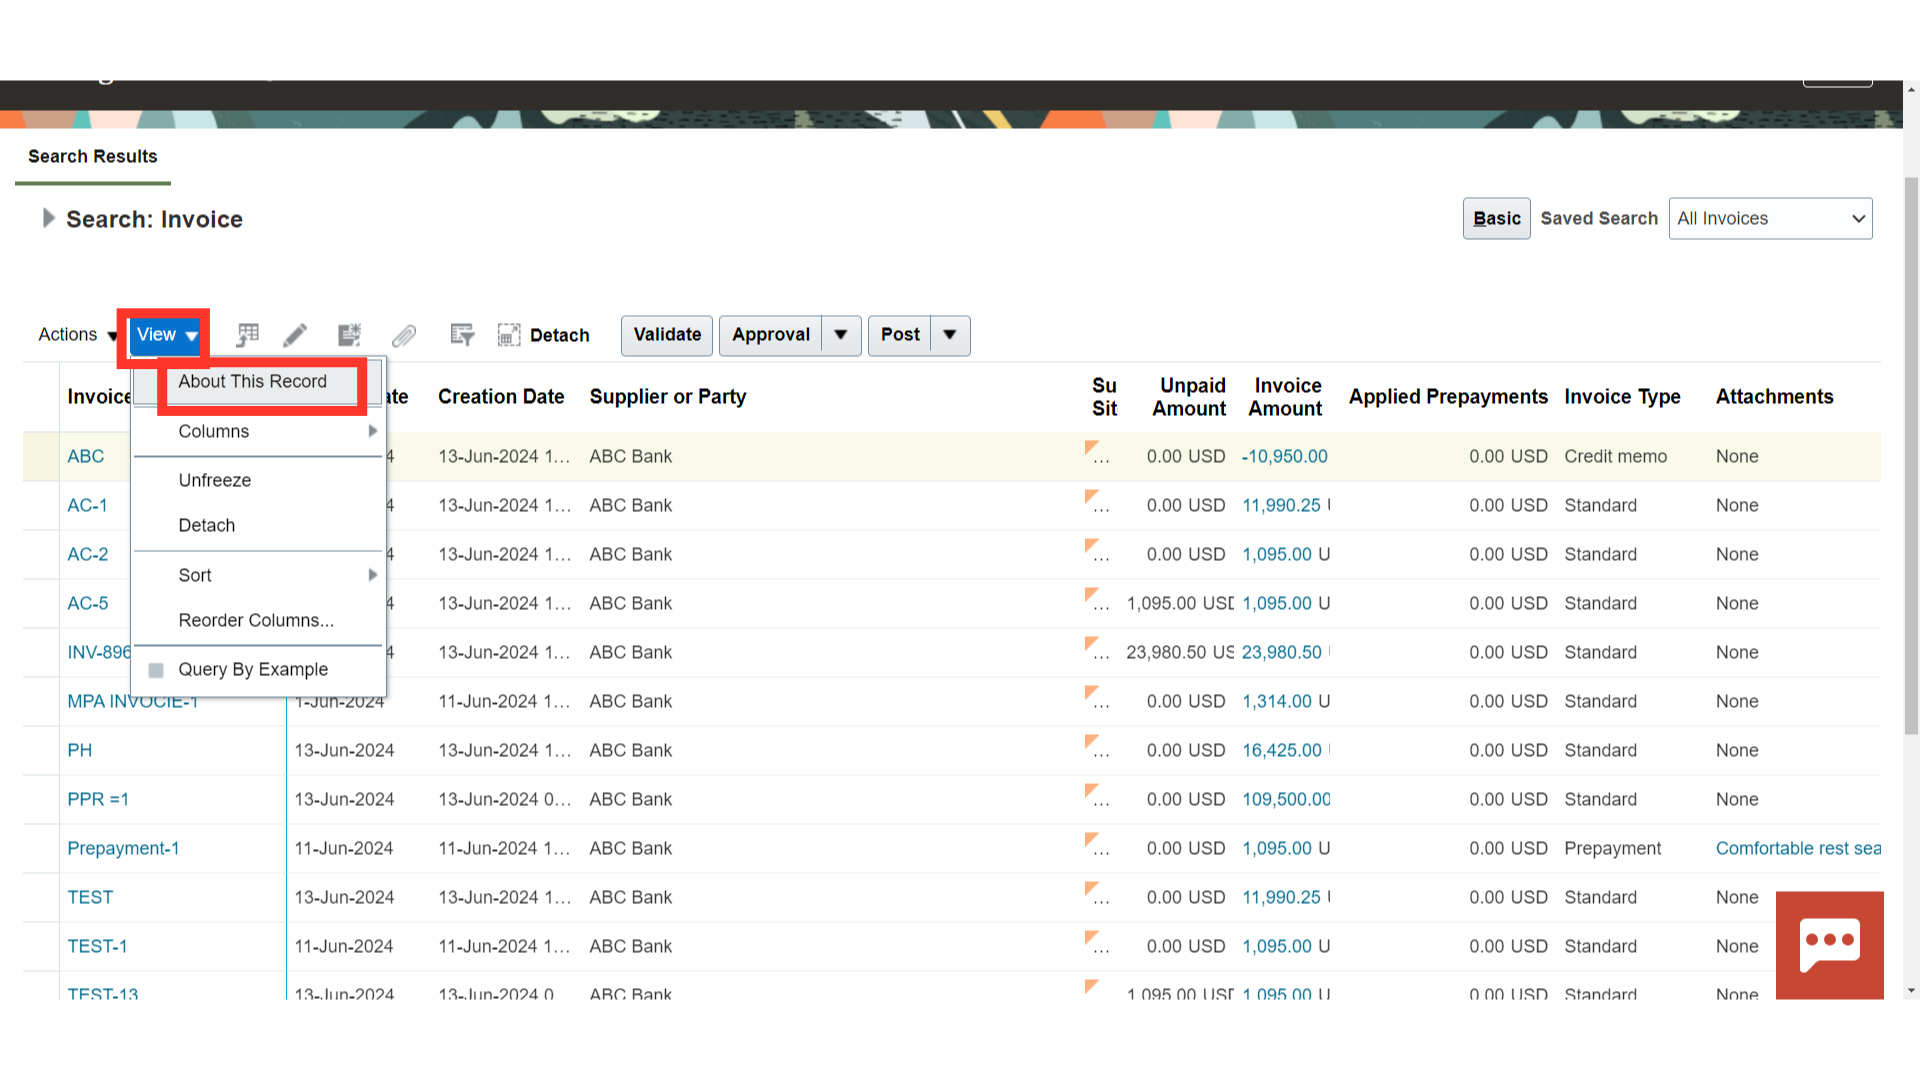
To view the creation and updation details of the invoice selected Click on View and select the ‘About This Record’ option from the list.
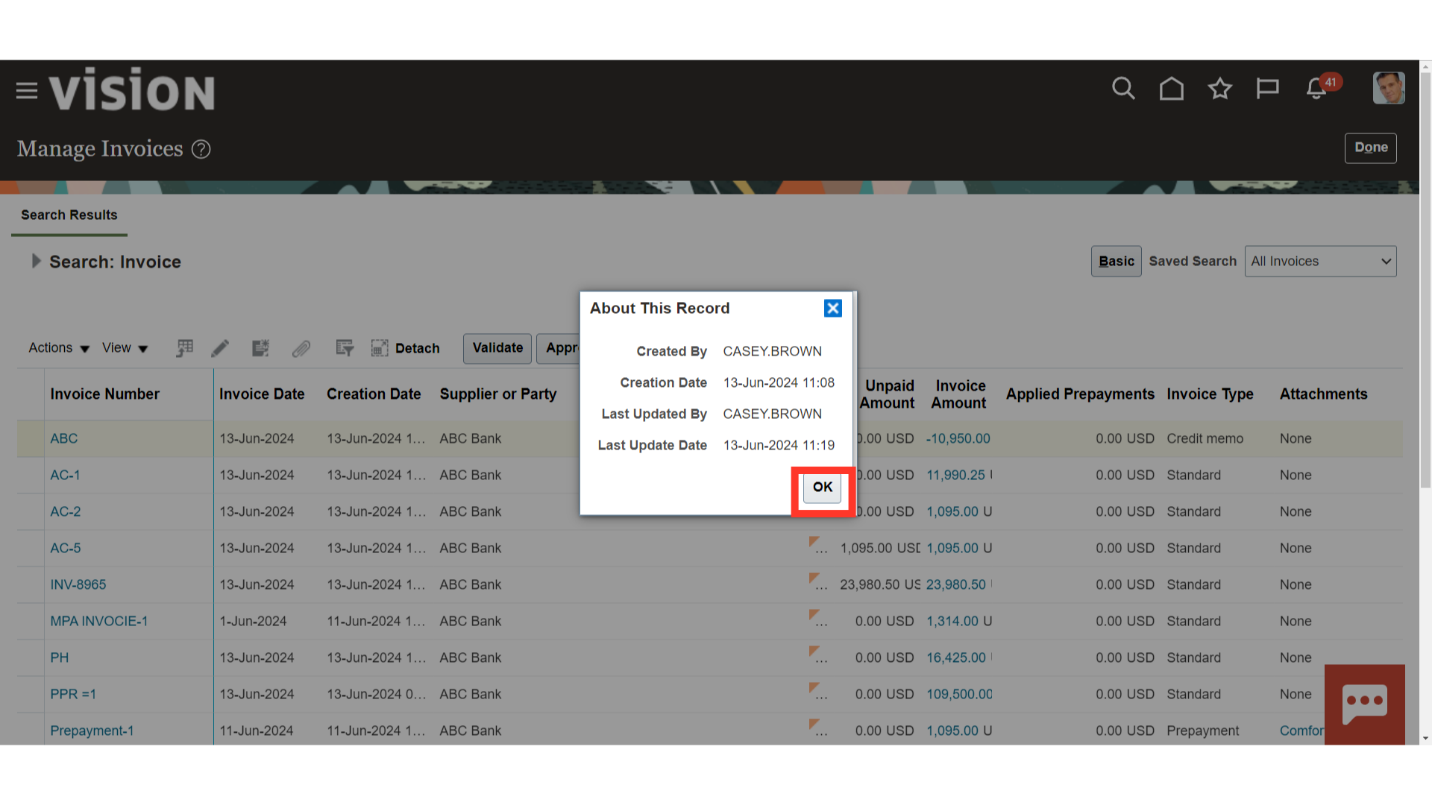
Review the details and click on OK to close the pop up.
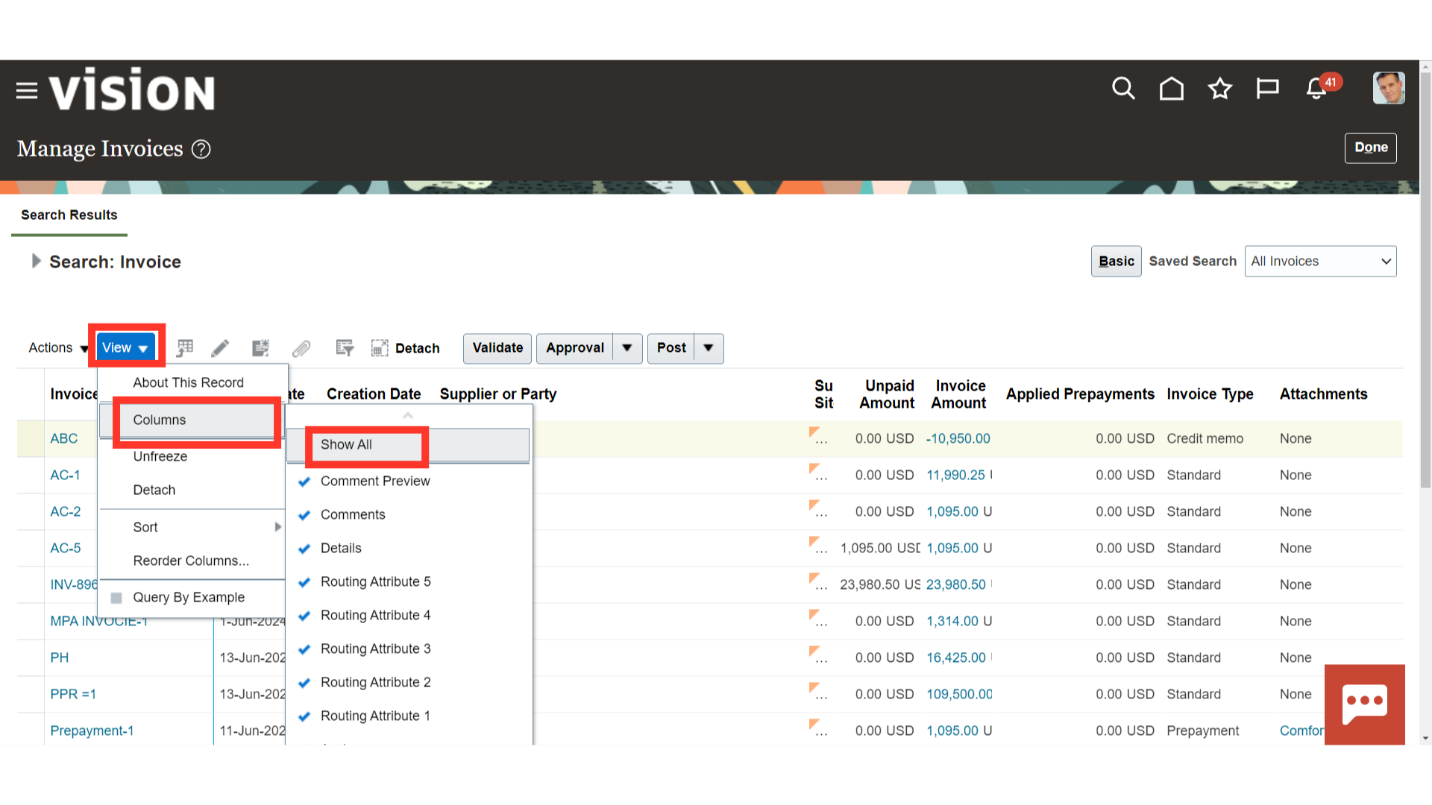
You may customize the view by adding or removing columns or by rearranging the columns. To Add or Remove columns click View > Columns > Select the column which is required to be added and select the value which is required to be removed. The Show All option will bring all the columns to the view.
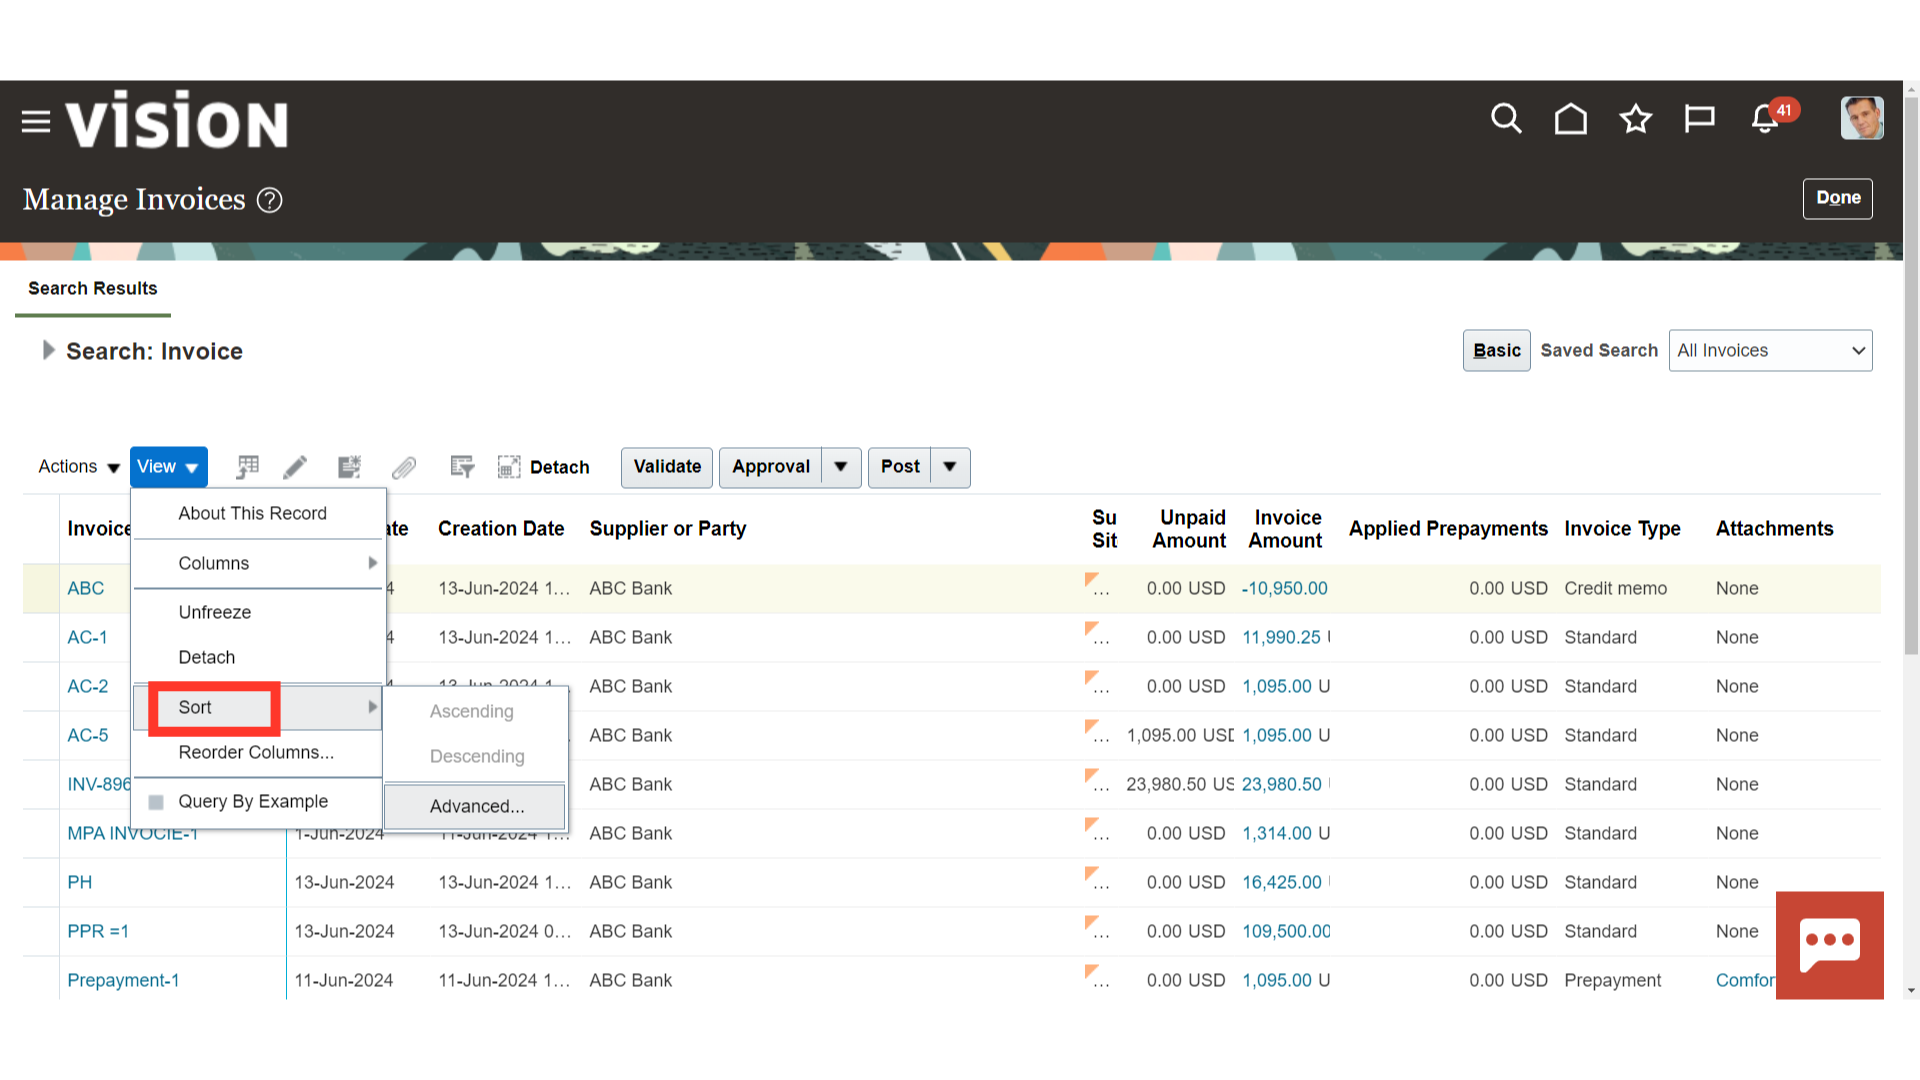
There are two ways to sort the data. One is to select the column and then click on the Sort option under View and select Ascending/ Descending/ Advance. Advanced allows you some additional ways to sort.
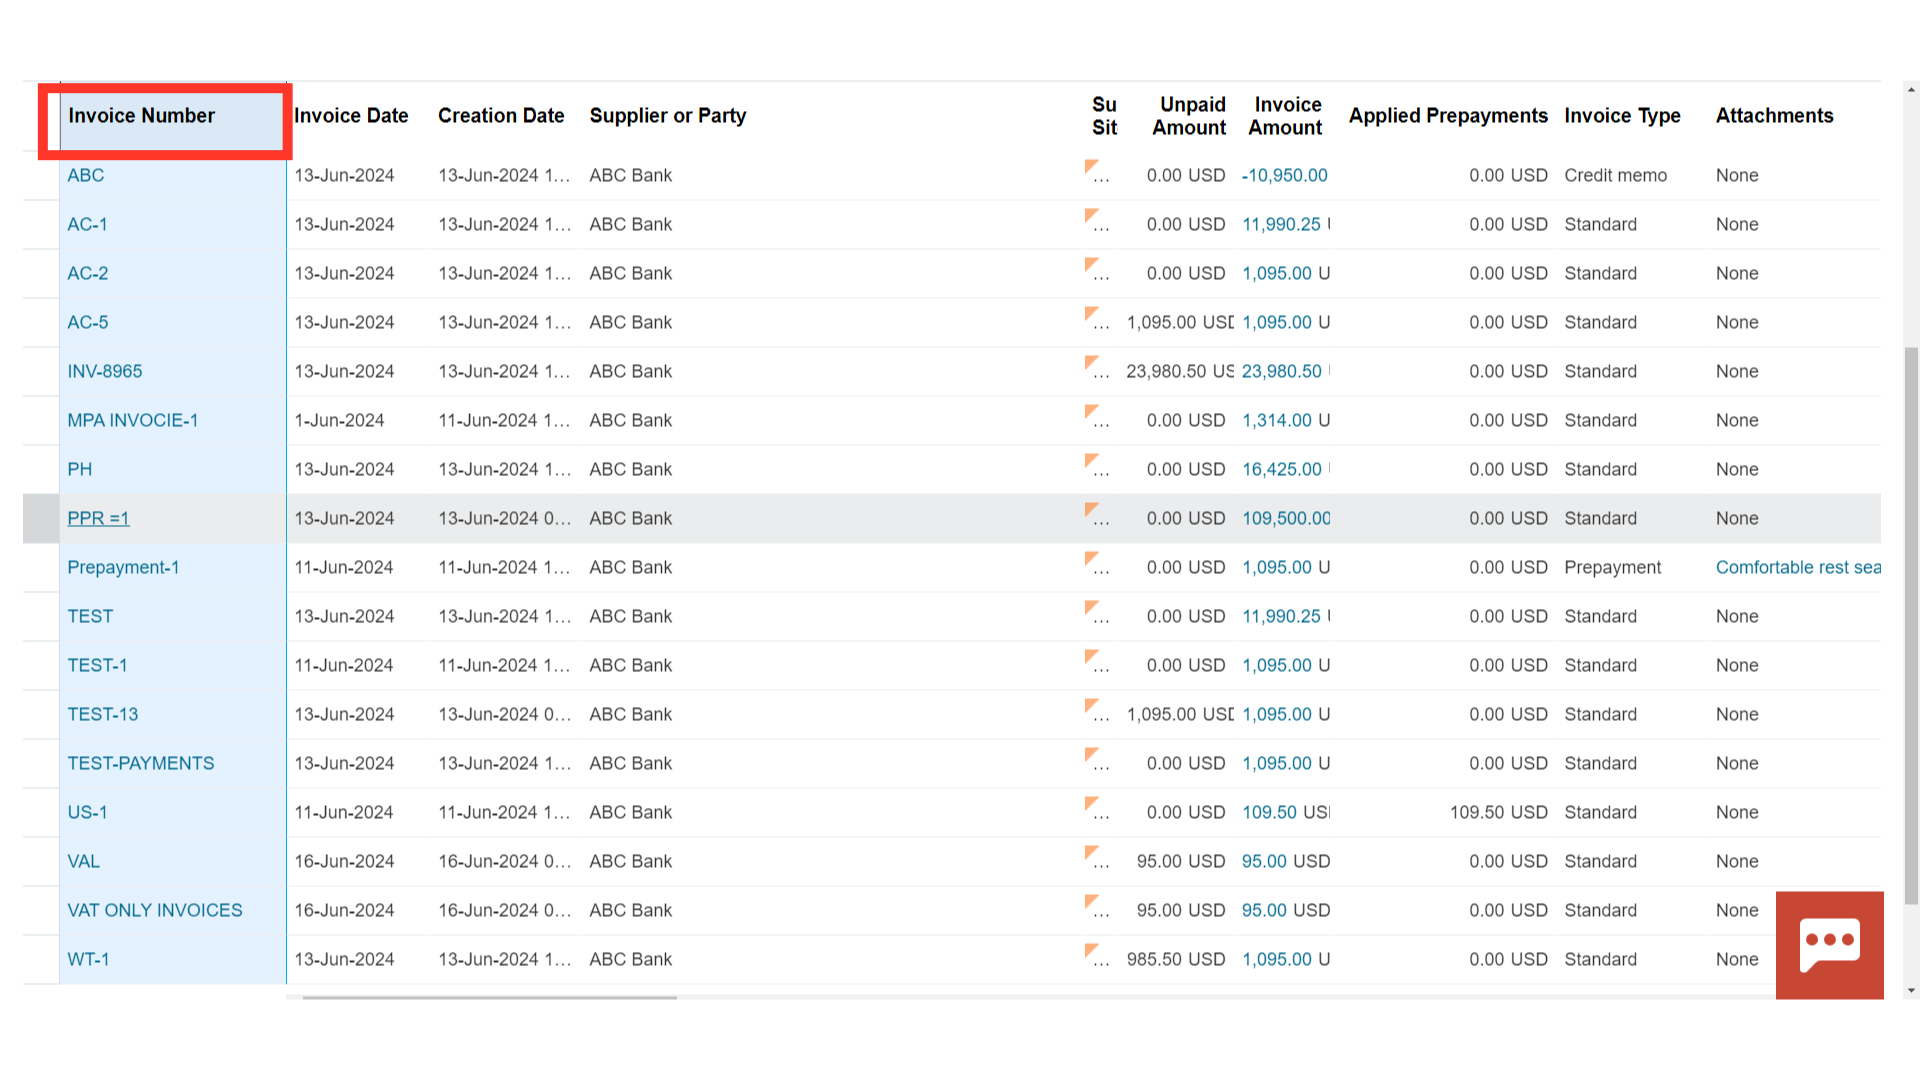
Another way to sort the data is by clicking on the Arrows available next to every column header.
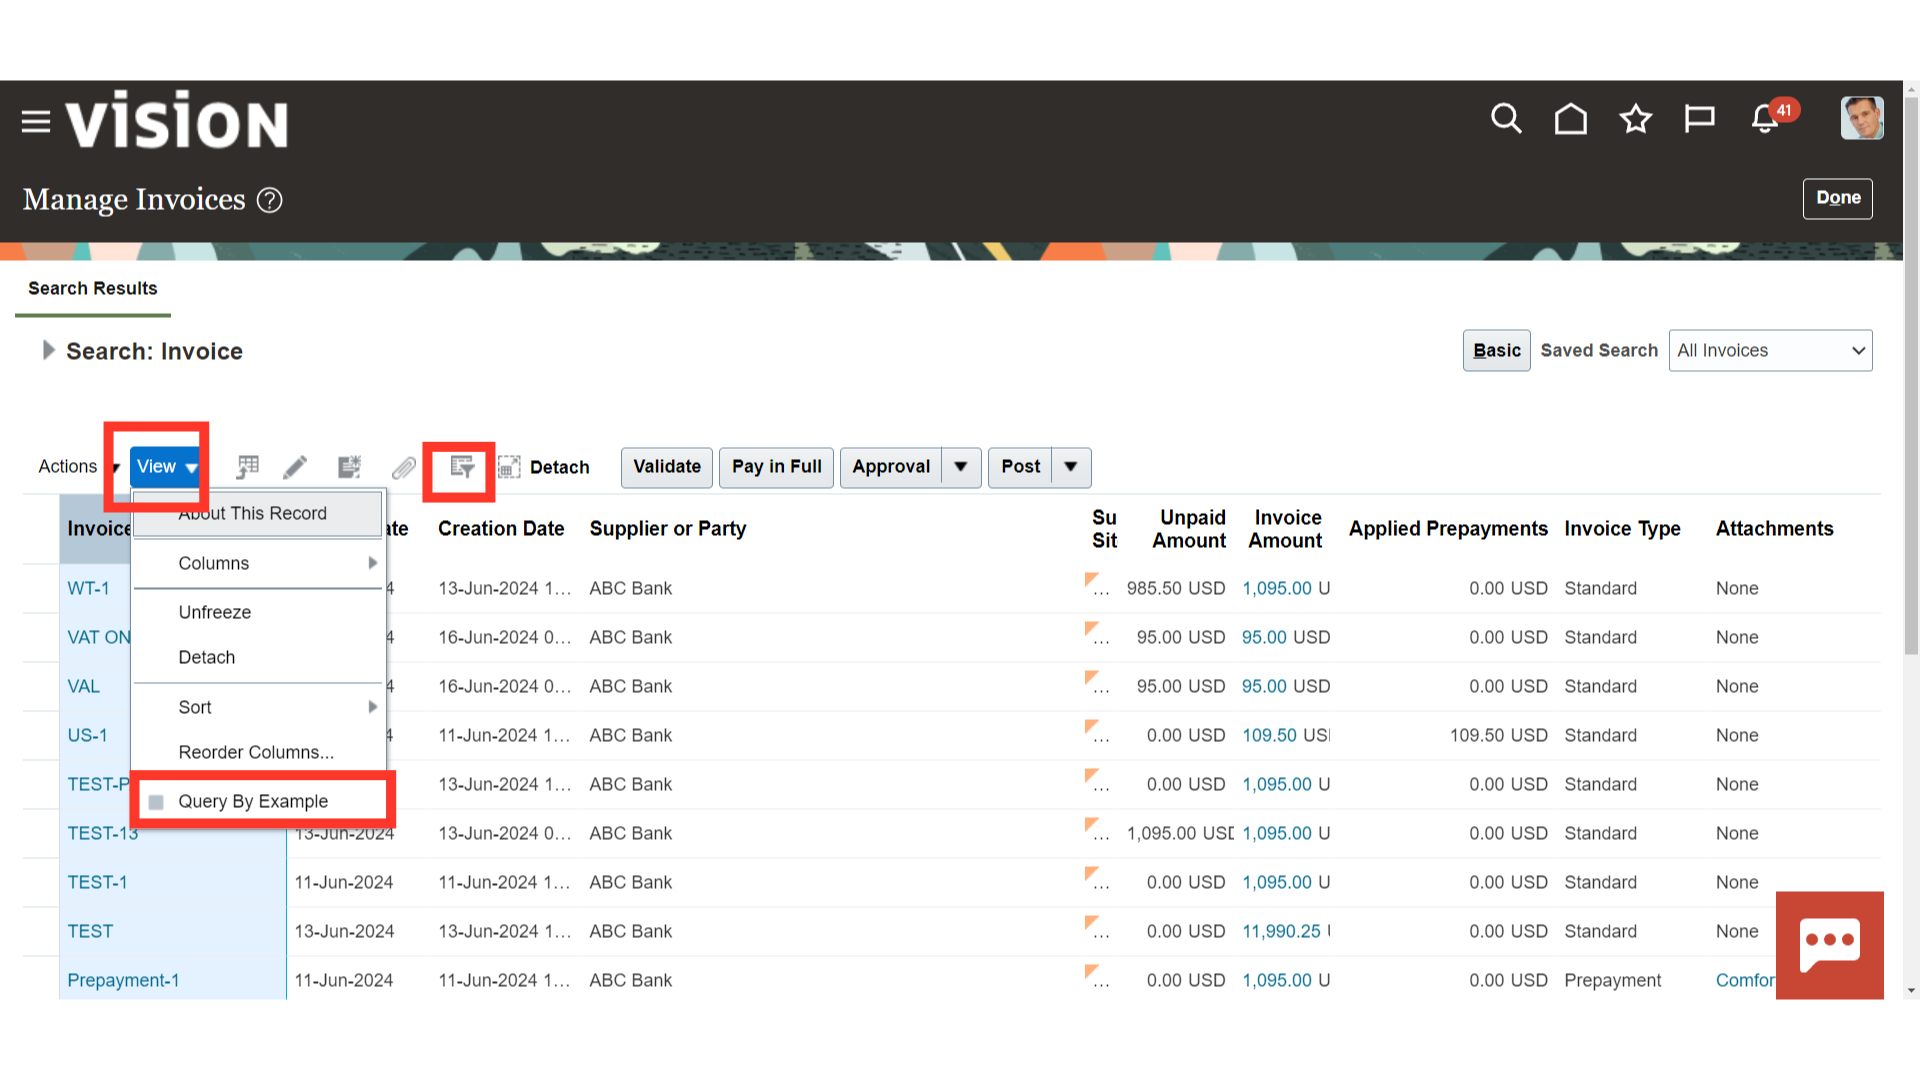
To further search for any invoice, enable the Query by Example option. Query By Example is the row of fields that precedes the table column headers, used for filtering the data in the table. Click Query By Example on the table toolbar if the row of fields isn’t displayed. Or click on the View menu and select the Query By Example option.
This Row will appear after the ‘Query by Example’ option is enabled. Enter the filtering value in the required box and press Enter to filter the search results.
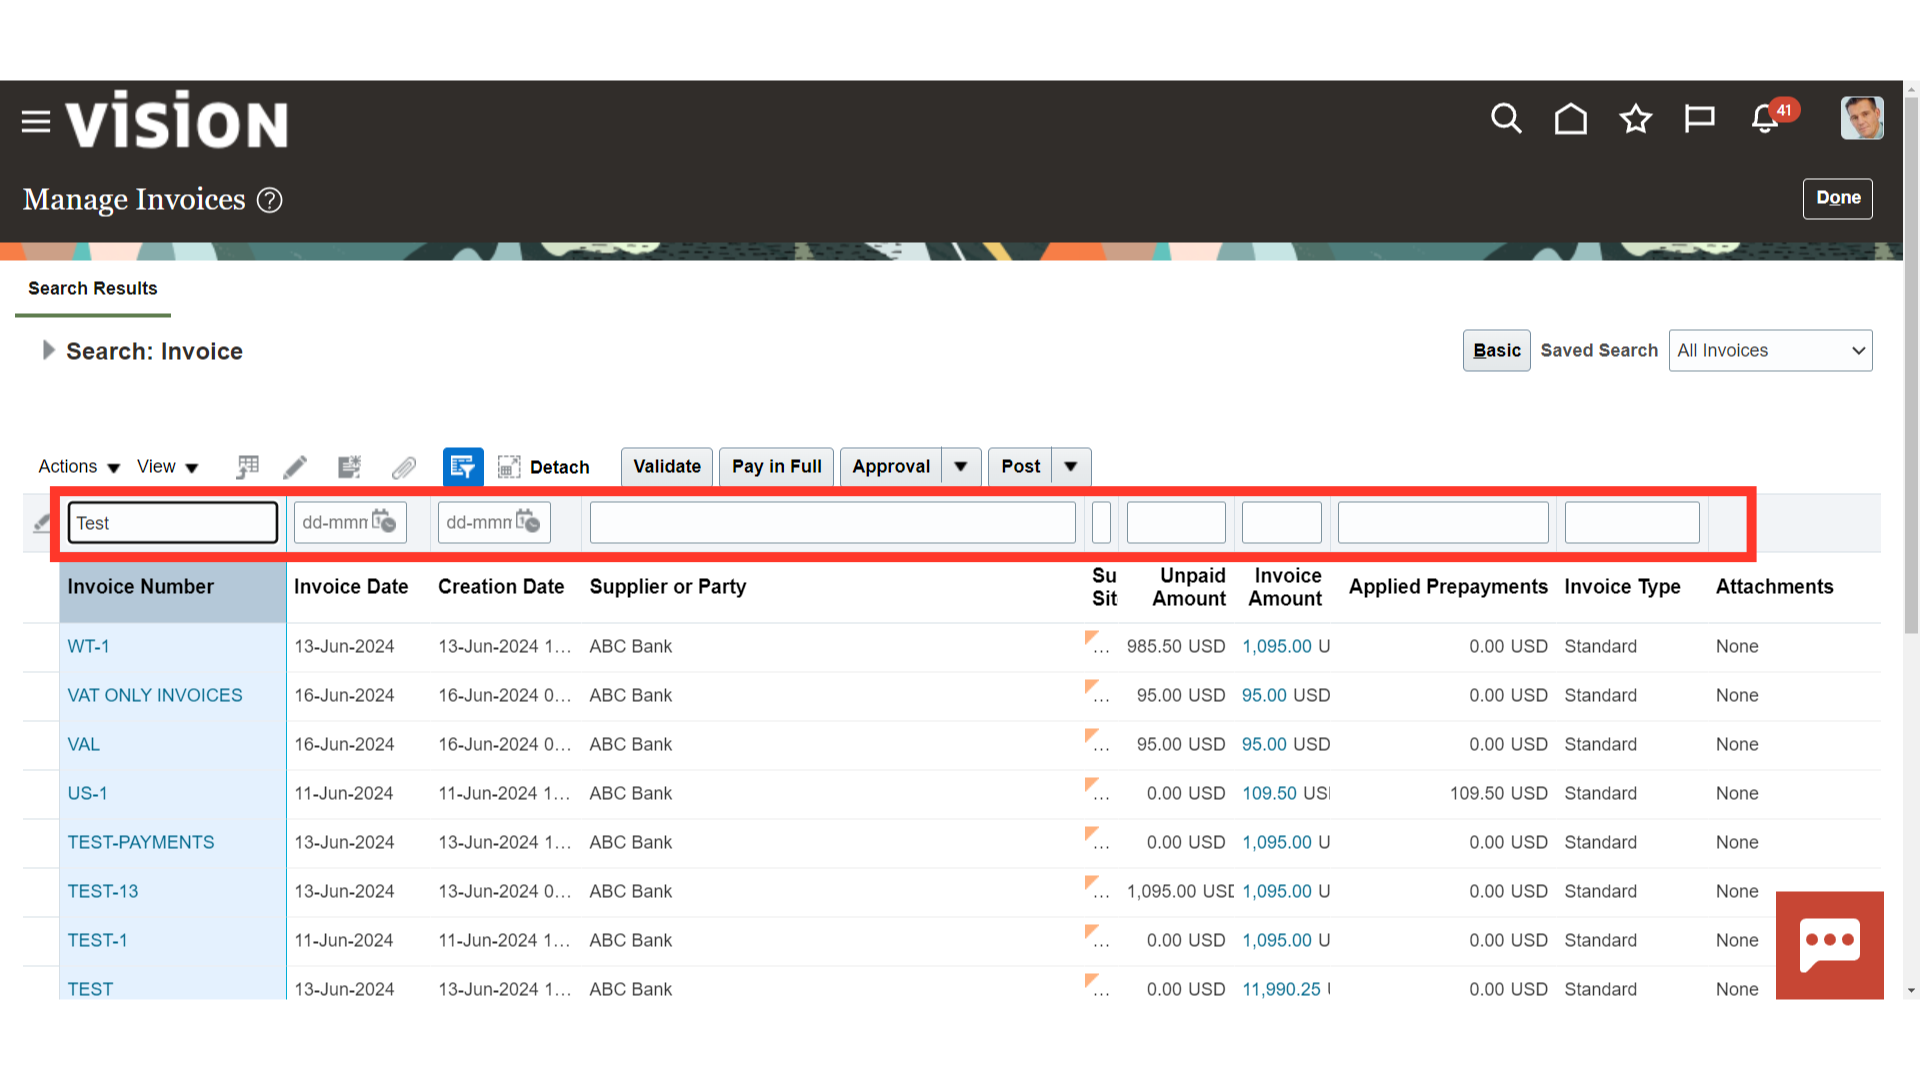
The data will be filtered as per the example value entered.
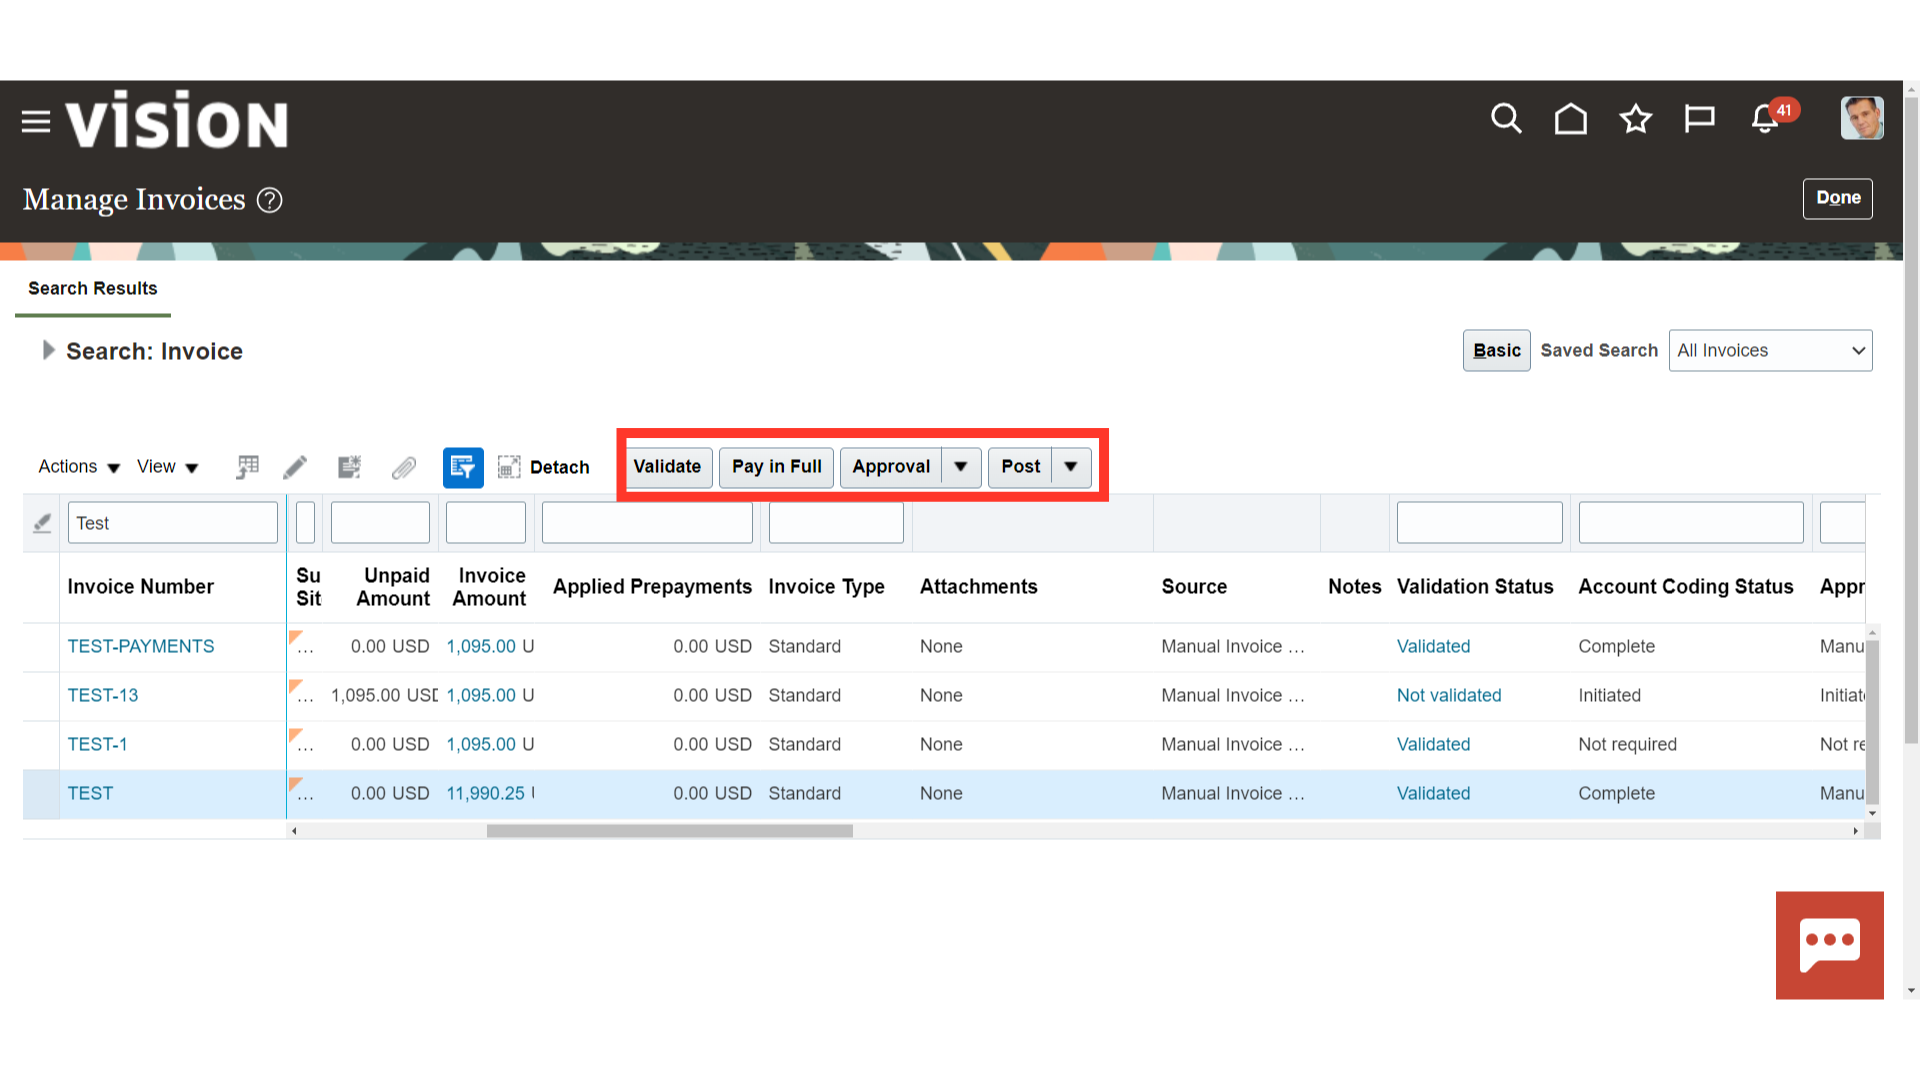
The options that are available under the Actions button are also available in the form of buttons above the column headers. Select the row for which the action is to be taken and click on the required action button.
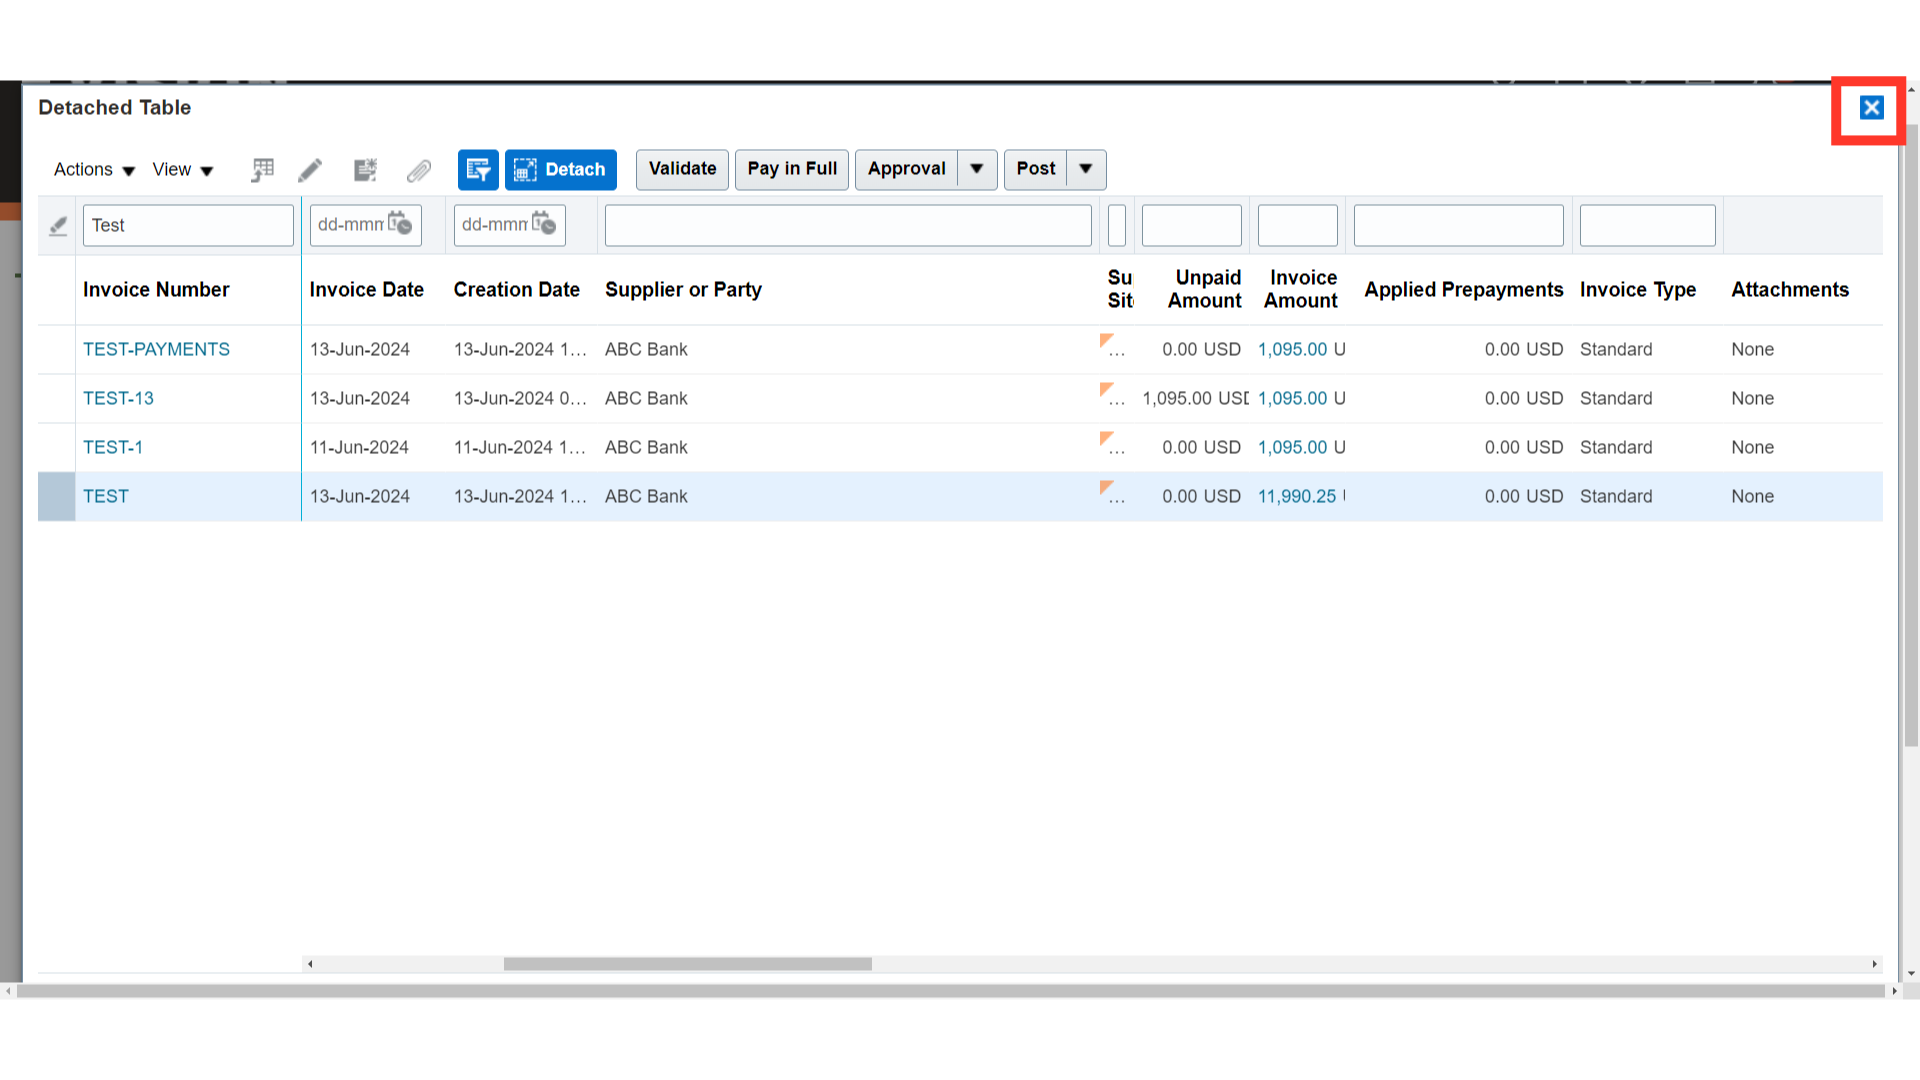
To expand the search section click on the Detach button.
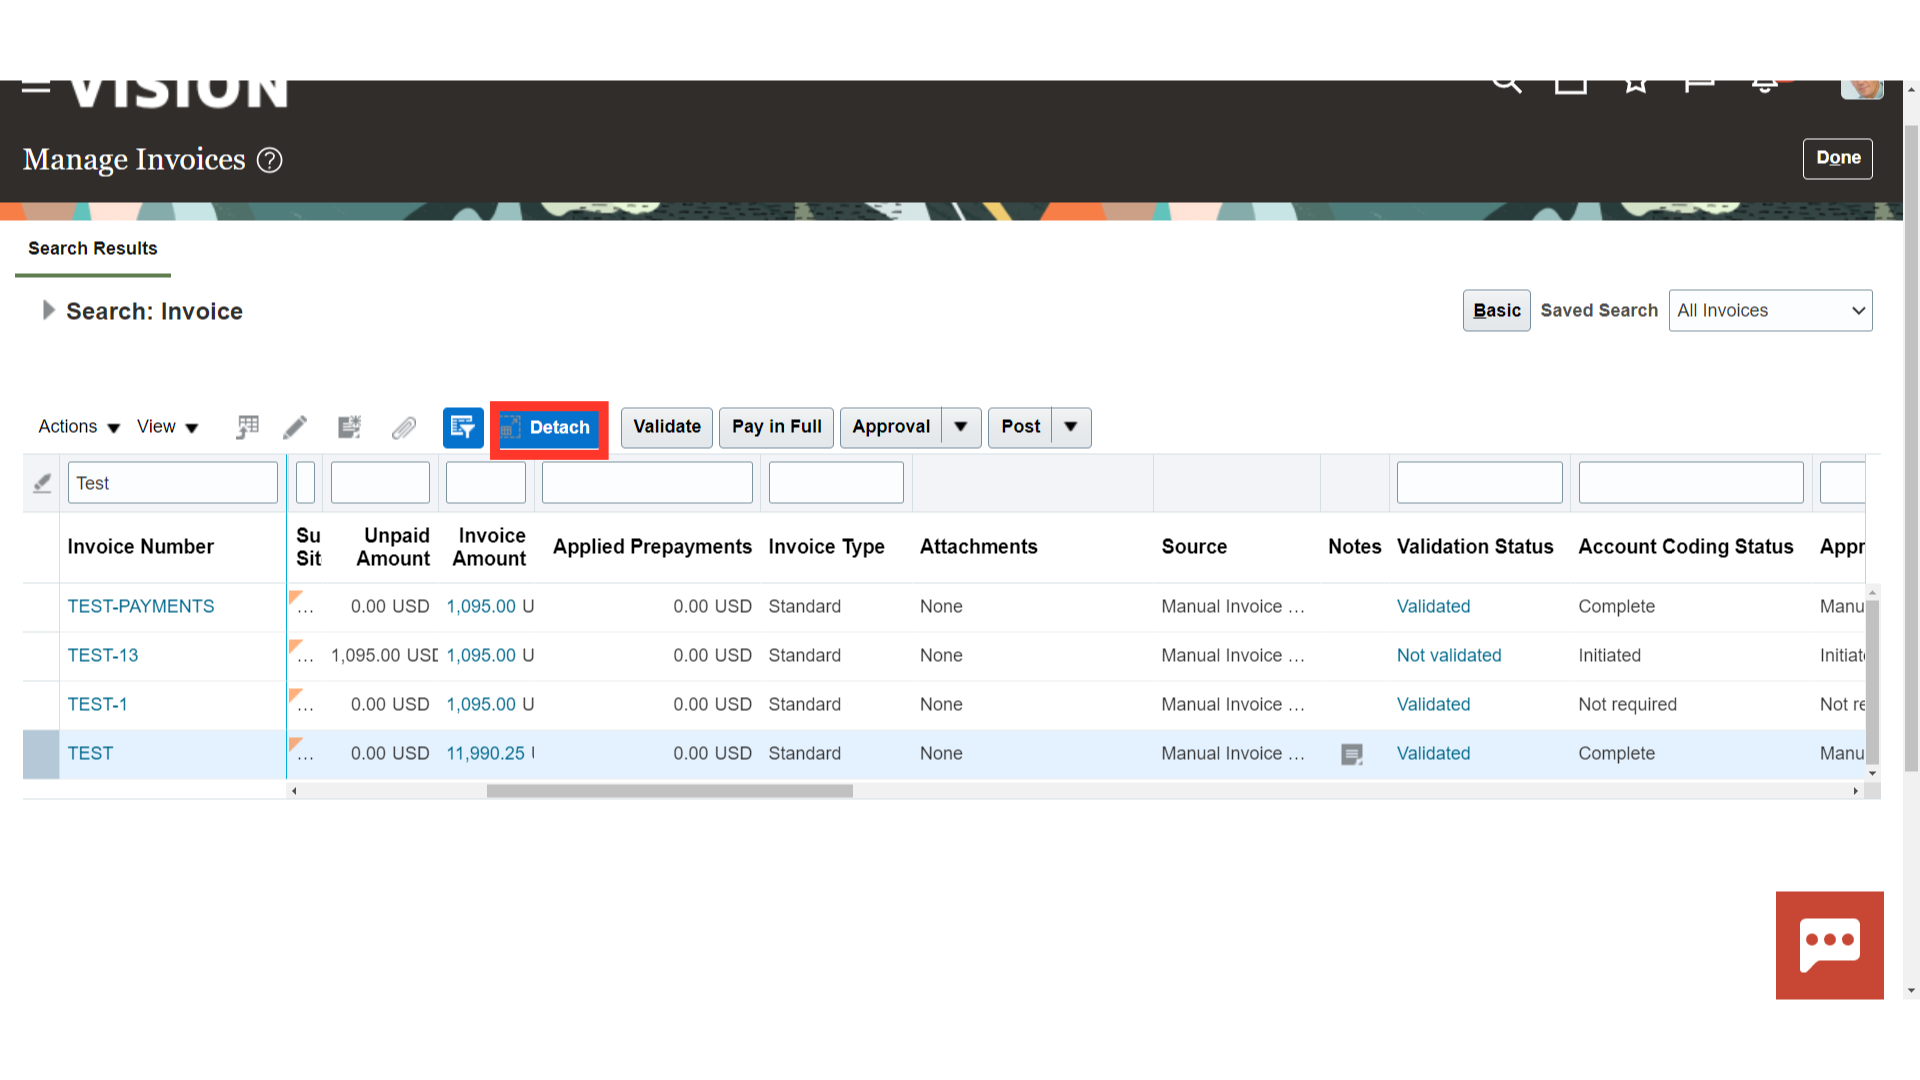
The Detach button will take the table to a different pop-up window. Click on the cross icon to close this window.
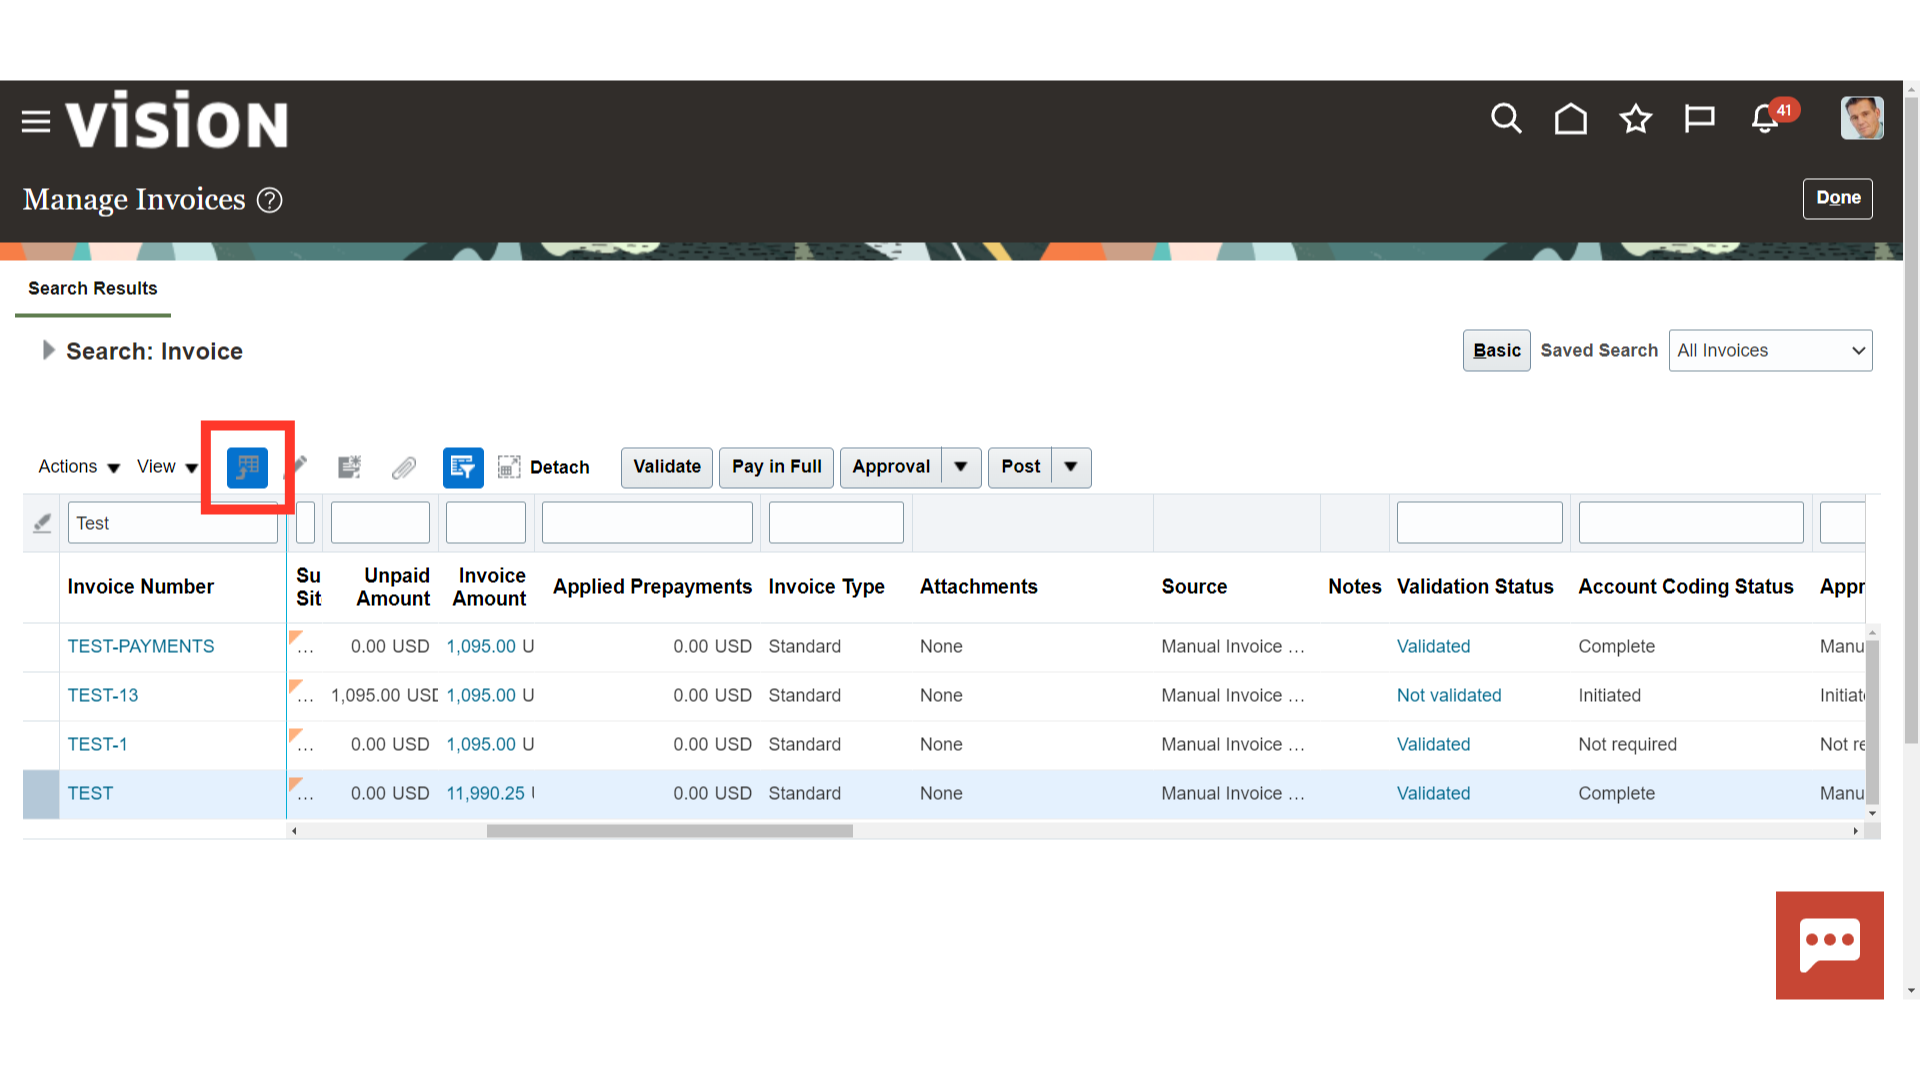
The invoices returned in the search results can be exported to Excel. Click on the Export to Excel icon and the file will be downloaded to your local system.
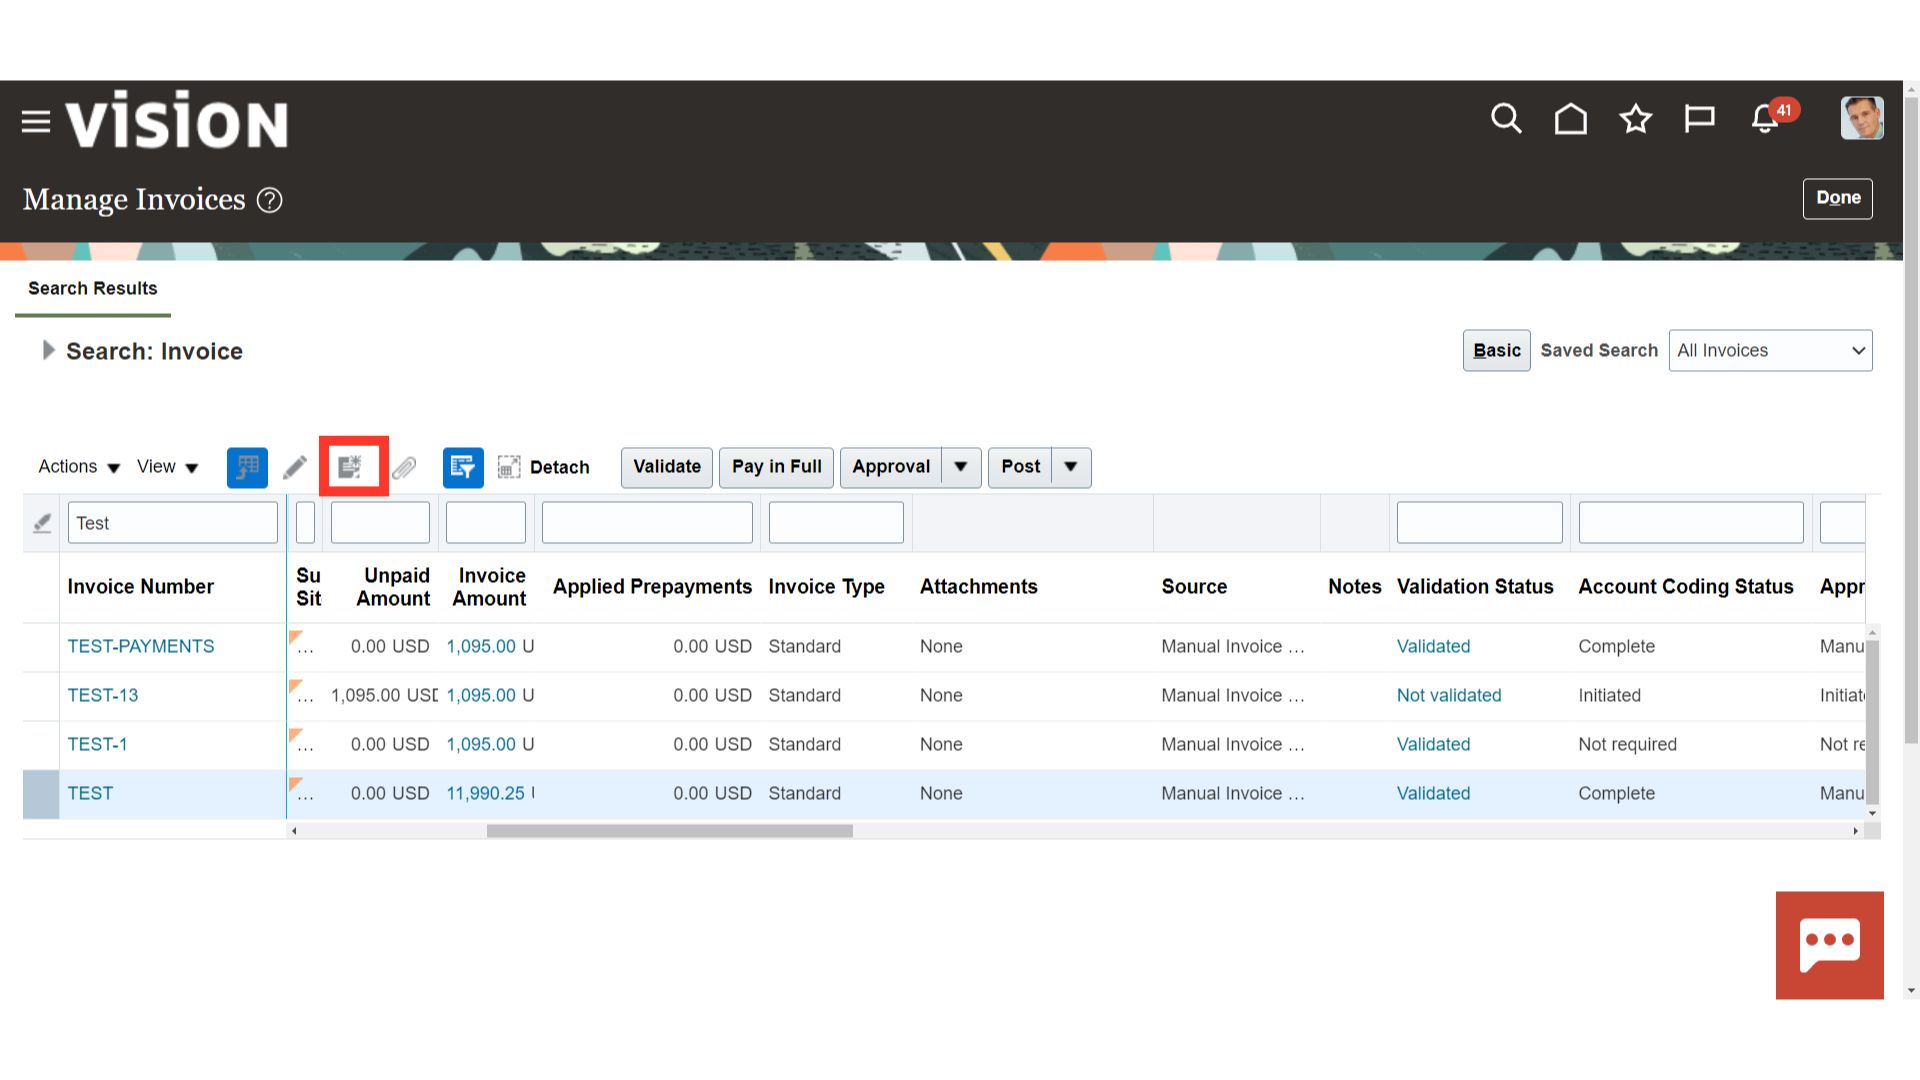
To add a note for a particular invoice, select the invoice row and click on the Create Note icon as highlighted.
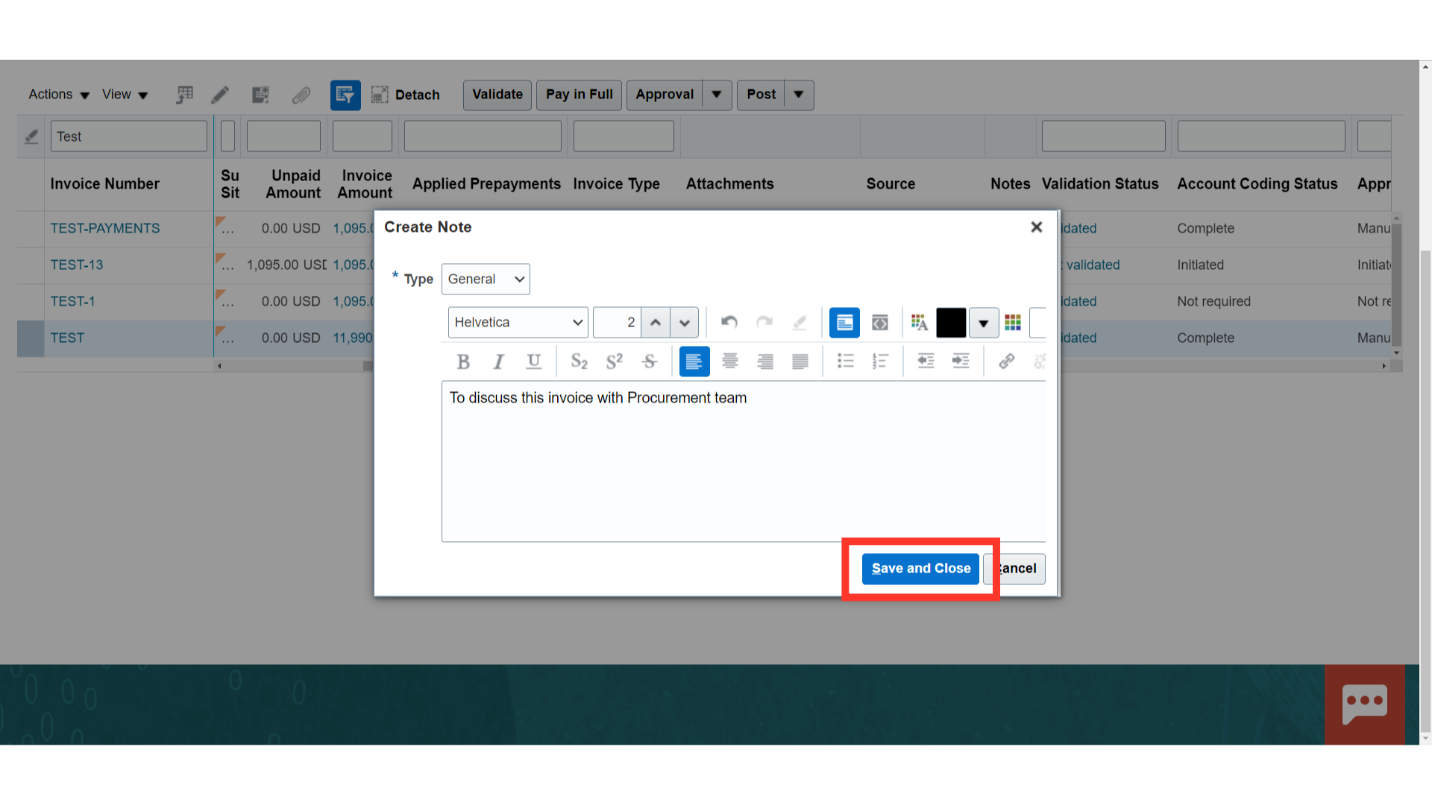
Enter the note as required and click on the Save and Close button.
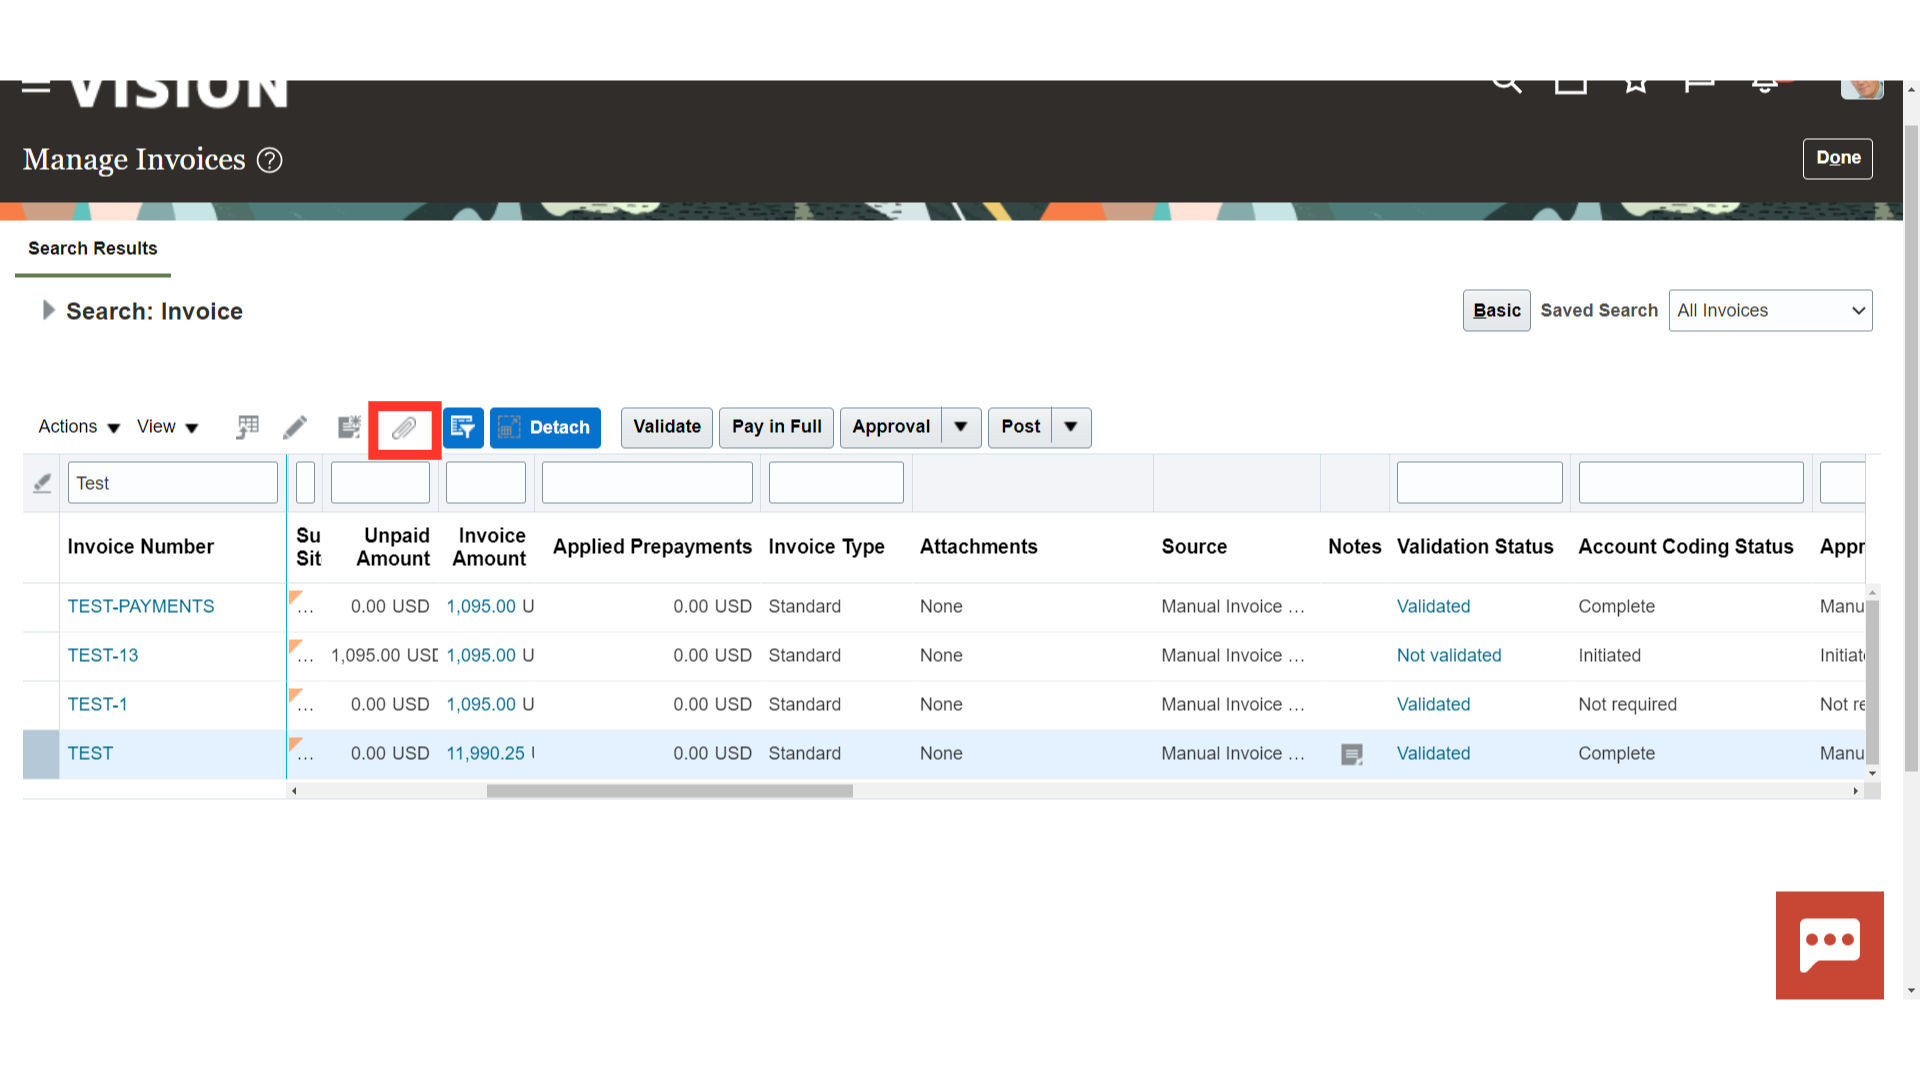
To add attachments to the invoice, select the invoice row and click on the attachment icon.
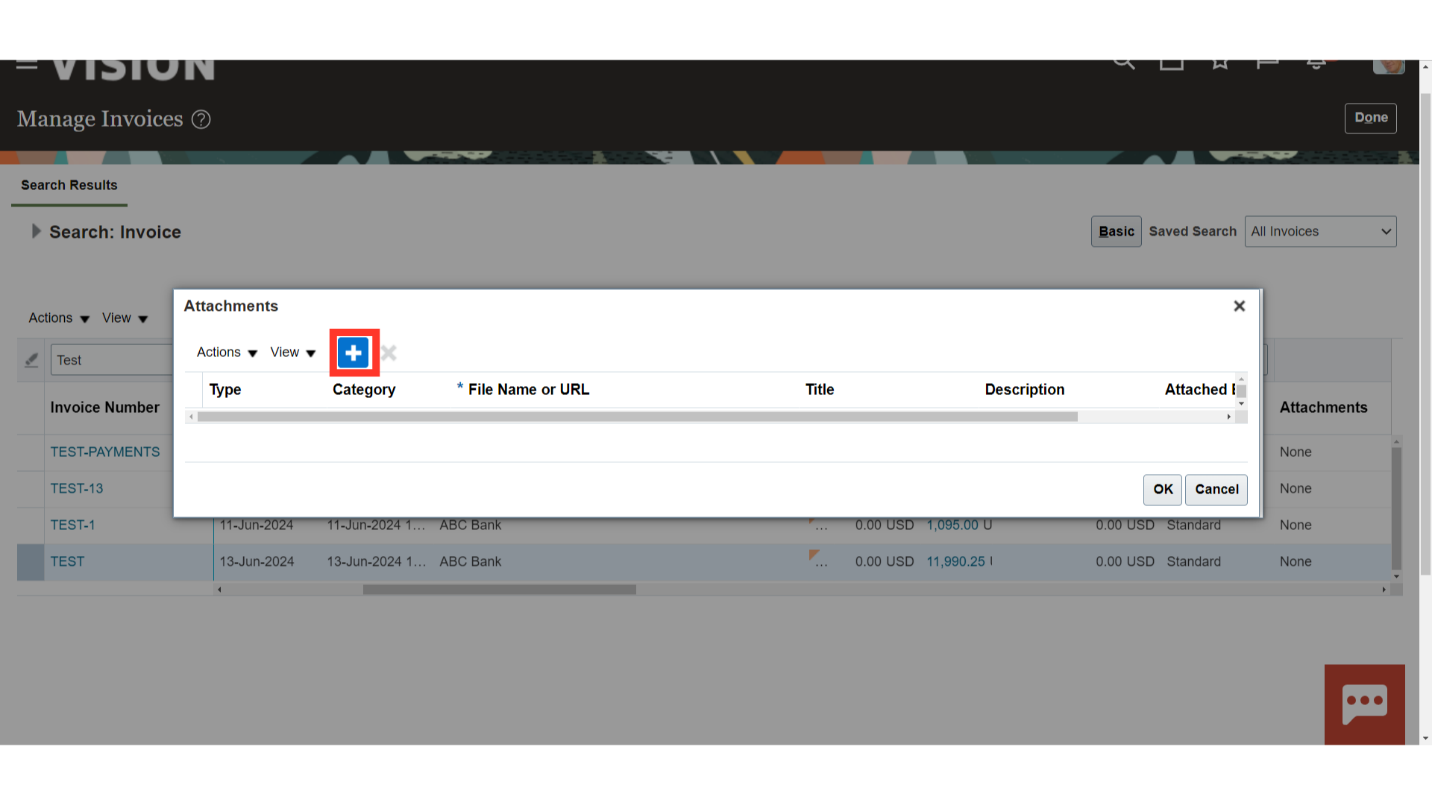
Click on the Plus icon to add the Attachments.
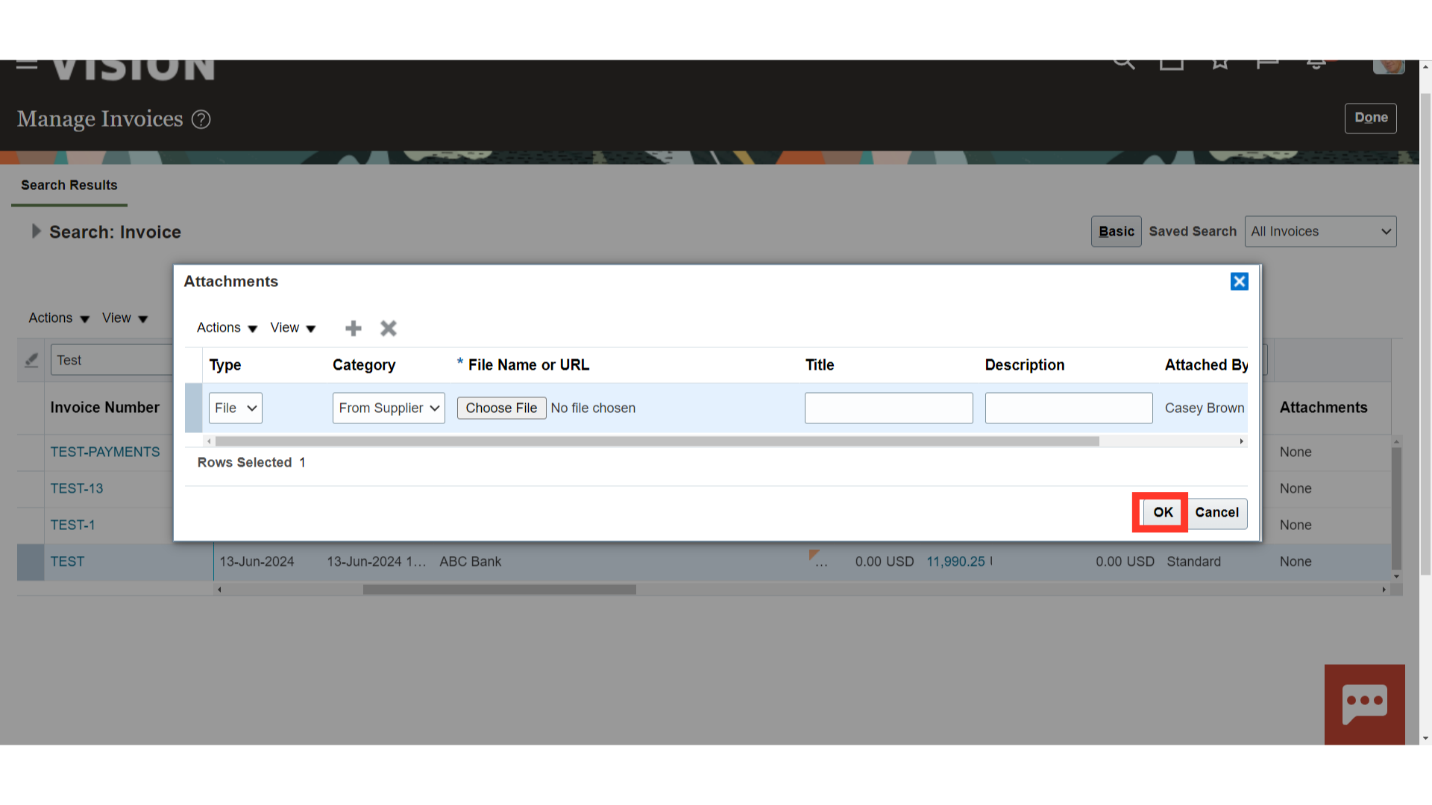
Add the required file/s and once completed, click on ‘OK’.
The guide covered the complete process of managing invoices in the Oracle cloud, from accessing and editing invoice to customise the view of the search page, each step was detailed to ensure a smooth and efficient invoice management experience.