Payment Setups
This guide will walk you through setting up payment methods, managing payment processes, and configuring payment system options in Oracle cloud. Each step provides clear instructions to streamline the payment setup process efficiently.
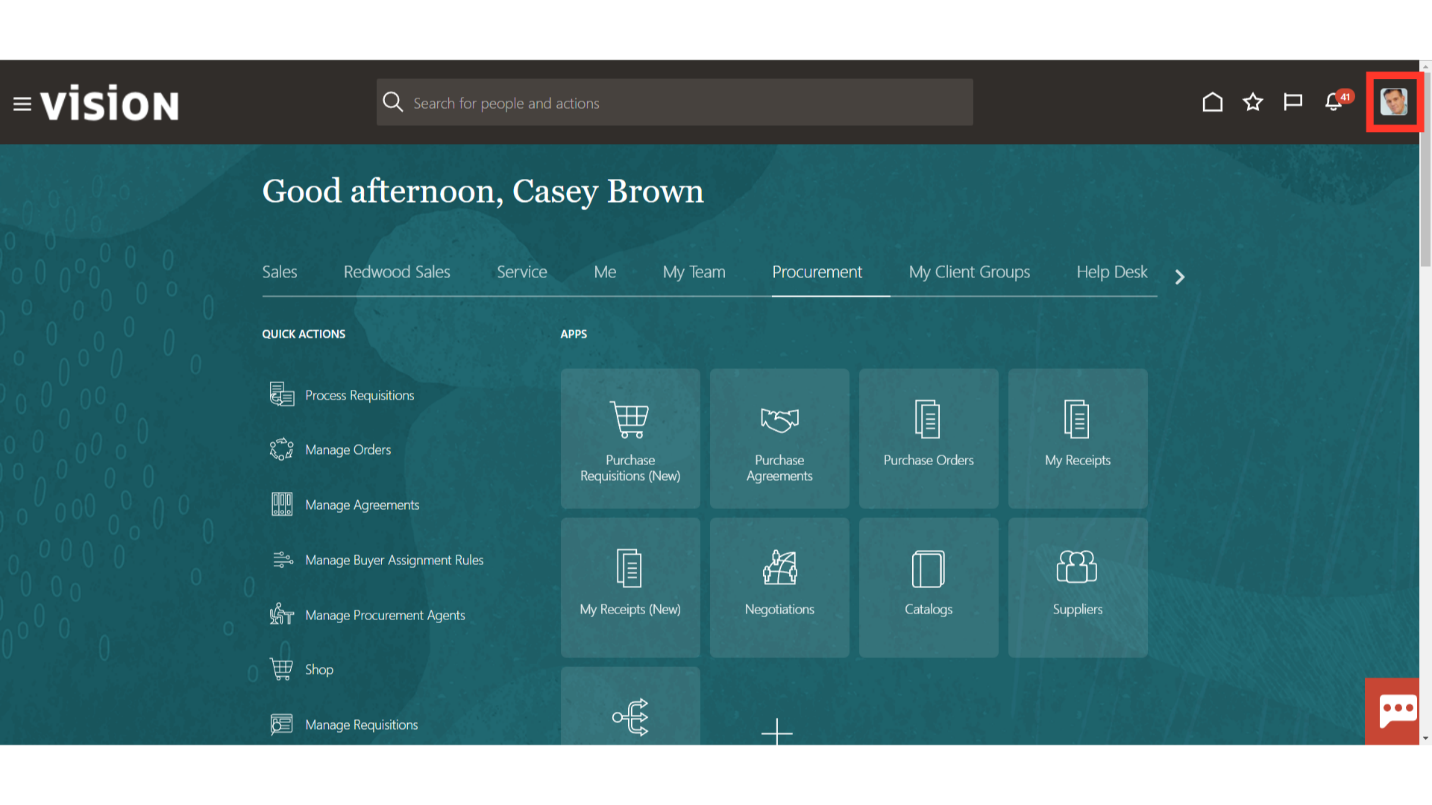
After loging in, on the home page click on the profile icon on top right corner.
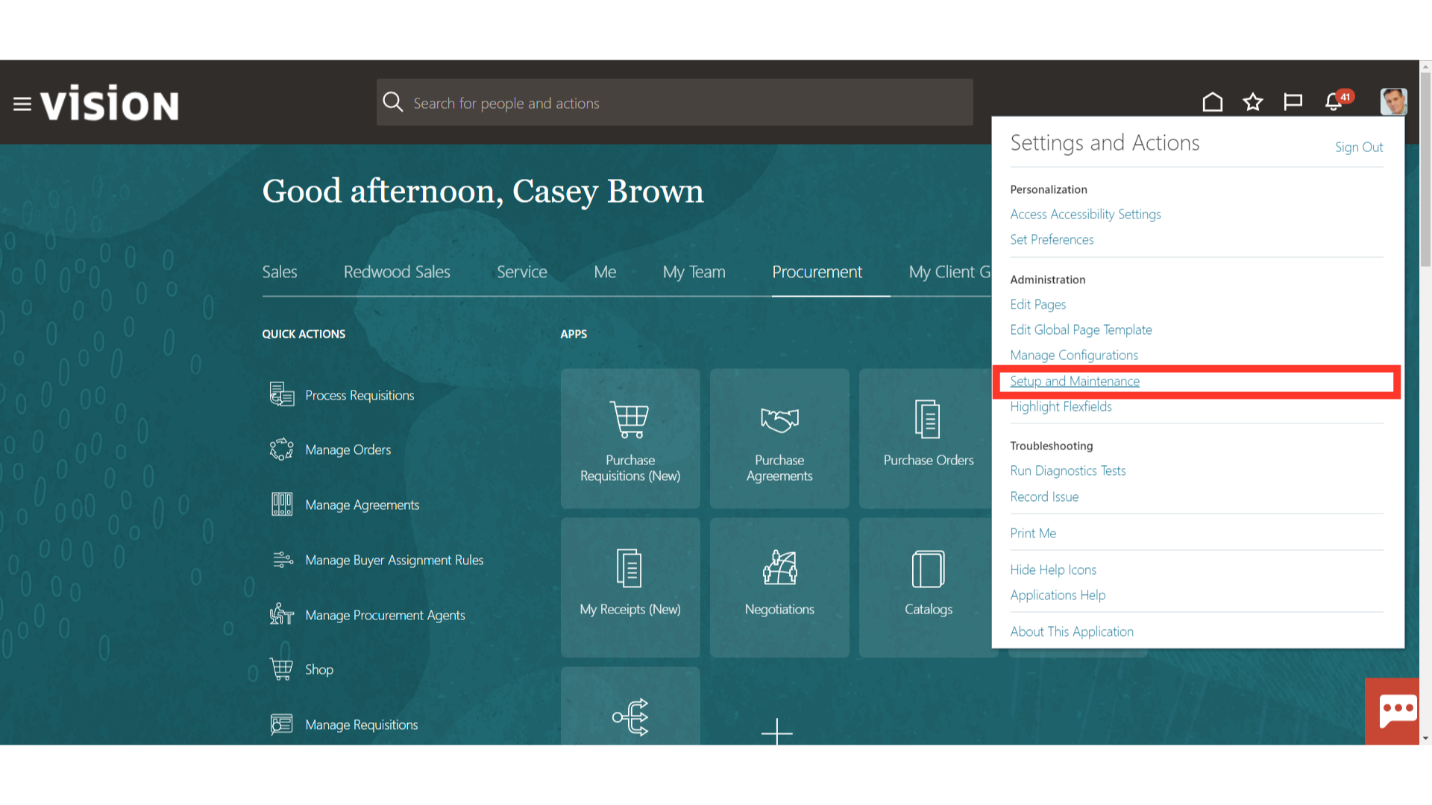
From the list access the “Setup and Maintenance” section.
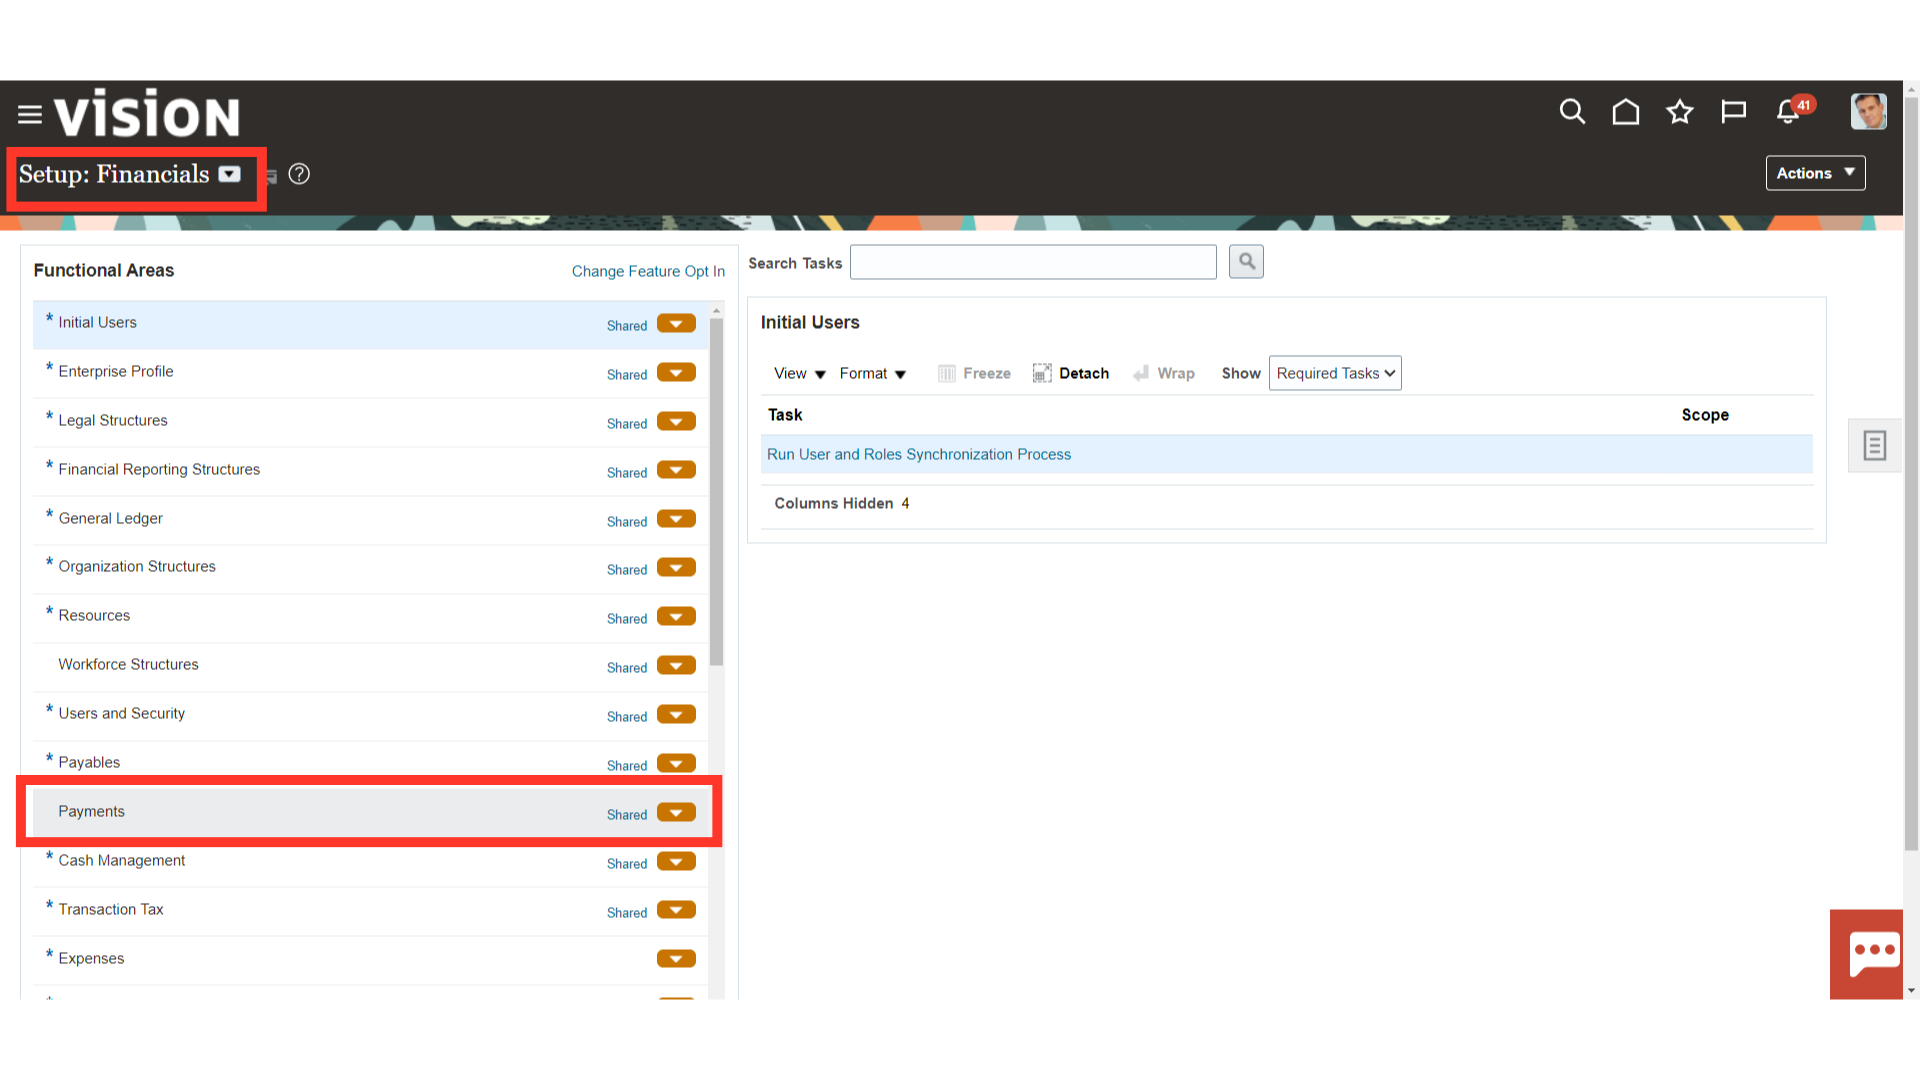
Select the Offering as ‘Financials’ and under the Functional area select ‘Payments’.
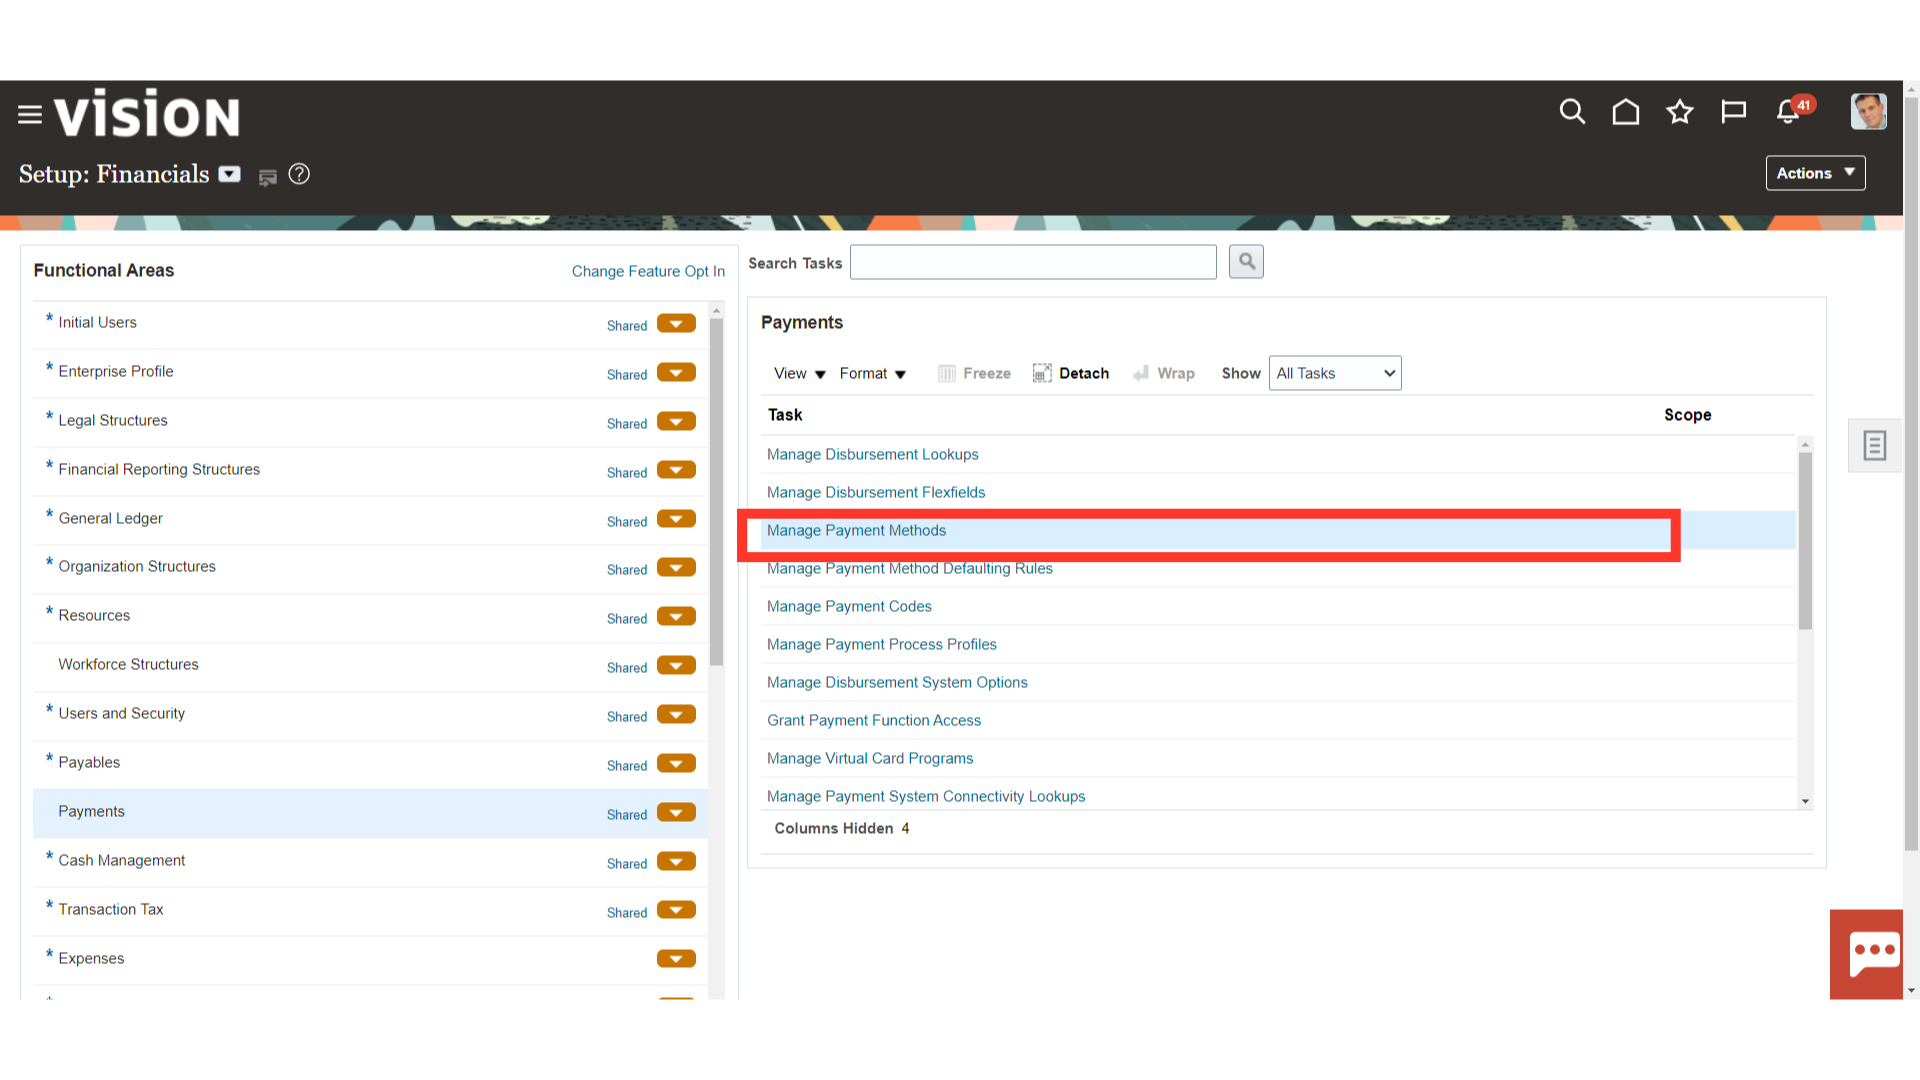
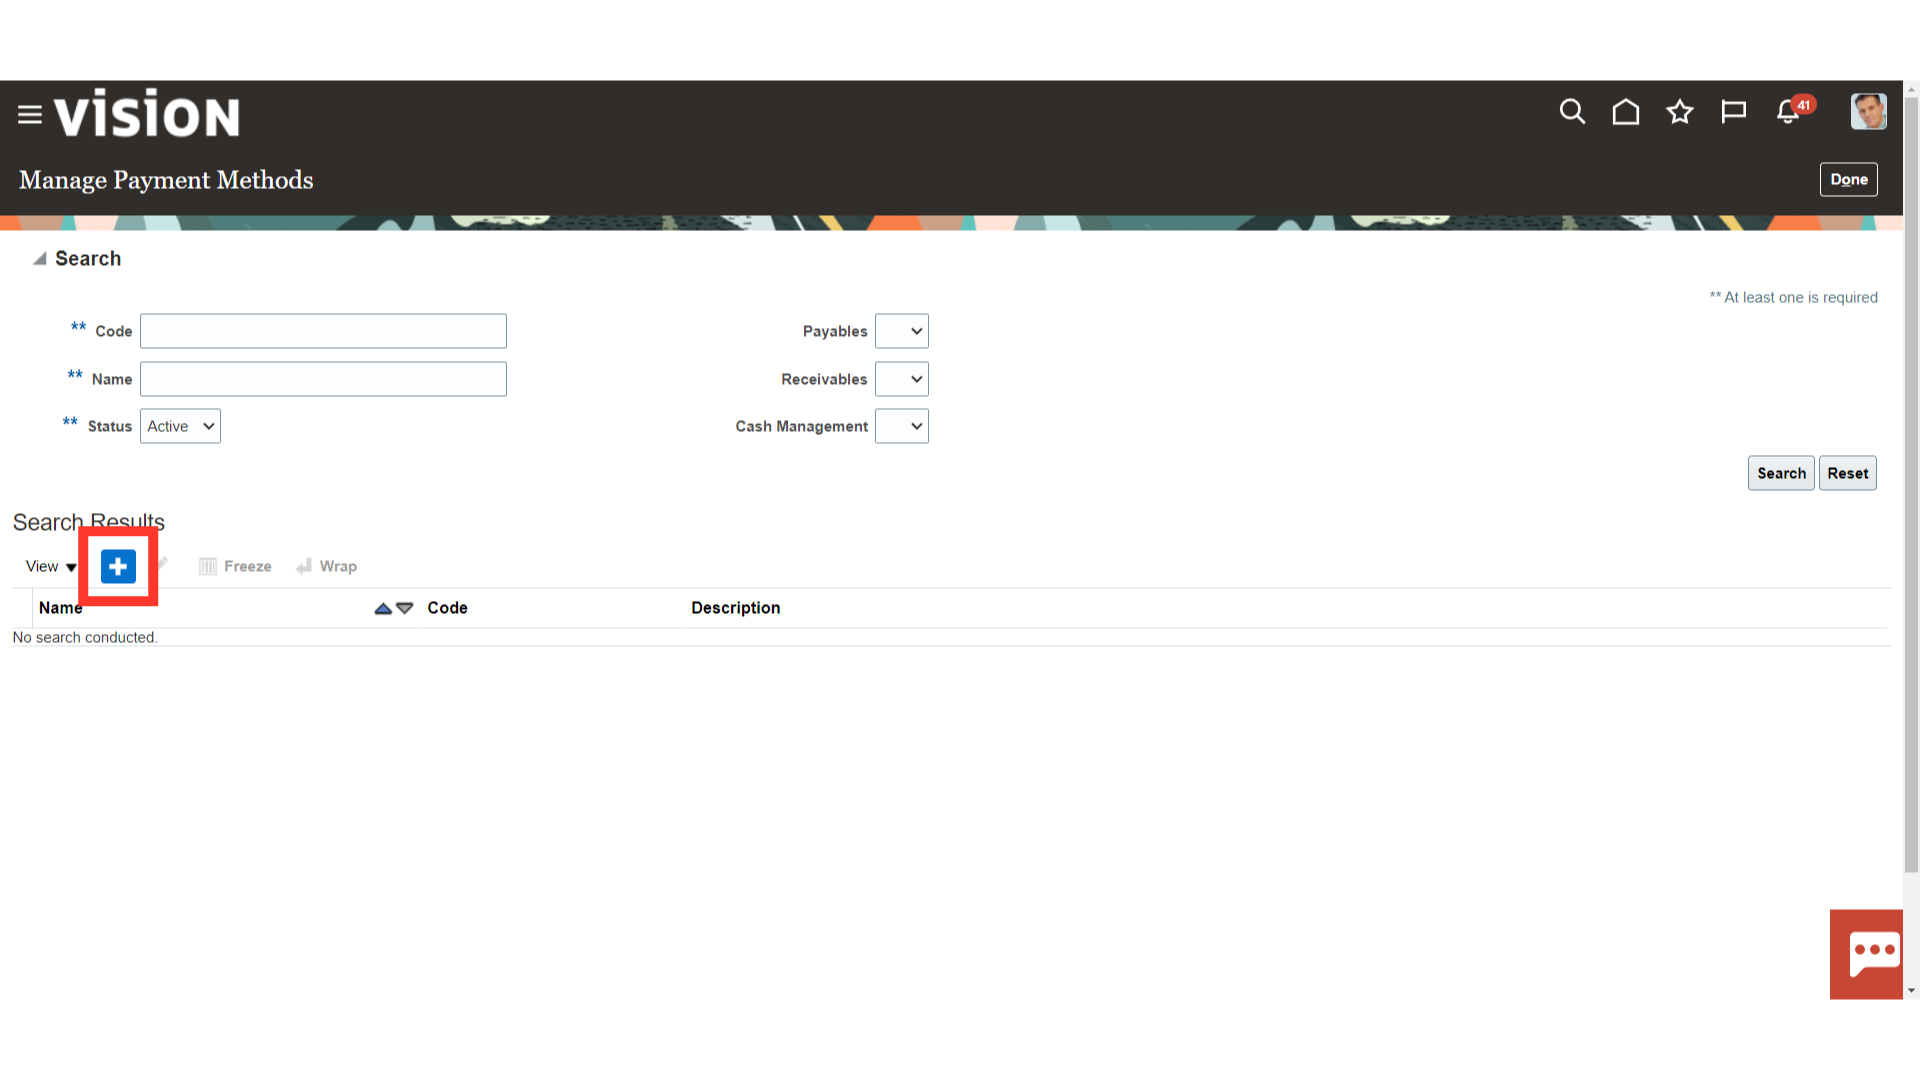
From the list of Task, select “Manage Payment Methods.” A disbursement payment method is a method of payment that your company uses to pay a supplier, customer, or employee. The payment method can be electronic, such as EFT, bill payable, or wire, or printed, such as a check. You can use a payment method to pay one or multiple third-party payees.
To create a new payment method click on the Plus icon.
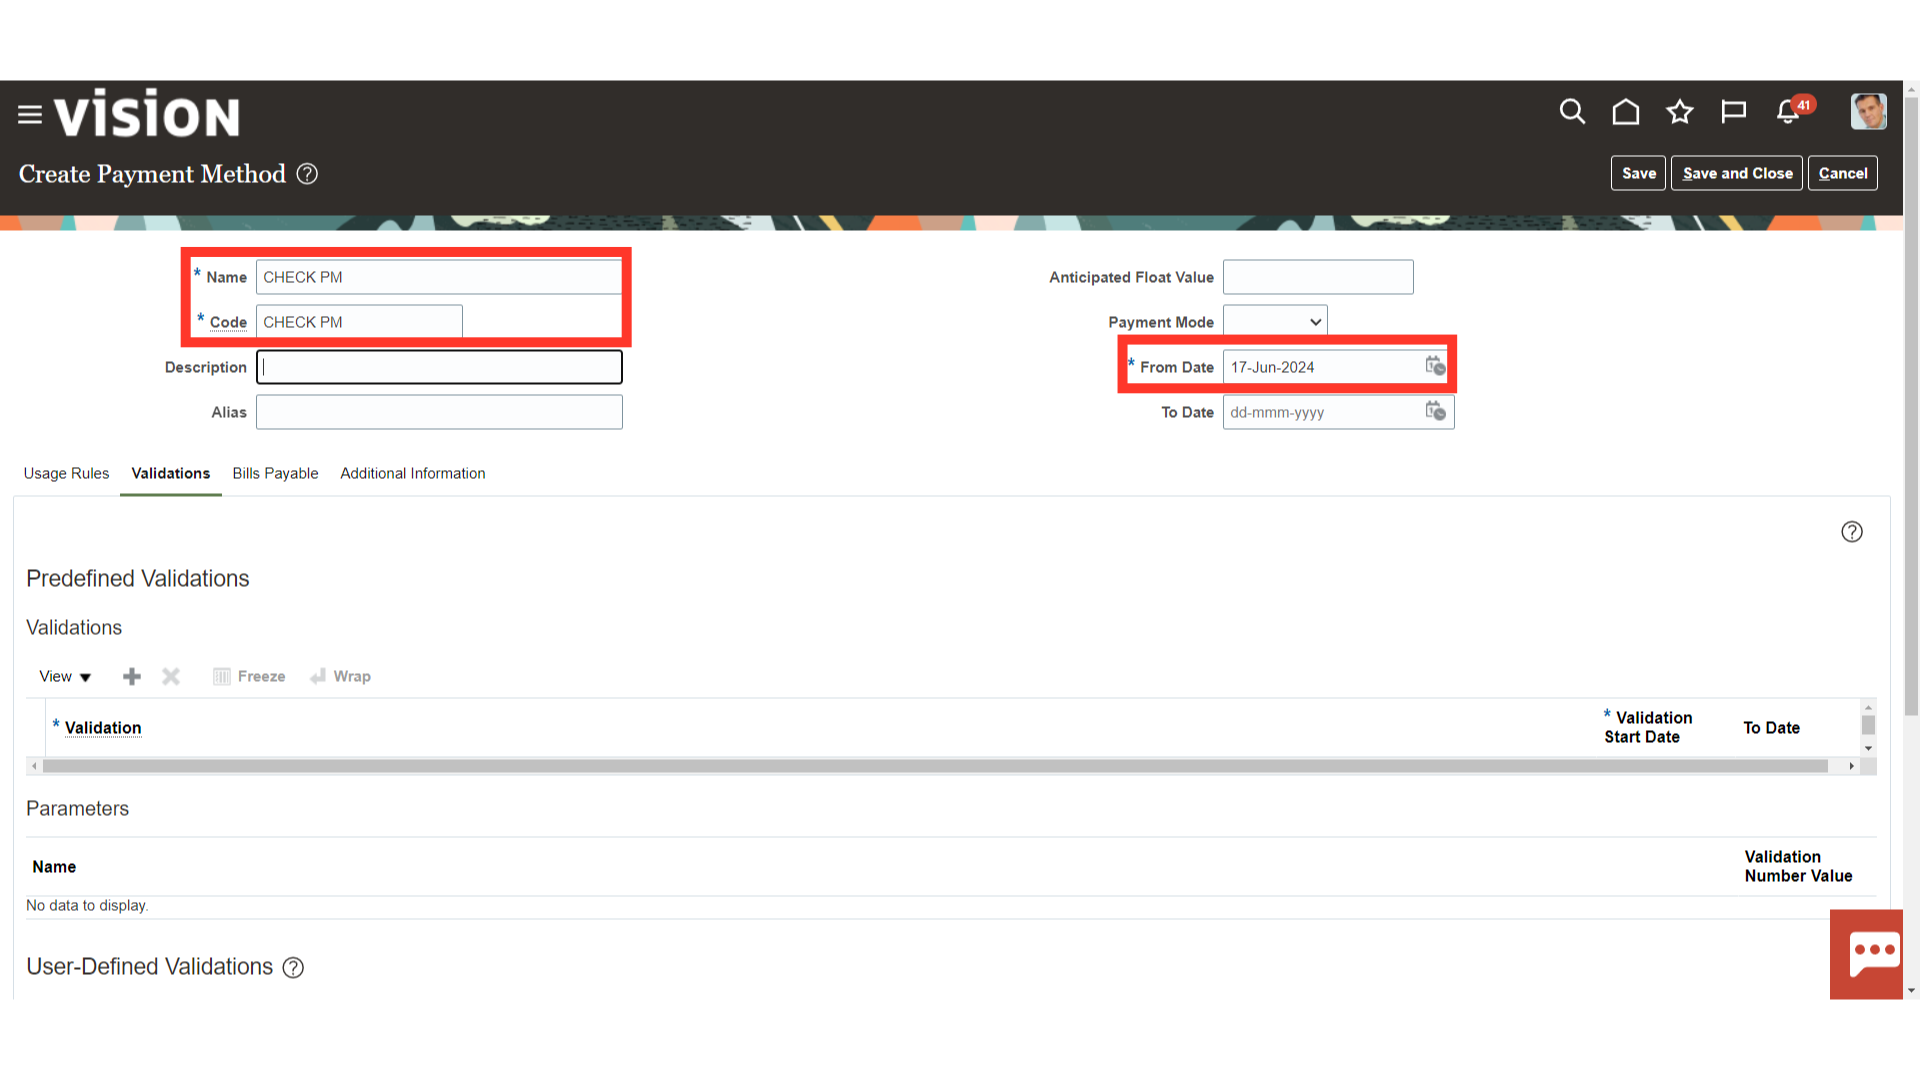
On the Create Payment Source page, complete the field Name : Enter the name of the Payment method, Code : Code is the Backcode for Oracle Tables From Date : The date from which the payment method is required to be used.
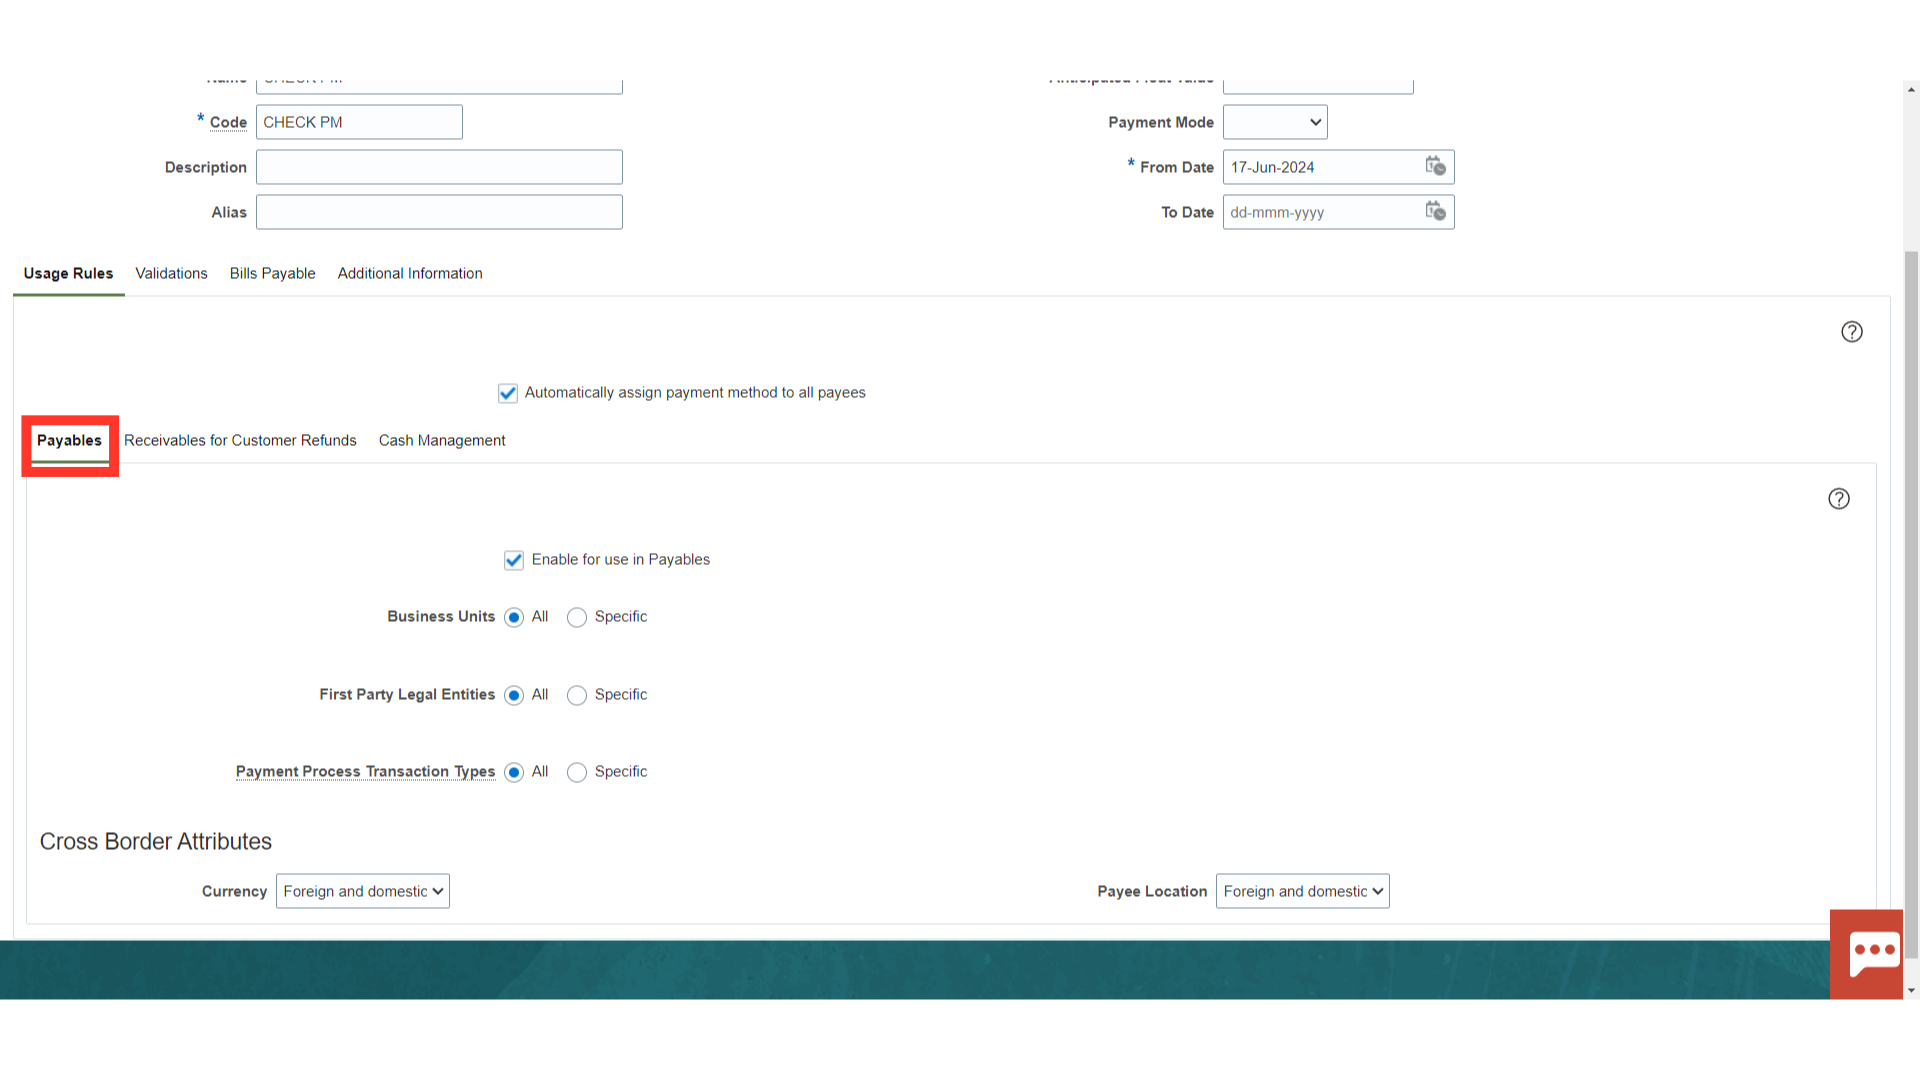
Access “Usage Rules.” Usage rules specify when a disbursement payment method is available for use by source products for documents payable. You can provide different usage rules for different source products (Payables, Receivables, Cash Management) and change whether and when the payment method is available.
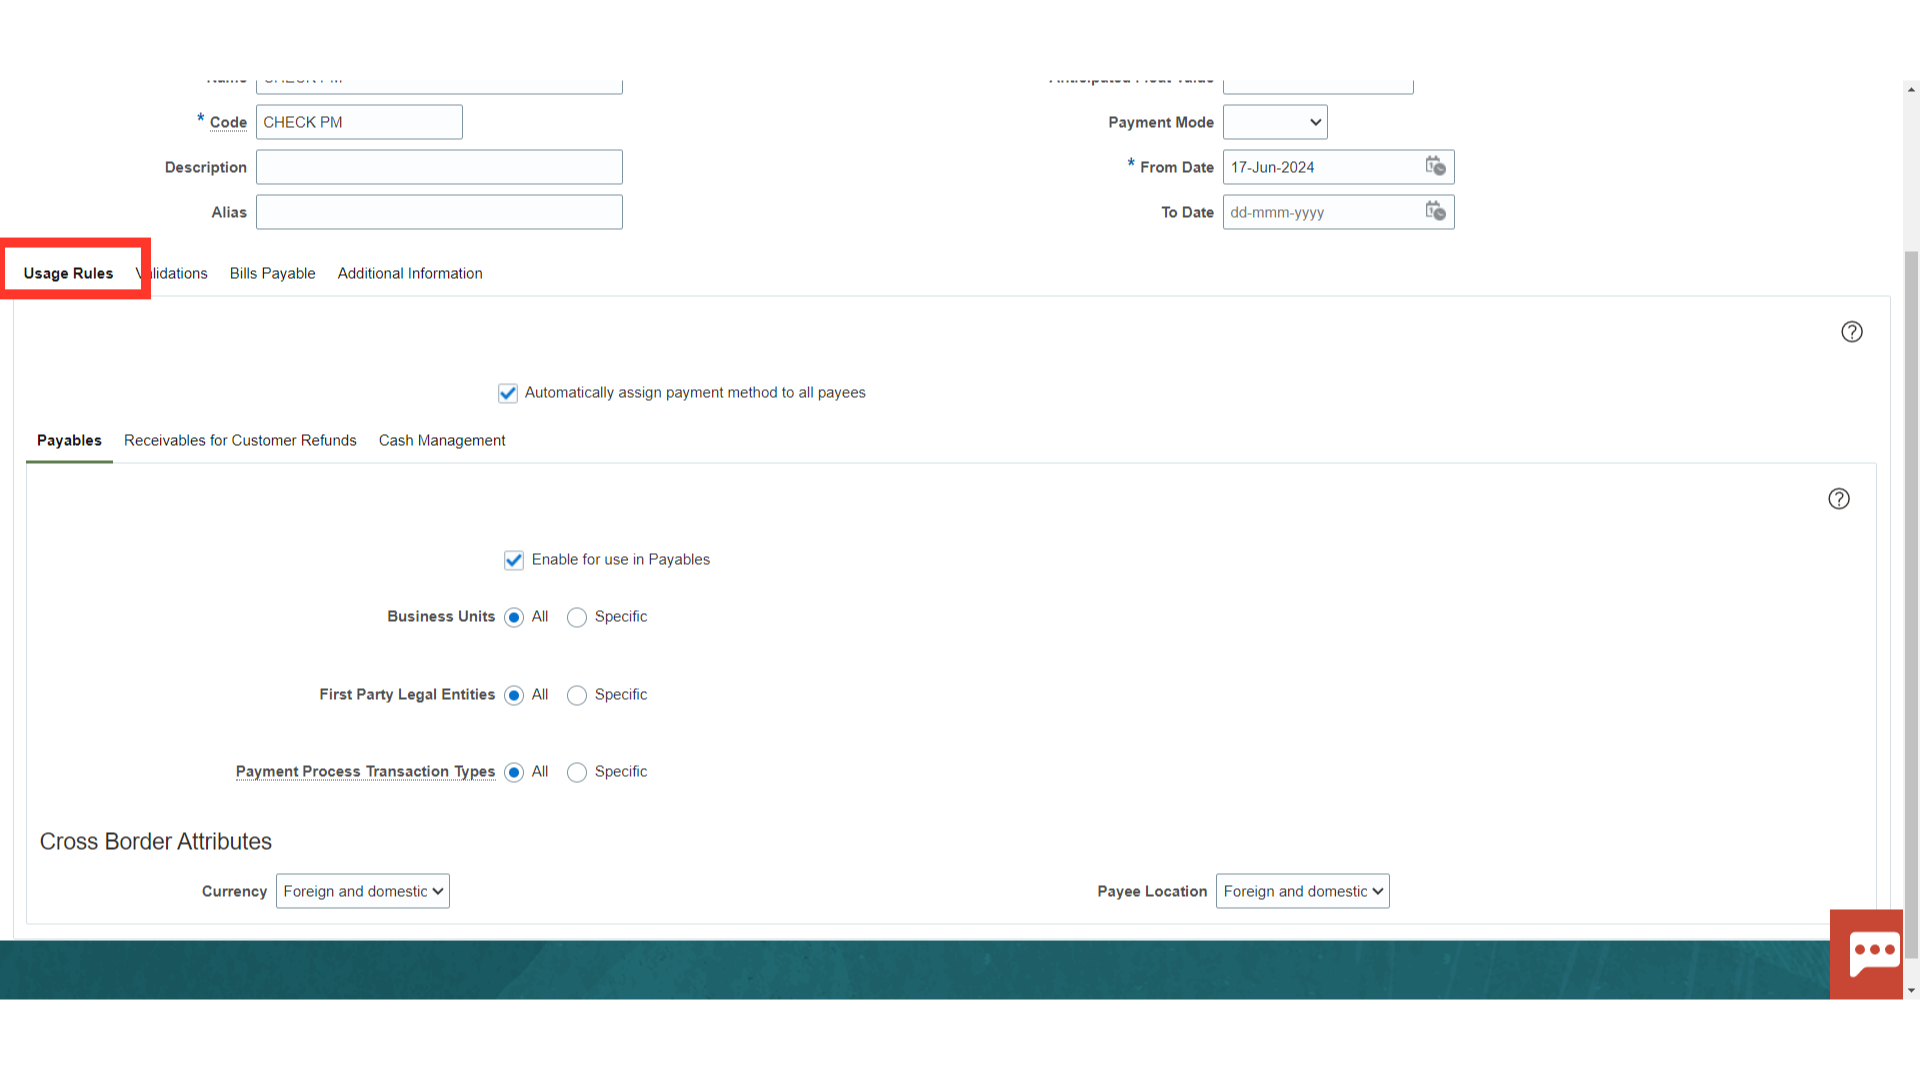
In the Usage Rules tab on the Create Payment Method page, you decide whether to assign the payment method to one of the following: All payees Specific business units, legal entities, and payment process transaction types for Oracle Fusion Payables Specific business units, legal entities, and payment process transaction types for Oracle Fusion Receivables Specific payment process transaction types for Oracle Fusion Cash Management
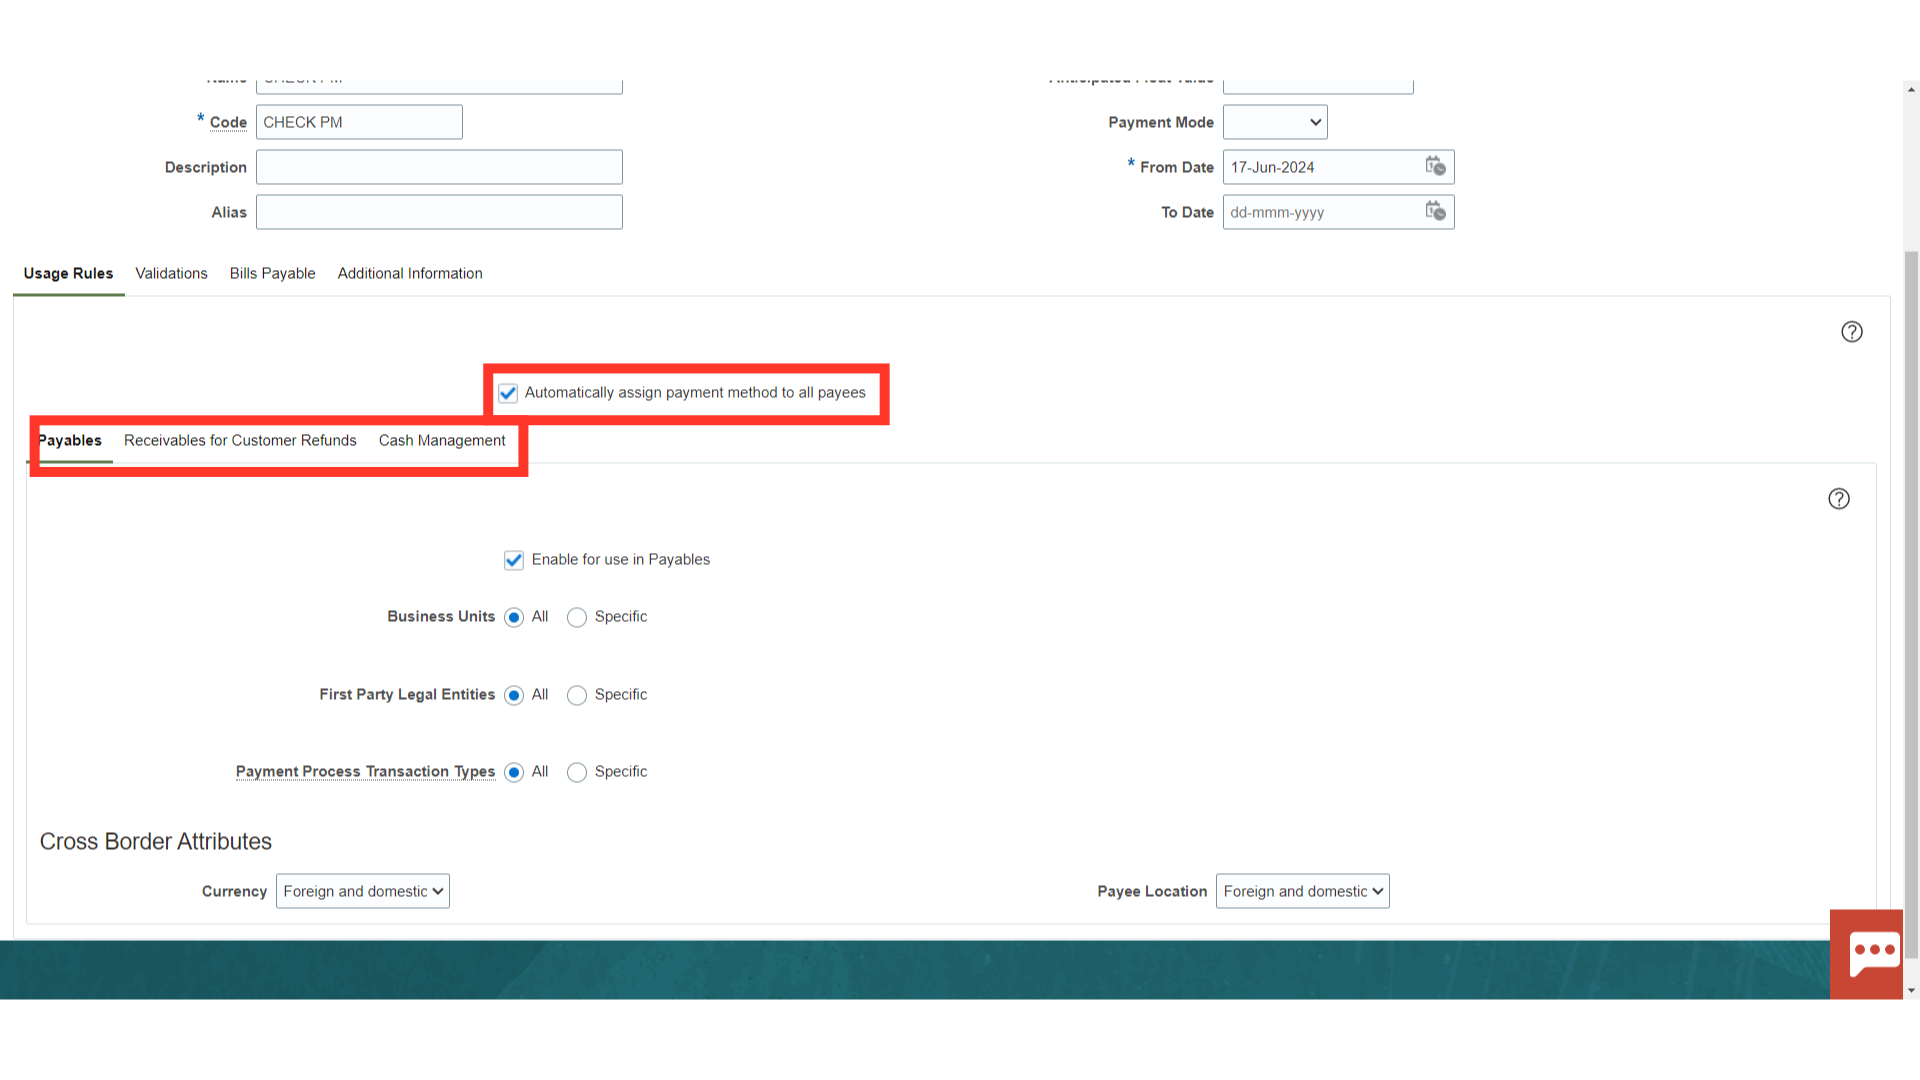
Select Payables to create usage rules for Payables document.
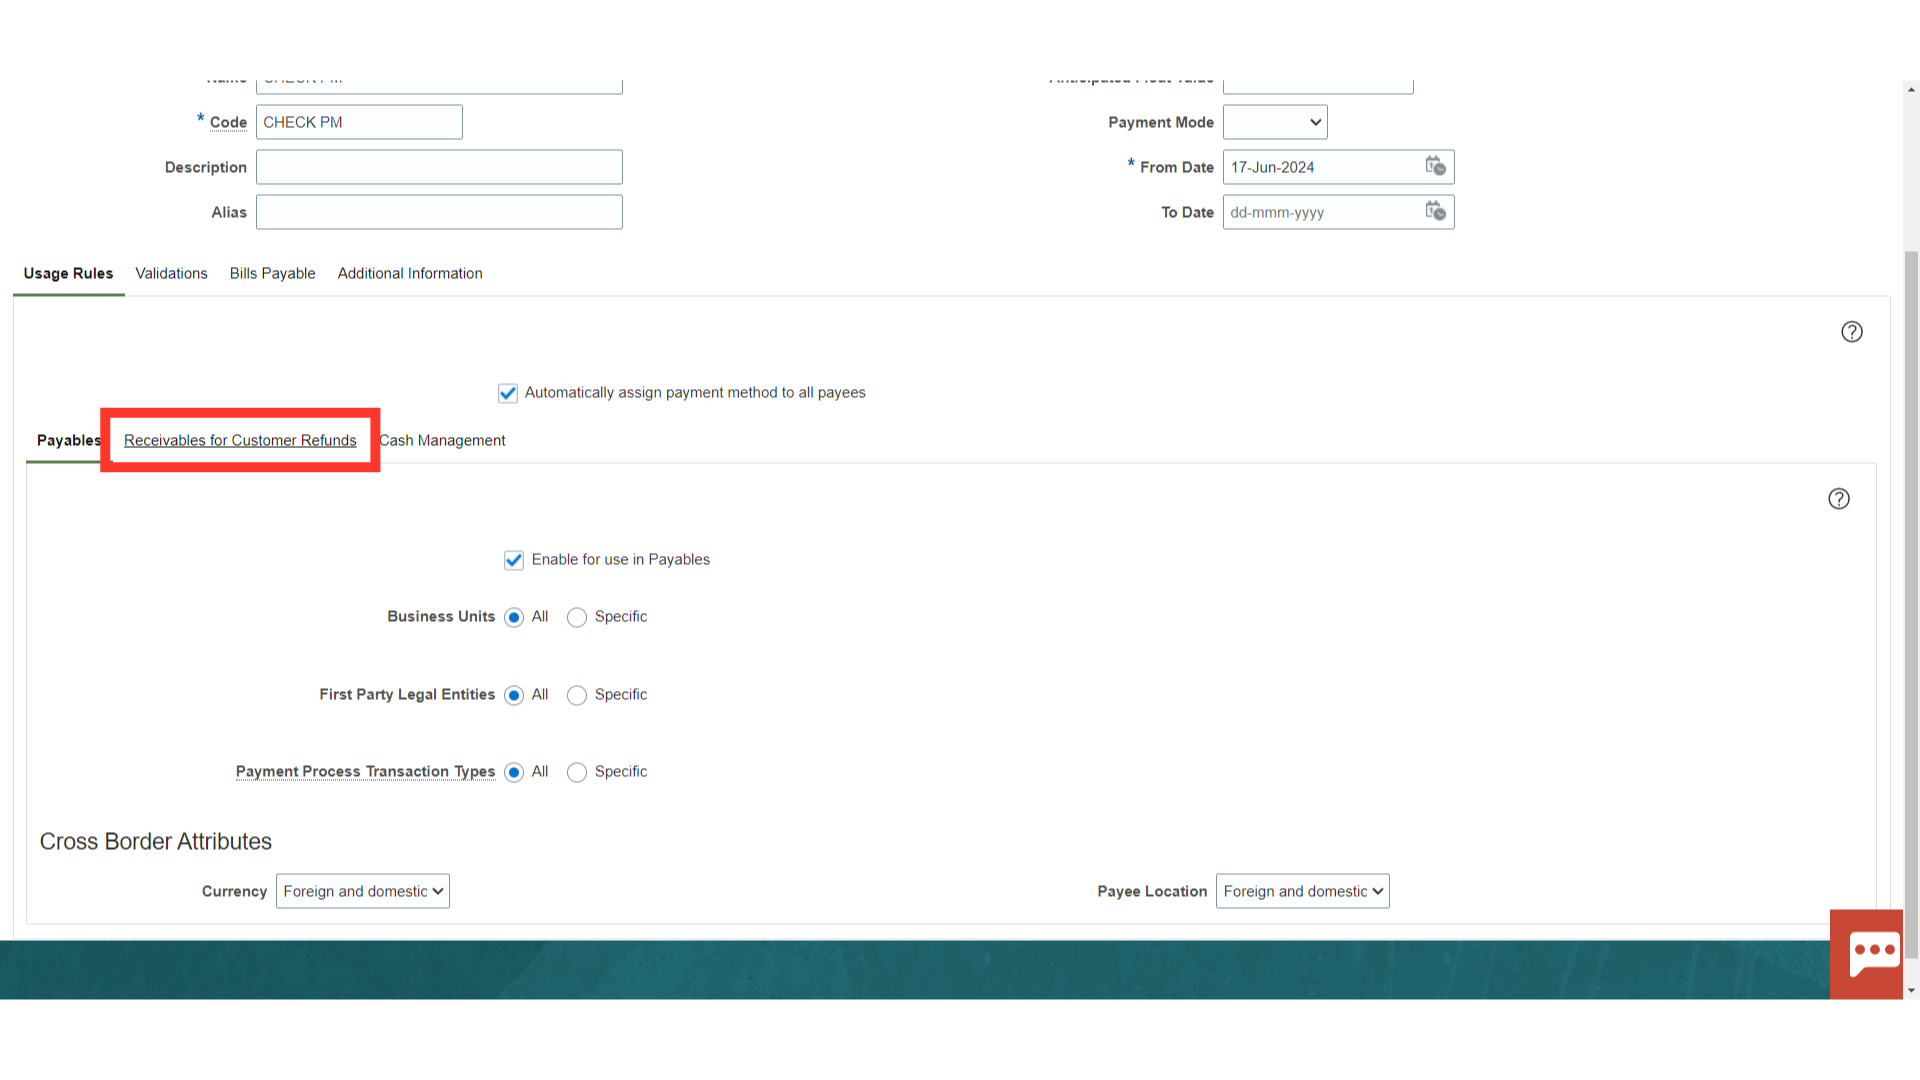
Select “Receivables for Customer Refunds” to create usage rules for Receivables document.
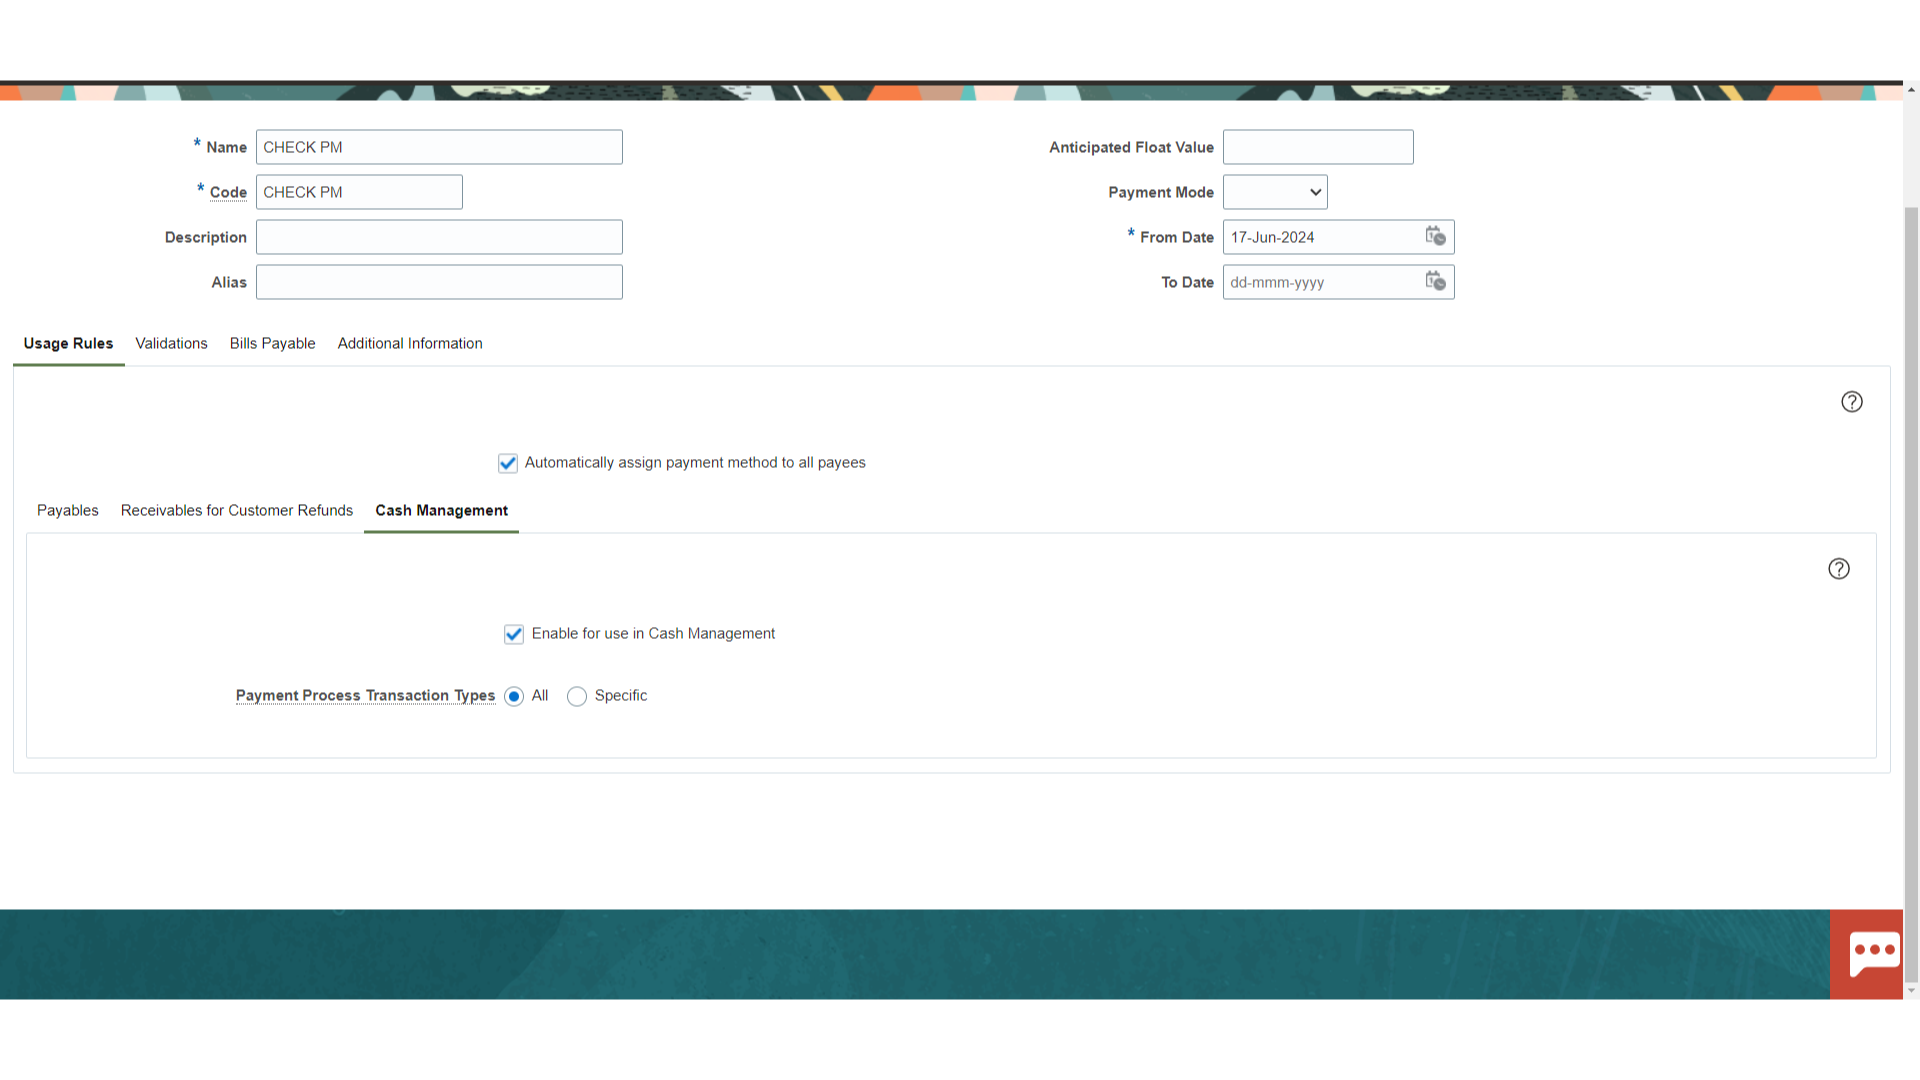
Select Cash Management to create usage rules for Cash management related document.
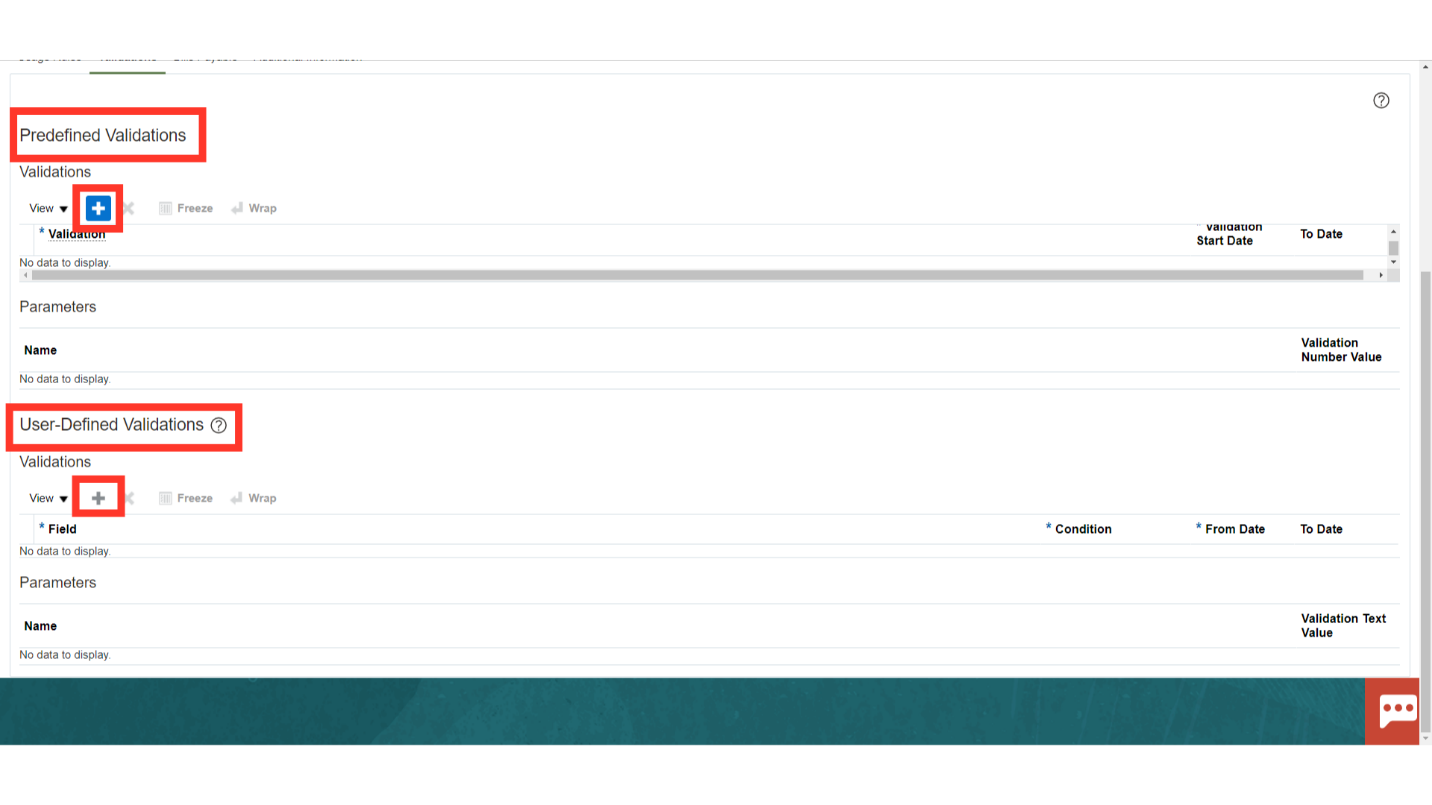
Select “Validations”. In the Validations tab on the Create Payment Method page, you can assign predefined validations to this payment method or create user-defined validations. Validations are rules that check the validity of documents payable, payments, or payment files.
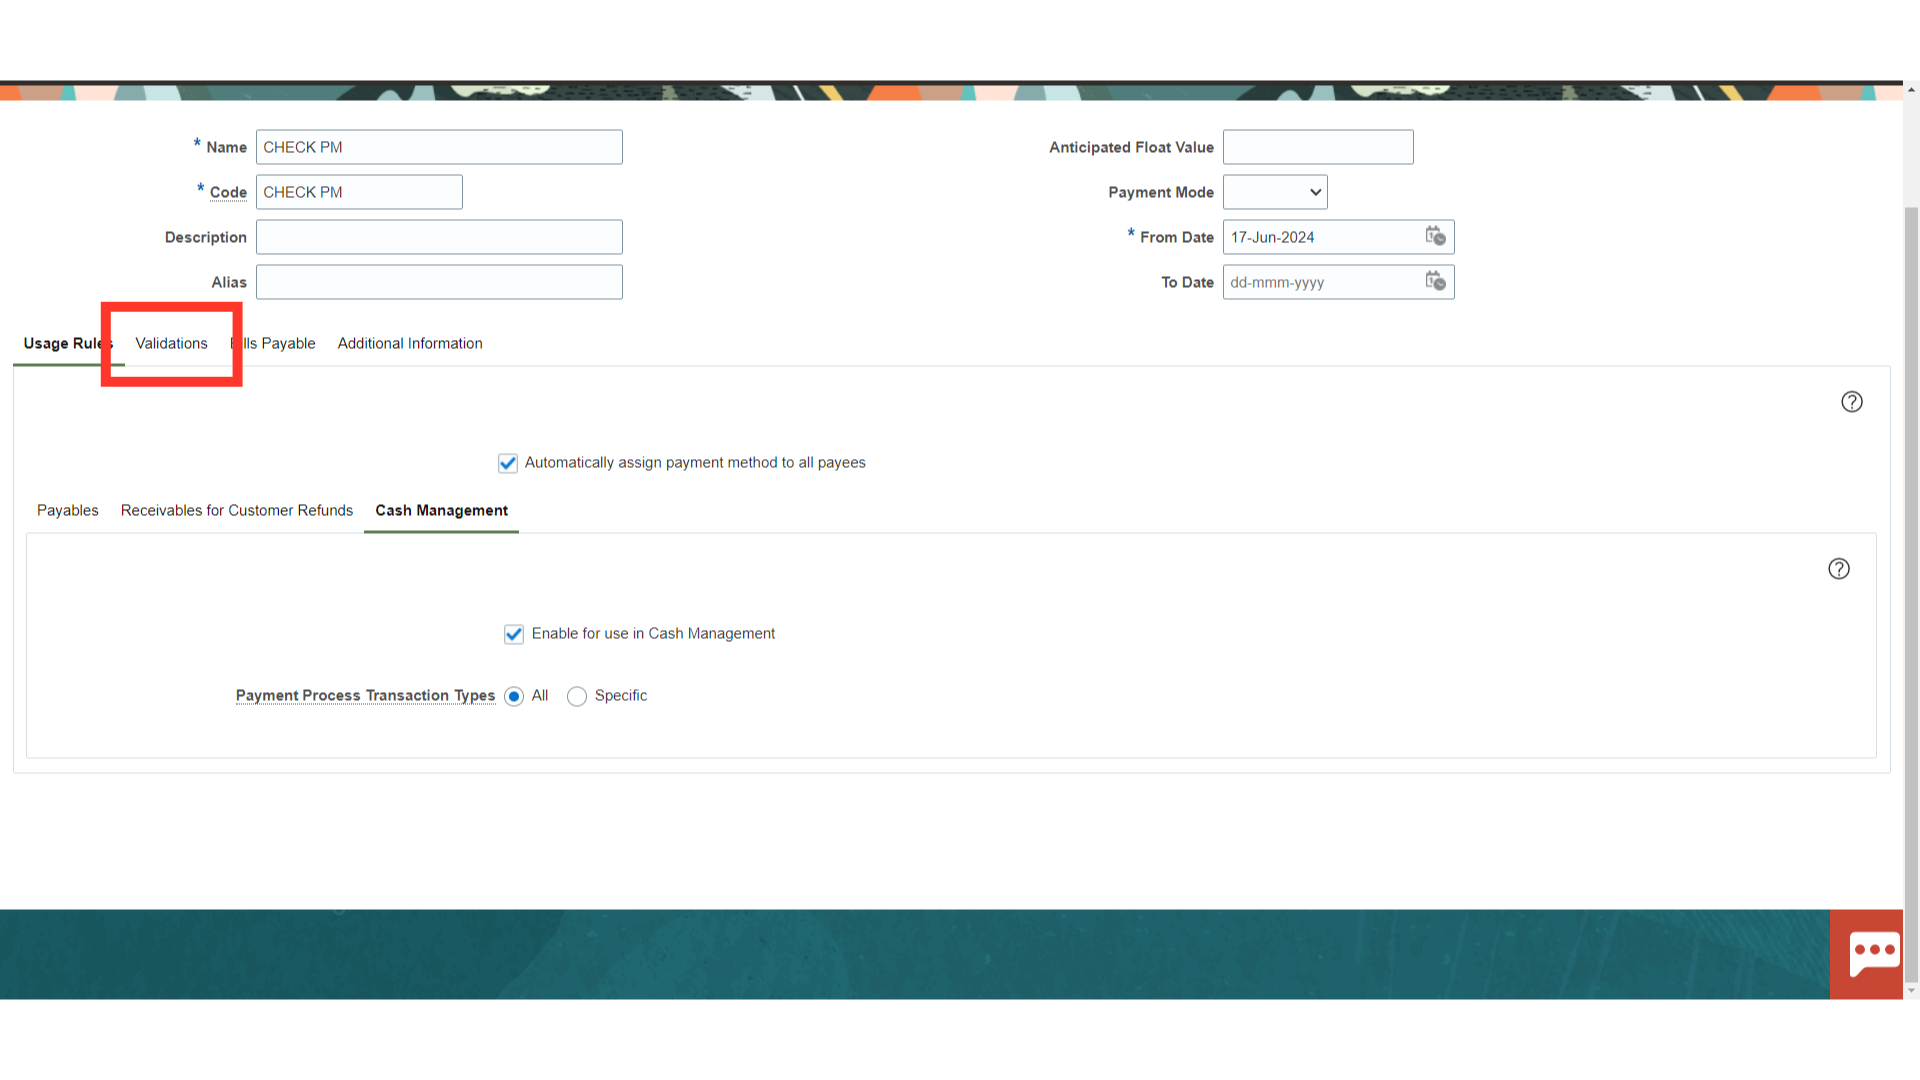
Predefined Validations are the validations already defined for your and already available. Complex groupings of validations can be assigned to payment methods or formats User defined Validations are the validations which you define and you configure. You can specify one attribute at a time during implementation. You can make them completely granular. Click on ‘Plus’ to add these validations.
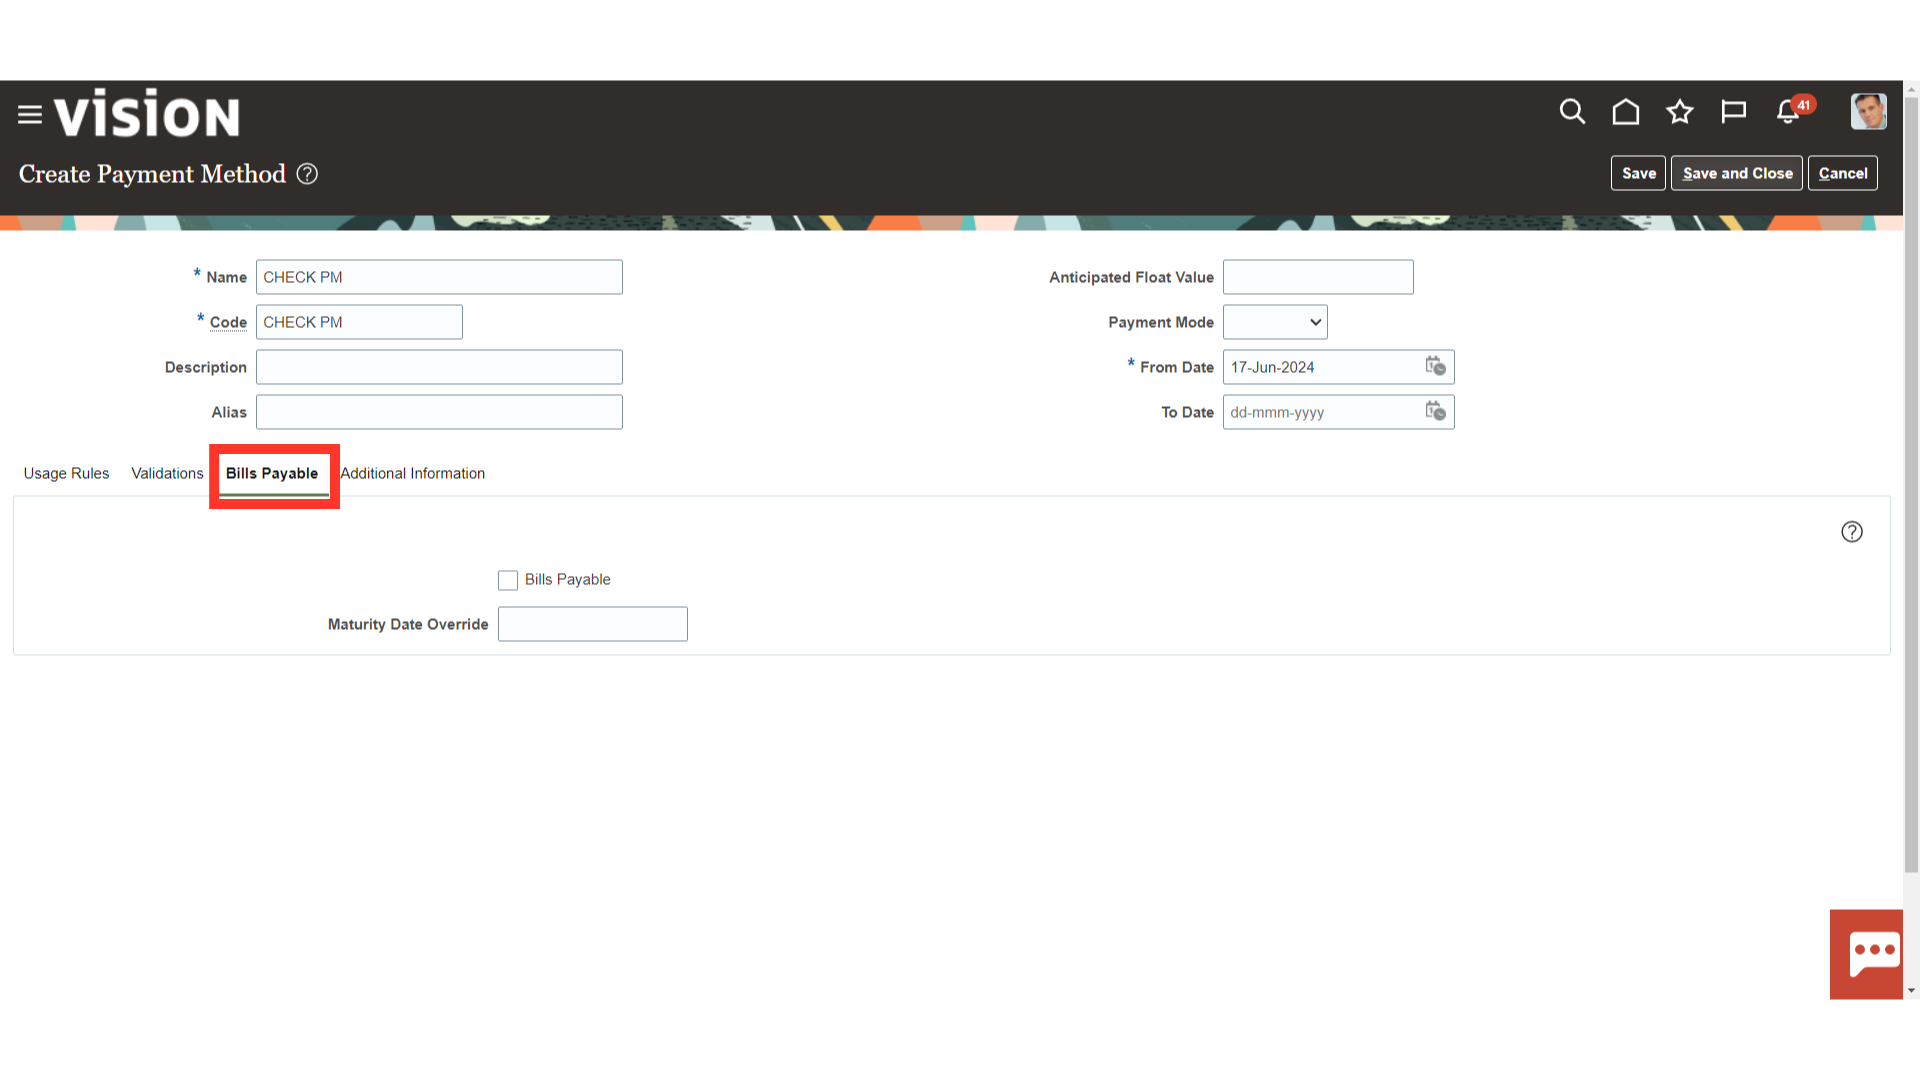
In Oracle Payments, define a payment method for bills payable as follows: Select the Use Payment Method to Issue Bills Payable check box to indicate that the payment method is to be used to issue bills payable. In the Maturity Date Calculation field, specify the number of days to add to the payment date to determine the maturity date.
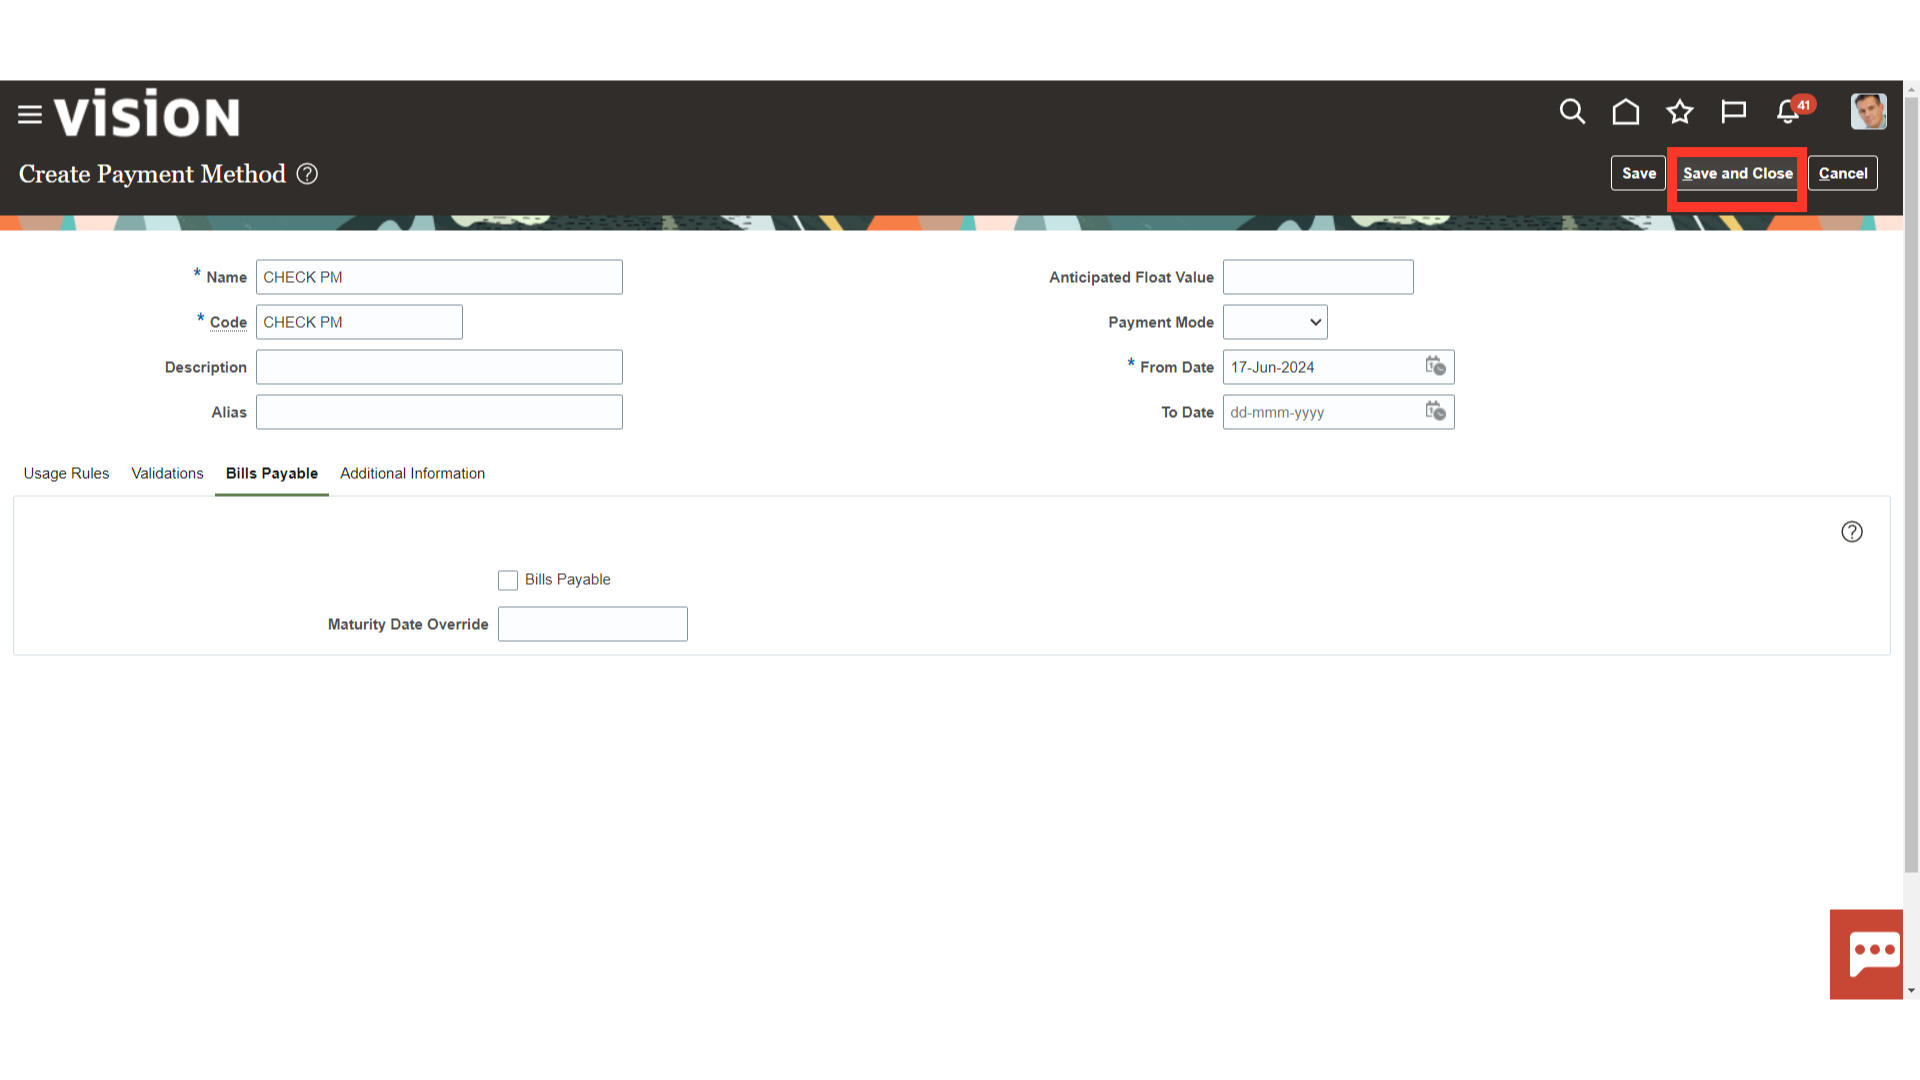
Click on Save and Close to save the Payment method created and to start using it.
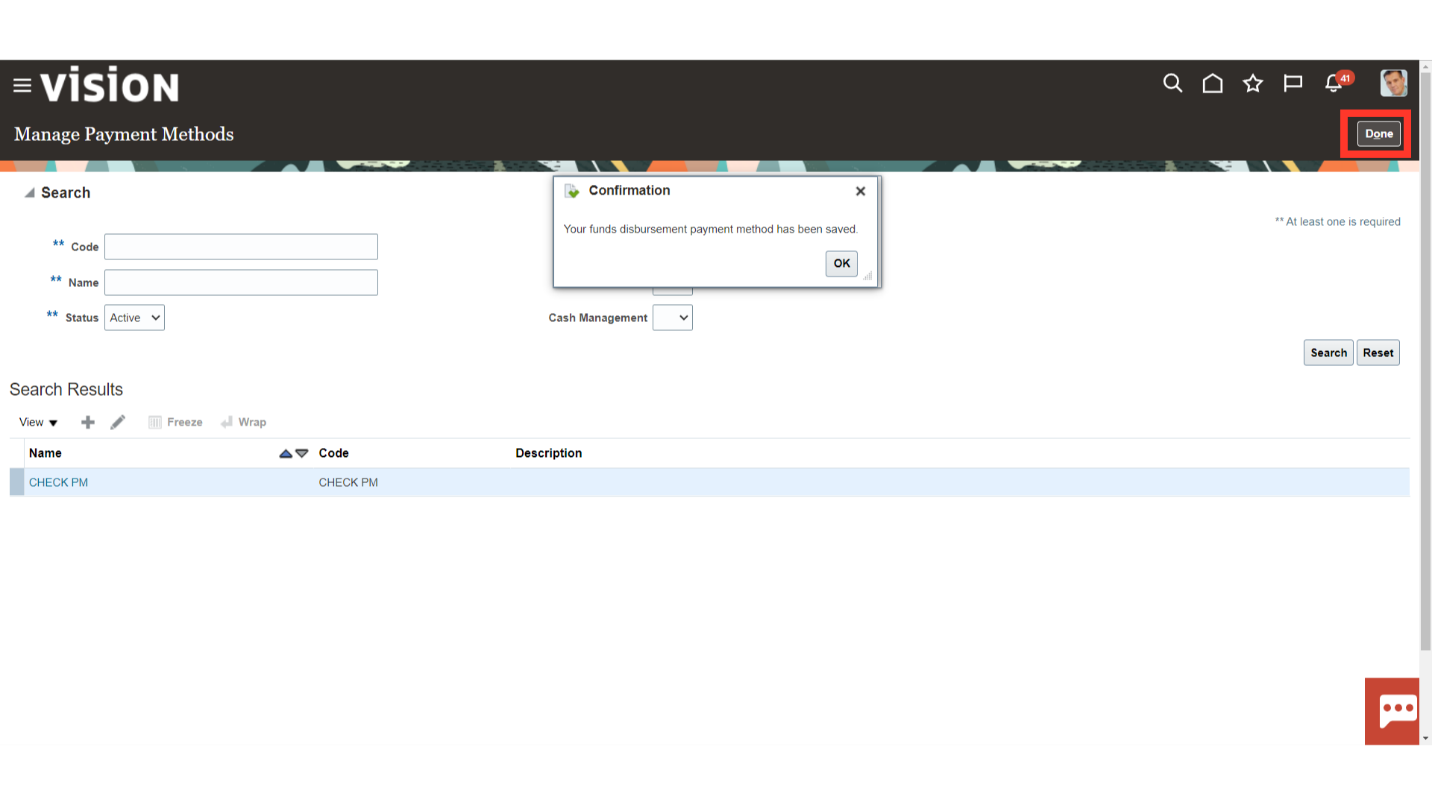
Click on Done.
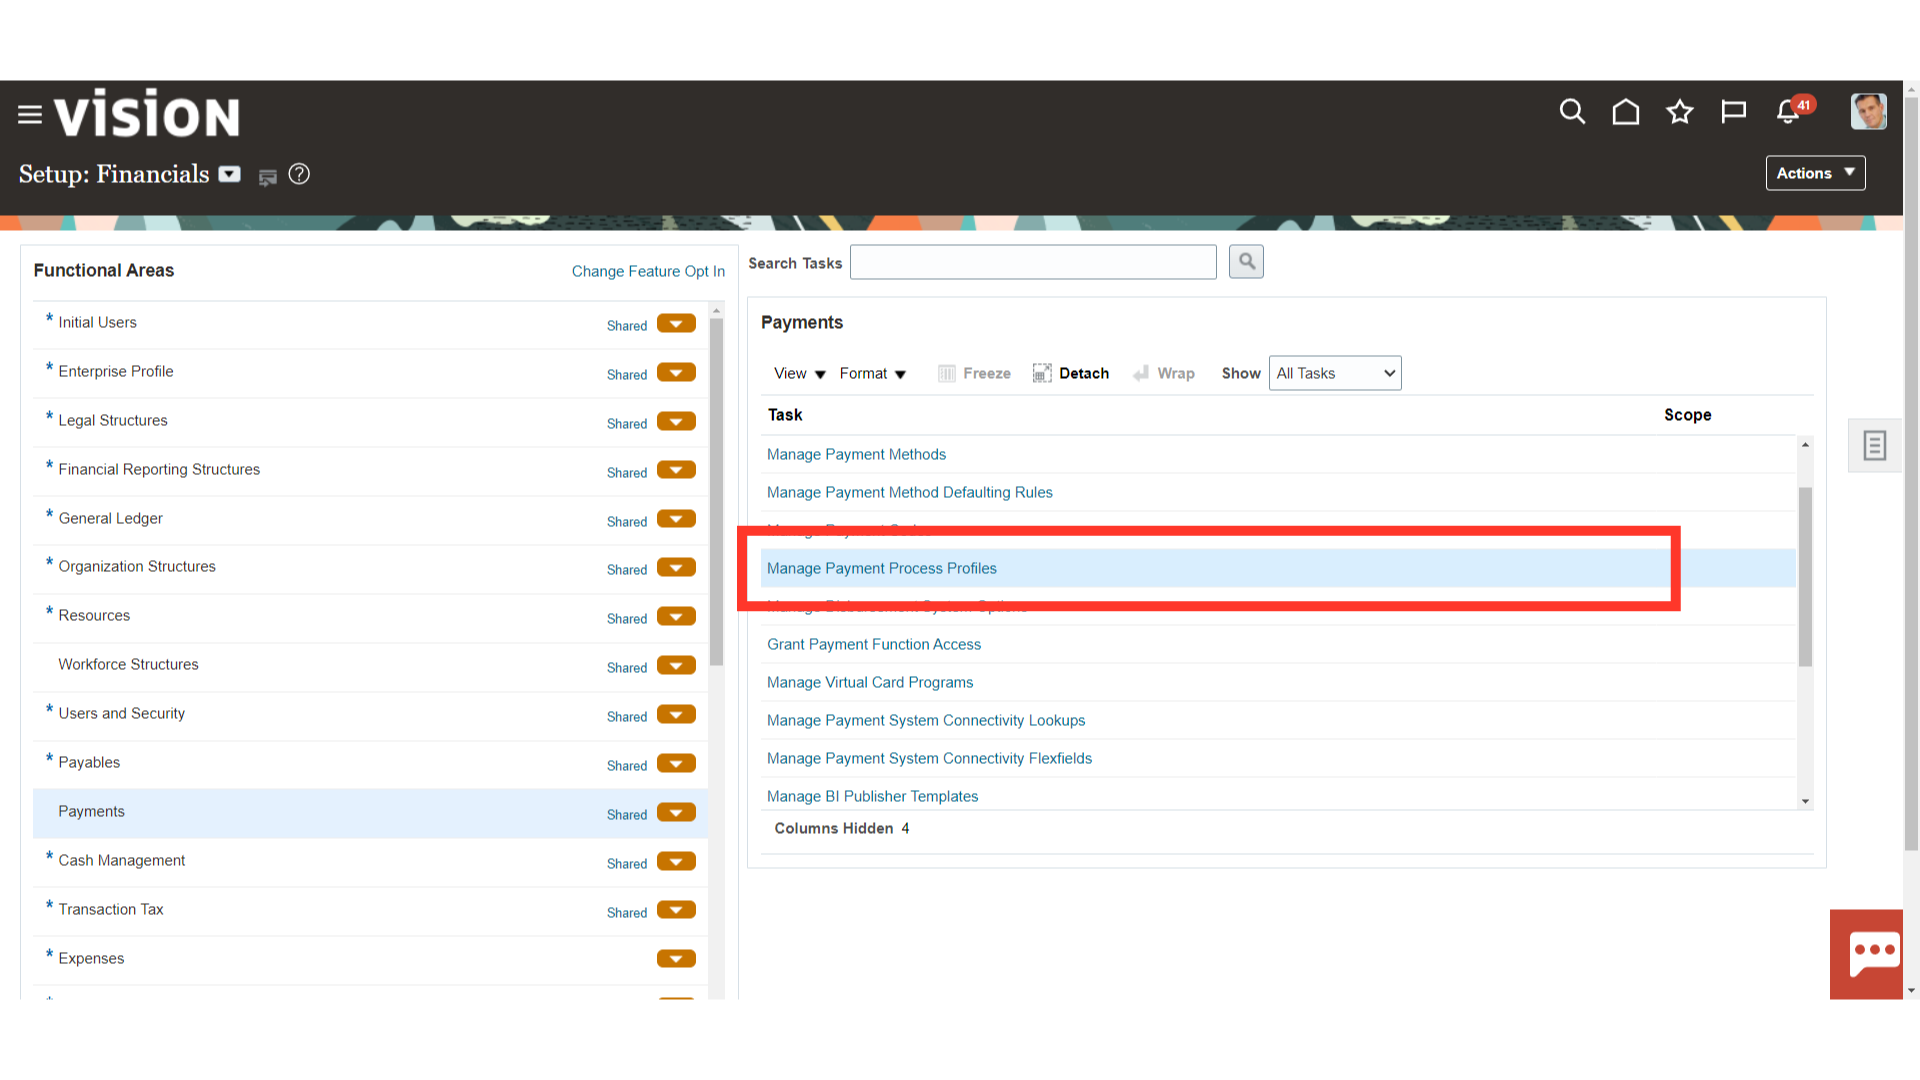
From the list of tasks select ‘Manage Payment Process Profiles’ A payment process profile is a setup entity that controls payment processing. The payment method and other invoice attributes drive the assignment of a payment process profile to each document payable.
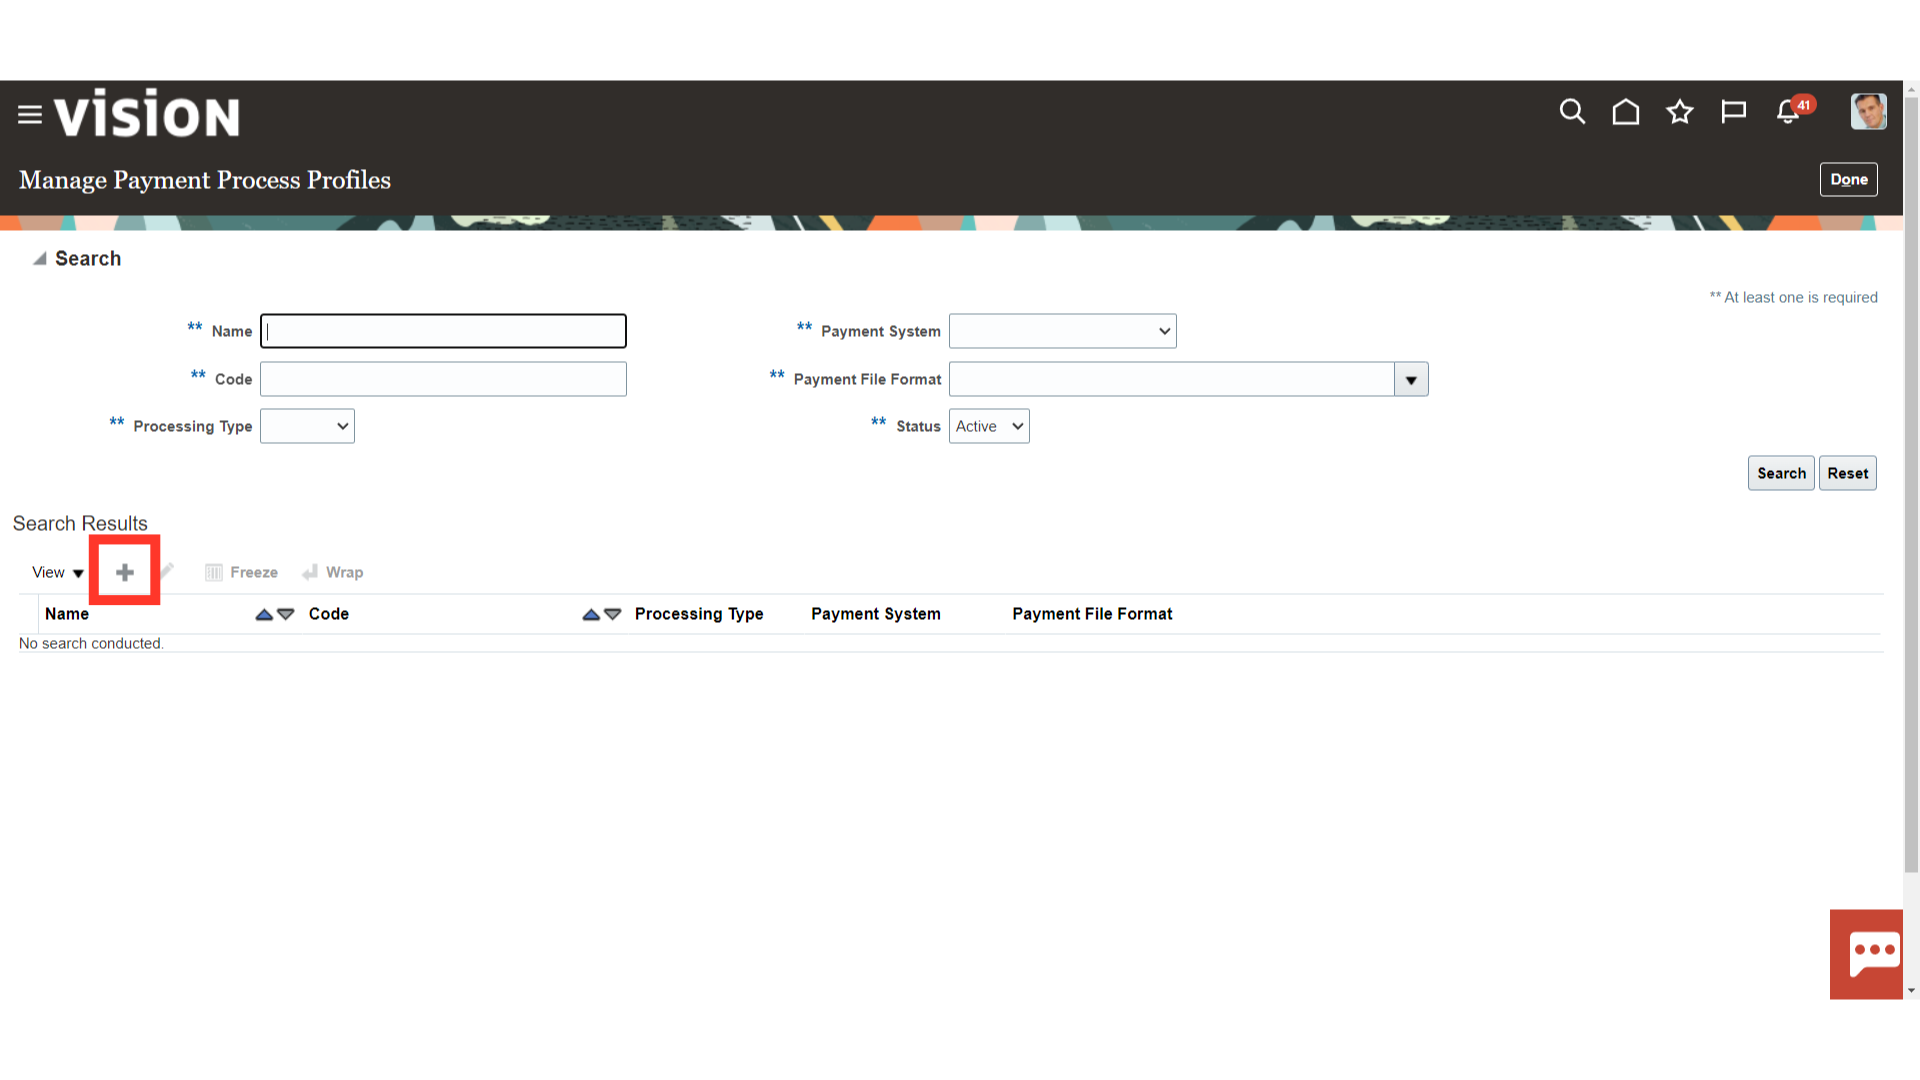
Click on Plus icon to create Payment Process Profile.
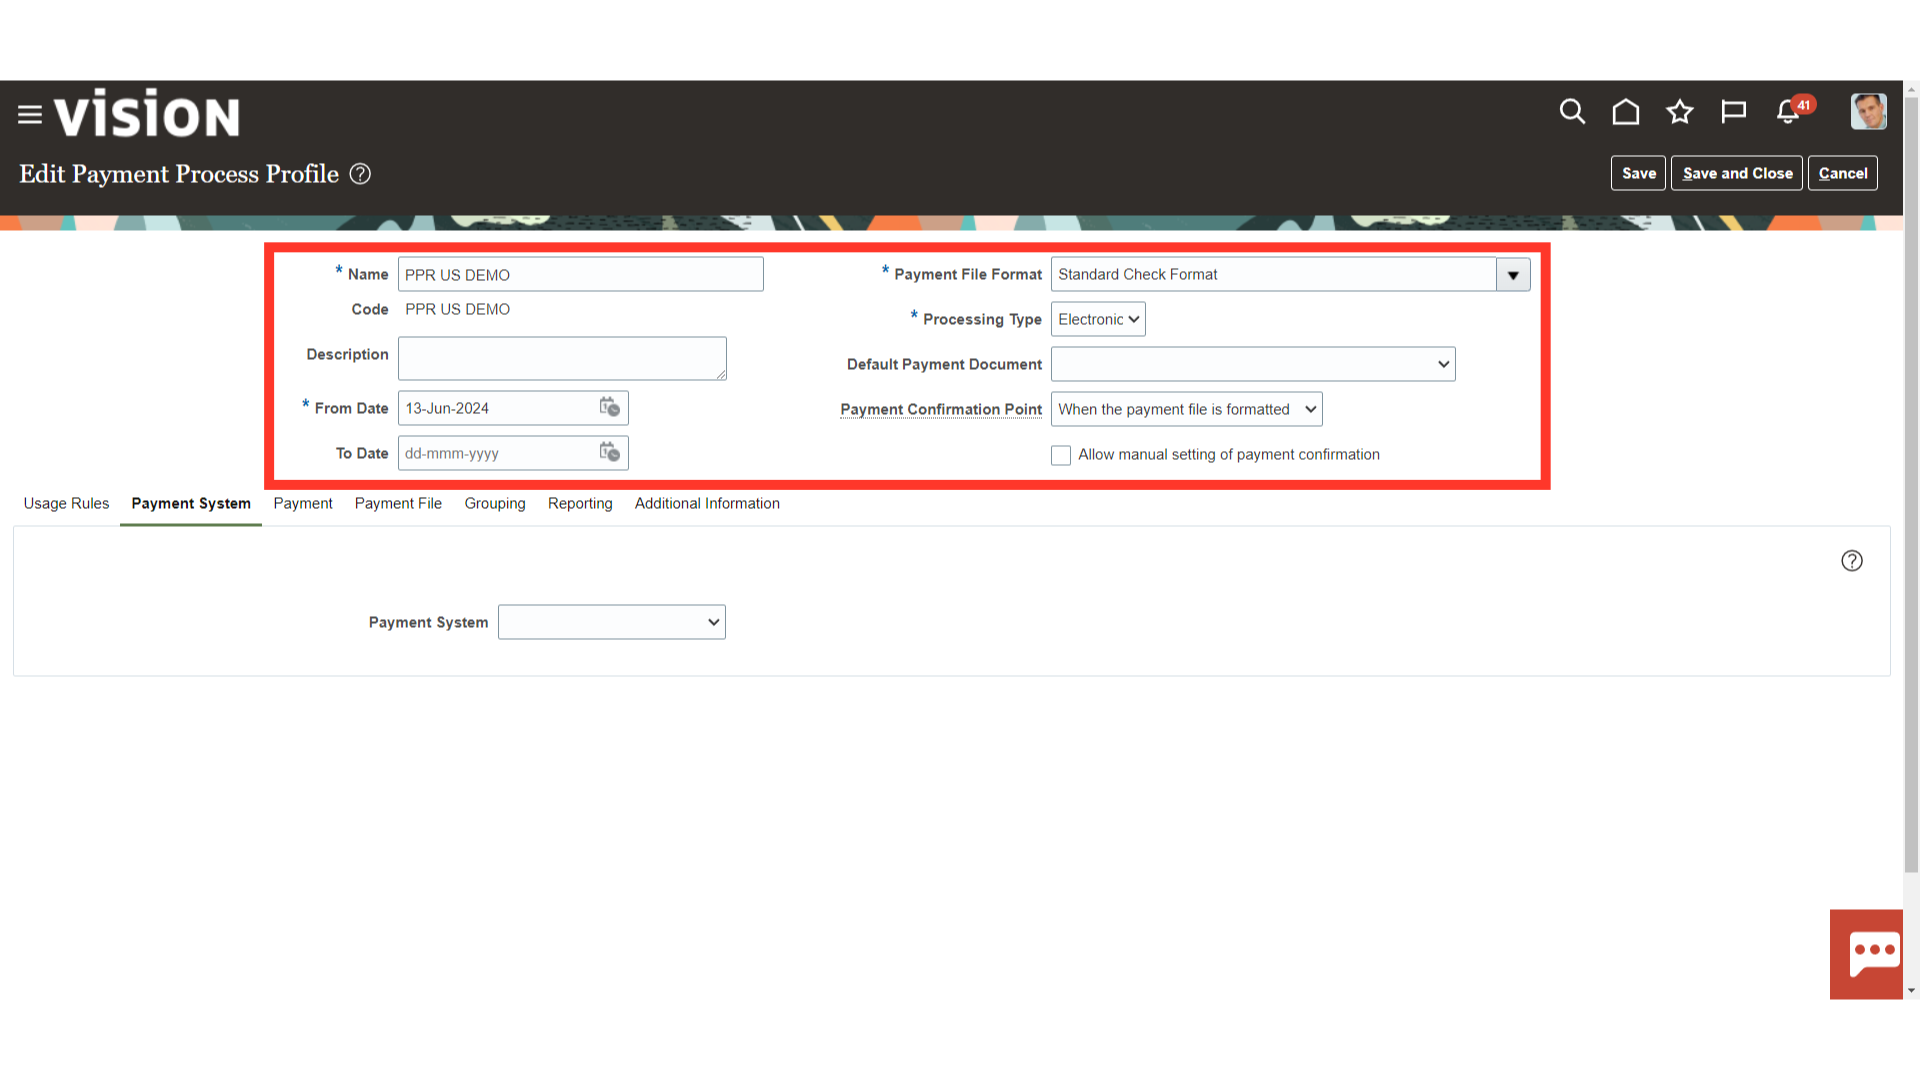
Enter the data in the following fields : Name : The name to recognise the Payment Process Profile (PPP) Code : It is the backend value that is used by Oracle tables to recognise the data From Date : The date from which the PPP is to be used. Payment File Format : Select the File format in which the payment file would be generated and which will be further used to process the payment. Processing Type : If you use the payment process profile for electronic payments, you select a payment system and enter details for the payment system account. This action allows Payments to electronically transmit files to the payment system. If you use the payment process profile for printed payments, you don’t require a payment system. However, you can optionally select a payment system and transmission details so that Payments can electronically transmit positive pay files to your bank. Payment Confirmation point : specify the point at which an electronic payment file is automatically confirmed.
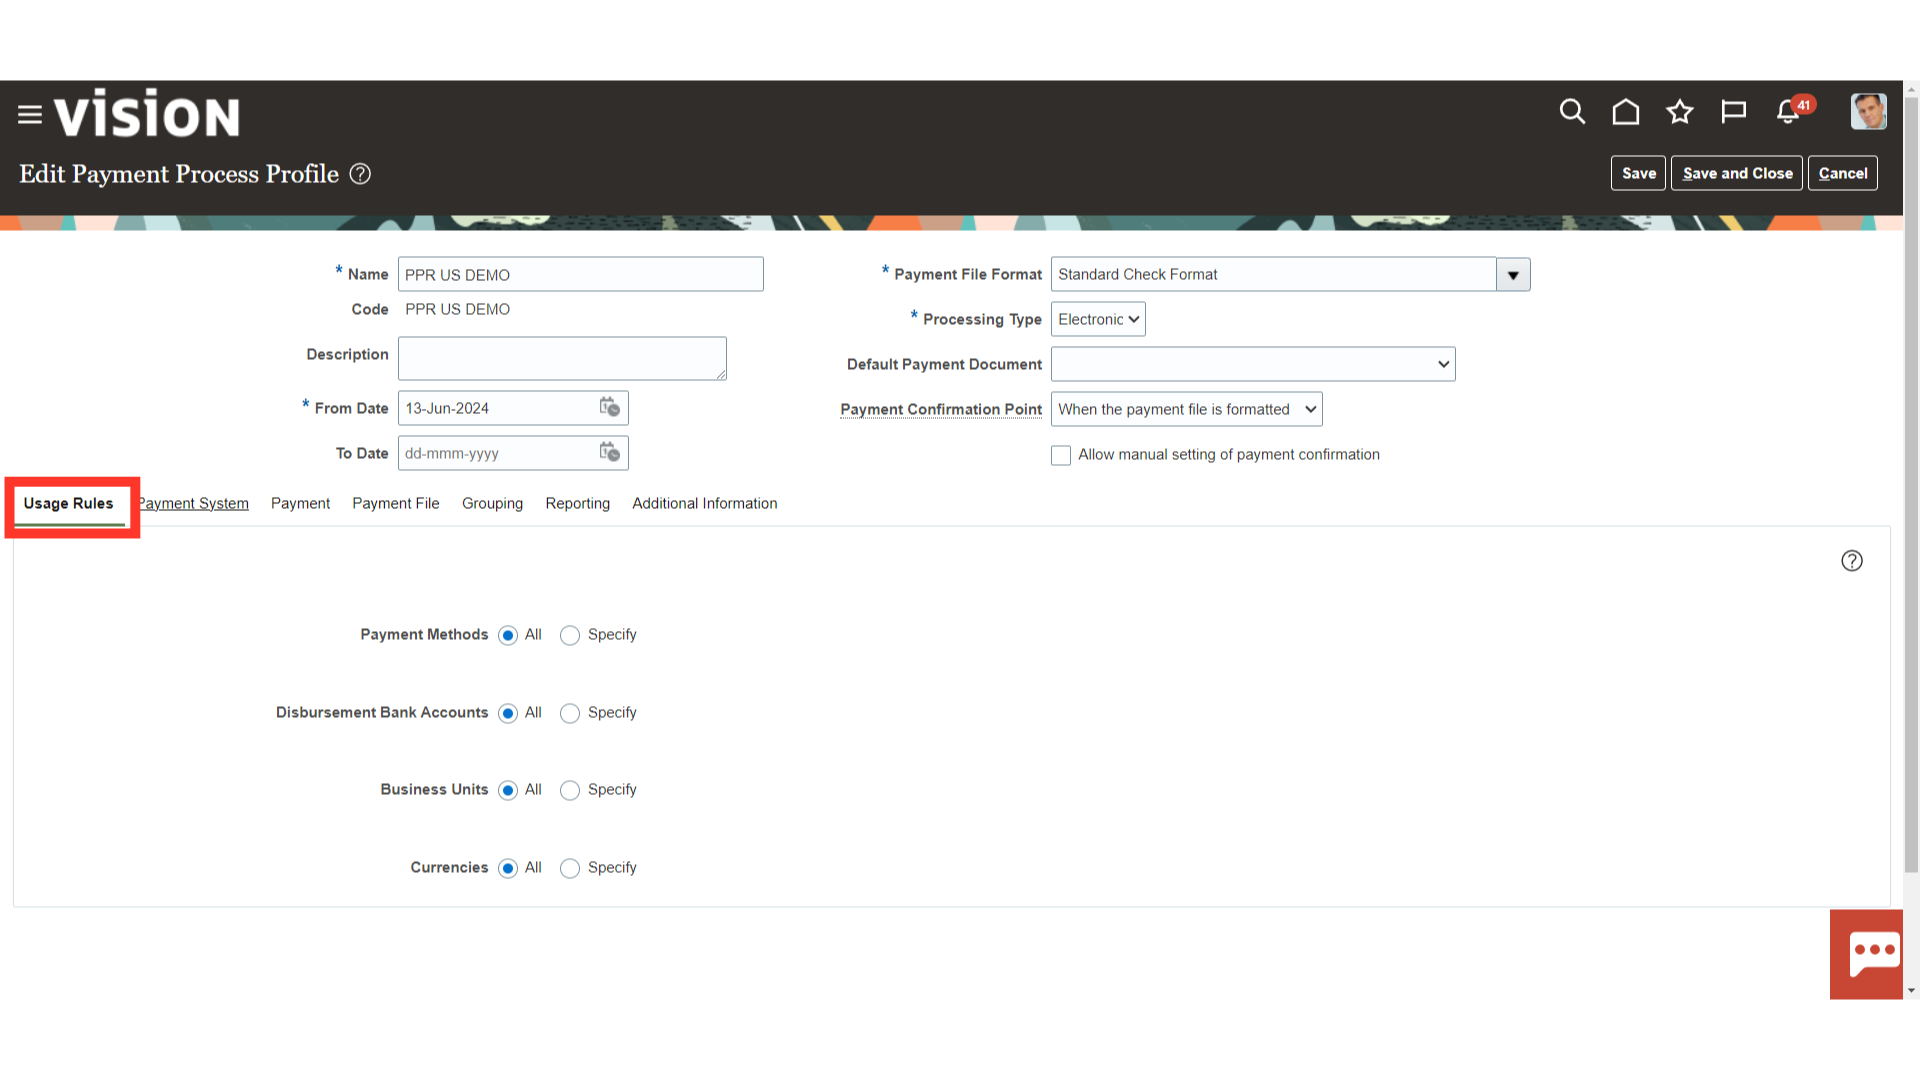
You can set up a payment process profile used only with specific variables that appear on the Usage Rules tab: Payment method Disbursement bank account Business unit Currency Only the documents payable using this usages defined will use this payment process profile.
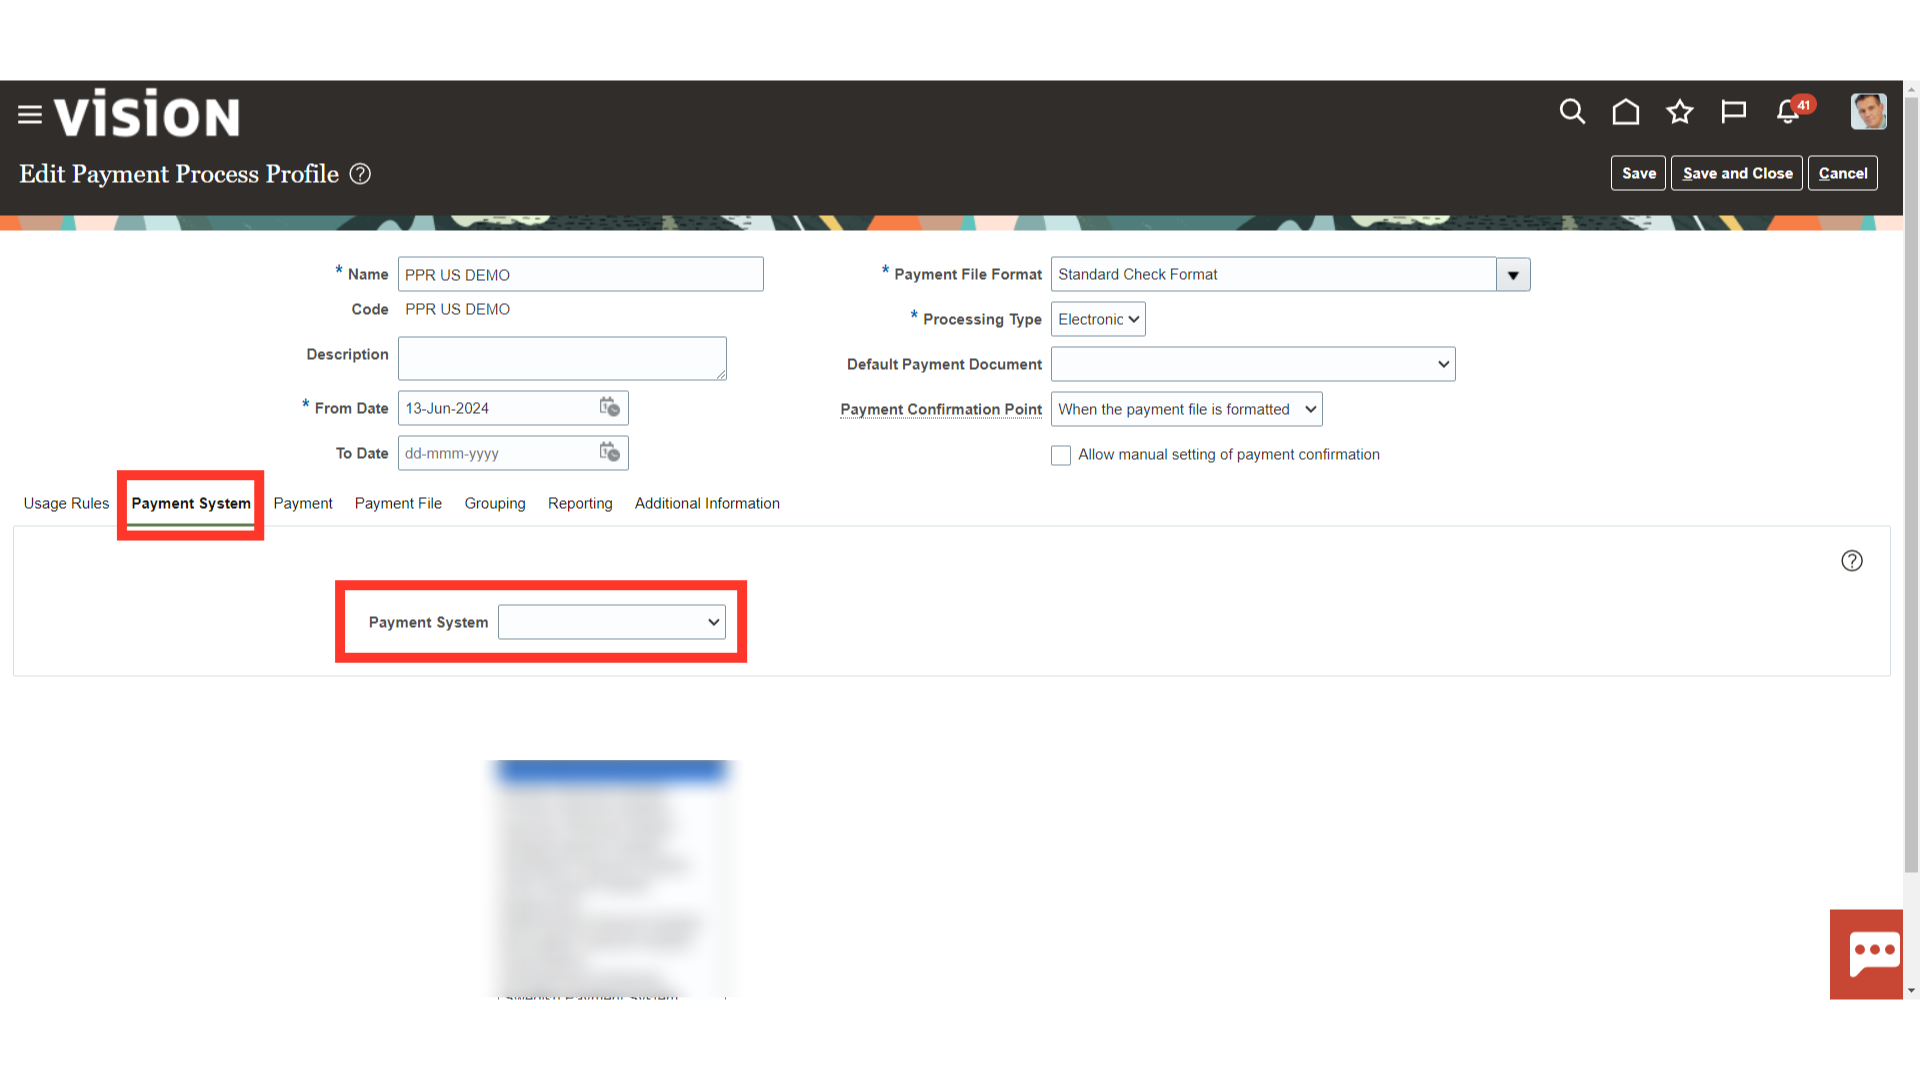
Click on the Payment system tab to select the payment system. If you use the payment process profile for electronic payments, you select a payment system and enter details for the payment system account. This action allows Payments to electronically transmit files to the payment system. If you use the payment process profile for printed payments, you don’t require a payment system. However, you can optionally select a payment system and transmission details so that Payments can electronically transmit positive pay files to your bank.
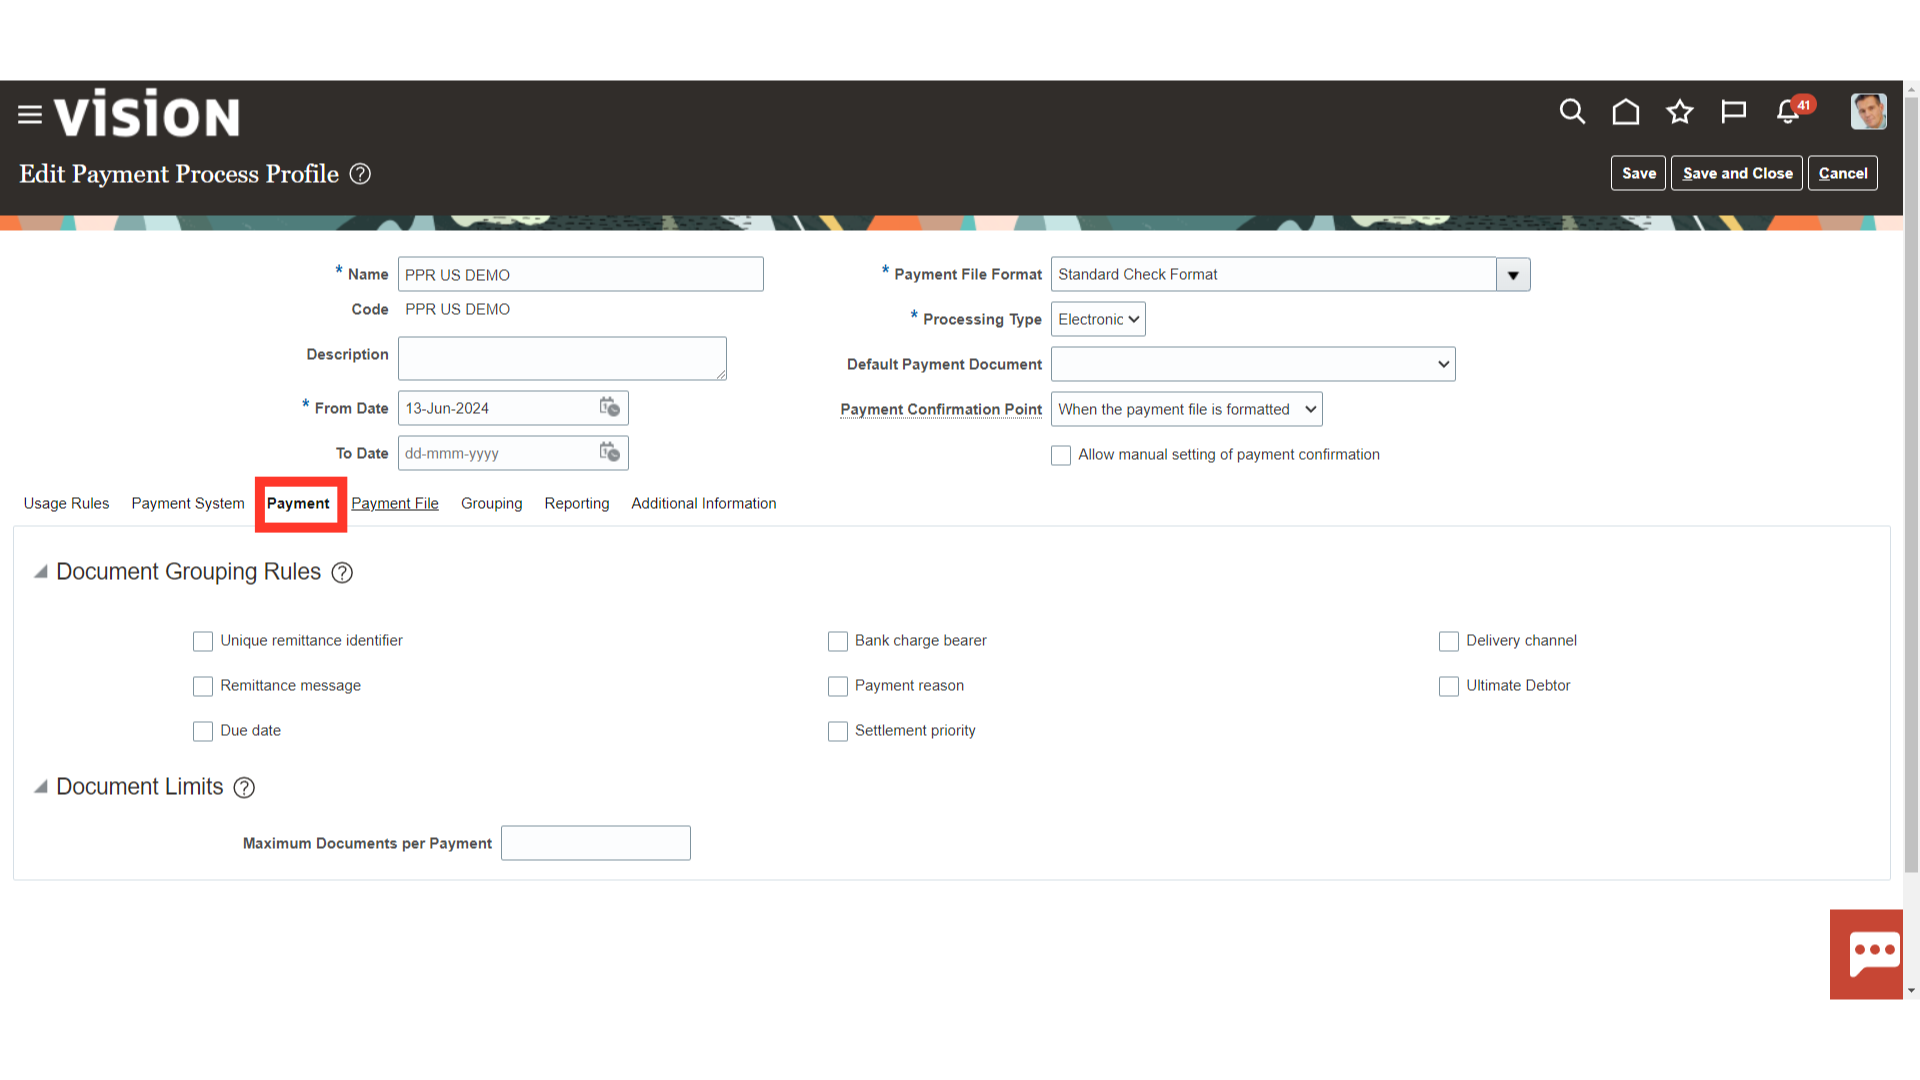
Select the Payment Tab to define grouping rules in a payment. On the Payment tab, an attribute might have an enabled grouping rule. This means that two documents payable that share the same value for an attribute are grouped into the same payment. If values are different, the documents payable are in separate payments. A disabled grouping rule for an attribute means that the attribute won’t apply when documents payable are built into payments.
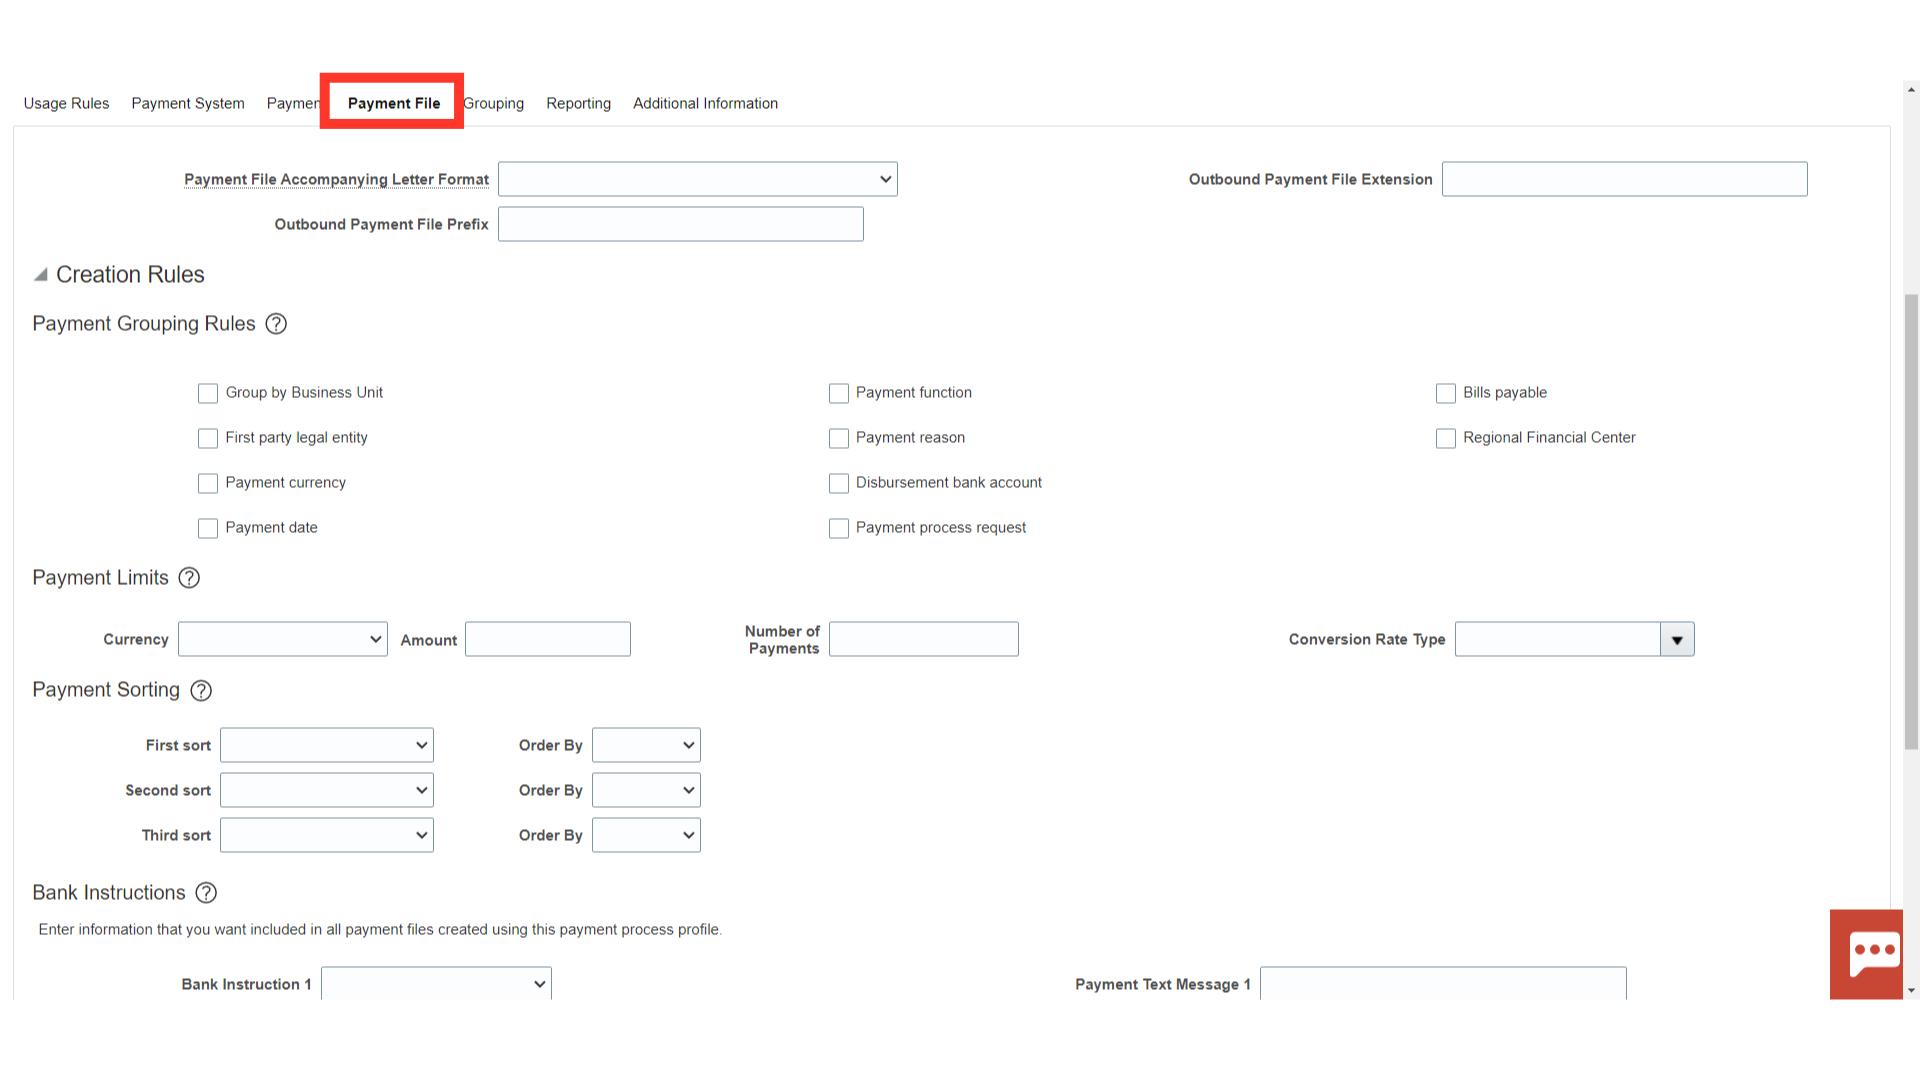
On the Payment File tab, you specify payment grouping rules that determine which attributes are considered when grouping payments into payment files. Additionally, you can specify the following. Batch booking: One debit entry is posted for a group, rather than for each credit transaction Overrides: If you select an override option, the payment file contains the service level and delivery channel combination you select, rather than those specified in supplier setup. If you don’t select any override options, the payment file can contain multiple combinations. Payment limits: Limit for the number of payments in a payment file Payment sorting: Payments within a payment file are ordered as specified, which also determines the ordering of payments in the payment file register Bank instructions: Text that you want to include in all payment files created using this payment process profile Periodic sequences in format: Sequential numbering of payment files according to a payment system or bank’s requirements.
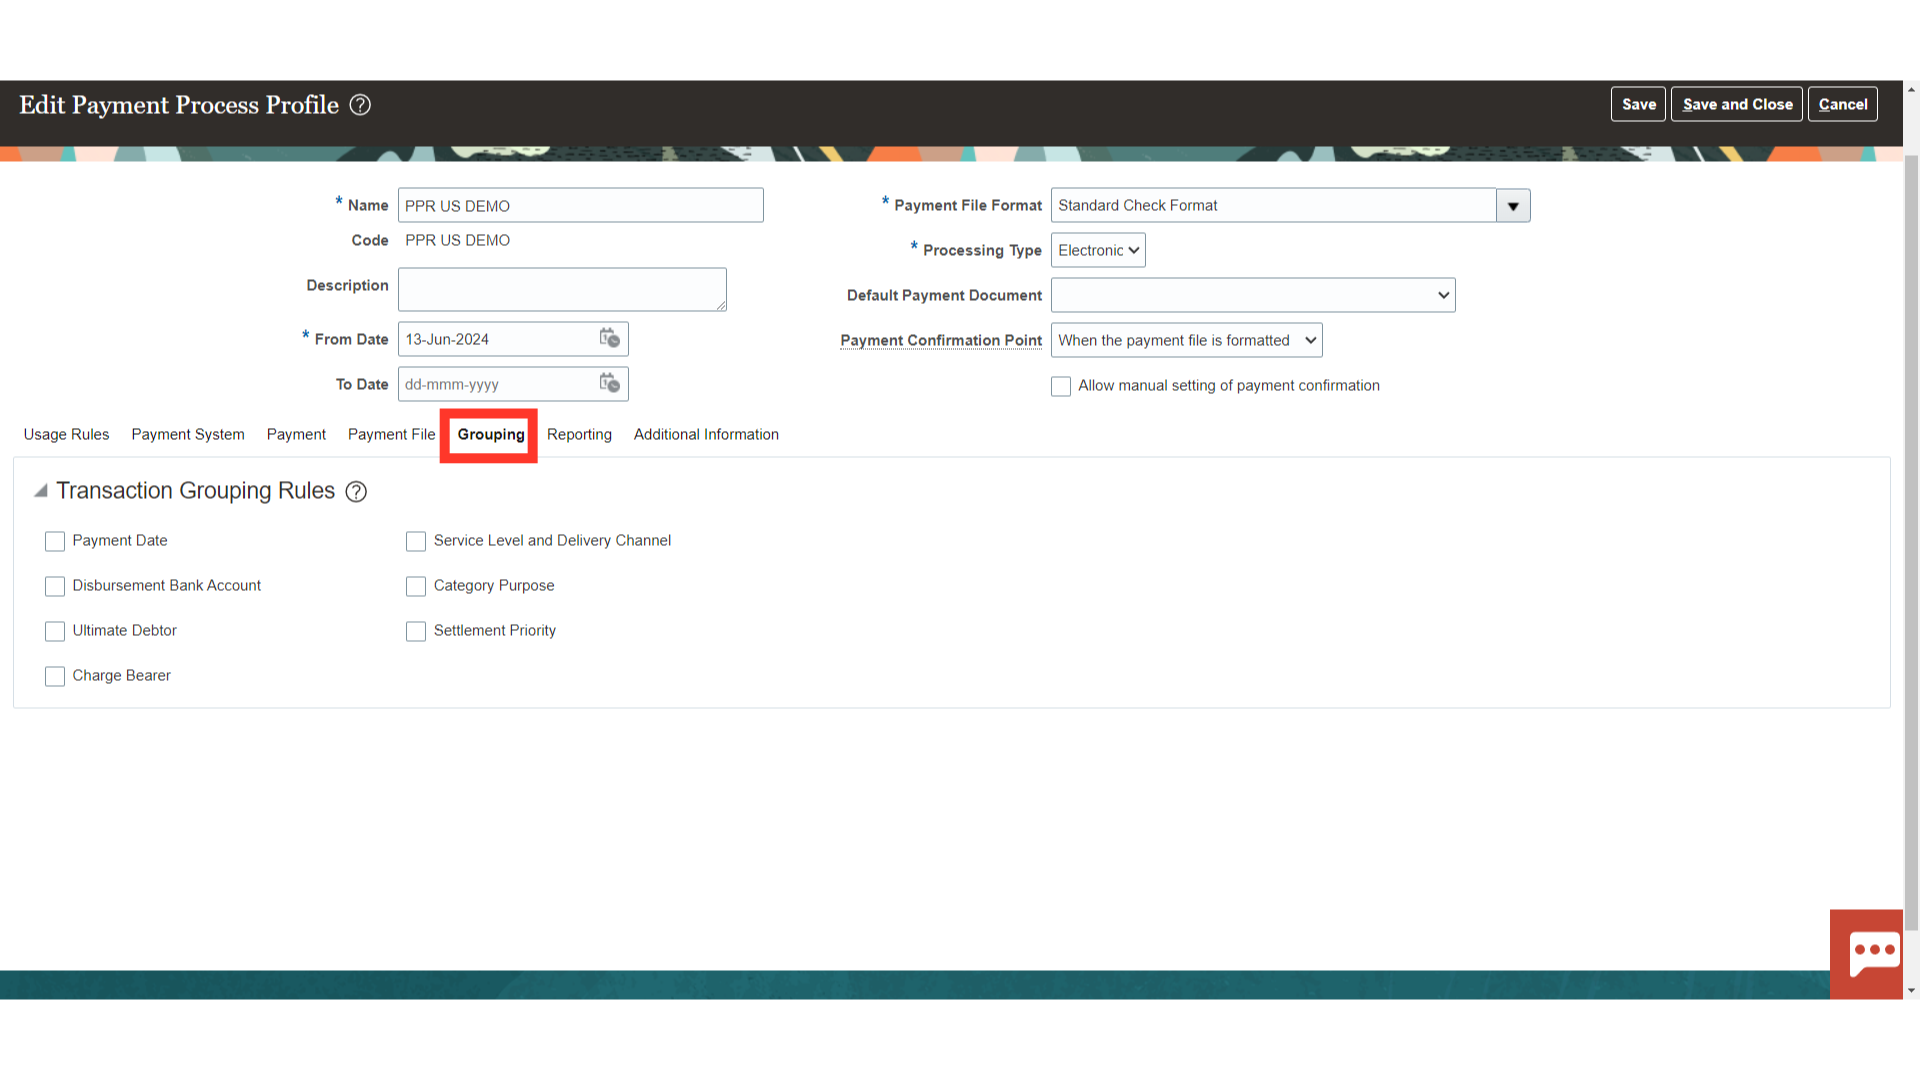
Select “Grouping” to further define grouping rule to group the payments into a payment file.
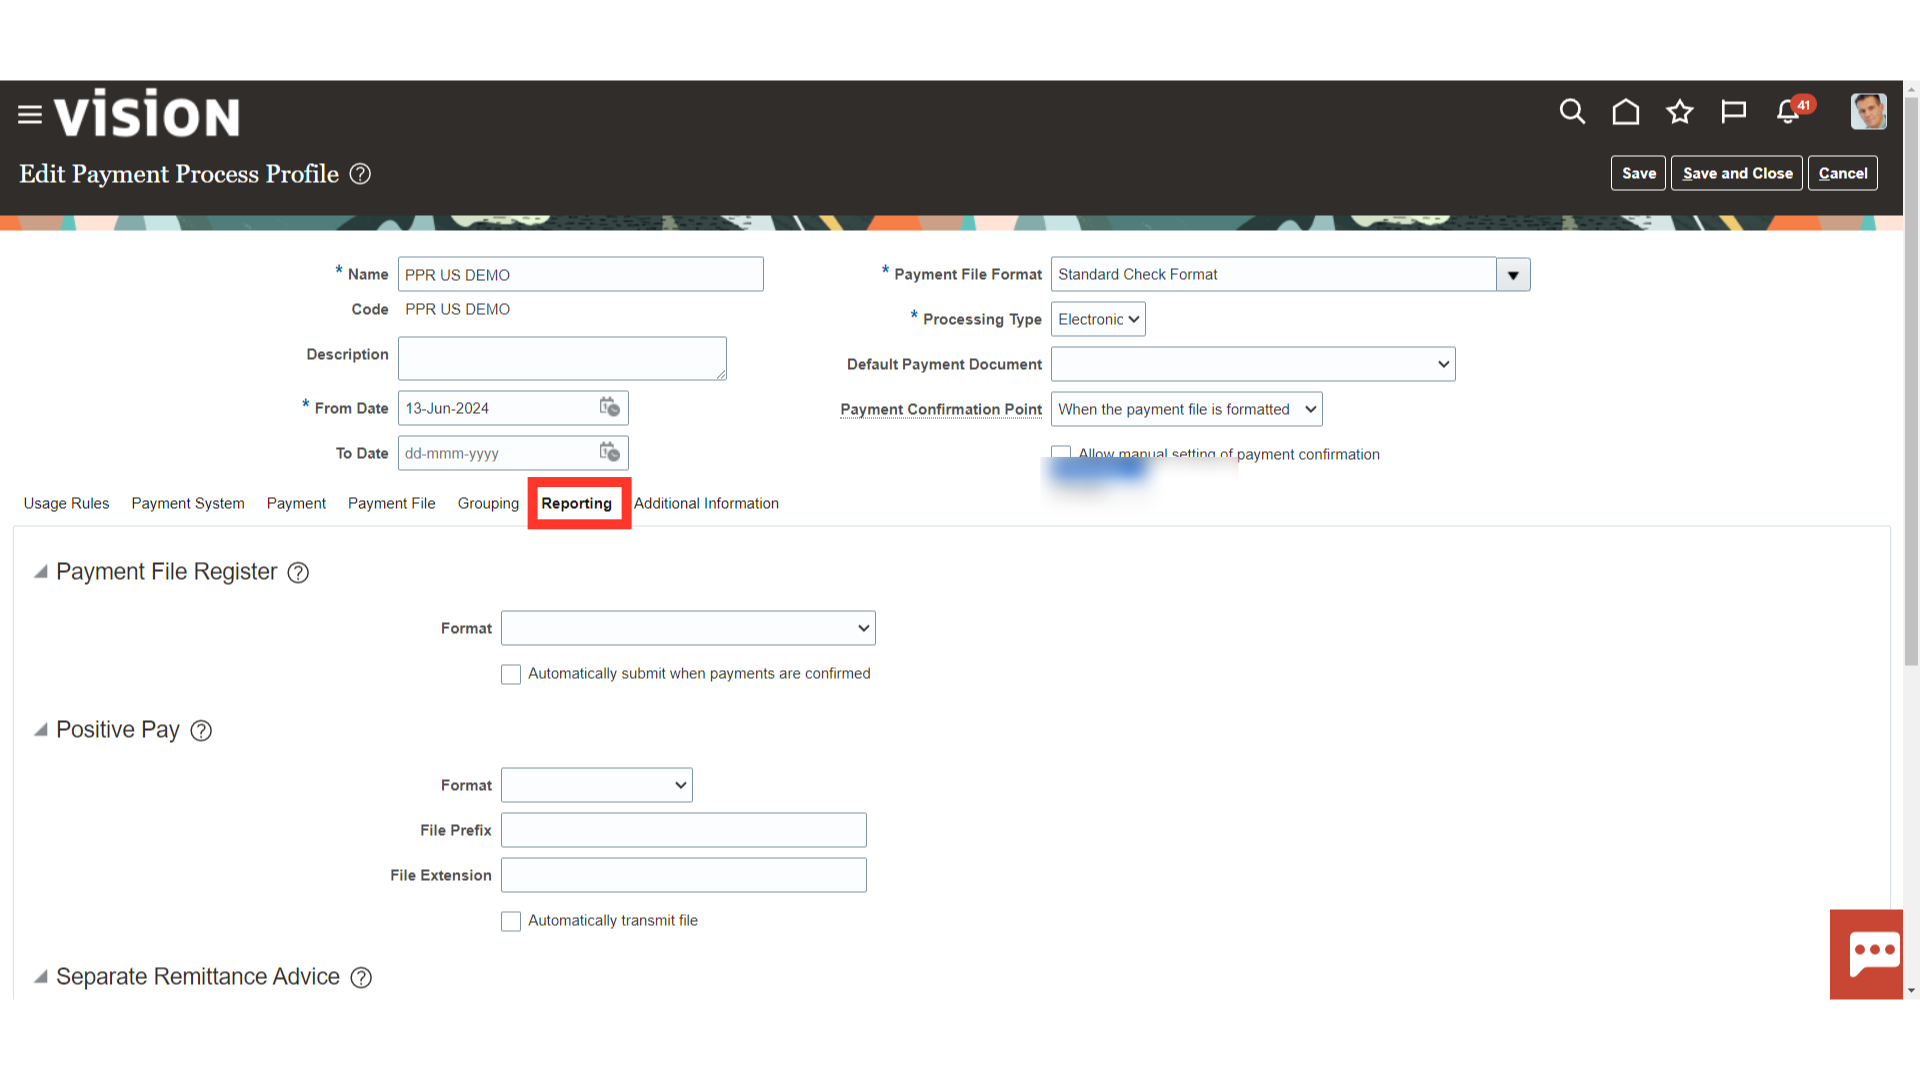
On the Reporting tab, you can specify whether you want to automatically generate the following reports: Payment file register Positive pay Separate remittance advice
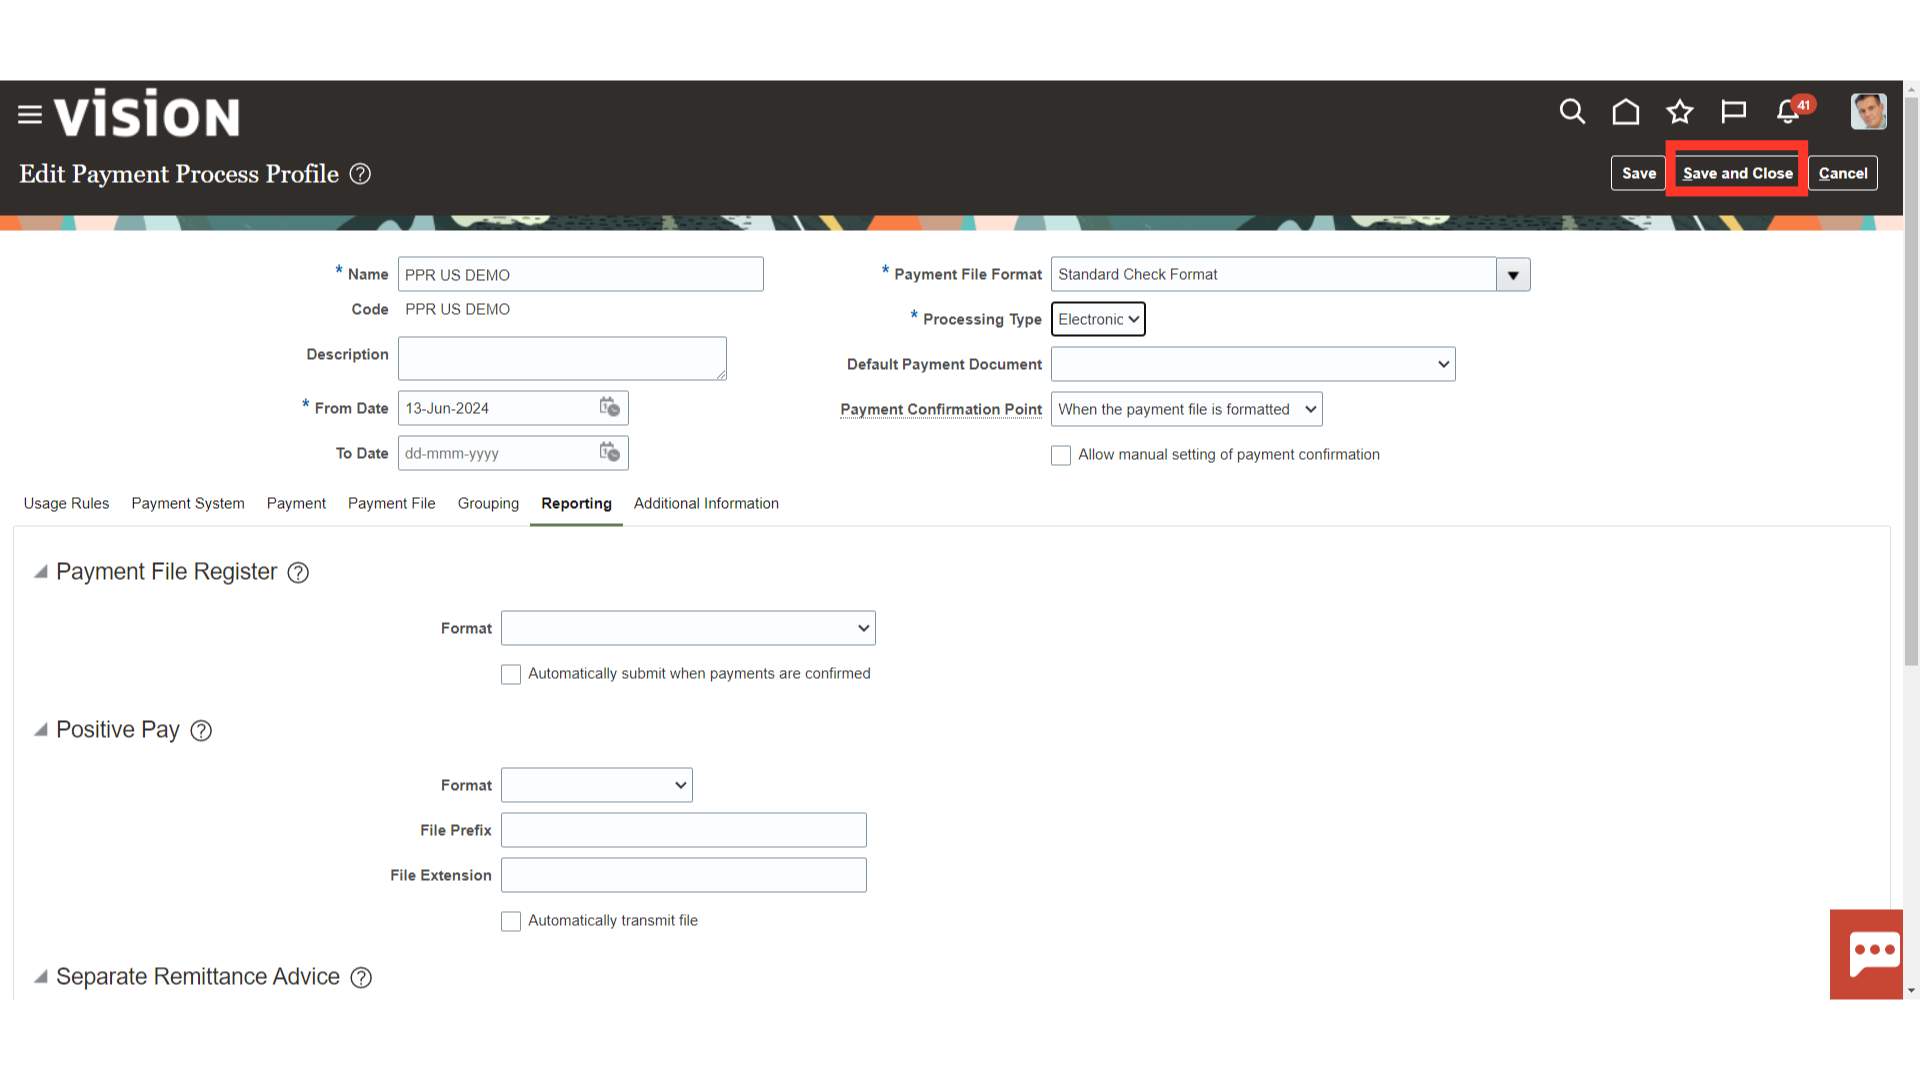
After all the details are entered and Usage and grouping rules are defined as required, click on Save and Close.
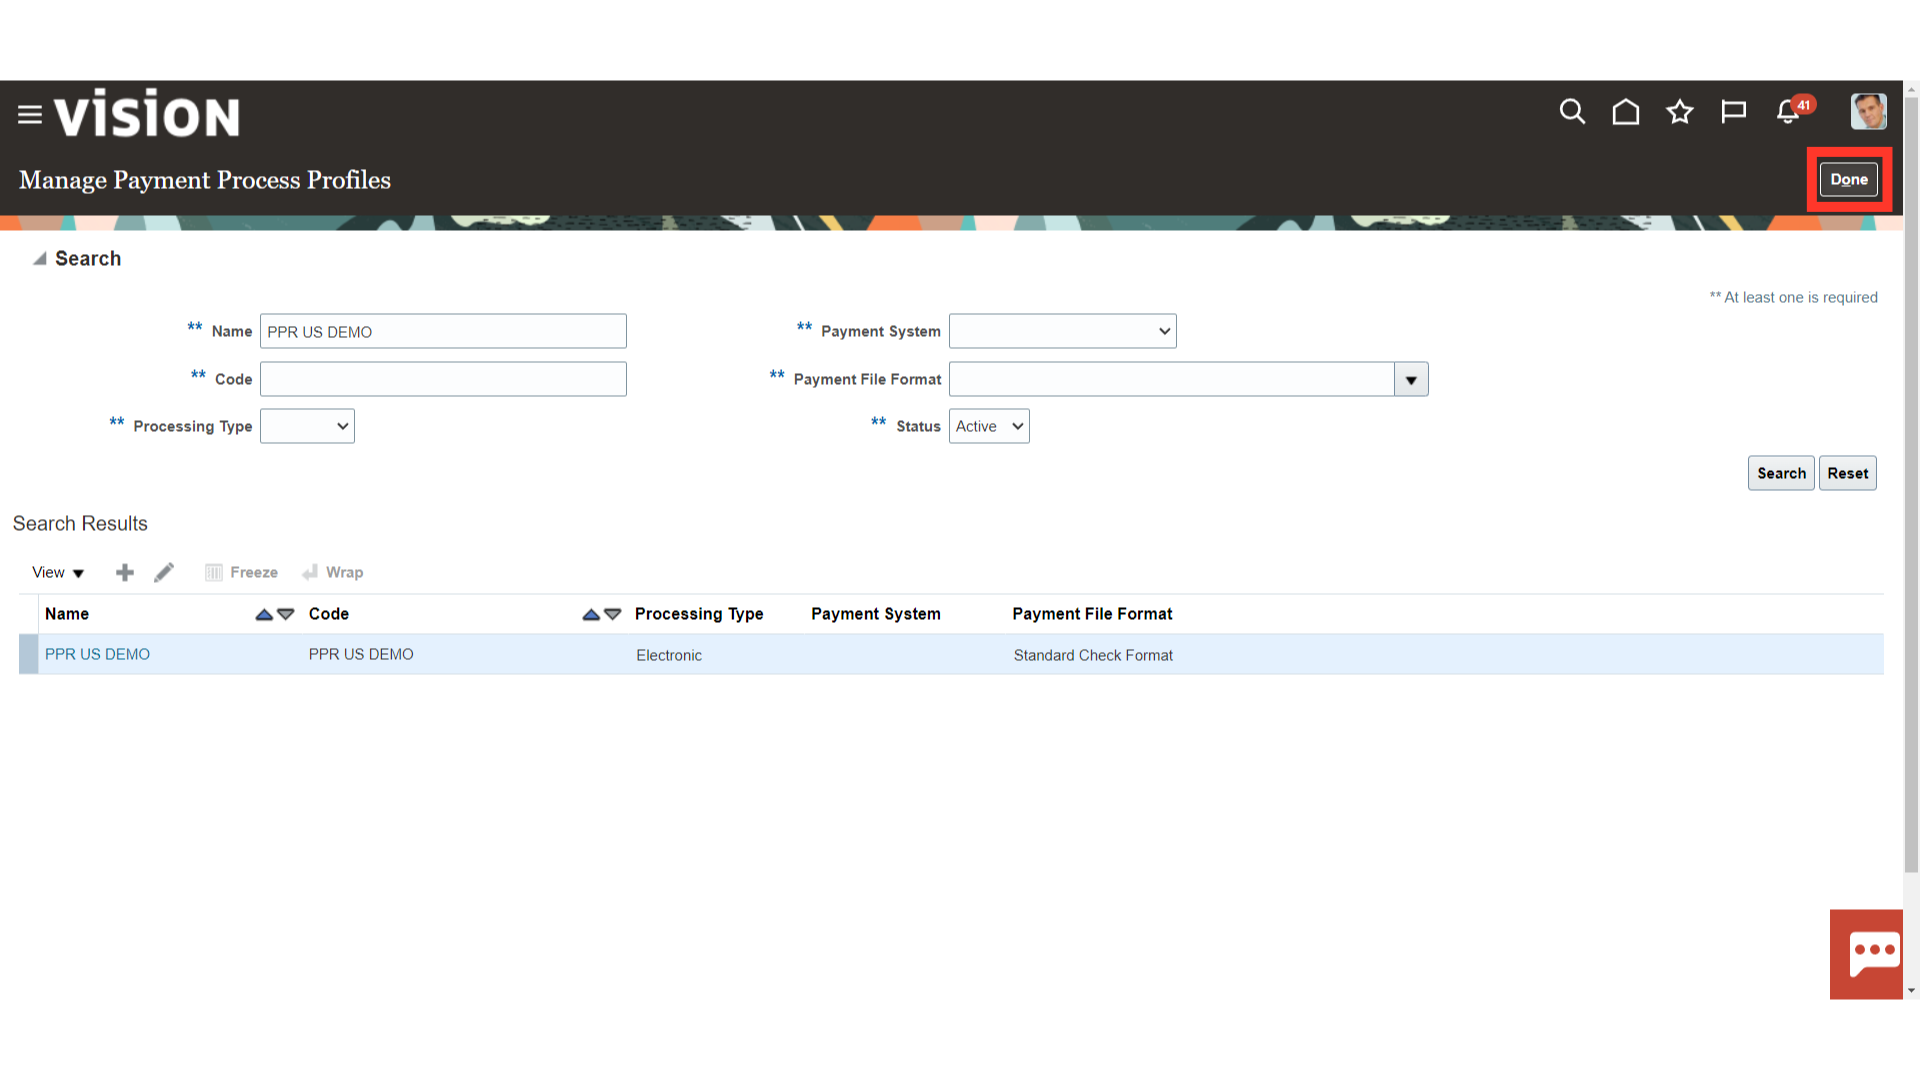
Click on “Done.”
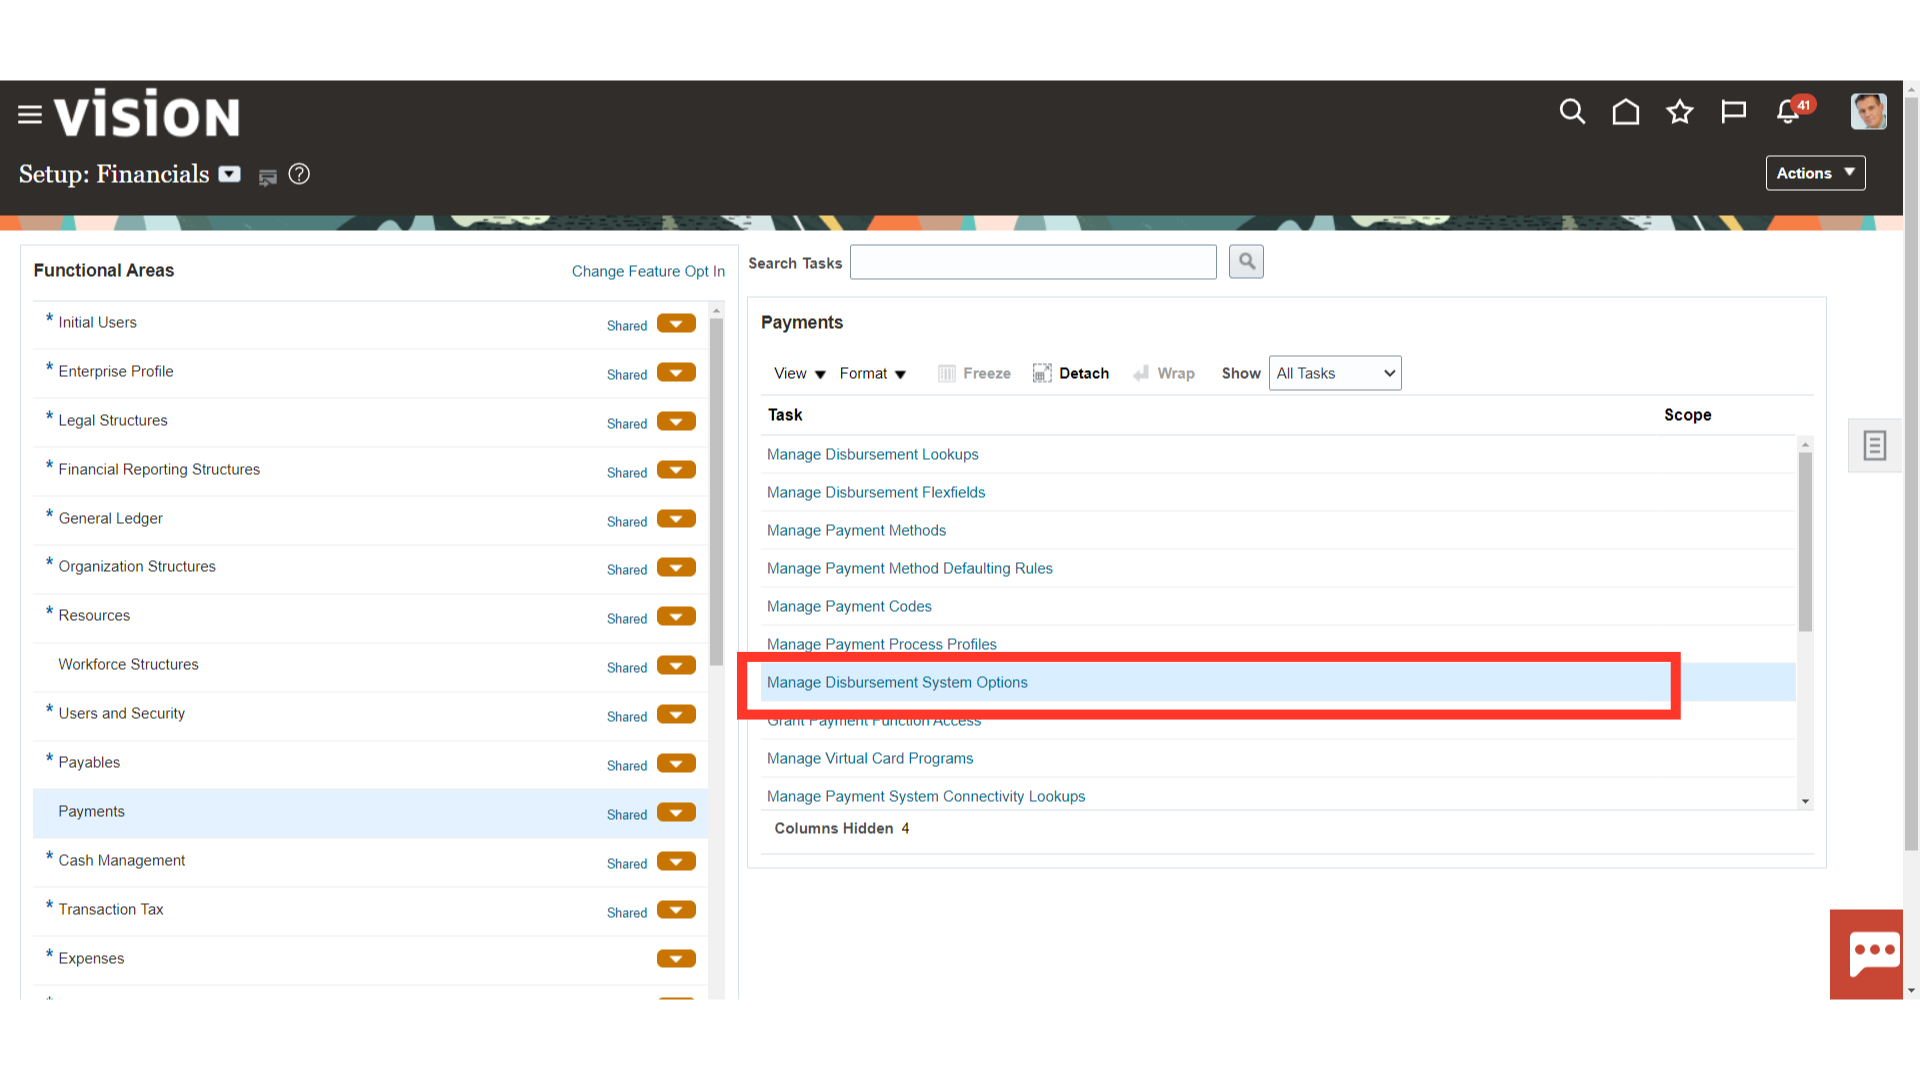
From the list of tasks select ‘Manage Disbursement System Options’ Disbursement system options are system-wide payment options that control disbursements made by the first party payer to suppliers. Oracle Payments provides two levels of system options; enterprise-level system options and organization-level system options, by operating unit or legal entity.
Enterprise-level system options Upon initial implementation, the enterprise-level settings display the seeded settings for enterprise-wide options, which are used for the enterprise and all organizations within the enterprise. Once you change a value on the Update Disbursement System Options: Enterprise-wide page, the user interface displays the existing values in the database. If you have update access, you can change the system options at the enterprise-level or the organization-level. Making a change at an organization level creates a record for the organization. After that, any changes made to the enterprise-level do not update the organization-level.

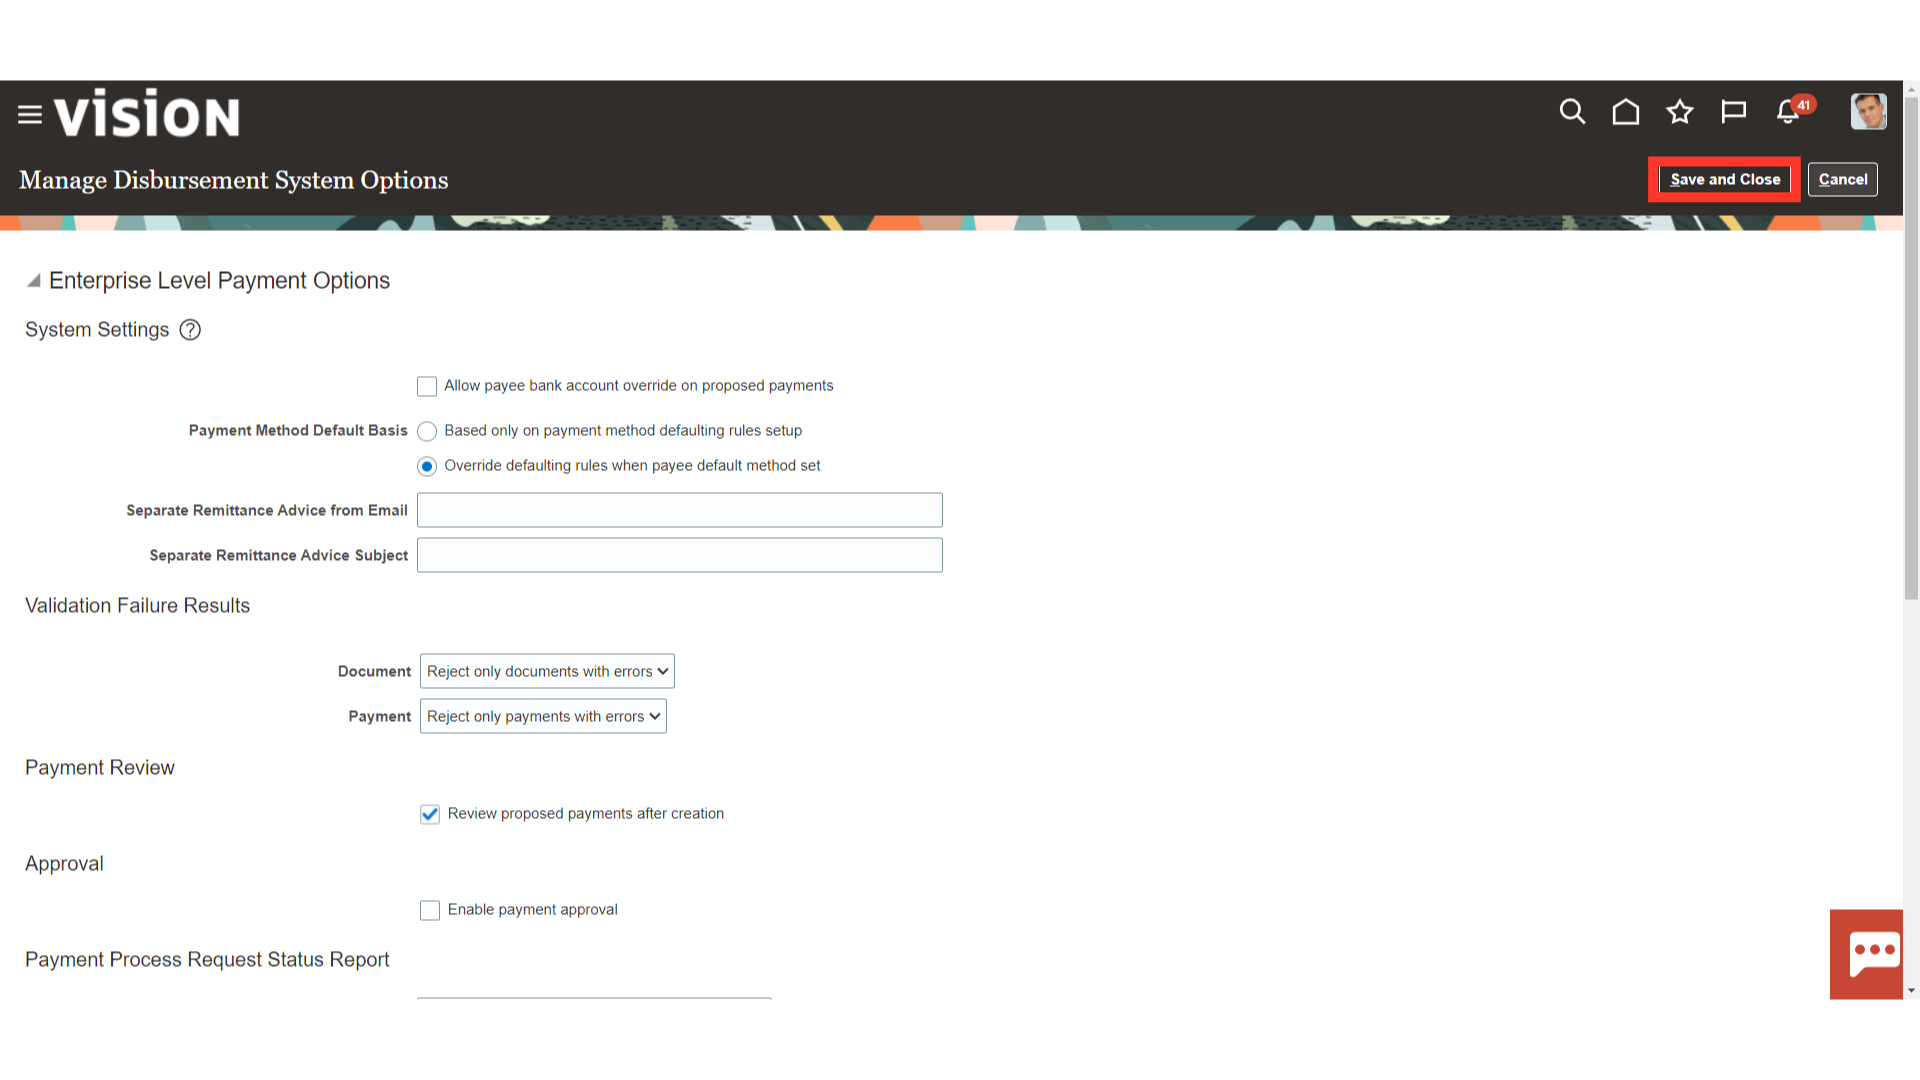
Select Based Only on Payment Method Defaulting Rules Setup: This option uses the payment method defaulting rules set up in Step 12 in Oracle Payments. Or Select Override Defaulting Rules when Default Method Set for Payee: This option uses the default payment method set for each supplier, or payee, in iSupplier Portal.
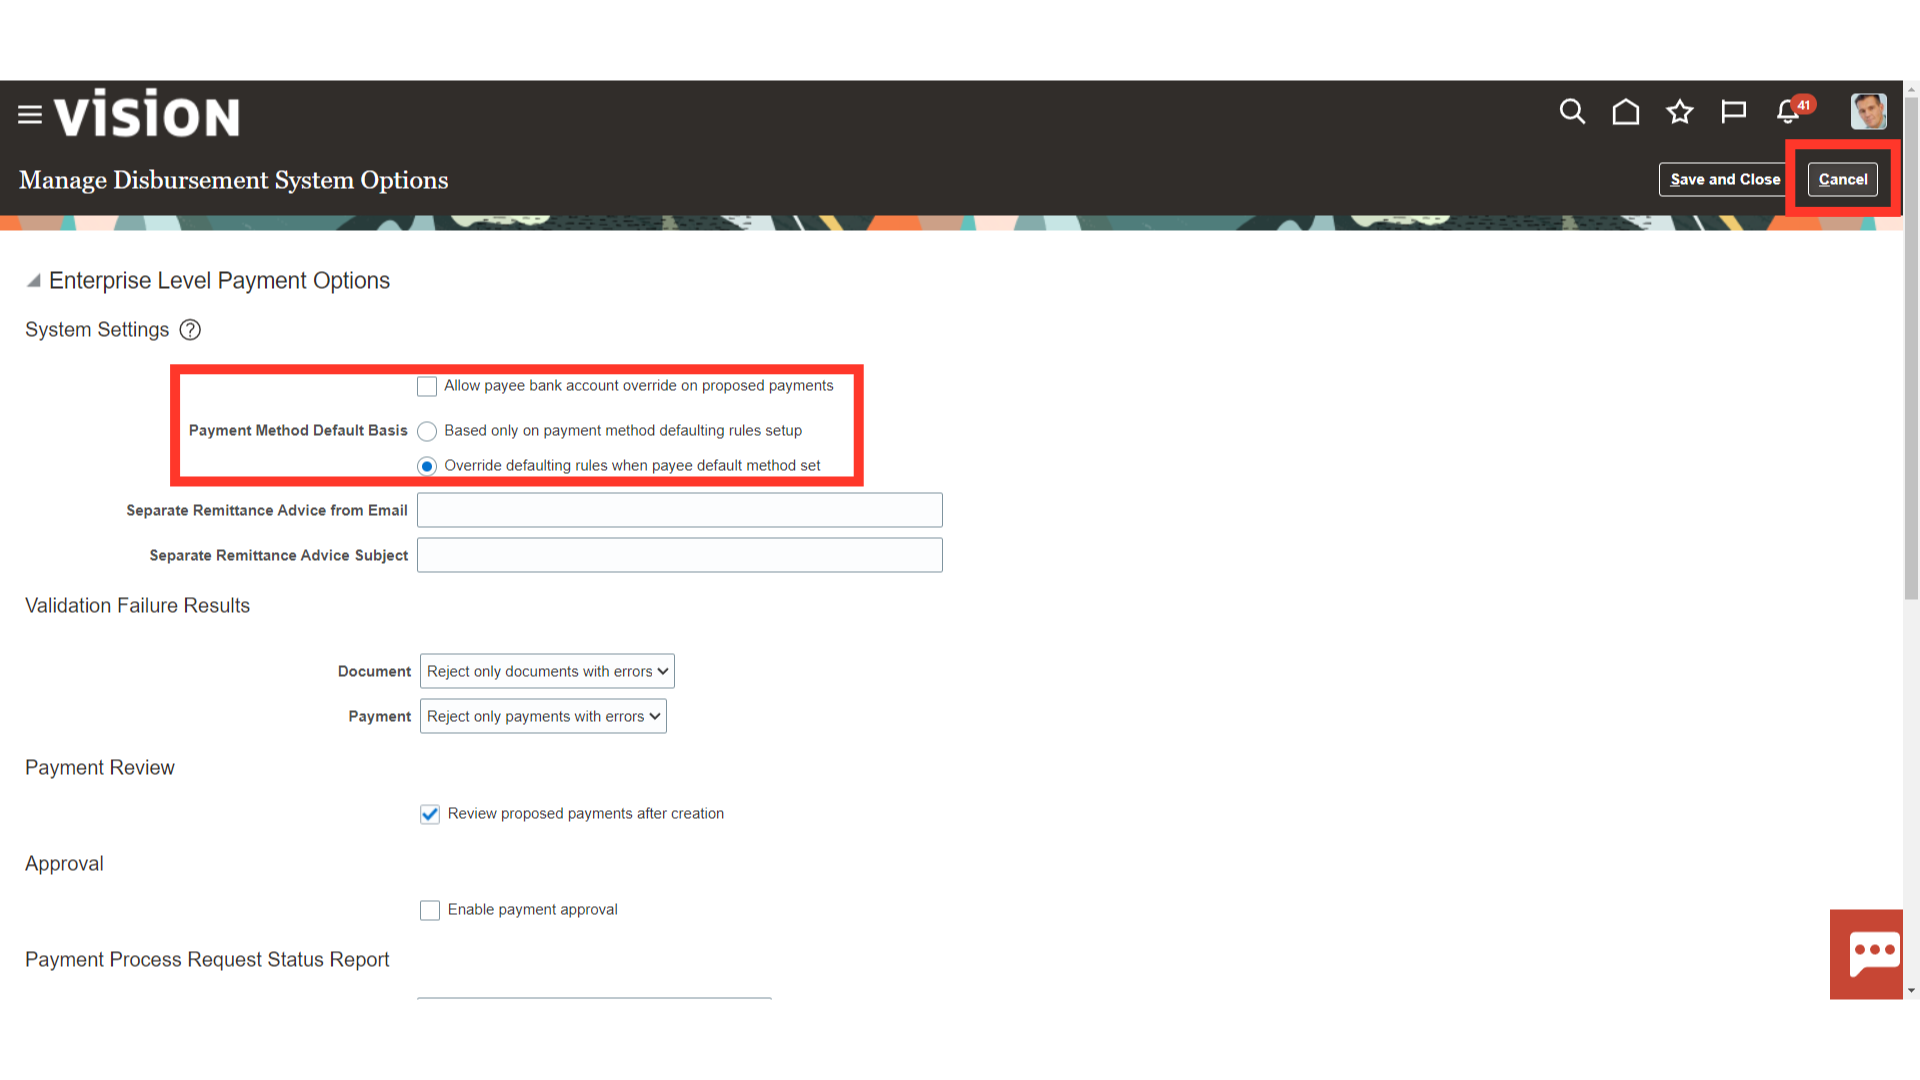
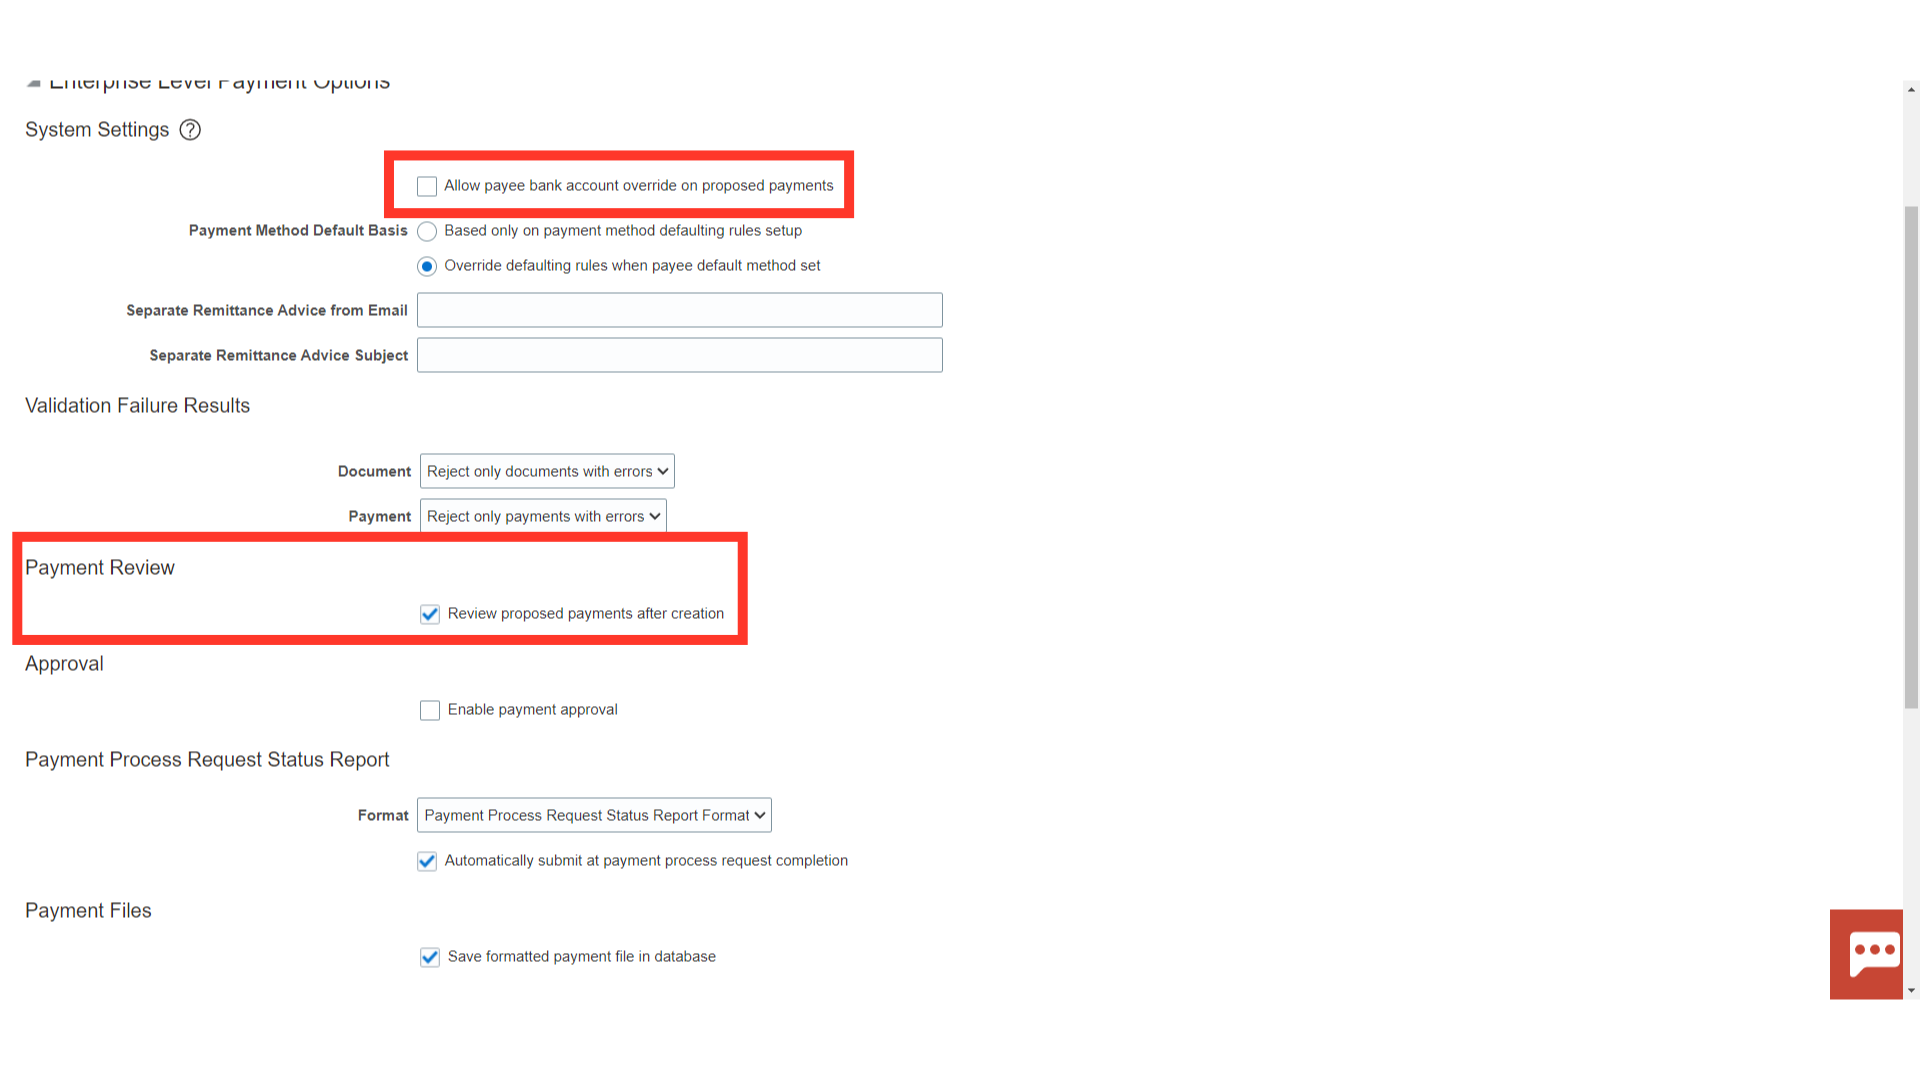
Review Proposed Payments after Creation : This field determines whether the payment process is stopped after payments are created and validated, to give the Payment Administrator the ability to review and potentially remove payments. Allow Payee Bank Account Override on Proposed Payments: If the check box is selected, you can change the bank account to which you are making a payment on the Review Proposed Payments page. If Review Proposed Payments after Creation is set to No, this field is not used. If the check box is deselected, you cannot change the bank account to which you are making a payment.
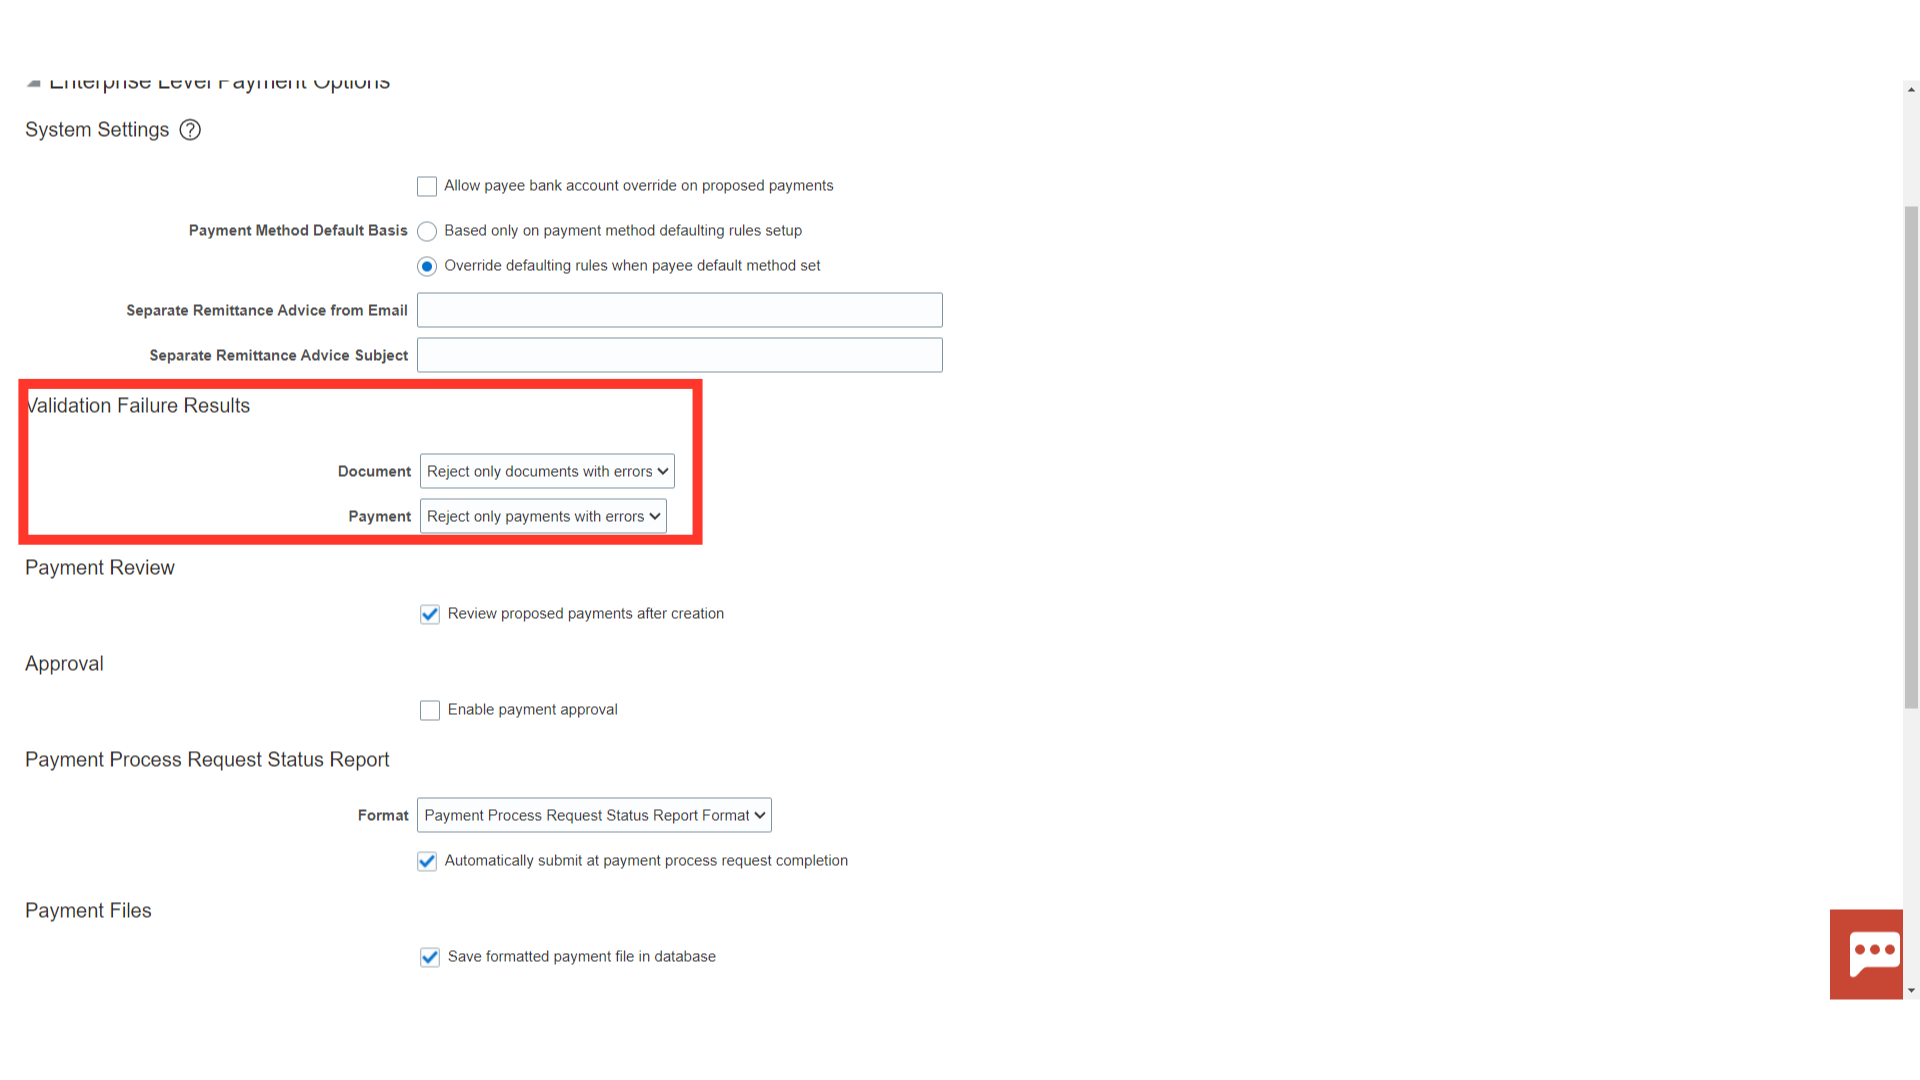
In the Validation Failure Results Region, the Document is a list of values: These options either direct Oracle Payments to stop payment processing for review of the applicable documents if validation failures occur or to reject some or all of the documents. The Payment field is a list of value: These options either direct Oracle Payments to stop payment processing for review of the applicable payments if validation failures occur or to reject some or all of the payments.
Payment Process Request Status Report Region Format: Oracle Payments seeds one Status report format, which you can select from the list of values. You can also create your own Status report formats. If you create your own Status report formats, they are available as options from the list of values. Automatically Submit at Payment Process Request Completion: If the check box is selected, Oracle Payments automatically runs the Status report after the Build Payments program completes. If the check box is deselected, Oracle Payments does not run the Status report after the Build Payments Program completes.
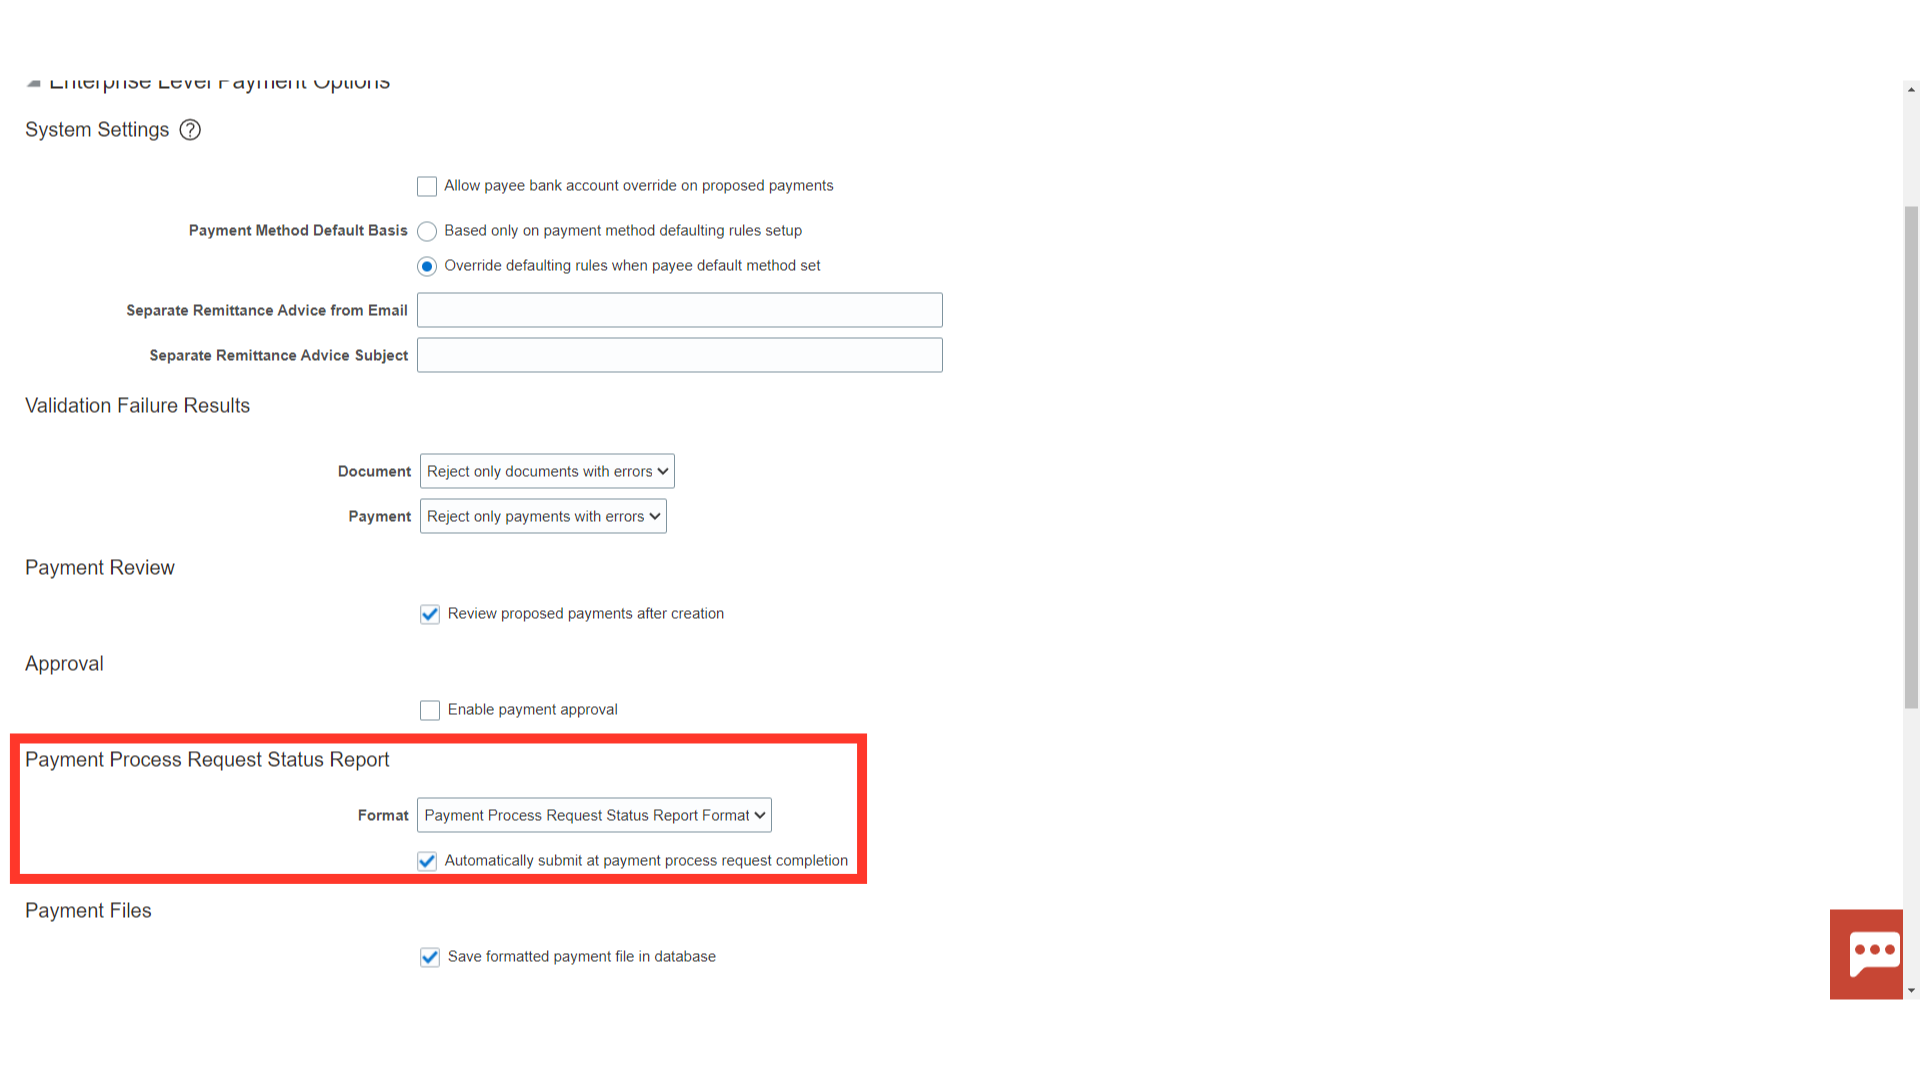
Payment Files Save Formatted Payment File in Database: If the check box is selected, the formatted payment file created from the payment instruction is stored in the database.

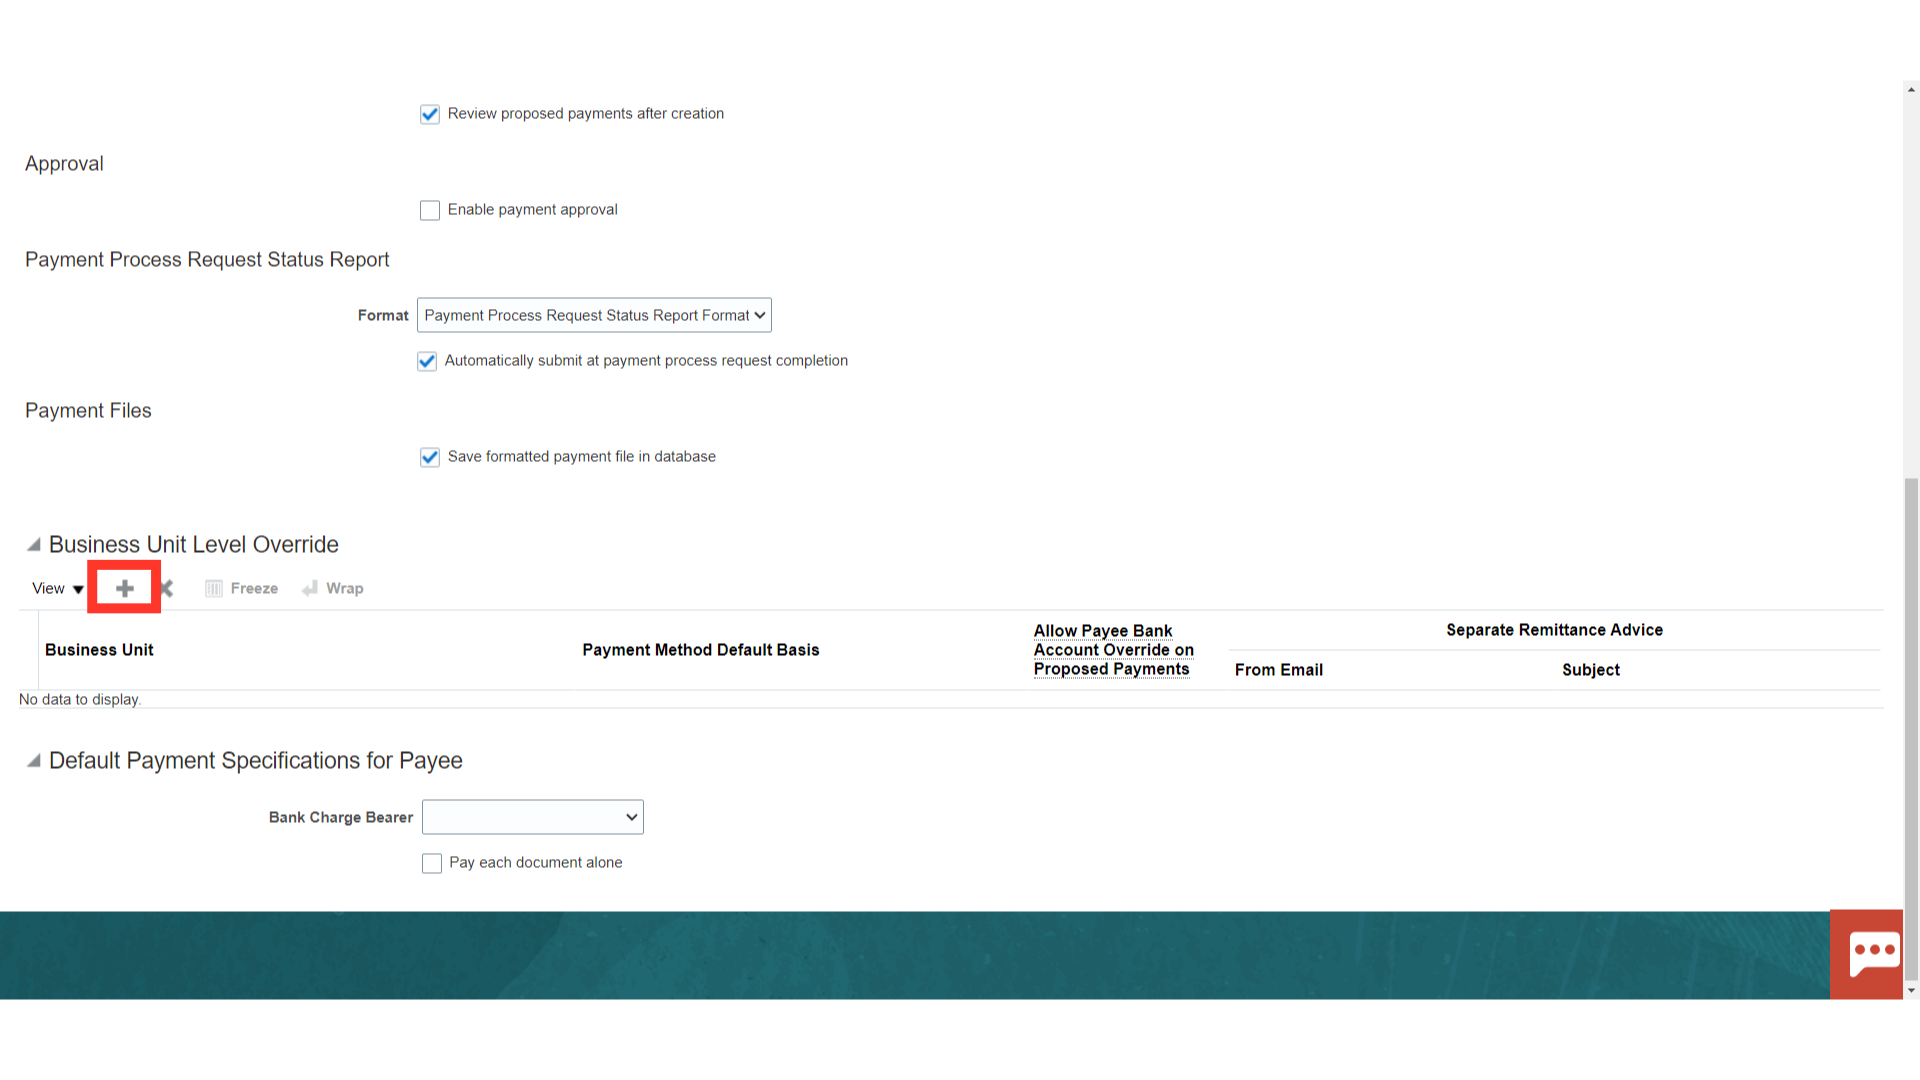
Business Unit Level Override: Making a change at an organization level creates a record for the organization. After that, any changes made to the enterprise-level do not update the organization-level. Click on Plus icon to provide the Disbursement Options specific to a Business Unit
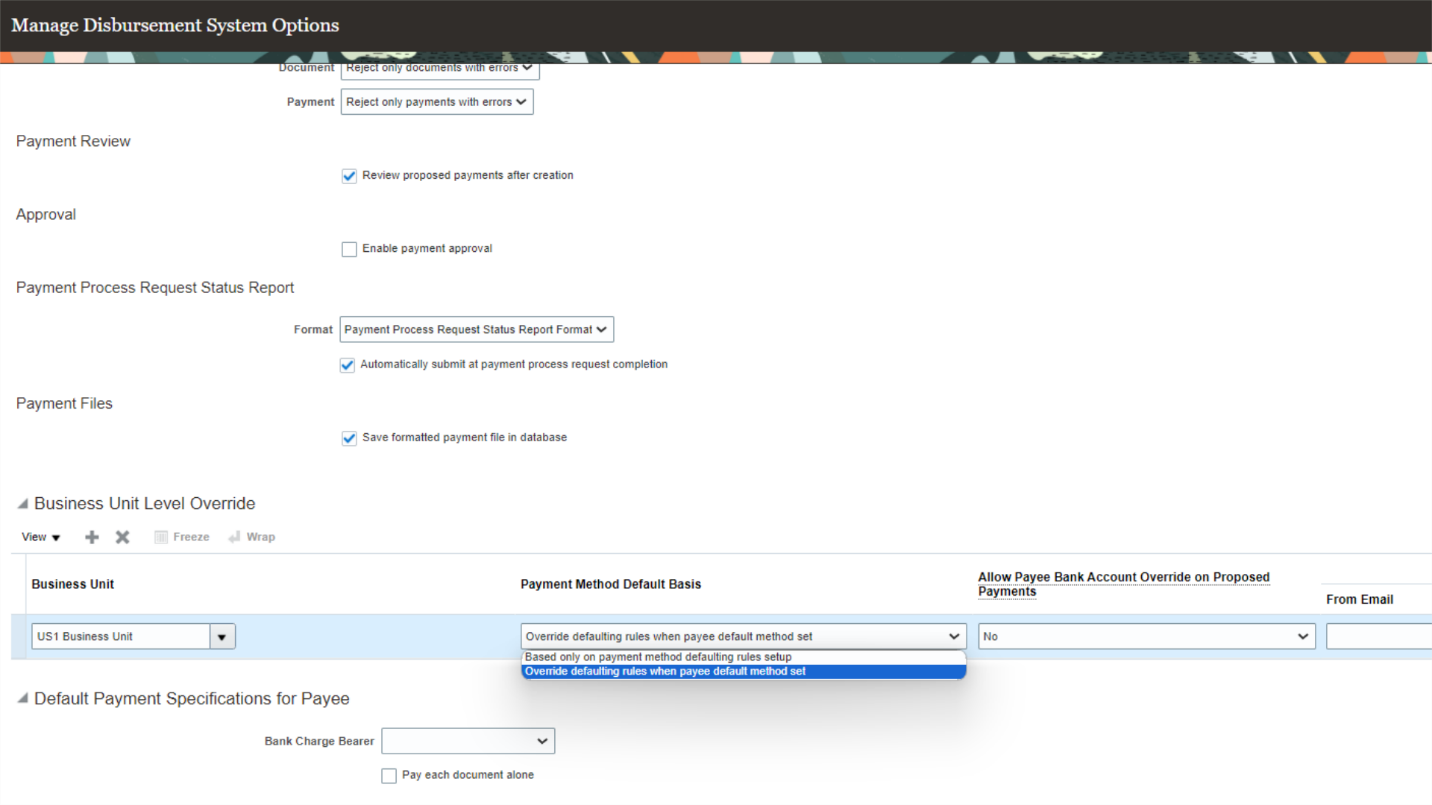
Select the Business Unit and the other options that would be required to be followed for that particular business unit.
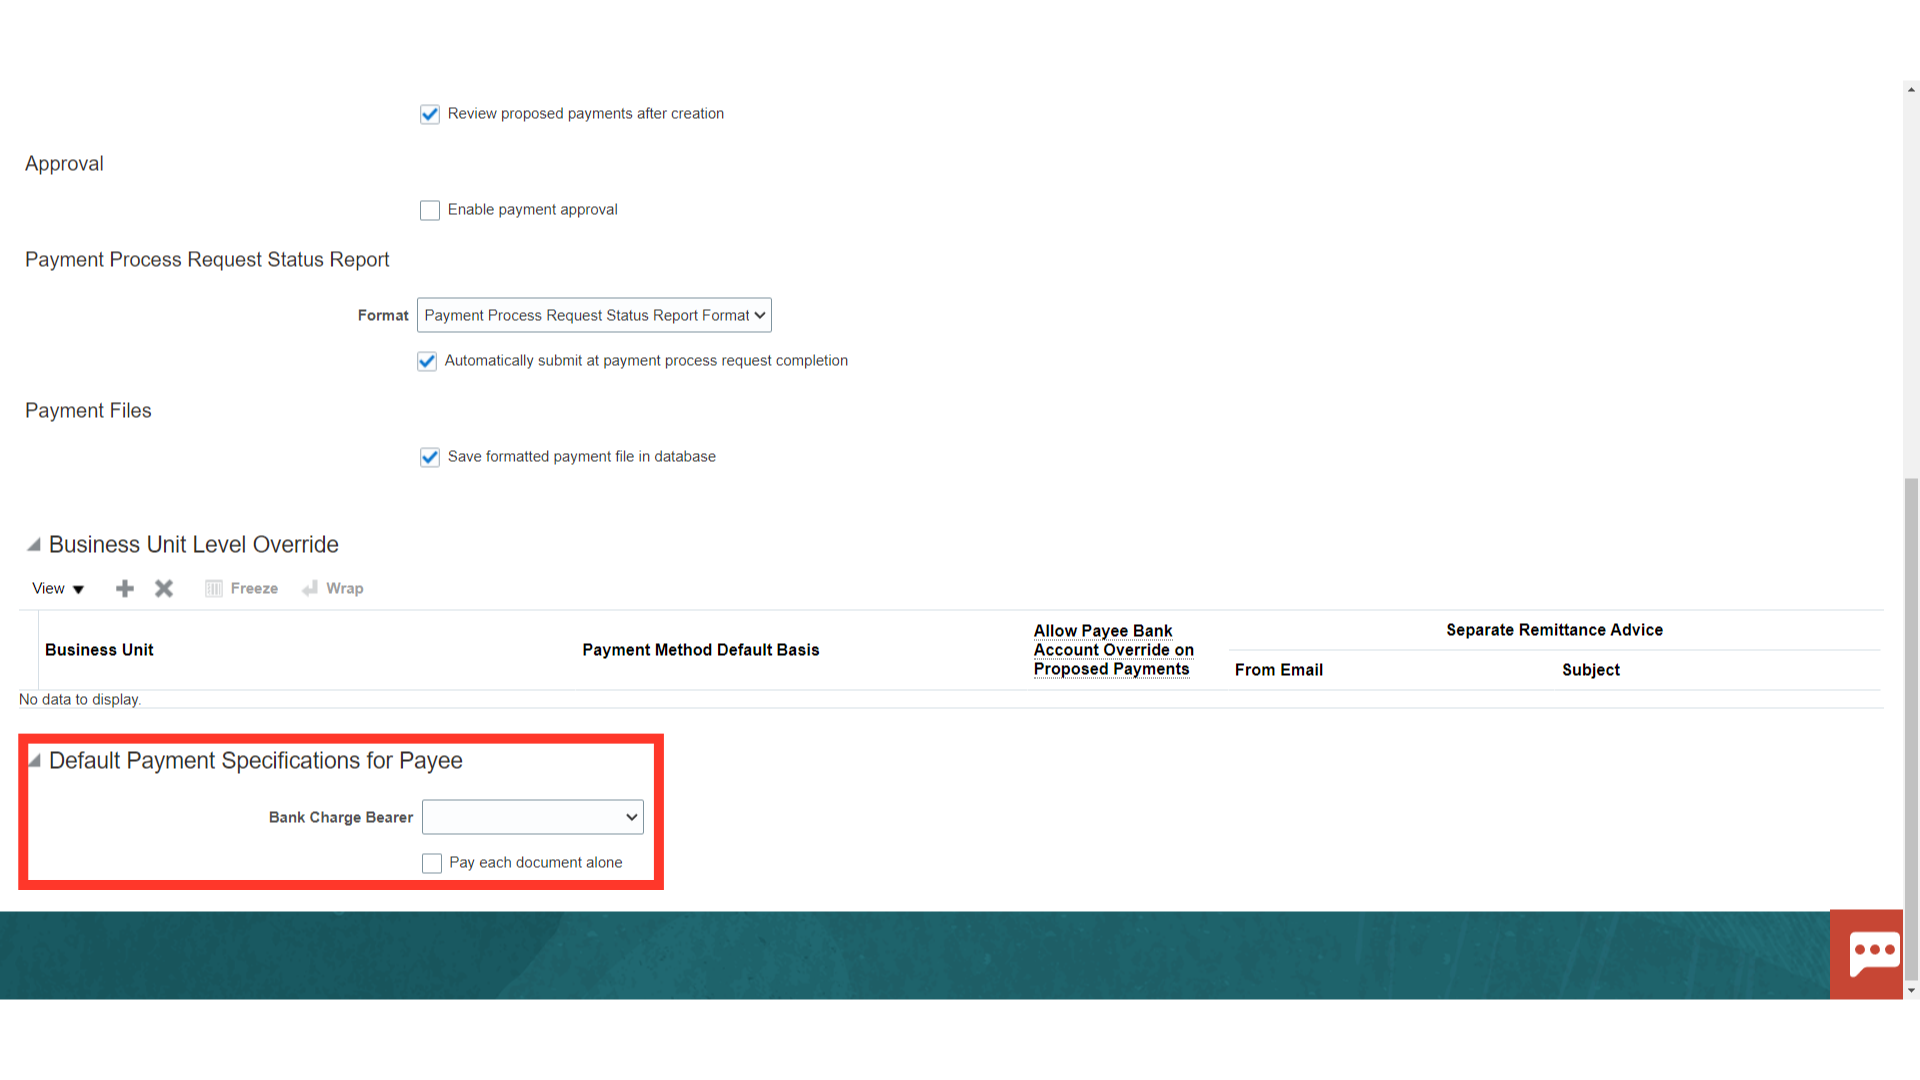
Default Payment Specification for Payee Bank Charge Bearer: When funds are sent by EFT, the bank that does the processing charges a fee. By selecting an option from the Bank Charge Bearer drop-down list, you can indicate the party who is responsible for paying the EFT fee. This field may not be used by all banks in all countries. Pay Each Document Alone: If the check box is selected, each document payable submitted to Oracle Payments is built into its own payment. That is, documents payable are not combined with others to create payments.
Once all the Setup is completed click on Save and Close
From the list of tasks select ‘Manage Payment Options’
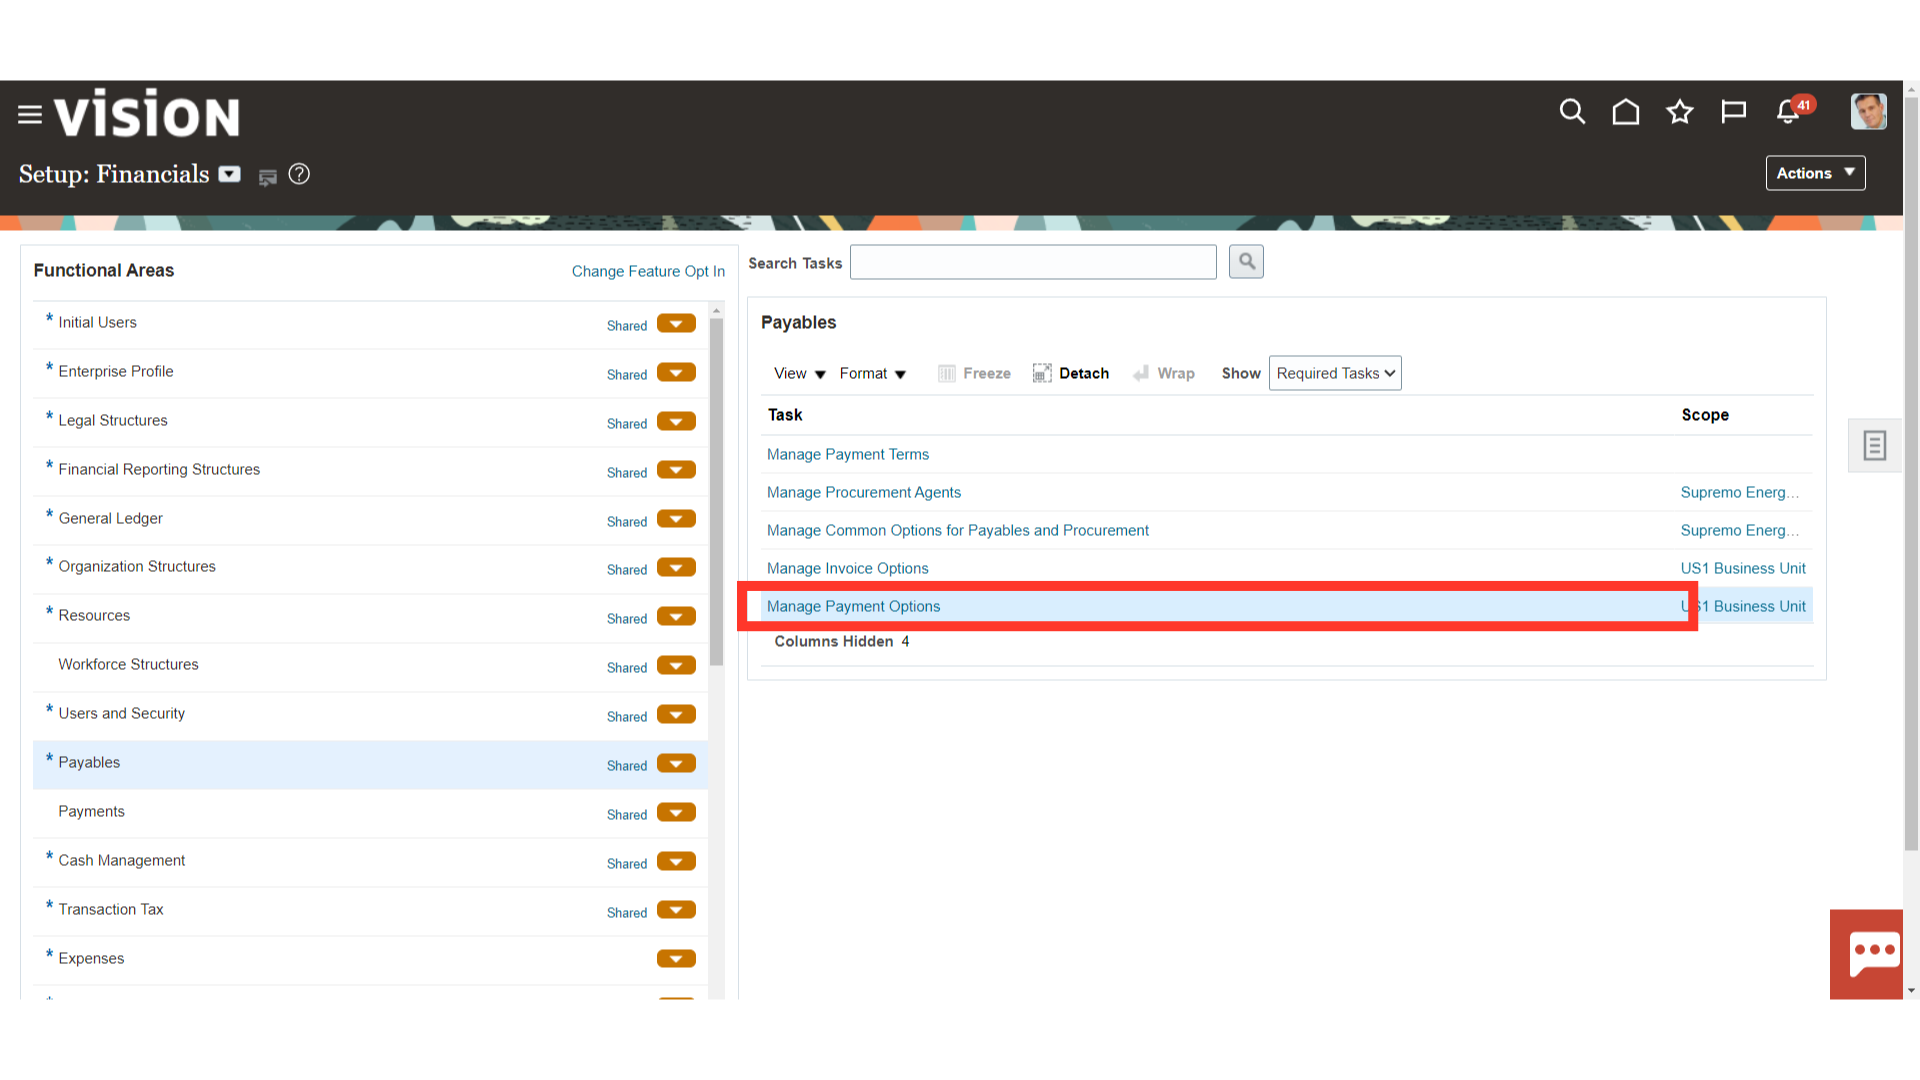
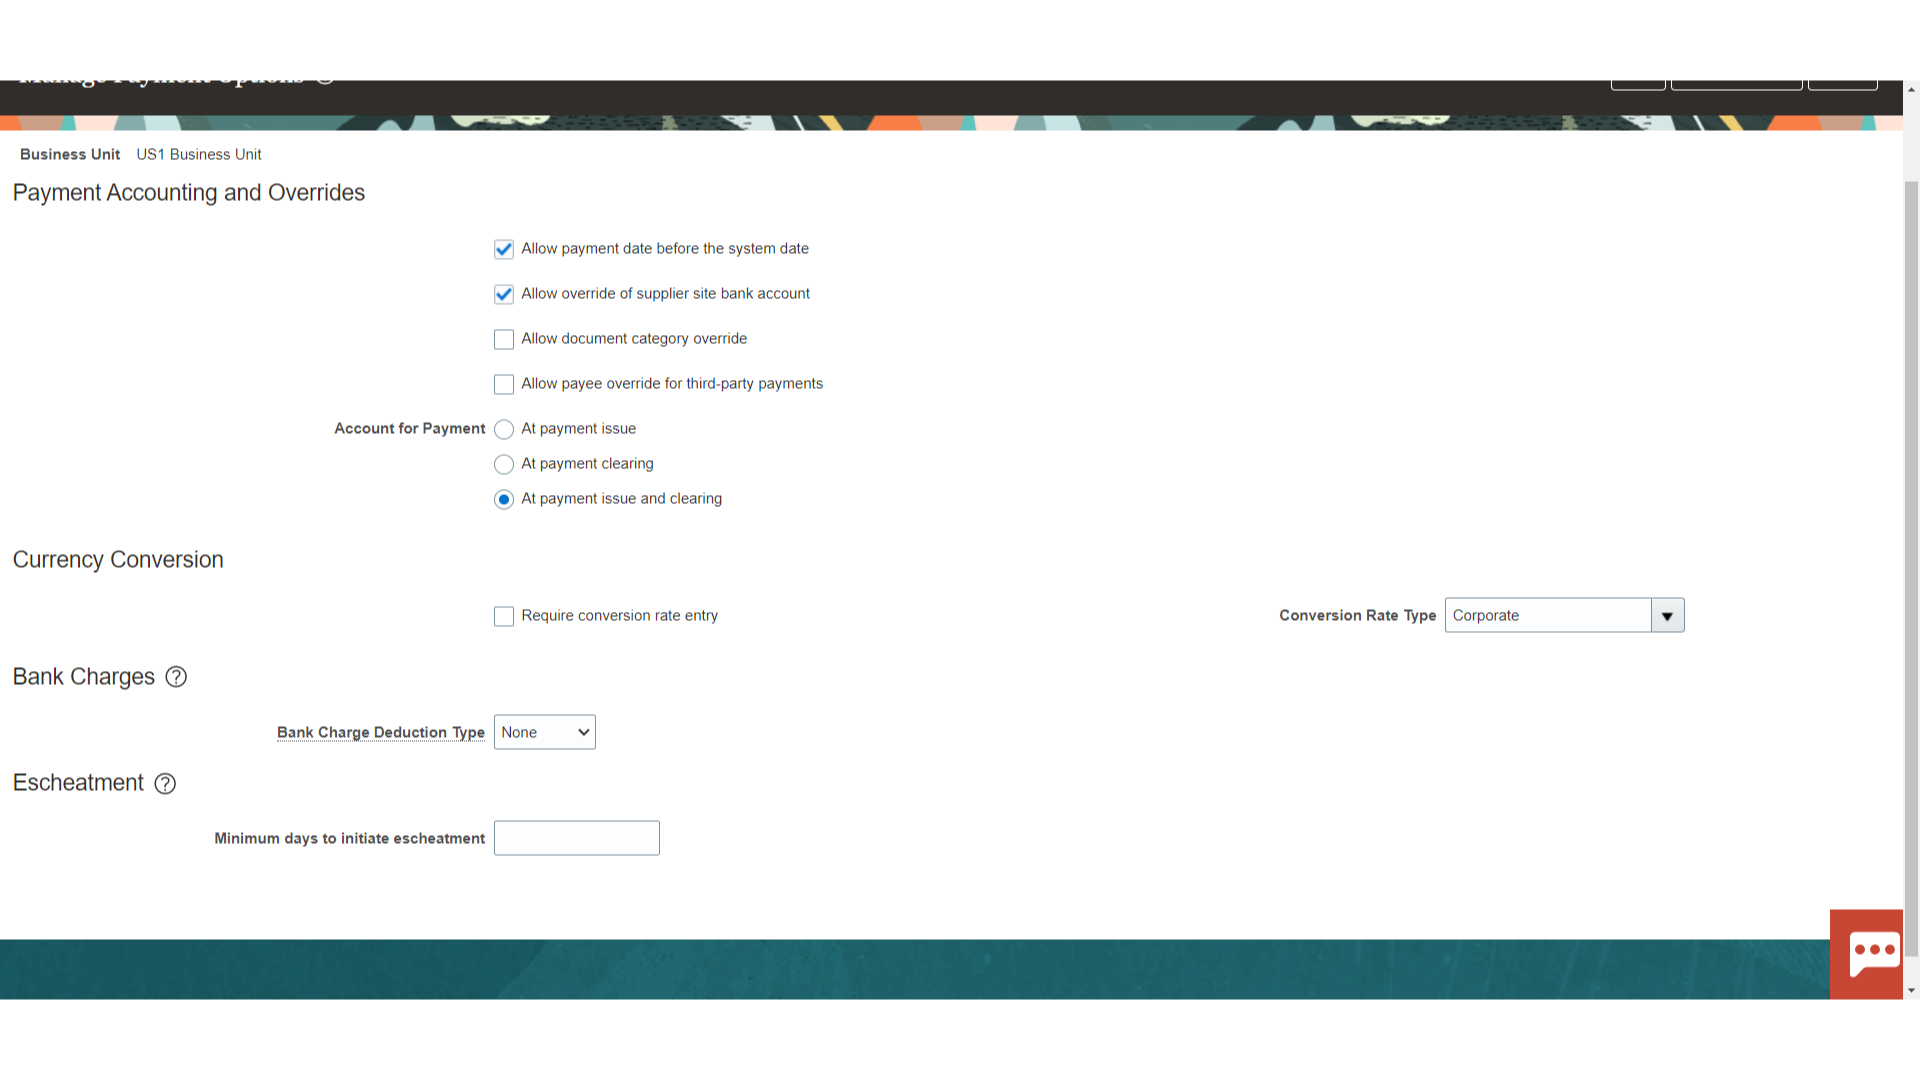
On the Manage Payment Options page, set the payment accounting option to decide when payment accounting entries are created. While setting up payment options, you can select one of the following options: At payment issue – With this setting, the liability account is debited and the cash account is credited when a payment is created. At payment clearing – With this setting, the liability account is debited and the cash account is credited when the payment clears At payment issue and clearing – With this setting, accounting entries are created at: Issue time: The liability account is debited and the cash clearing account is credited. Clearing time: The cash clearing account is debited and the cash account is credited.
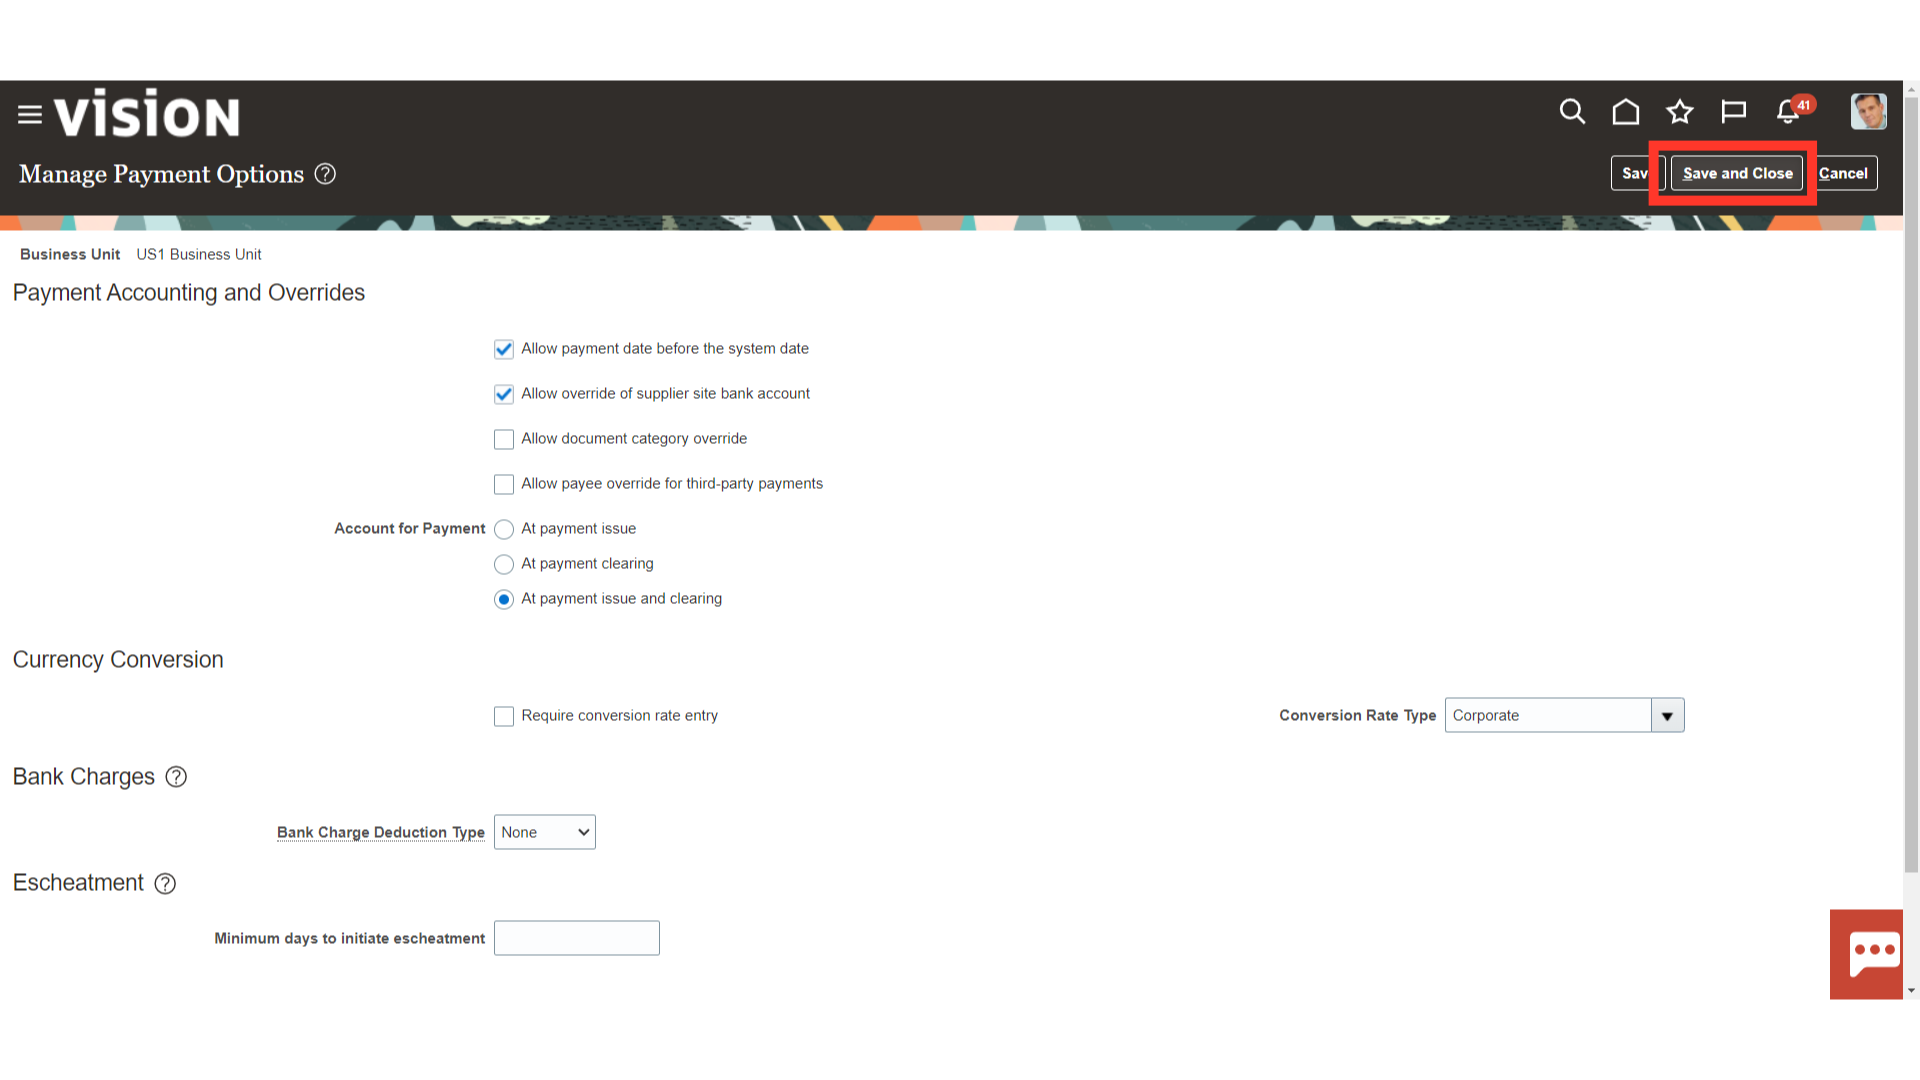
Click on Save and Close once the required setup is completed.
The guide covered setting up payment methods, managing payment process profiles, setting up disbursement options and configuring payment system options in Oracle Cloud.