How to create Purchasing Accounting
This guide will walk you through the process of Purchasing Accounting in Oracle Cloud for Accrue at Receipt and Accrue at Period End Transactions. From scheduling processes to creating accounting entries, follow the precise instructions to efficiently manage your purchasing accounting tasks in Oracle Cloud.
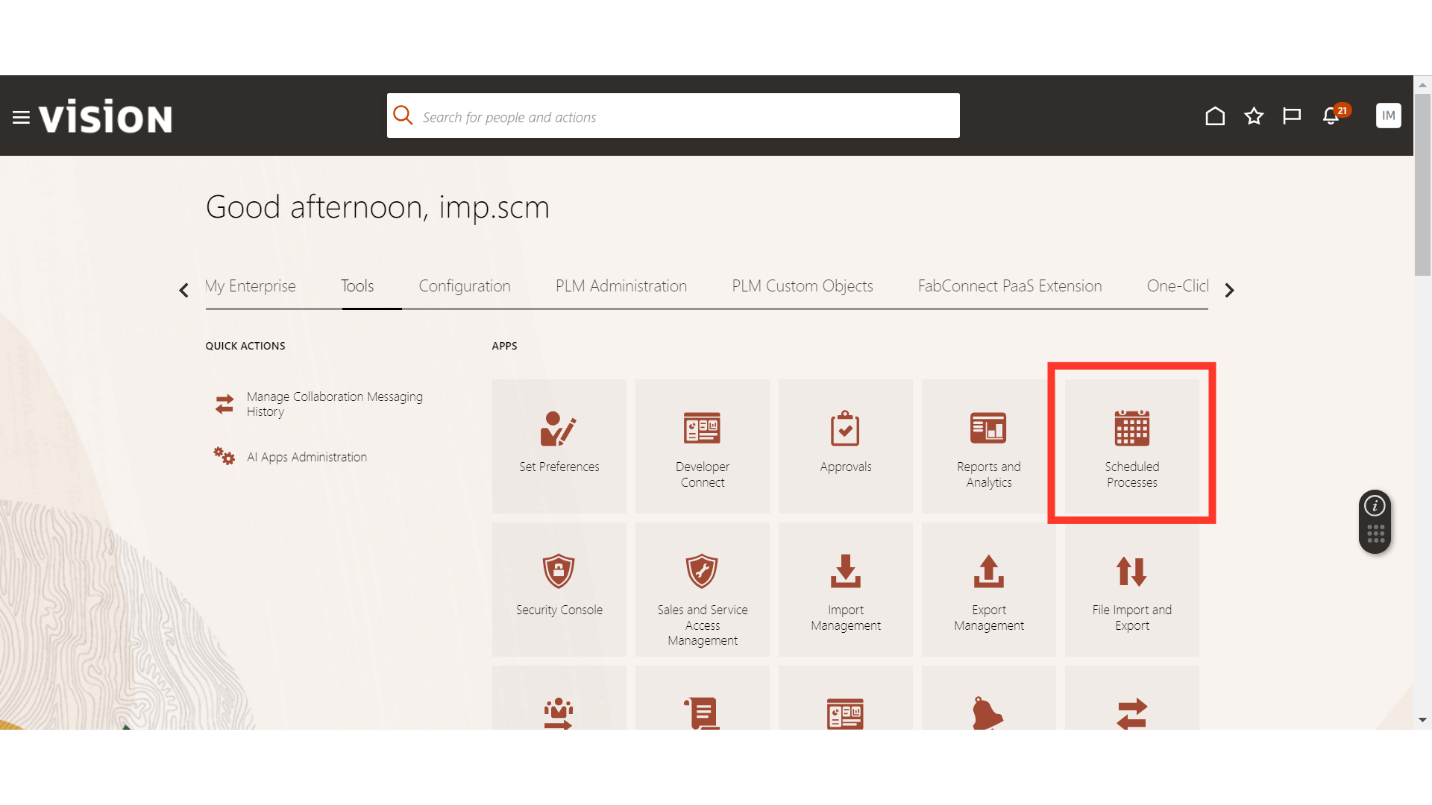
After logging on to the Oracle Cloud, navigate to Tools and click on Schedule Processes.
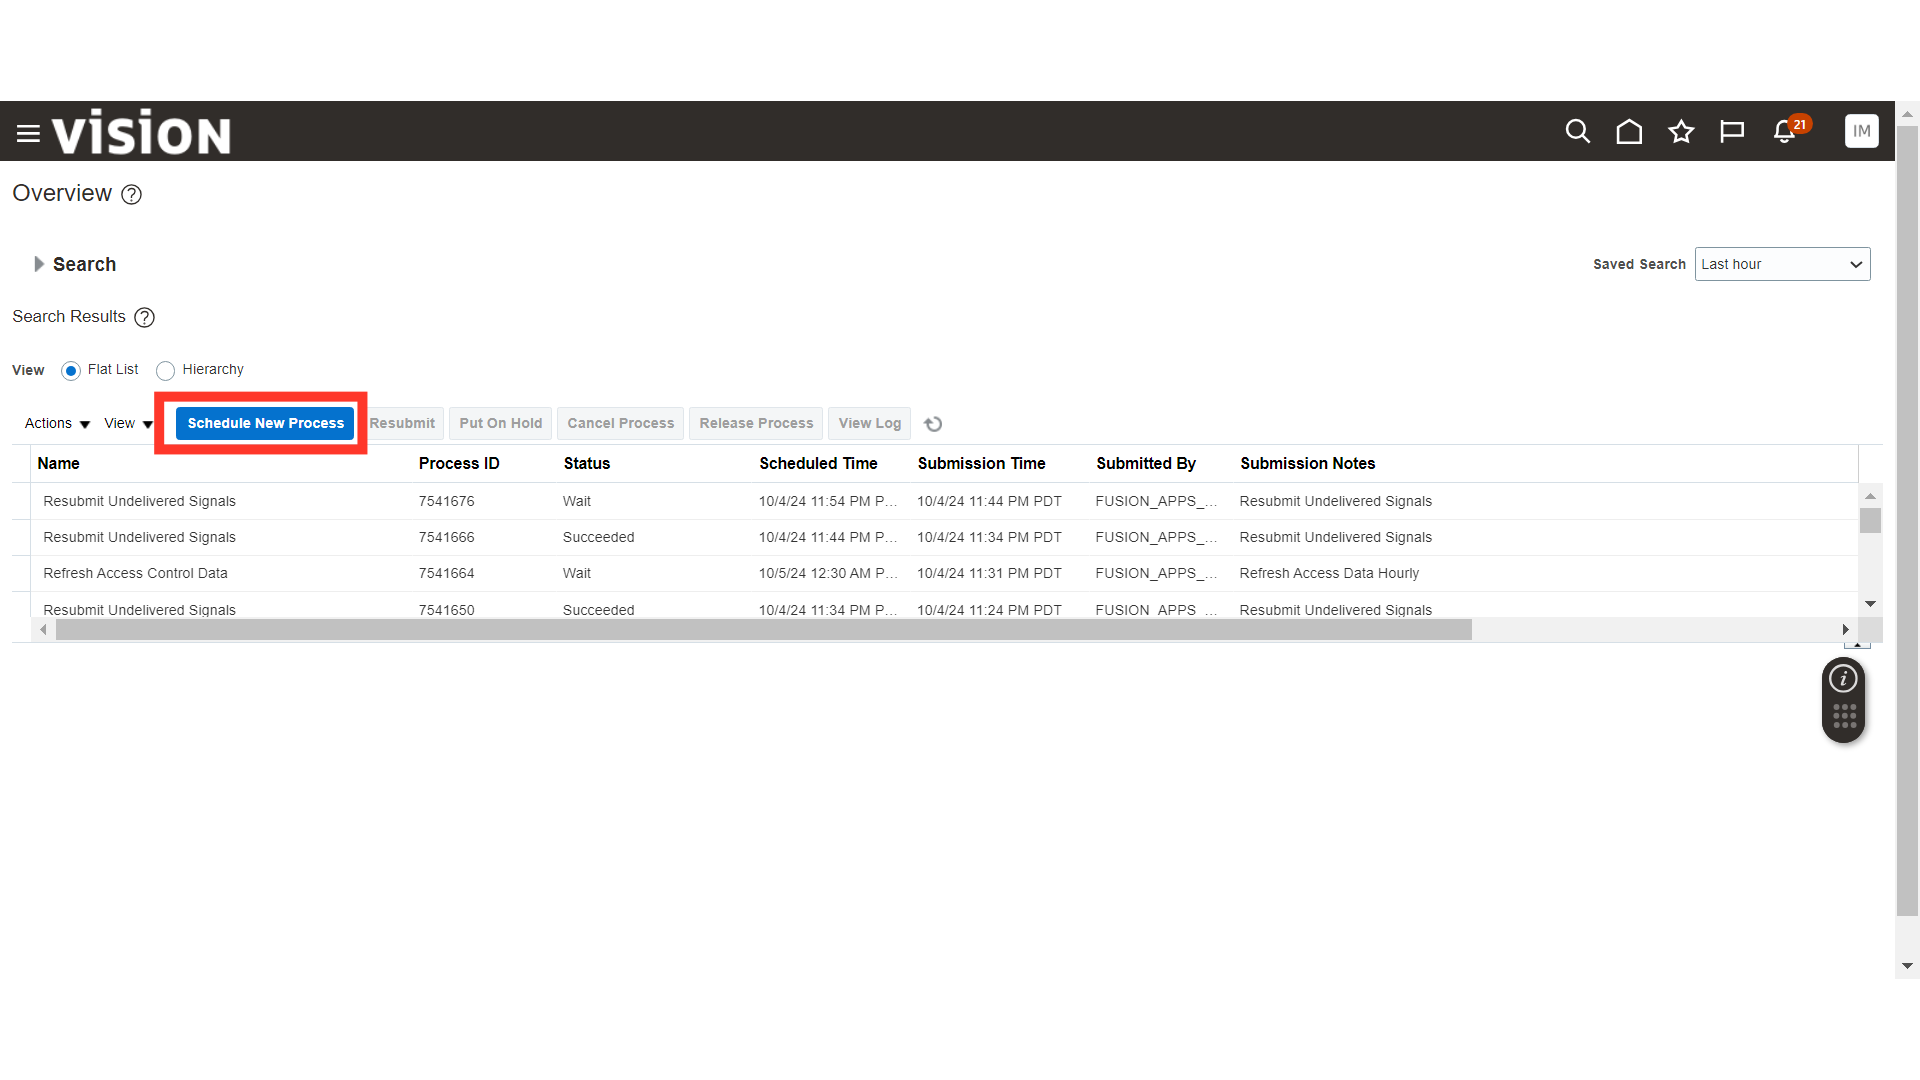
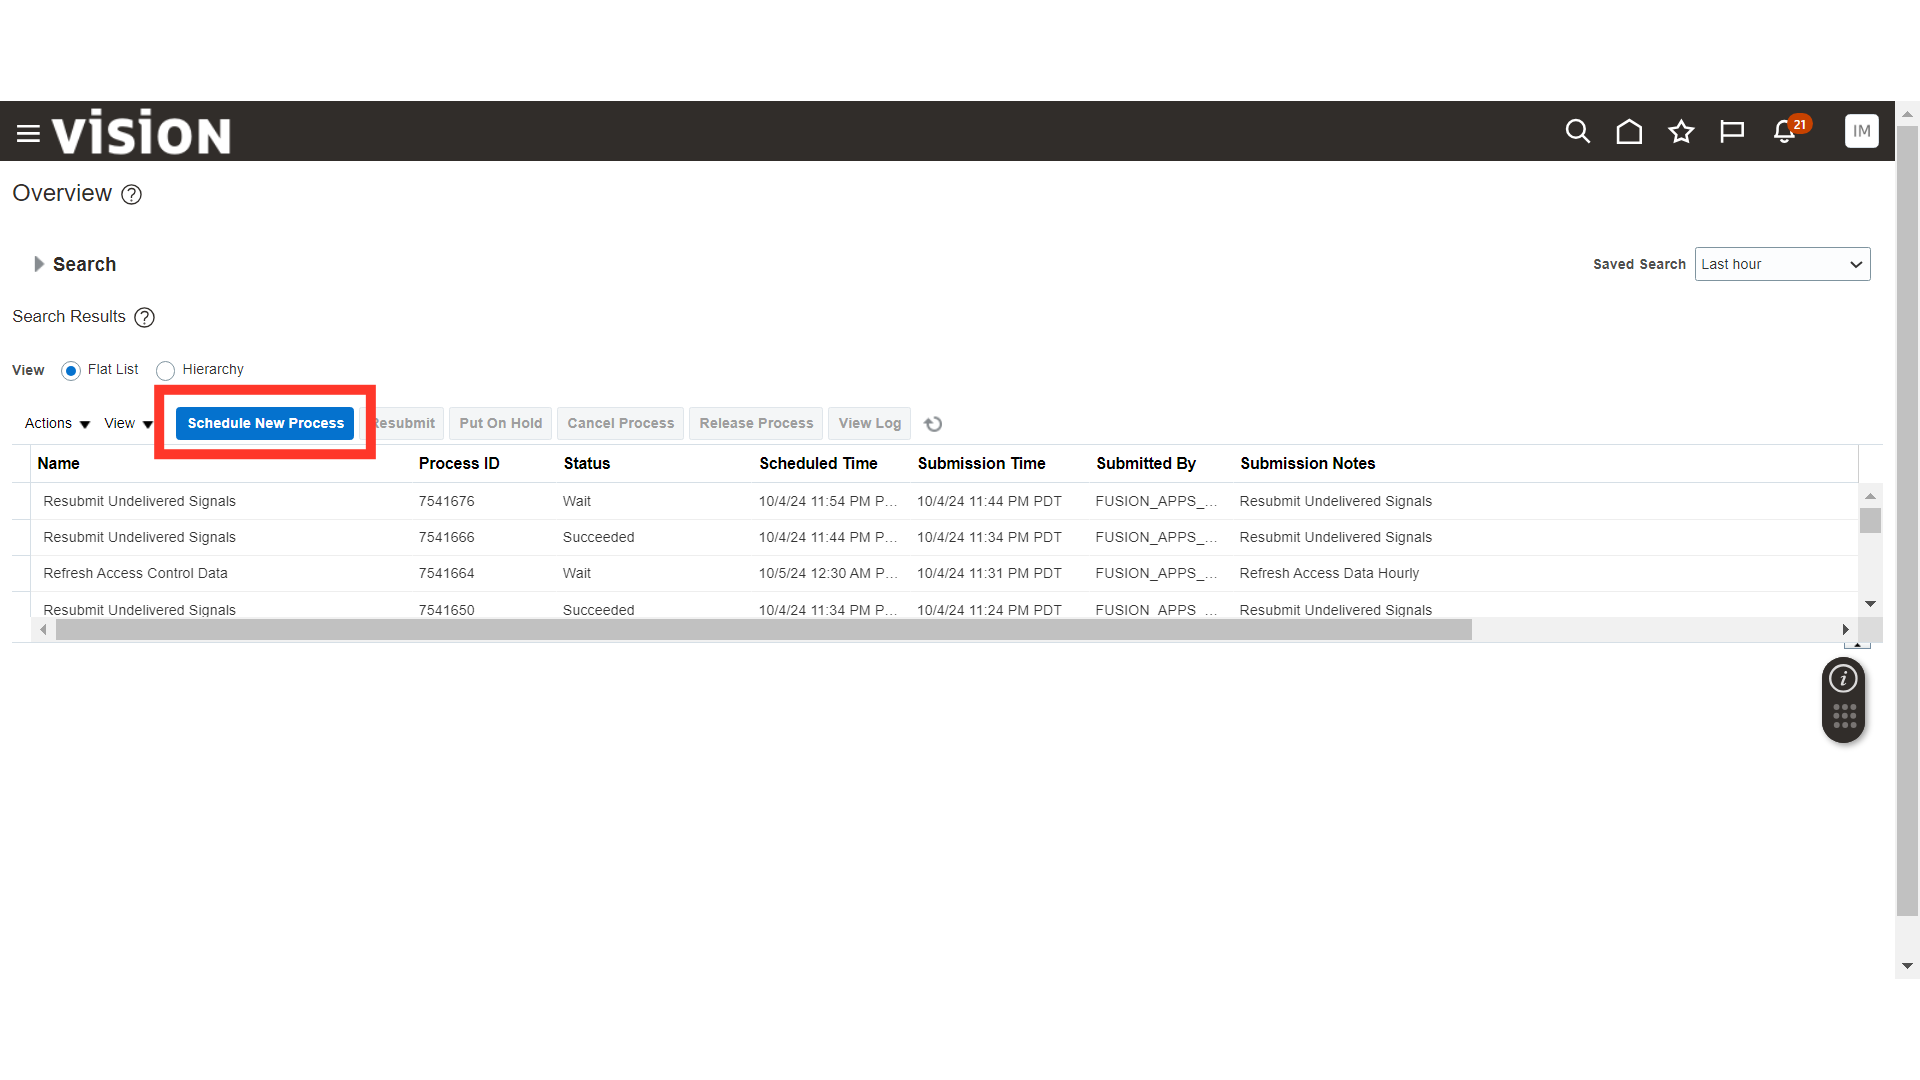
Click on the Schedule New Process.
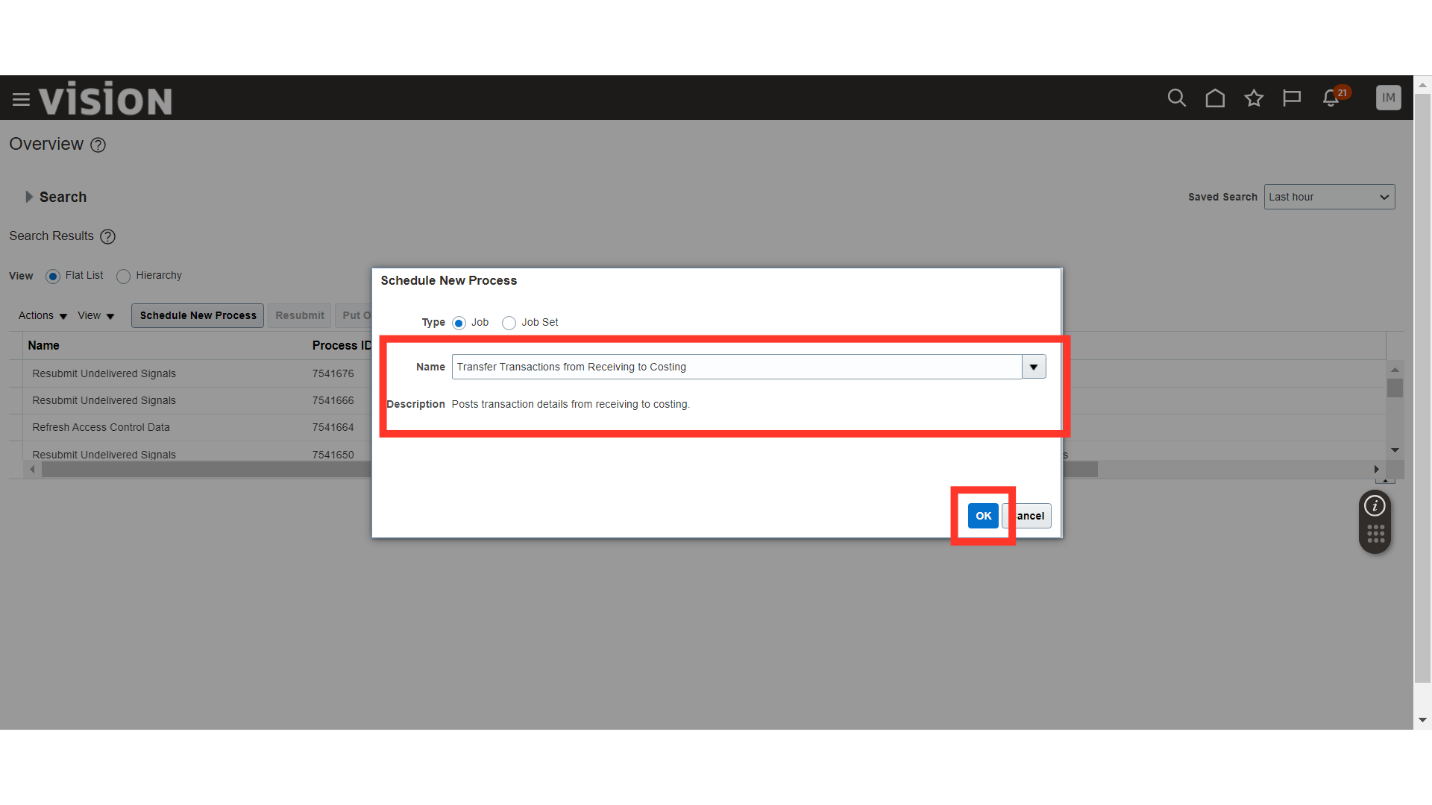
Search for the Process “Transfer Transactions from Receiving to Costing”. This process will transfer the purchase order transactions from receiving to costing module, click OK.
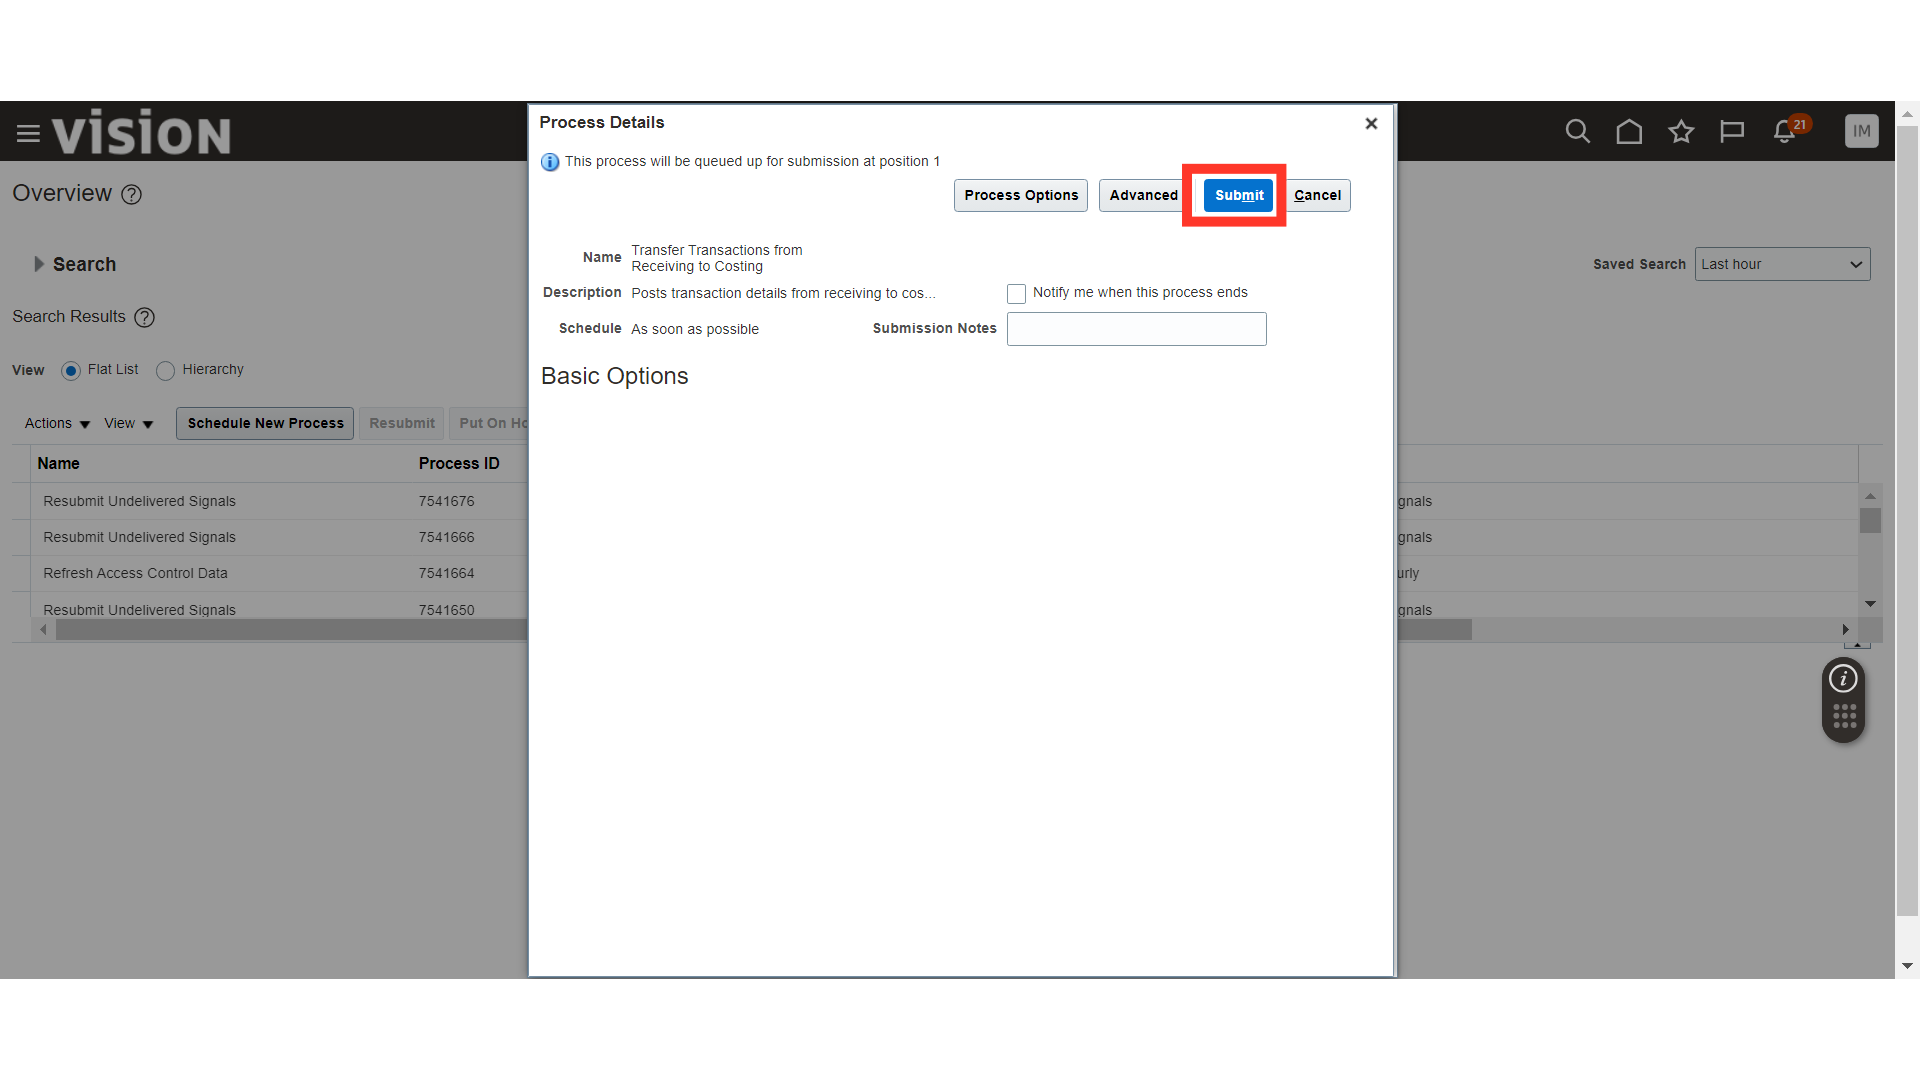
In the process details there is no further information required, click on the Submit button.
The system will generate a confirmation message about the process submission with process ID, click OK. The process ID can be used to track the status of the process.

Click on the Schedule New Process again.
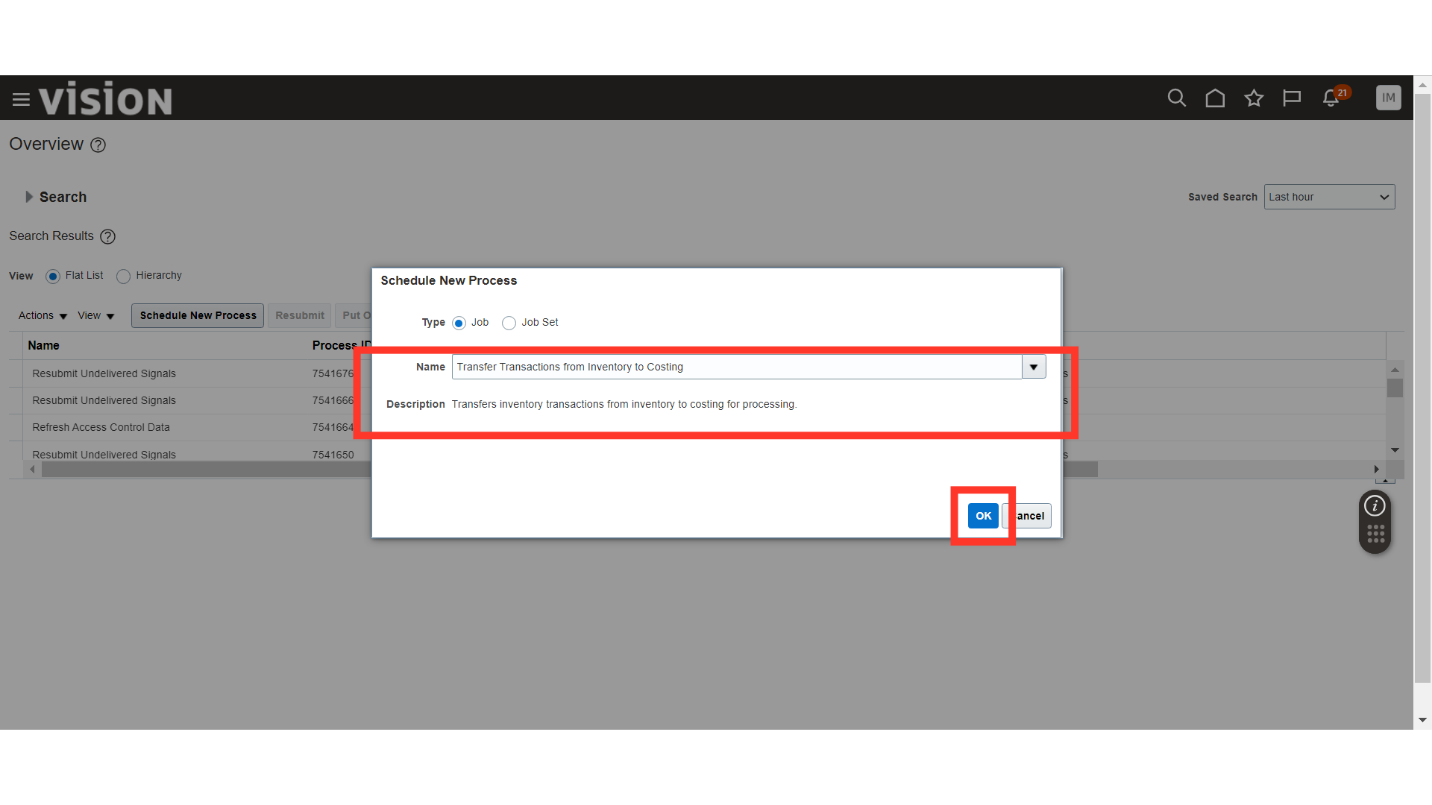
Search for the process “Transfer Transactions from Inventory to Costing”. This process will transfer the inventory transactions from Inventory to Costing Modules, click OK.
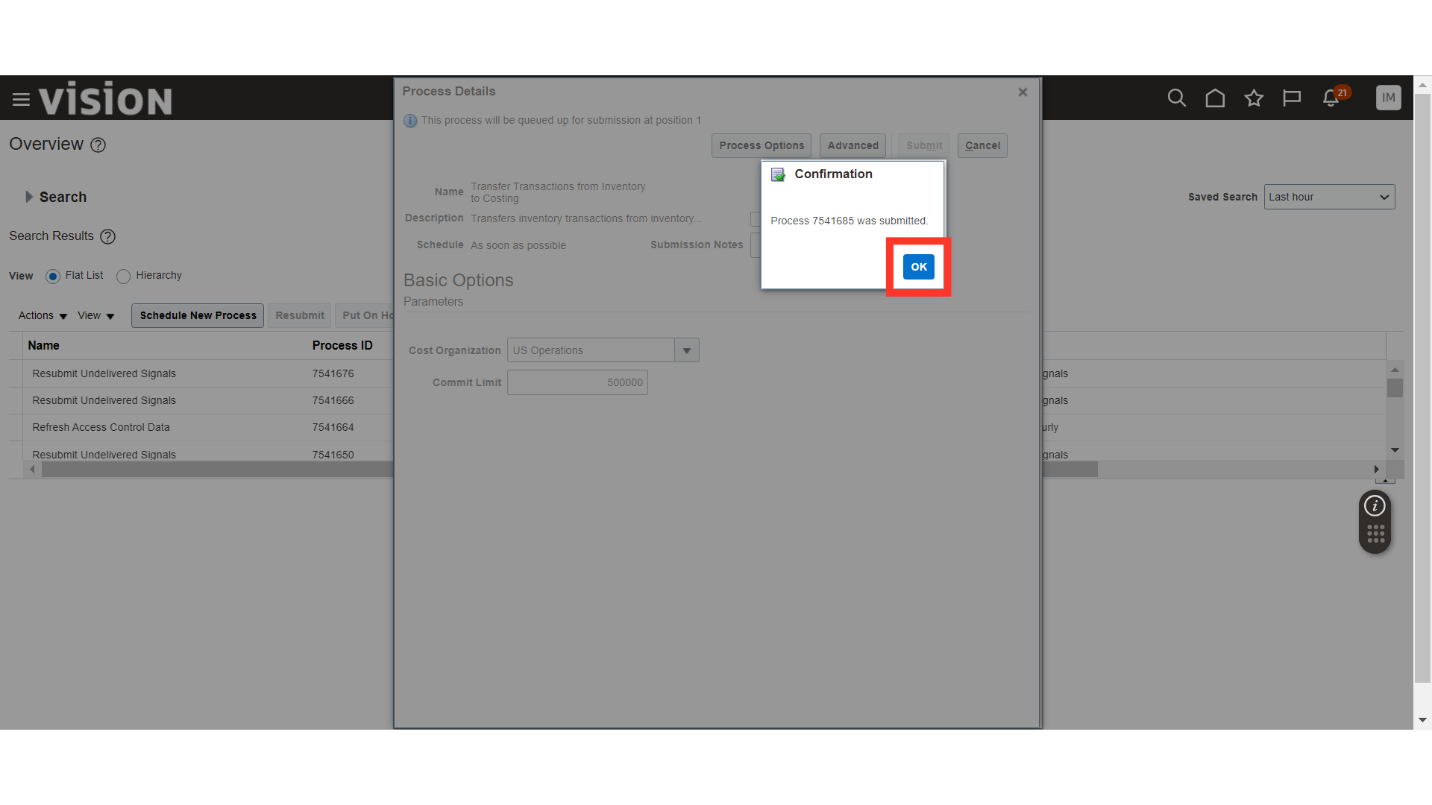
In the Process Details, select the Cost Organization and click on the Submit button.

The system will generate a confirmation message about the process submission with process ID, click OK.
Click on the Schedule New Process again.

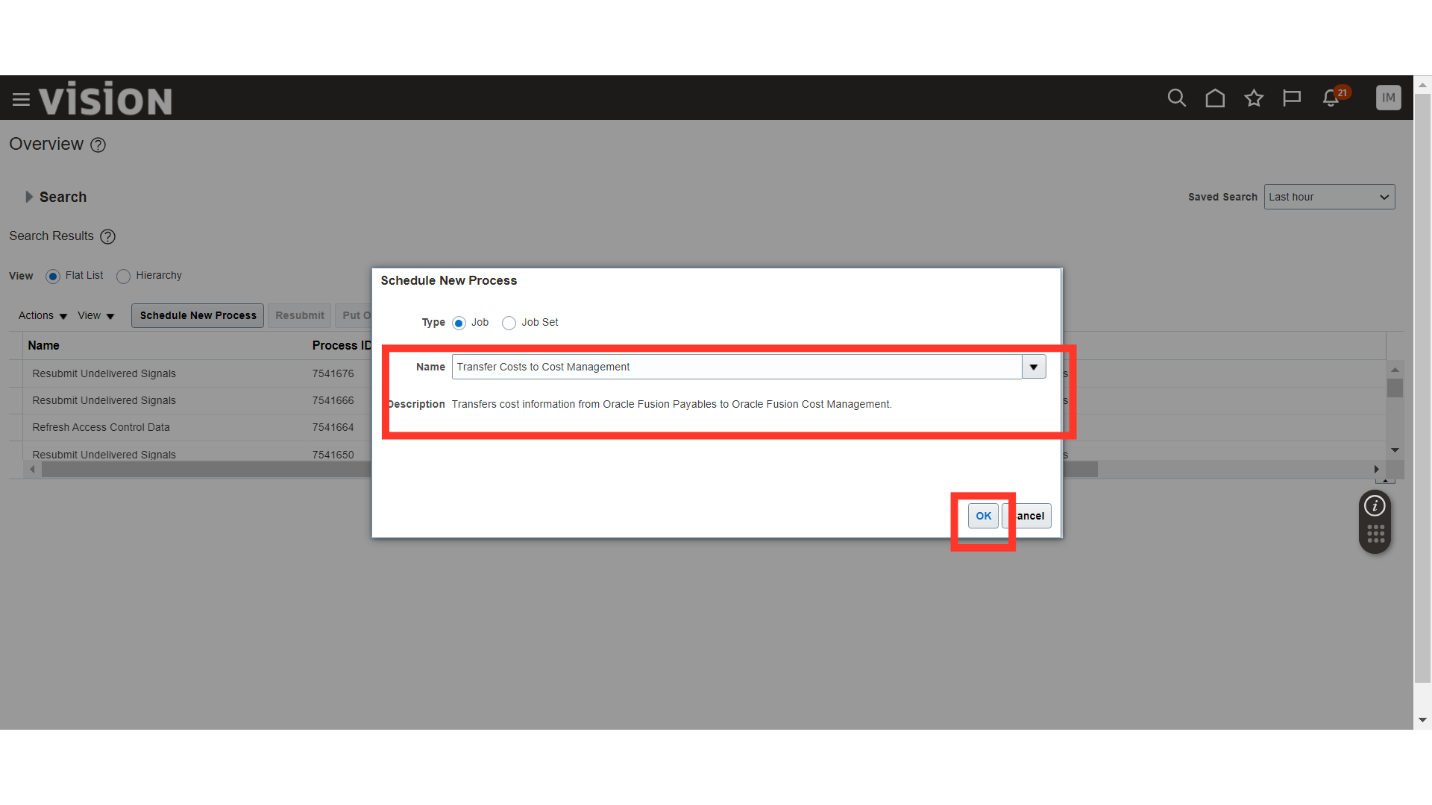
Search the Process “Transfer Costs to Cost Management”. This process will send the invoice details from Account payables to Cost Management, click OK.
In the Process Details, select the Business Unit, Cutoff Date and click on the Submit button.

The system will generate a confirmation message about the process submission with process id, click OK.

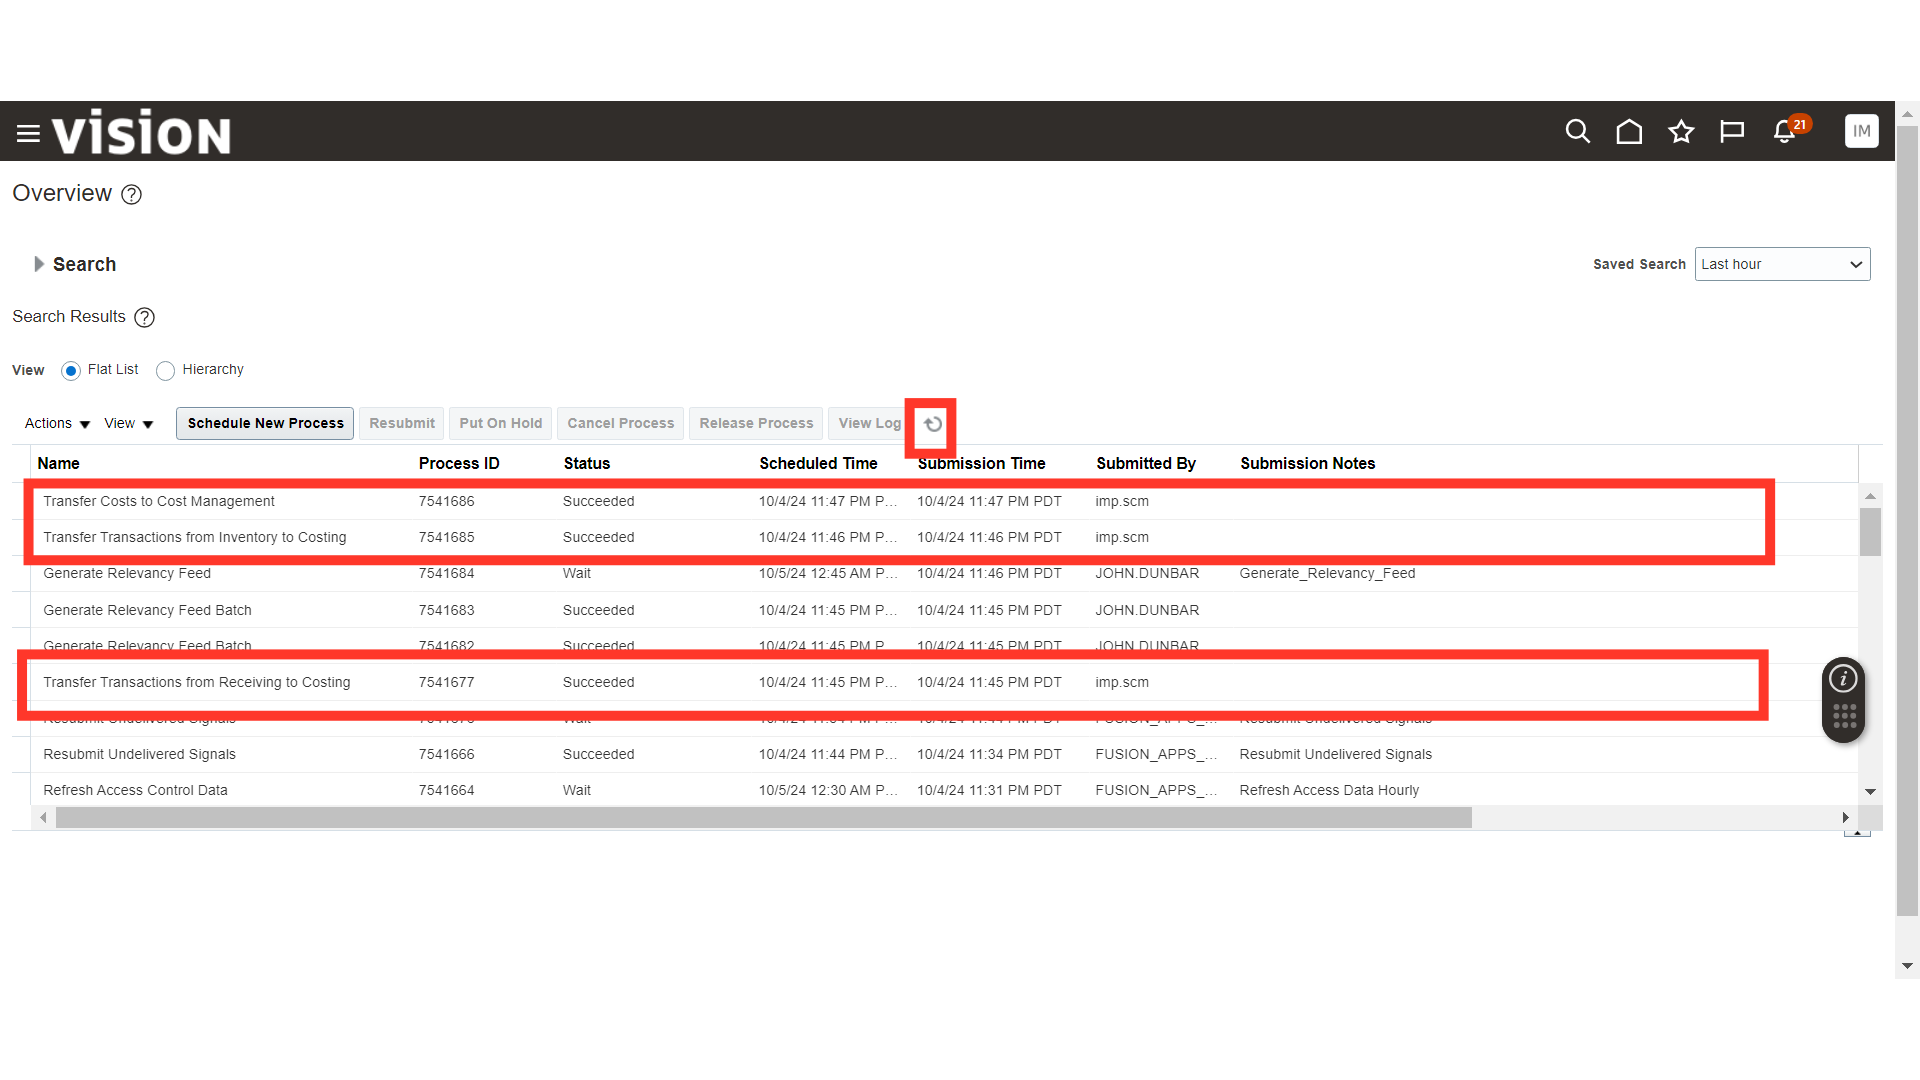
Validate the status of the processes that are submitted and wait till they are in Succeeded status. Use Refresh button to refresh the process status.
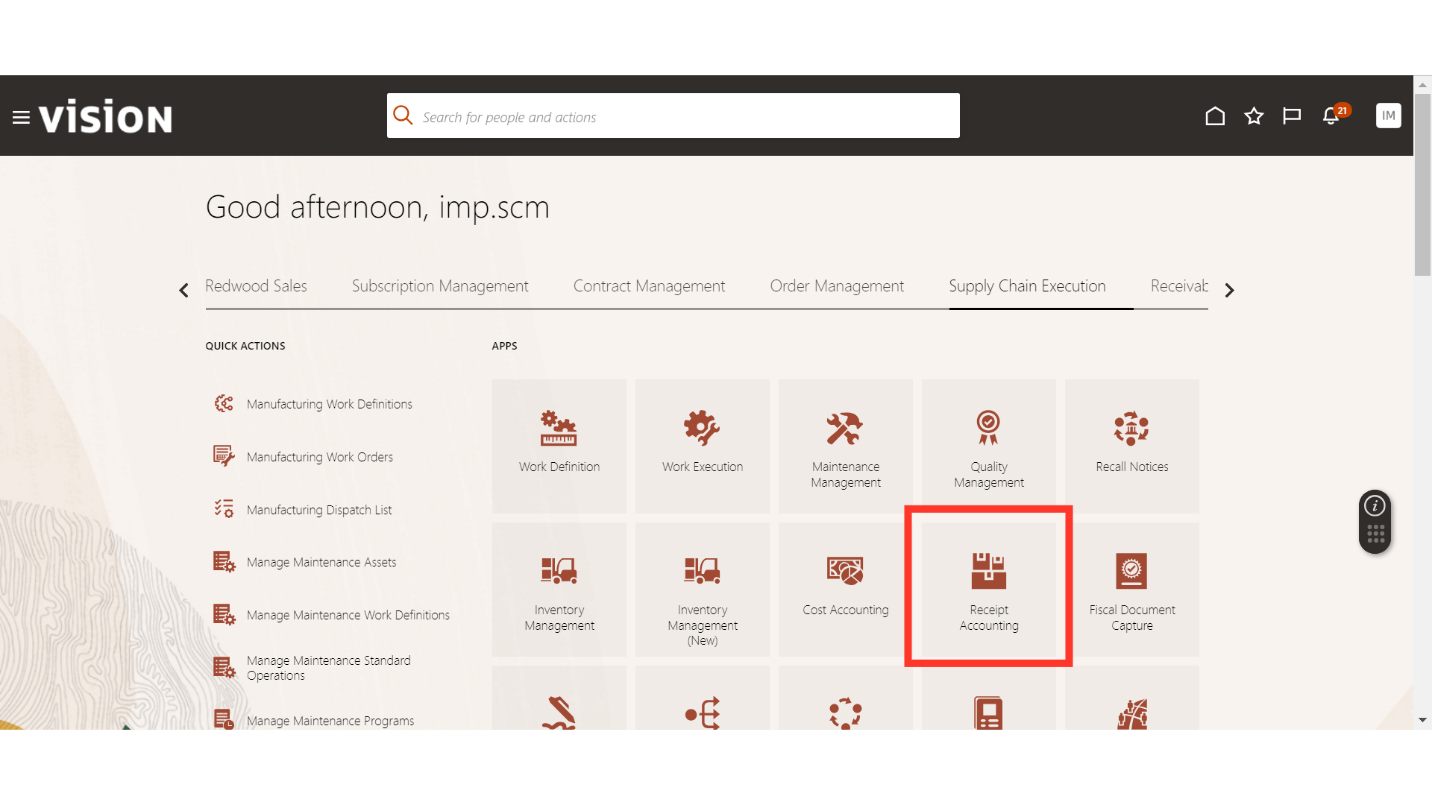
Navigate to the Supply Chain Execution tab and click on the Receipt Accounting.
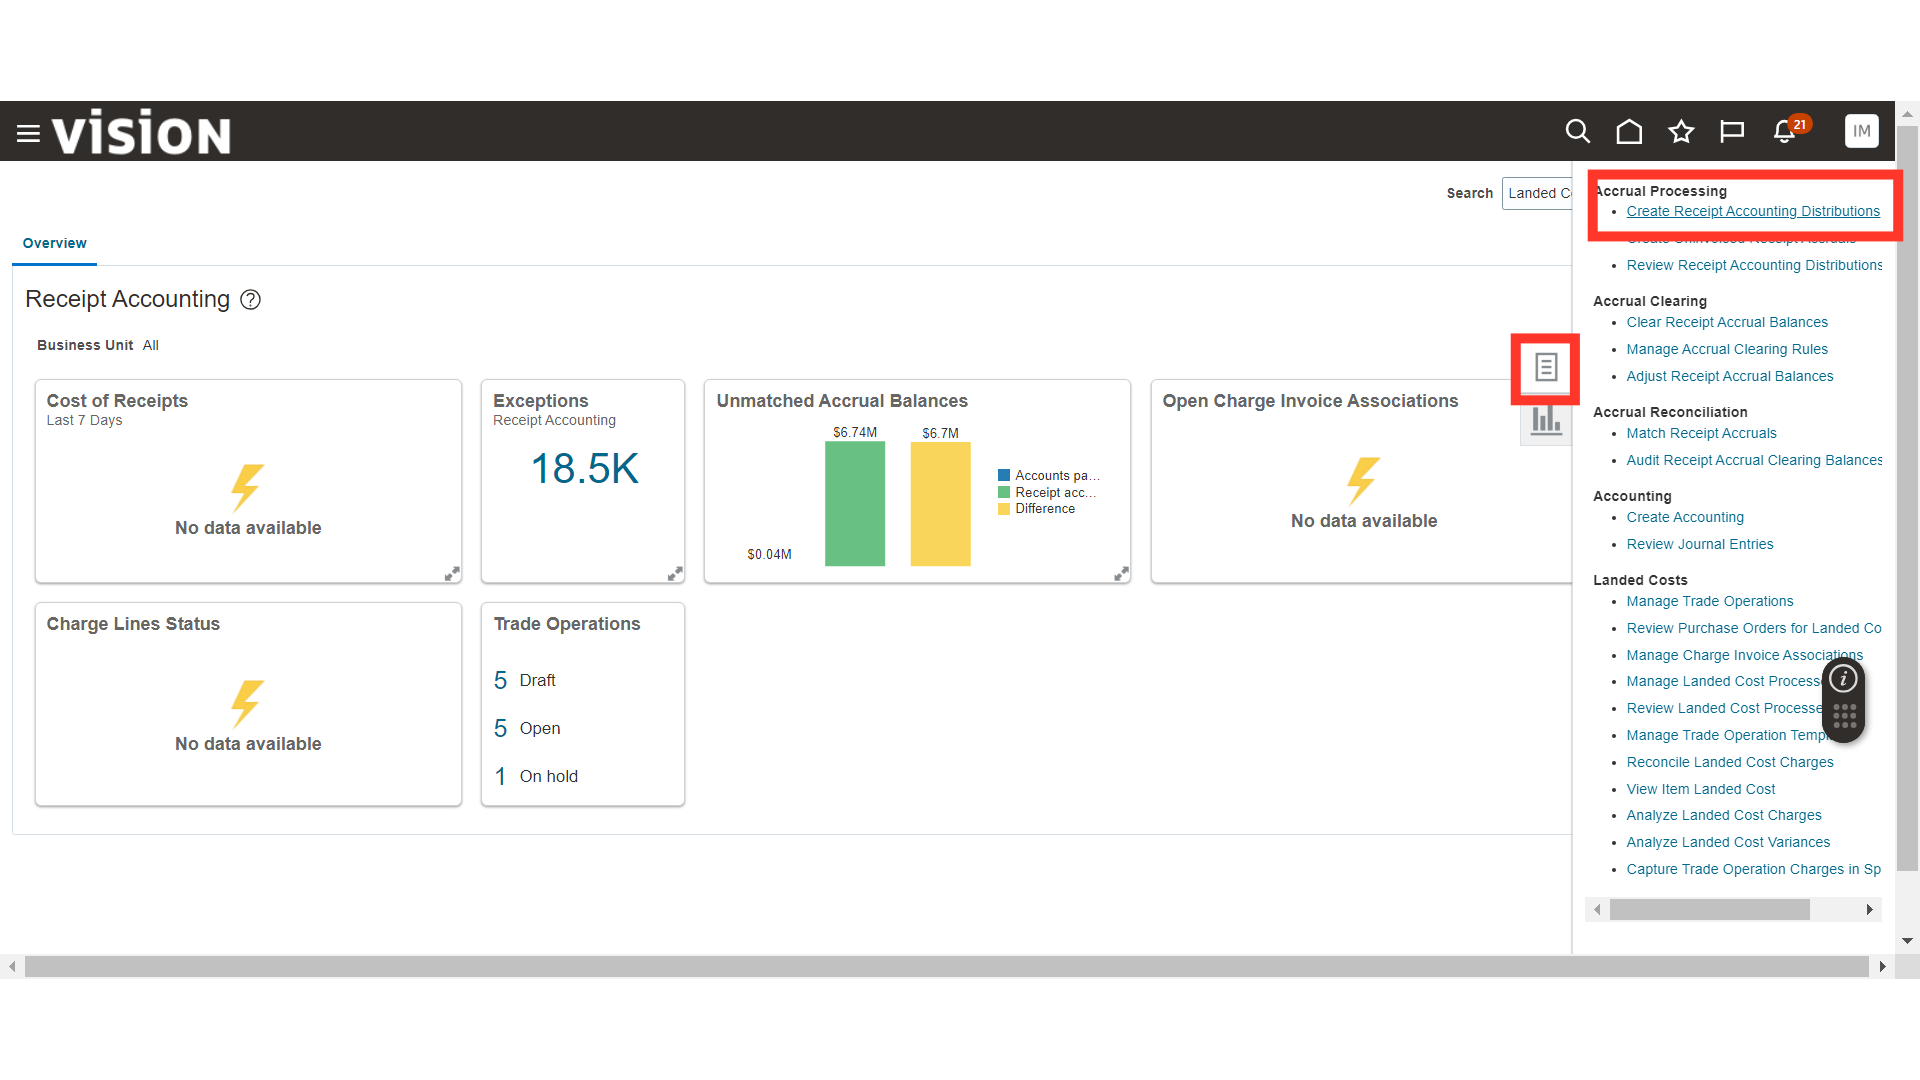
Click on the Tasks button and click on the Create Receipt Accounting Distributions. This process will generate the distributions on the transactions that are available in Receipt Management for Accounting and follow Accrue at Receipt method.
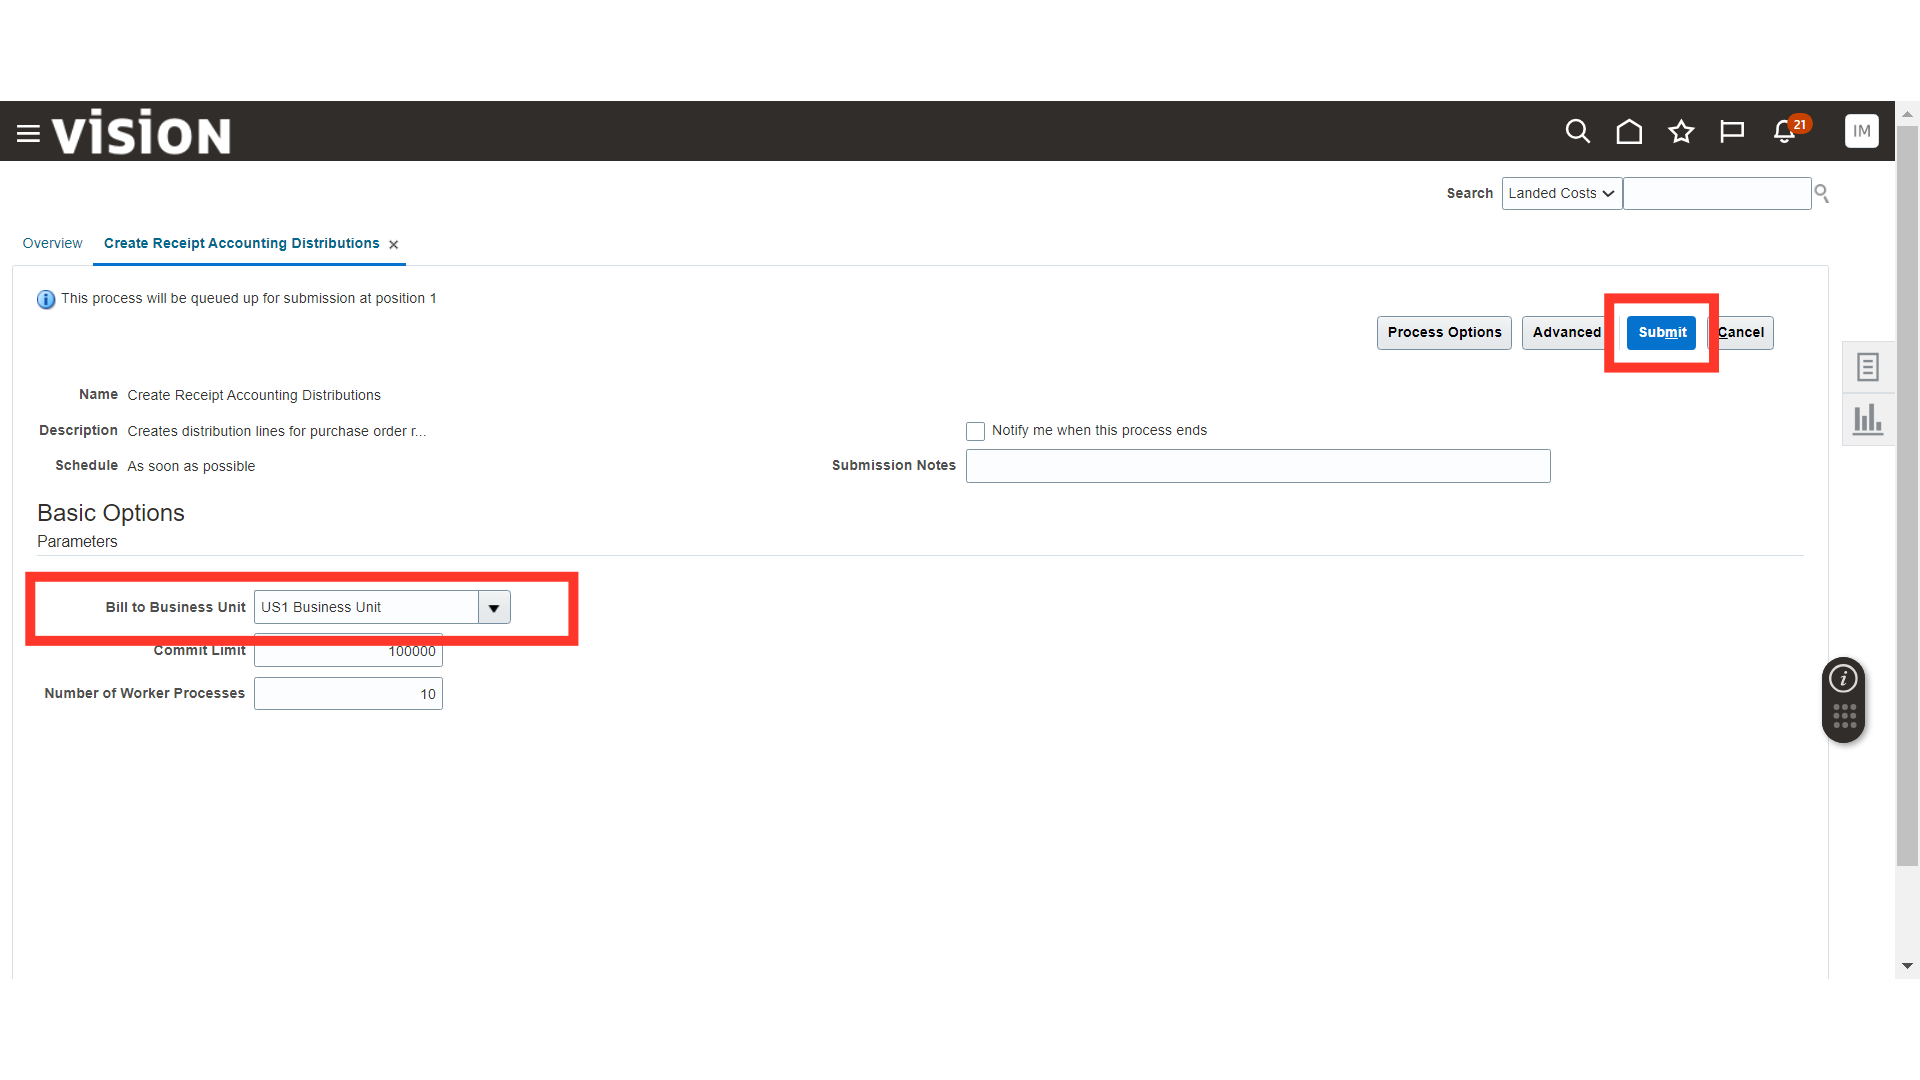
In the Process Details, enter the Bill to Business Unit and click on the Submit button.
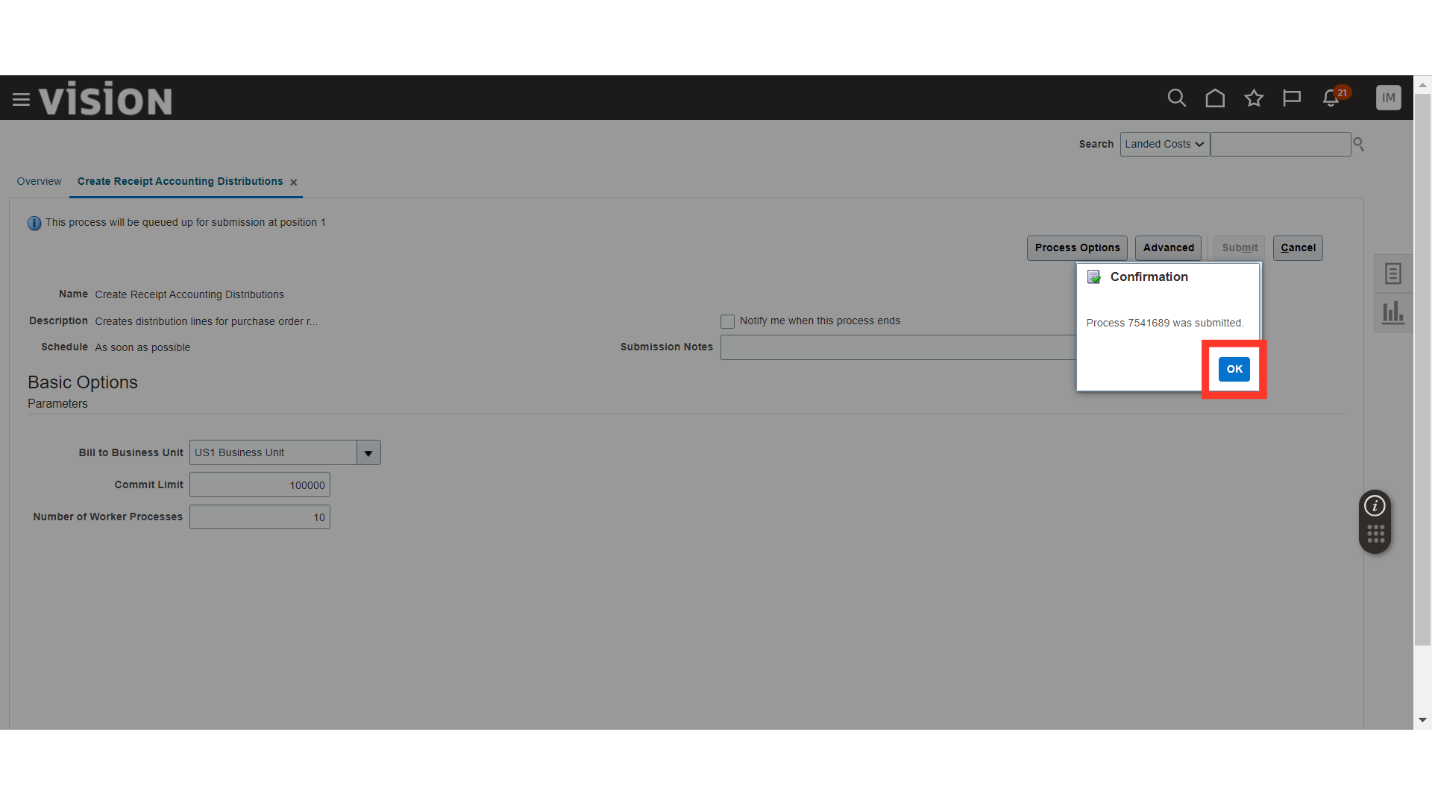
The system will generate the confirmation message about the process submission with process ID, click OK. Validate the status of the process in the Schedule Processes, the process should be in succeeded status.
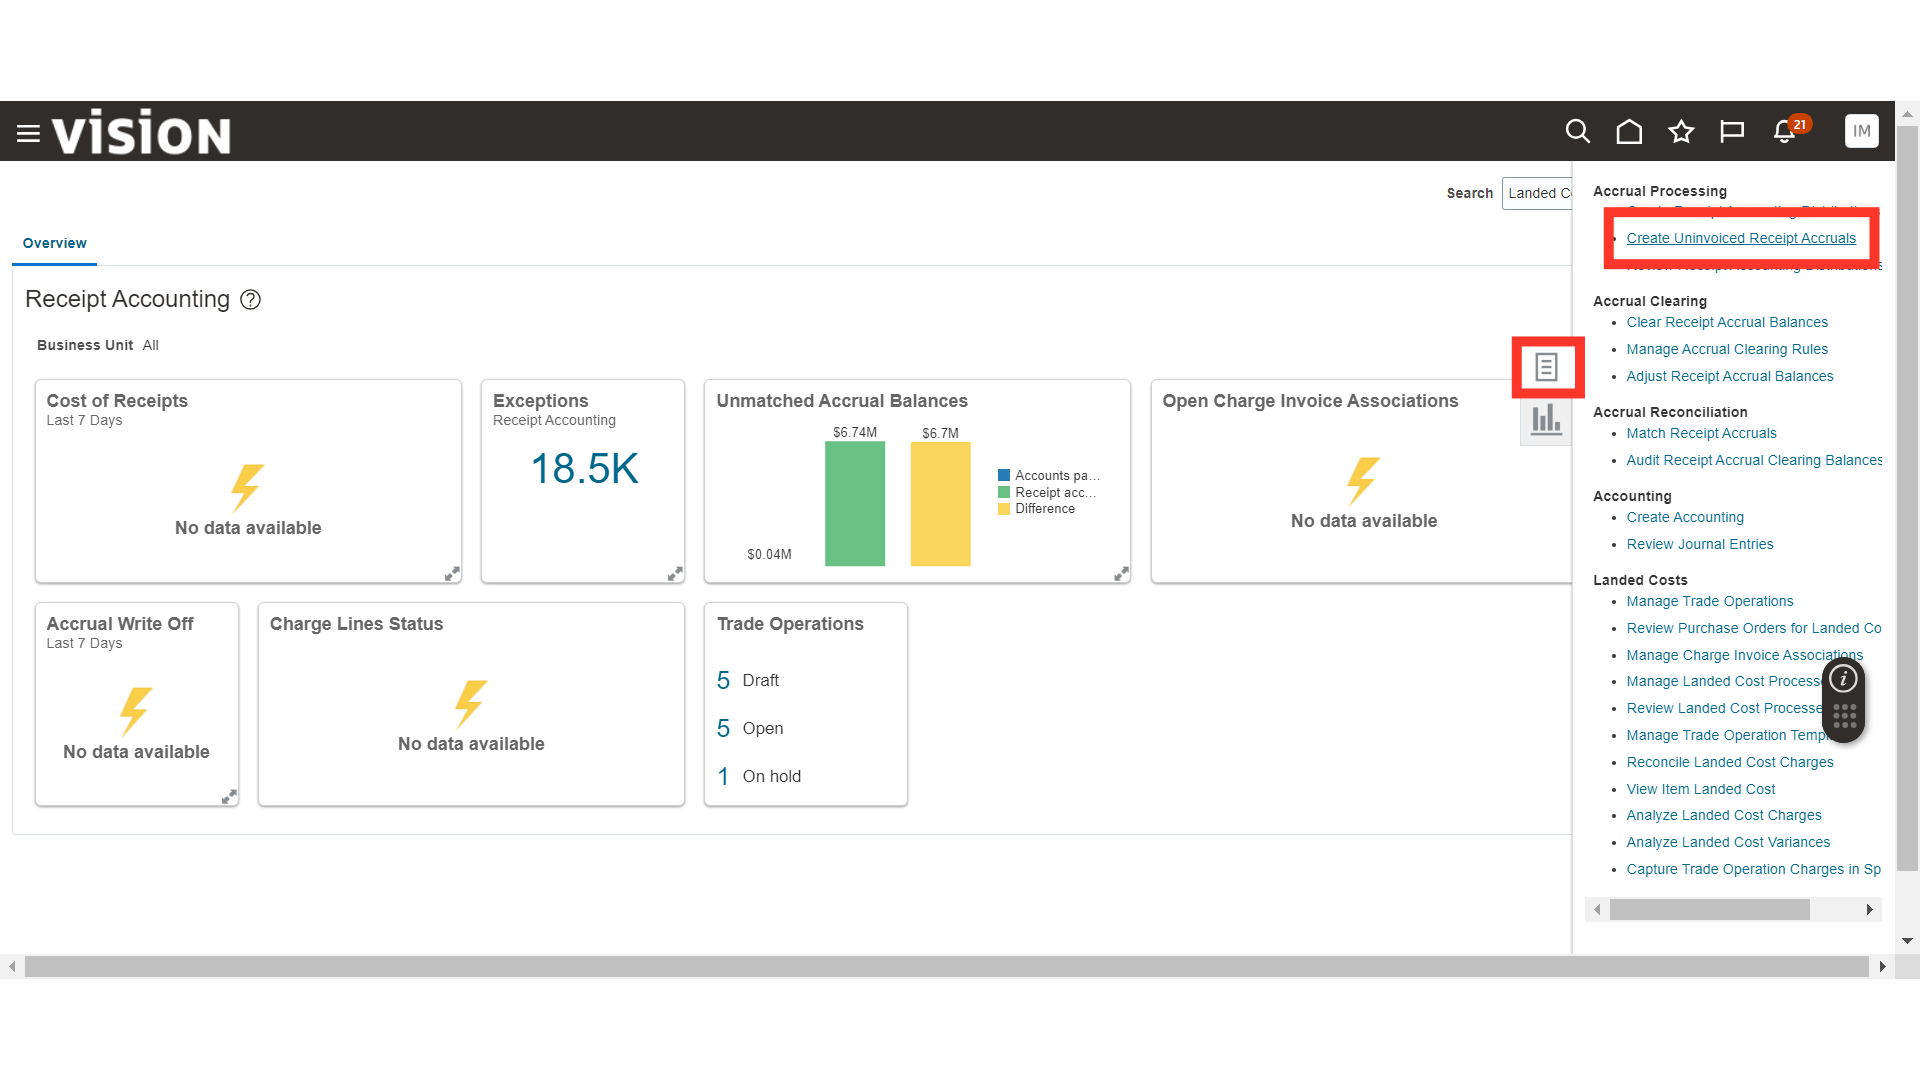
Click on the Tasks button and click on the Create Uninvoiced Receipt Accruals. This process will generate the distributions on the transactions that are available in Receipt Management for Accounting and follow Accrue at Period End and are uninvoiced. The uninvoiced transaction will be carried forward to next period until they are invoiced.
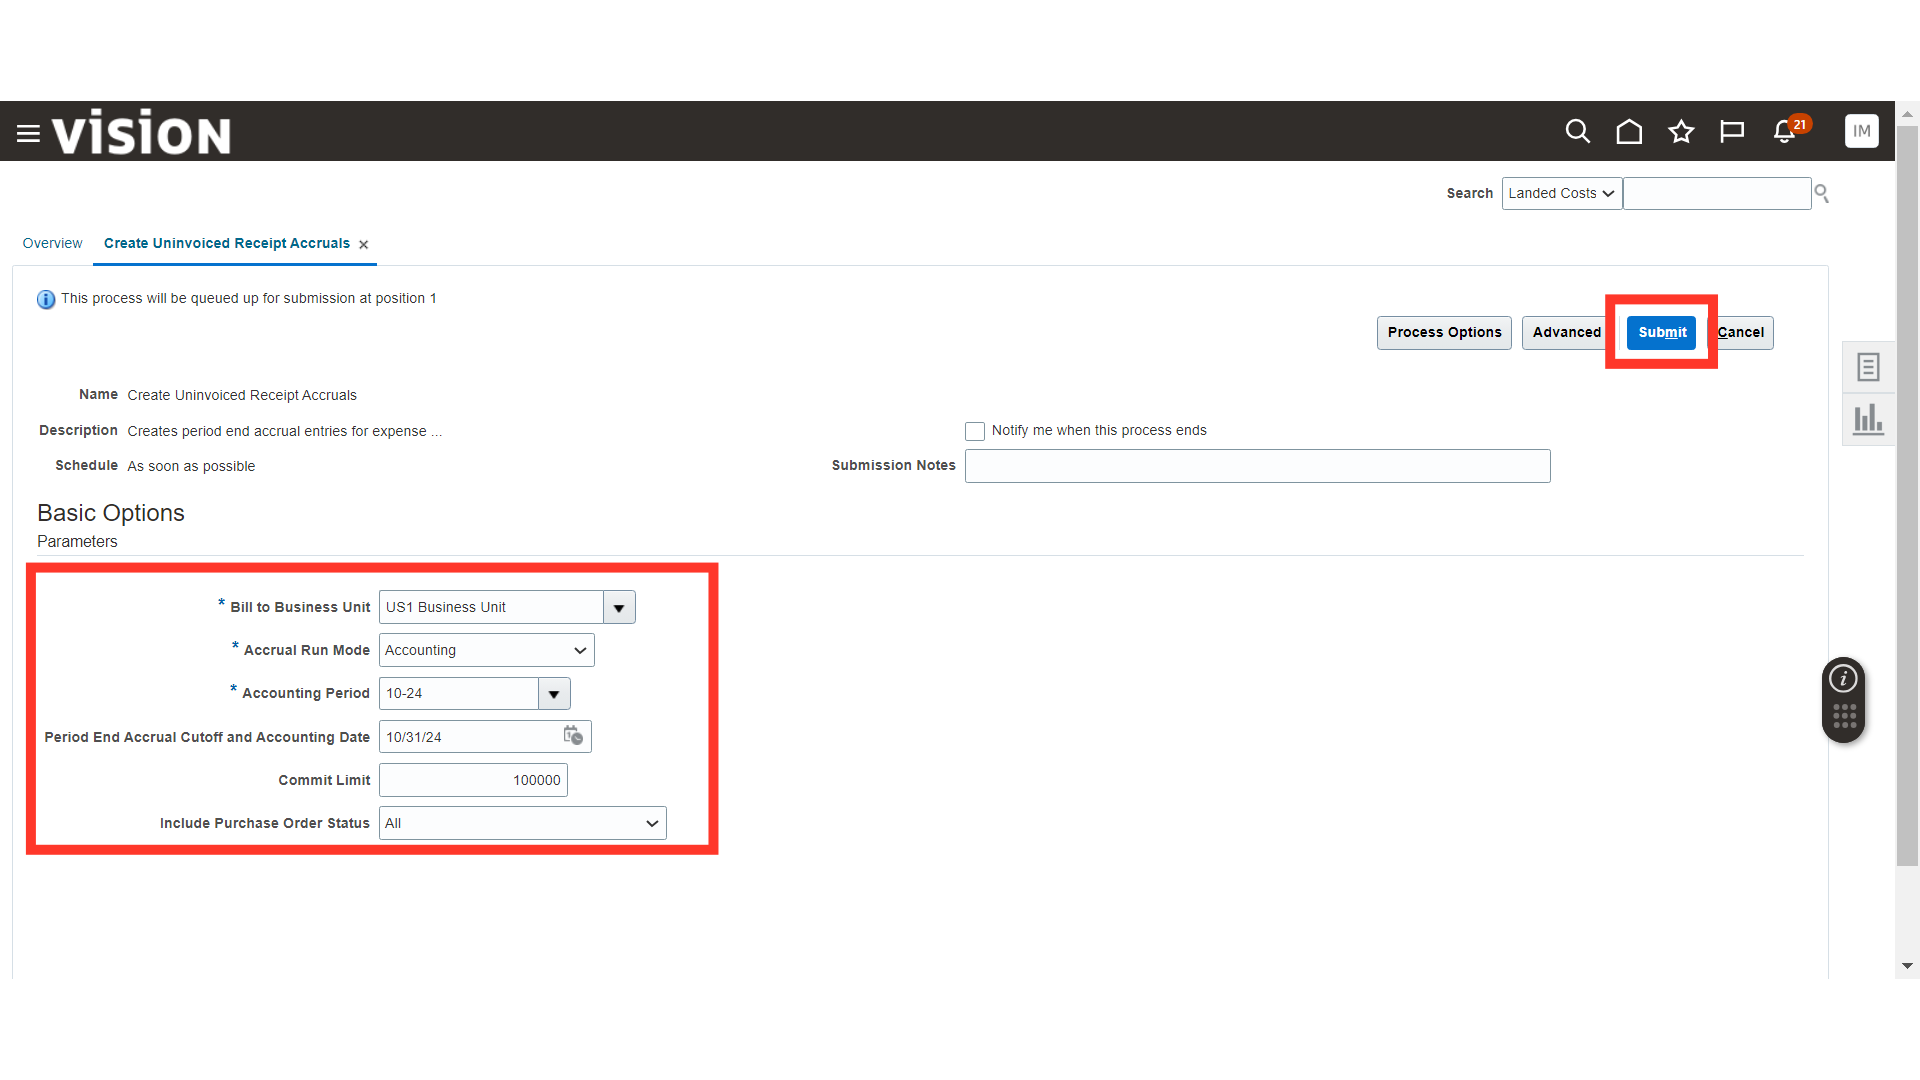
In the Process Details, enter the Bill to Business Unit, select the Accrual Run Mode as Accounting, select the Accounting Period, select the Cutoff Date, and click on the Submit button.
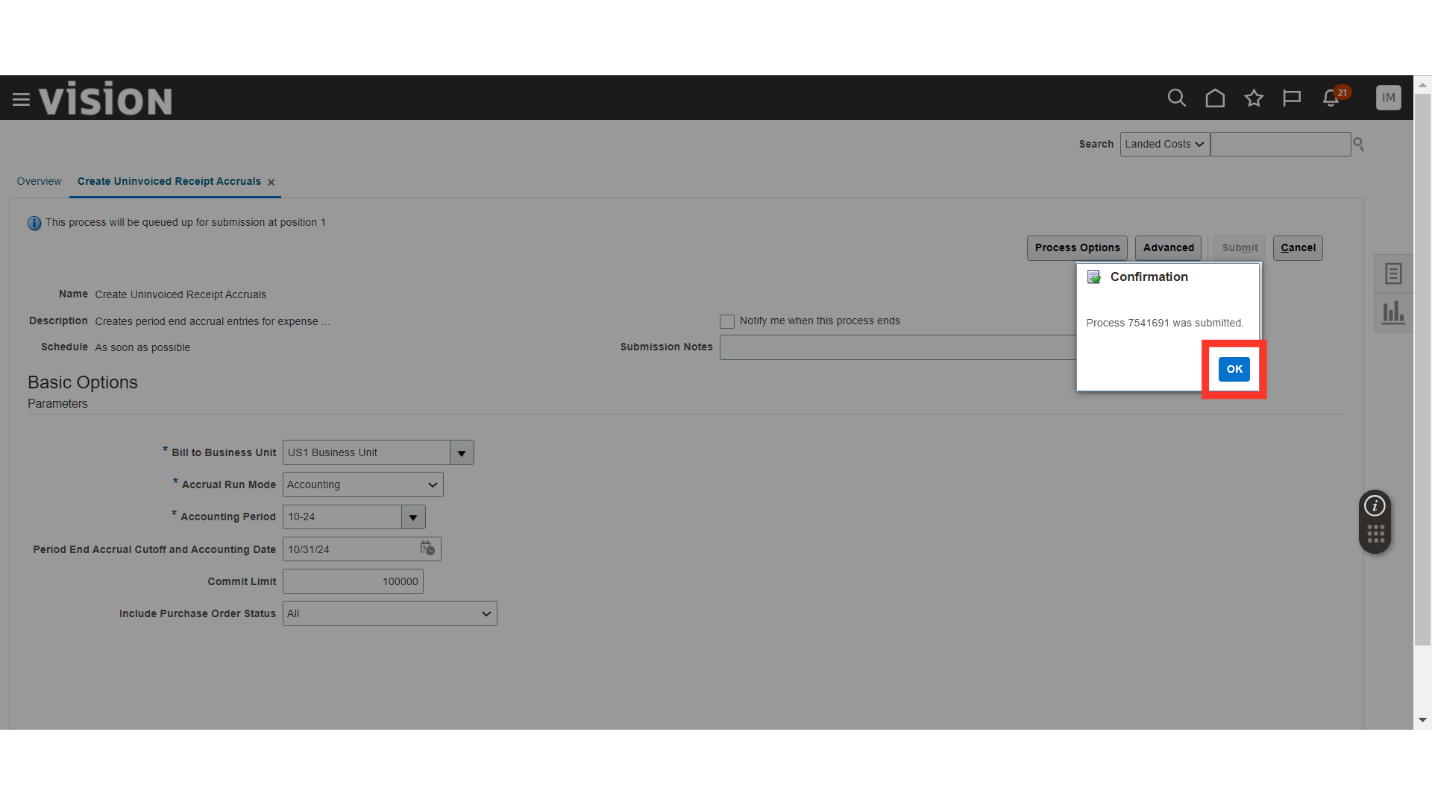
The system will generate the confirmation message about the process submission with process ID, click OK. Validate the status of the process in the Schedule Processes, the process should be in succeeded status.
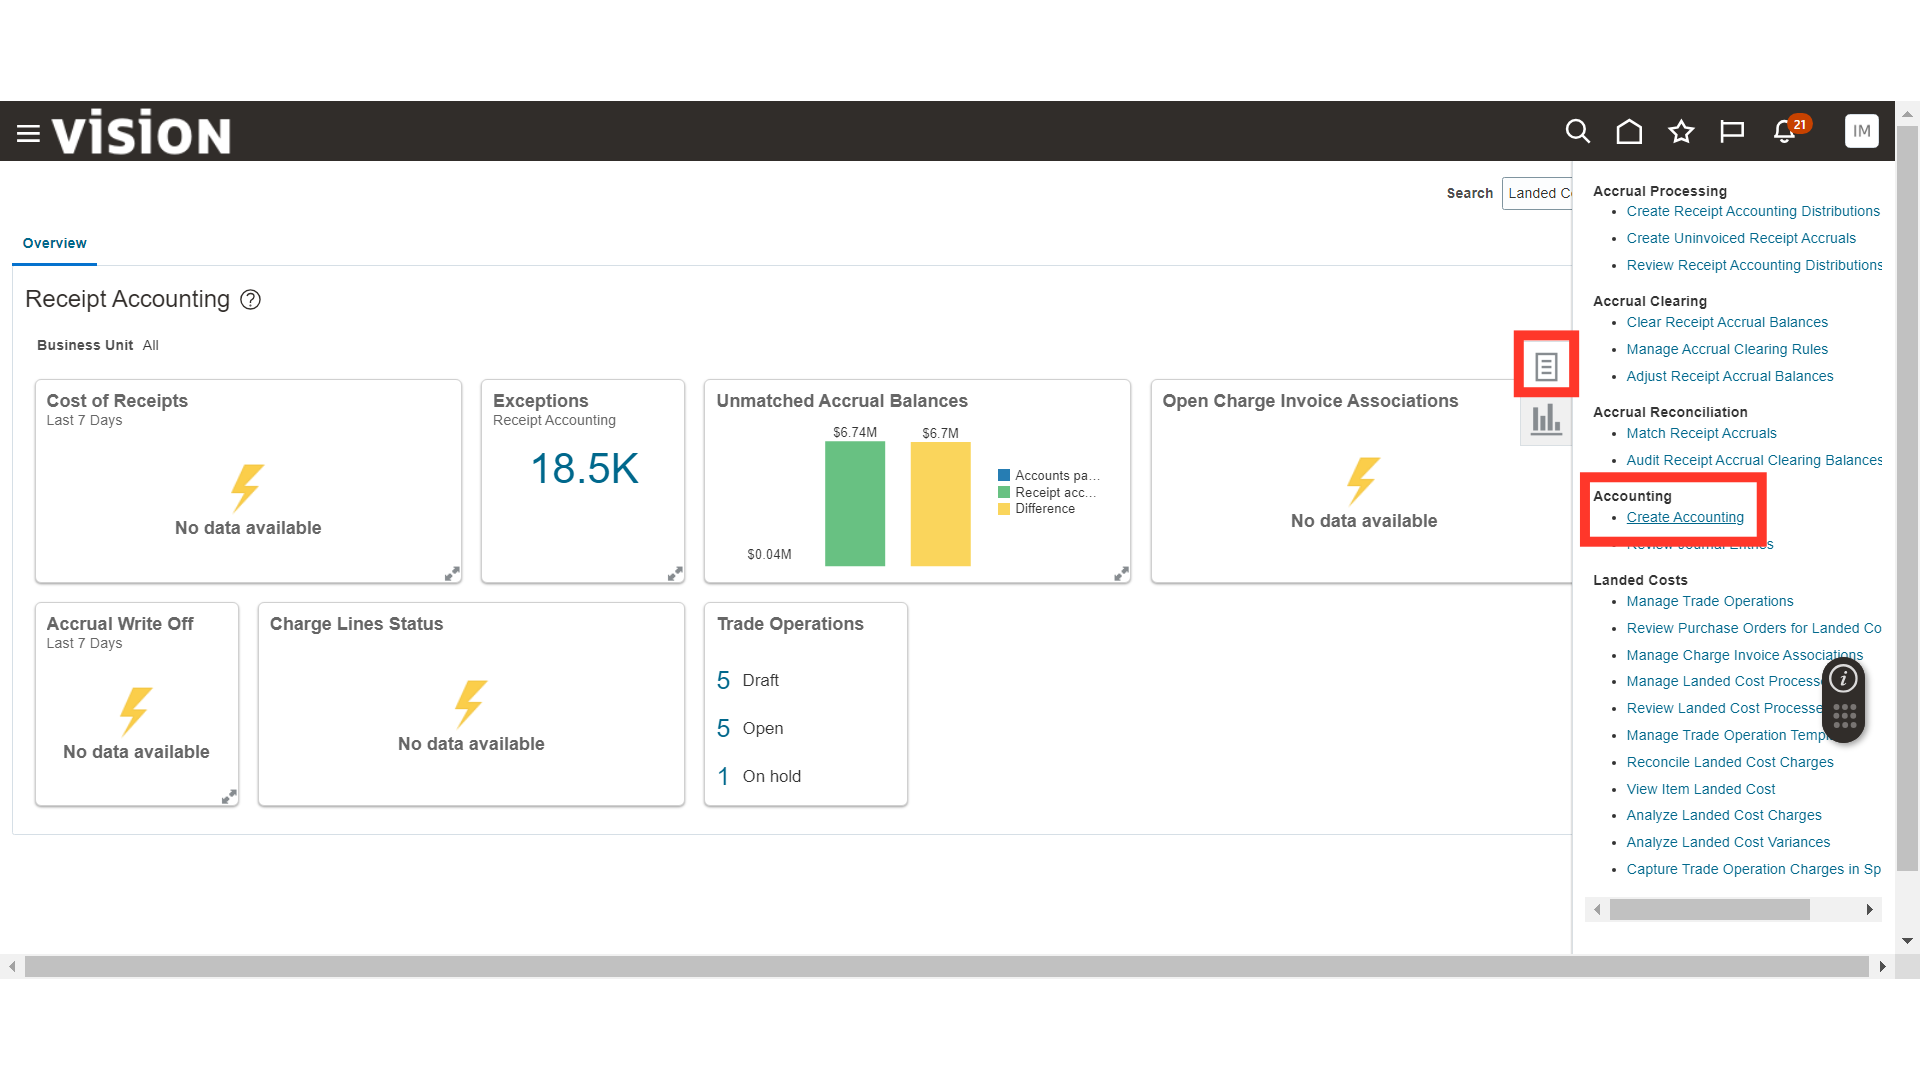
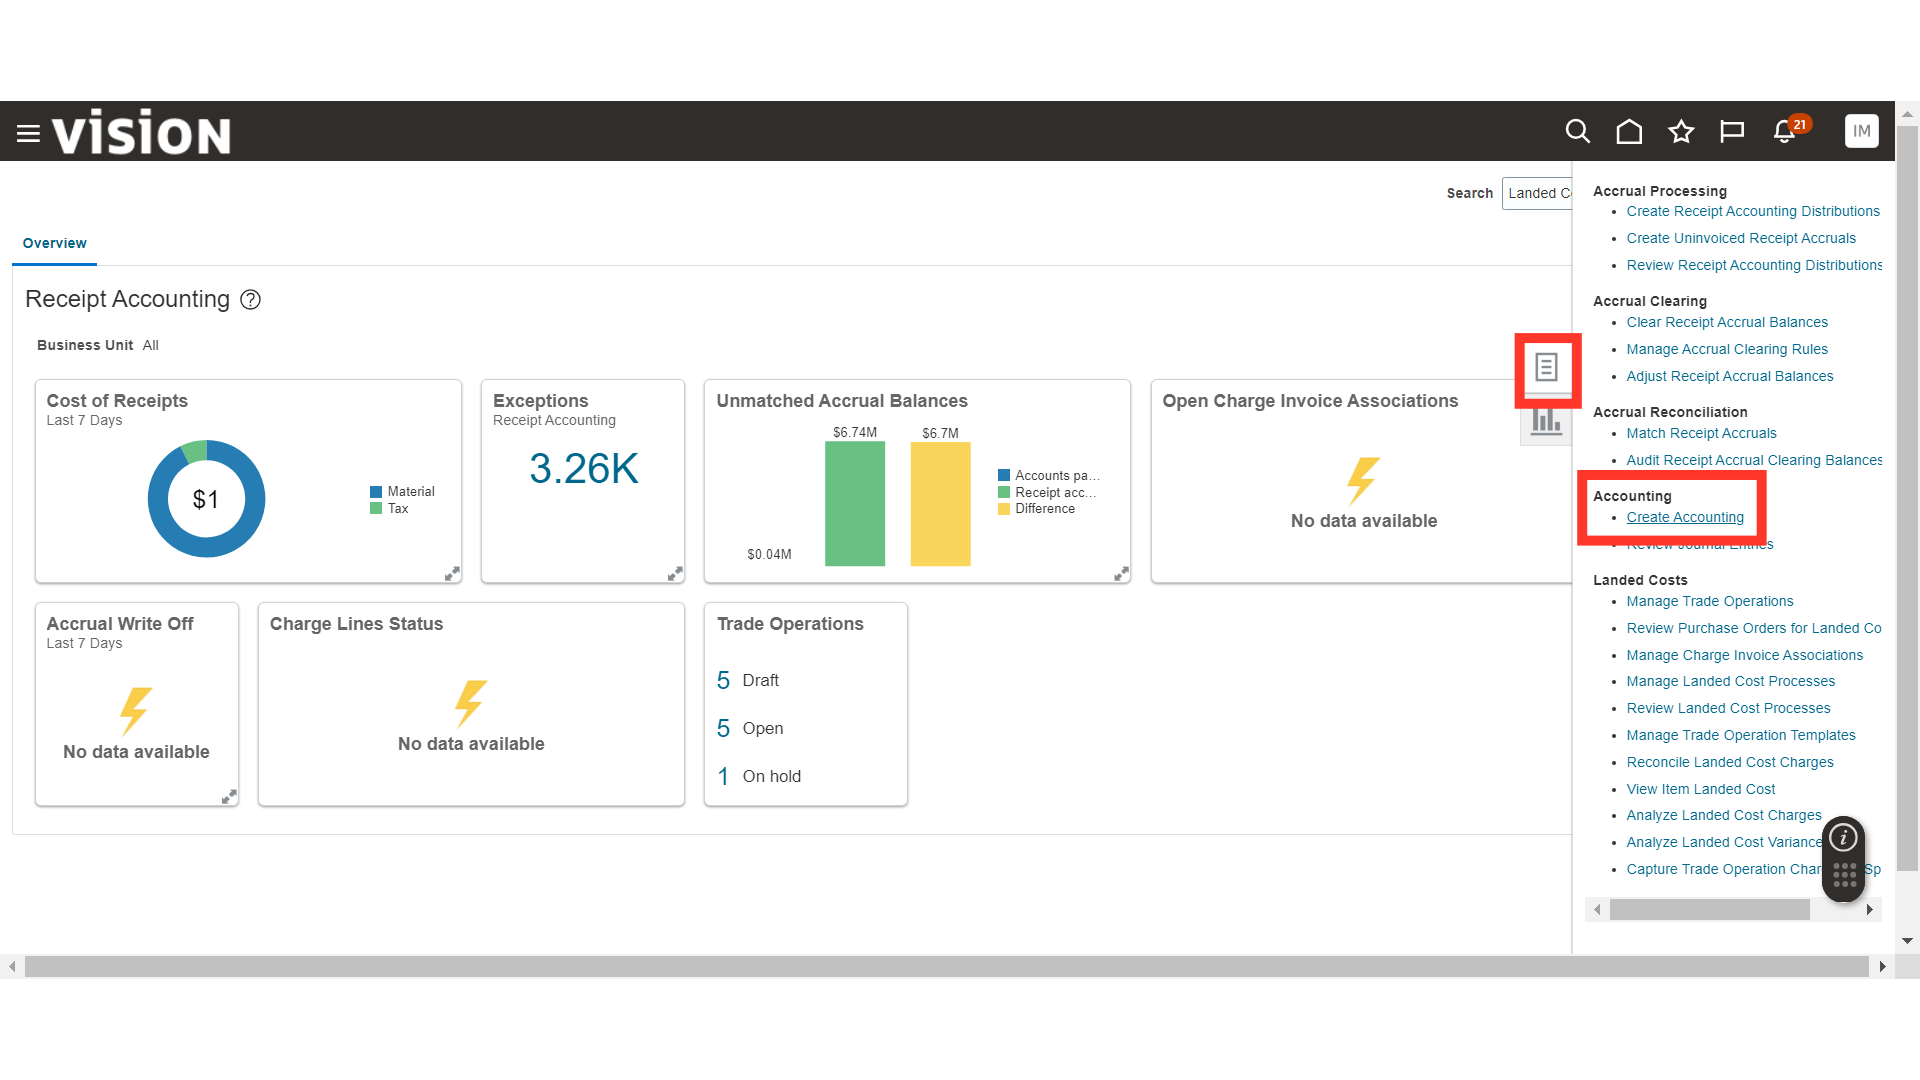
Click on the Tasks button and click on the Create Accounting. First, we will select the Receipt Accounting subledger for accounting generation using this process. This will create the Accounting for the transactions that are Expenses.
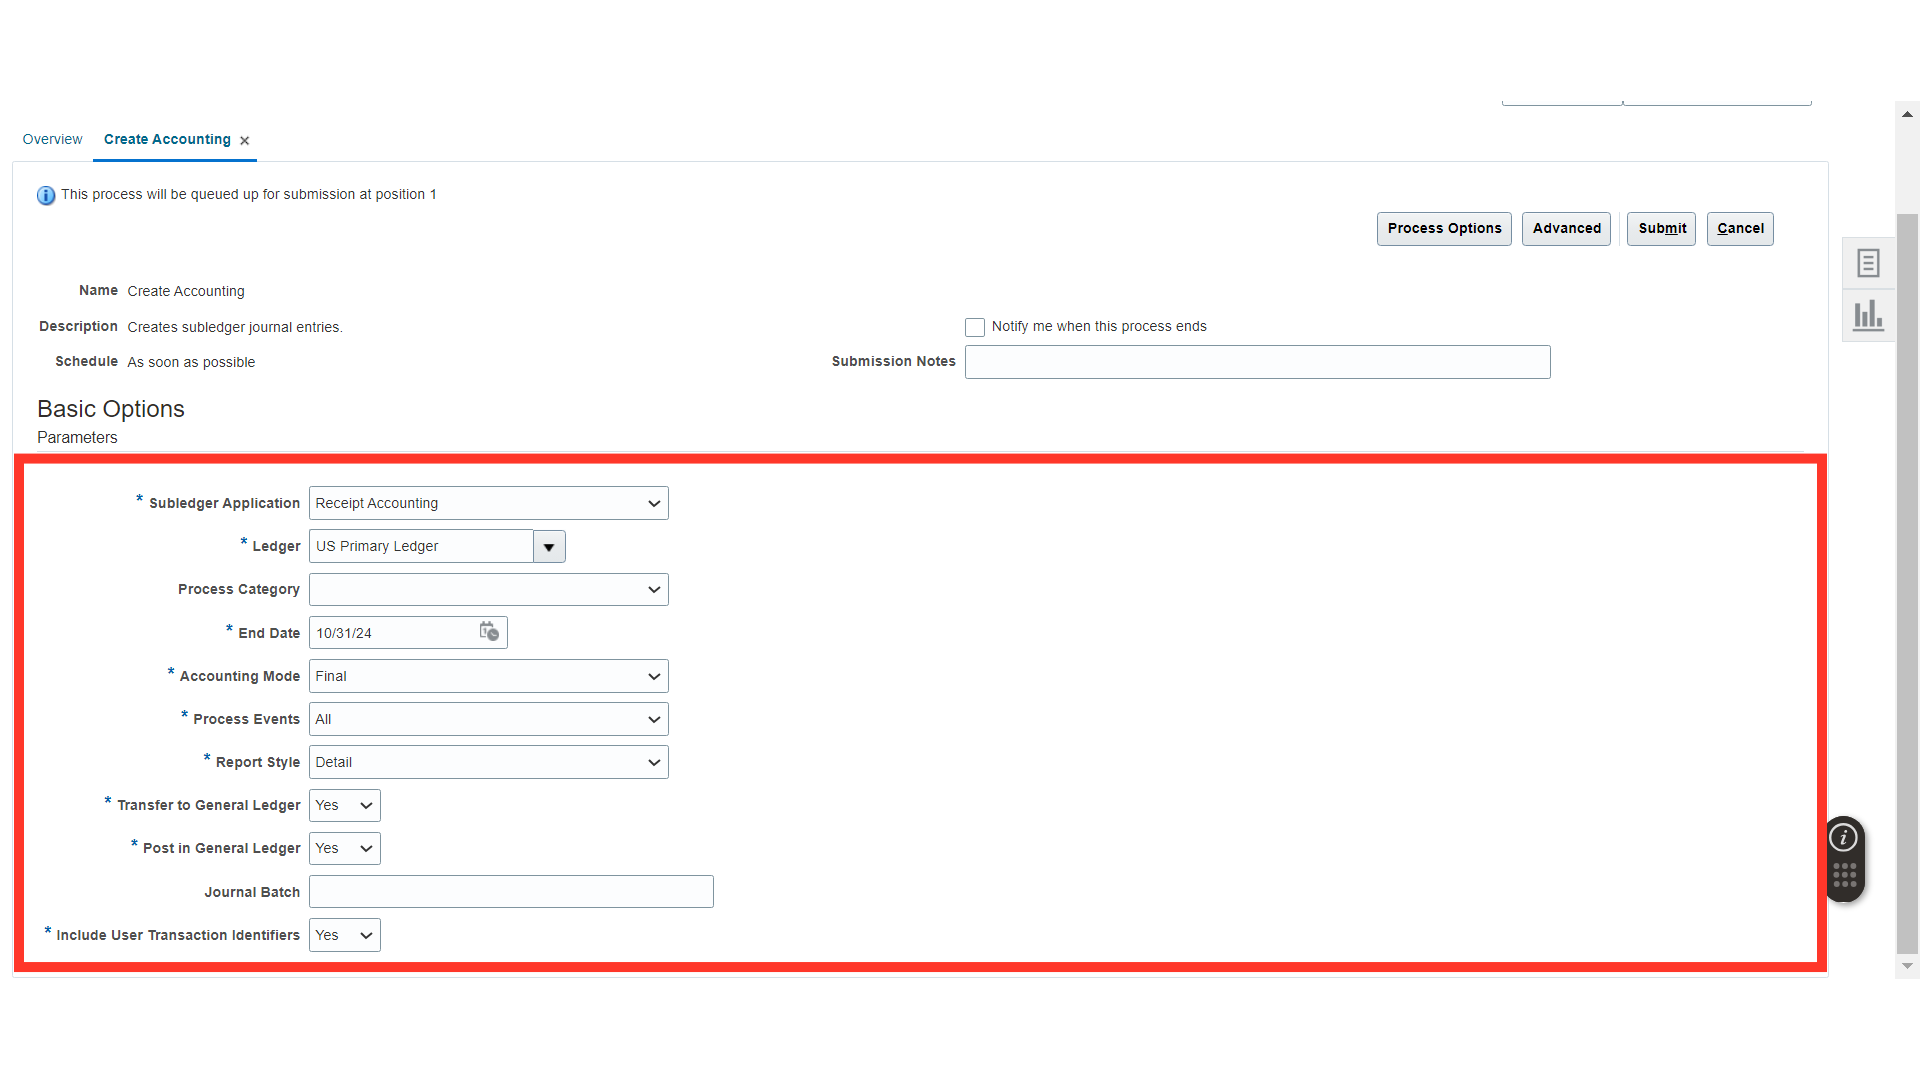
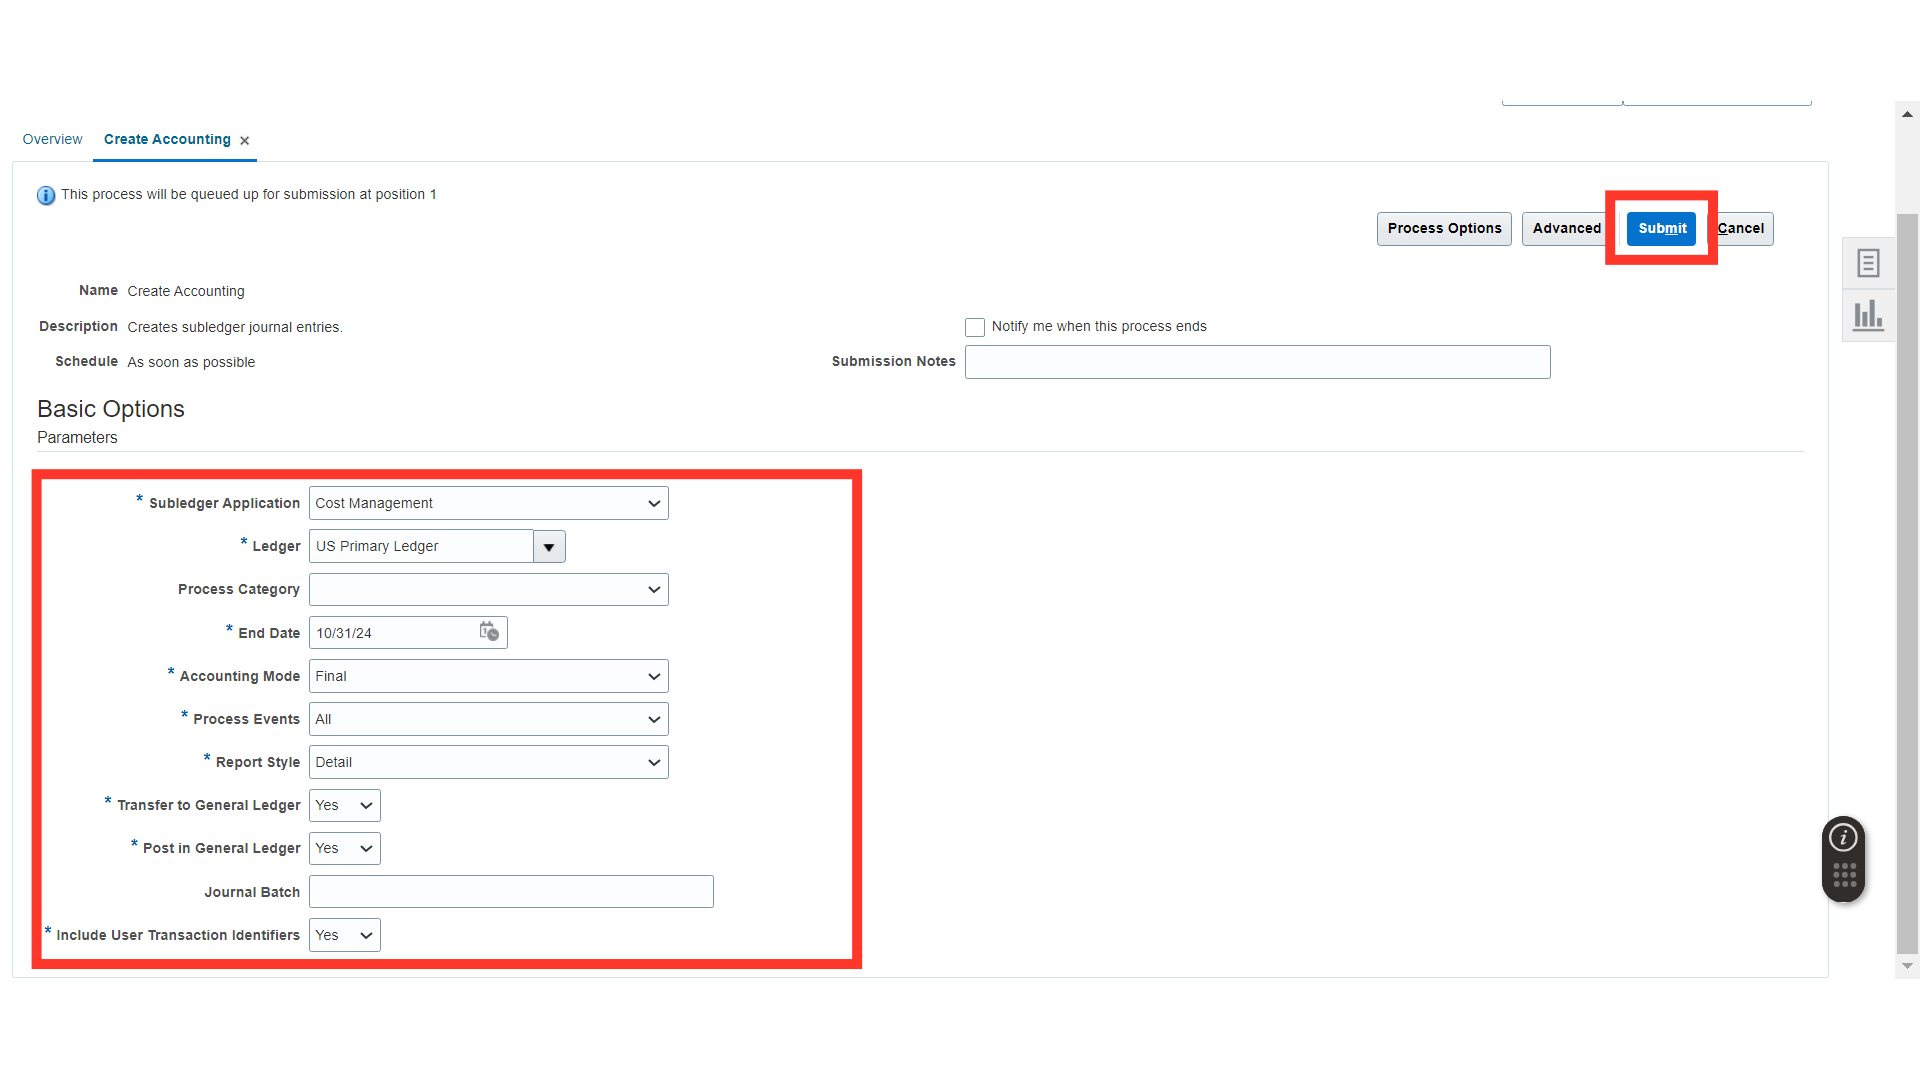
In the Process Details, select the Subledger Application as Receipt Accounting, select Ledger, End Date, Accounting Mode as Final, Process Events as All, Report Type as Detail and other options as Yes.
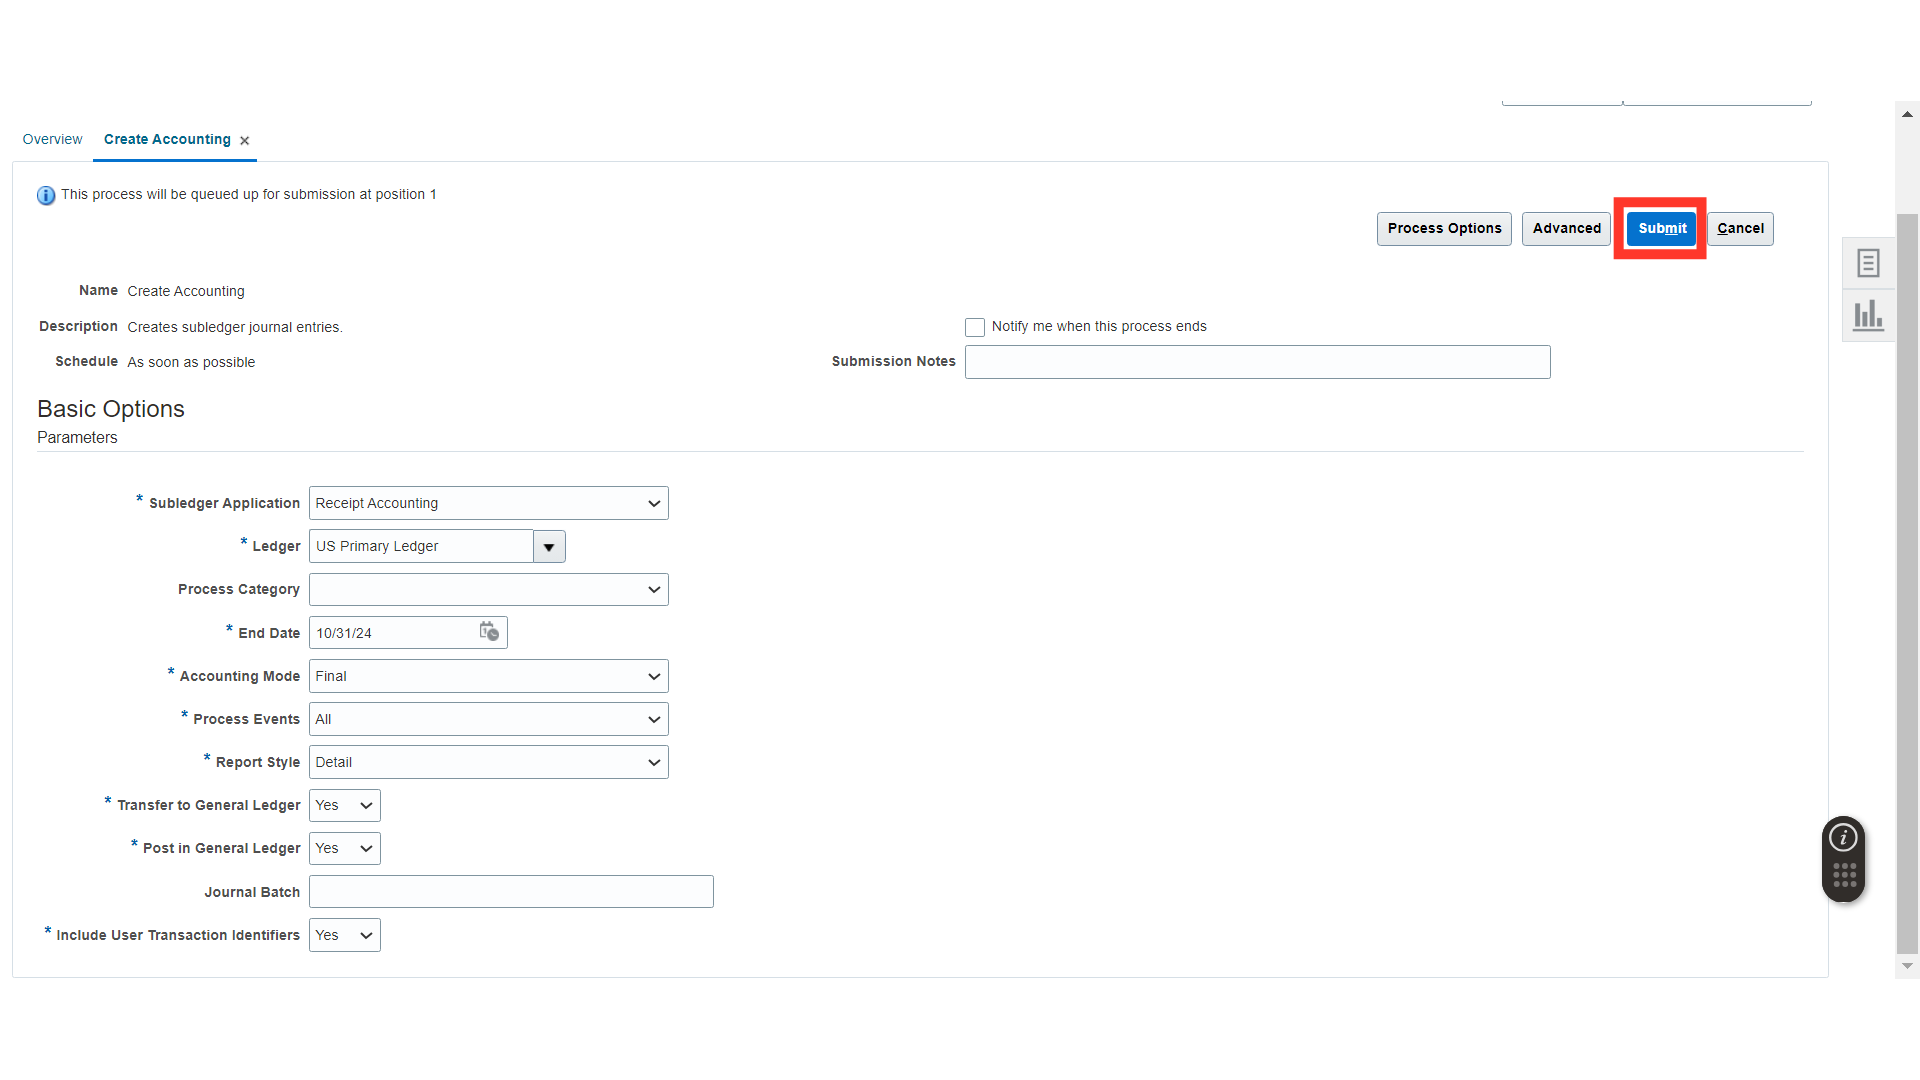
Once all the details are filled in, click on the Submit button.
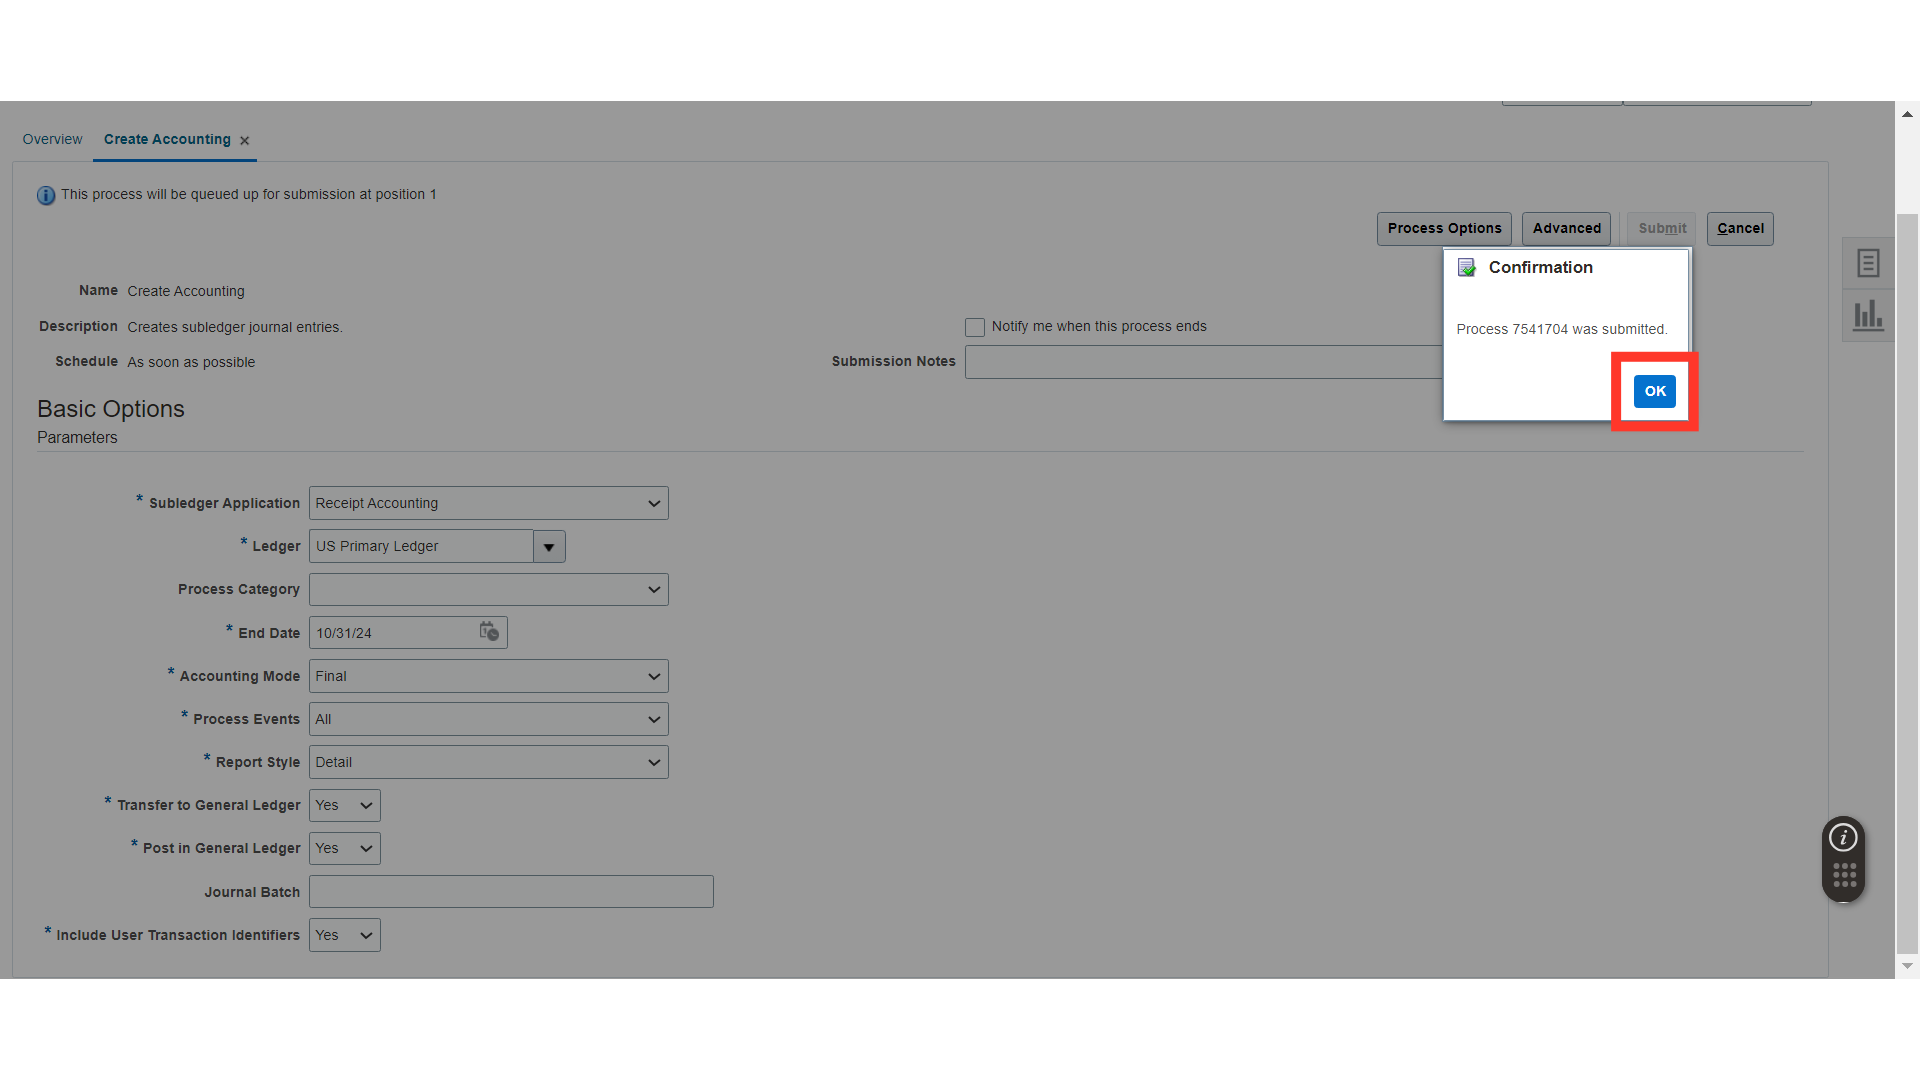
The system will generate the confirmation message about the process submission with process ID, click OK. Validate the status of the process in the Schedule Processes, the process should be in succeeded status.
Click on the Tasks button and click on the Create Accounting. Now, we will select the Cost Accounting subledger for accounting generation using this process. This will create the Accounting for the Transactions that are the Inventory Transactions.
In the Process Details, select the Subledger Application as Cost Management, select Ledger, End Date, Accounting Mode as Final, Process Events as All, Report Type as Detail and other options as Yes. Once all the details are filled, click on the Submit button.
The system will generate the confirmation message about the process submission with process ID, click OK. Validate the status of the process in the Schedule Processes, the process should be in succeeded status.

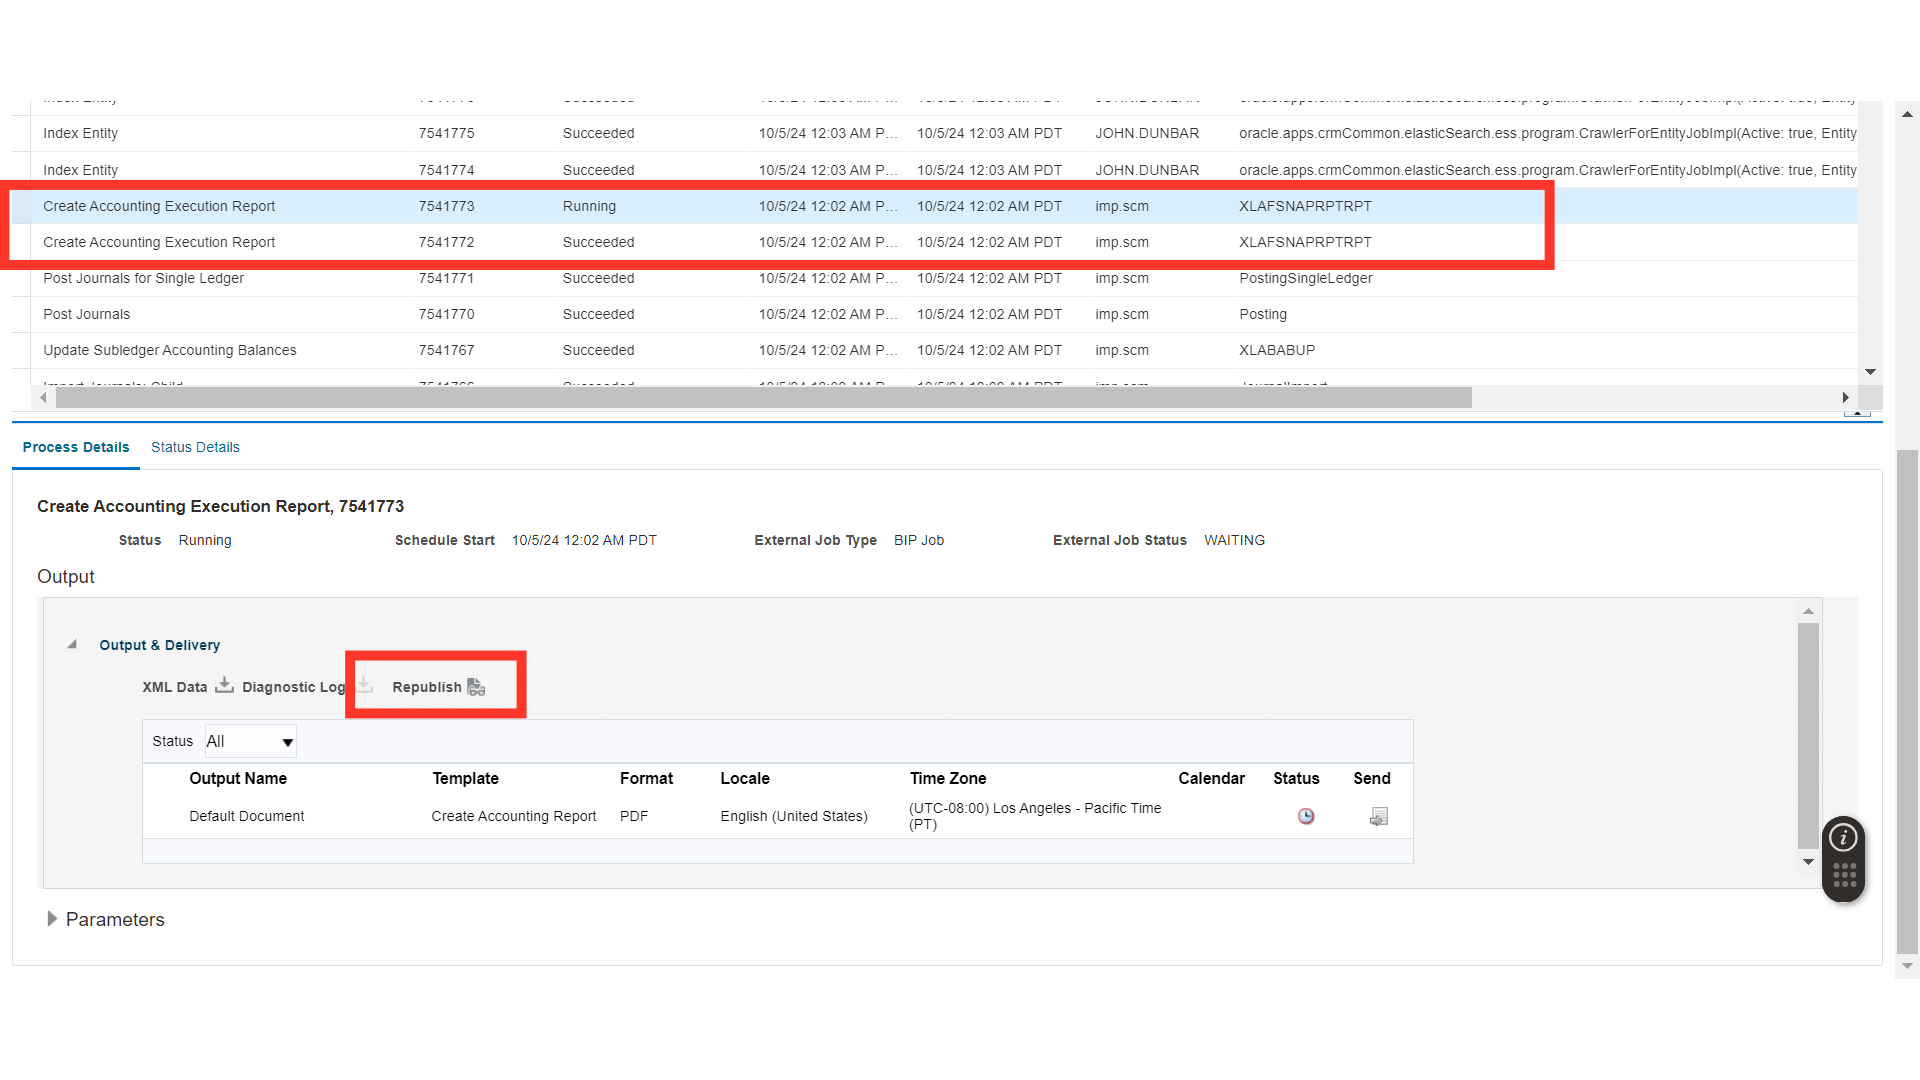
In the Schedule Processes, the system will generate the Create Accounting Execution Report for the processes we have submitted for accounting, click on the republish button to download the Accounting Reports for Receipt Accounting and Cost Accounting.
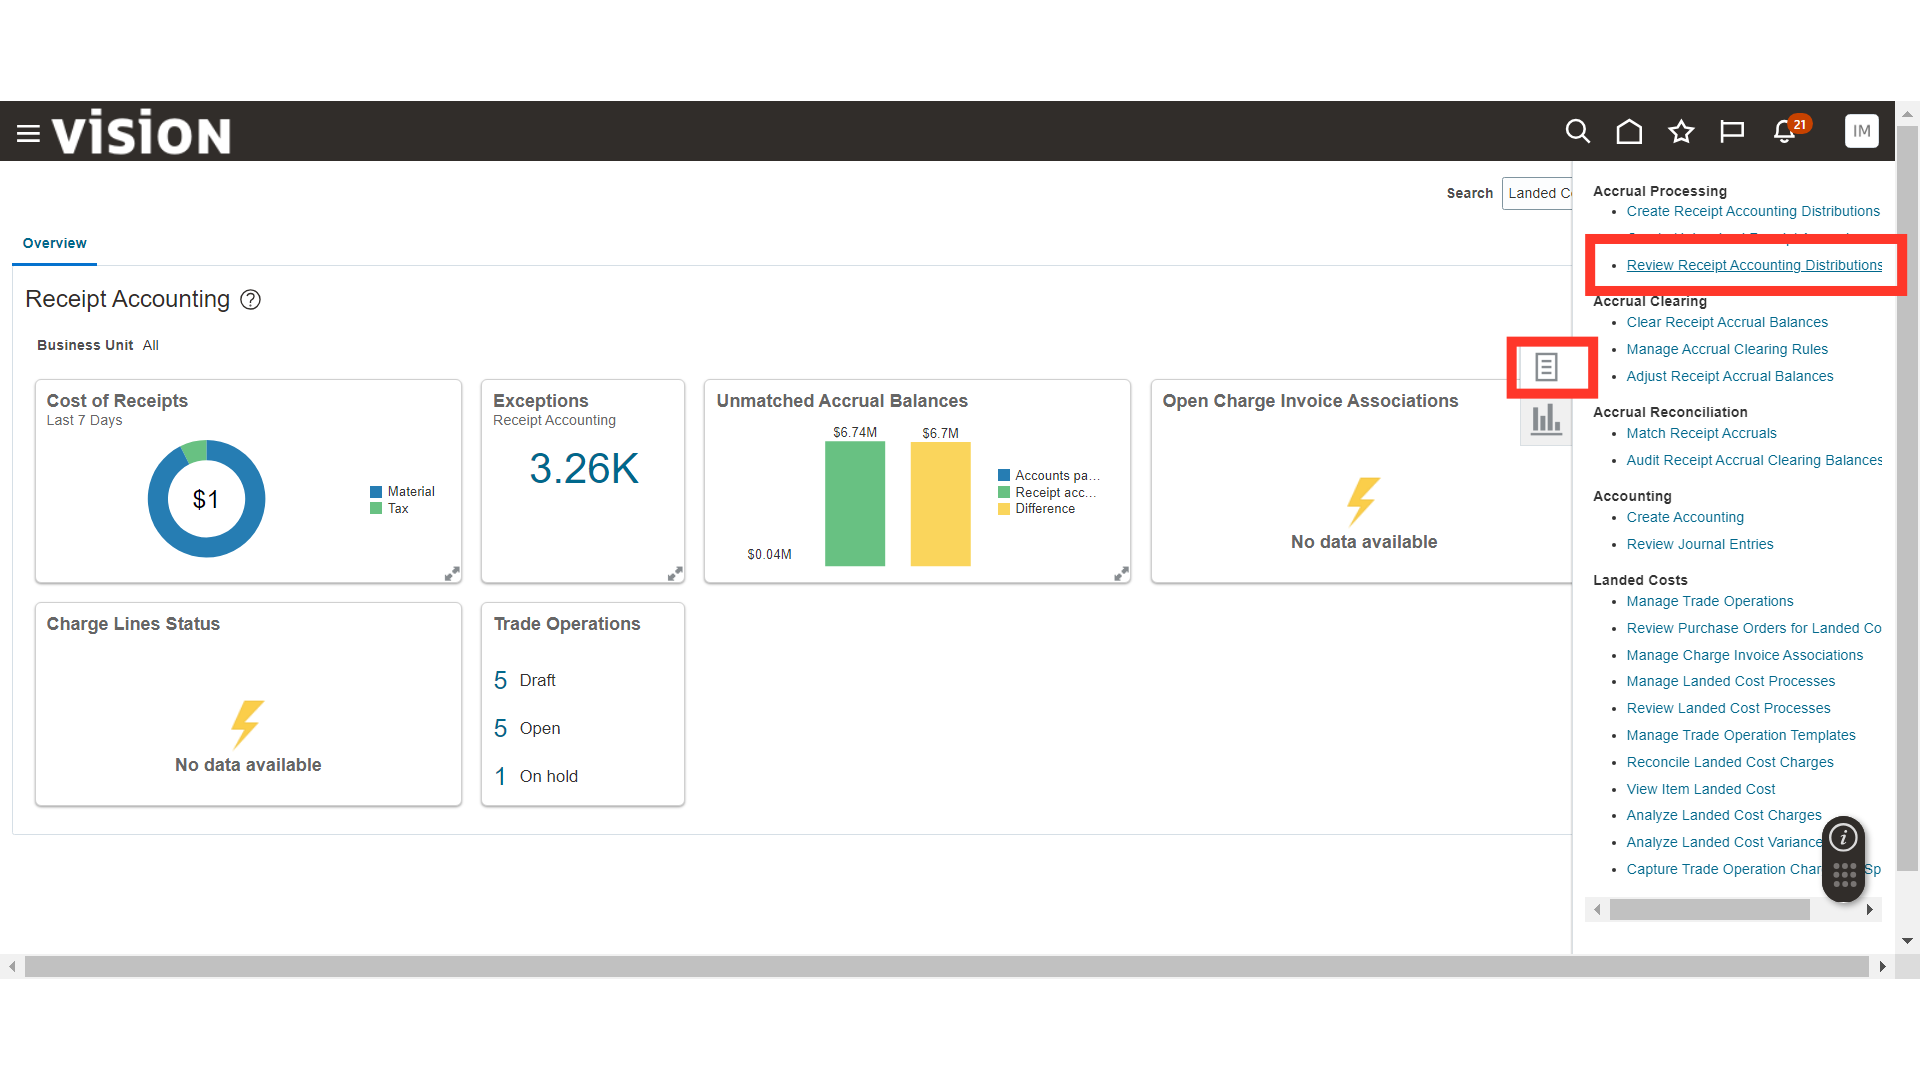
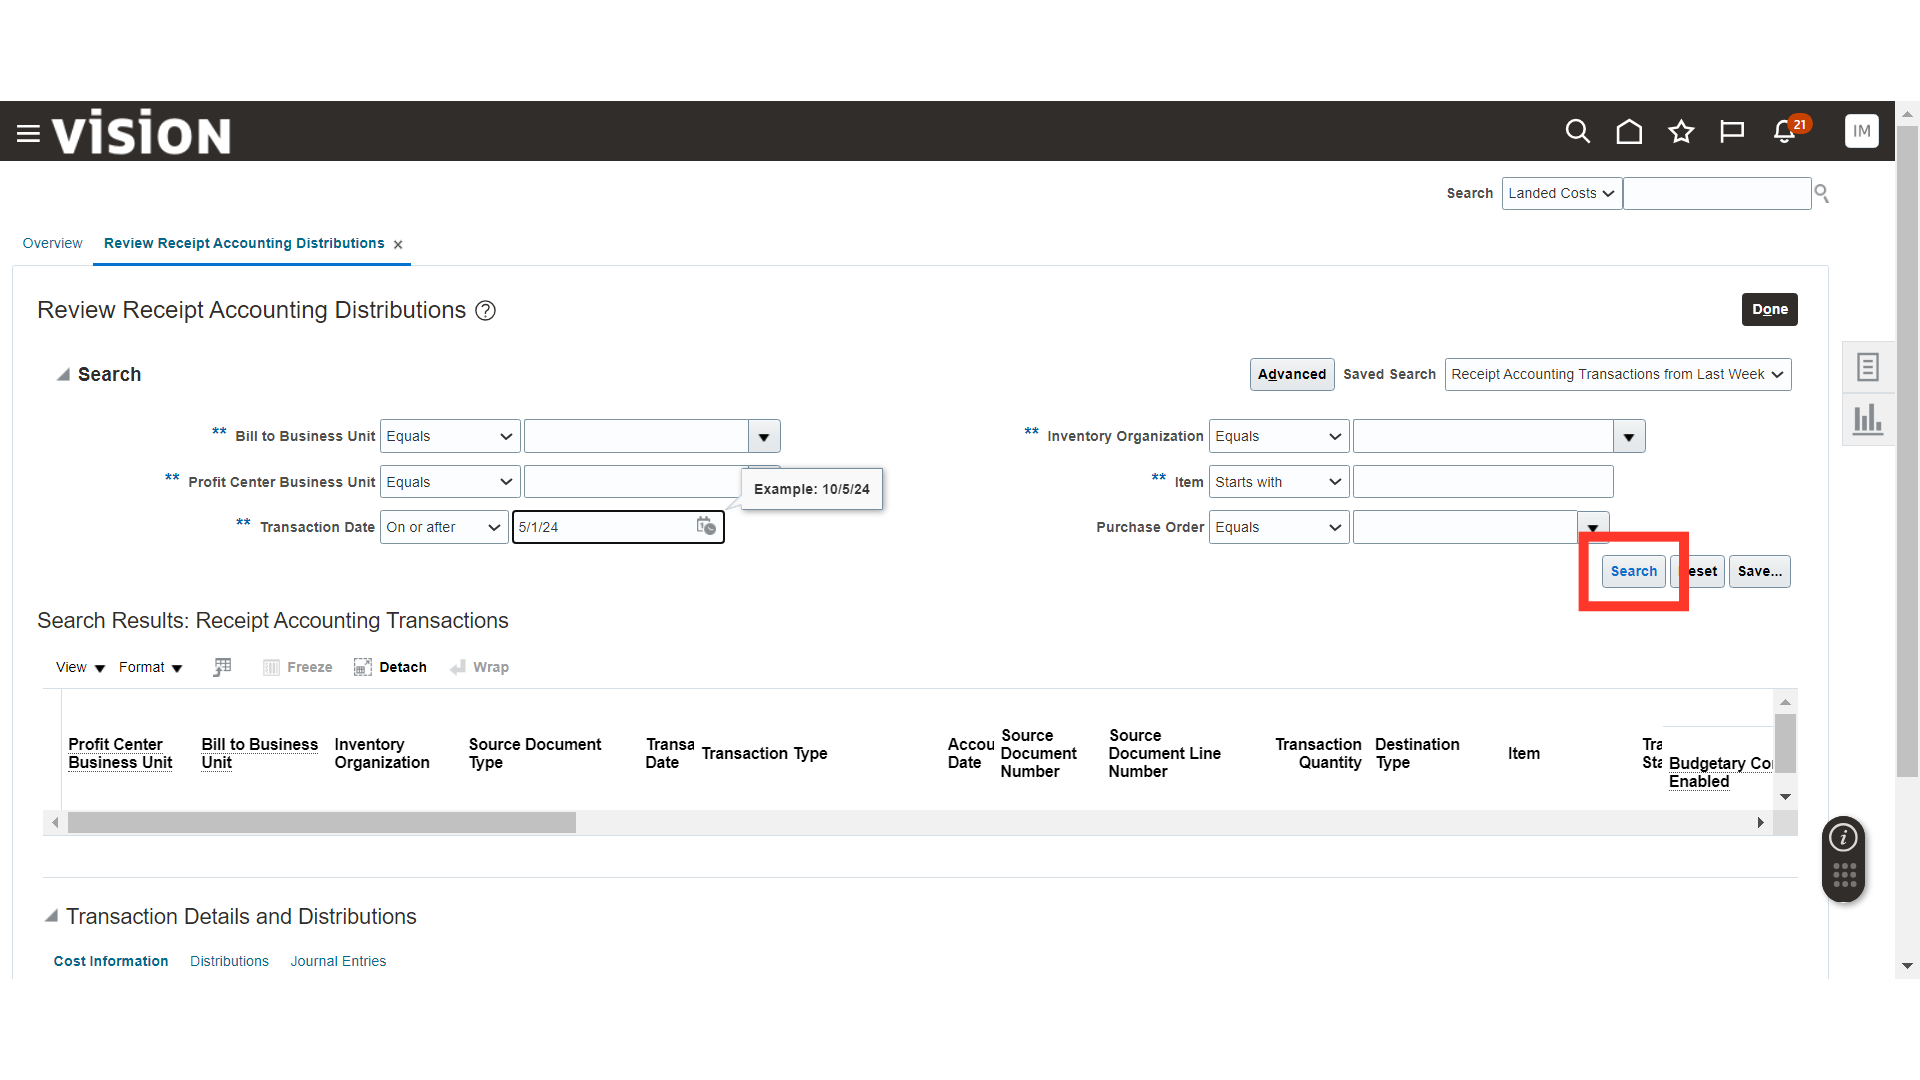
In the Receipt Accounting, click on the Review Receipt Accounting Distributions. Here, you can review the Distributions and Accounting that is generated against your purchasing transactions.
Enter the search criteria for your transaction such as PO Number and click on the Search button.
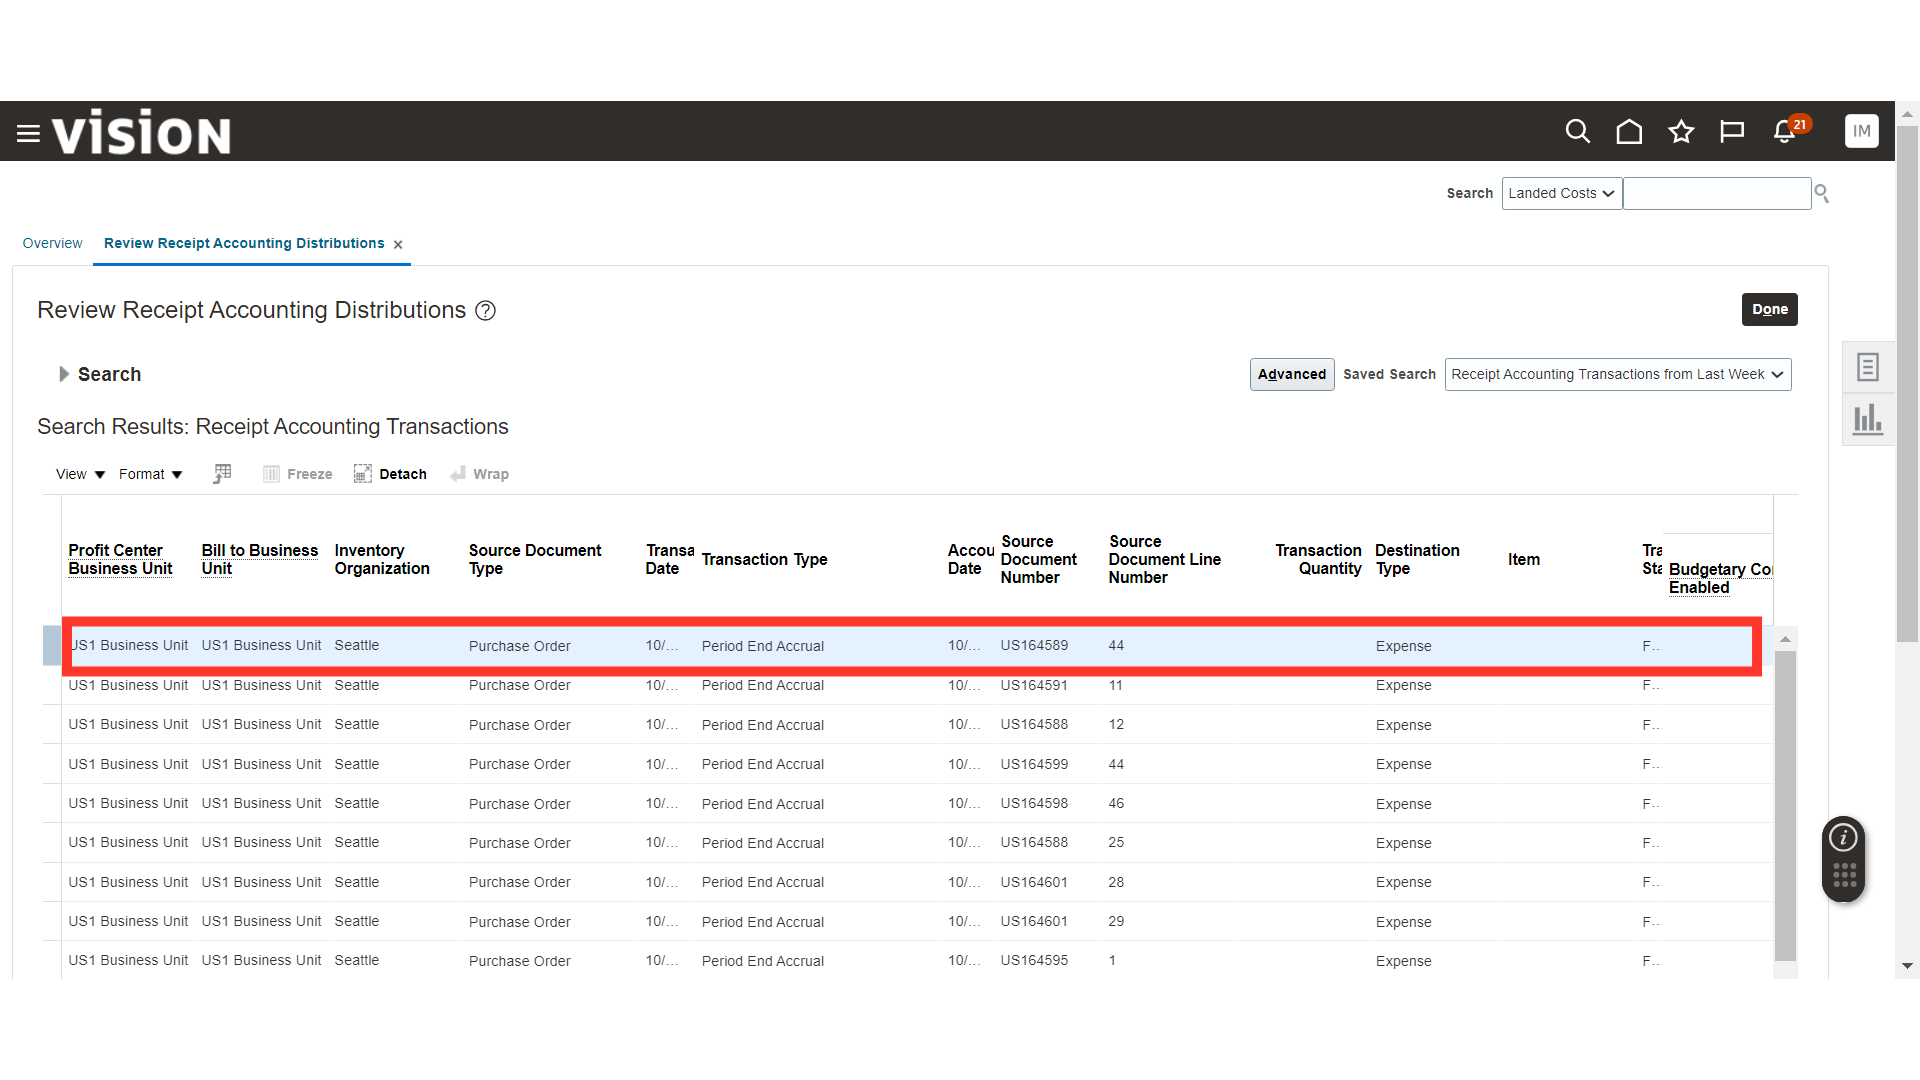
Select your transaction line and scroll down to bottom.
In the Cost Information, you can validate the Purchase Order details such as Transaction Unit Cost and other details.

In the Distributions, you can validate the Distributions that are generated for your PO.

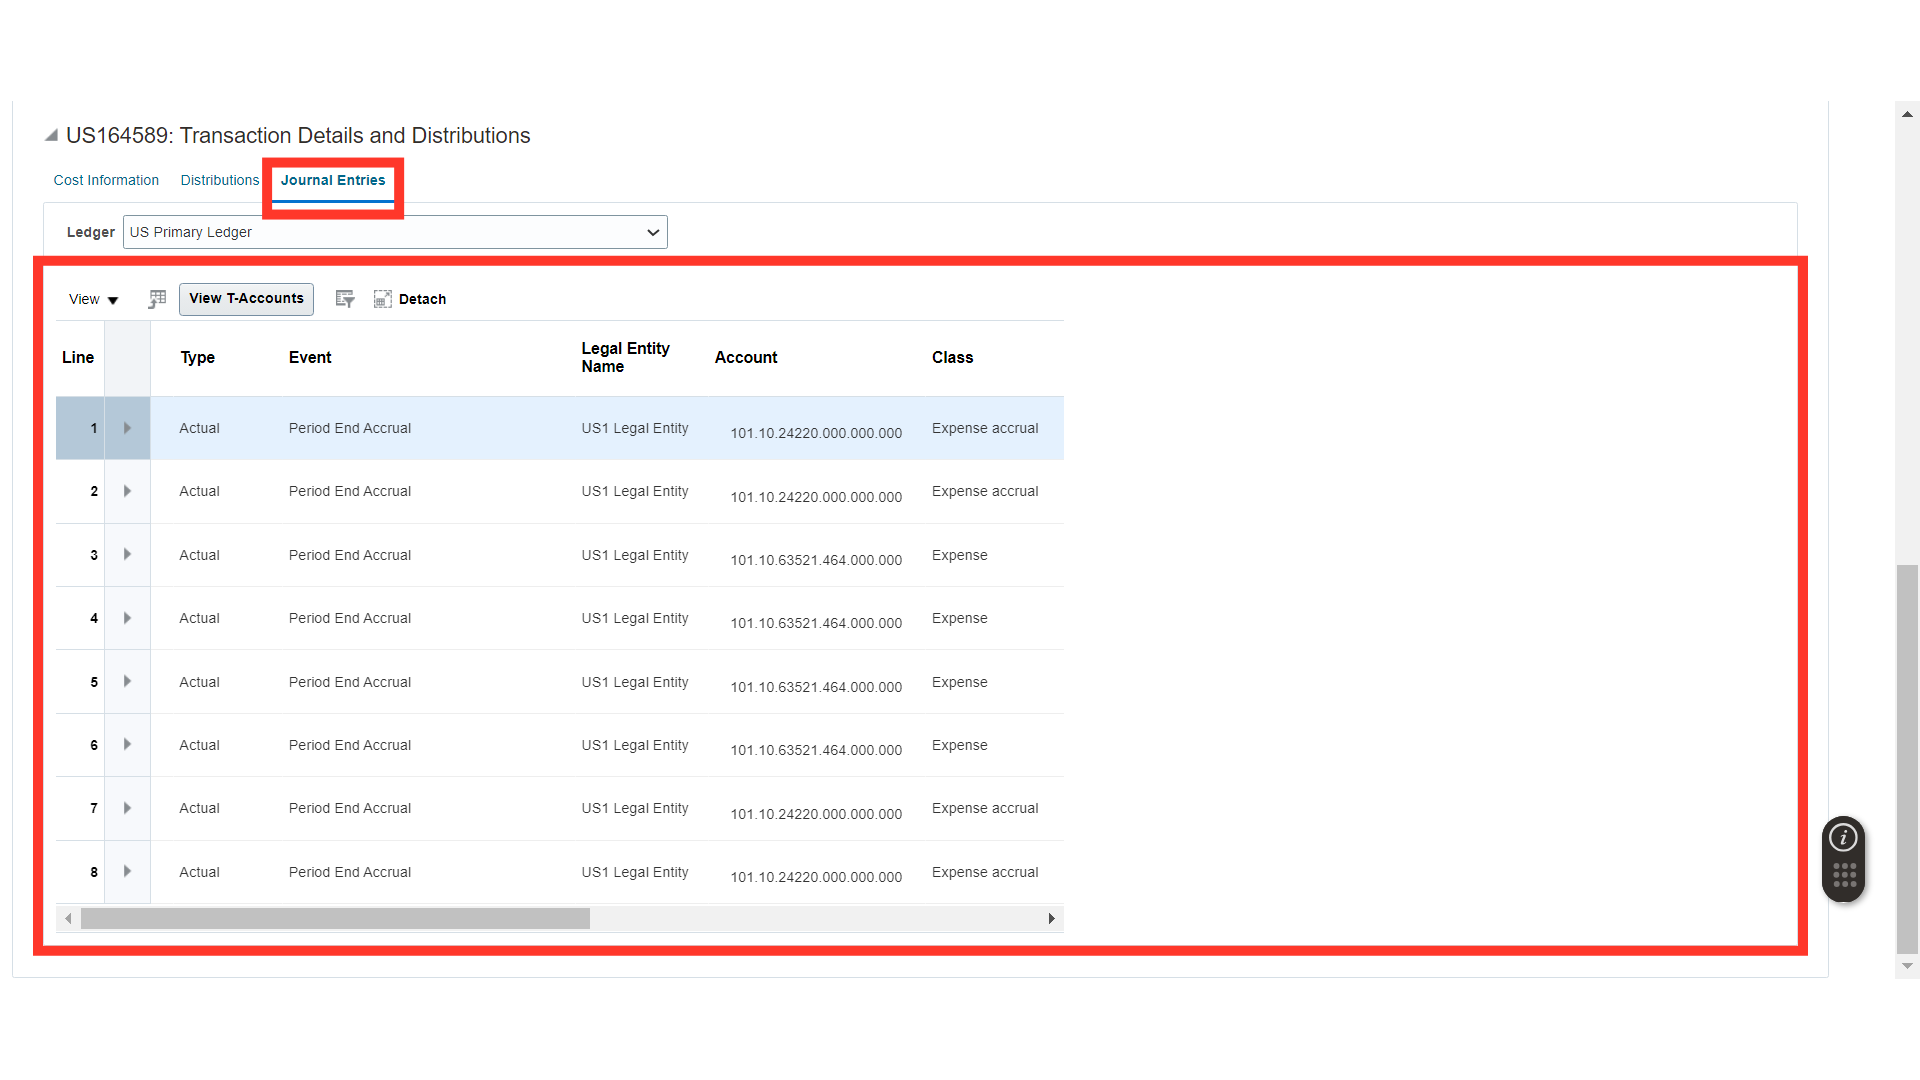
In the Journal Entries, you can validate the Accounting that is generated for your Purchase Order.
In this guide, we have covered the Receipt Accounting and Cost Accounting Processes for Accrue at Receipt and Period End Transactions.