Single Payment
This guide will take you through the step-by-step process of paying suppliers/third parties using the Oracle Fusion Payments “Create payment” feature. Using this option, you can either record a manual payment you made outside of Payables, or you can create a Quick payment. You can record zero-amount payments if the bank account setup allows the same.
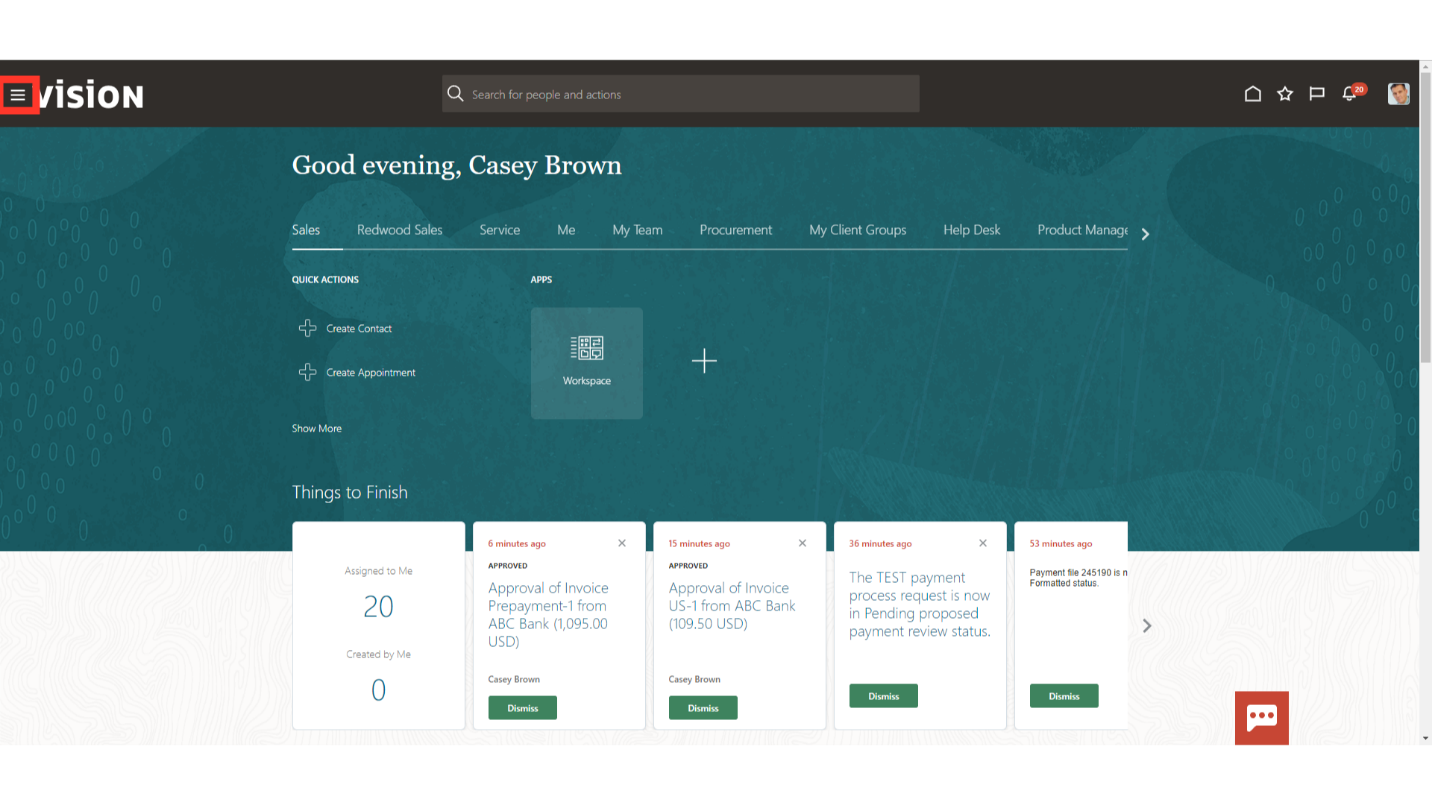
Click on the Navigator icon to access the Payables module.
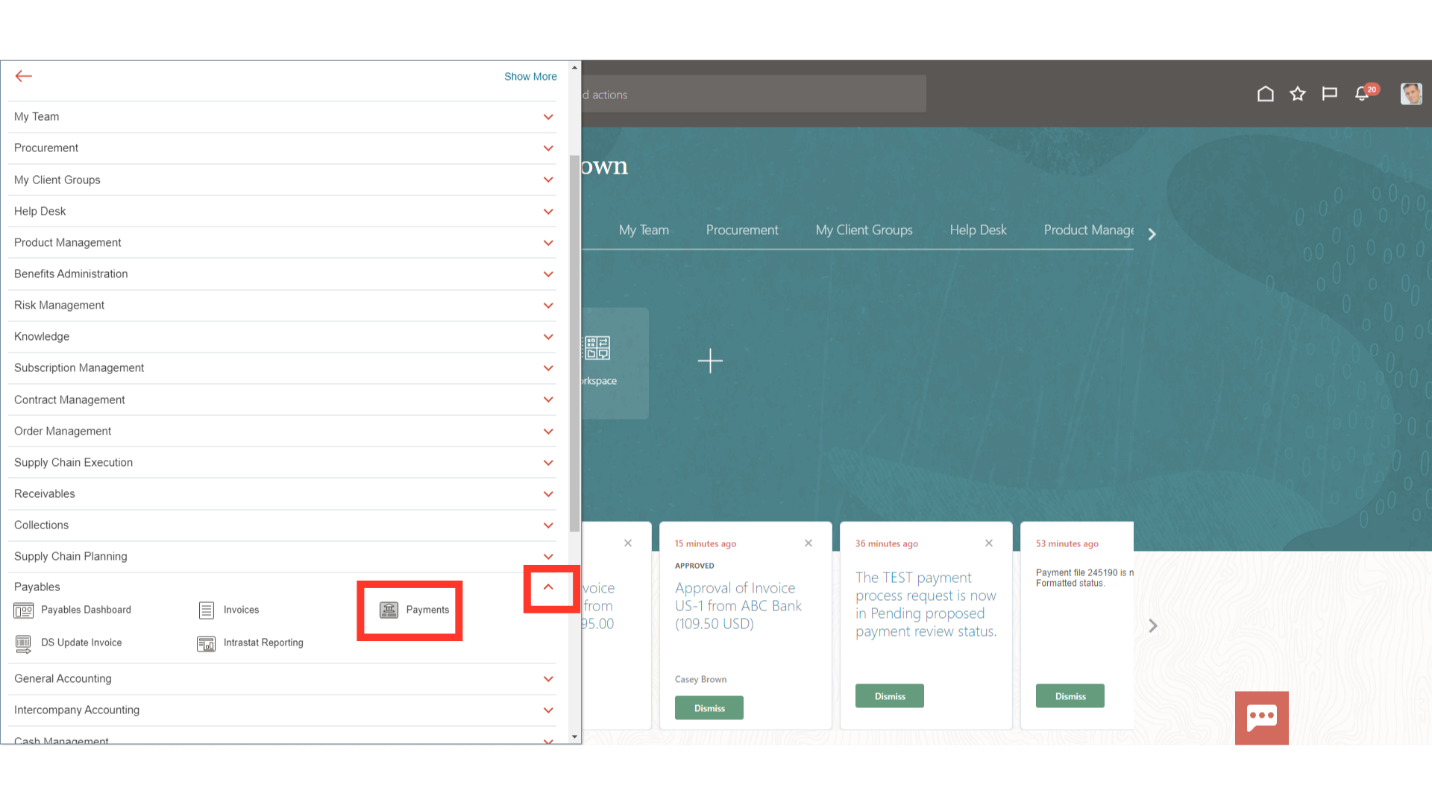
Click on the “Payments” sub module by expanding “Payables” module.
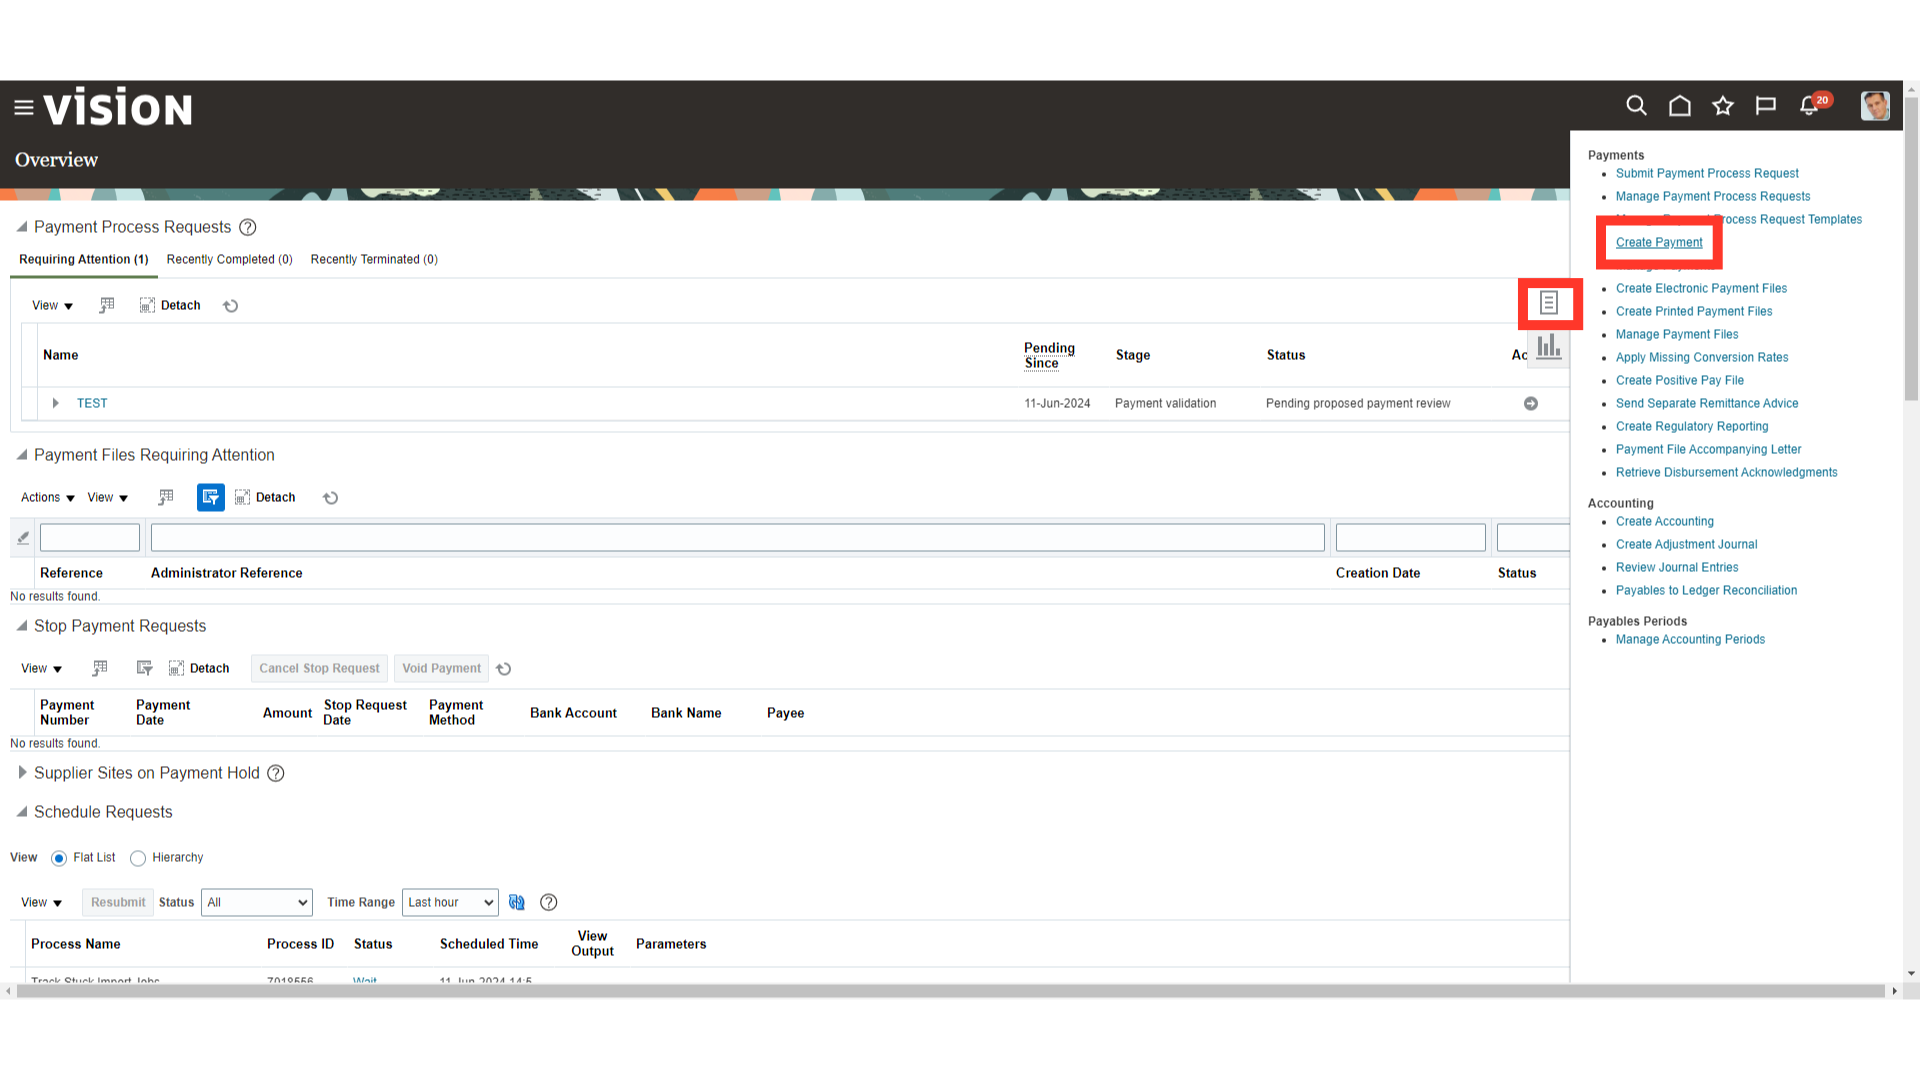
Once you land on the payments work area, select the “Create Payment” option from the Task list to make payment supplier wise.
Select the Business unit for which payments need to be created. Here for demo purpose, we have selected the US1 Business unit.
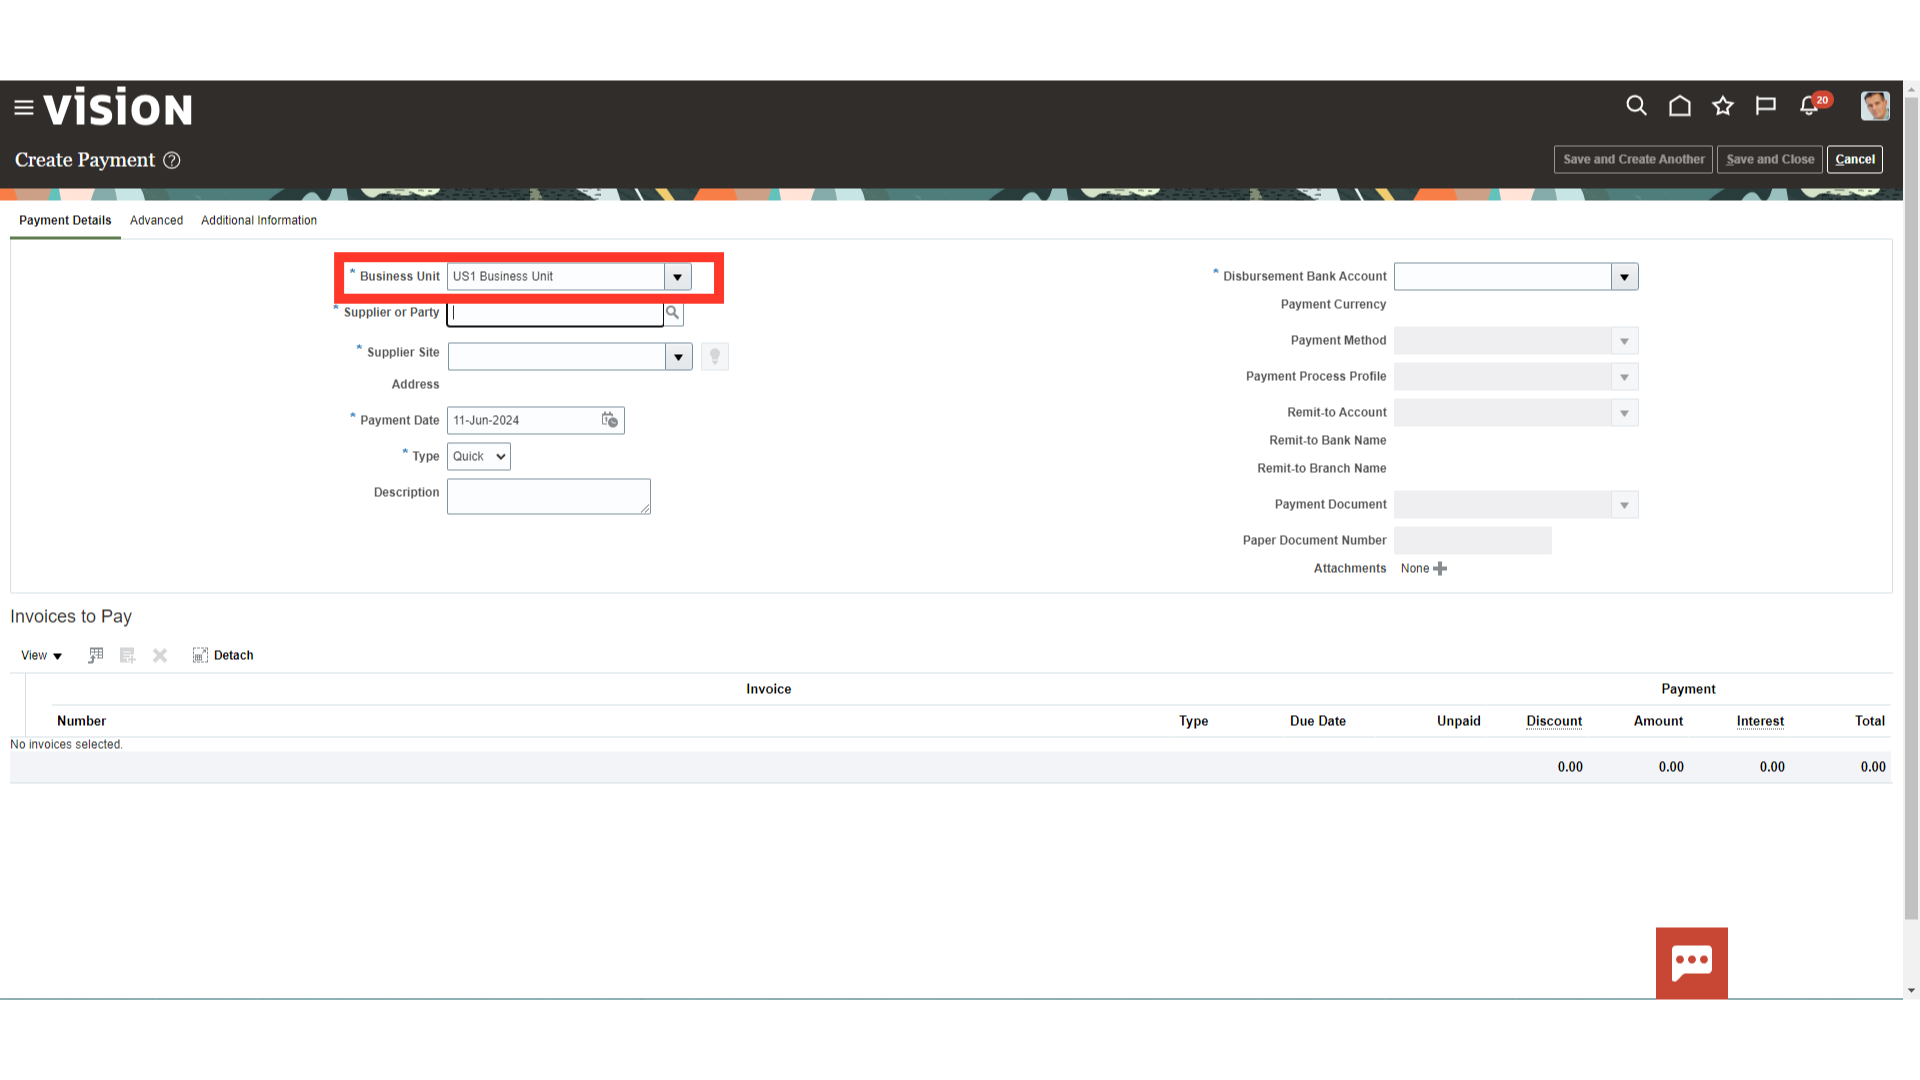
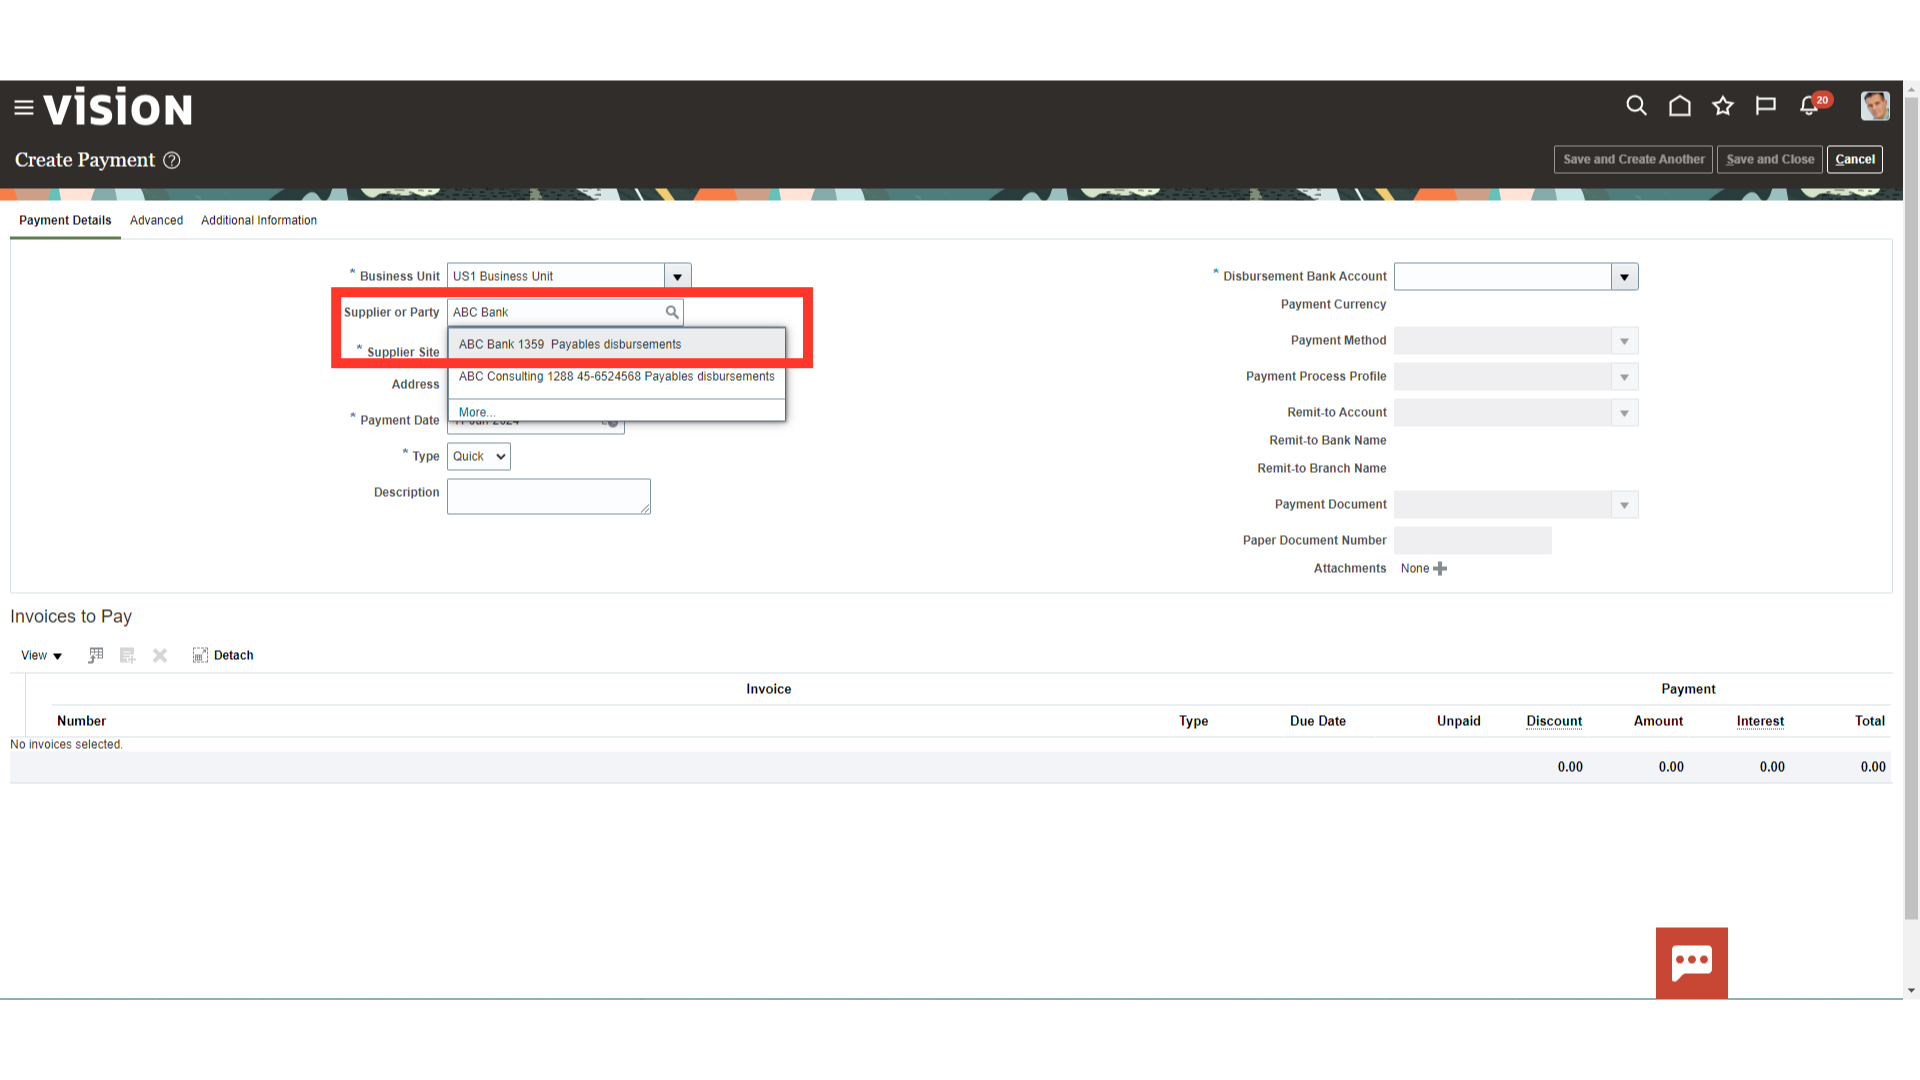
Enter the Supplier for whom payment need to be made by entering the supplier’s name or by searching and selecting the supplier’s name.
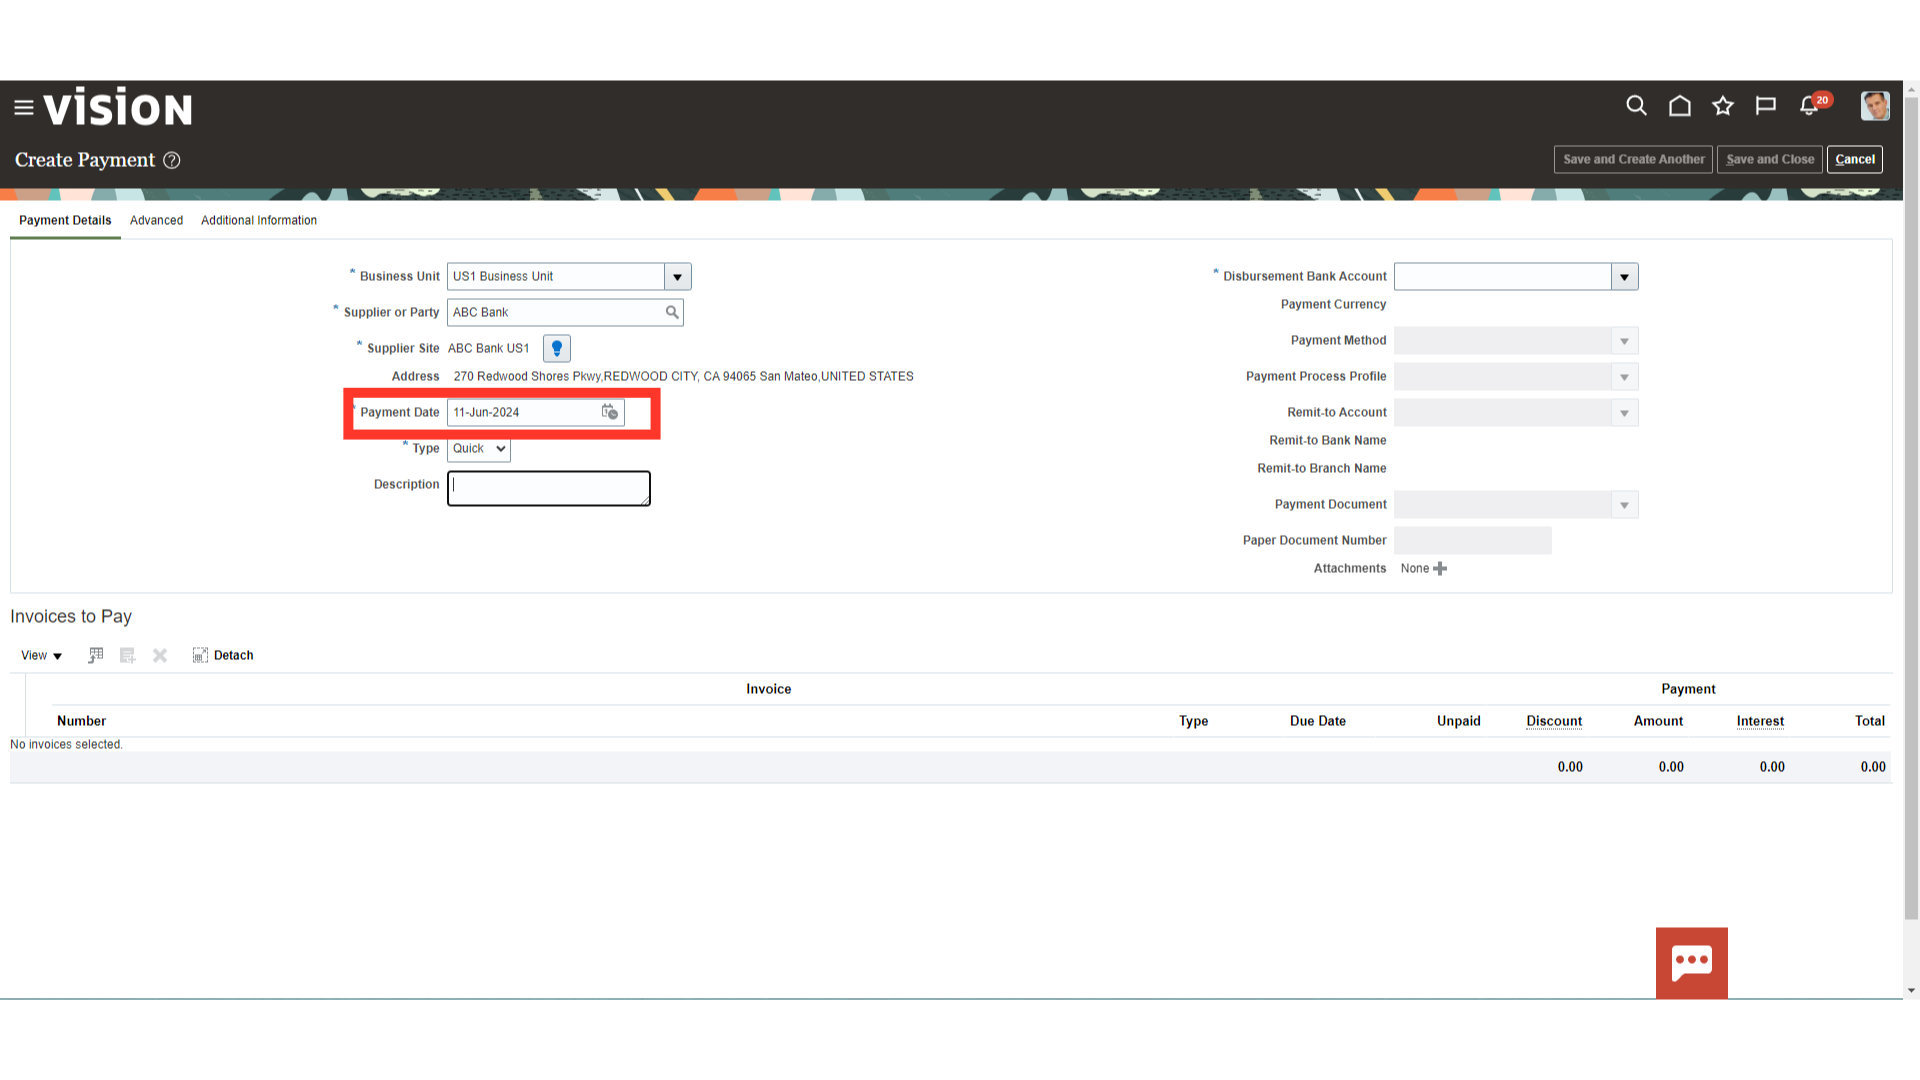
Enter the date of the payment which would be the accounting date of payment journal entry.
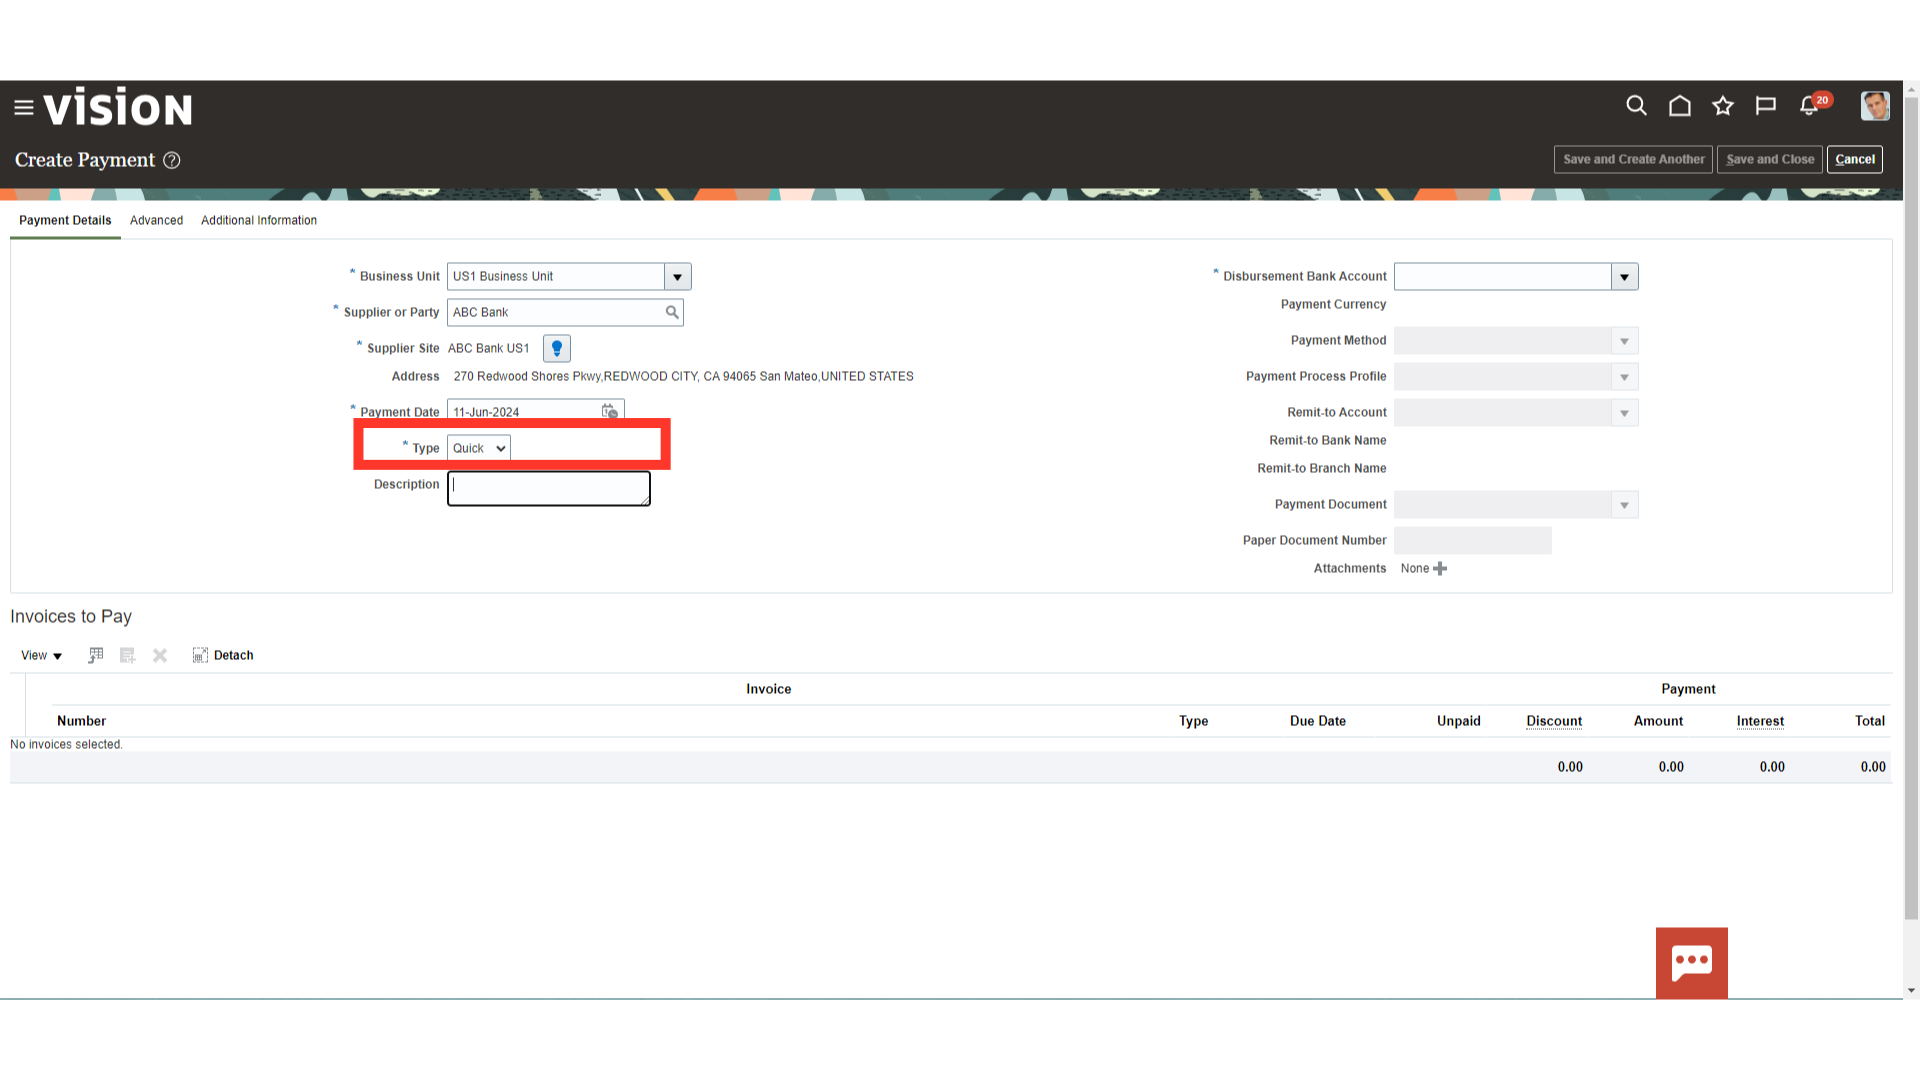
There are 3 payments types available while creating a payment through the Create Payments option. Quick payment type in which a single payment is created without submitting a payment process request. While, Manual payment type is a payment created outside of Payables and then recorded in Payables. Refund payment type is payment for a negative amount that closes an outstanding credit balance. Here, for Demo purpose, we have selected payment type as “Quick”.
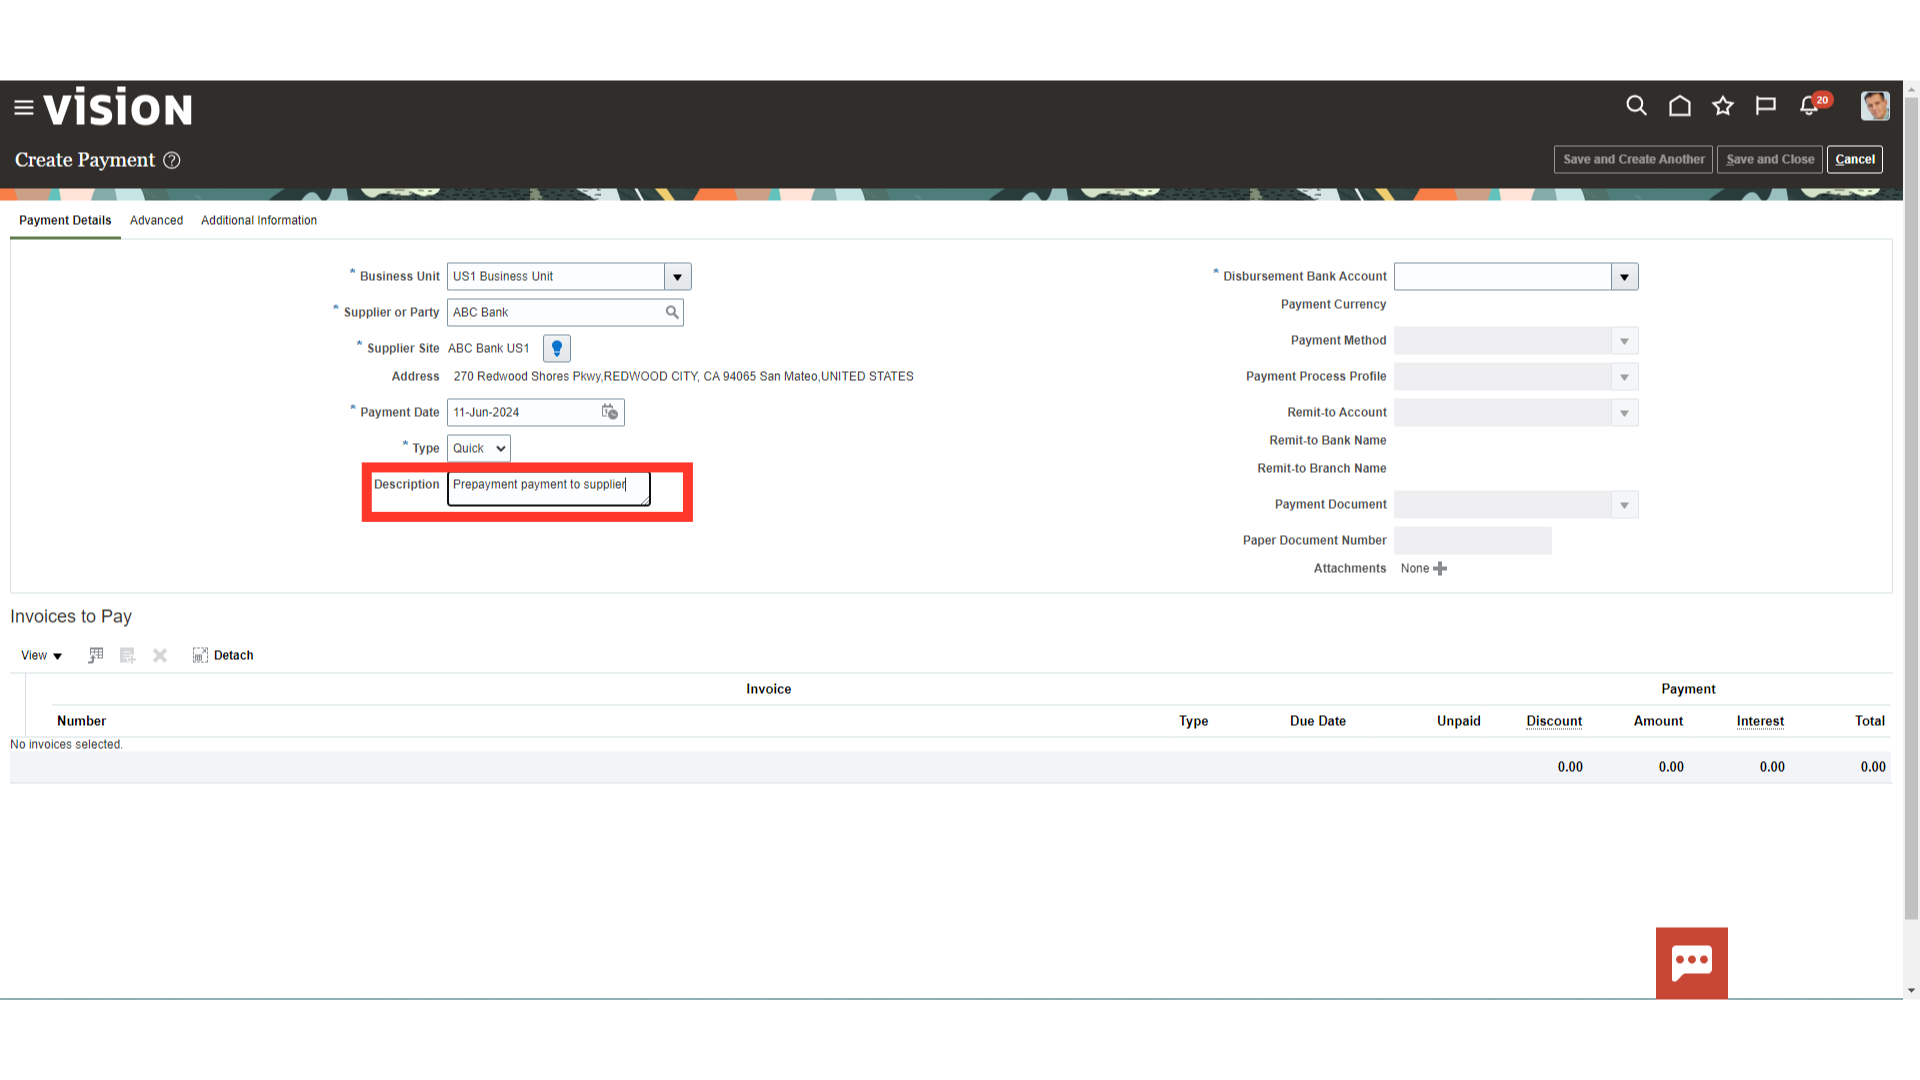
Enter the relevant details in the description field for capturing additional meaningful information.
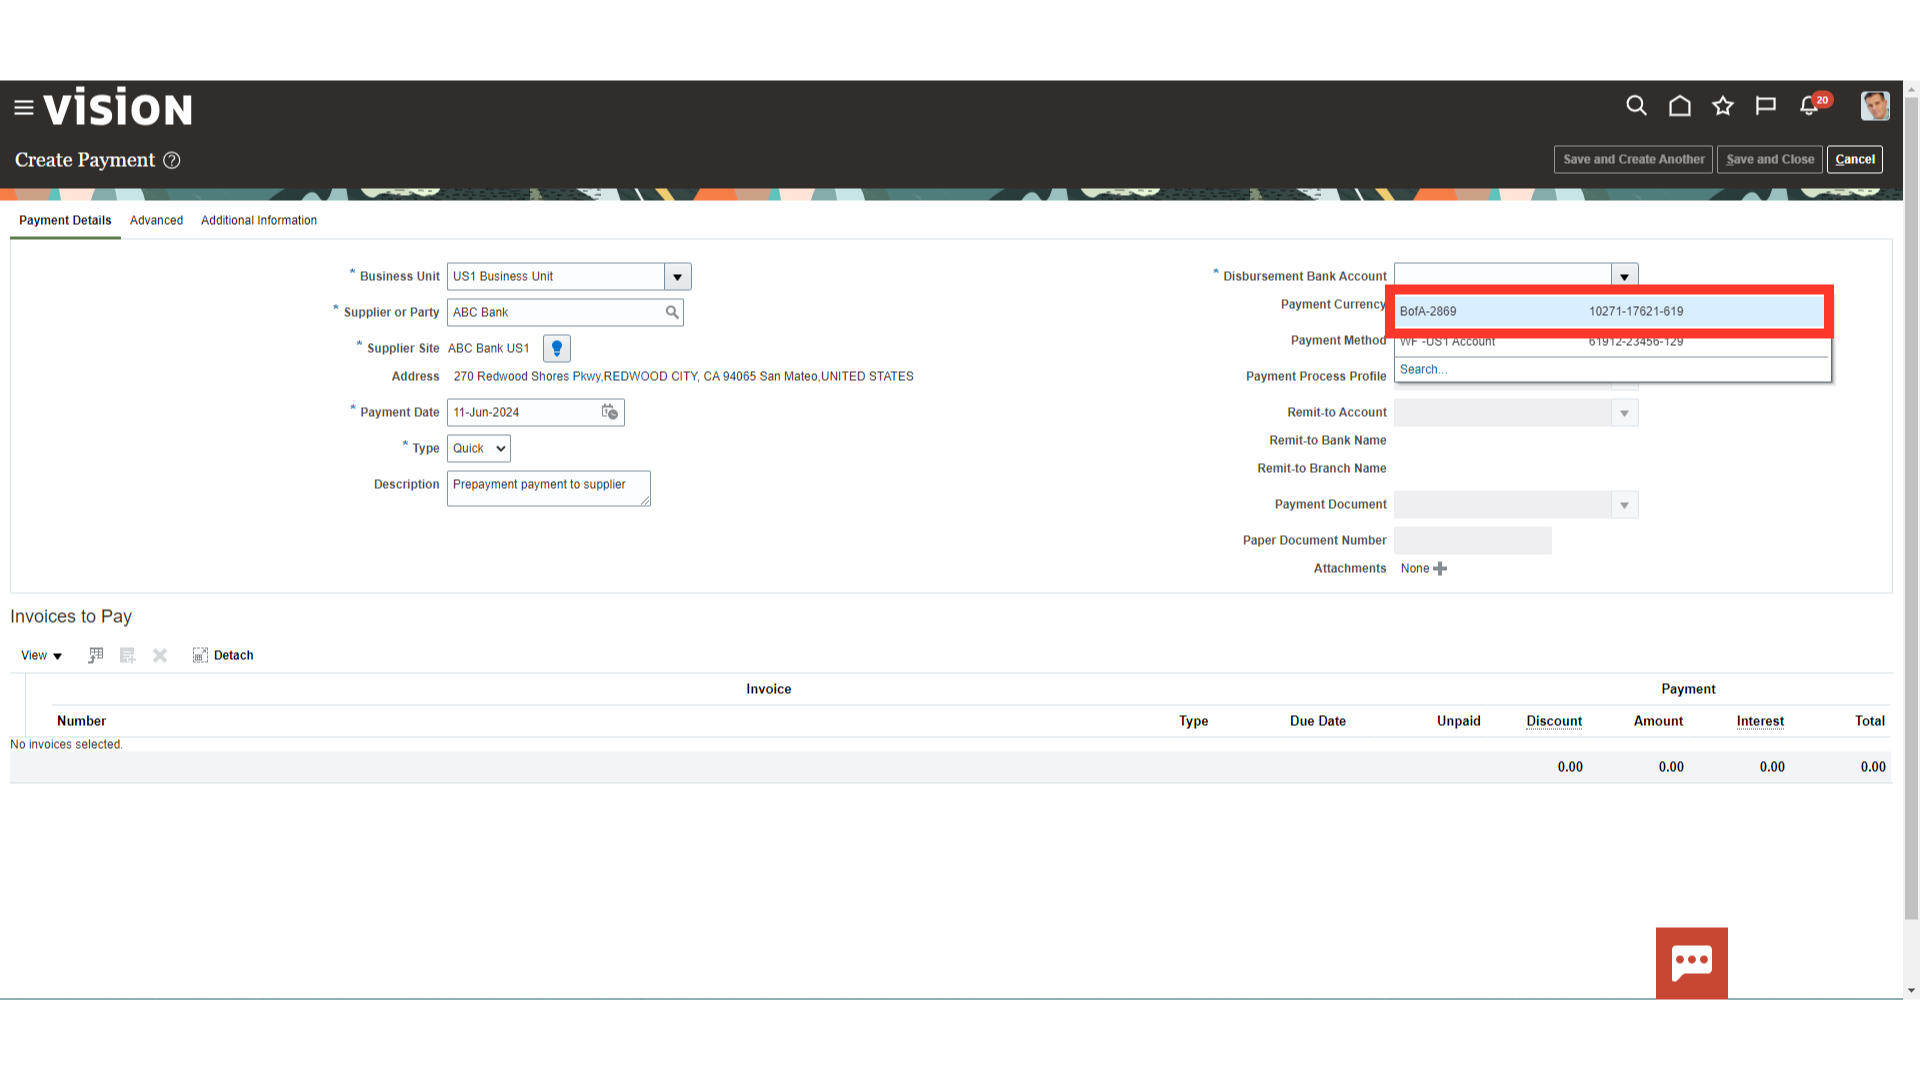
Select the disbursement bank account from the list of values from which payment is to be made.
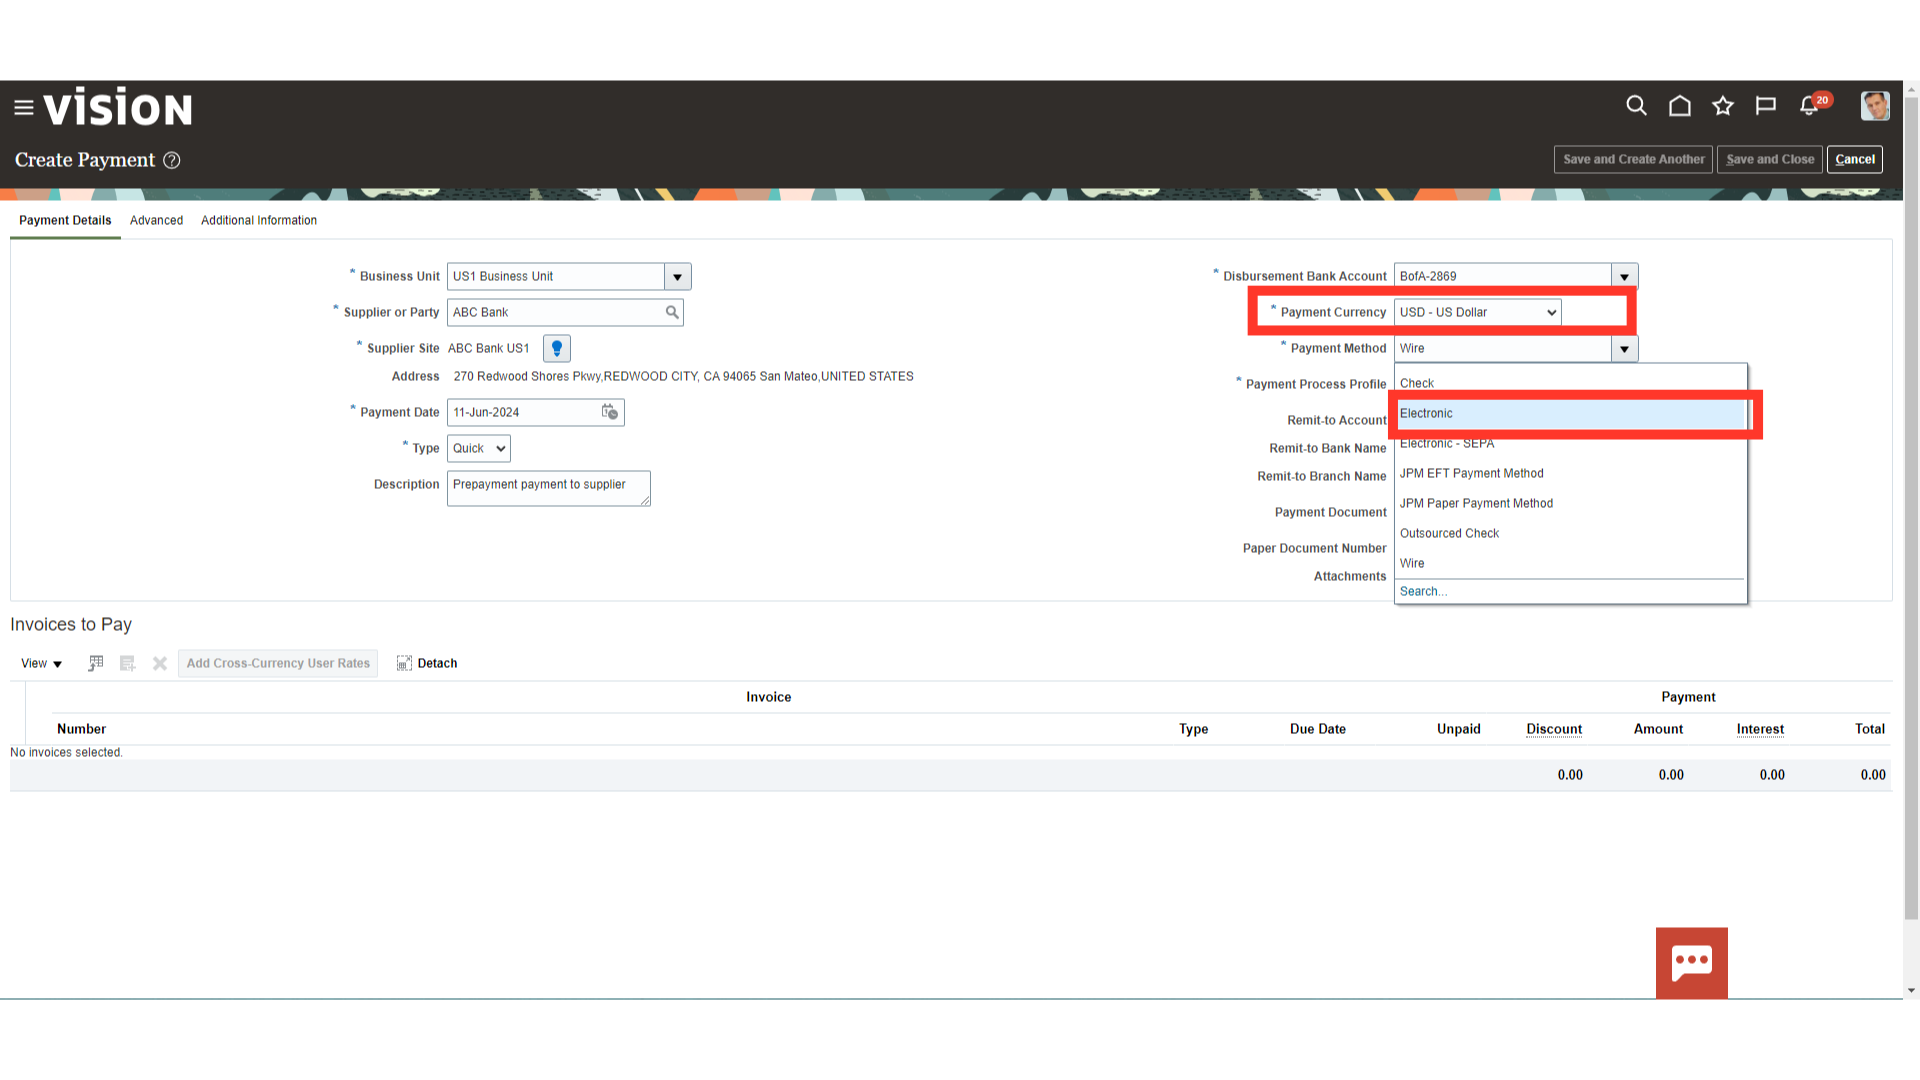
Select the payment currency in which the payment will be made. After that, select the type of payment method. Here for demo purpose, we have selected “USD” currency and “Electronic” payment method.
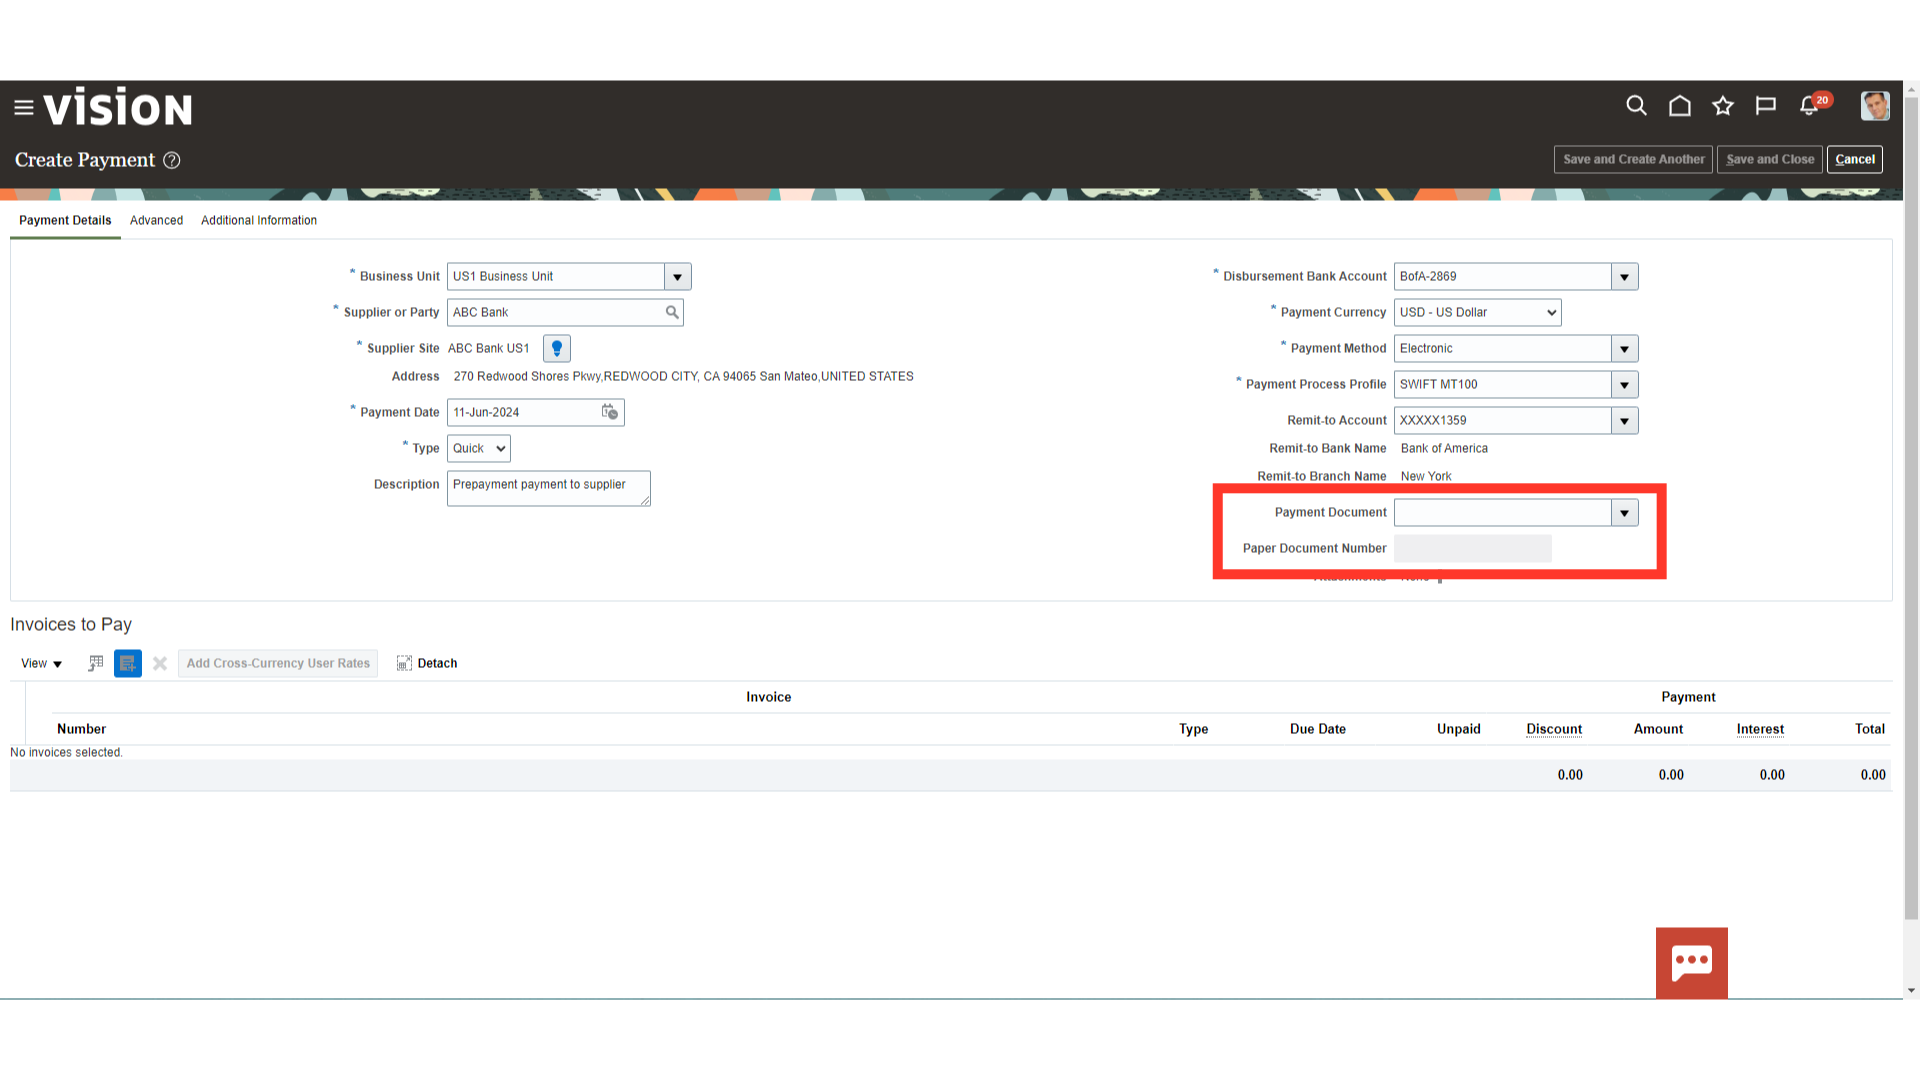
A payment process profile controls payment processing. Select the relevant payment process profile from the list of values. Here for demo purpose, we have selected “SWIFT MT100 “

Select the payment document based on which internal document number would be generated for the auditing purpose.
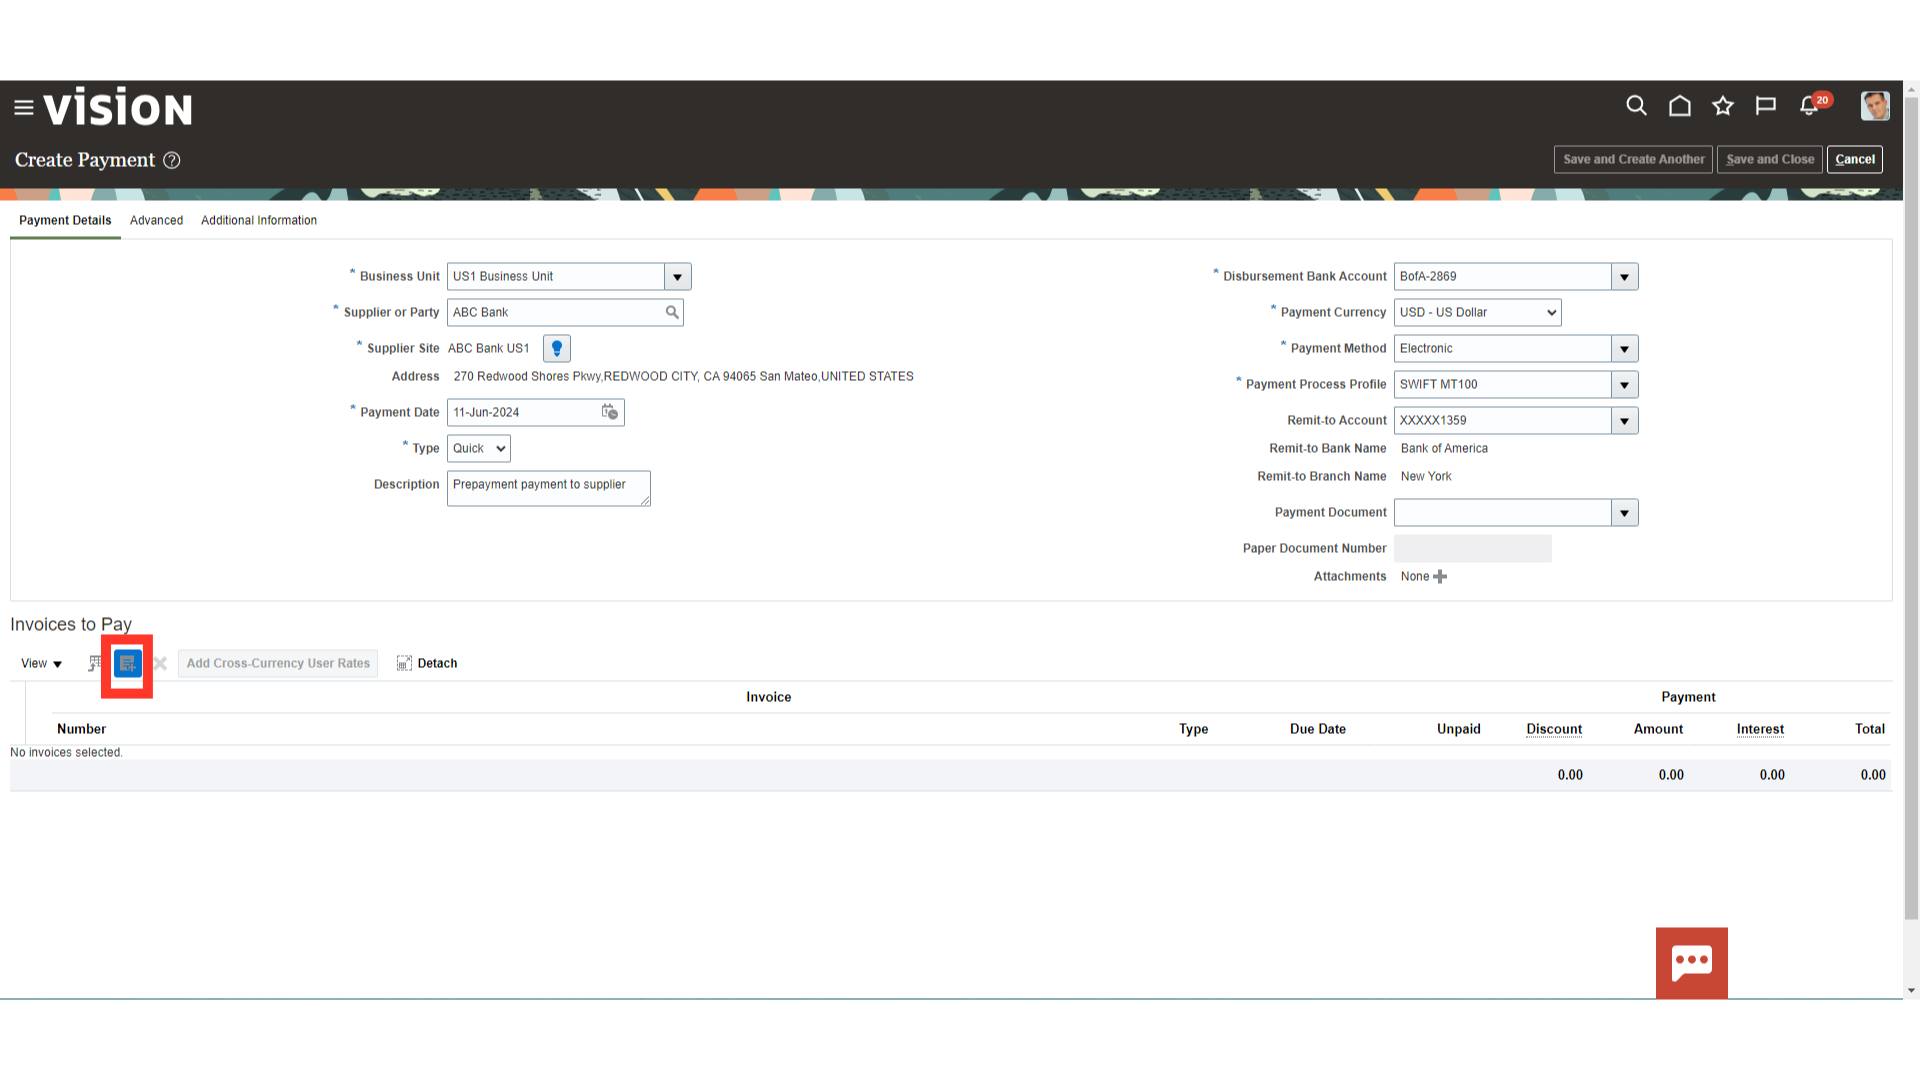
Click on the instalments selection icon, to add the invoices for making the payment.
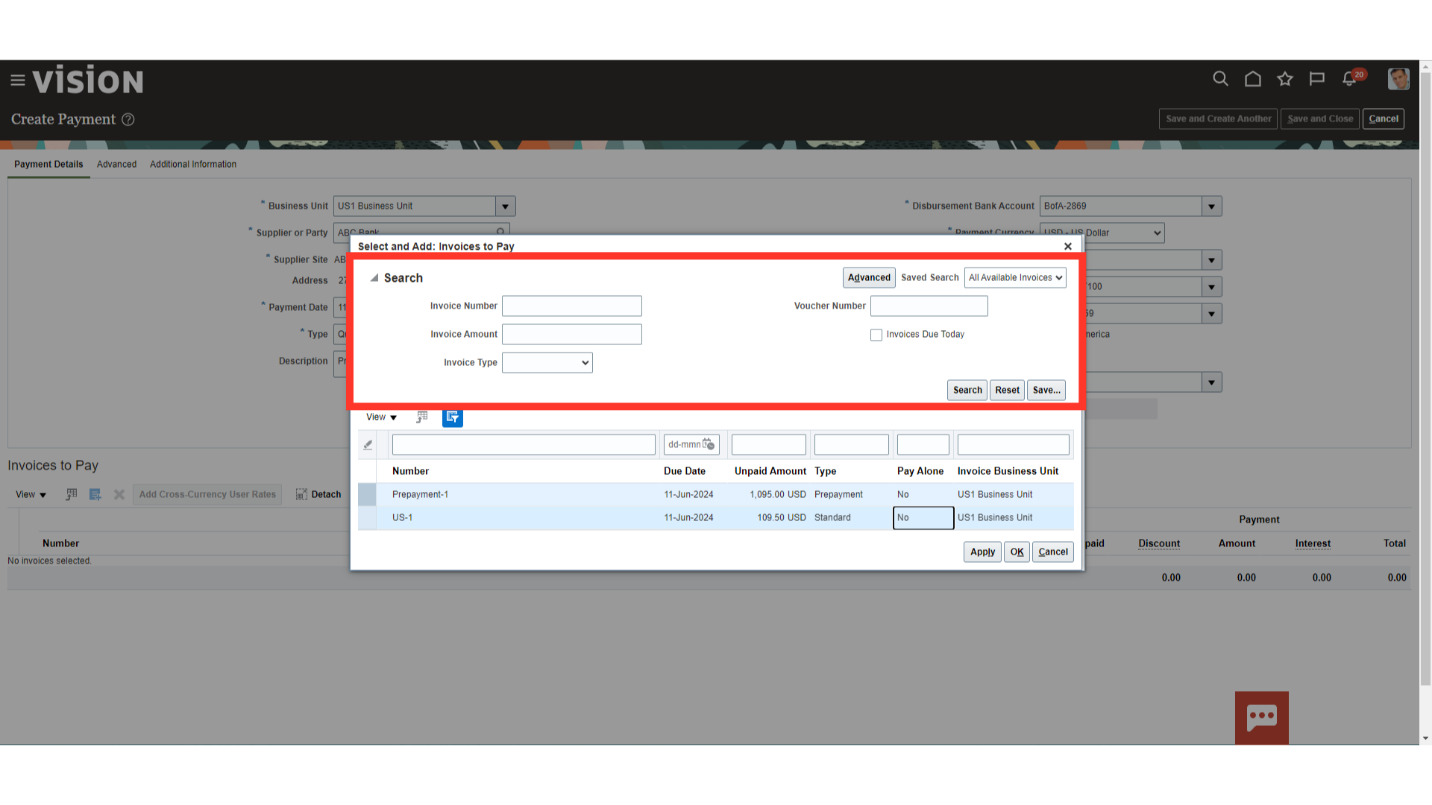
Unpaid and due Invoices are directly available for payment selection. While to make payment for a specific invoice, search the invoice using the parameters such as Invoice number, Amount, and voucher number field, and then click on search button.
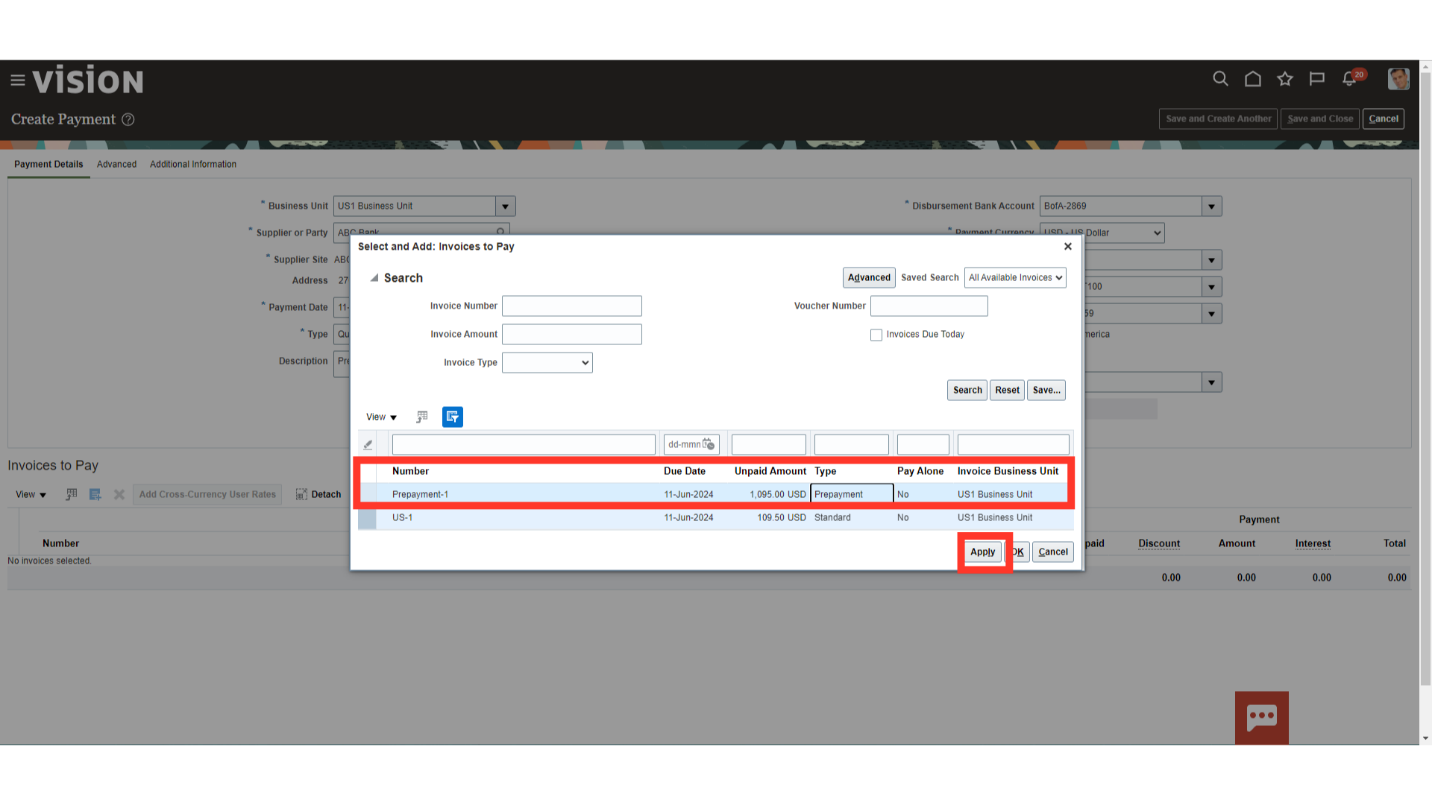
To add all the invoices, press Control plus A to select all the invoices, or add invoices one by one by selecting each invoice and click on the Apply button.
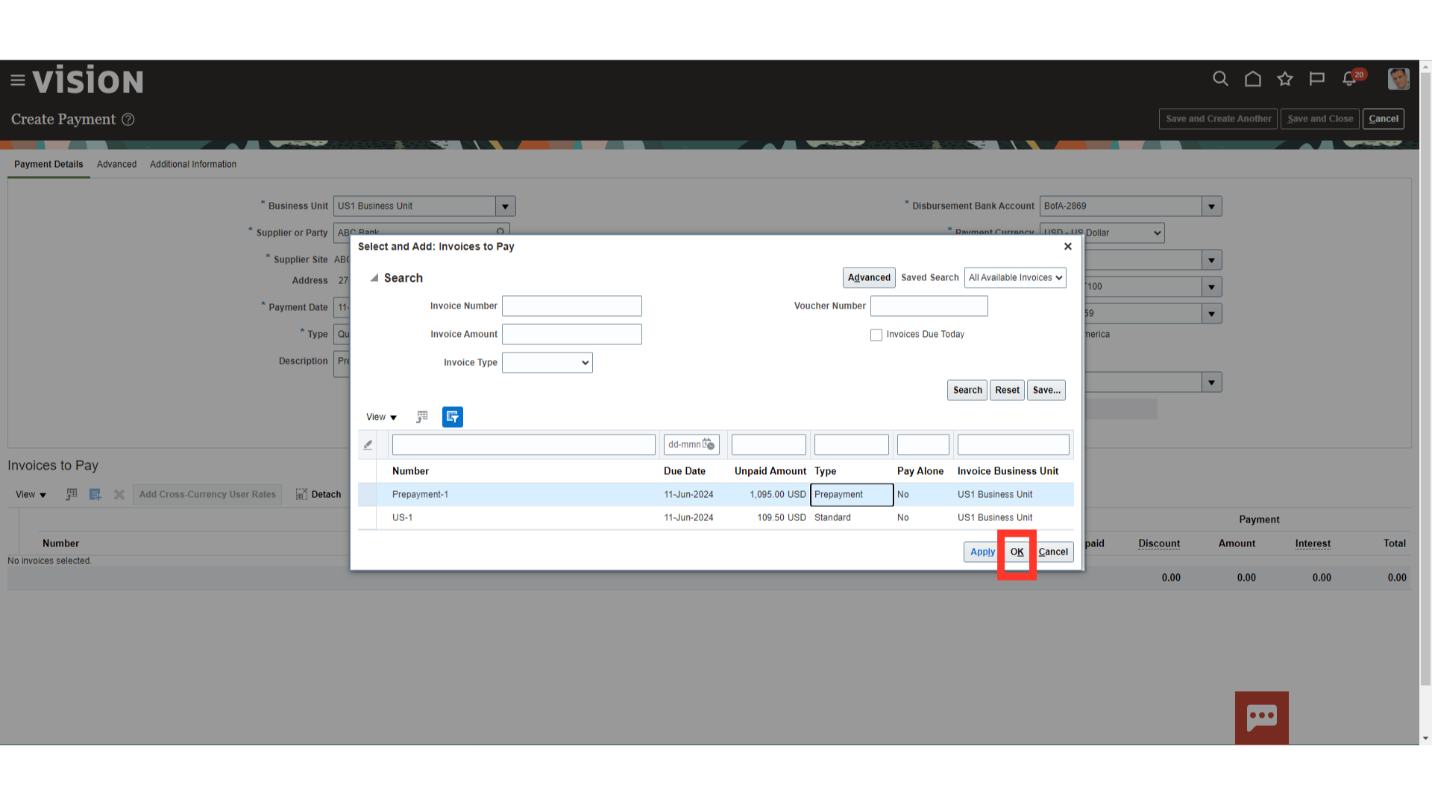
Click on the “OK” button to close the Invoices to Pay window.
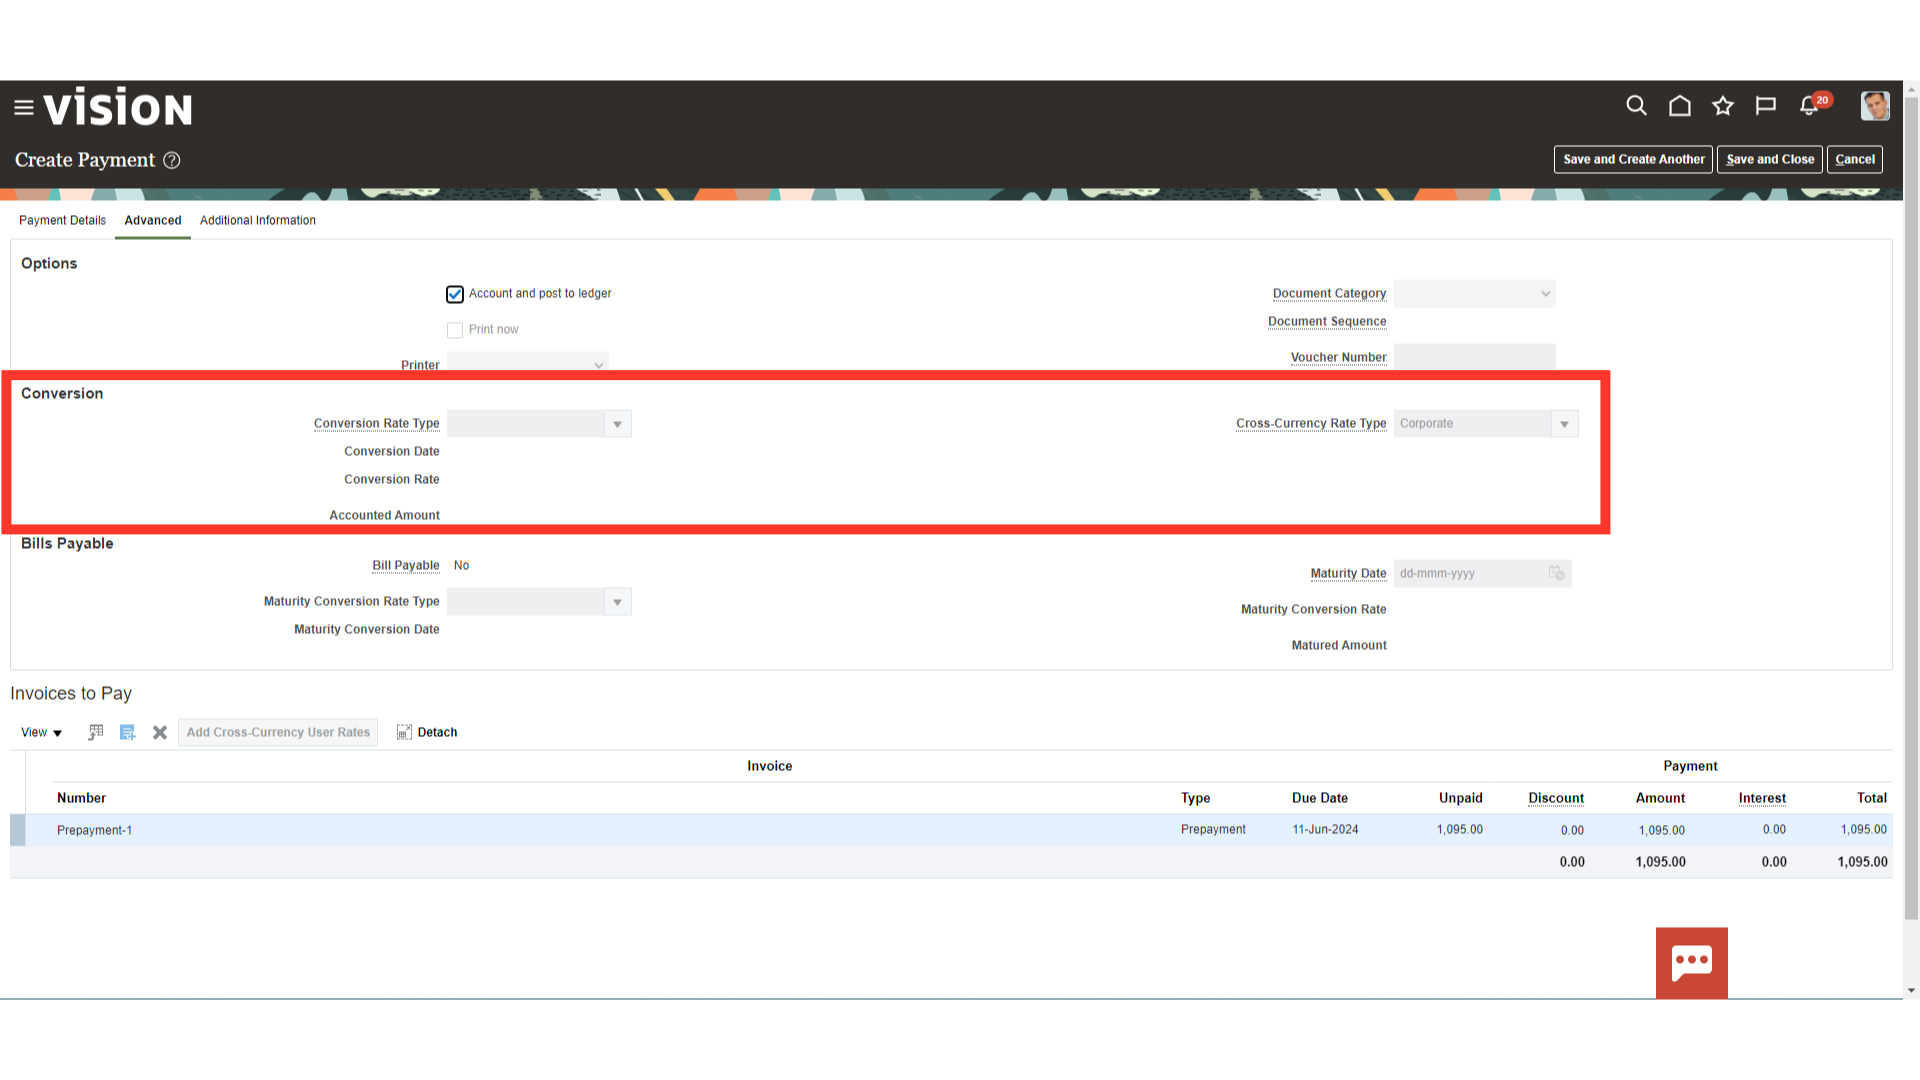
If you want to account the payment directly after saving this payment, enable the Account and post to ledger checkbox under the Advanced tab.
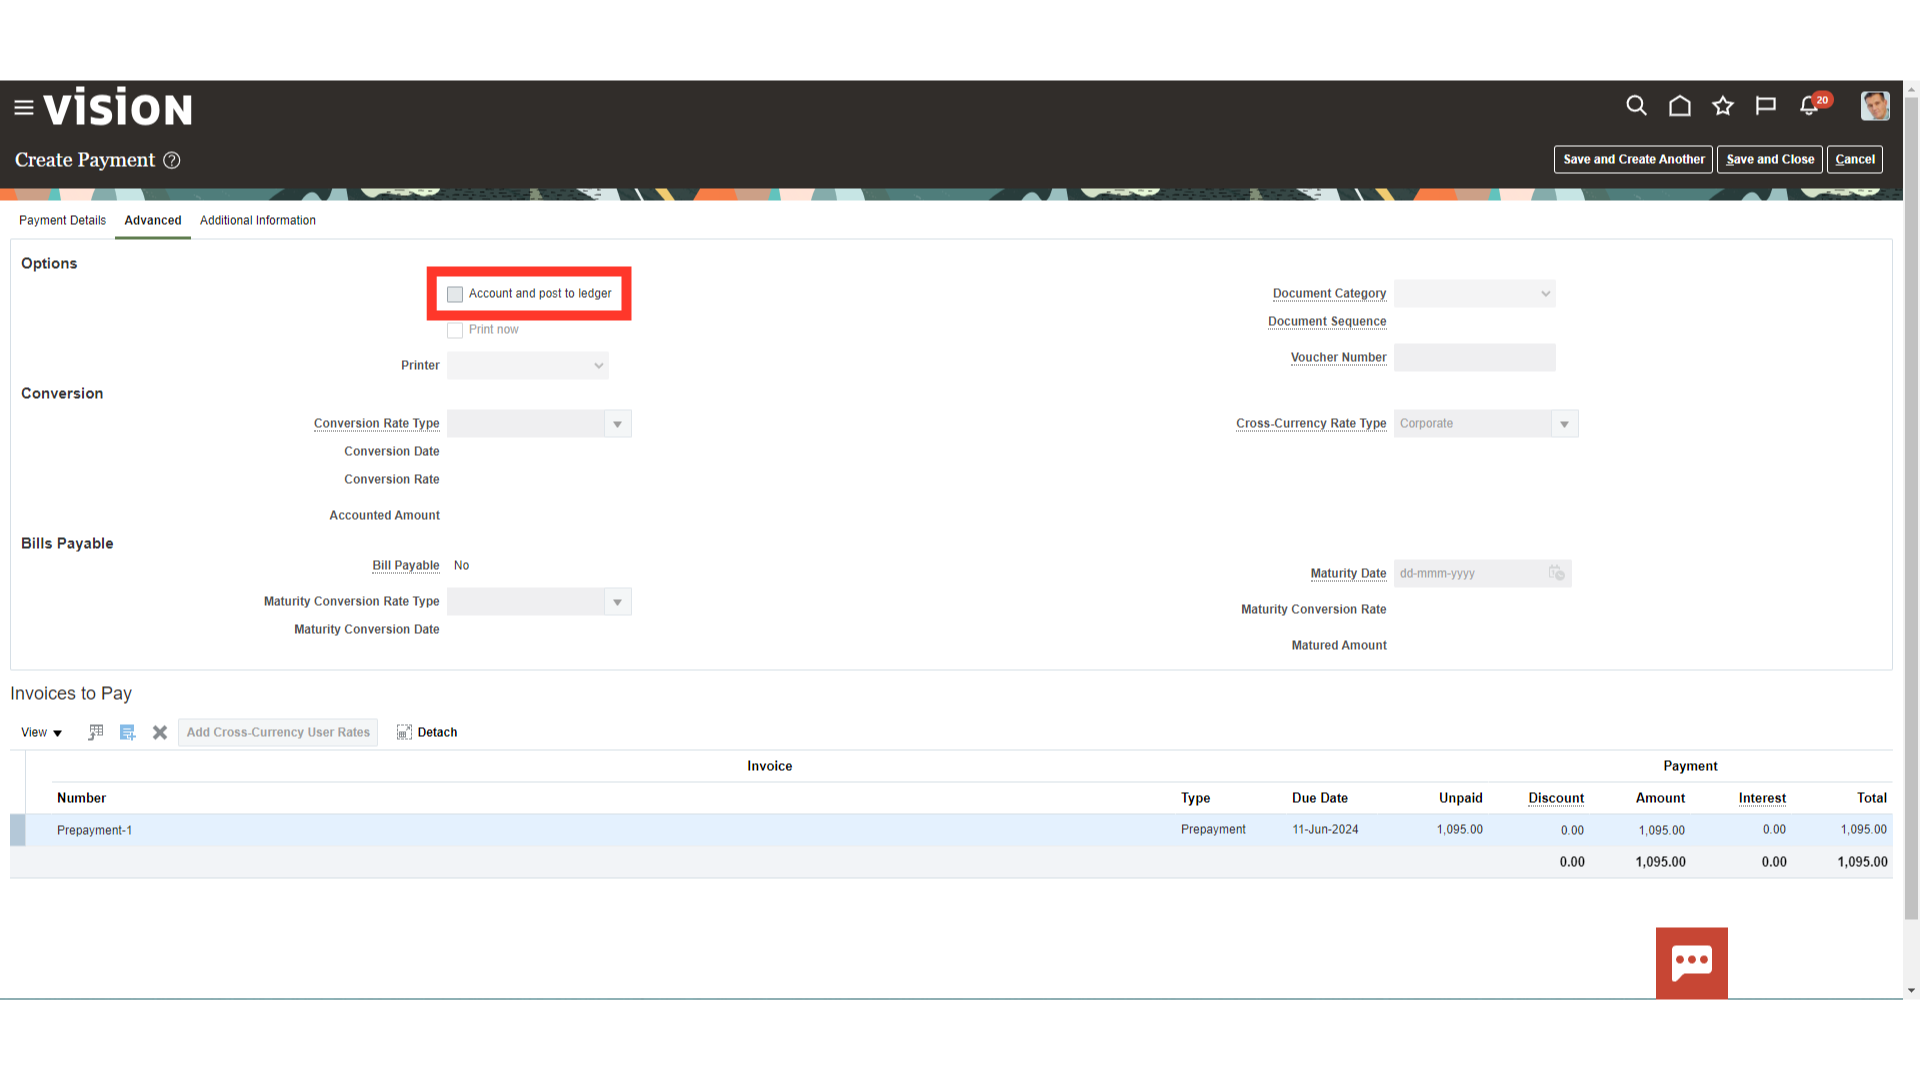
In case of foreign currency payments, select the conversion rate type and date in the highlighted section.
Click on the Save and close button to submit the payment and close this page.

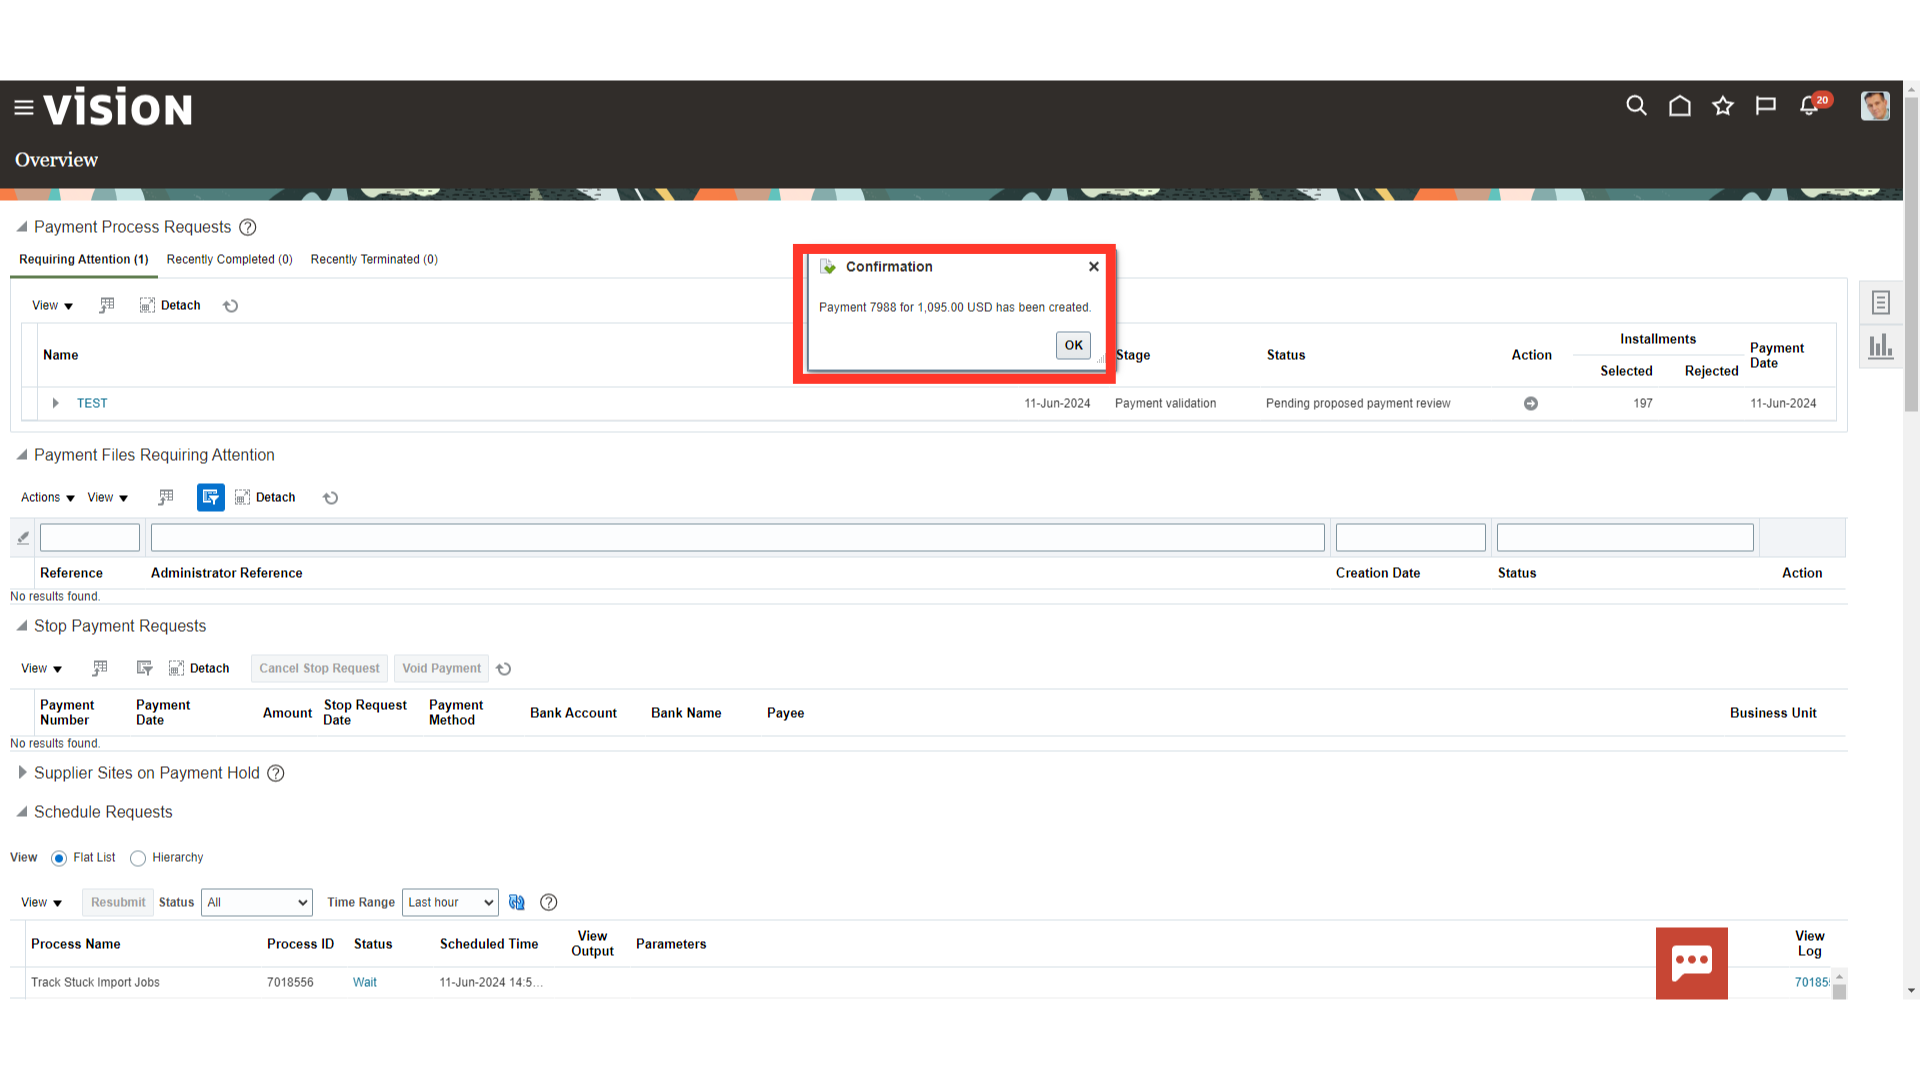
Confirmation message of payment created along with payment number and amount would be displayed. Click on “OK” to close the confirmation window.
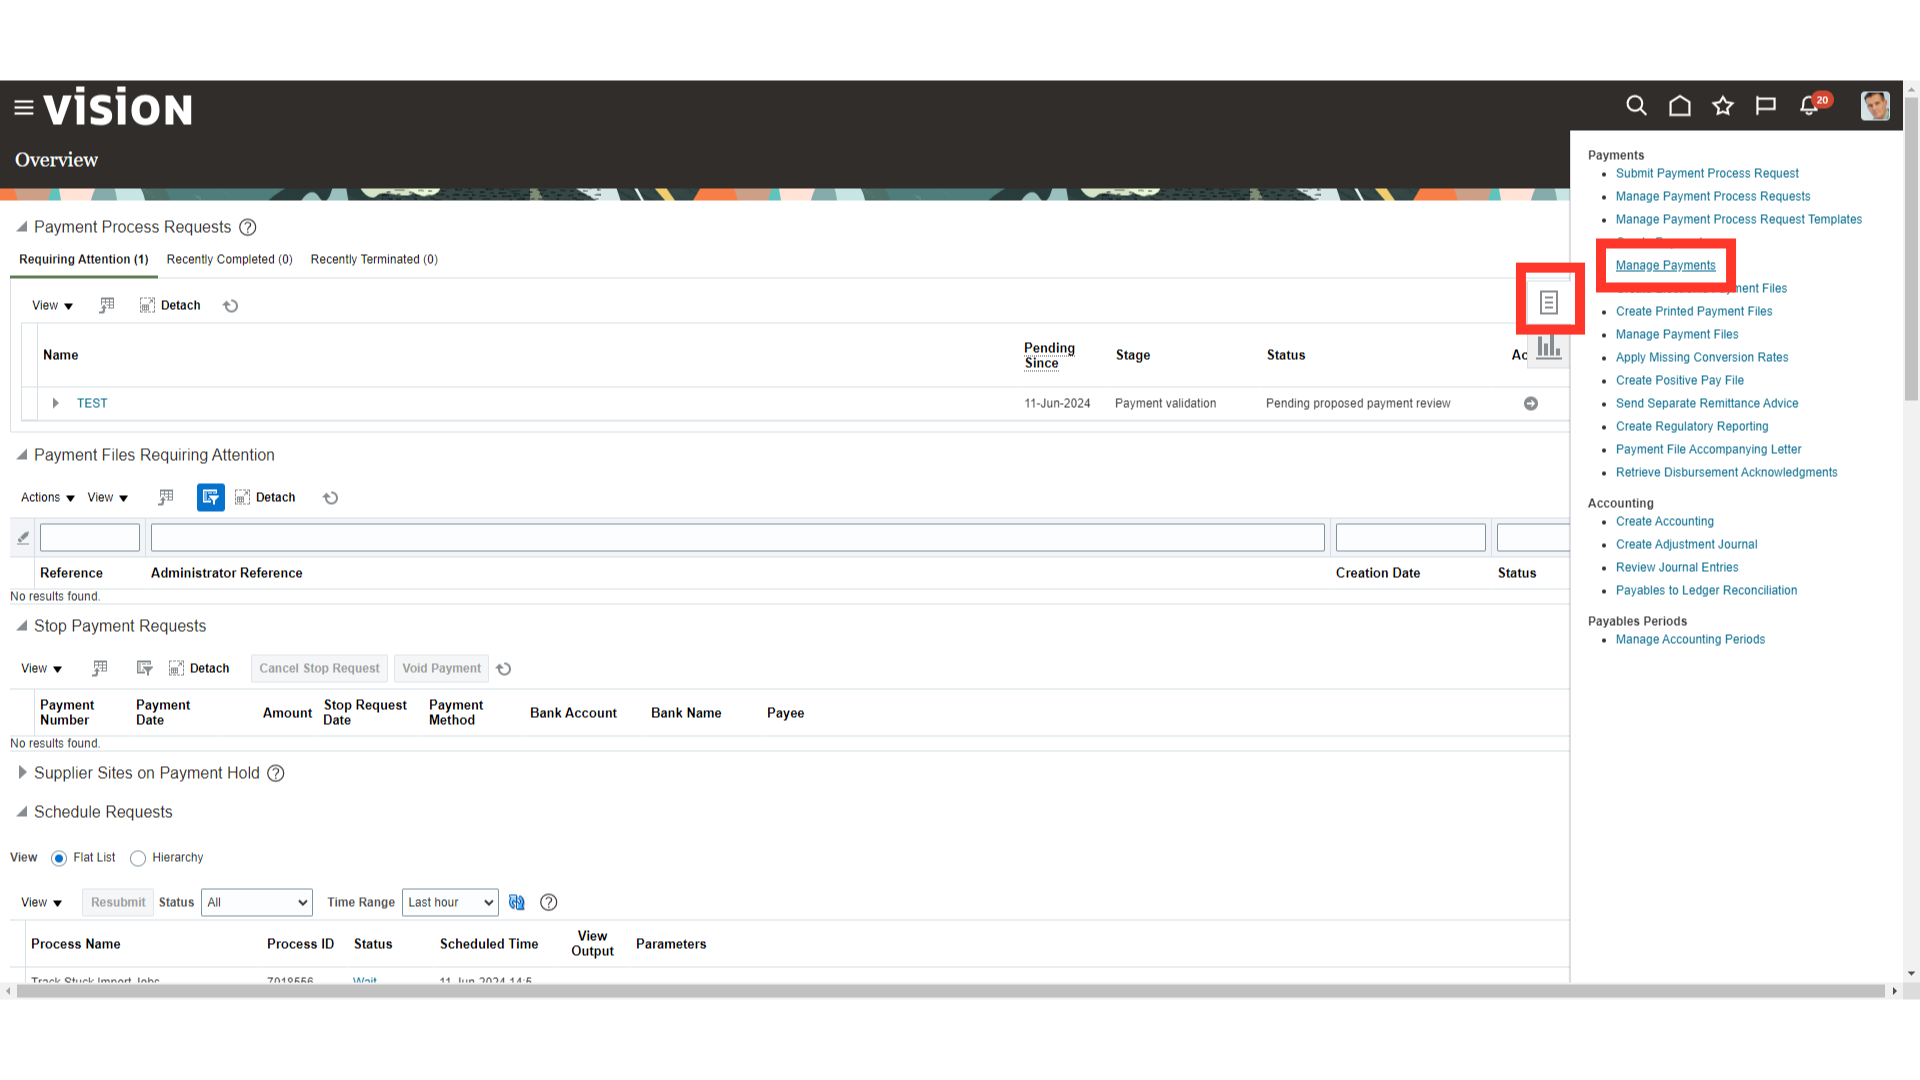
Click on the “Manage Payment” from the task list to search for the payments created.
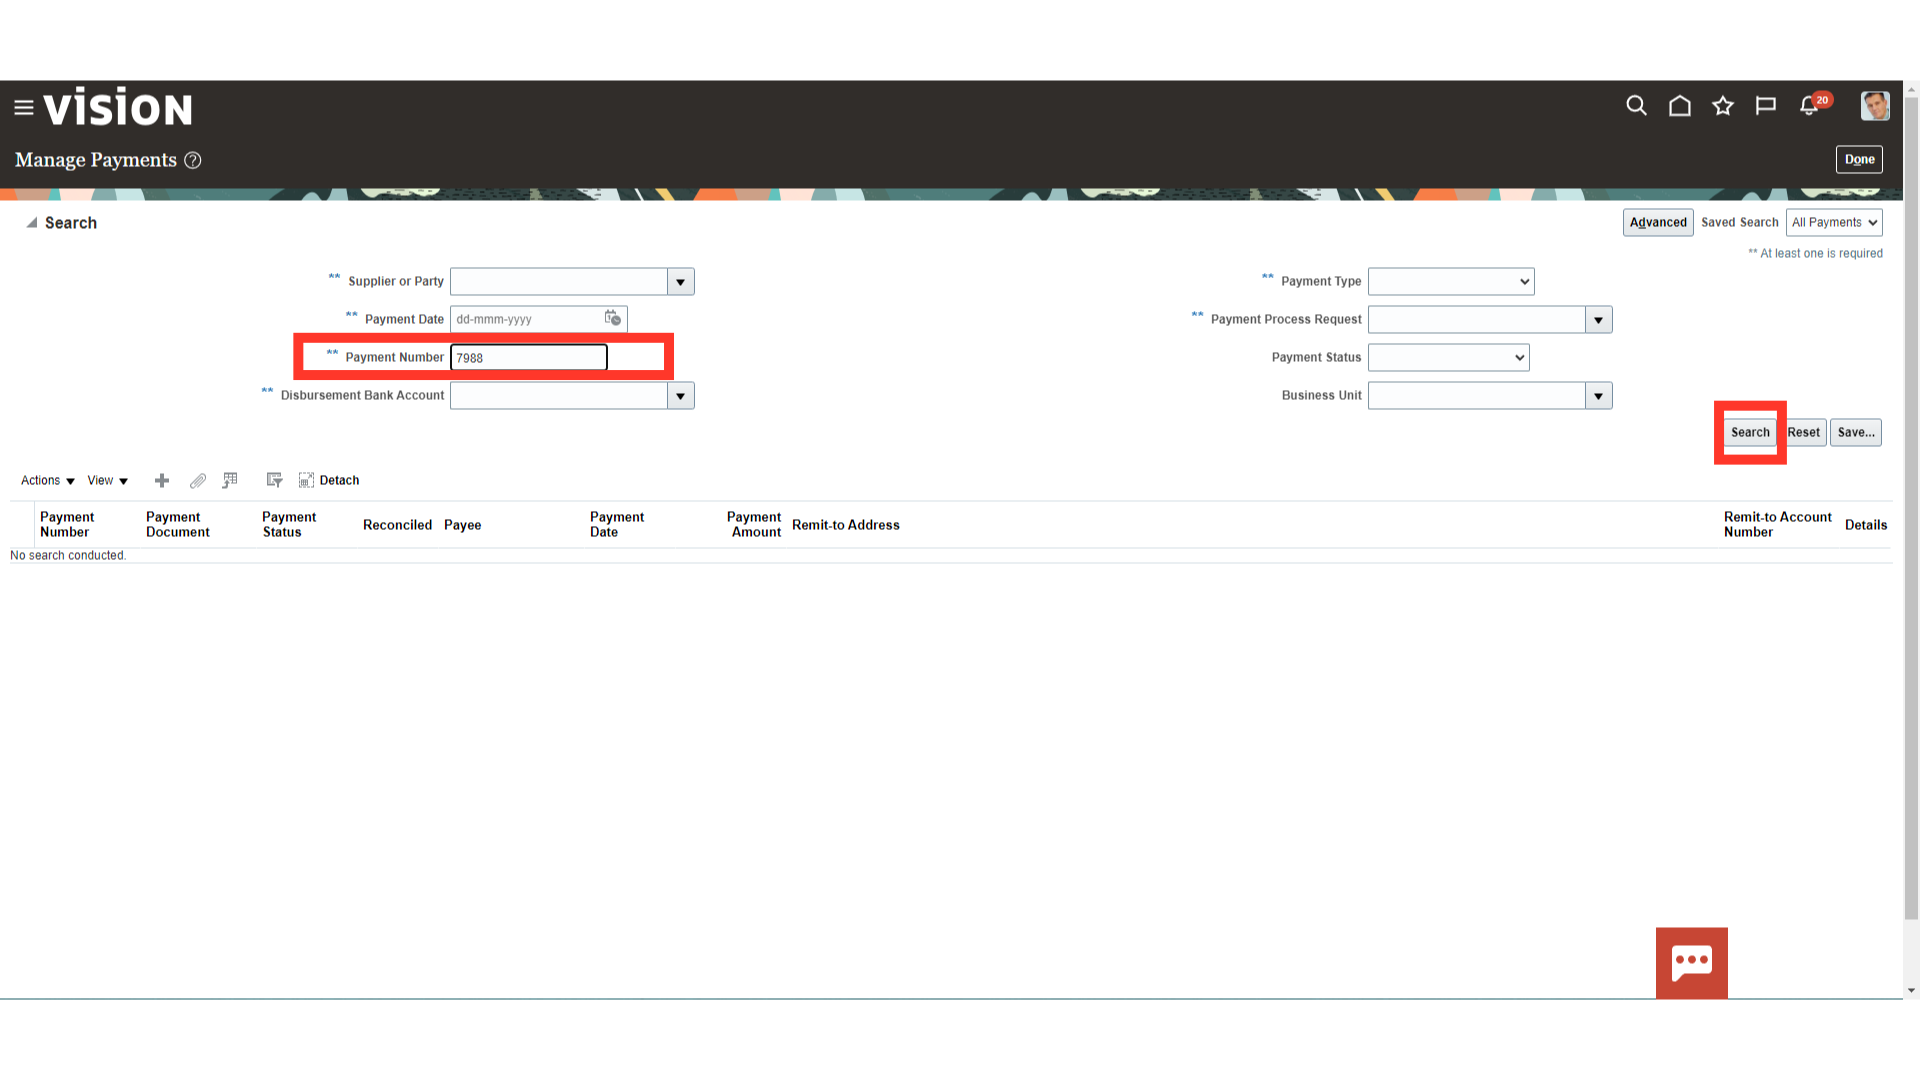
Enter the payment number and click on the search button for searching the payment.
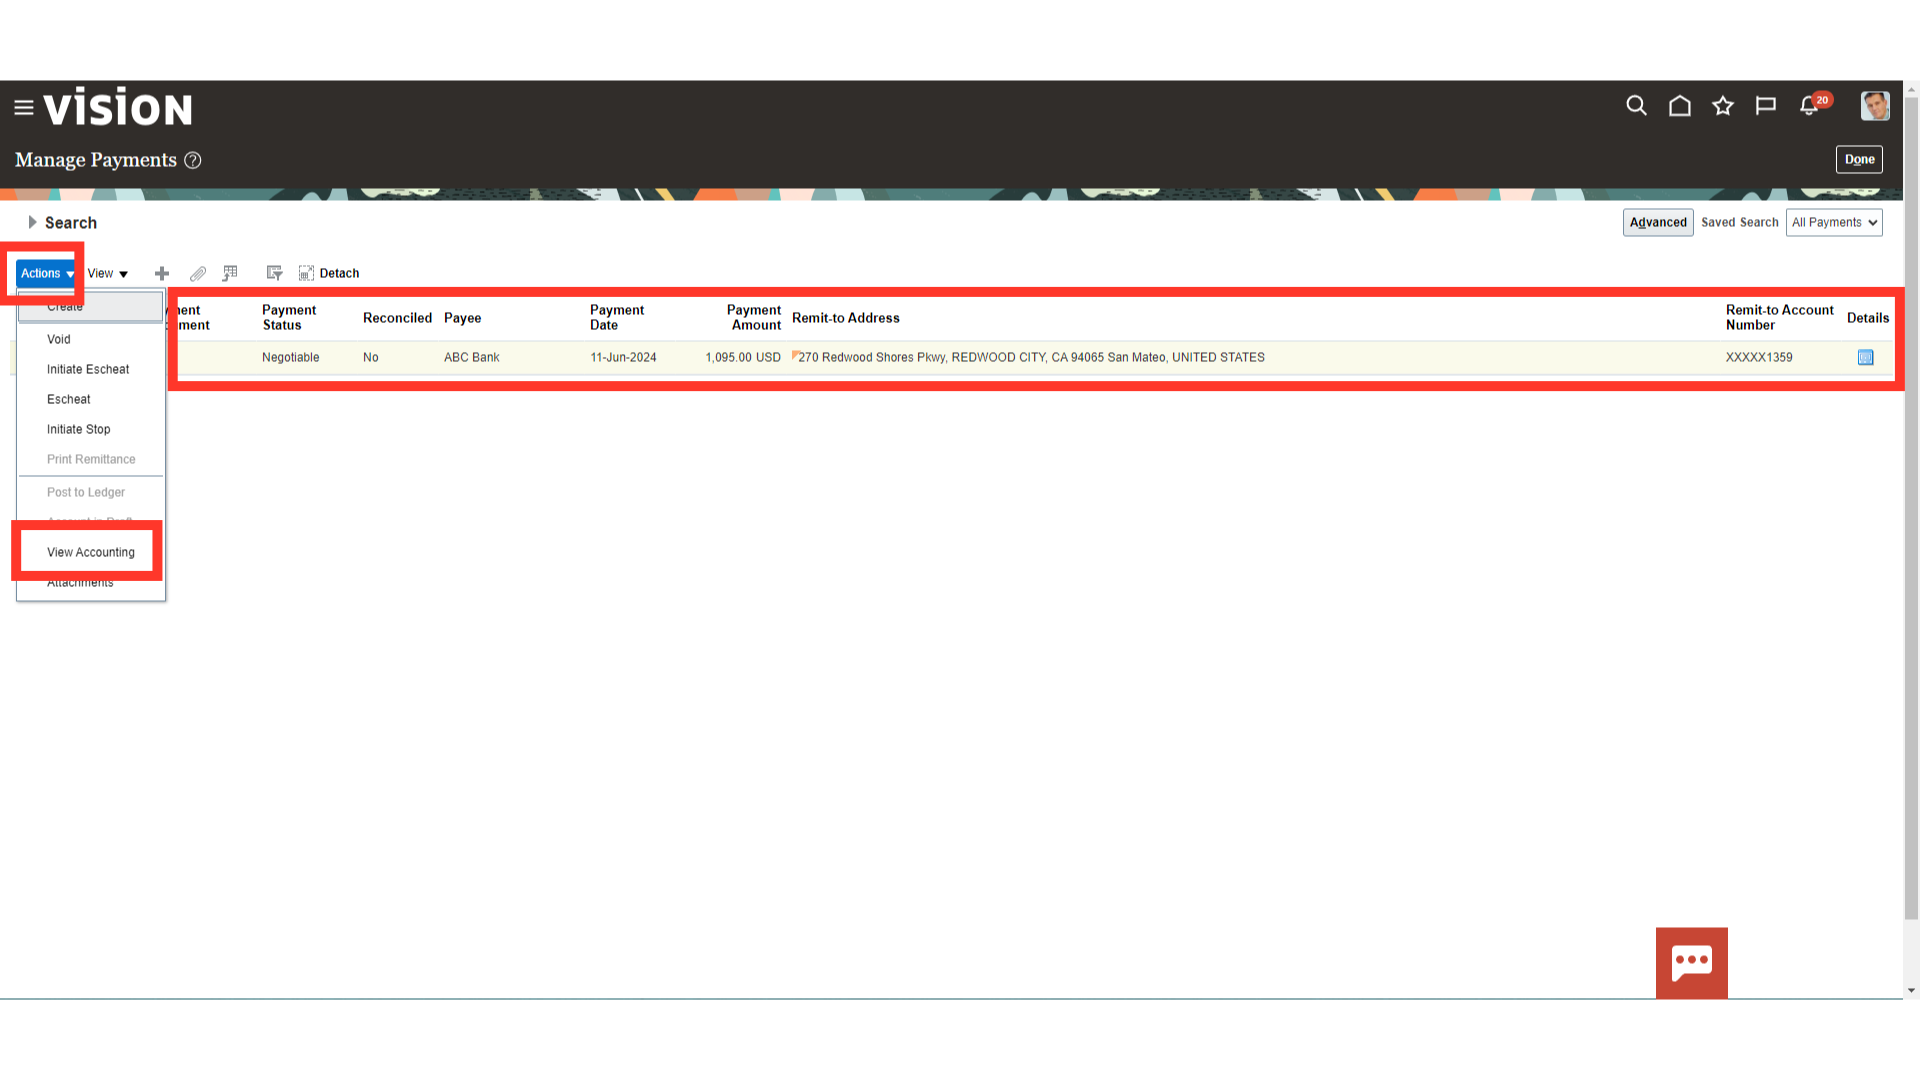
Select the payment, click on the Action tab, and then click on the View Accounting option to see the payment journal entry.
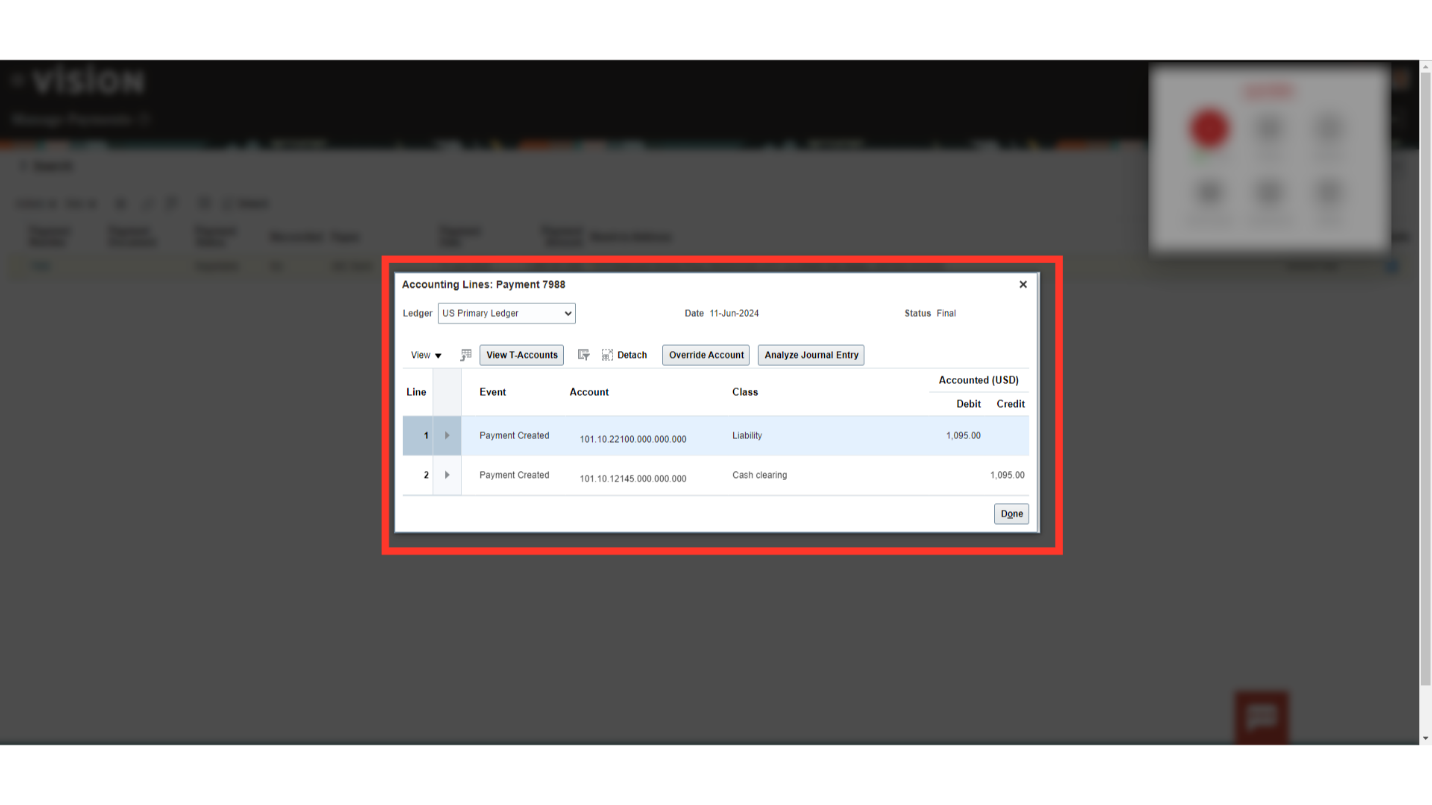
This is the journal entry generated for the payments made. Click on the done button to close this window.
This guide has covered the steps to view the payment journal entry from the Manage Payment screen, as well as the comprehensive process of creating payments and adding invoices for payment using the Single payment functionality.