How to Process Smart View Reports
This guide provides information about the process of running a Smart View Report for the GL module by following these precise instructions. This guide will take you through the necessary steps to generate accurate reports for your business needs to view Financial Performance.
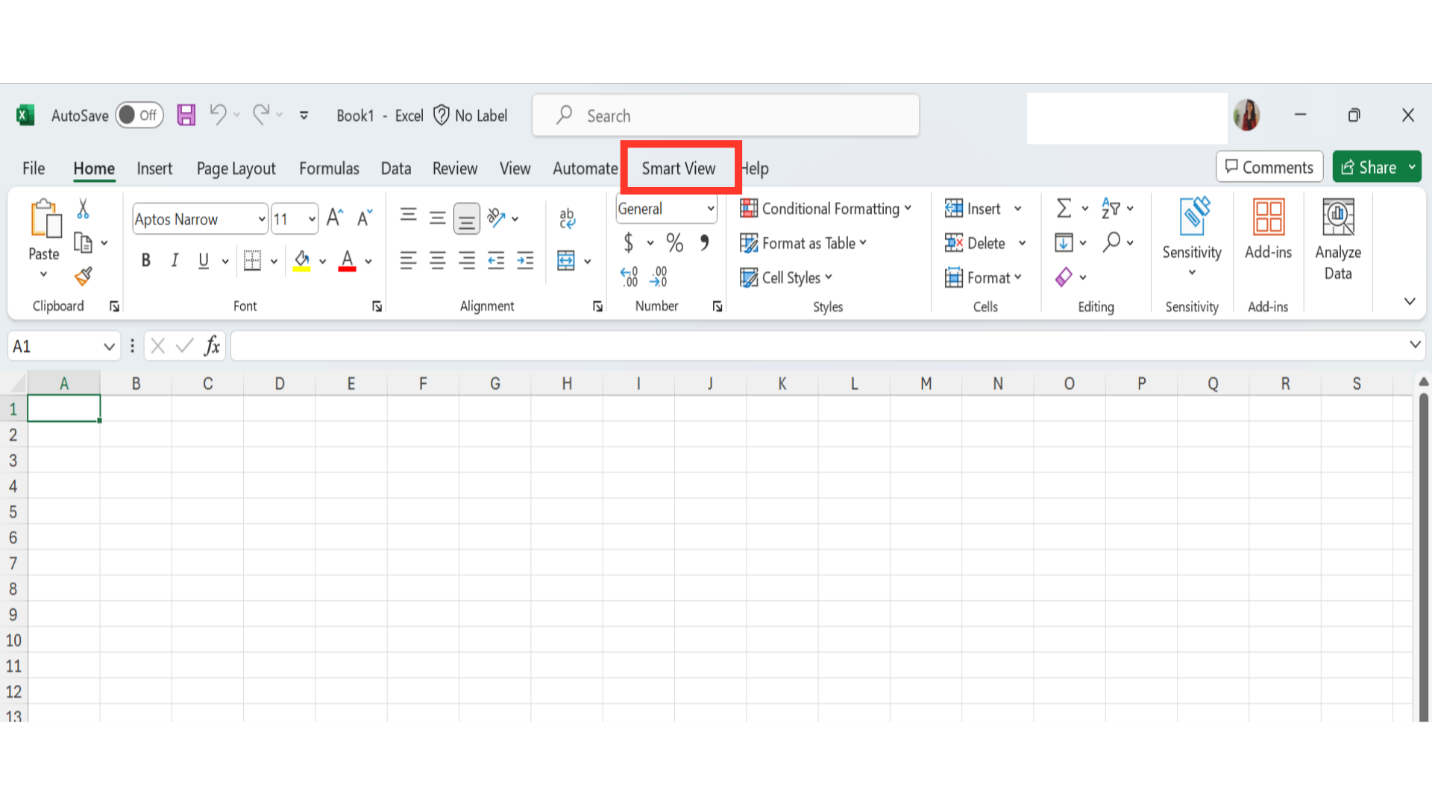
To create a Smart View report, open an Excel and ensure that Smart View is installed on your desktop. This will ensure that a smart view tab appears in your Excel. Click on the Smart View tab.
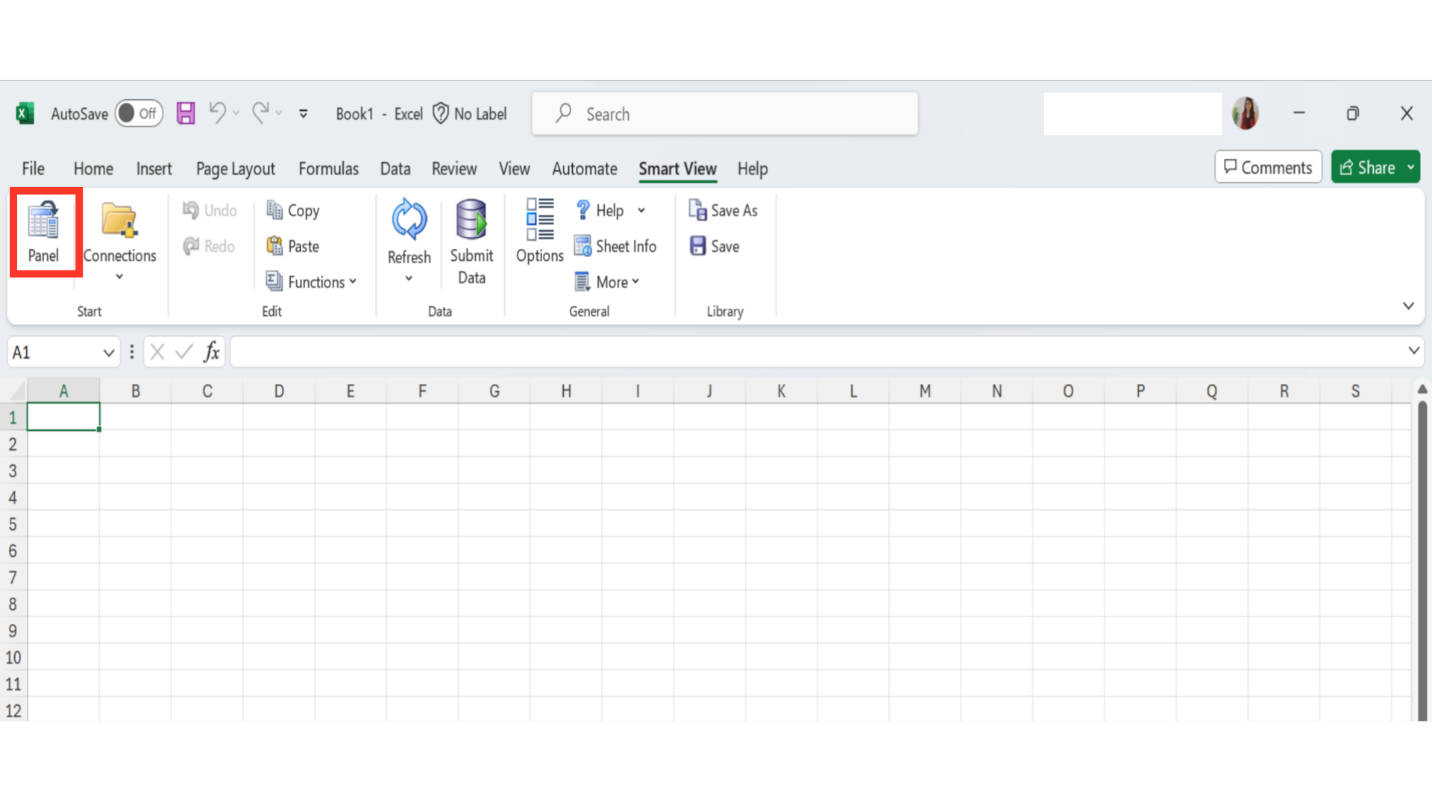
Click on the Panel option.
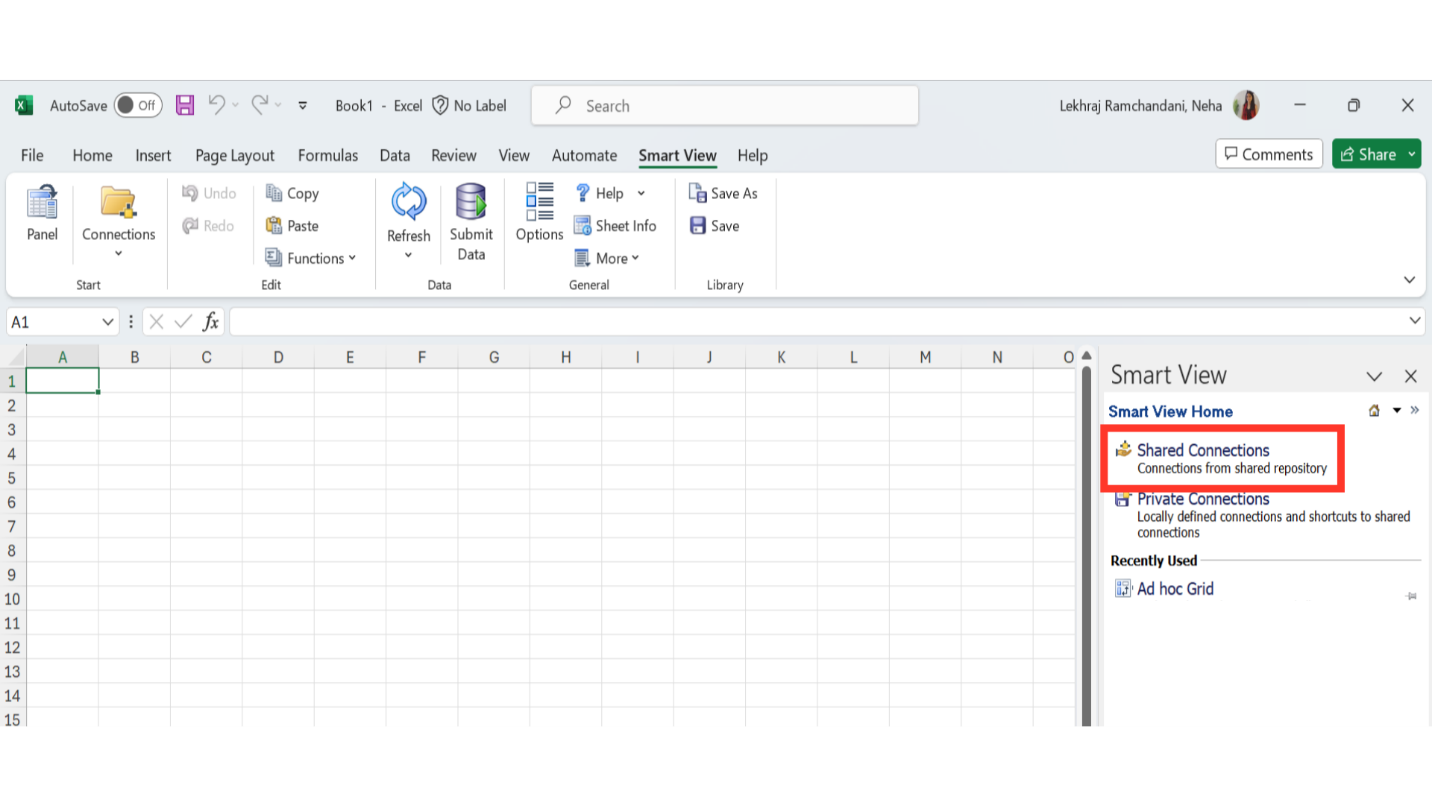
Click on shared connections option.
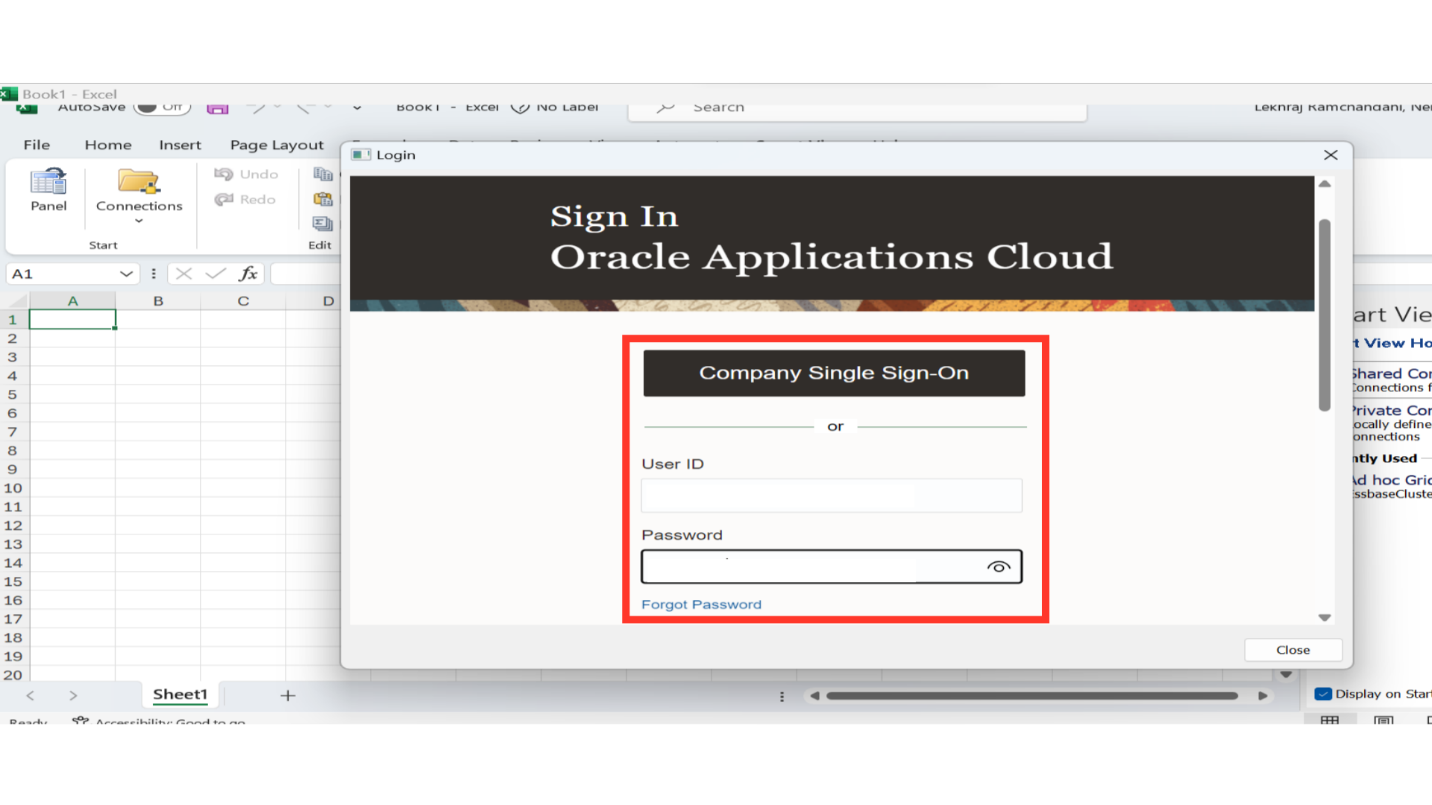
A prompt will be displayed. Enter your credentials to log in. It will connect the Excel with the instance.
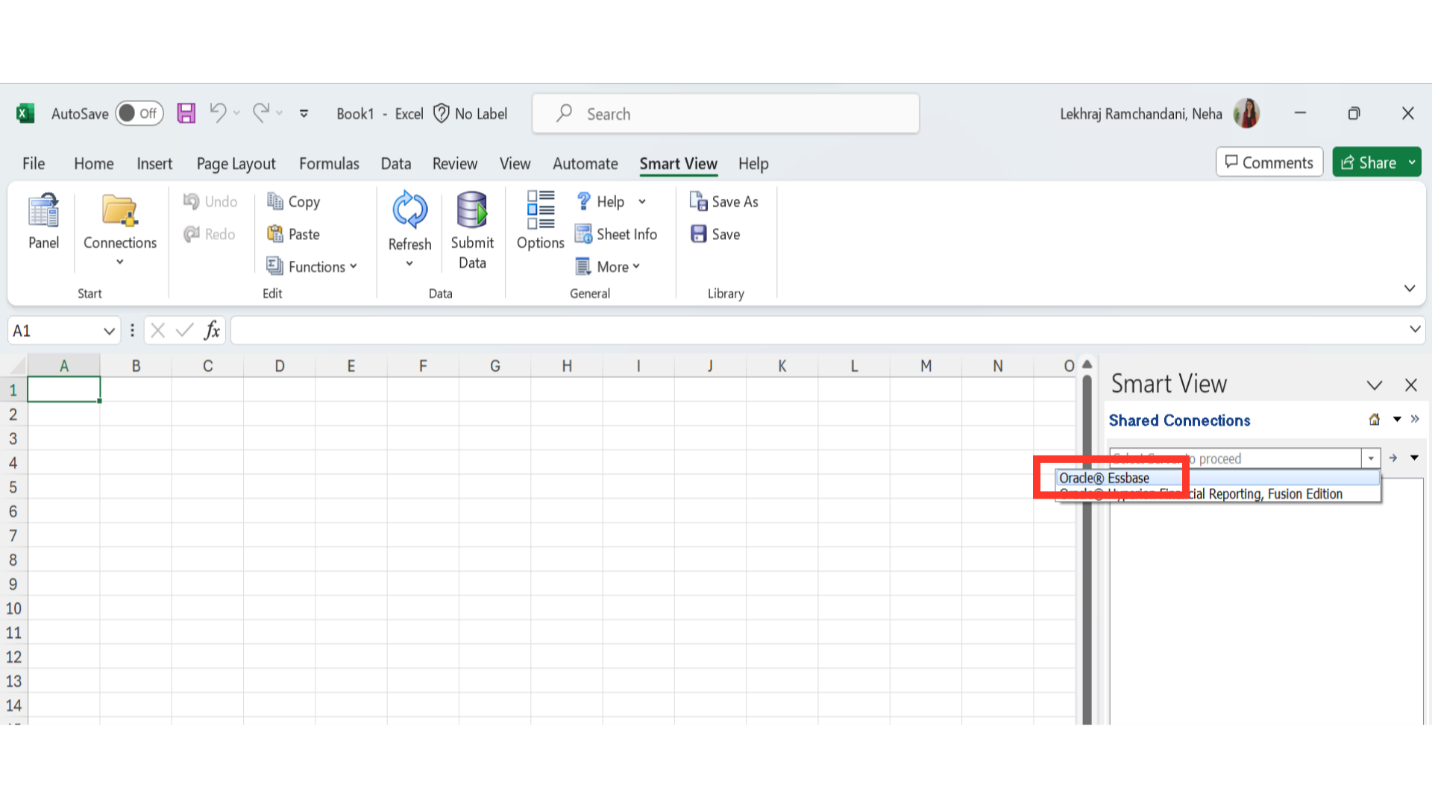
Click on the dropdown and select Essbase.
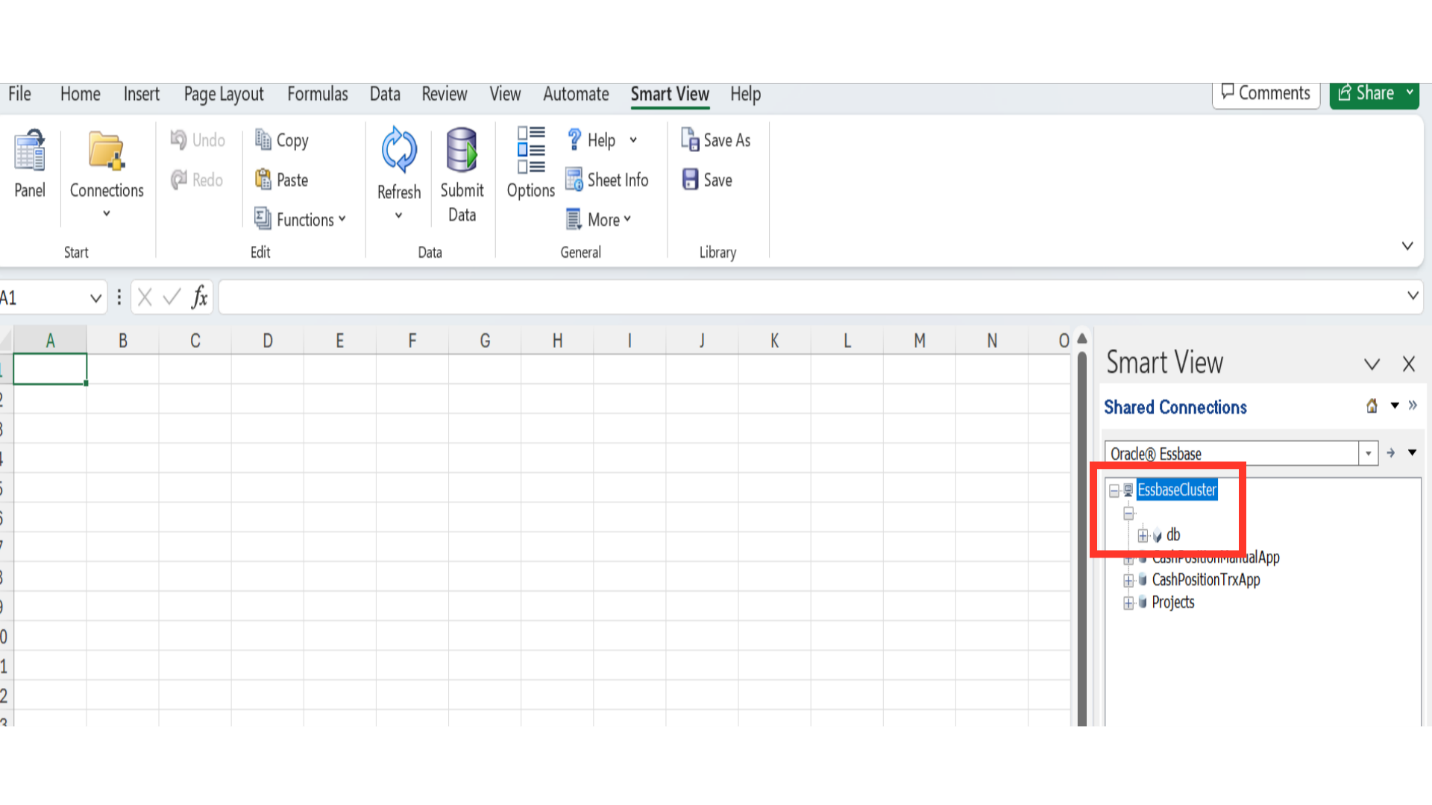
Expand the Essbase and double-click on the DB.
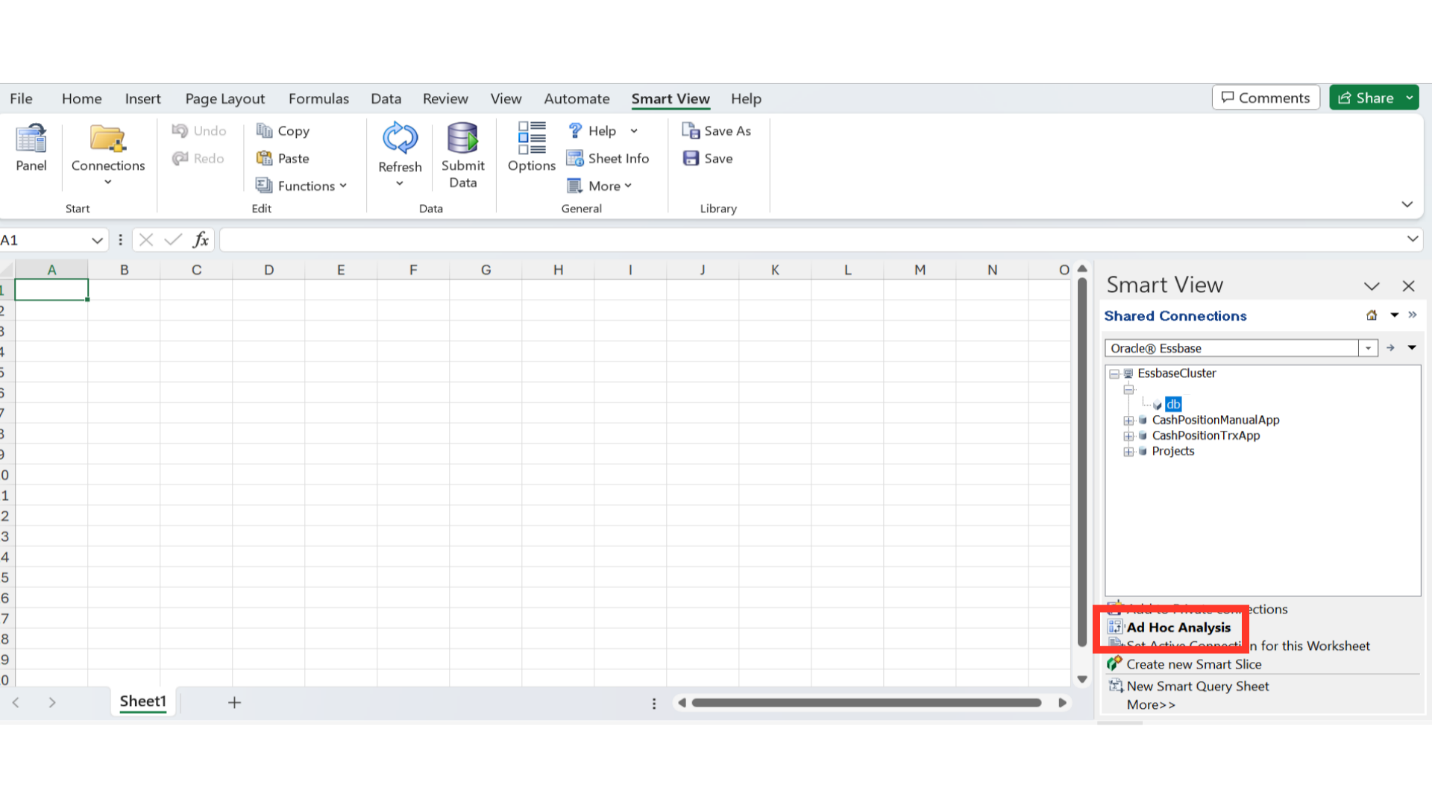
Click on the Ad-hoc Analysis option.
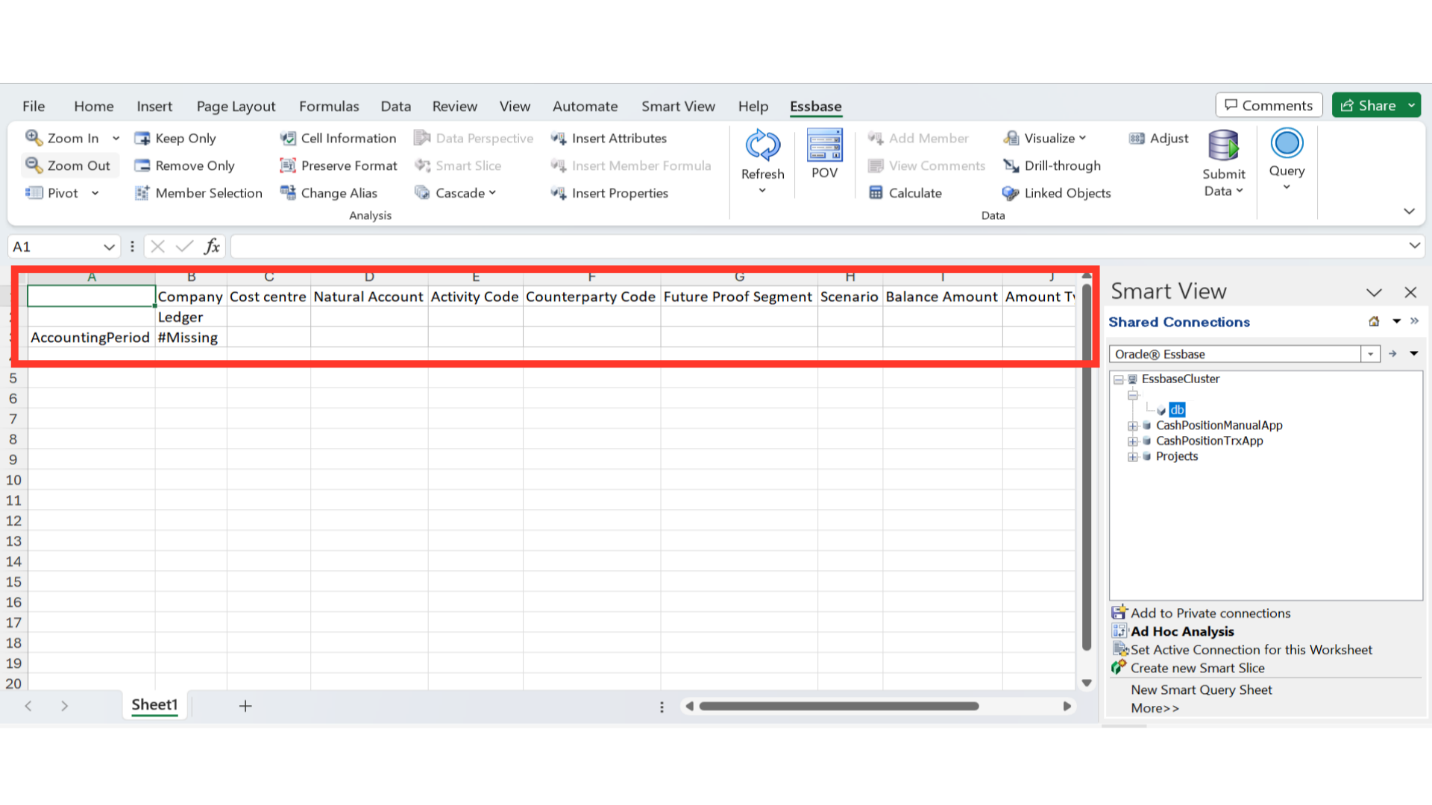
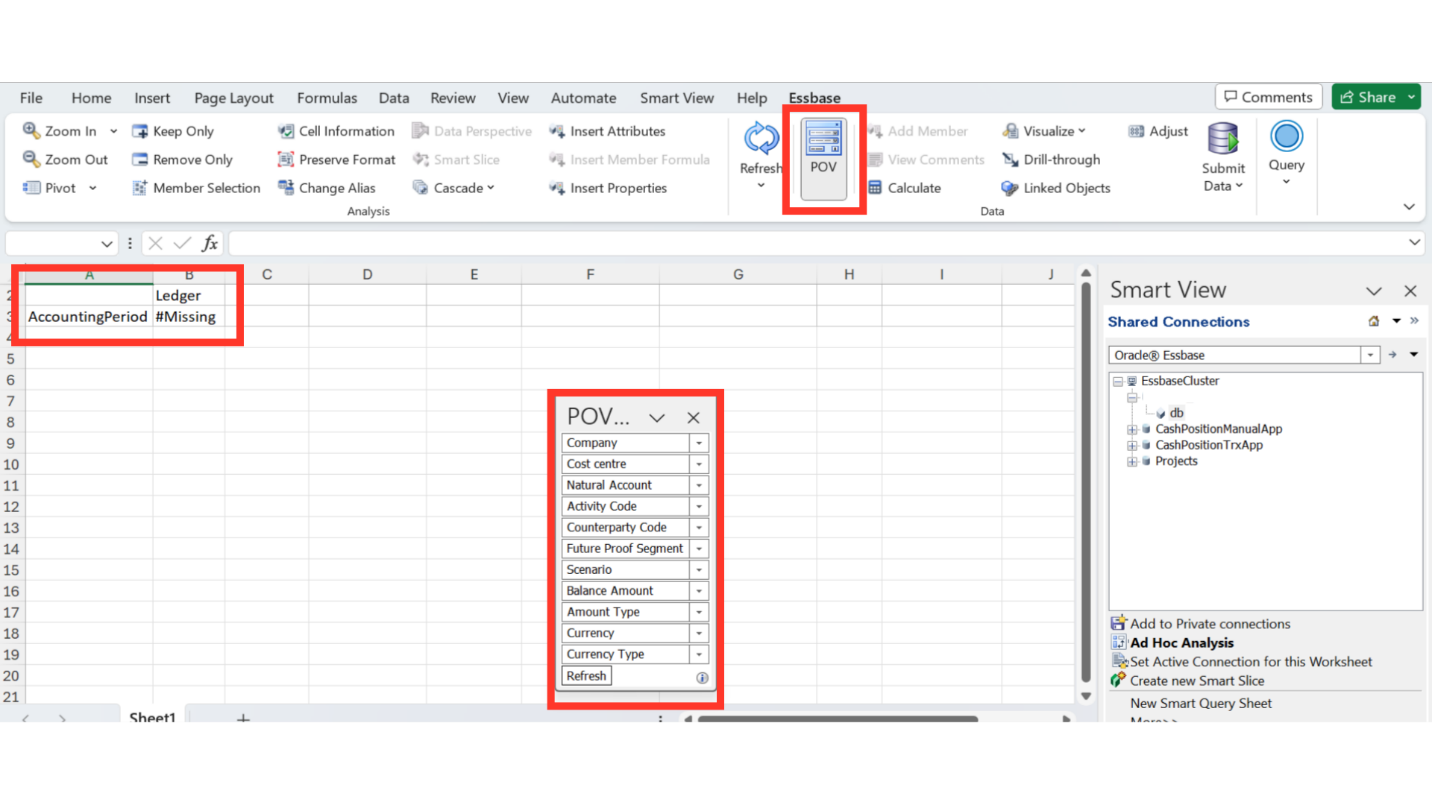
Parameters will appear in your excel.
Click on P.O.V. in the top ribbon. This will display a different view where only 2 parameters will remain on the sheet, and the others will move into the P.O.V. list. When you reach this point, you can drag and drop to select the dimensions that will stay on the report layout.
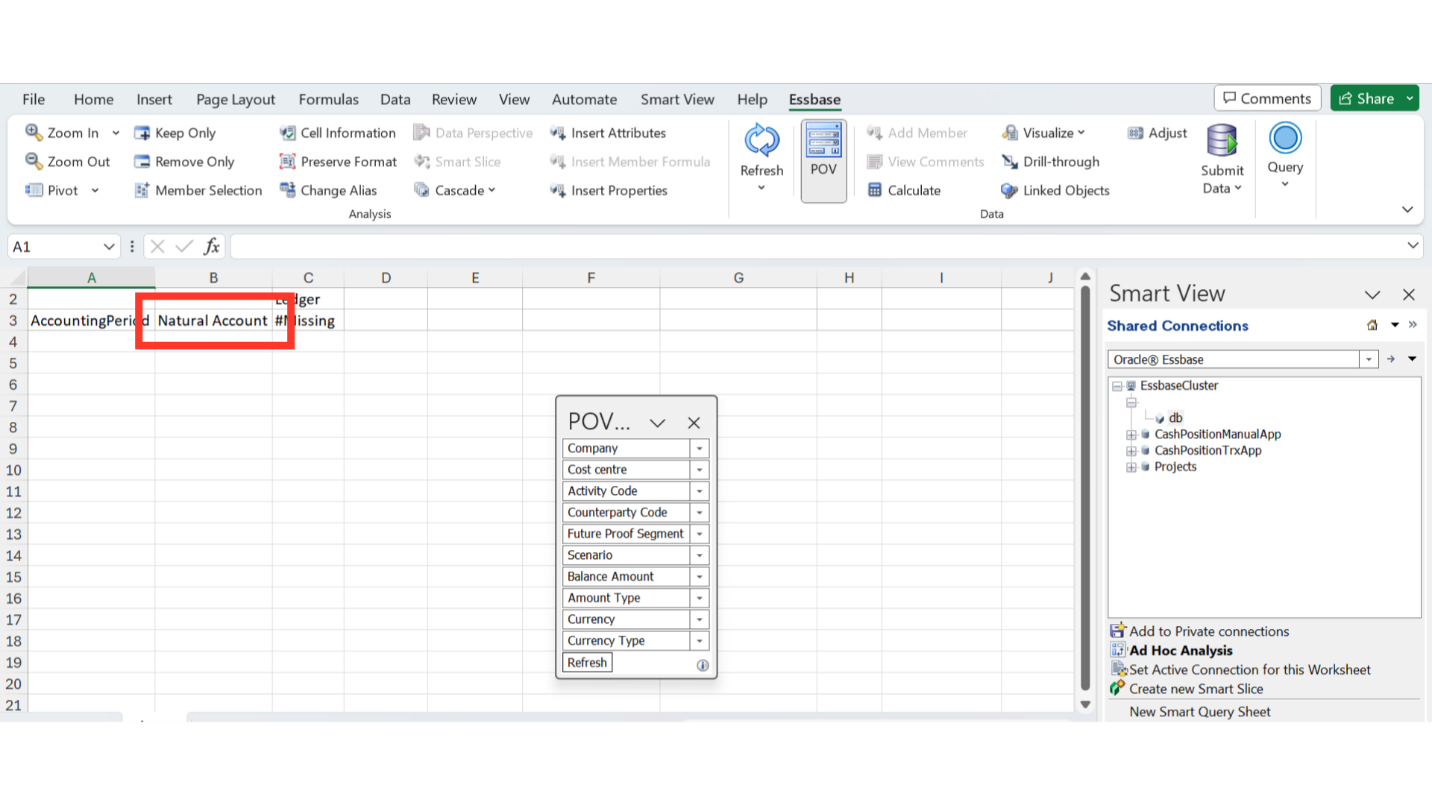
For example, drag the Natural Account and drop it on the A3 Cell. This will add the parameter to the report row.
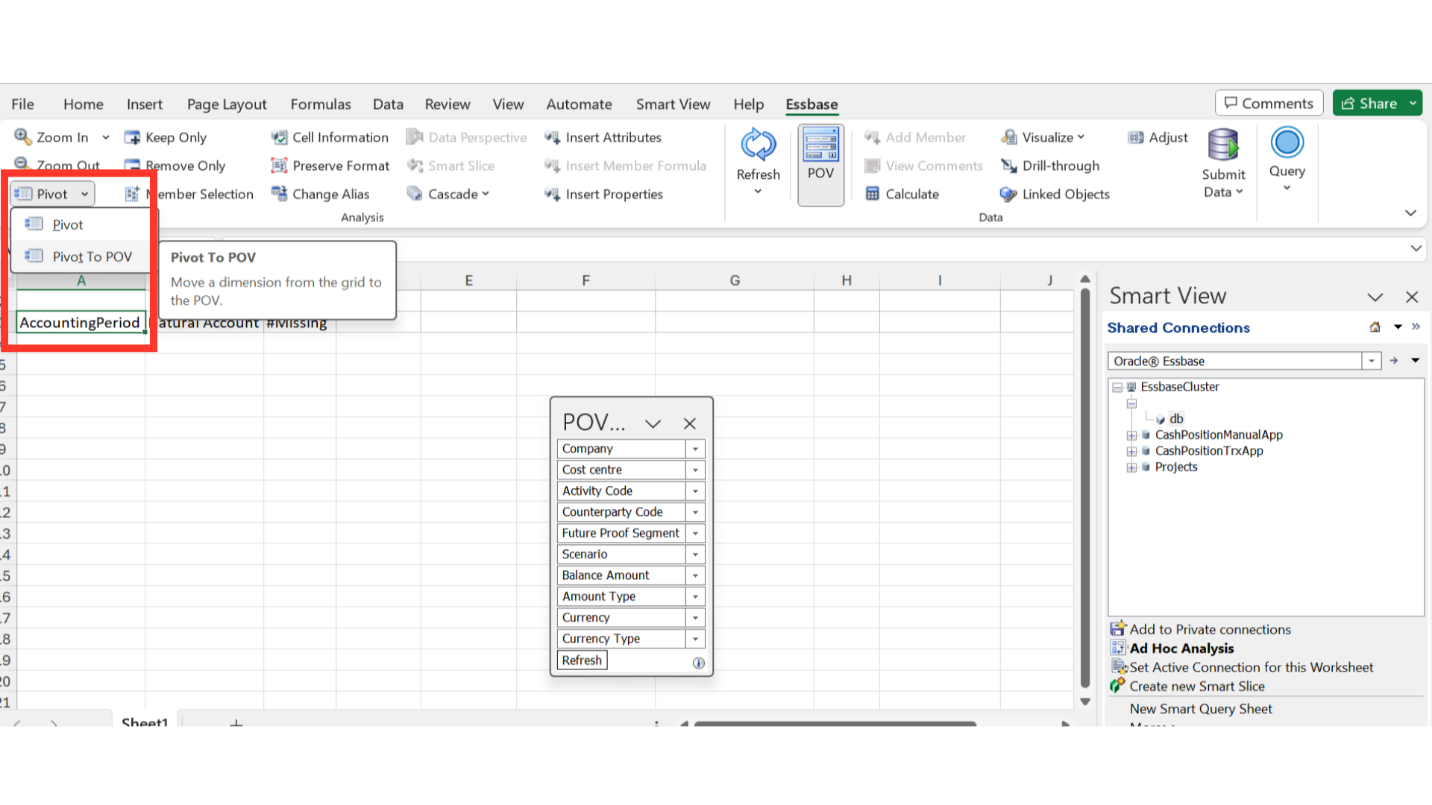
Select an Accounting period and click on Pivot-Pivot to P.O.V. It will move the accounting period to the P.O.V. list.
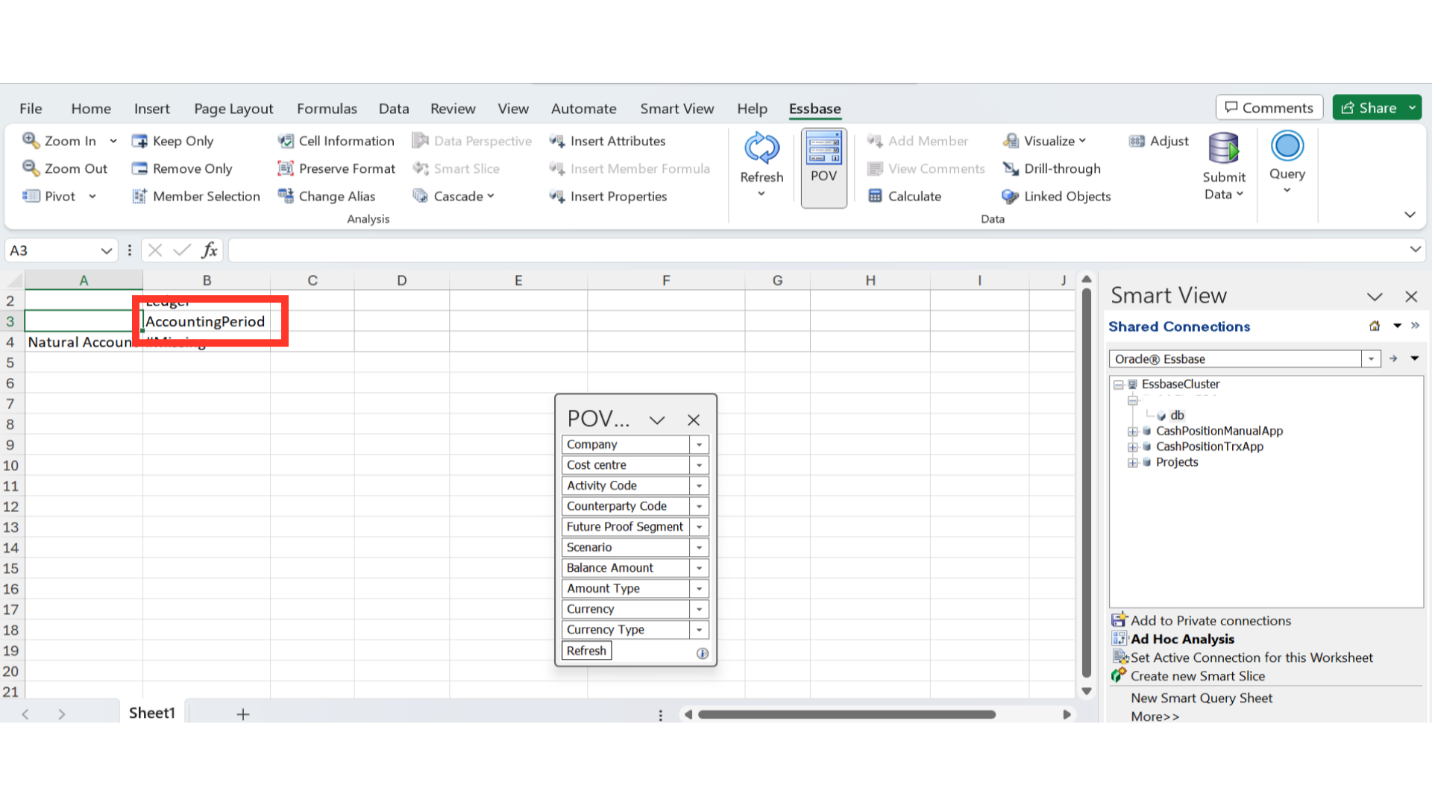
Drag and drop the Accounting period from the P.O.V. sheet to the report column, and it should look like as below.
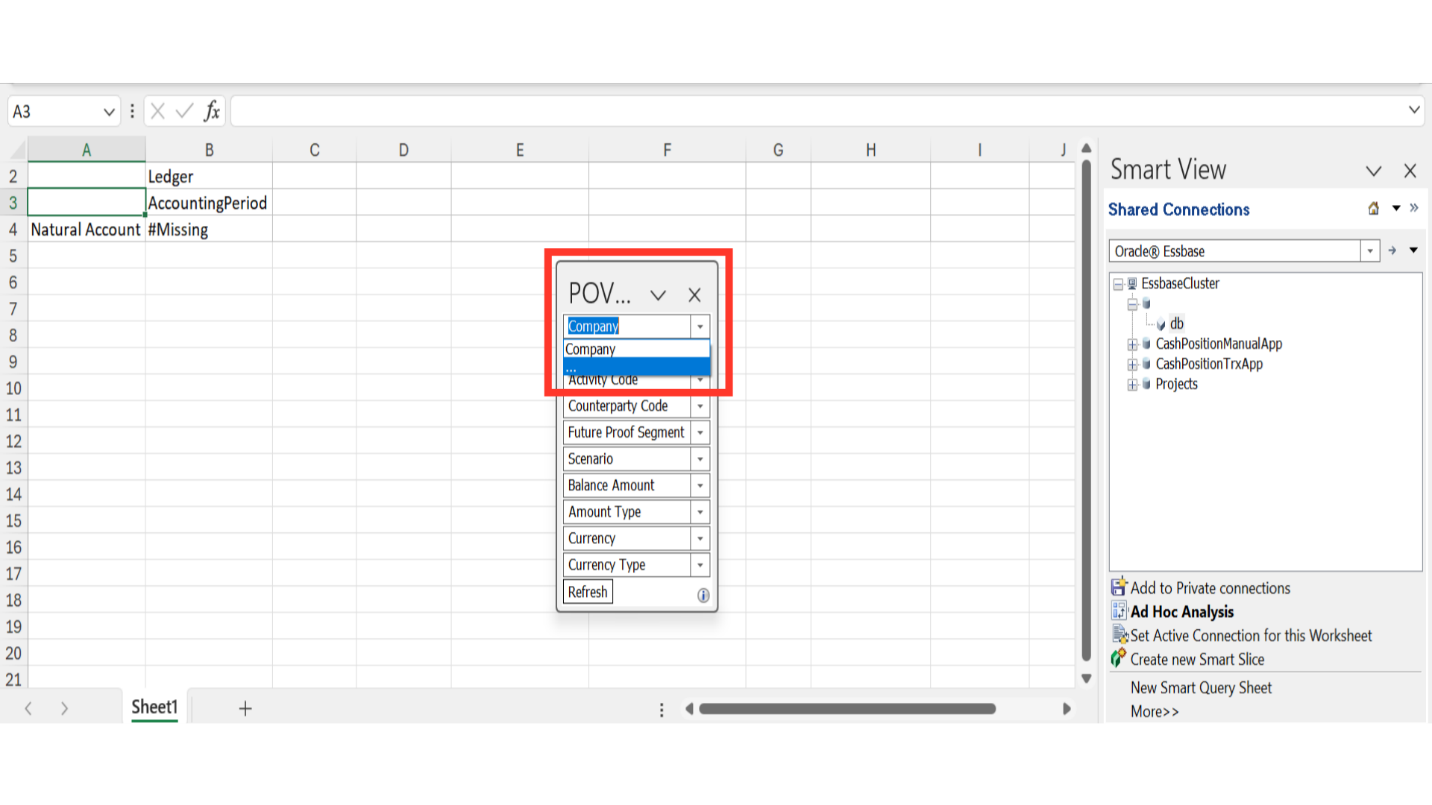
The next step is to select all the members for each parameter/dimension. To do so, click on the drop-down against each parameter and click on the second line.
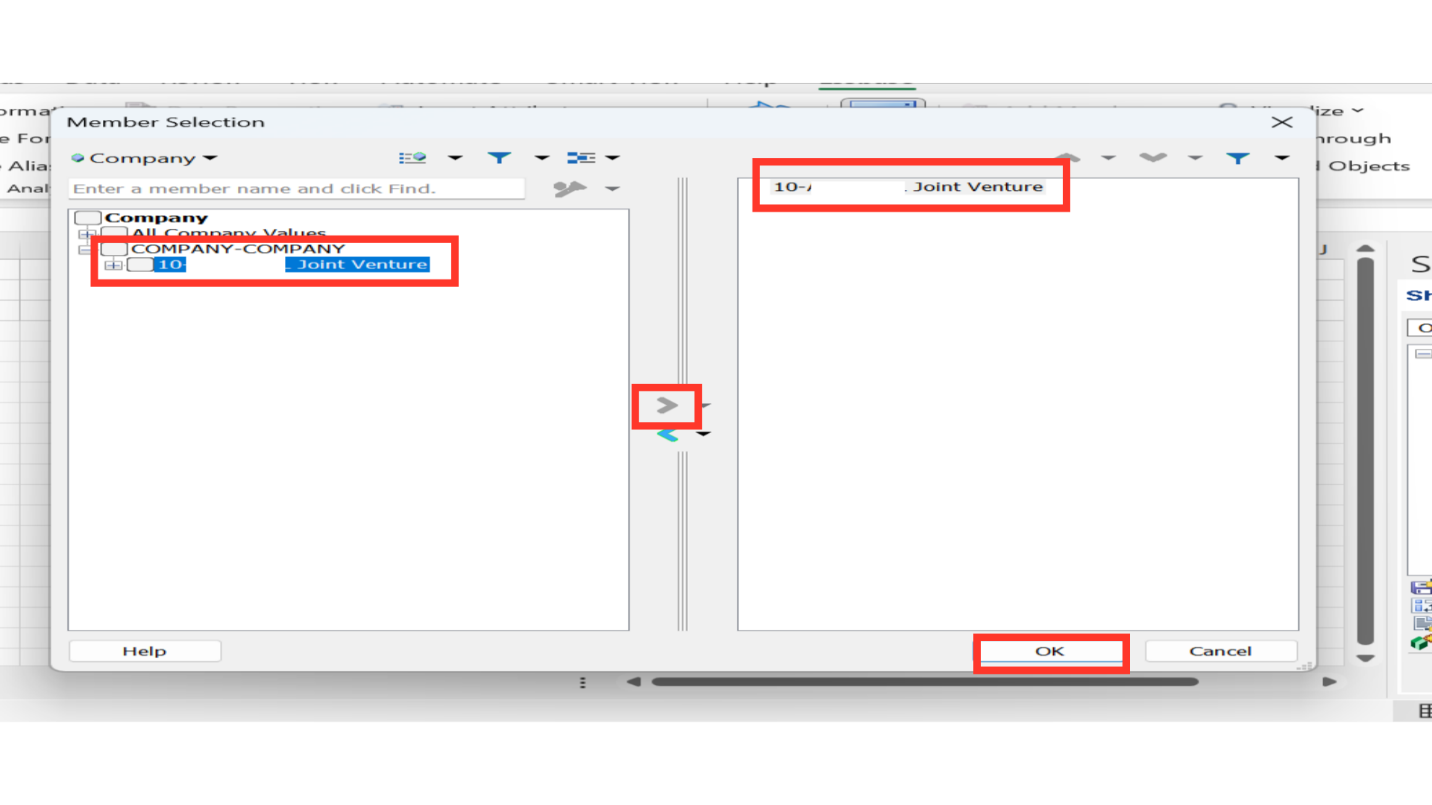
Select the appropriate value, click on the right side arrow to send them to the right-hand side box, and then click on Ok.
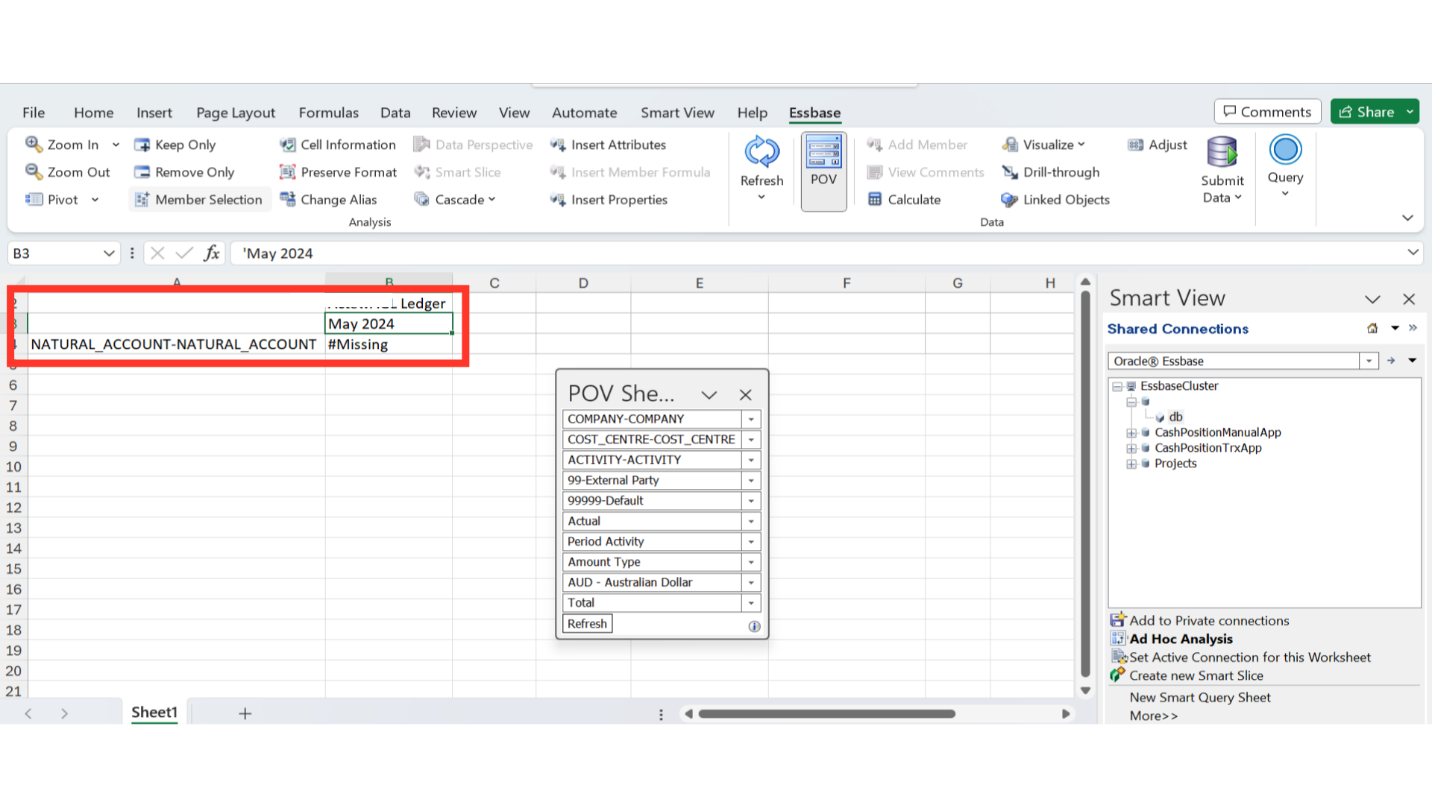
Do the same exercise for all the parameters, and your P.O.V. sheet will look as below. Ensure that you select the members for the report column and the row.
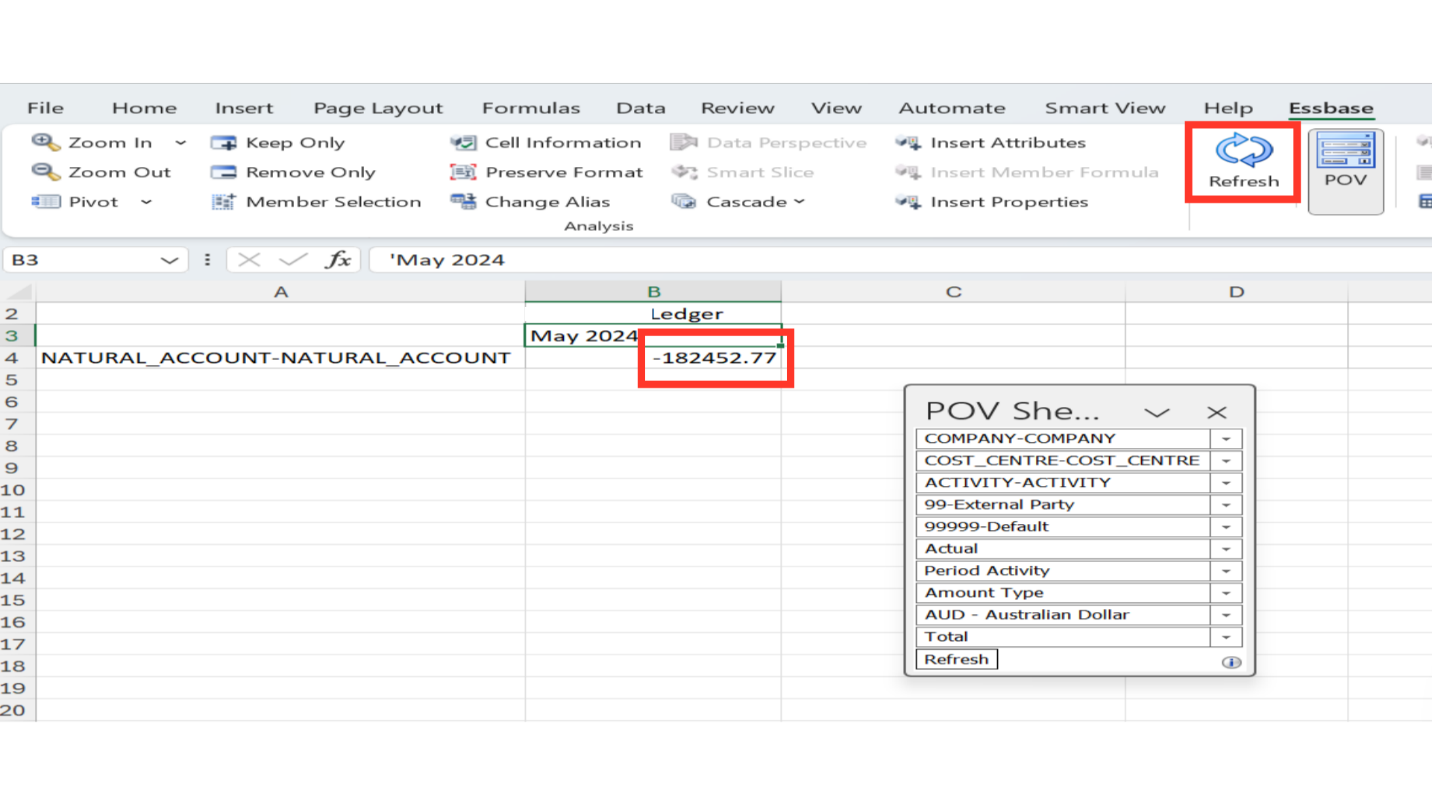
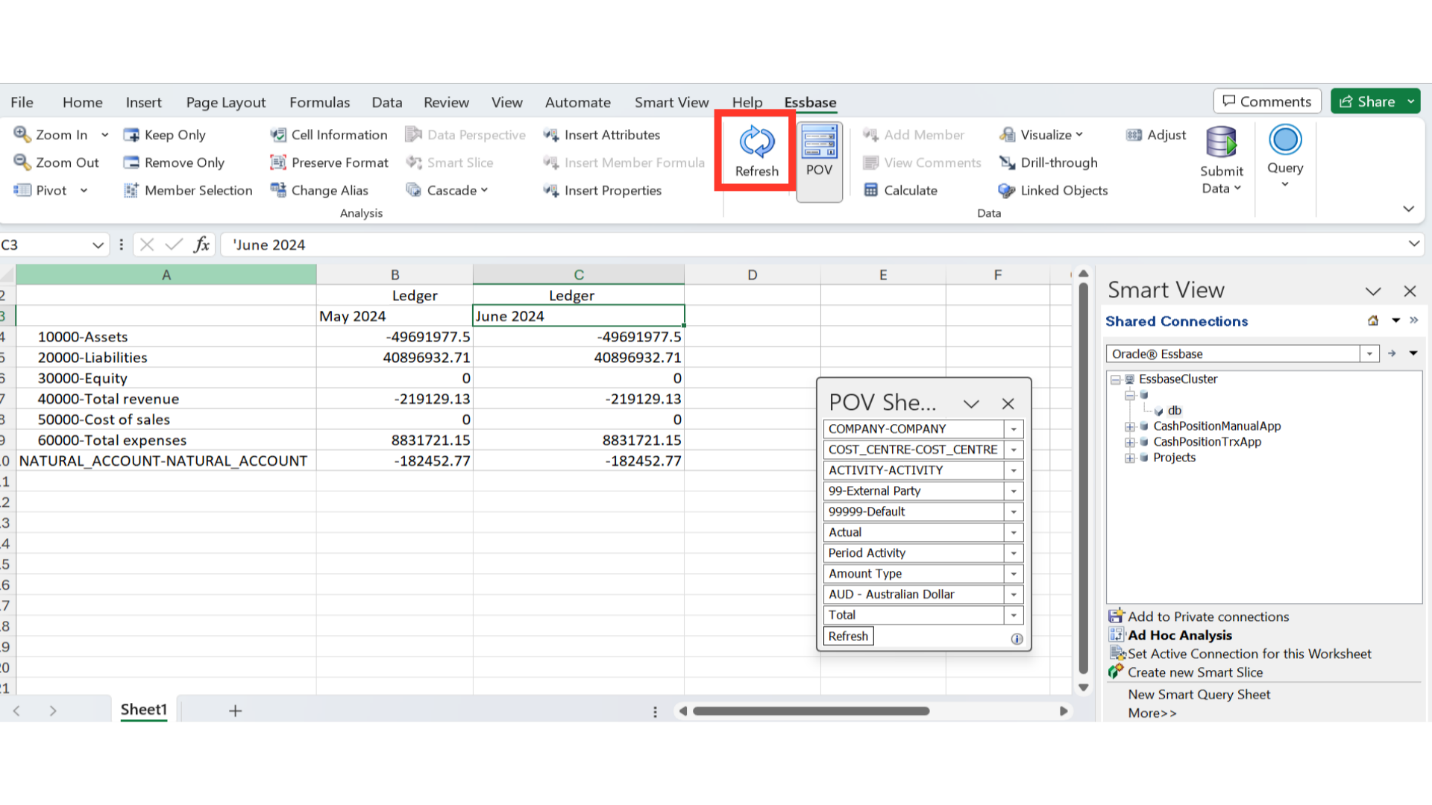
Click on the refresh button. This will give you the latest balance.
After selecting the Natural account column, click on the Zoom-in button. It will expand the Natural account values.
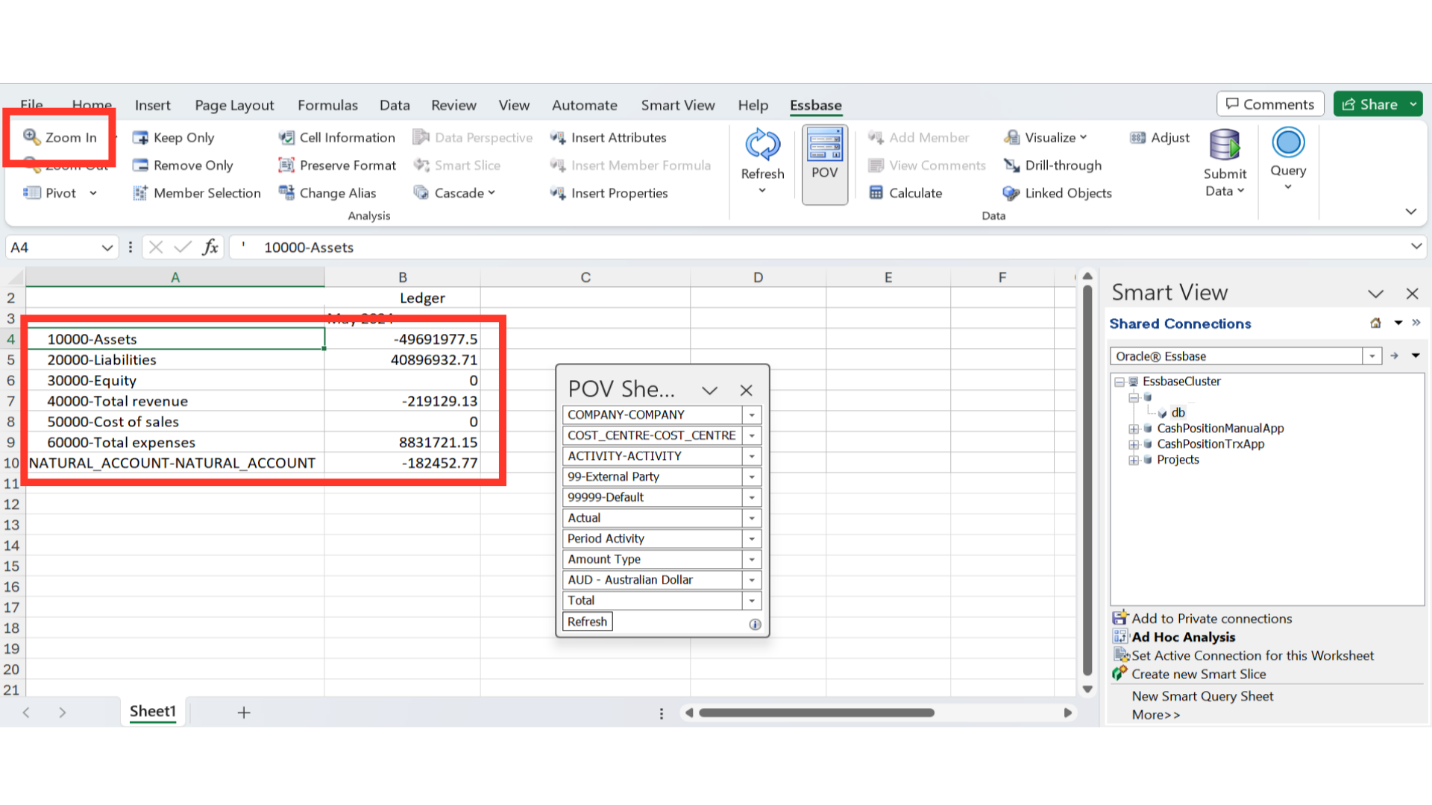
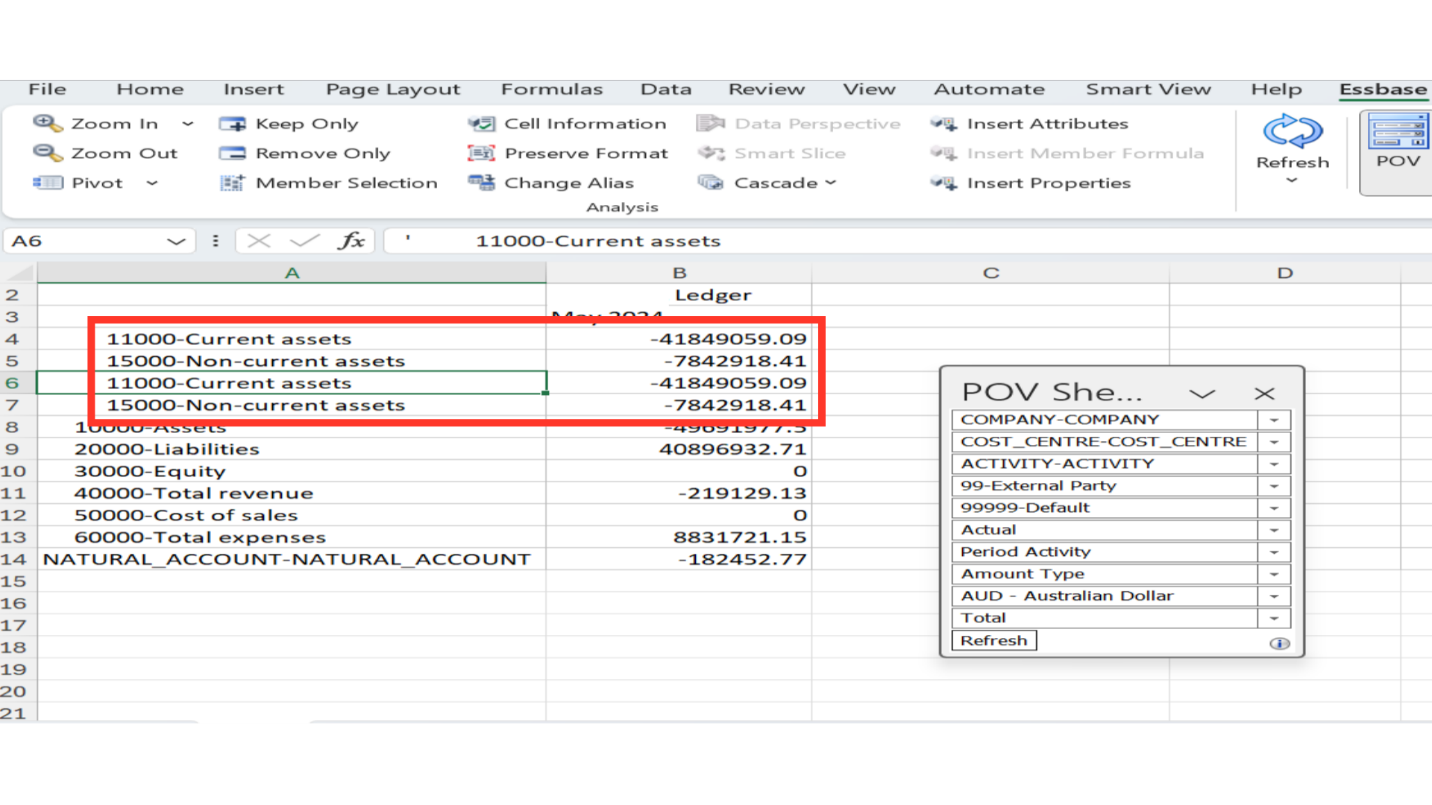
Click on one of the parent lines for the natural account and zoom in to see the balance at child value. Similarly, to go back to parent value balances, click on zoom out.
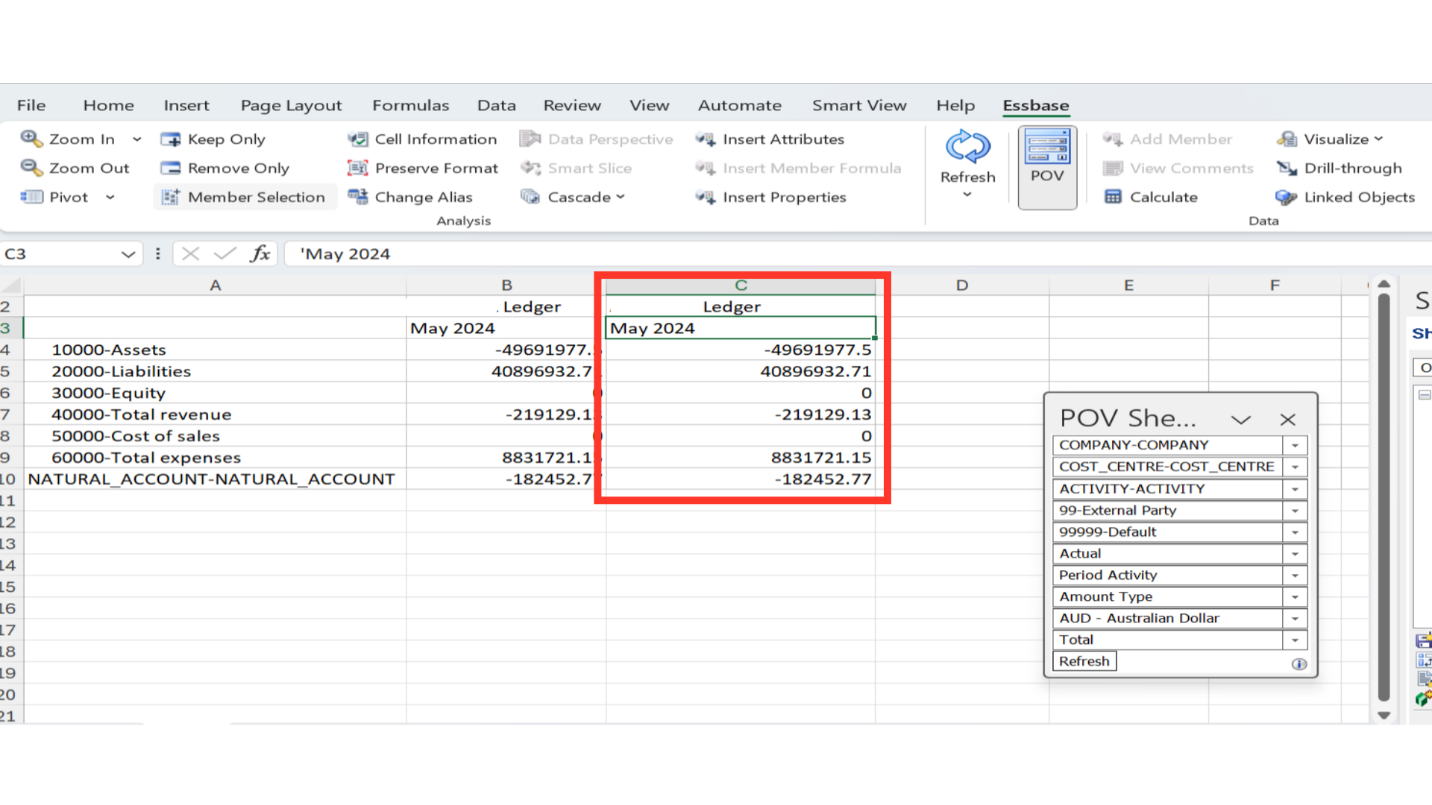
Copy and paste the existing column.
Select the member for the period and choose another period. Click on OK.
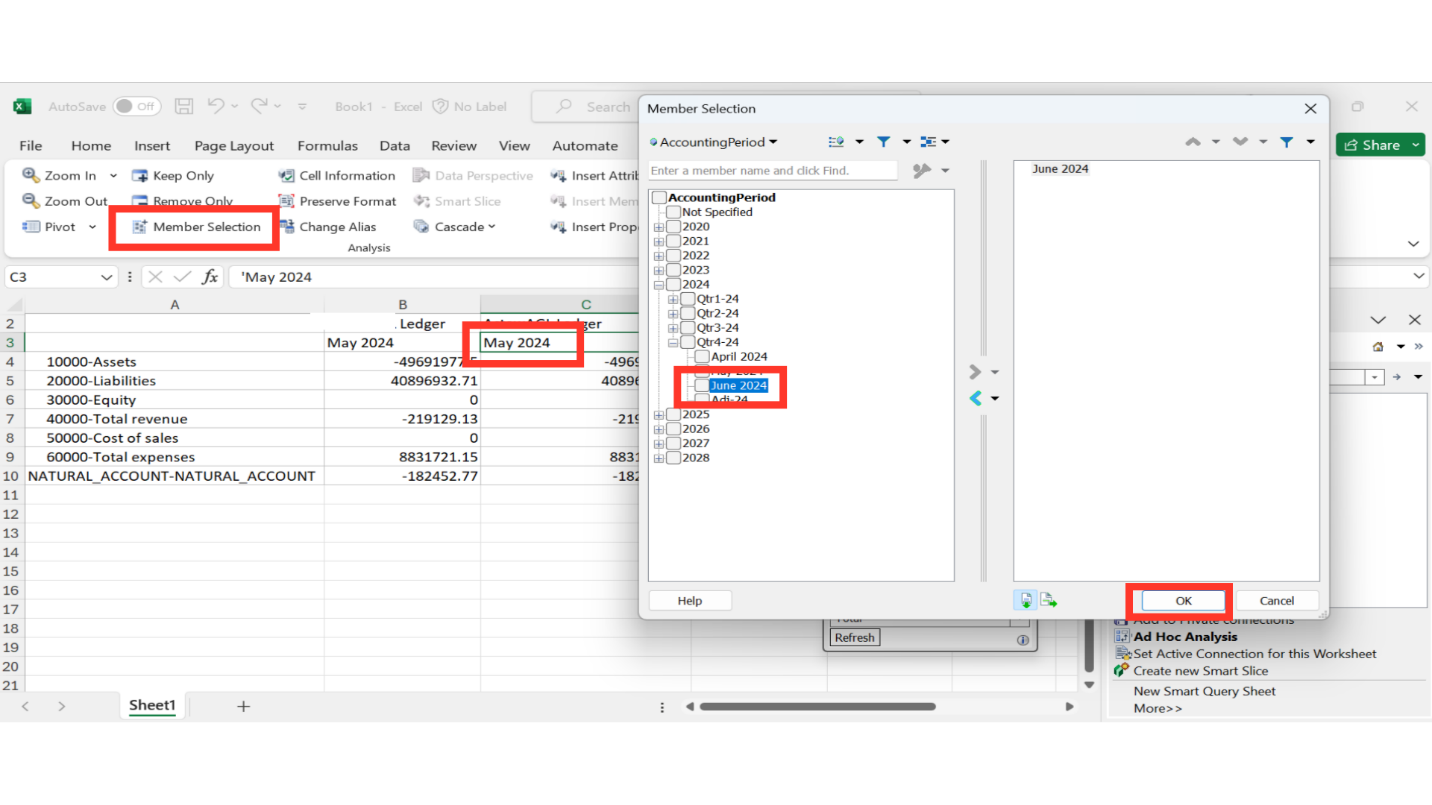
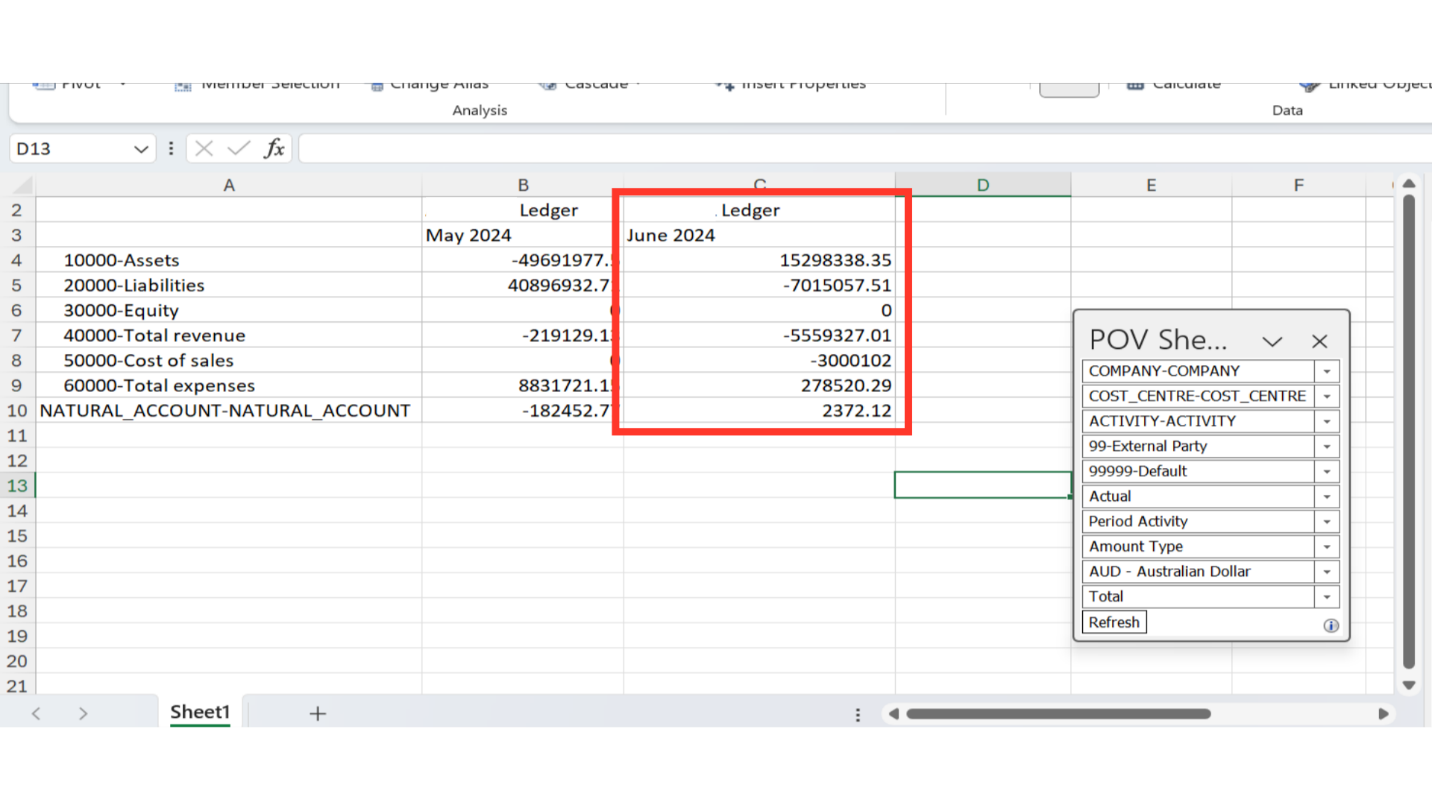
Click on the Refresh button, to update the balances for the new period.
Balances will appear for the next period as well.
This guide covers the process of running Smart View Reports in Oracle Cloud. You have learned how to navigate and run the report in the desired format. These instructions provide a comprehensive overview for successful report generation in Excel.