Bank Statement Manual Creation
In addition to loading bank statement information automatically with the Bank Statement Open Interface, bank statements can be created manually. This guide will provide a detailed step-by-step process for creating bank statements manually in oracle fusion Cash Management.
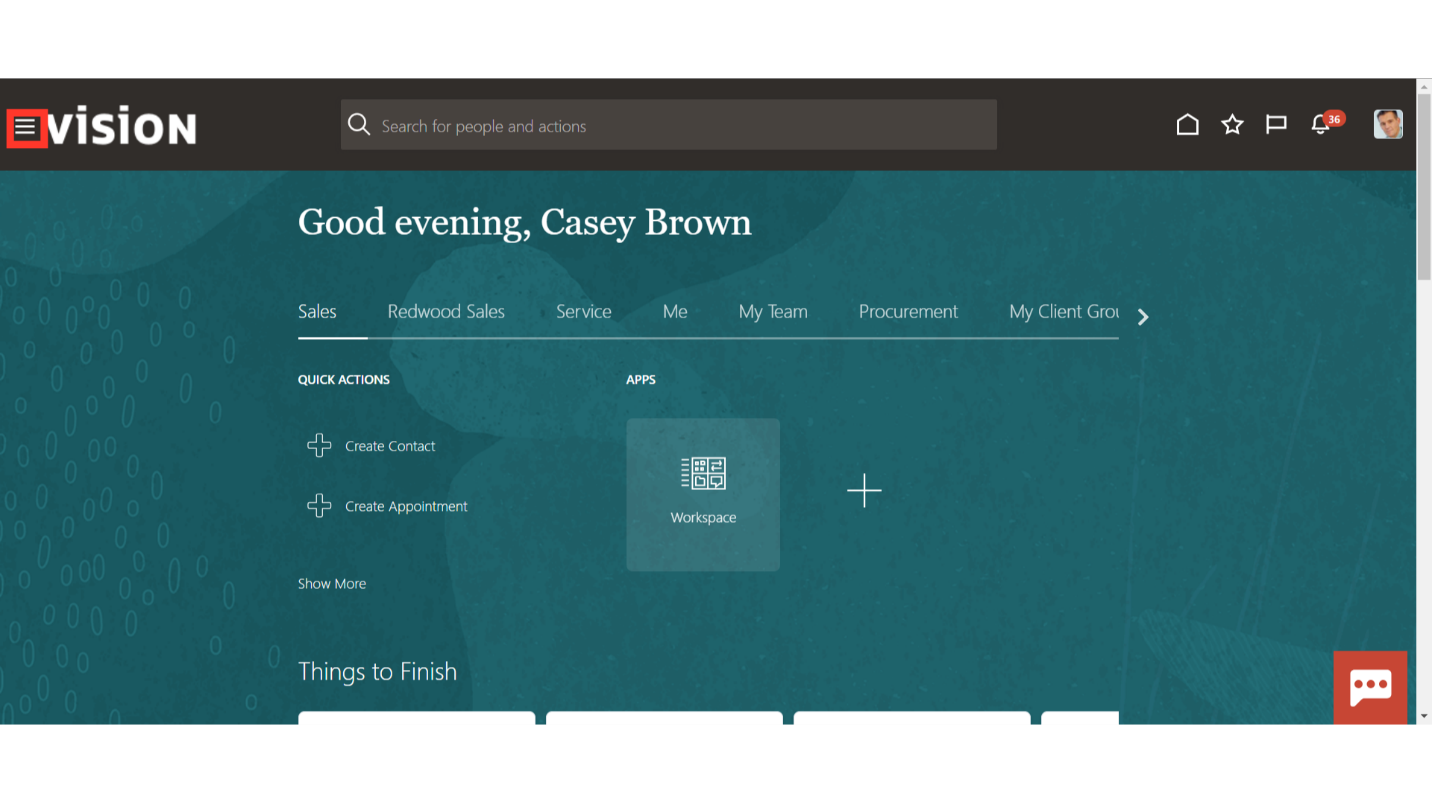
Click on the Navigator icon to access the Cash Management menu.
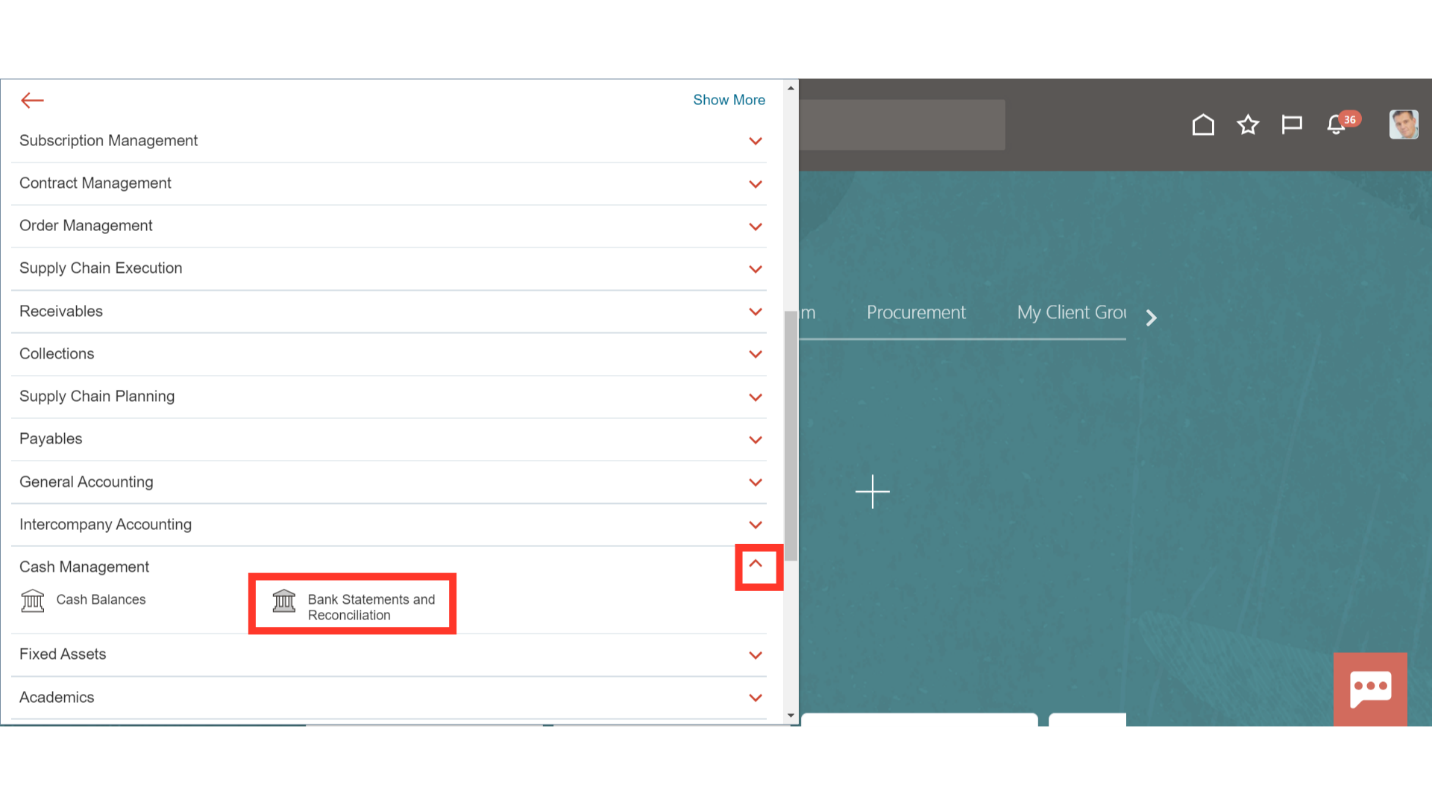
 Select the “Bank Statements and Reconciliation” submenu by expanding the Cash Management menu.
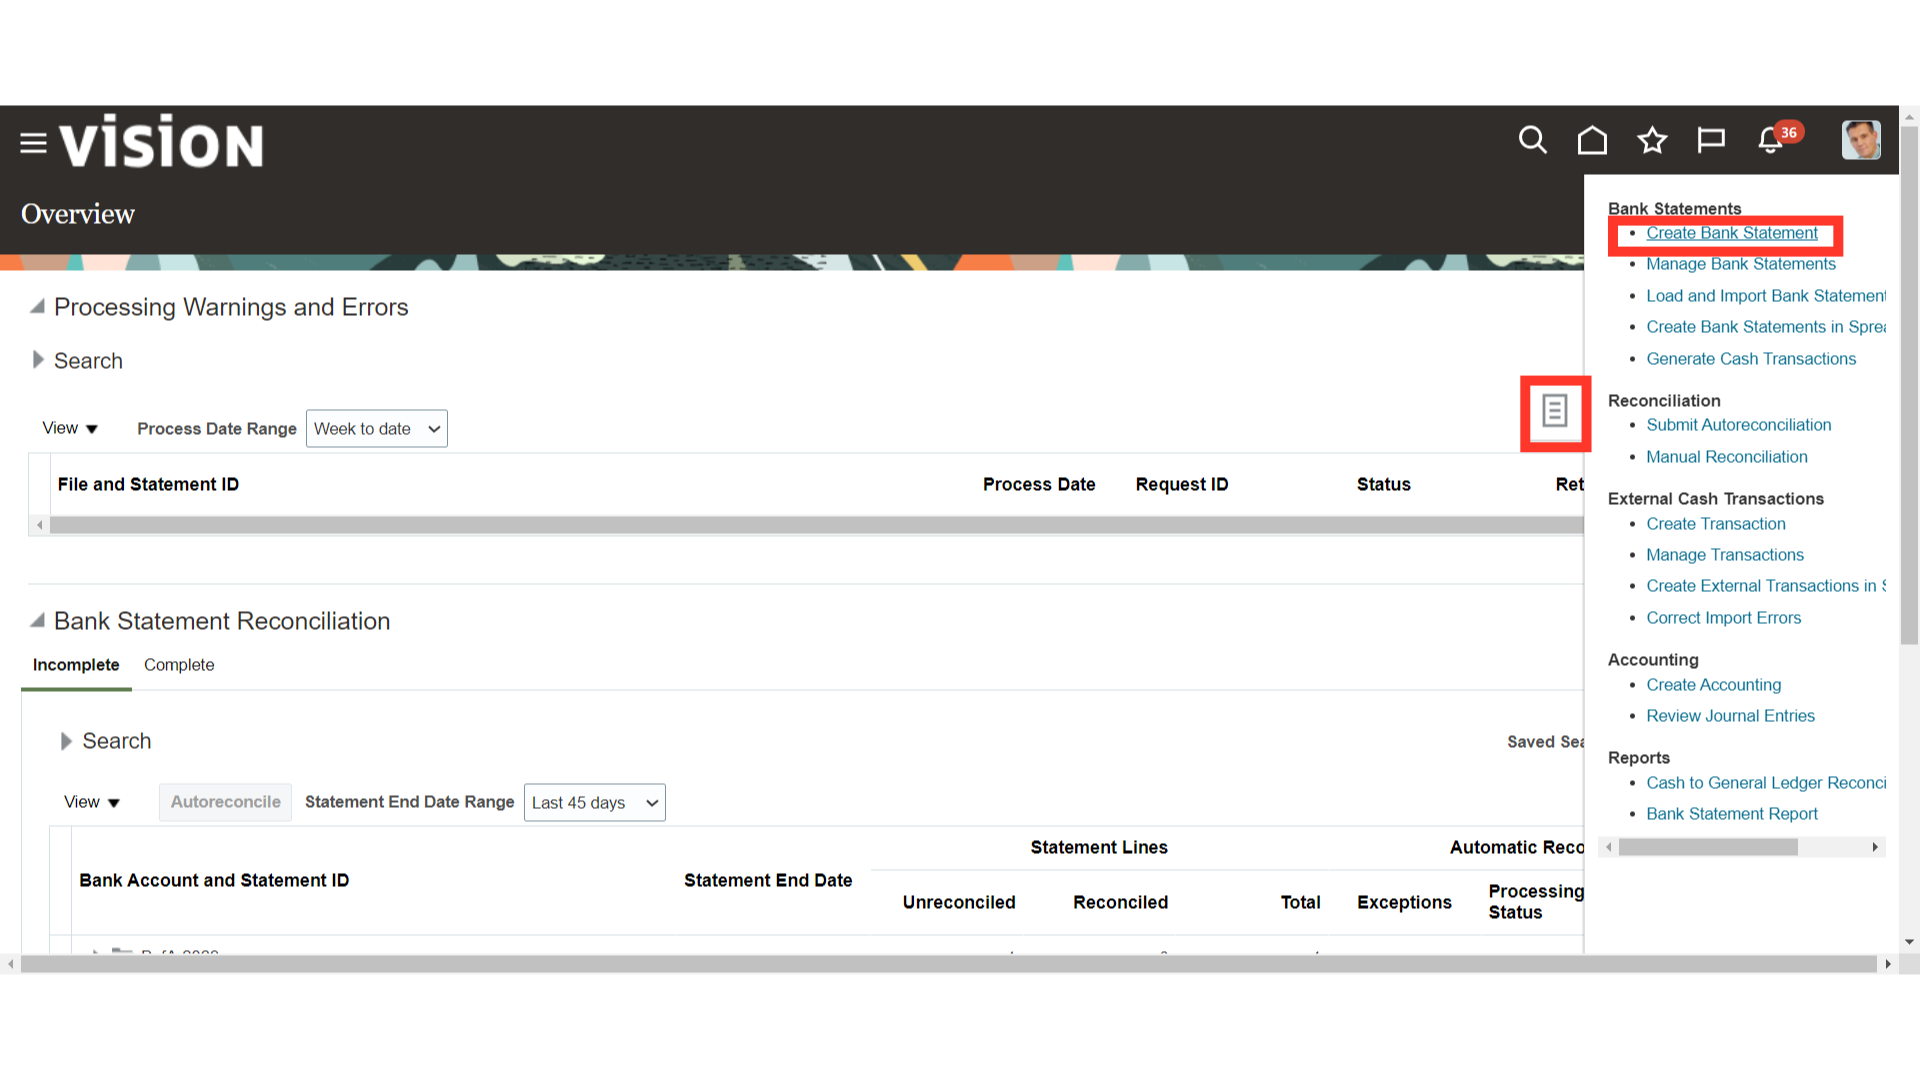
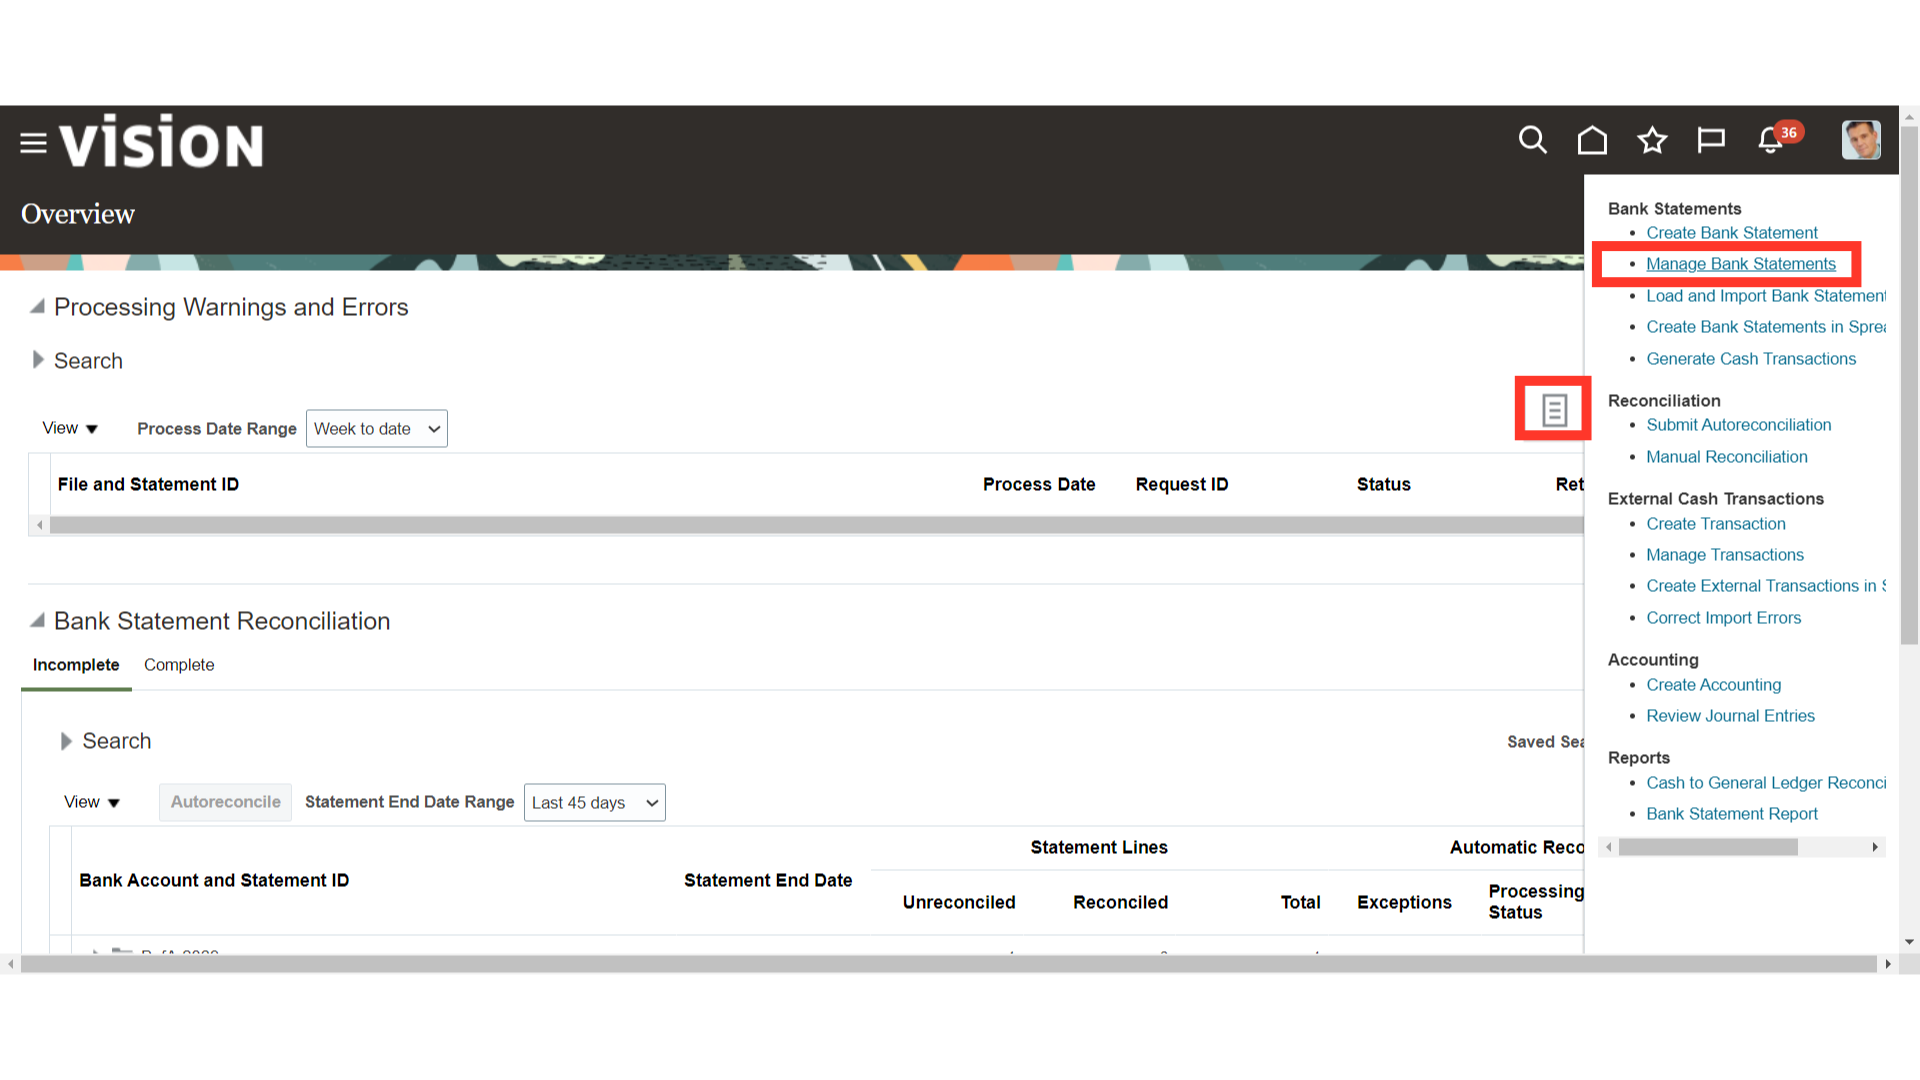
To create the bank statement manually click on the Create Bank statement from the task list.
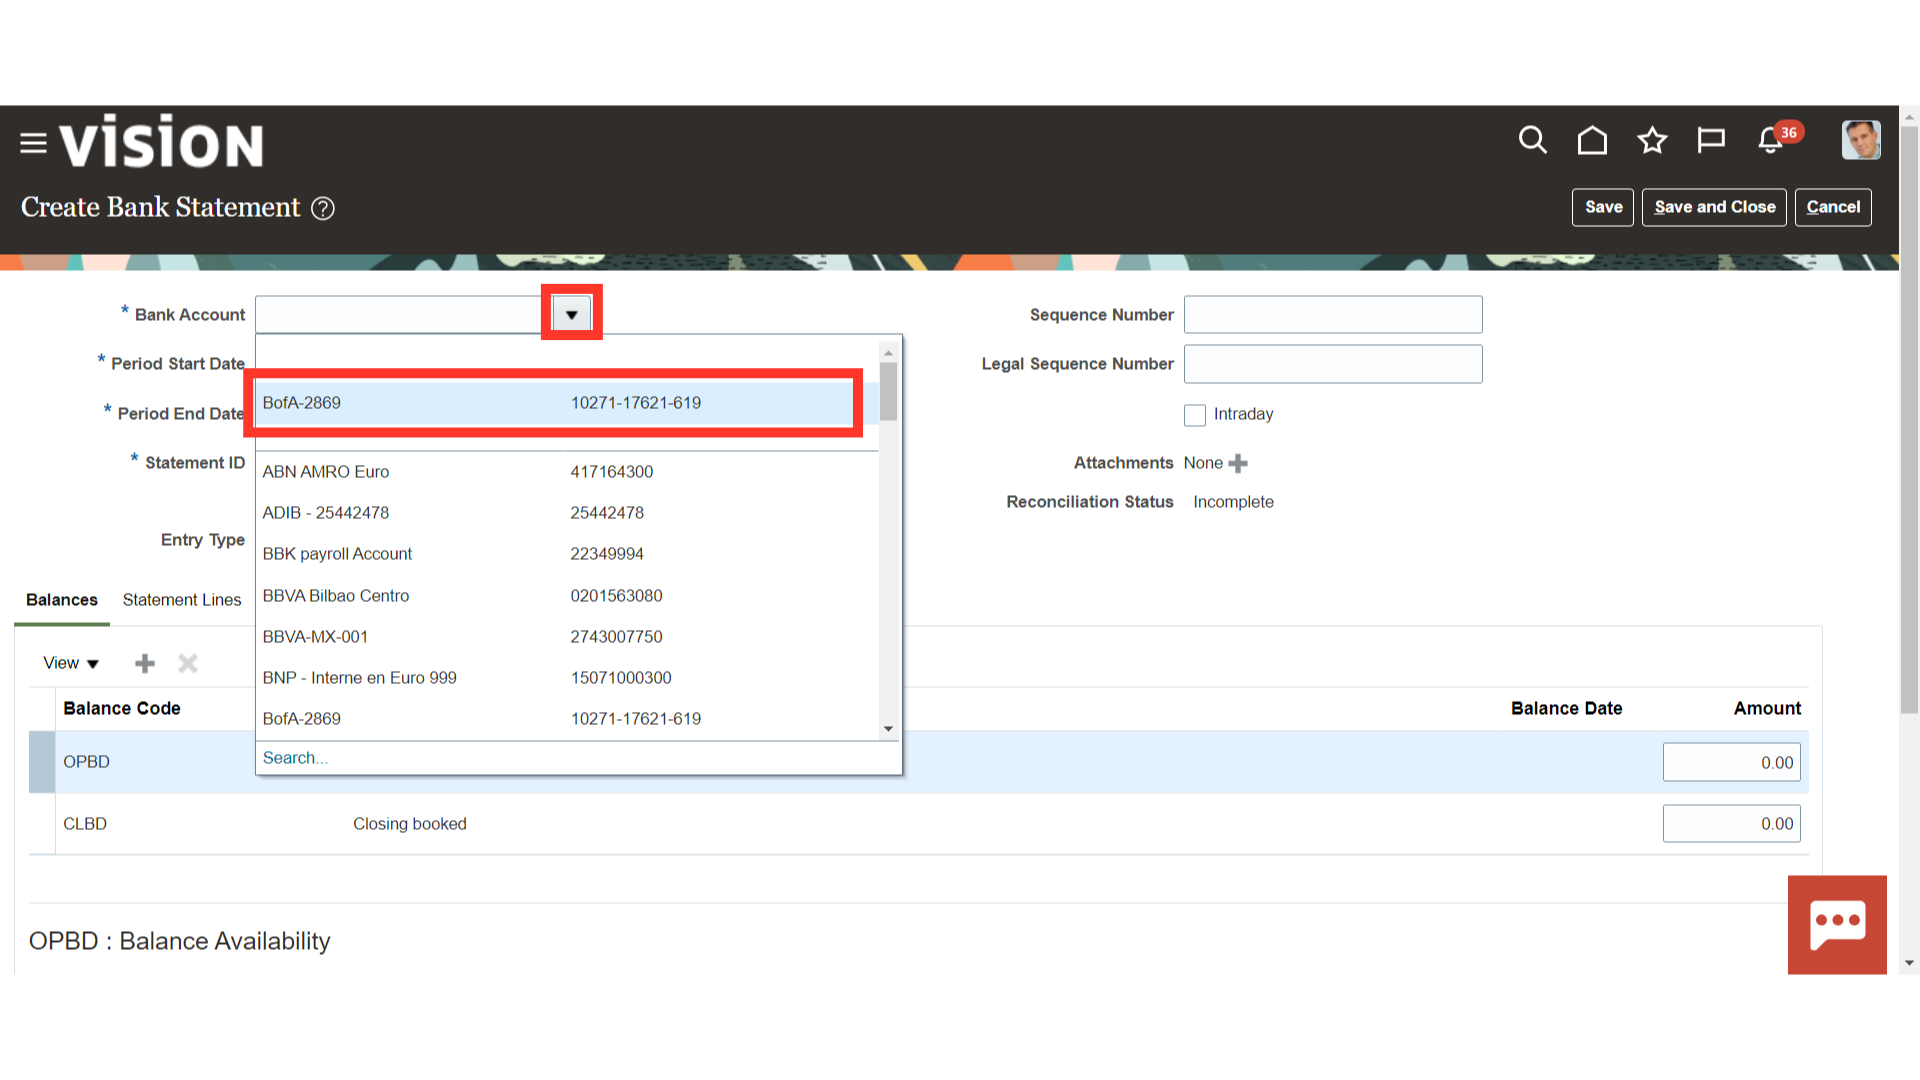
 Select the Bank from the list of values for which the Bank statement is to be created.
Either manually enter the Start and End dates for the bank statement, or choose the relevant date from the calendar. Enter any distinct value, such as the statement reference number from the received bank statement, in the Statement ID field.
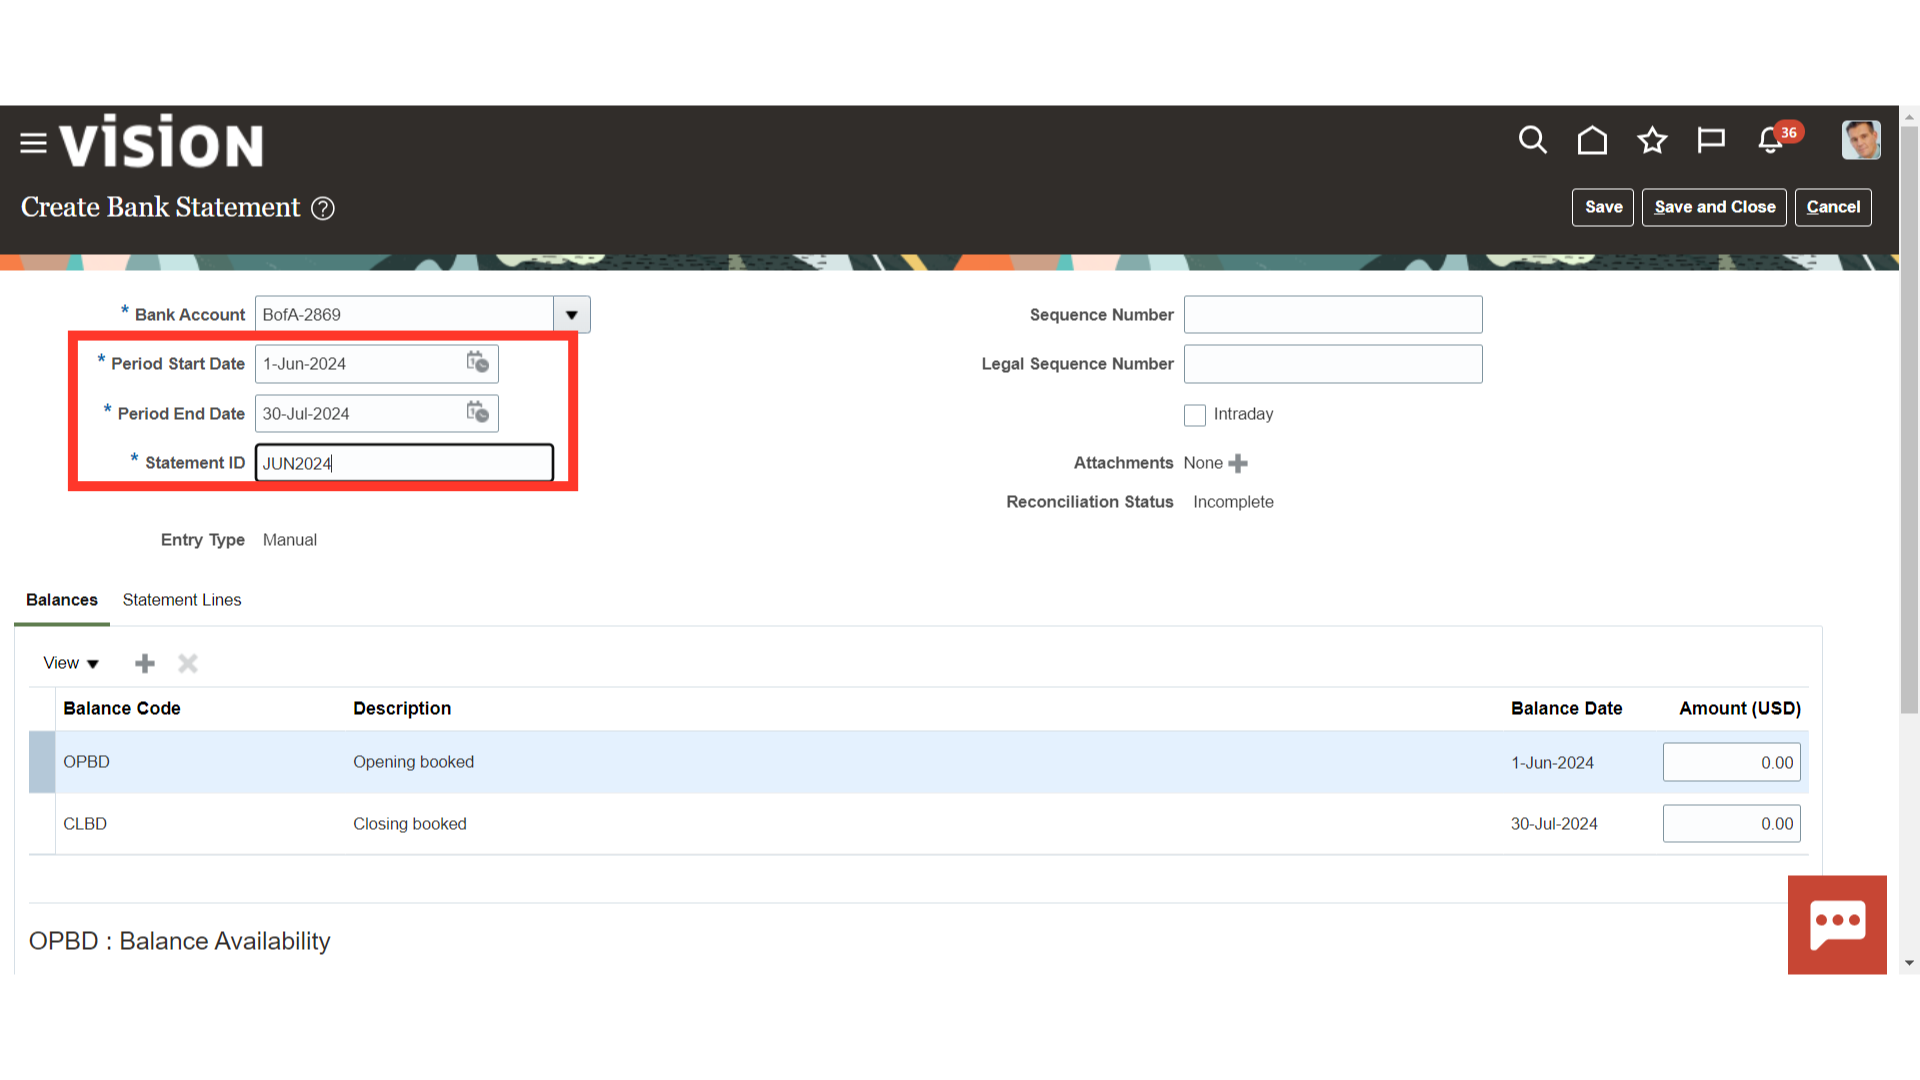
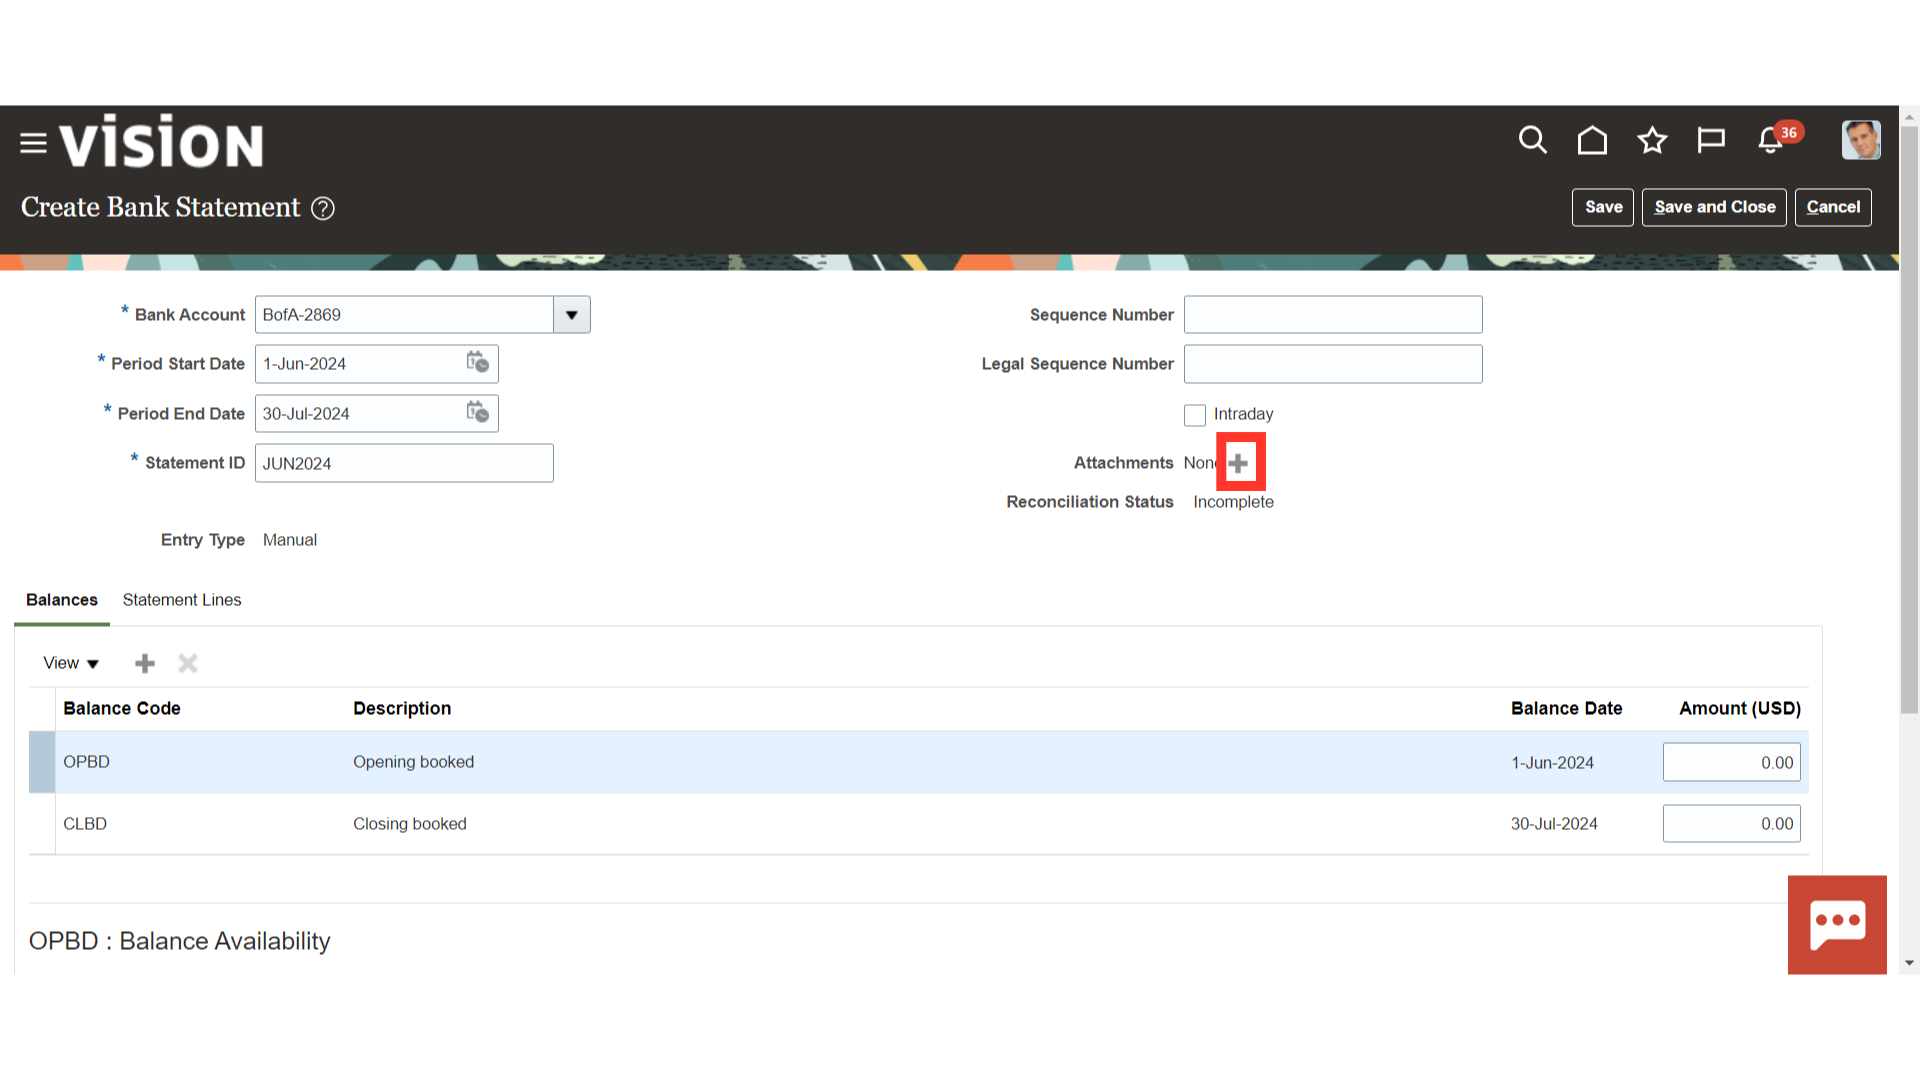
To upload attachments, such as a soft copy of your bank statement, click the Plus icon.
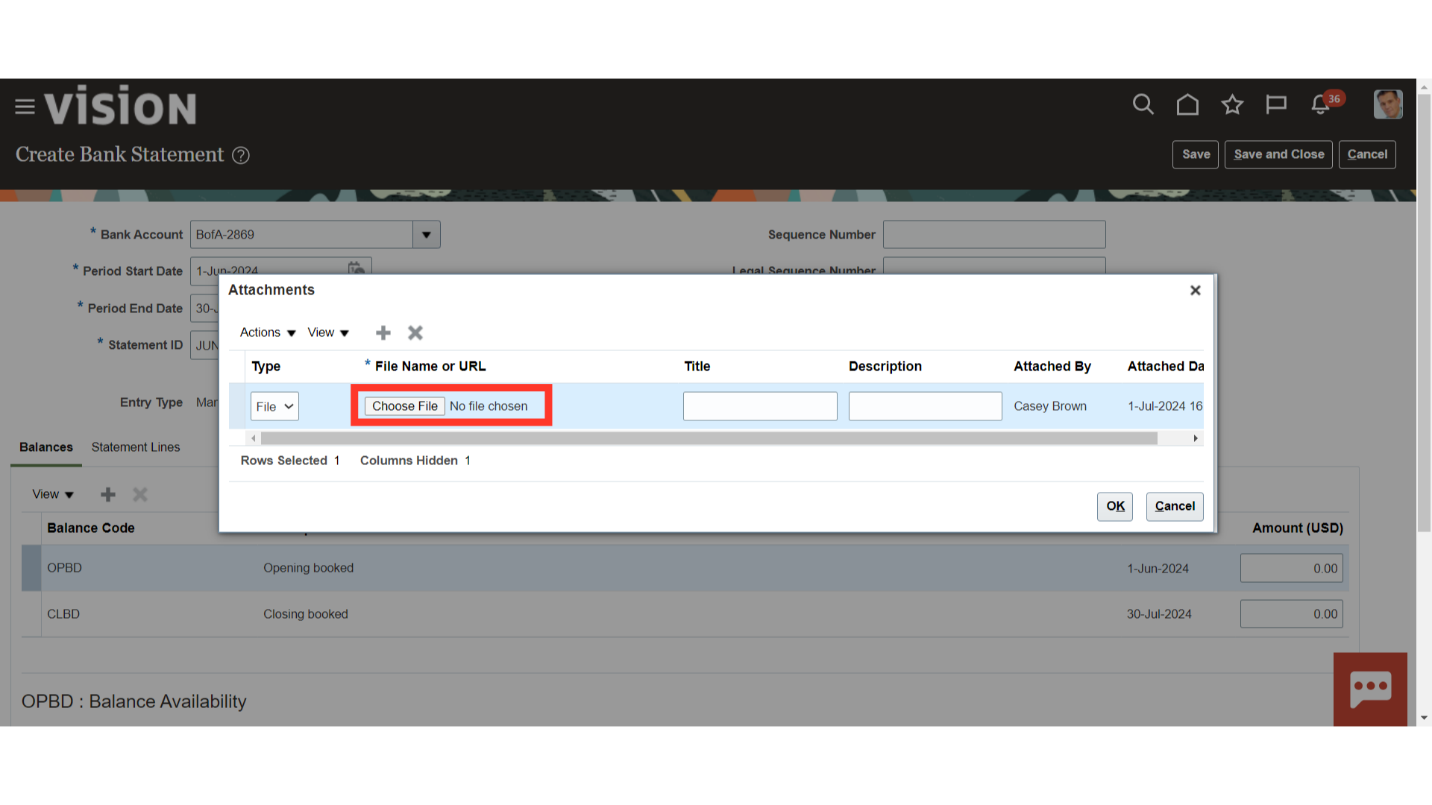
Click on Choose File to upload the attachments from our local desktop.
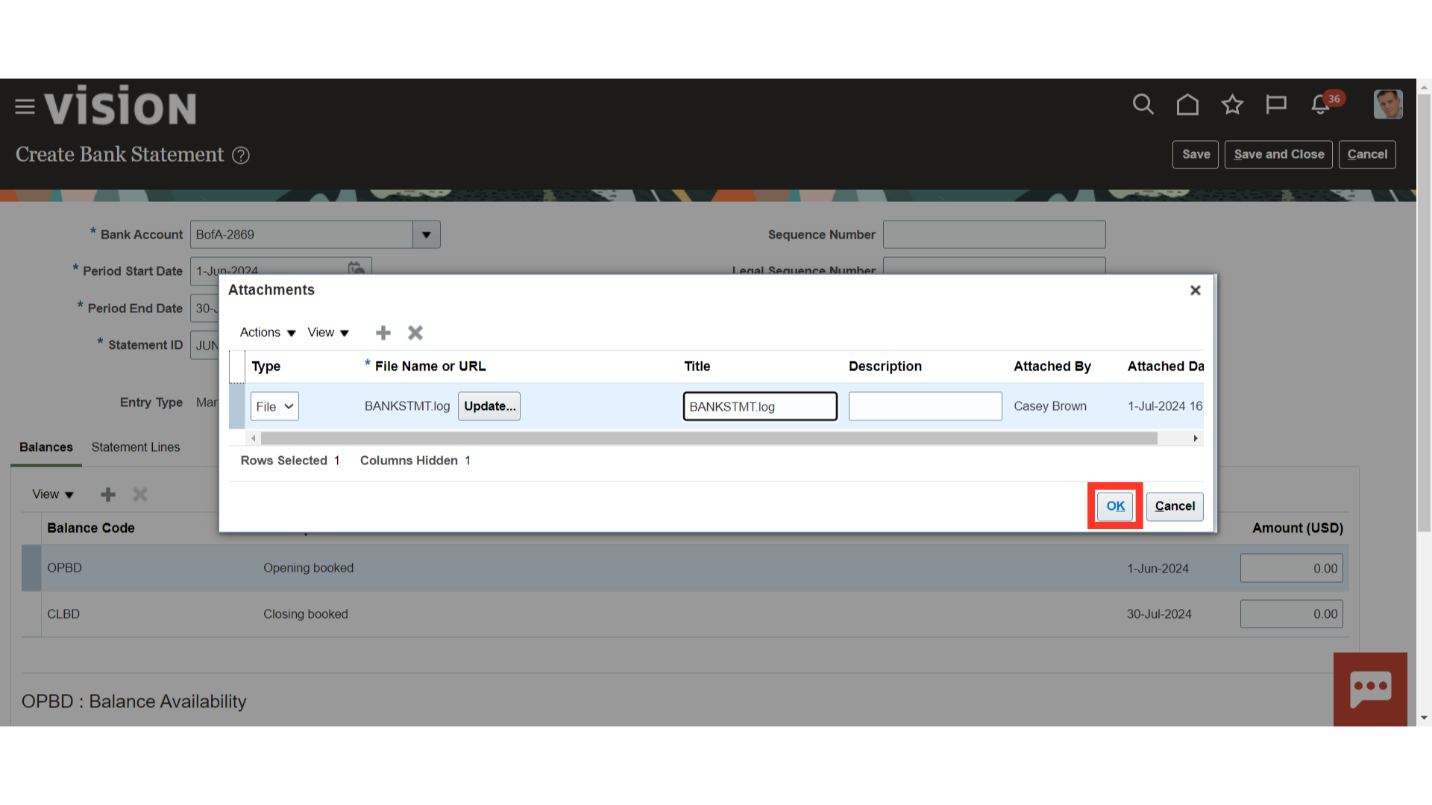
After uploading, Click on OK to continue.
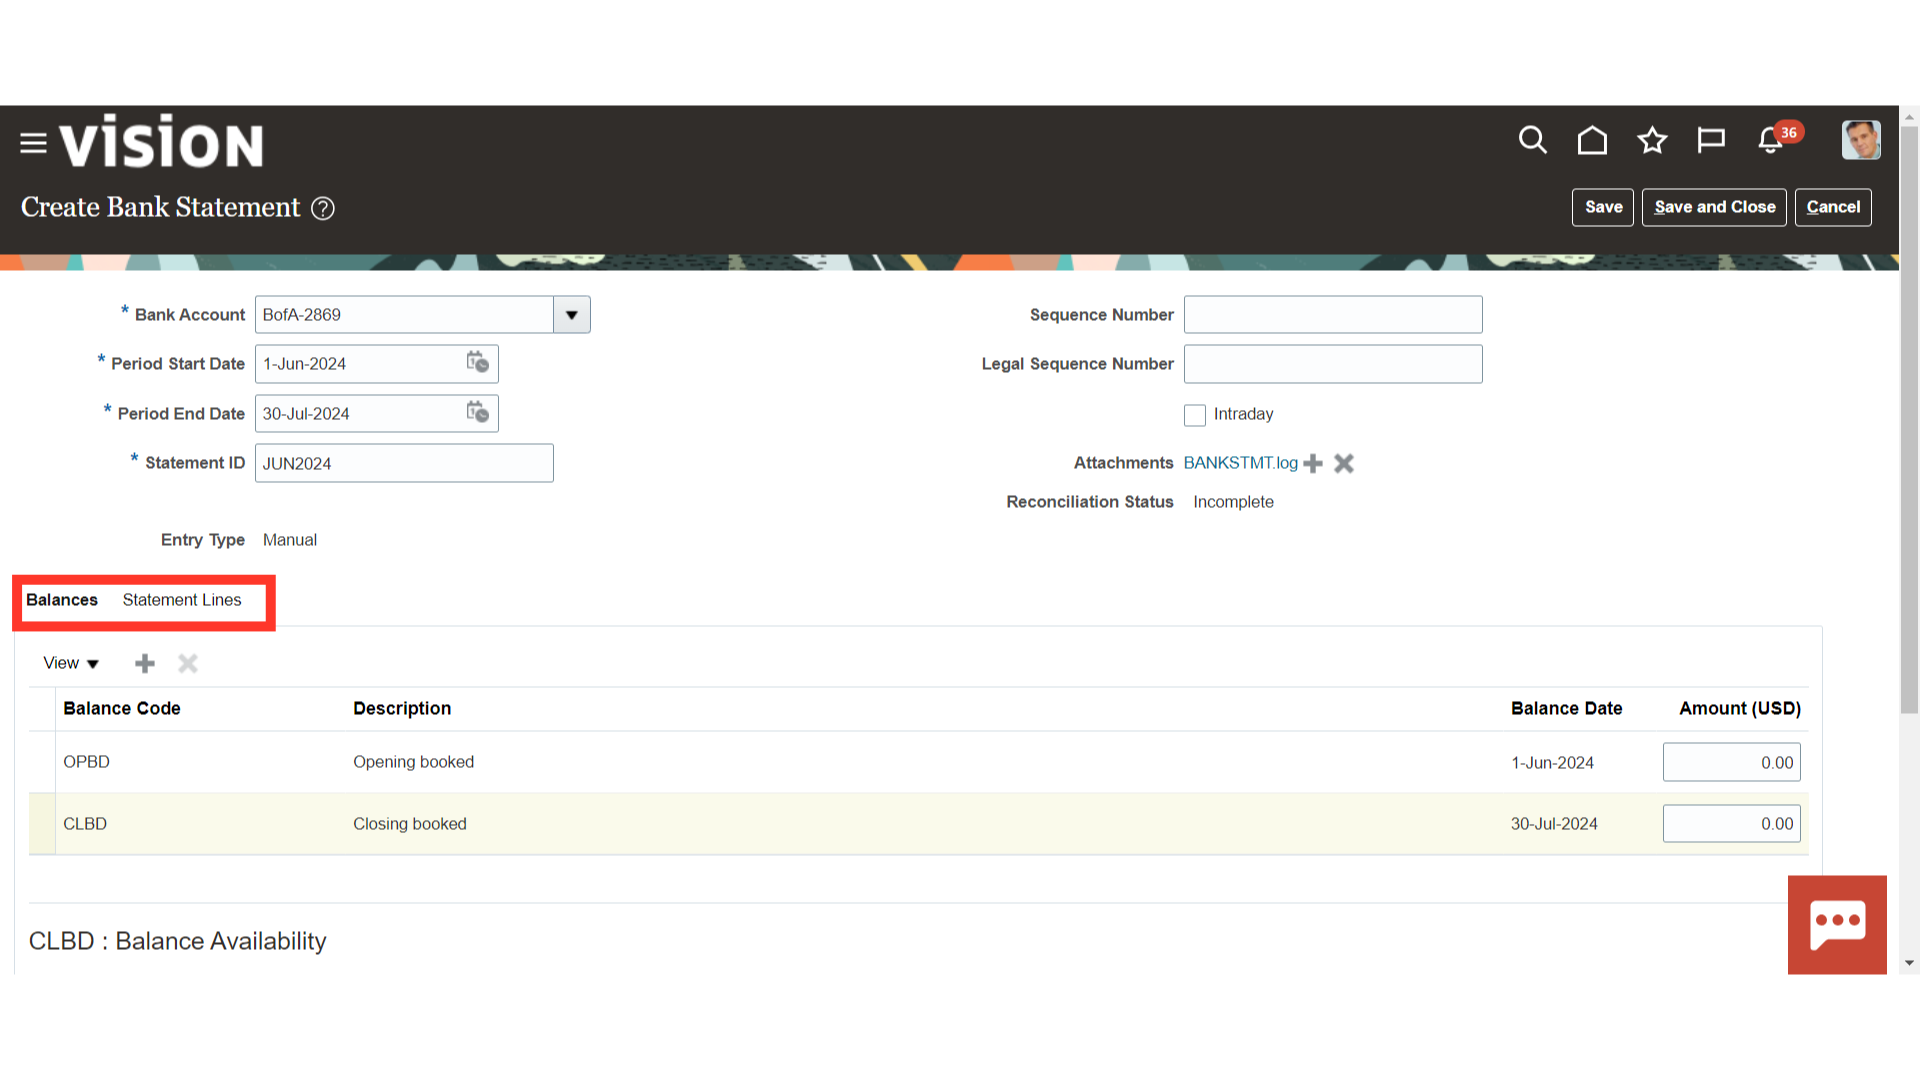
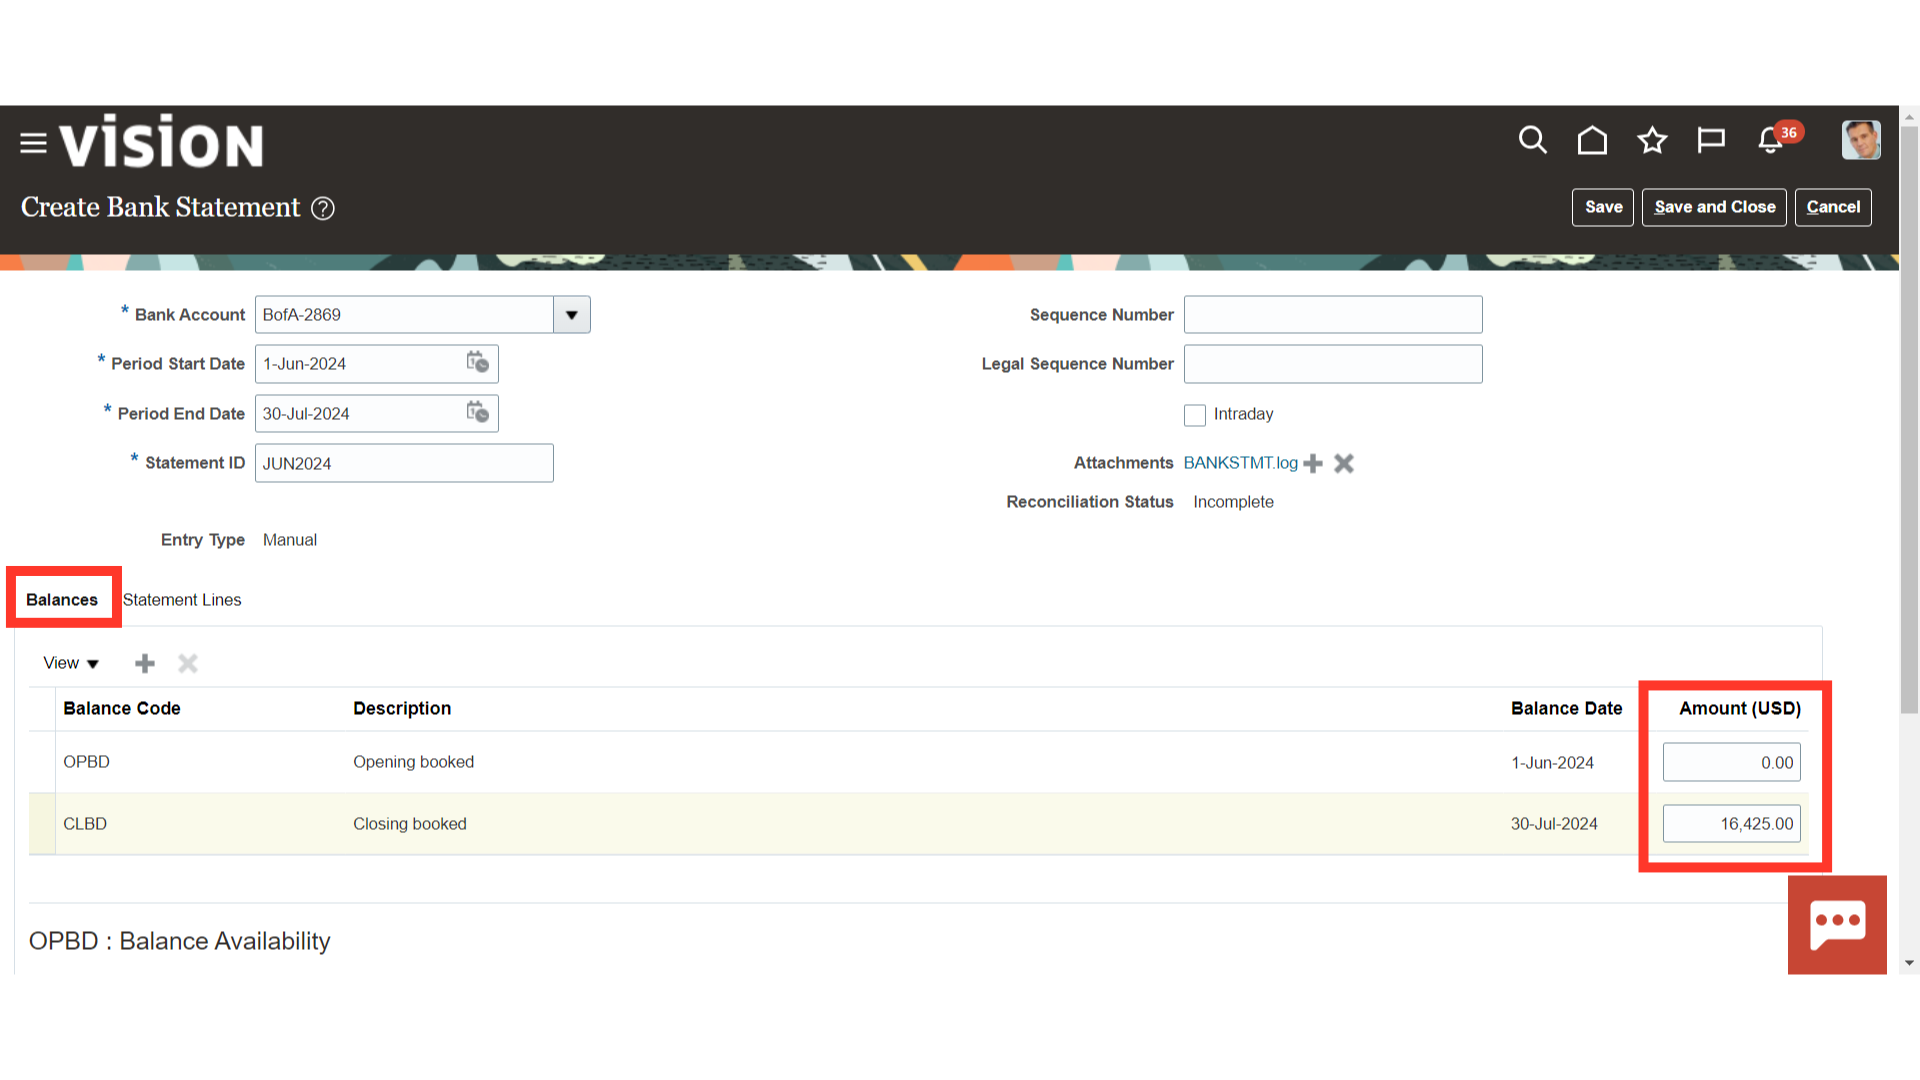
The first tab, “Balances,” contains the opening and closing balances from the bank statement. In the second tab, “Statement Lines,” each bank statement line is entered individually.
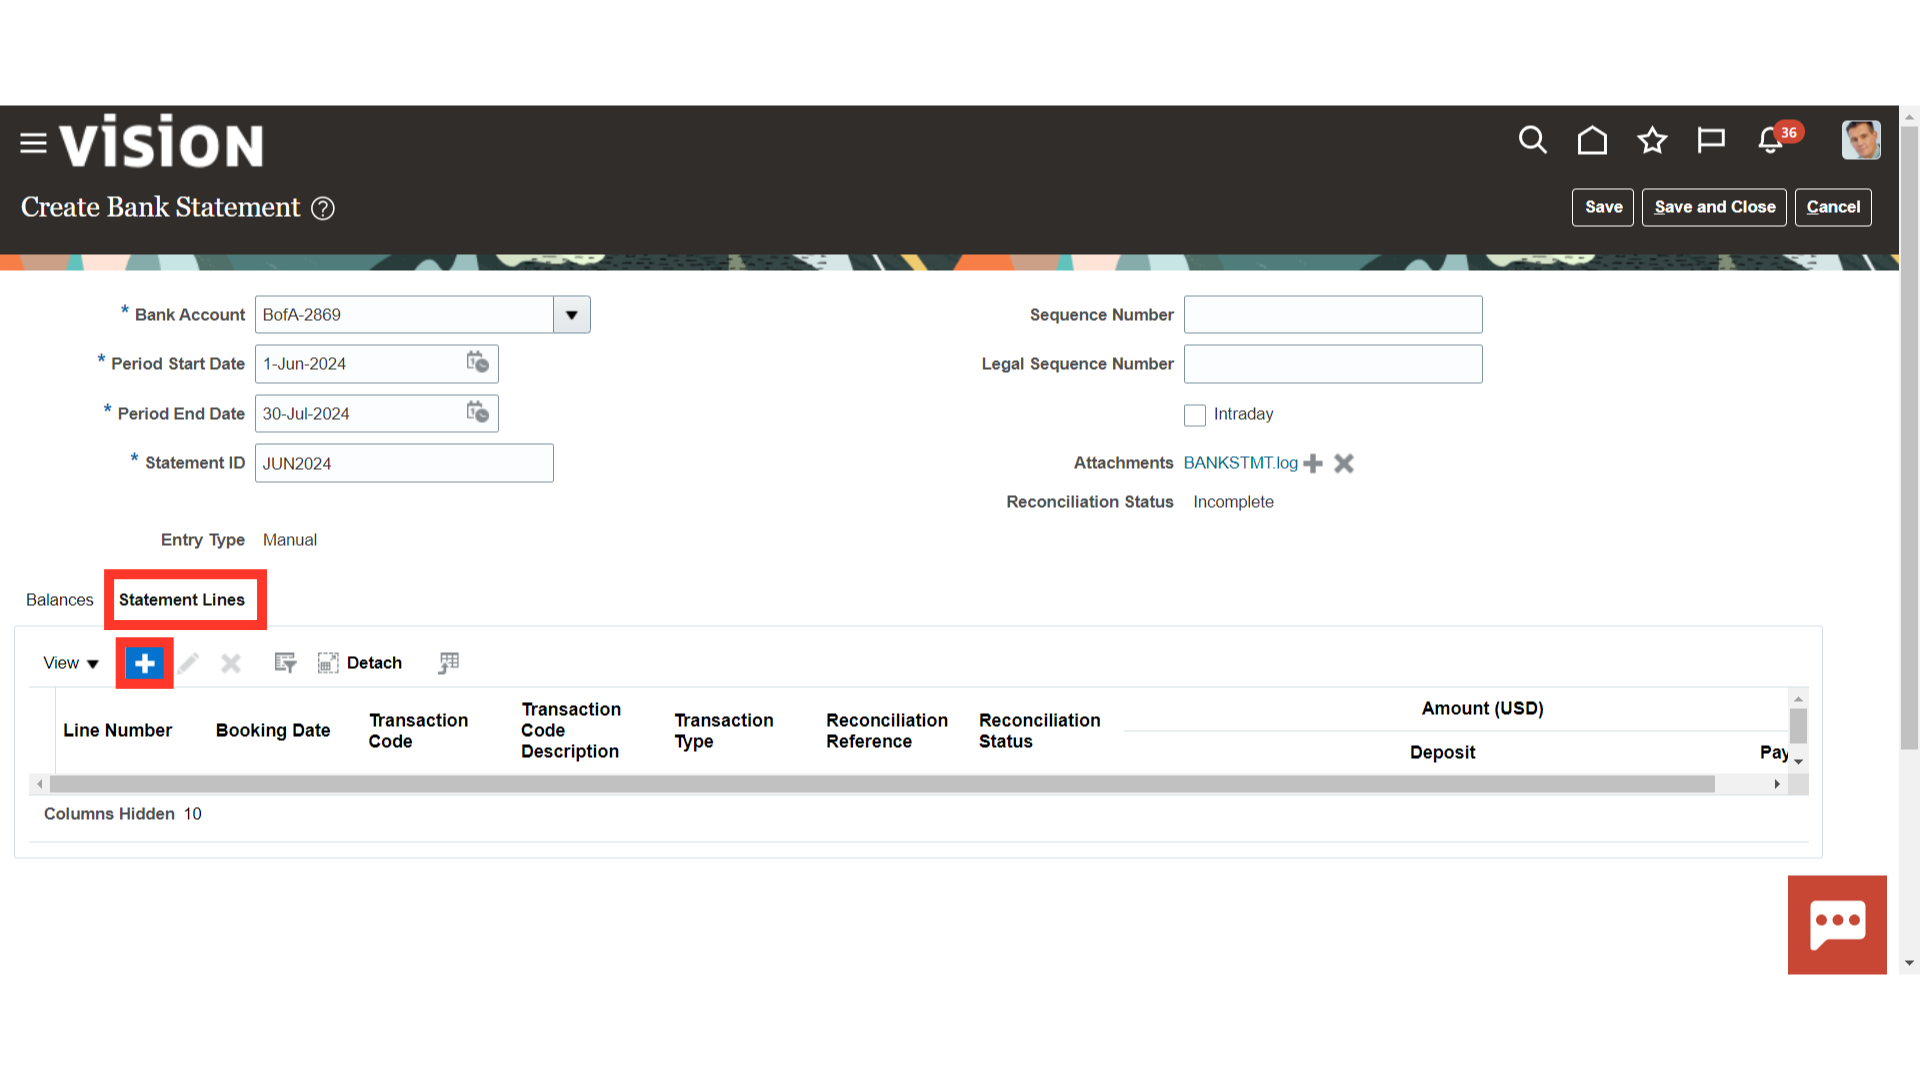
Click on the Plus icon under the Statement lines to add the line details.
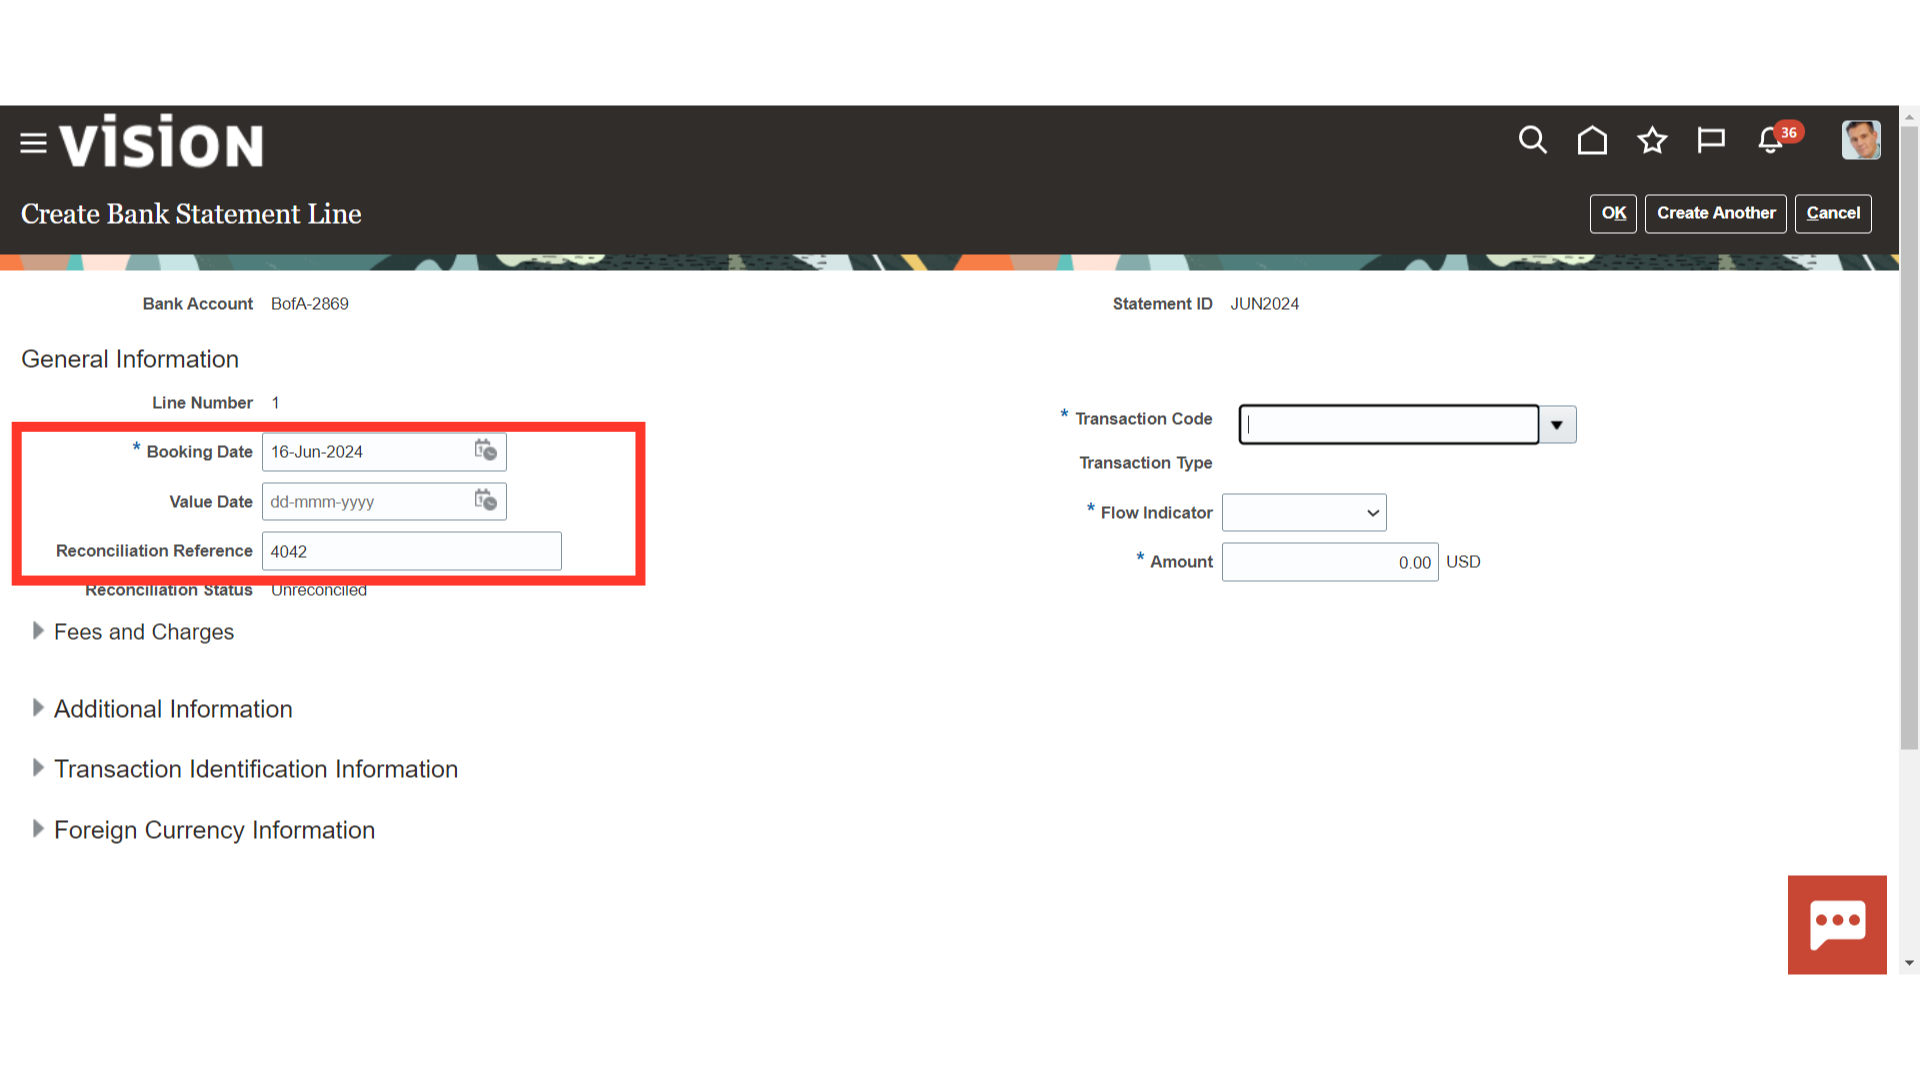
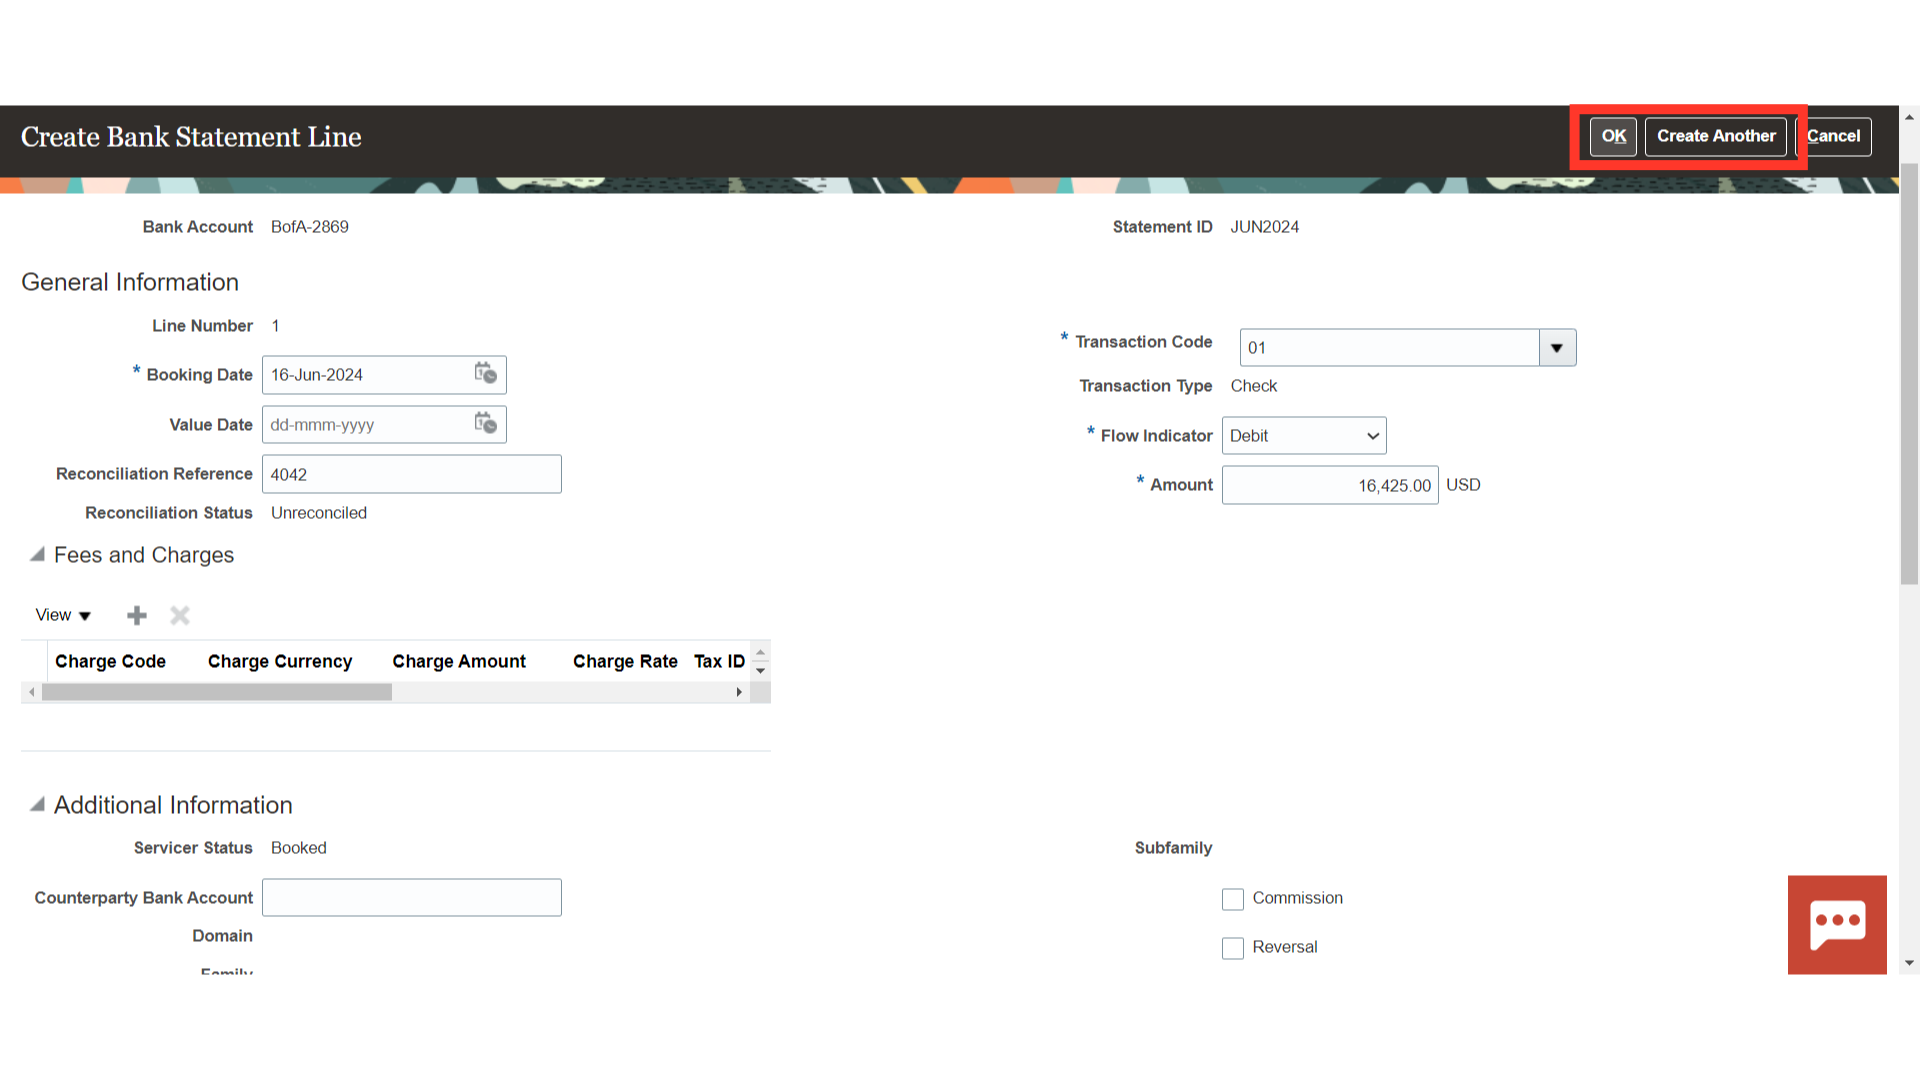
Either manually enter the booking date and value date found in the bank statement file, or choose the relevant date from the calendar. In the Reconciliation Reference field, enter the payment reference number, such as the check number, that can be used for automatic reconciliation.
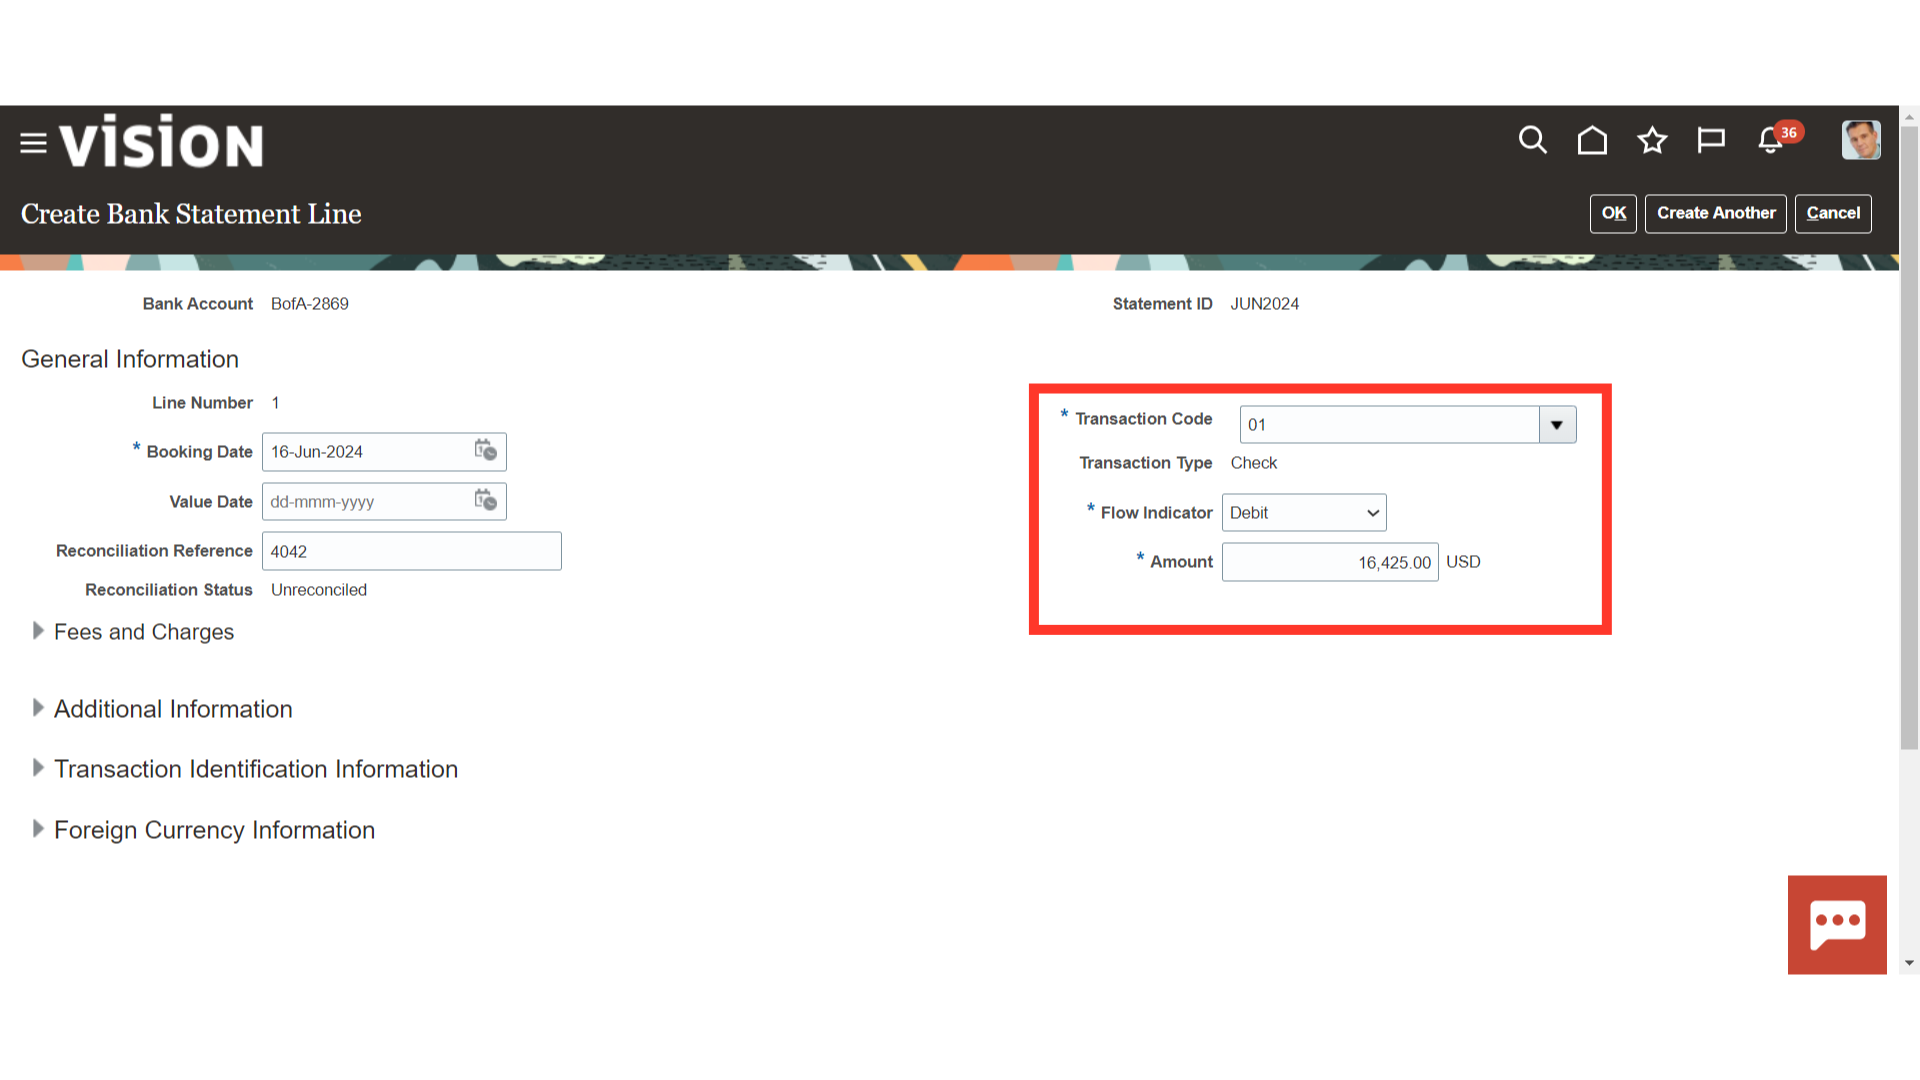
The internal codes used on a bank statement line to indicate the kind of transaction being reported are known as bank statement transaction codes. From the drop-down list of values, choose the relevant code. Choose the flow indicator that reads “credit” for inflow and “debit” for outflow. Input the amount indicated on the bank statement’s line.
Enter the fee details by clicking on the Plus icon under Fees and Charges section.
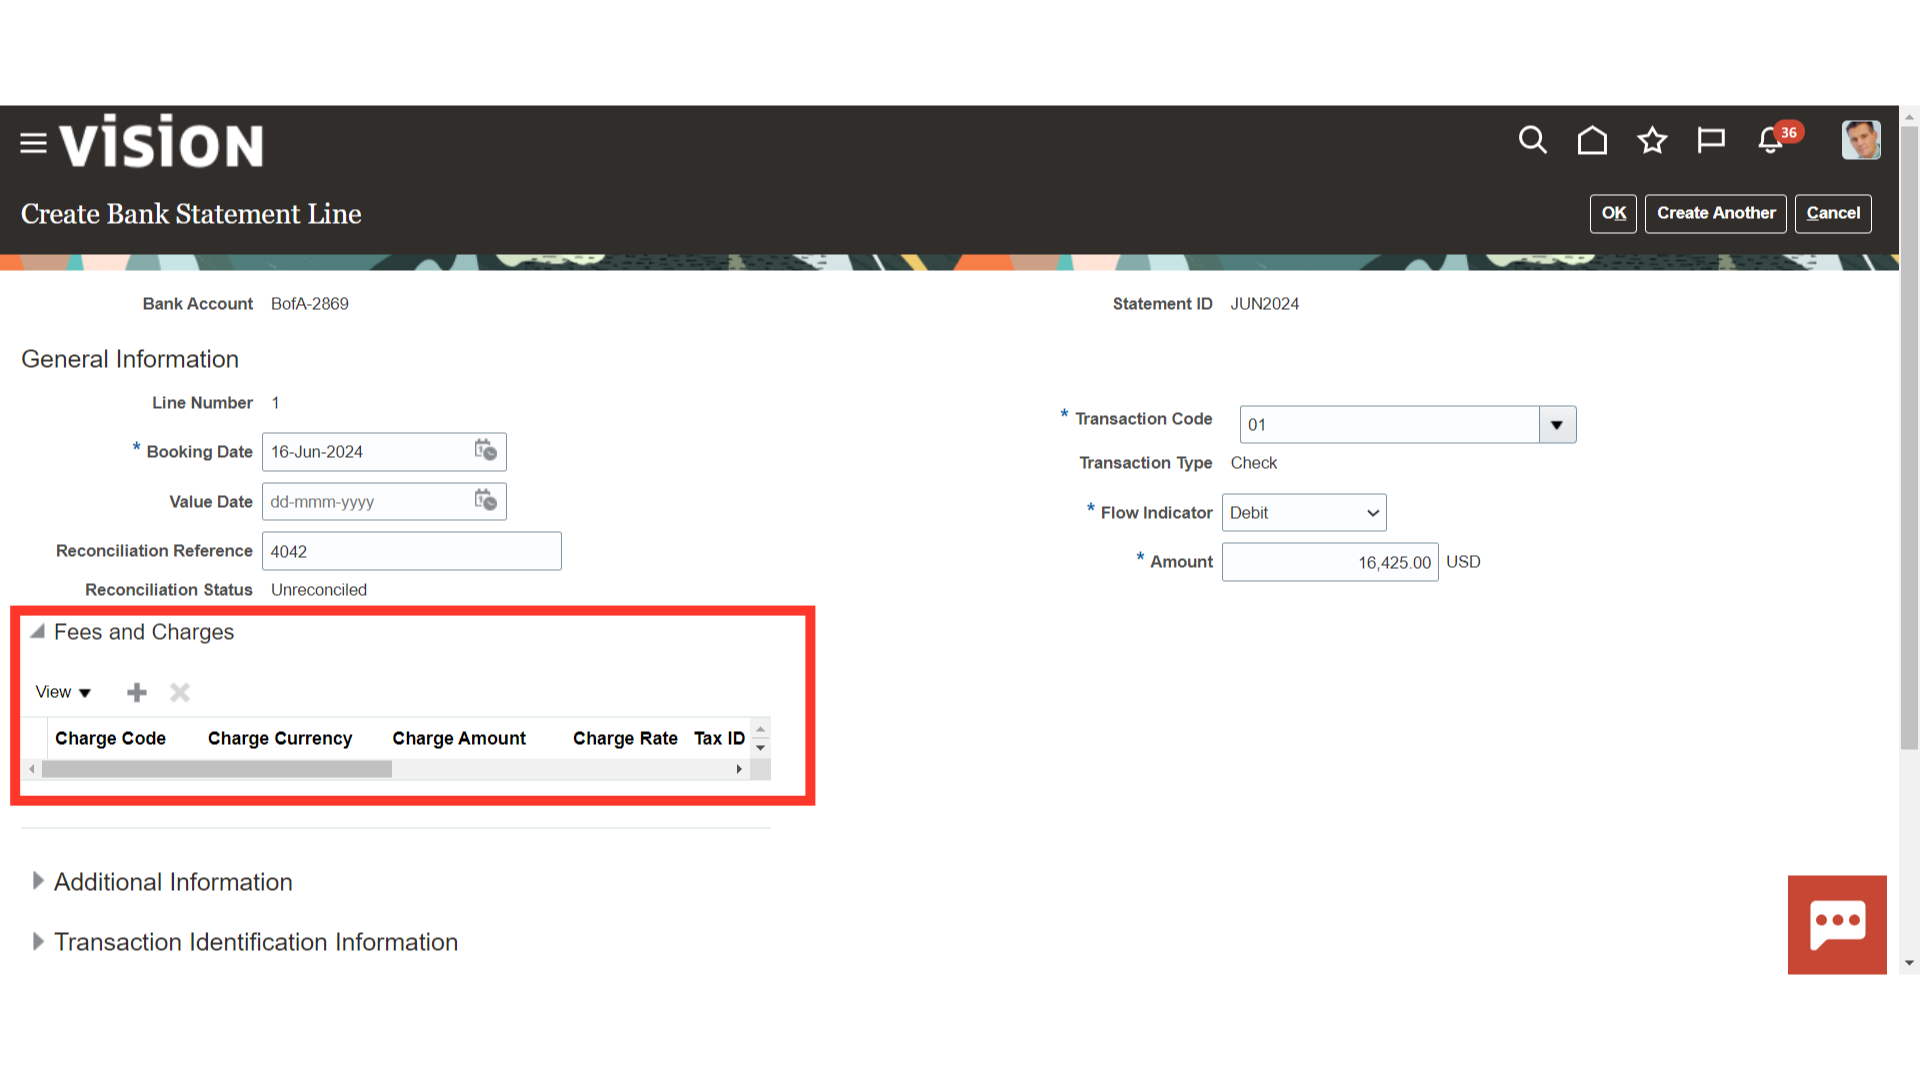
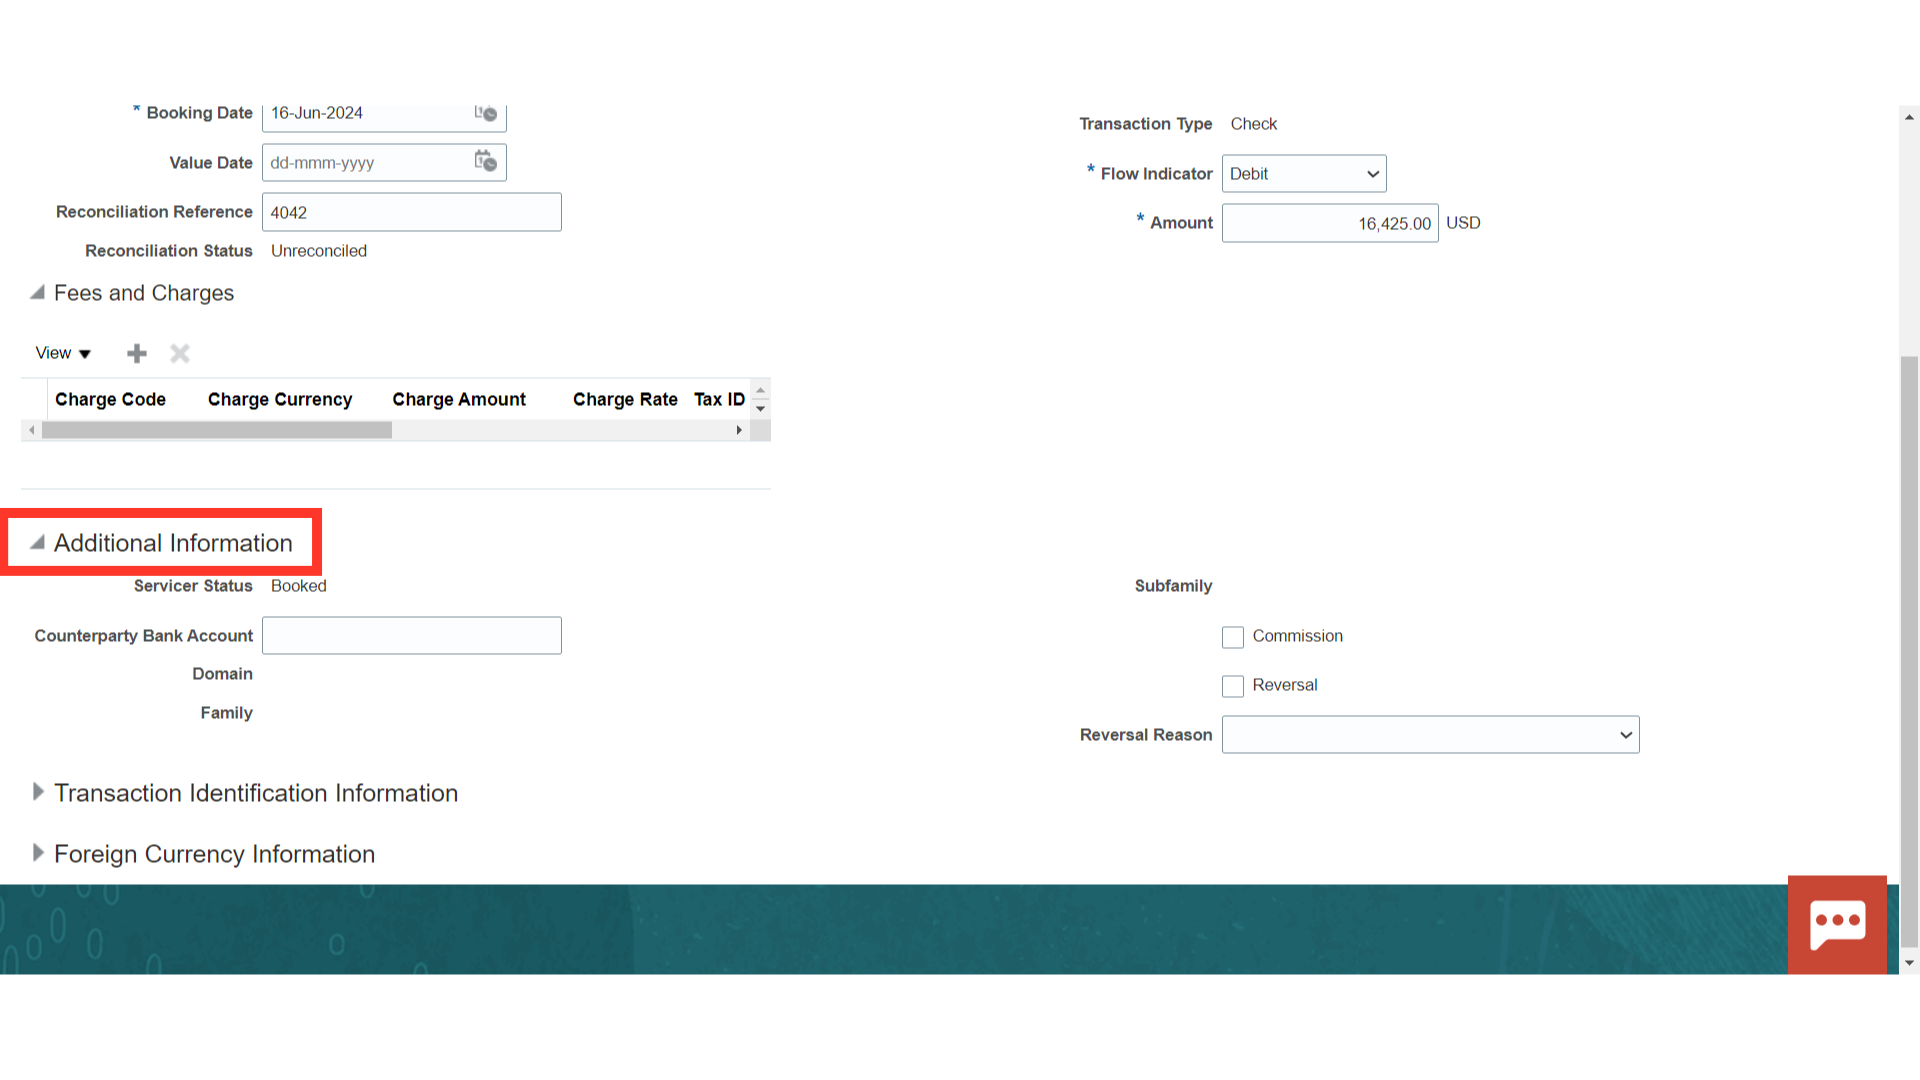
To add details like the counterparty bank account and the reason for the reversal, expand Additional information.
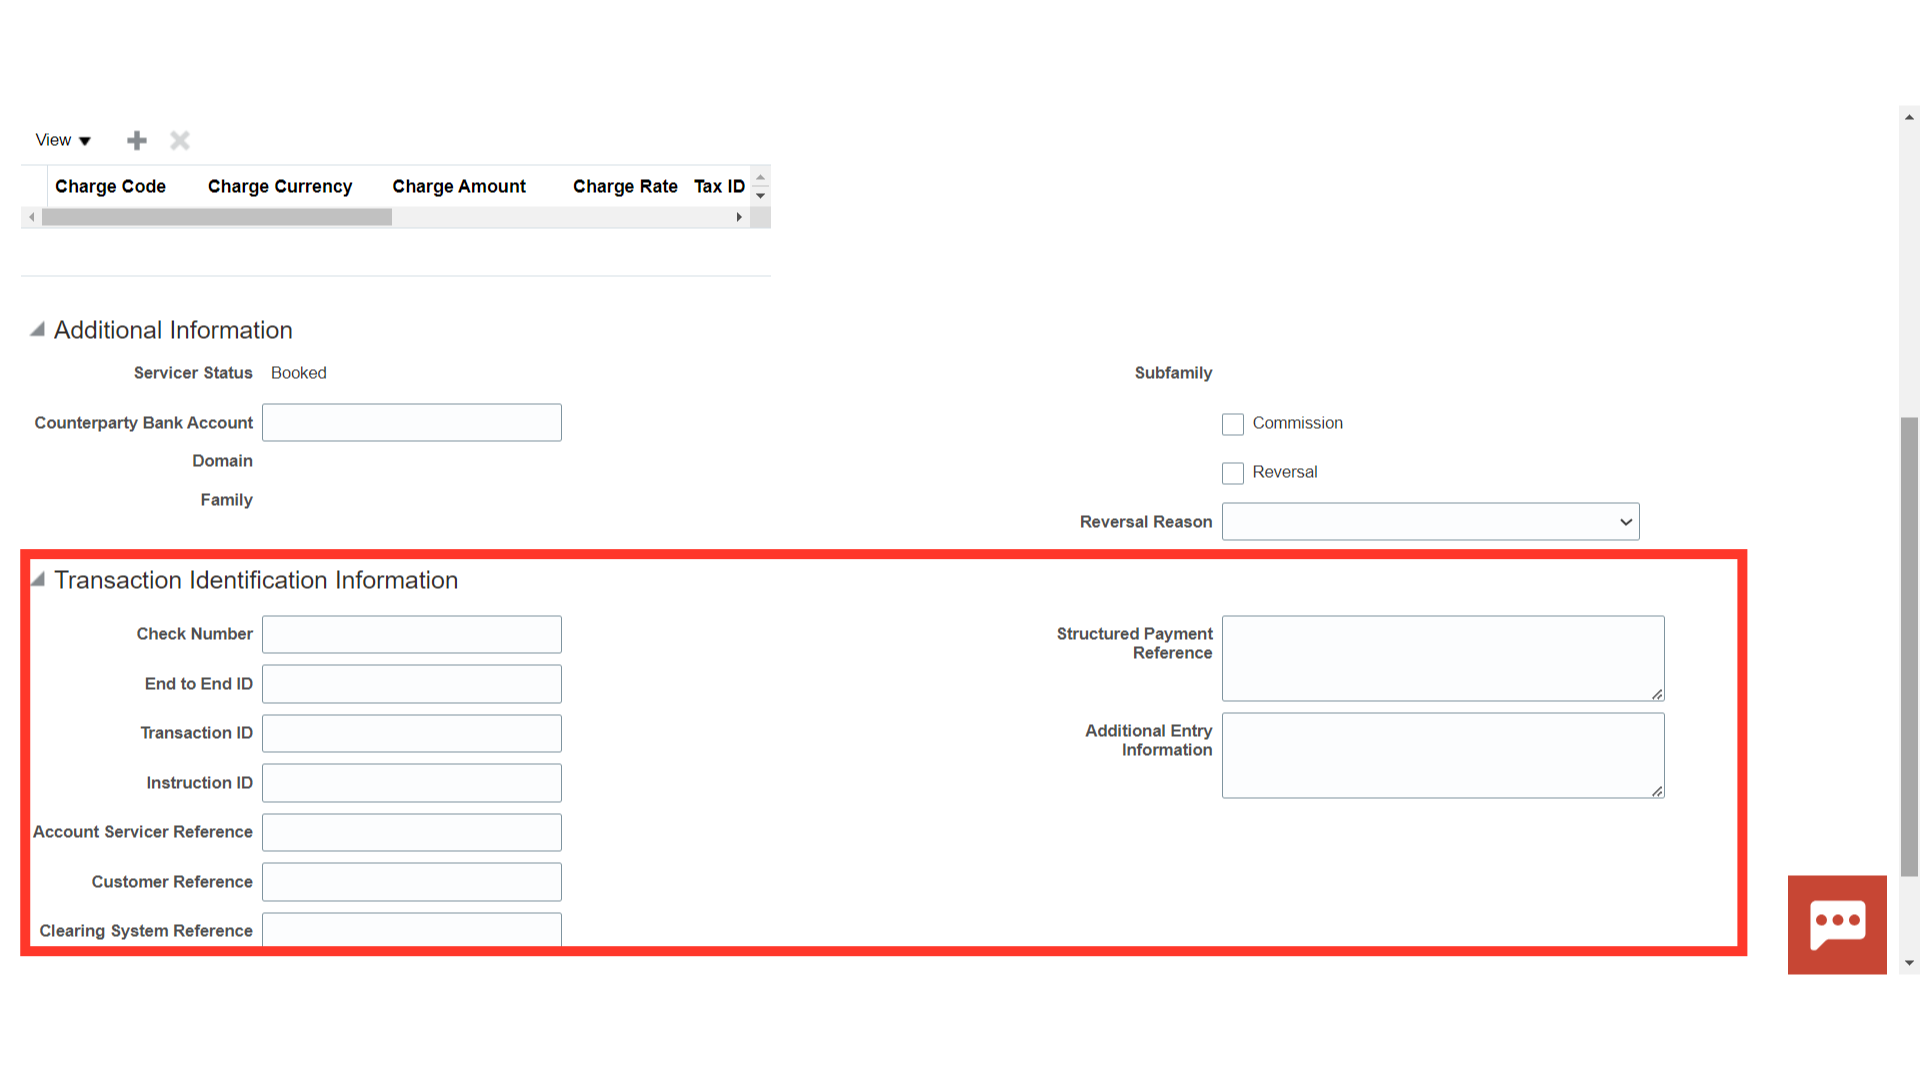
Enter additional information under the Transaction identification information section of the bank statement, such as the check number, Transaction ID, and any other helpful details mentioned.
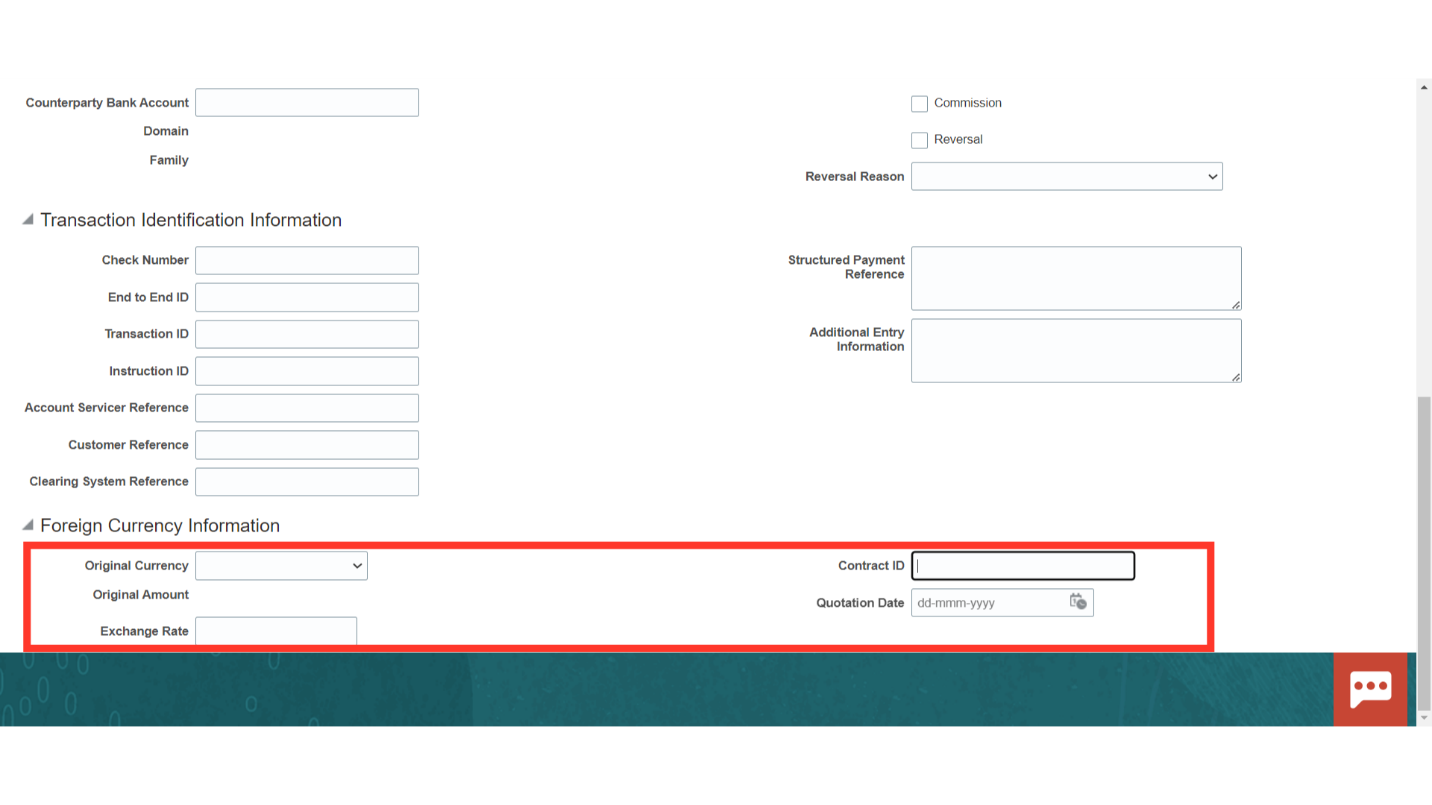
Exchange rate and date information can be entered under the Foreign currency Information section if payments are made in currencies other than the Bank account currency.
Click the Create Another button to enter another bank statement line, then select the OK button to close this window.
Next, enter the bank statement’s opening and closing balances under the Balances tab.
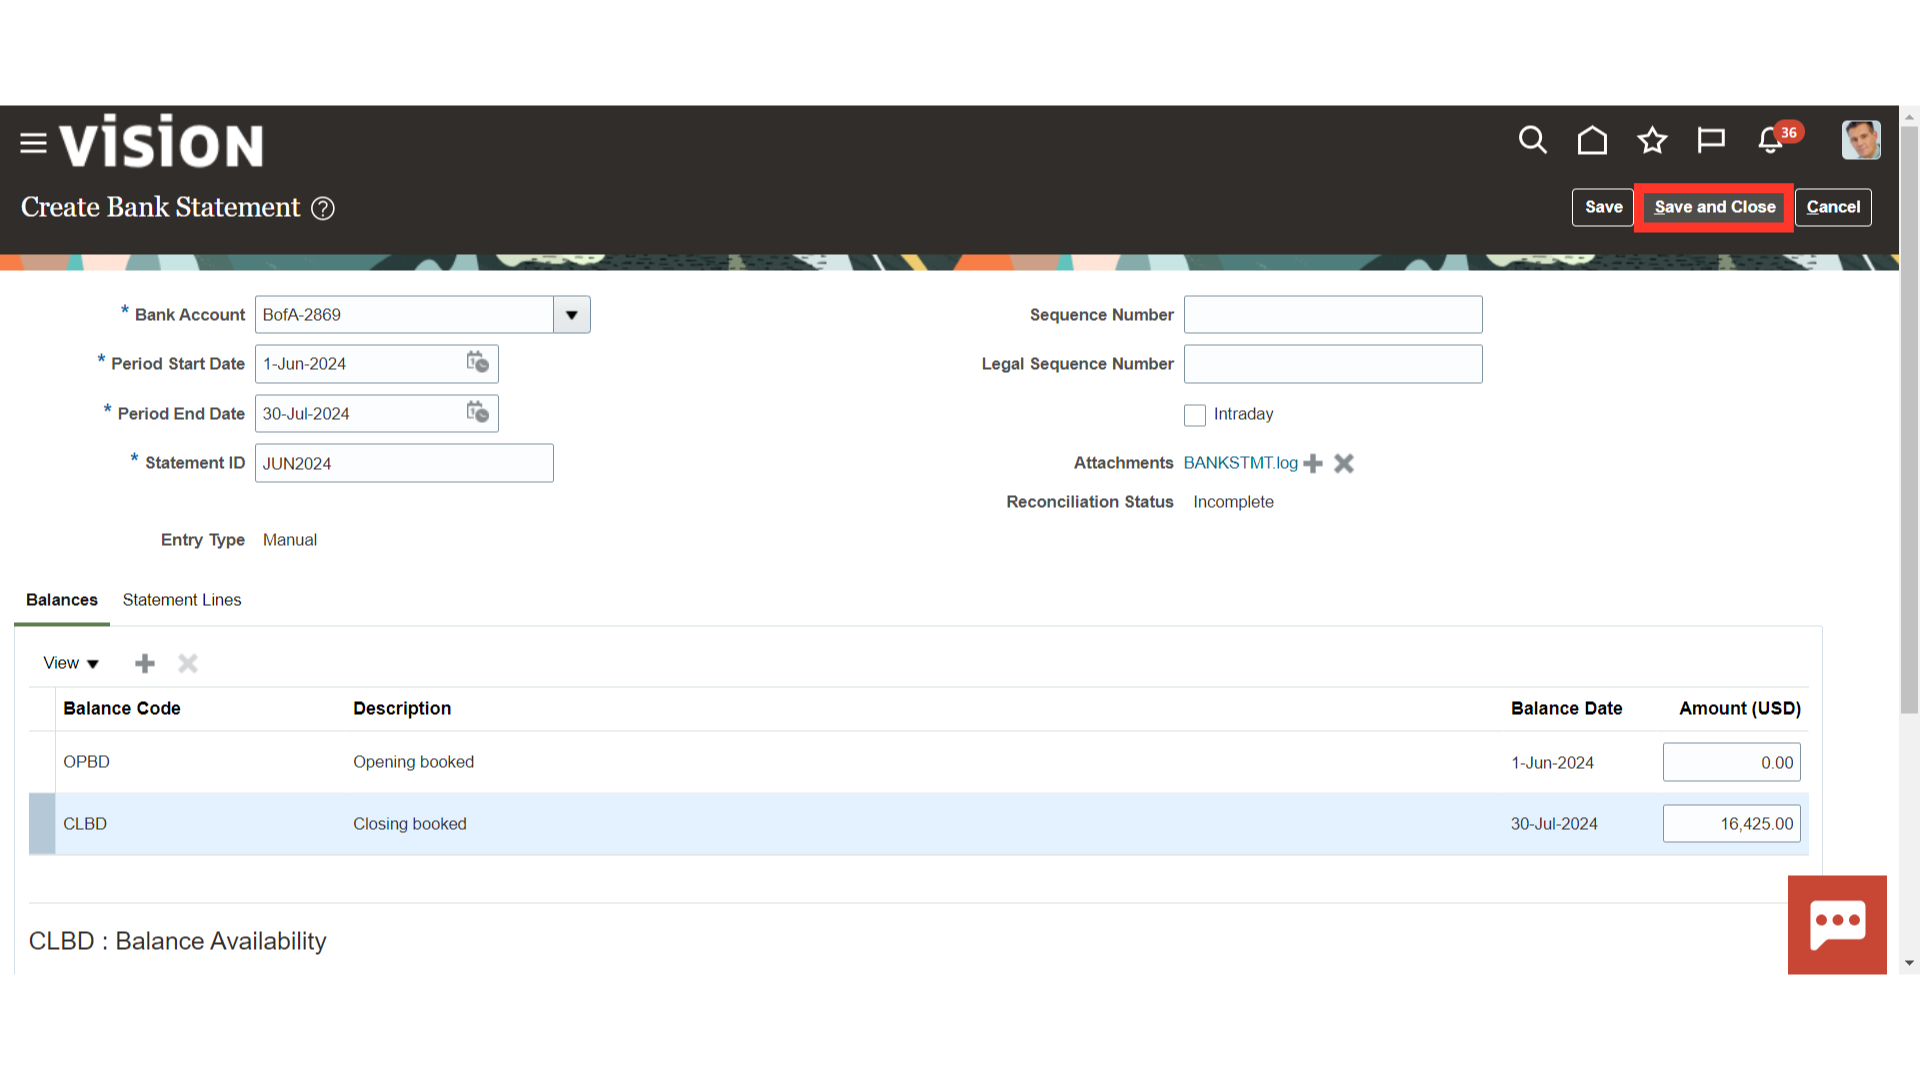
After verifying all the details, Click on the Save and Close button.
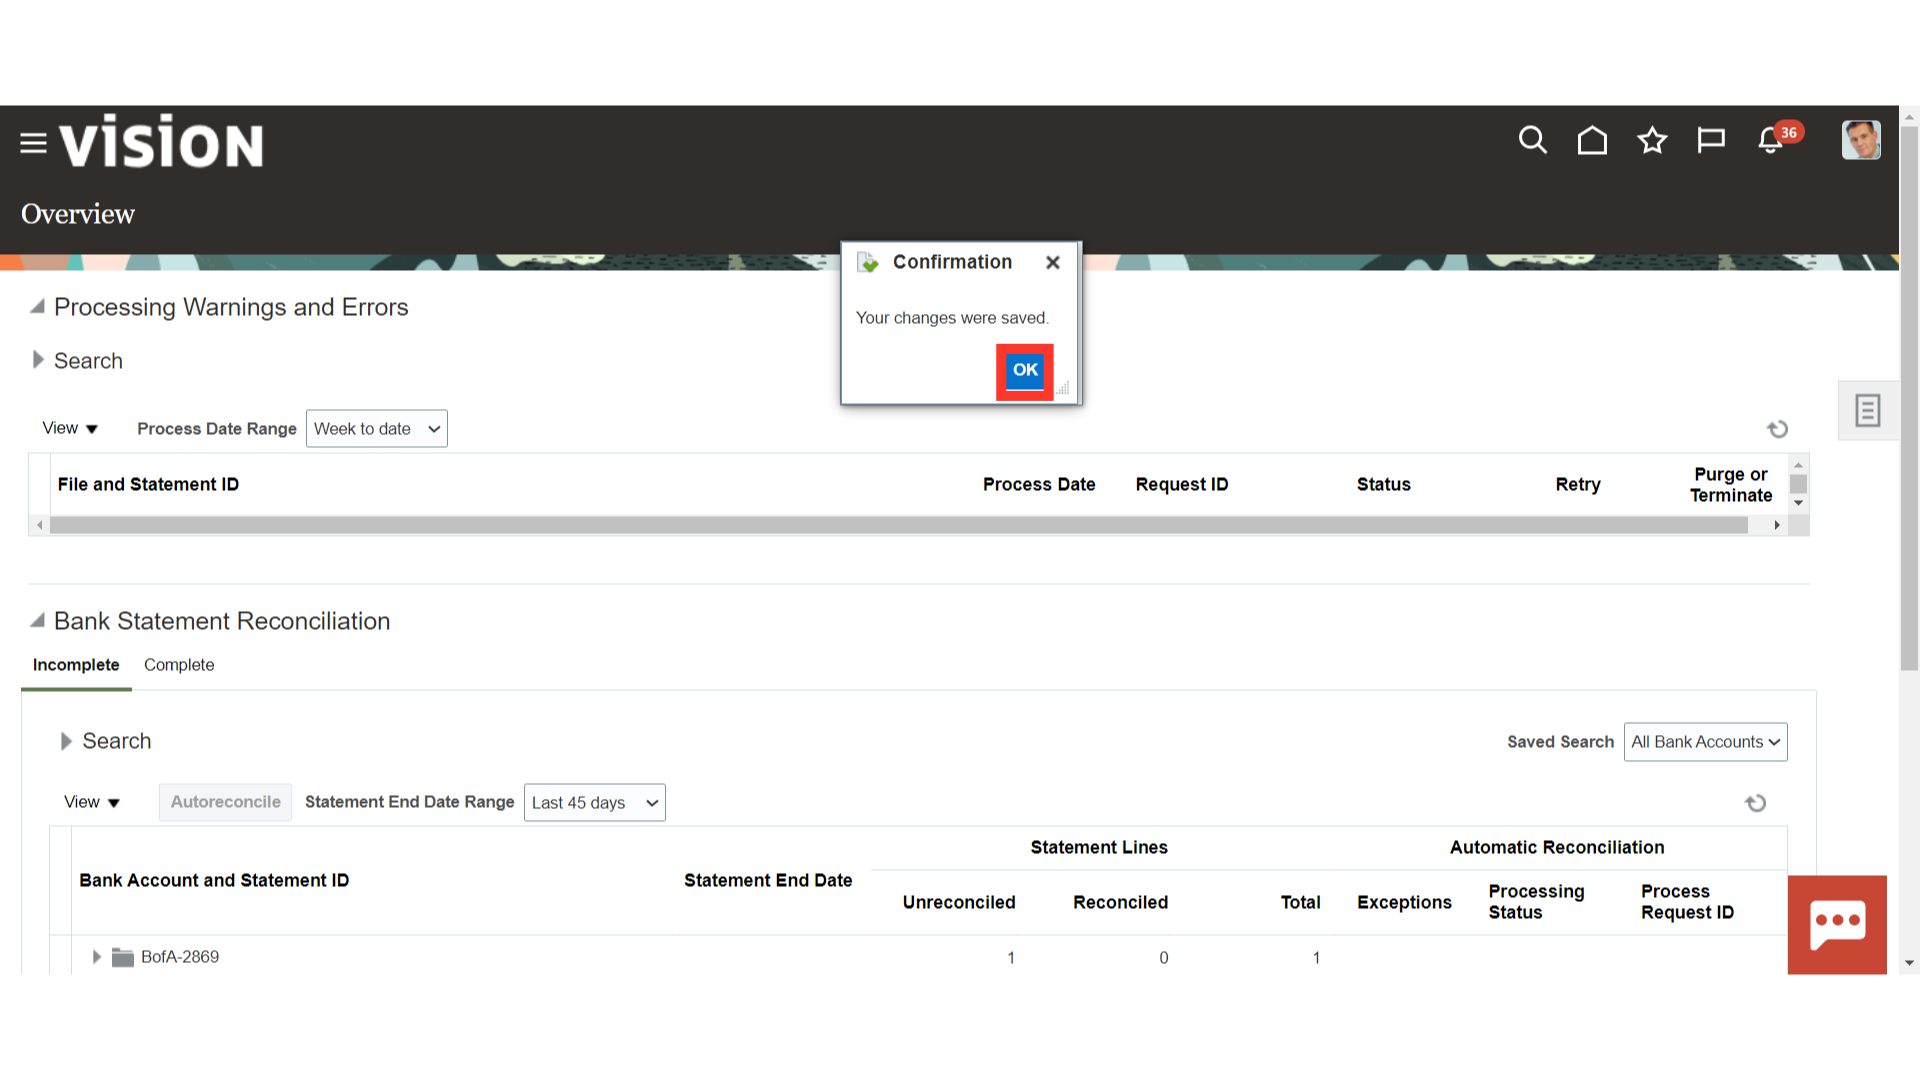
A confirmation message is displayed, and click on the OK button to continue.
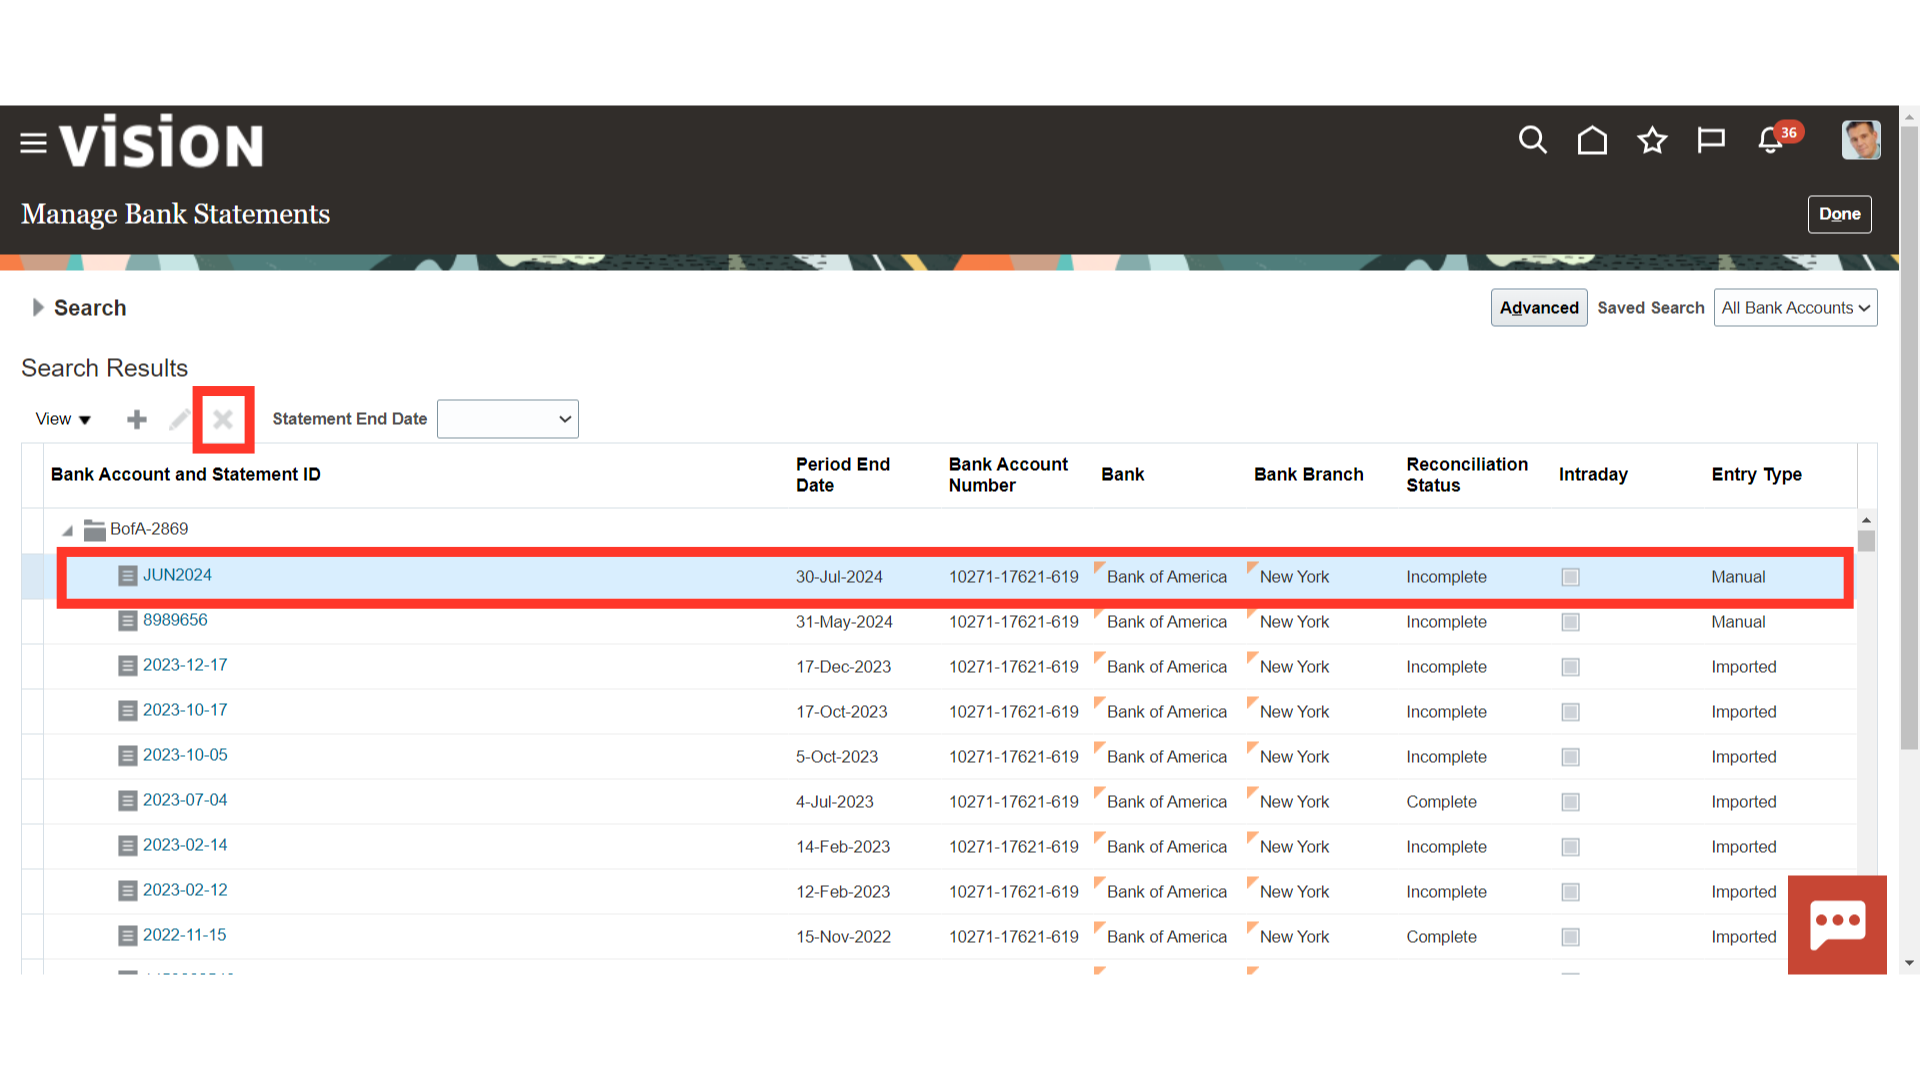
Select “Manage Bank Statements” from the task list to search the bank statements created.
Expand the bank account to see the details of the Bank statement created. Click on the Cross icon to delete the bank statements that are not reconciled.
This guide covered how to manually enter bank statements into Oracle Fusion, including how to view the bank statement from Manage Bank statement and how to access the Create Bank statement page to enter the statement details.