Sample Audit Selection
This guide will take you step-by-step through the comprehensive explanation of the audit selection criteria that determine which expense reports are chosen for the audit procedure and its assignment to the business unit.
Click on drop down under username on the top right and click on “Setup and Maintenance” hyperlink to land into Functional setup area.
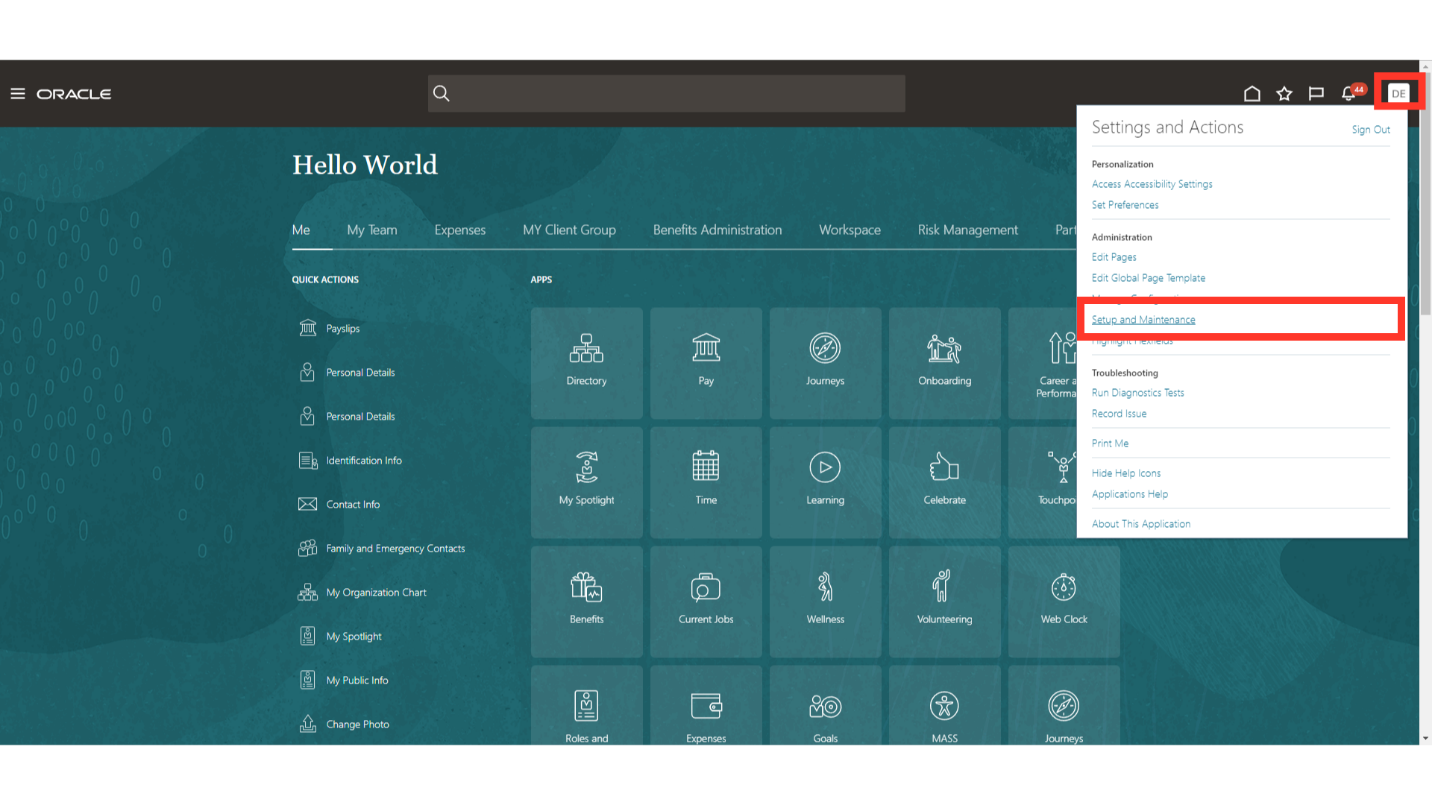
Every setup task is broken down into distinct functional areas, like Order Management, Financials, and Procurement, among others. This highlighted drop-down menu allows you to select the Financials section, which contains the setups related to the Expense module.
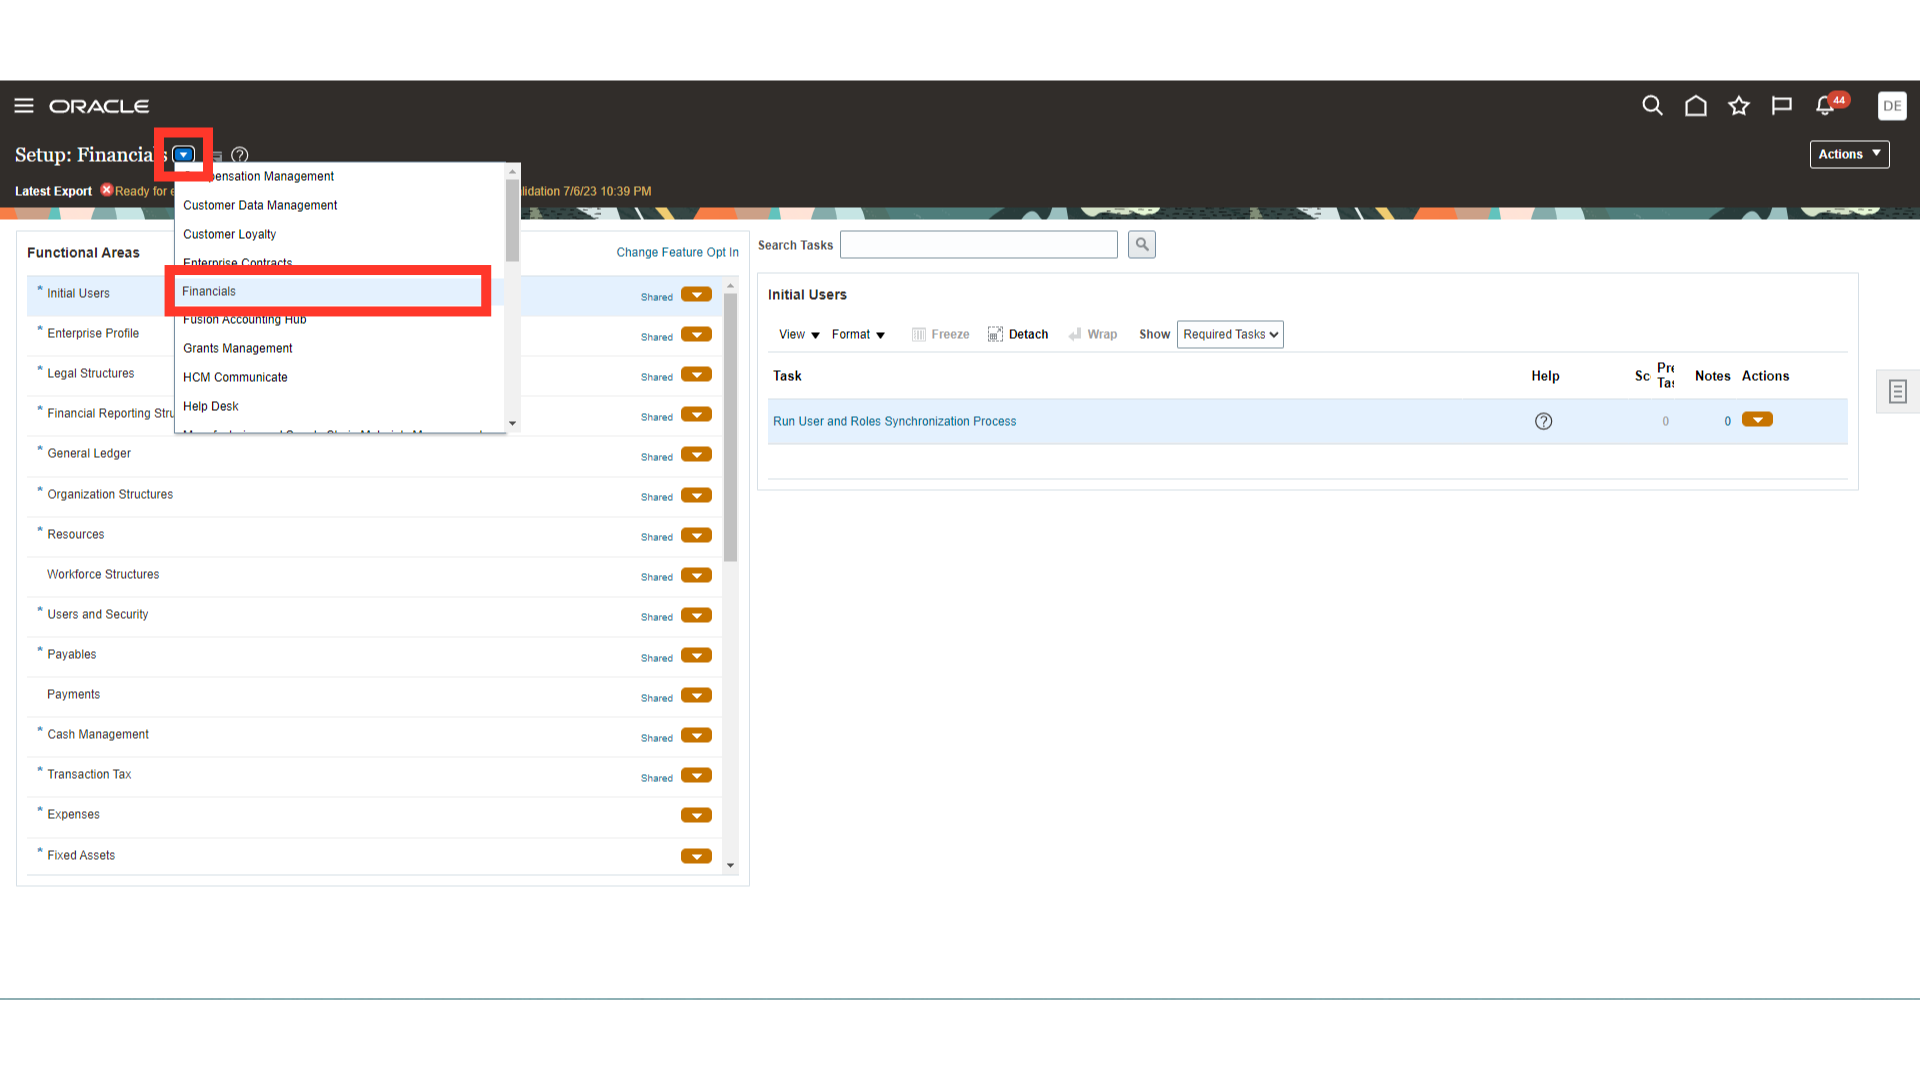
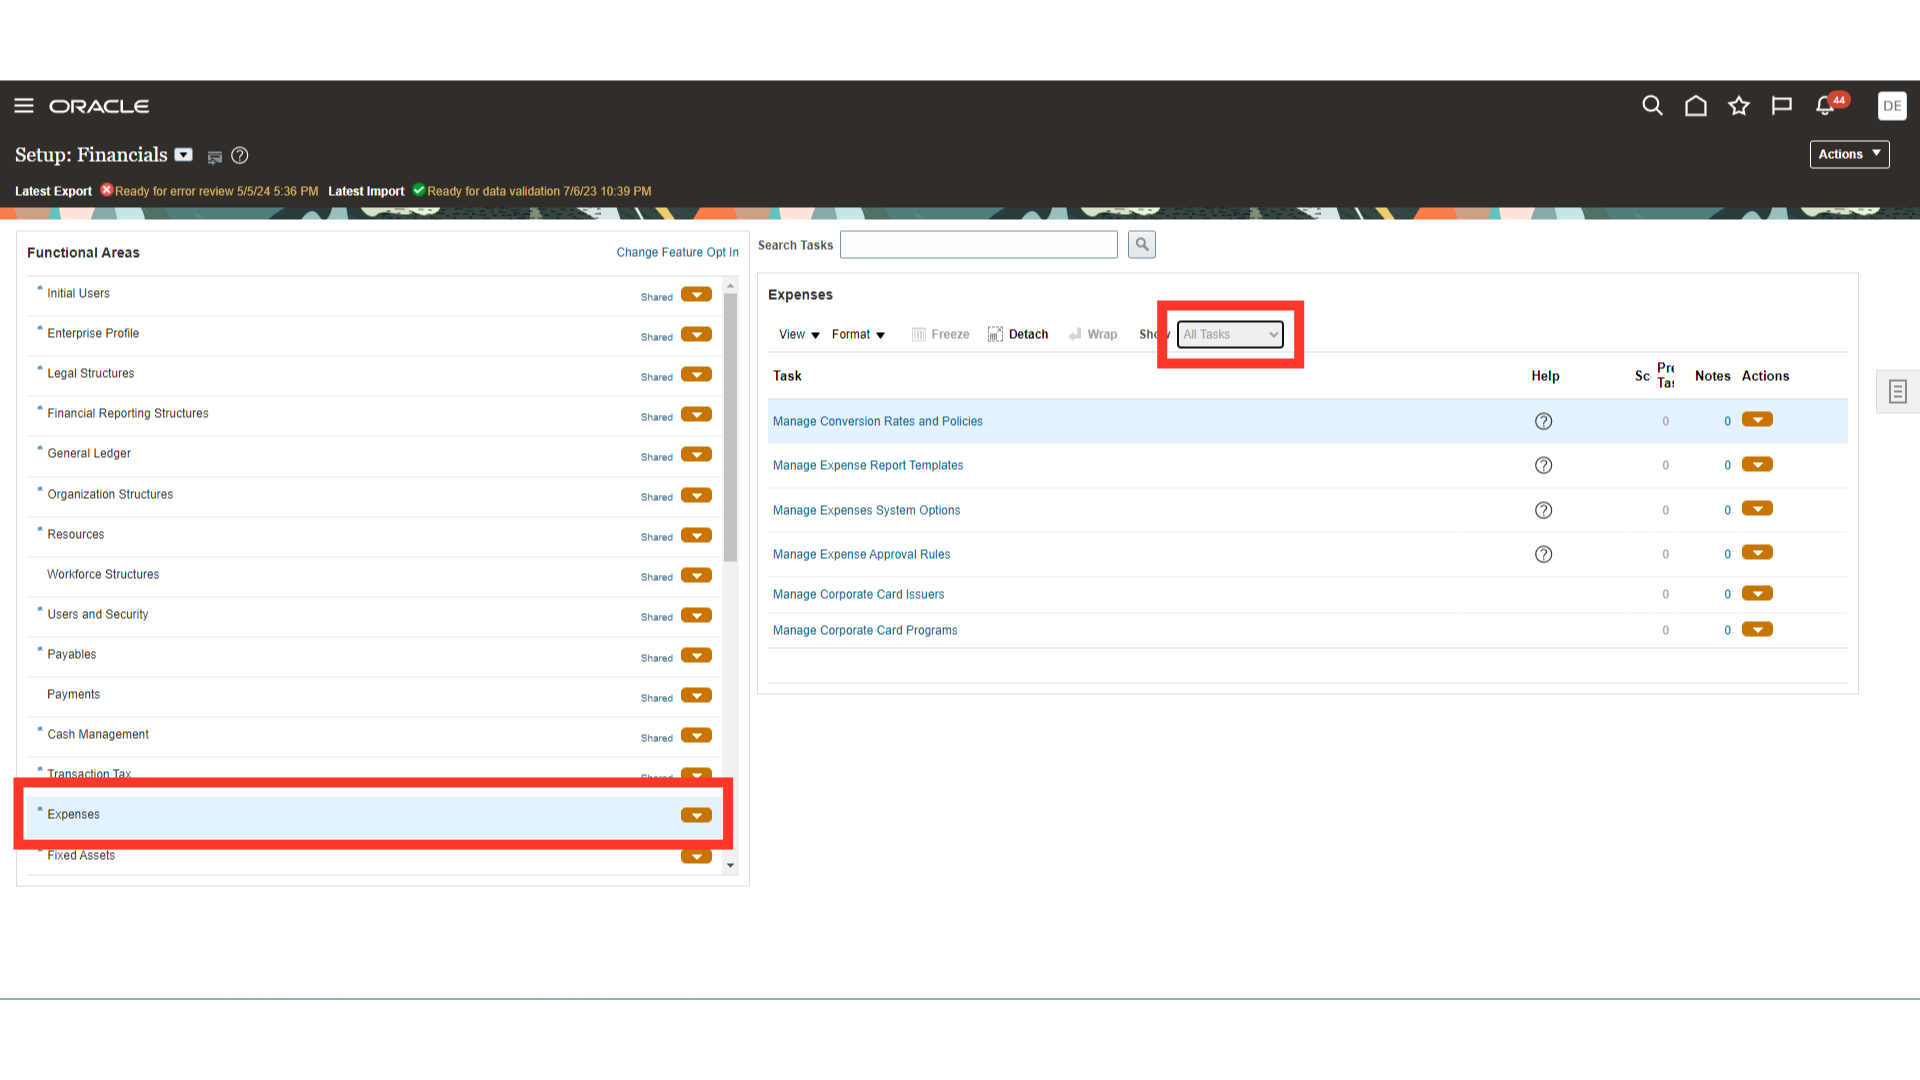
Click on the “Expenses” functional areas to navigate to tasks related to expenses. By Default, the tasks which are mandatory are shown under Required tasks. To see all the tasks, select All Tasks against the Show field.
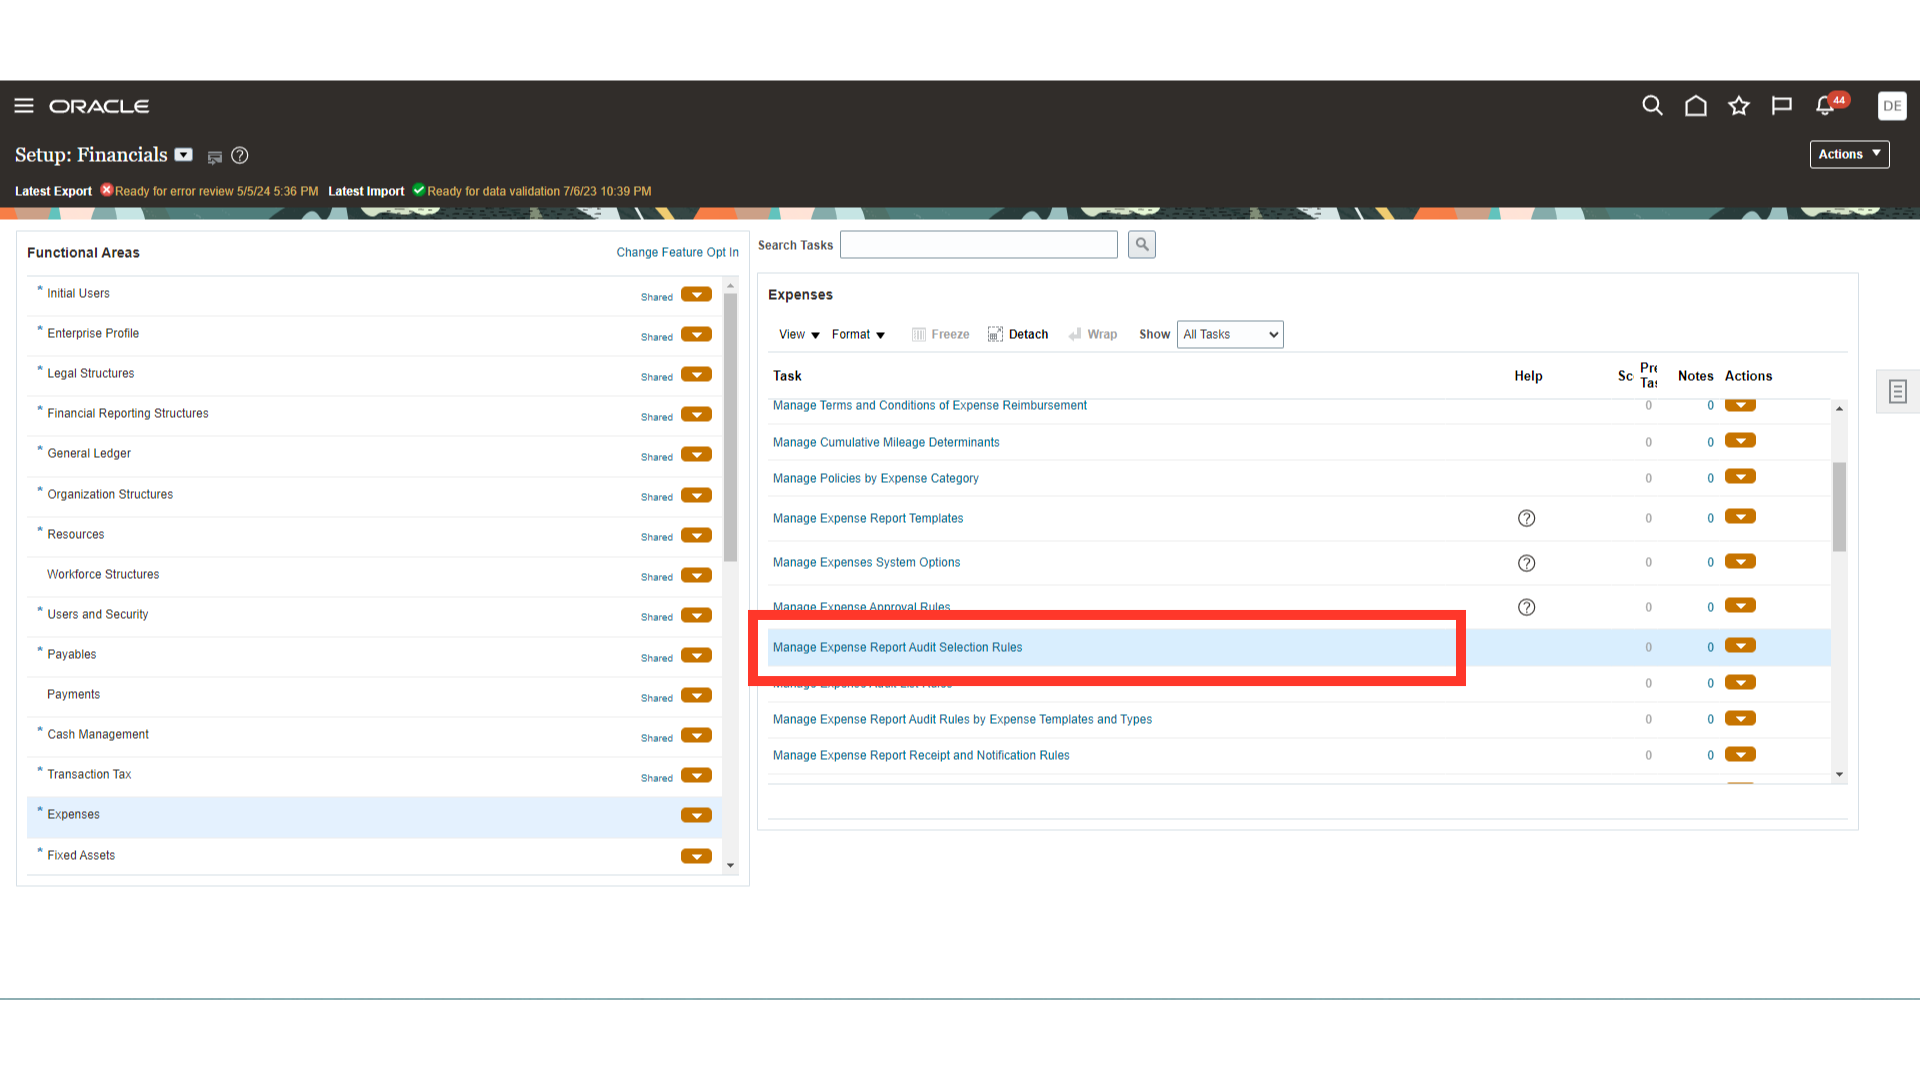
Click on the “Manage Expense Report Audit Selection Rules” option for defining the criteria based on which expense reports would be selected for the audit process.
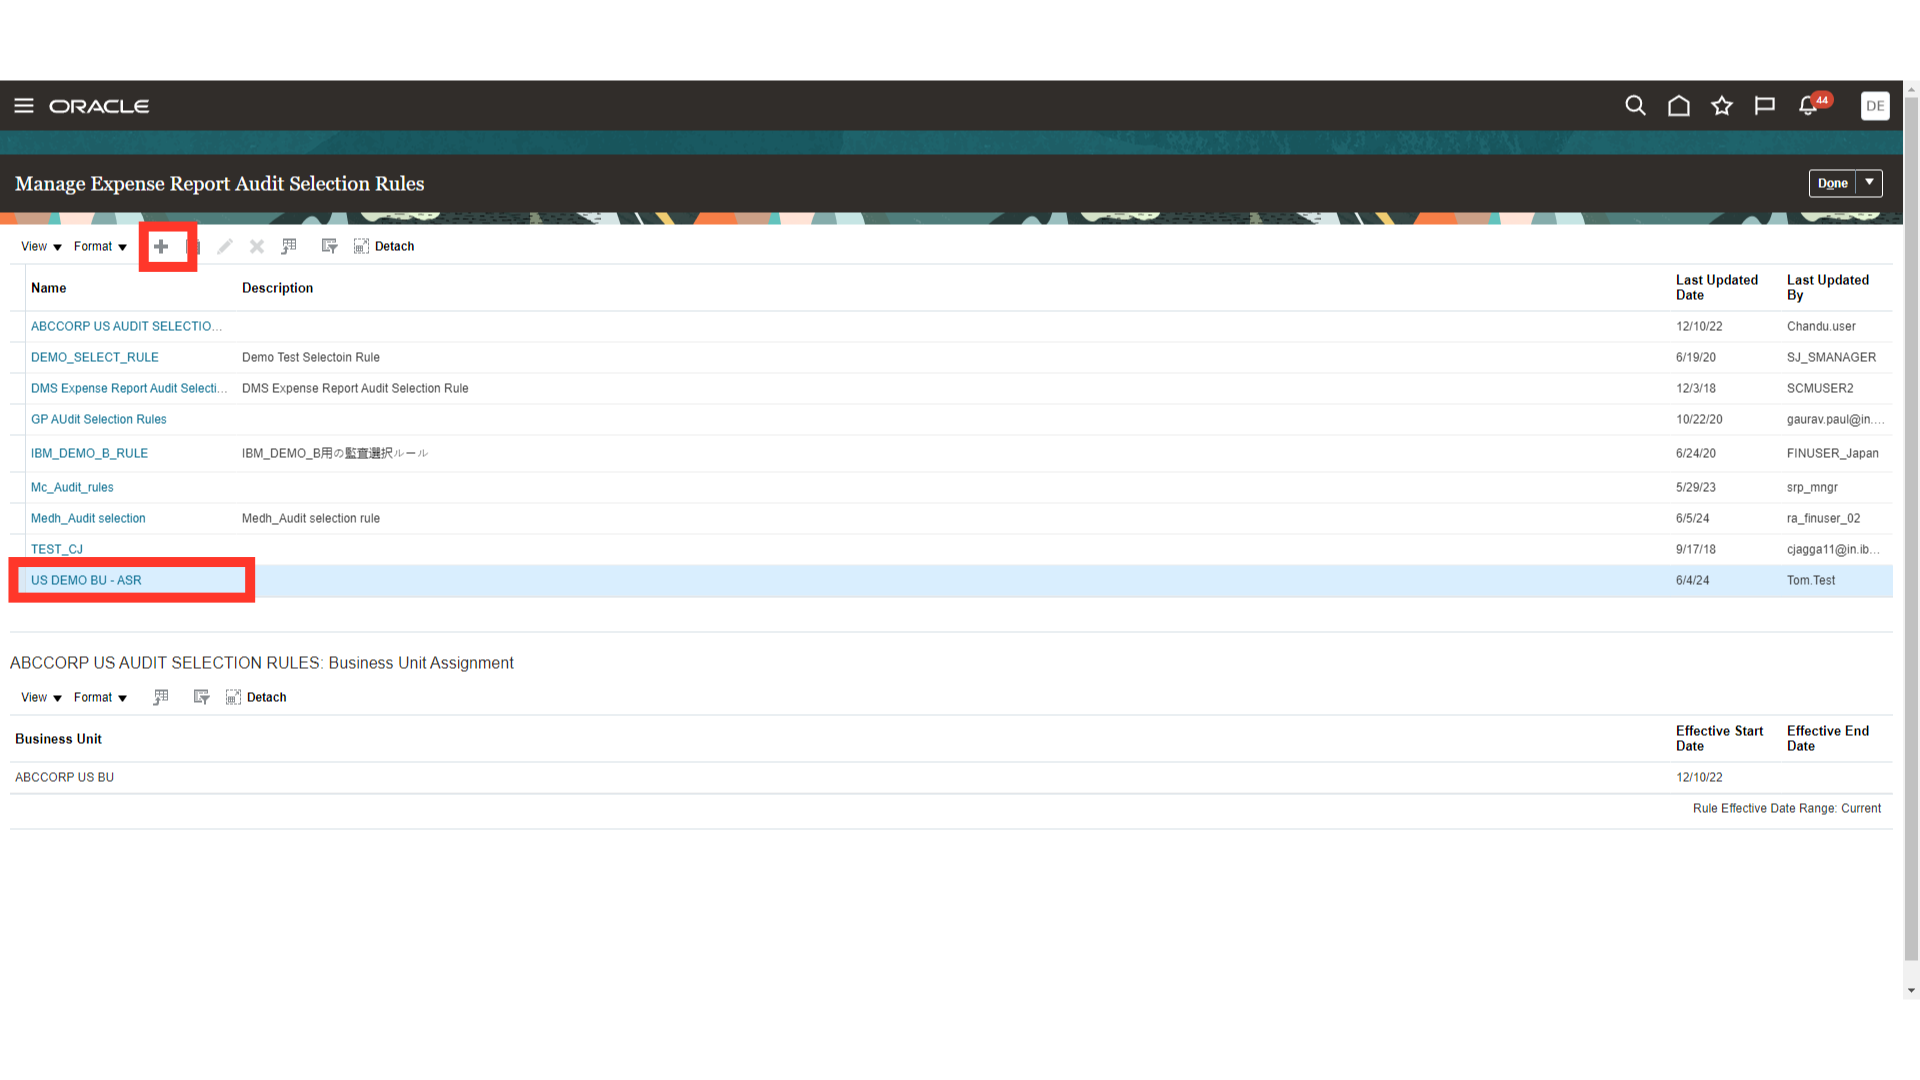
Click on the Plus icon to create the new audit selection rule. Here for Demo purpose, we will open the ” US DEMO BU – ASR ” by clicking on the rule name.
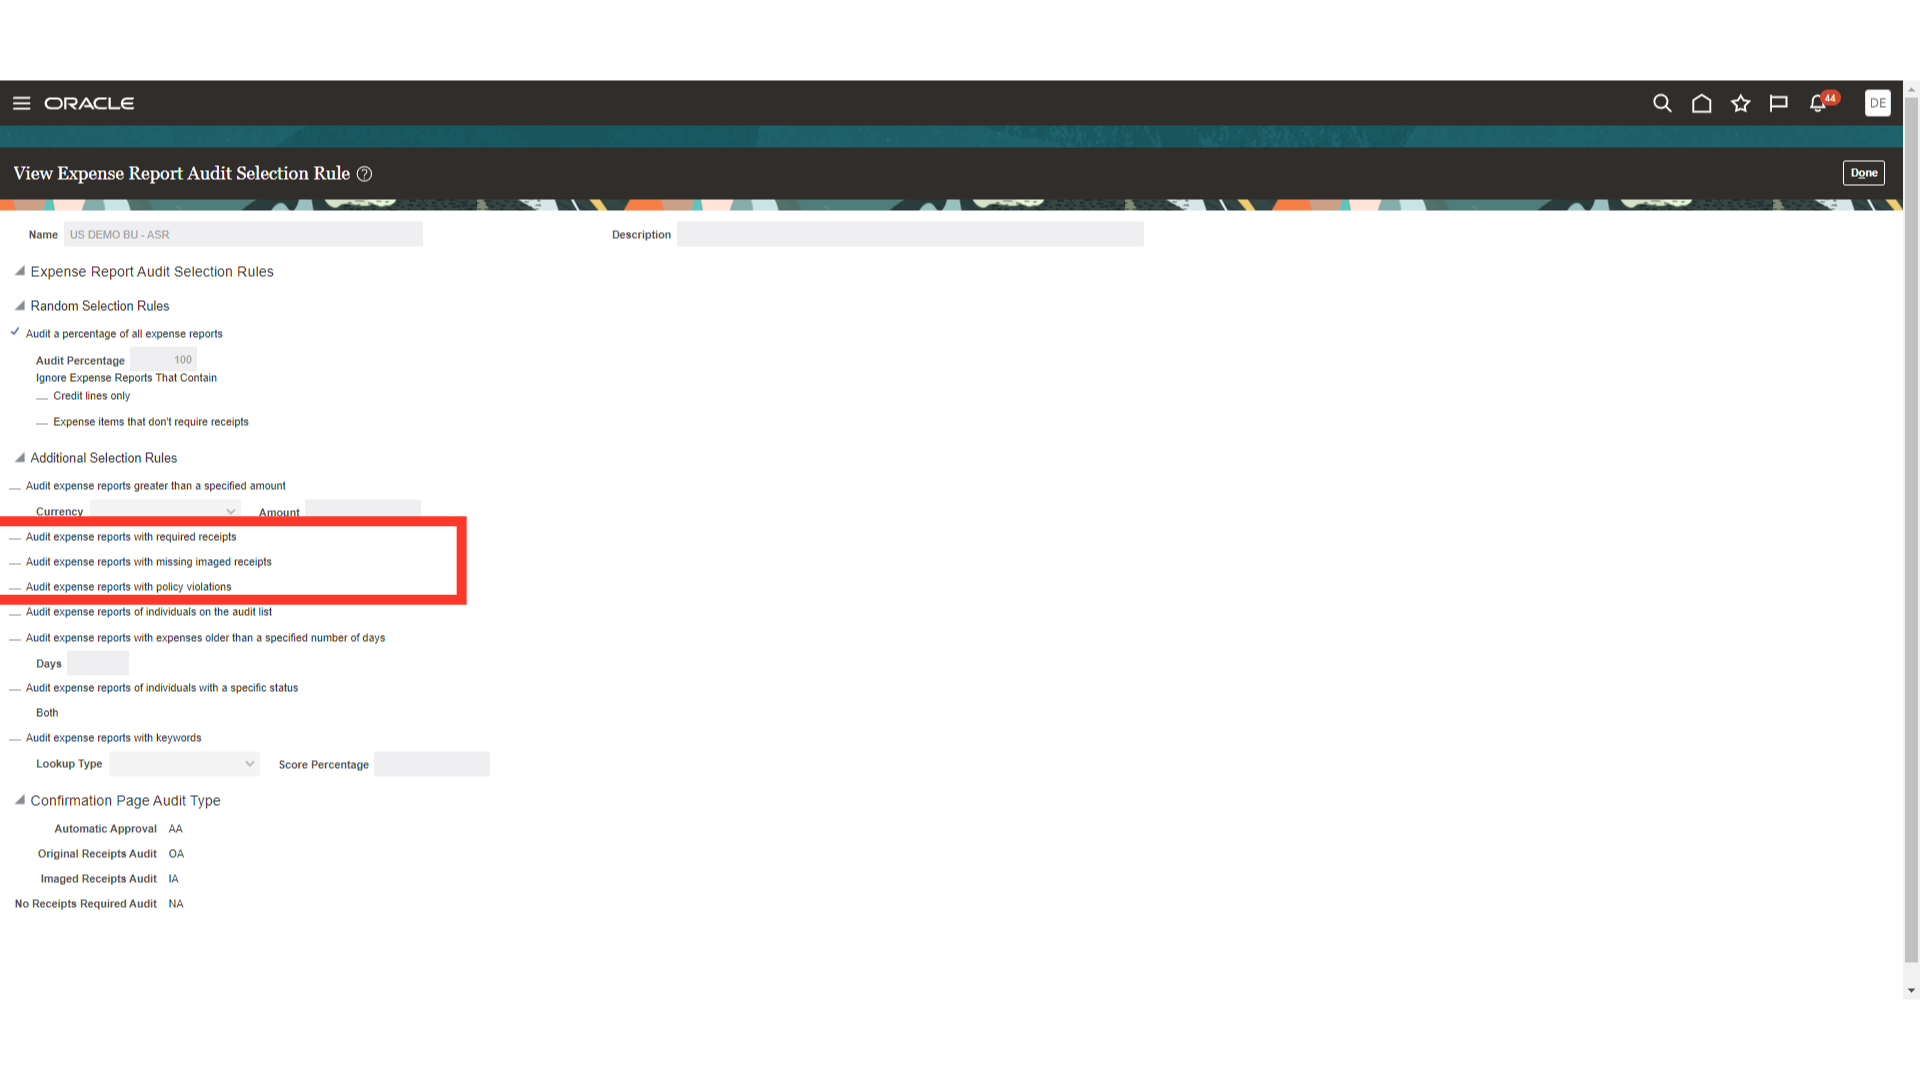
You can specify how many expense reports need to be audited in the Audit Percentage field. For the demonstration purpose, we’ve mentioned “100” here. Therefore, every expense report would be chosen for audit examination.

Audit can be made mandatory when either receipts are required or imaged receipts are missing by enabling the checkbox against “Audit expense reports with required receipts” and “Audit expense reports with missing imaged receipts”. Also, audit can be made mandatory if policies set by organization are violated by enabling the checkbox against “Audit expense reports of individuals on the audit list”.
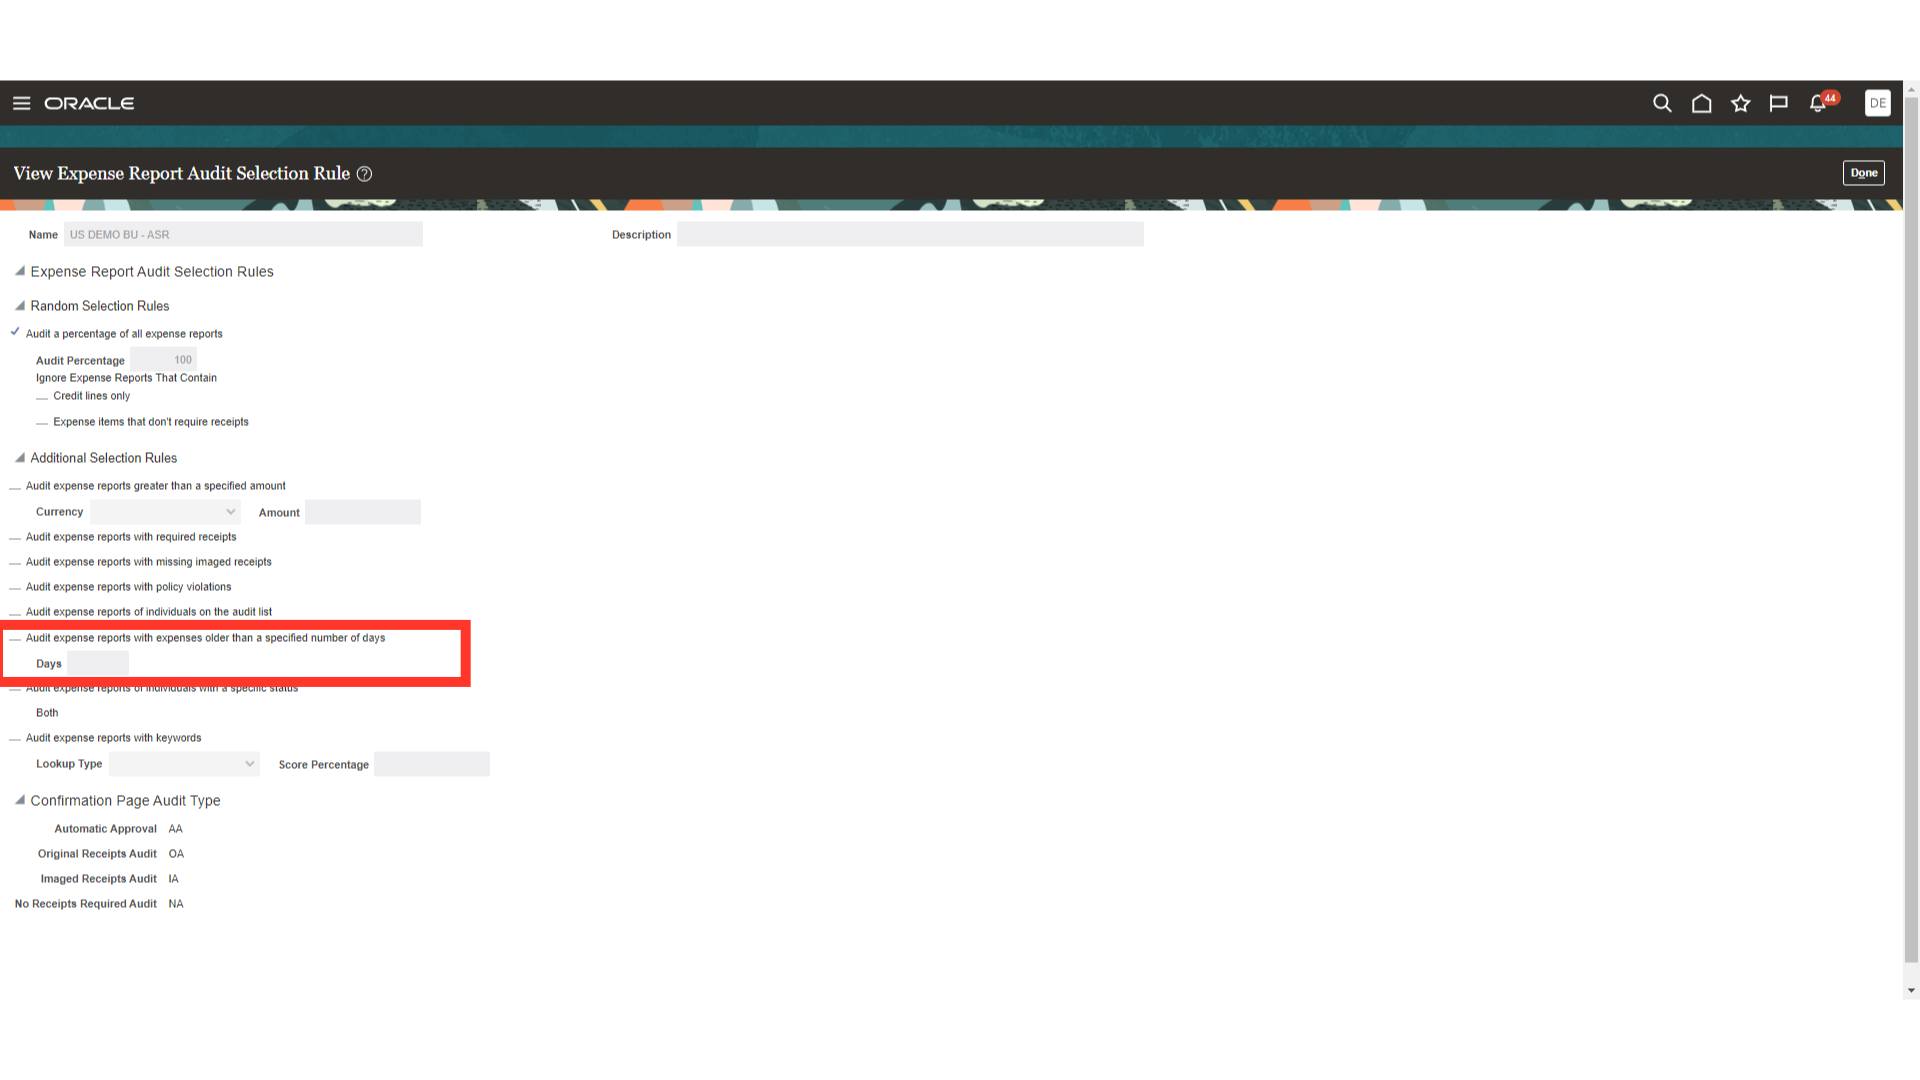
Enable the “Audit expense reports with expenses older than a specified number of days” checkbox and provide the required number of days if you would like expenses raised by employees that are older than the specified number of days to be audited.
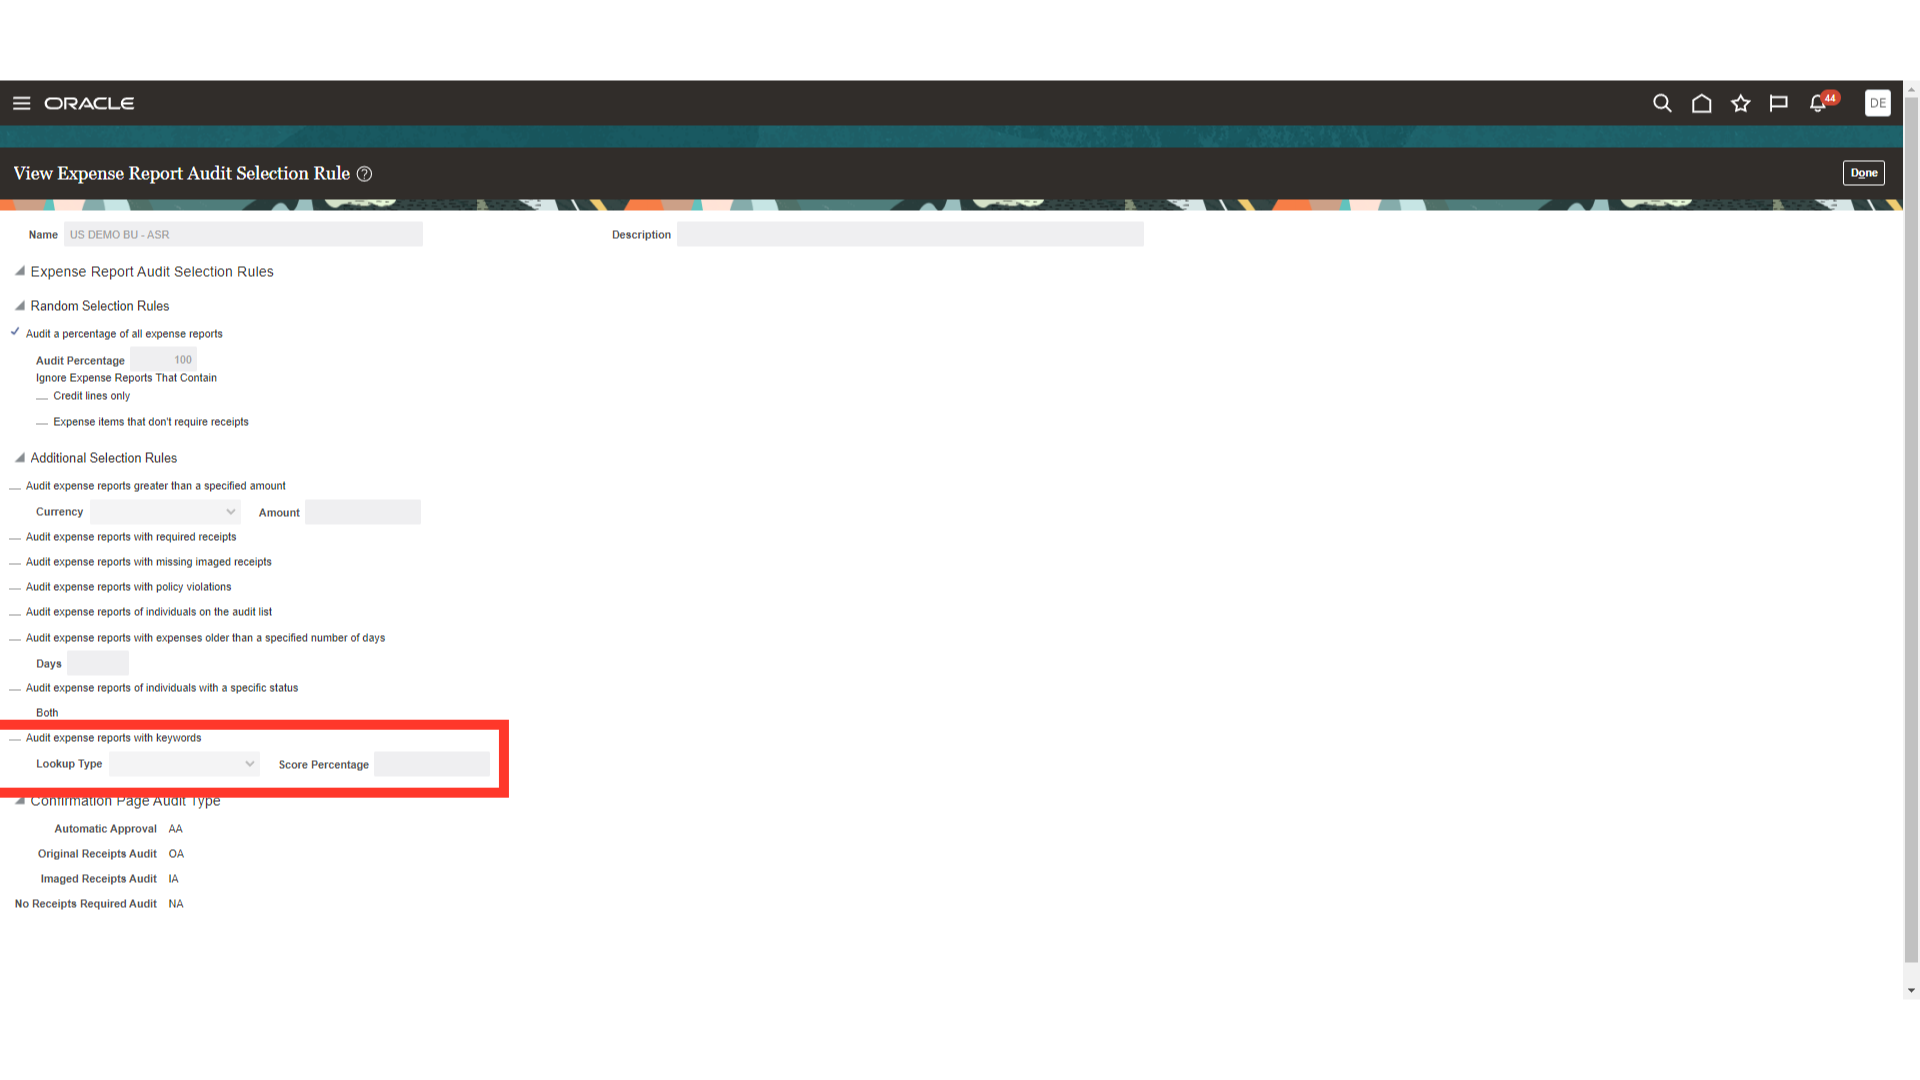
Depending on specific keywords, auditing of the expense reports may be required. For instance, if a specific supplier’s expense report is raised for audit, the supplier’s name can be included in the lookup type. Additionally, the score percentage field allows you to enter the percentage of matching for the expense report selection under audit.
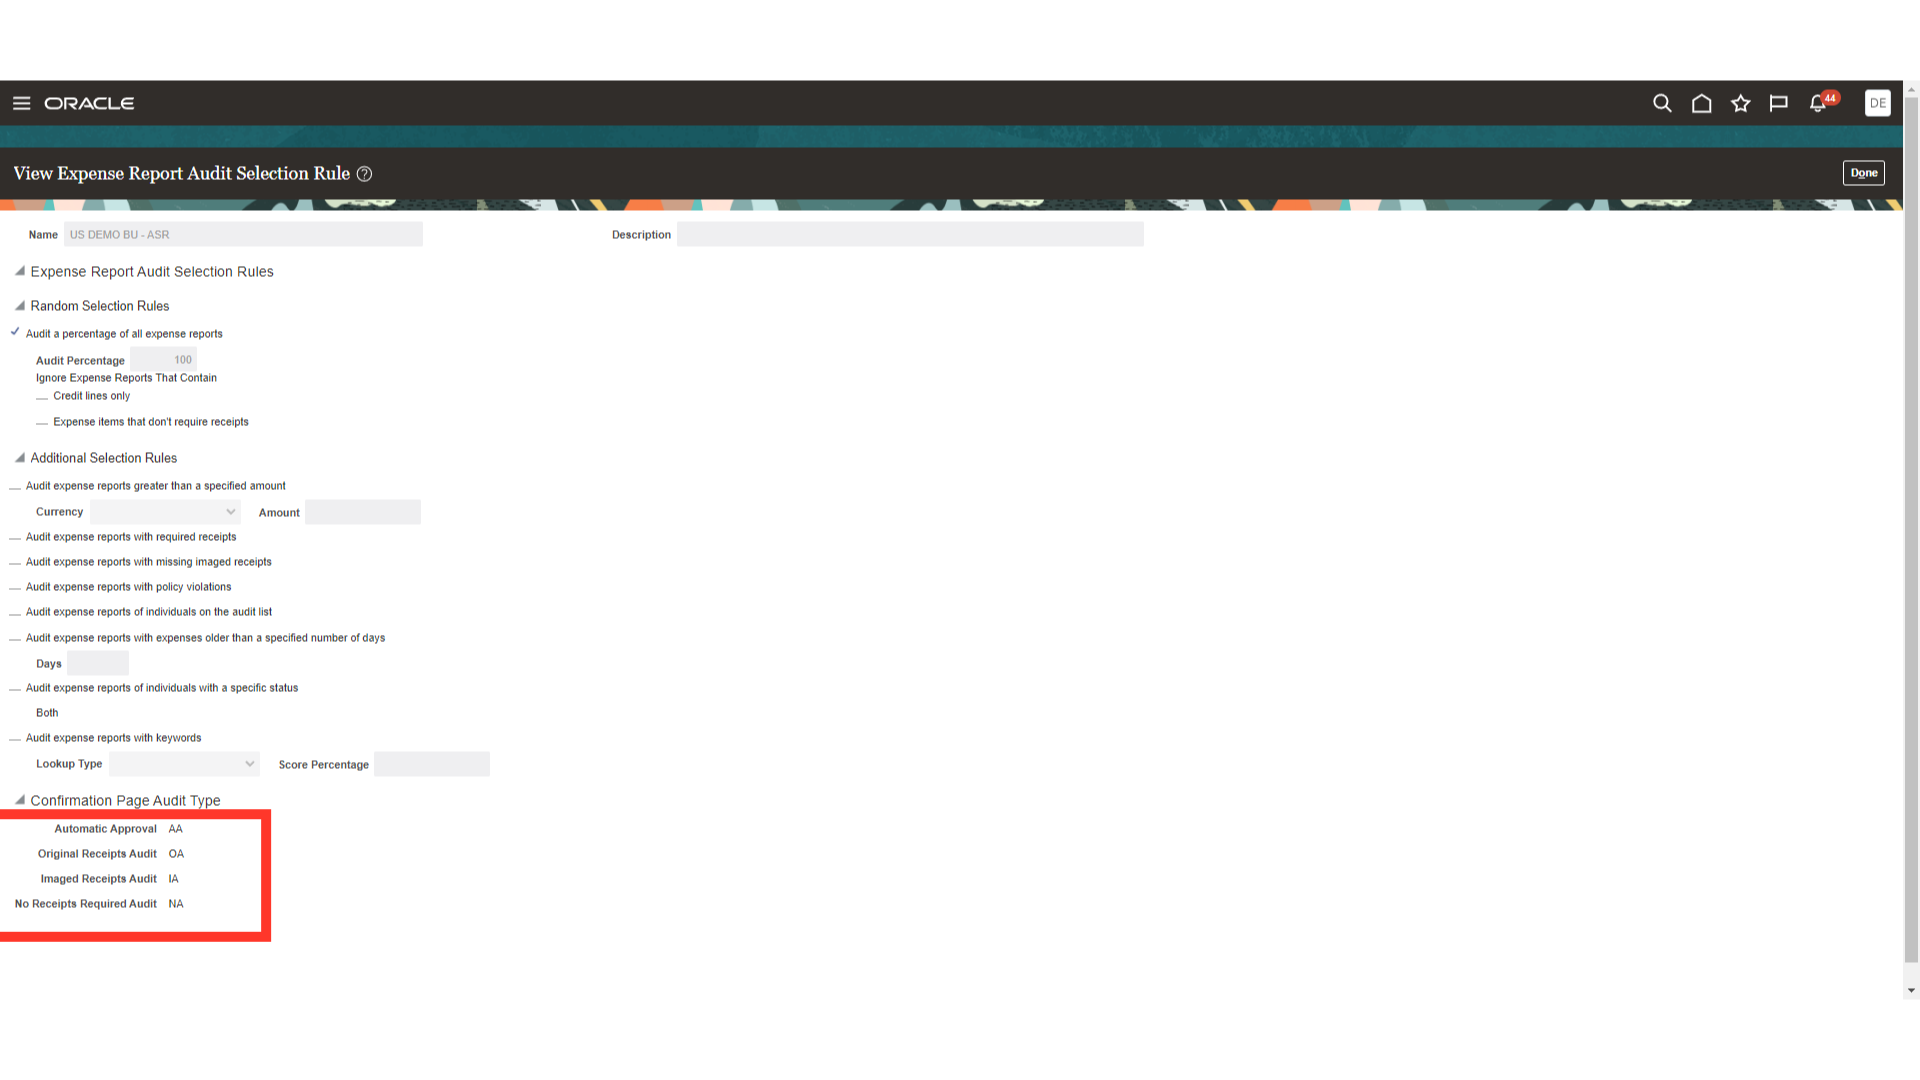
Next, we have Audit code for the expense report. These are the codes displayed on the Confirmation page when user submits an expense report. It will just print that code on the expense report printable page for sorting purposes and for users to know why the expense report is selected for audit on the confirmation page.
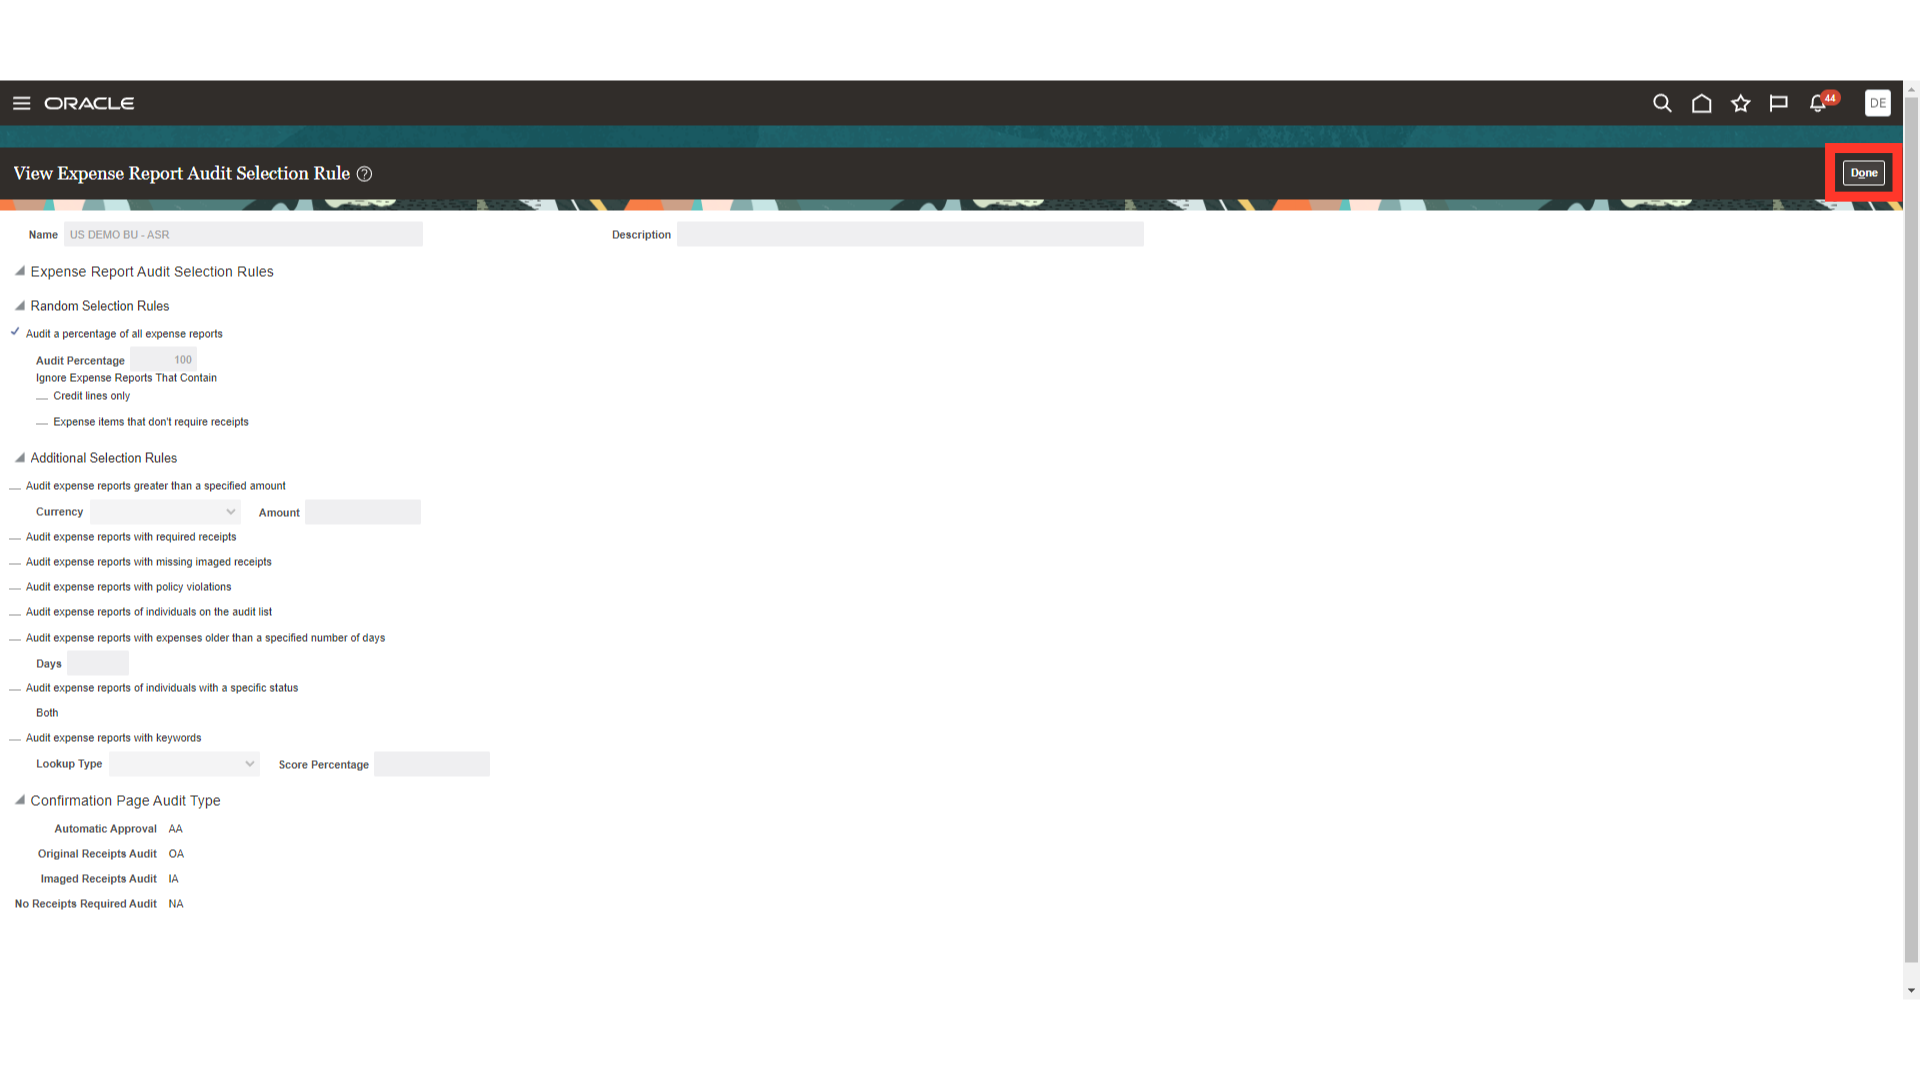
Click on the Done button to return to Manage Audit Selection Rule setup page.
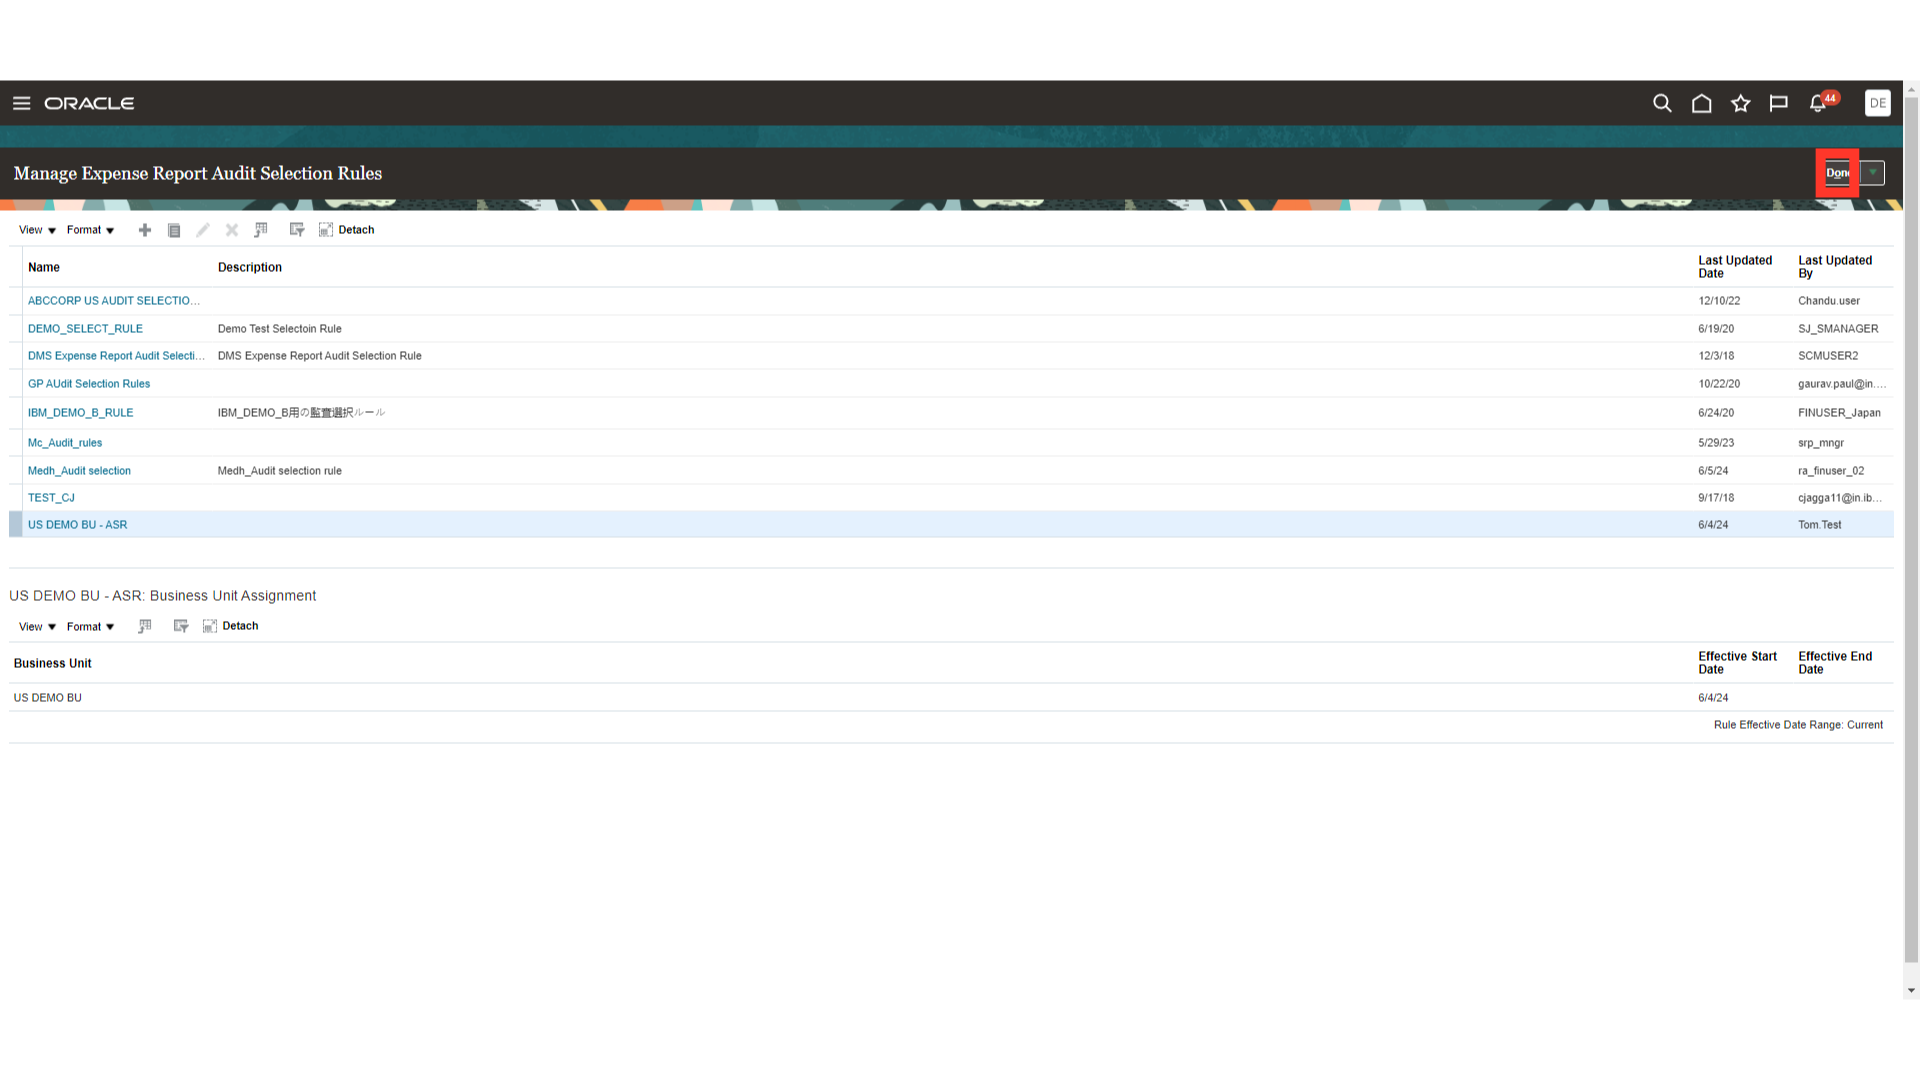
Click on “Done” once more to return to the Setup and Maintenance page.
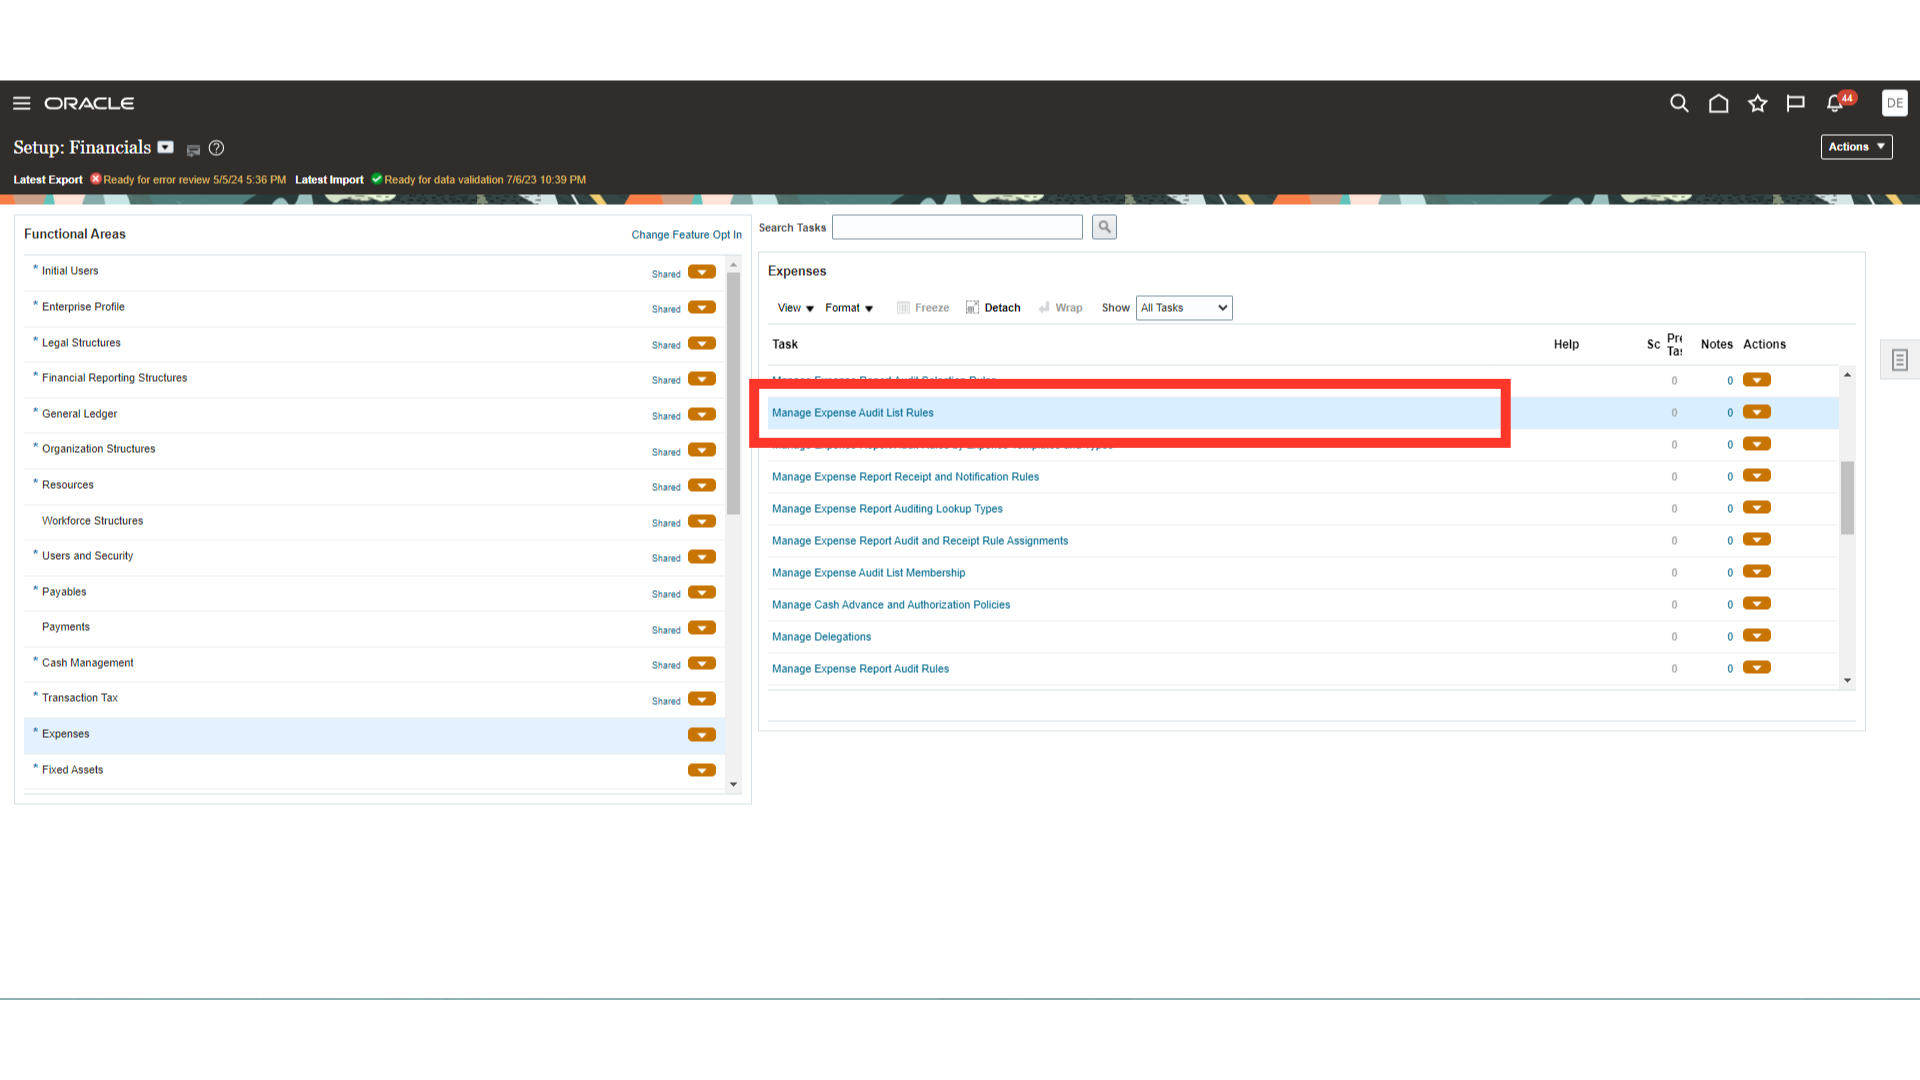
Click on the “Manage Expense Audit List Rules” option to include additional conditions for expense report audit.
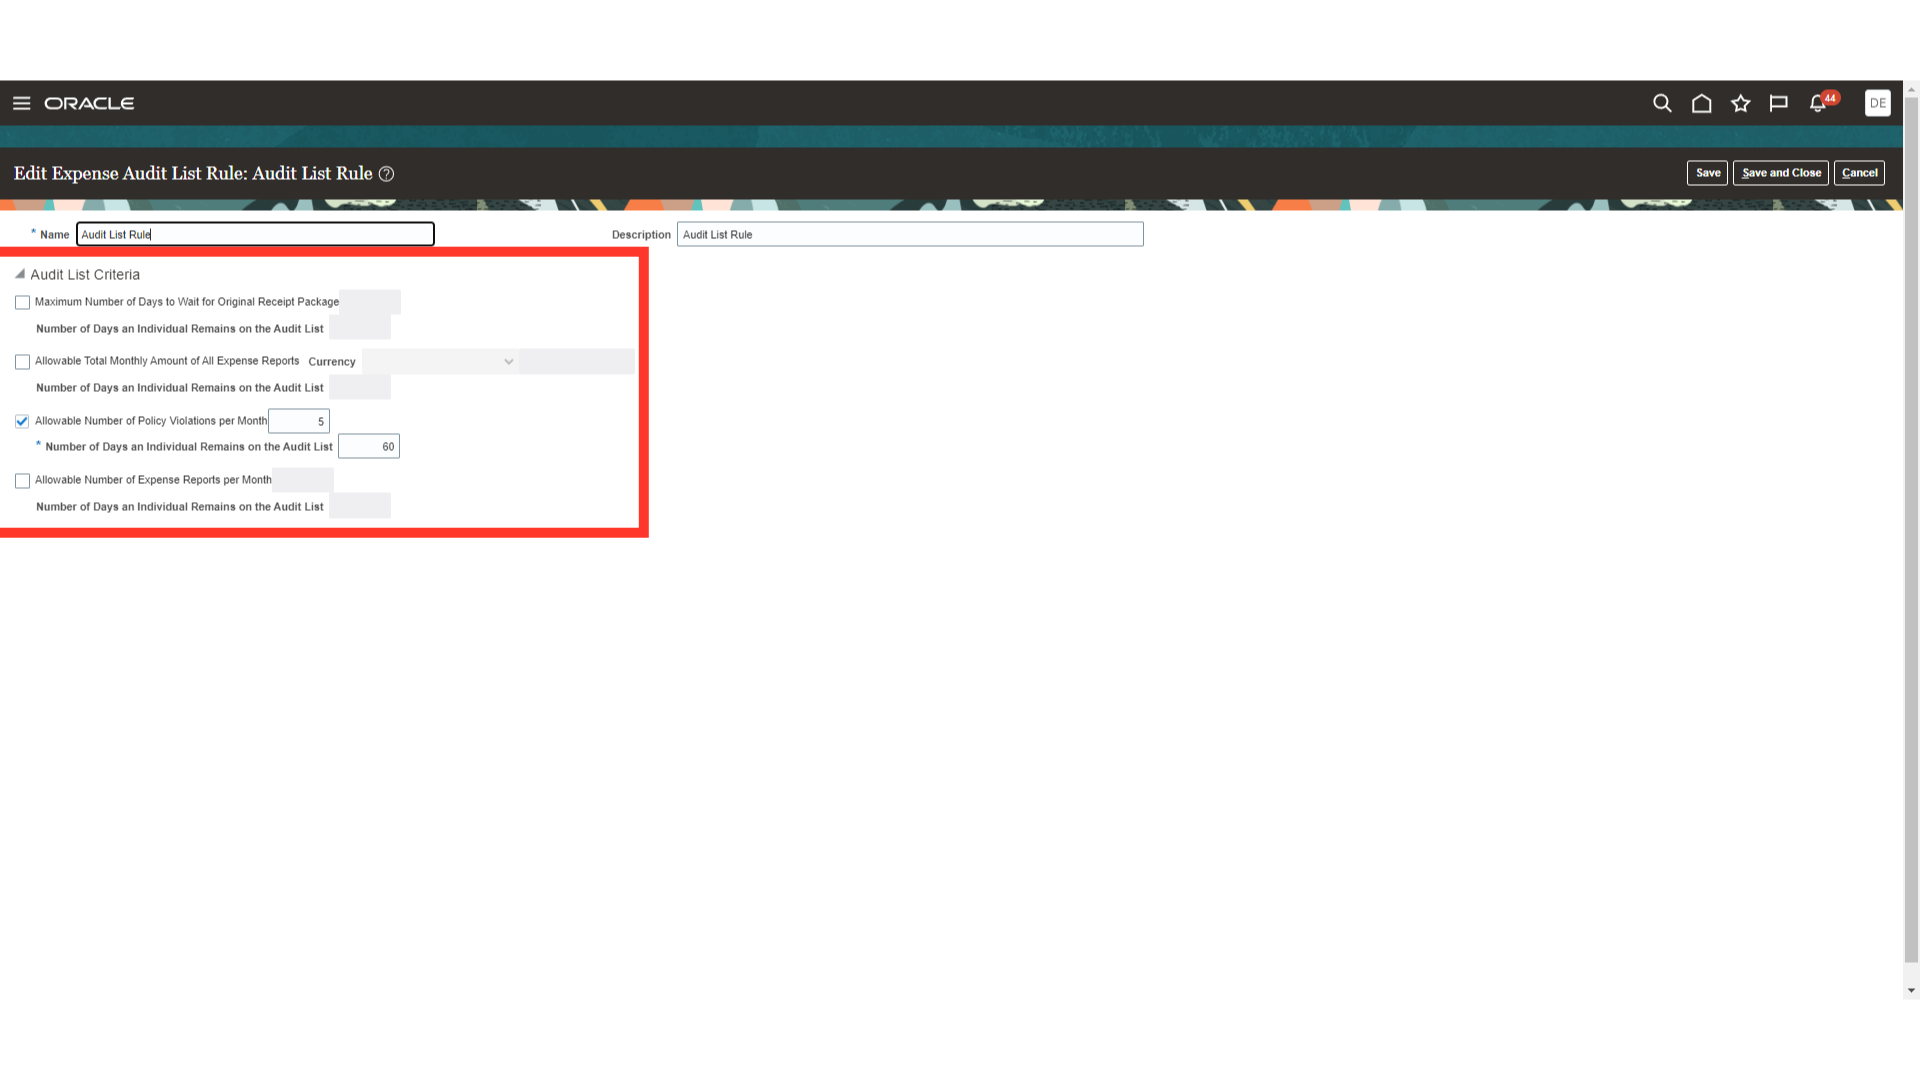
Click on the Plus icon to create the new audit selection rule. Here for Demo purpose, we will open the “Audit List Rule” by clicking on the rule name.

Further criteria can be included in this setup, and if an employee’s expense report meets those criteria, you can add it to be audited for a certain number of days on subsequent expense reports for that employee. Here, for demonstration purposes, we have indicated “5” as the maximum number of policy violations per month and “60” as the maximum number of days that an individual can stay on the audit list.
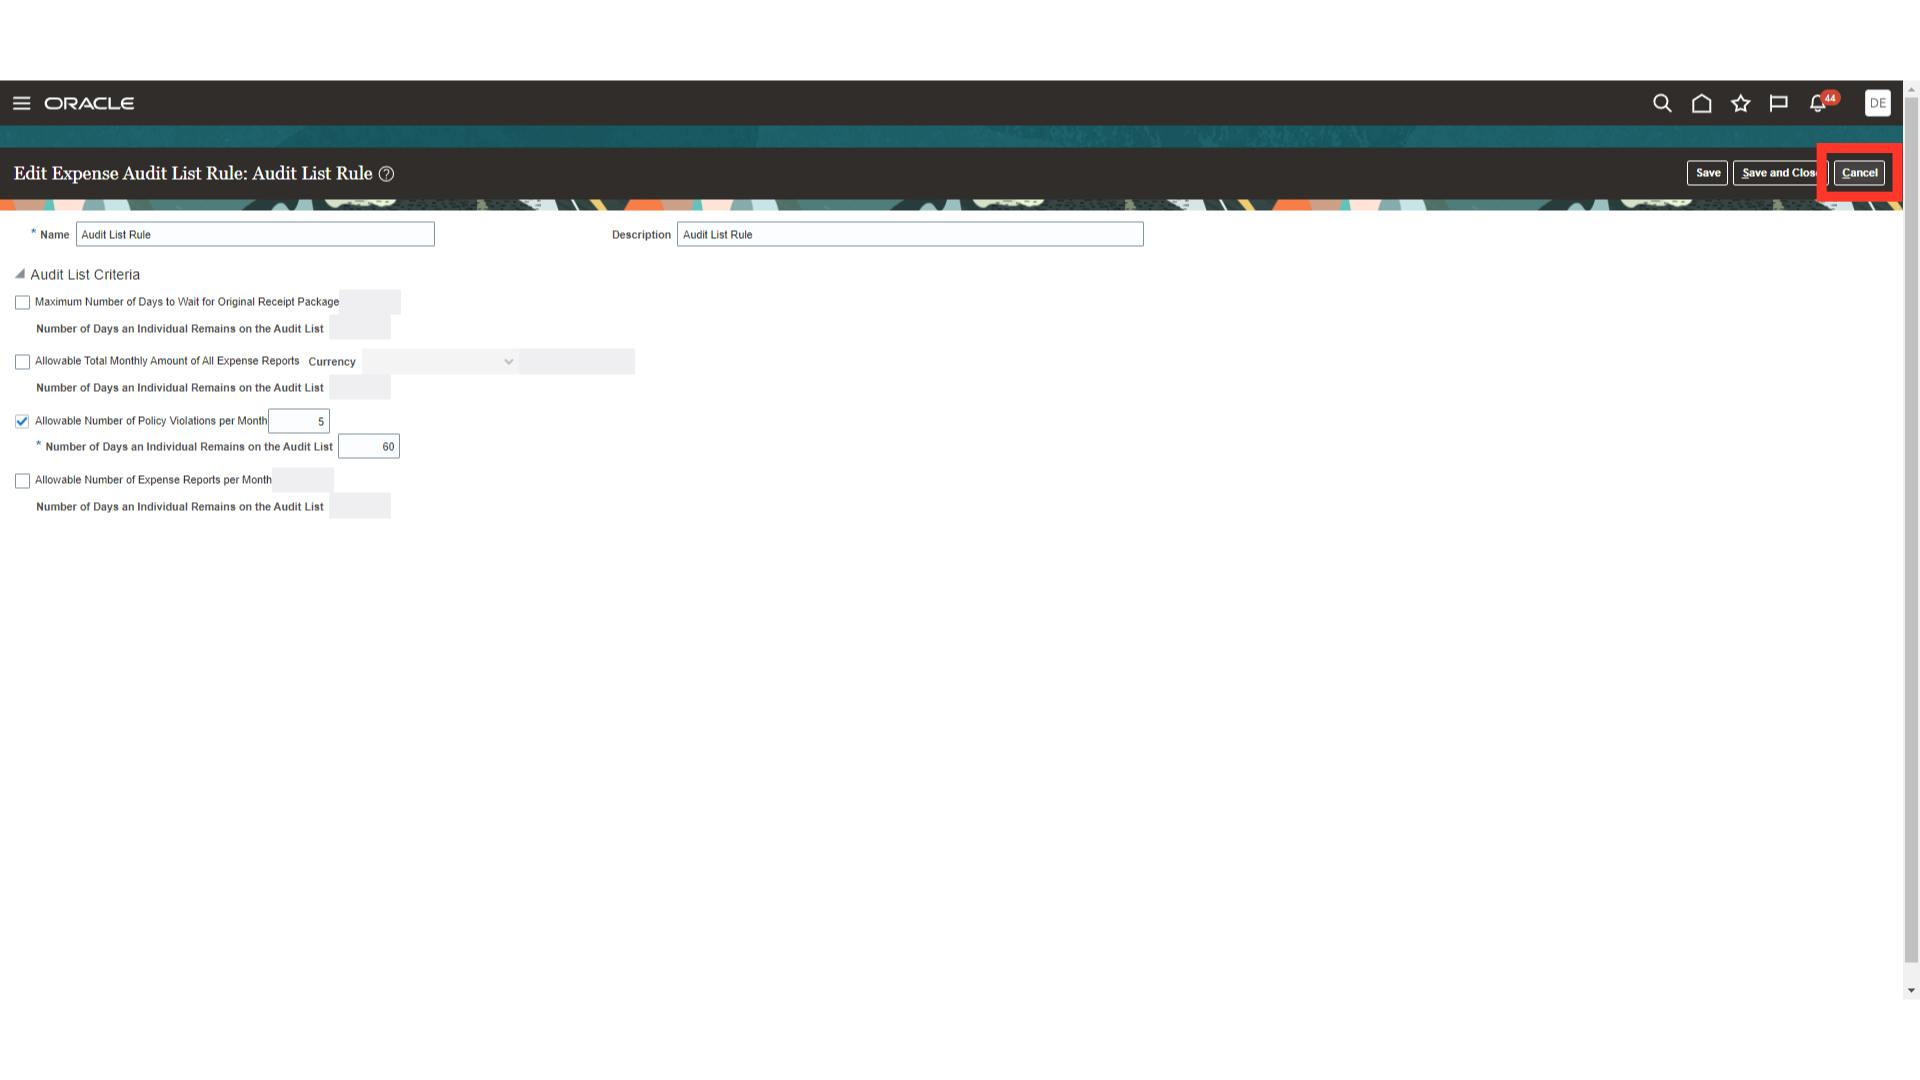
To save the settings, click on the Save and Close button or click on Cancel to return to the Audit List Rules list.
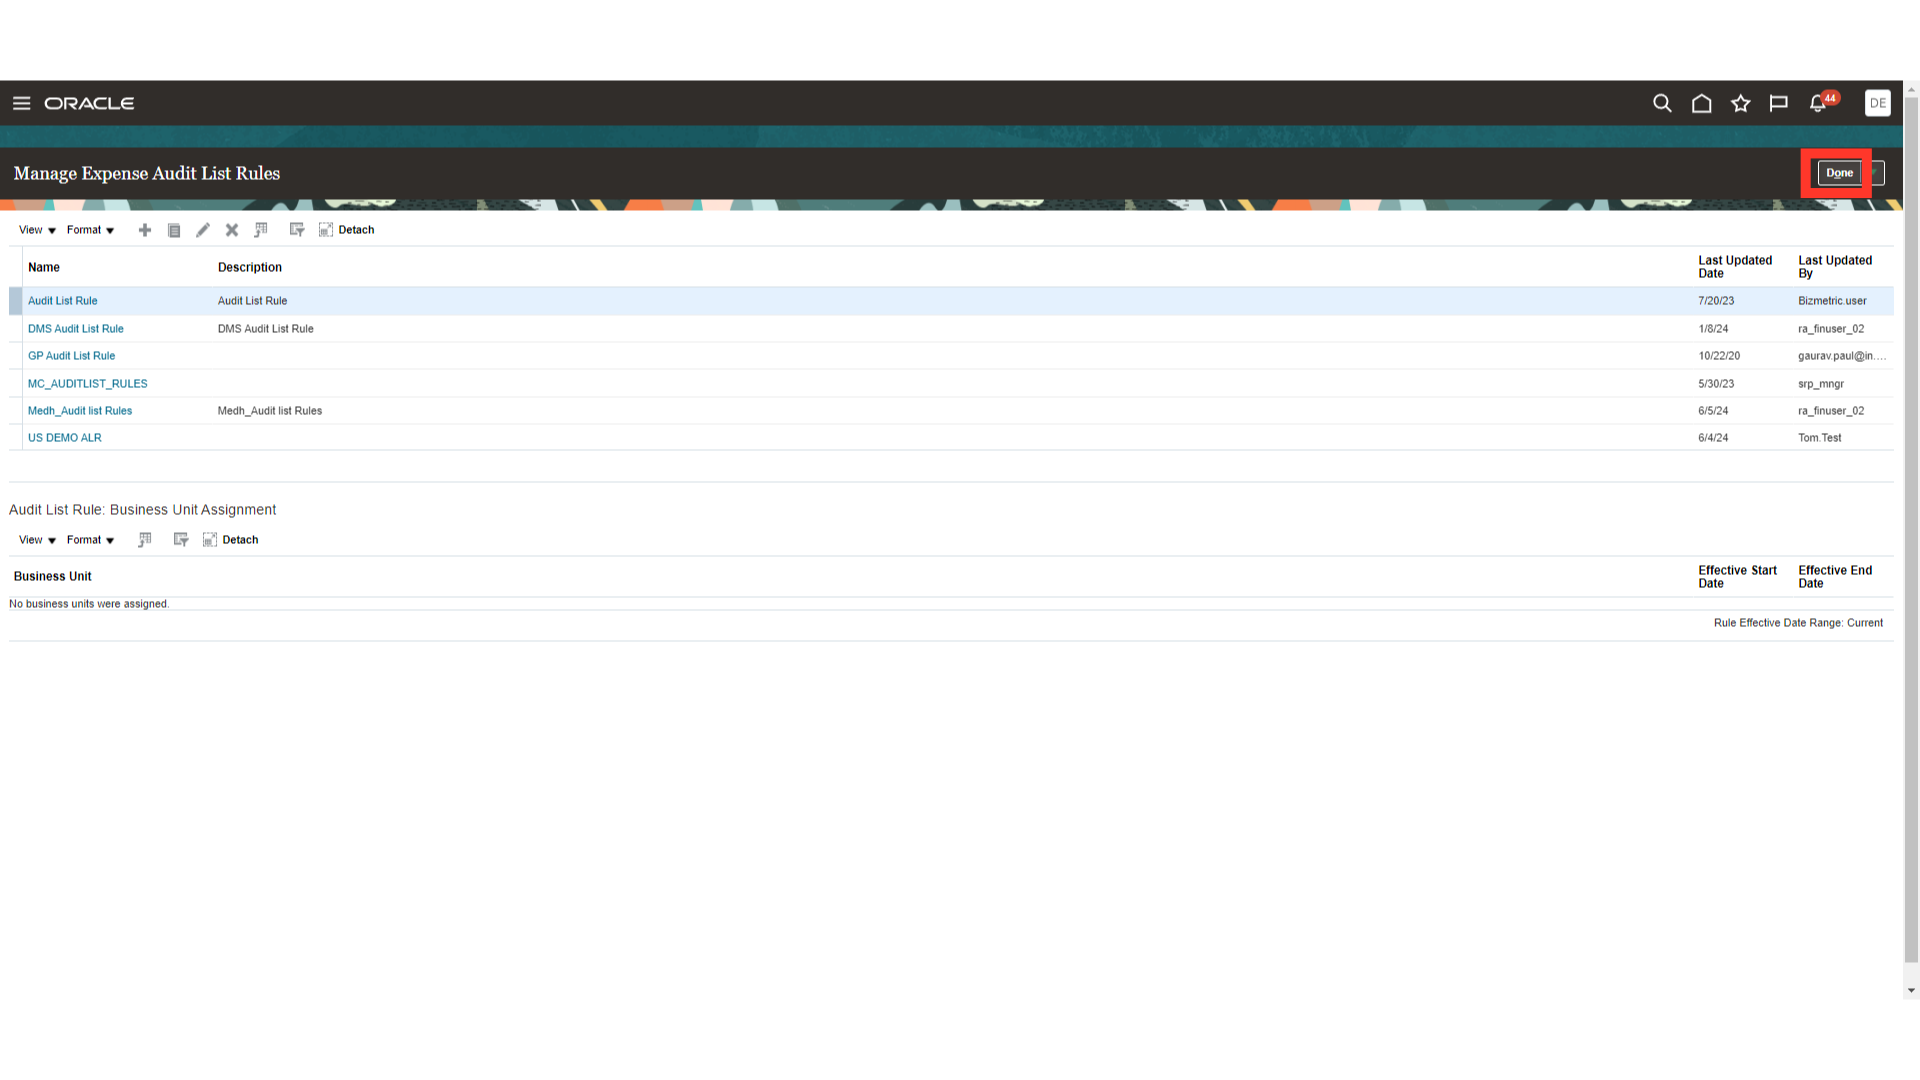
Click on the “Done” button to return to Setup and Maintenance page.
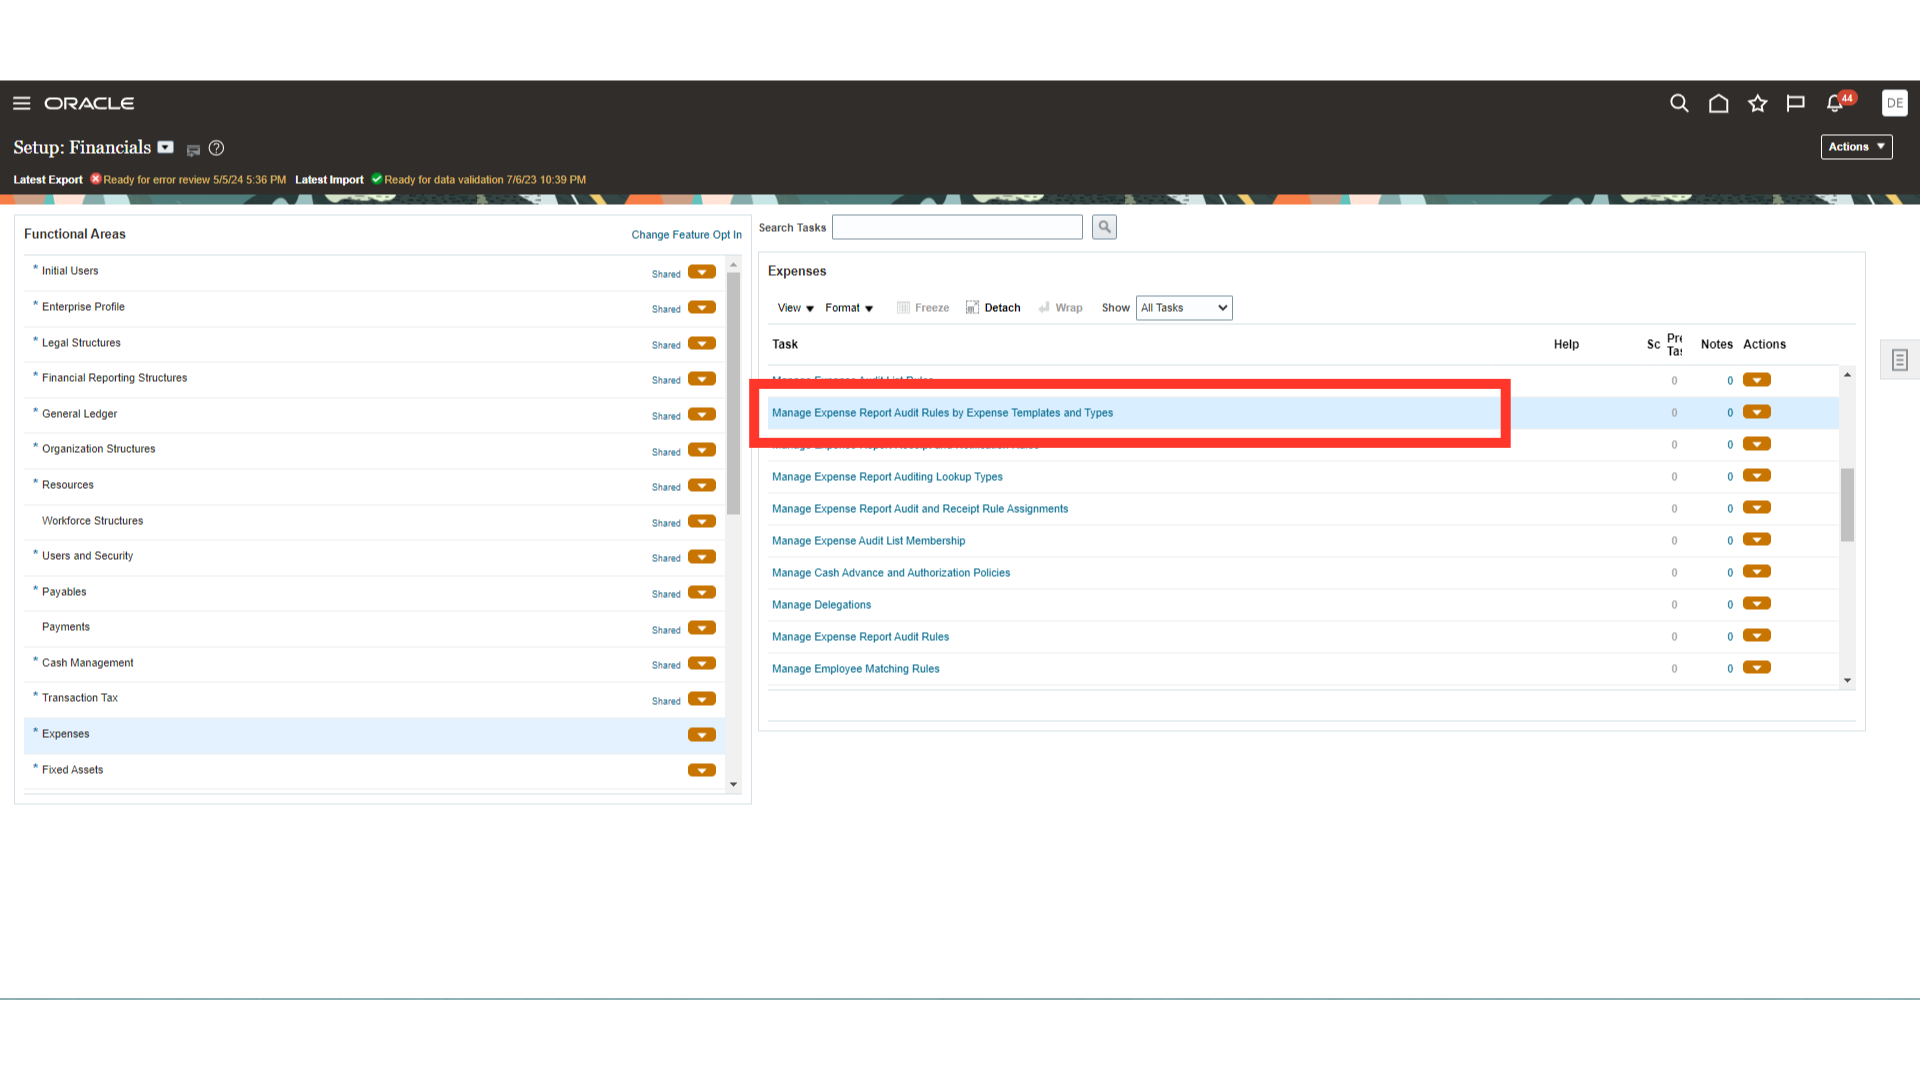
To include an expense report for the audit process based on an expense template and amount limit, click on “Manage Expense Report Audit Rules by Expense Templates and Types” option.
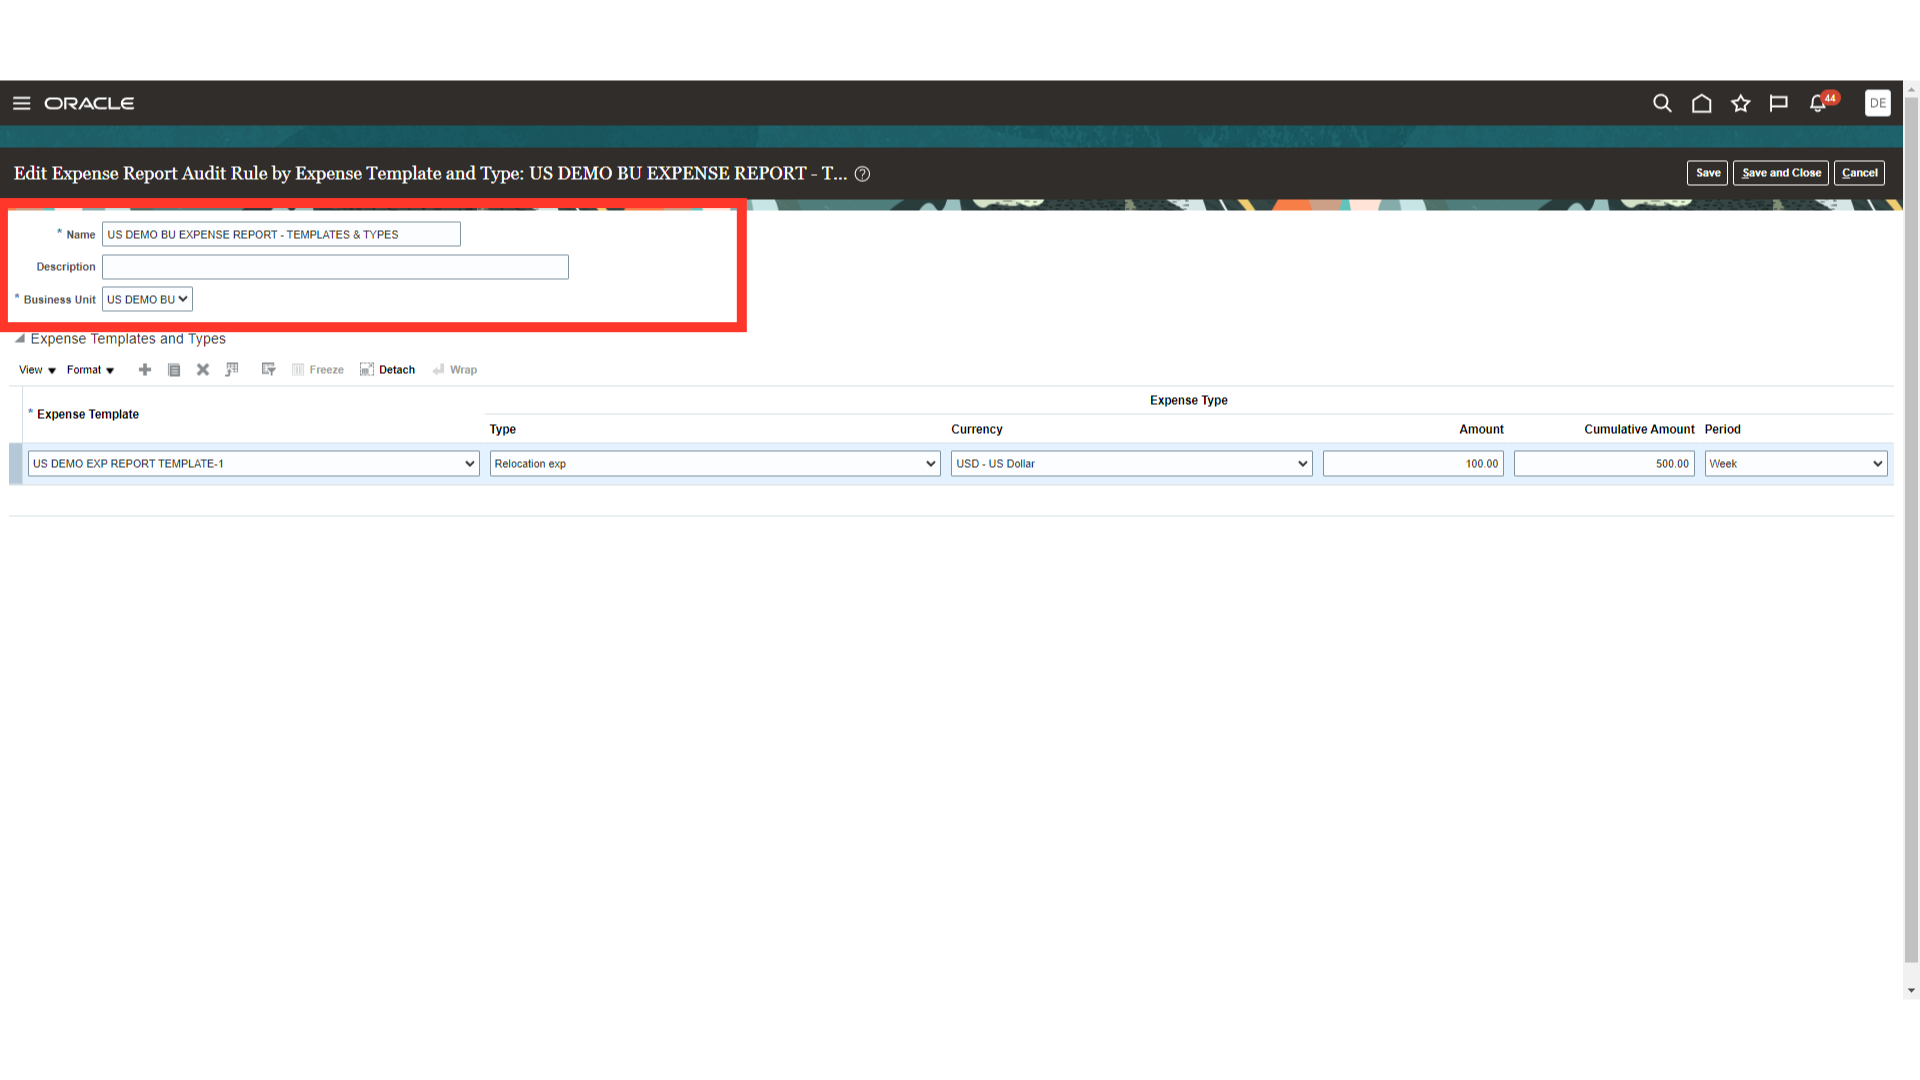
Click on the Plus icon to create a new audit selection rule. Here for Demo purpose, we will open the ” US DEMO BU EXPENSE REPORT – TEMPLATES & TYPES” by clicking on the rule name.

Enter the appropriate rule name and select the required Business unit.
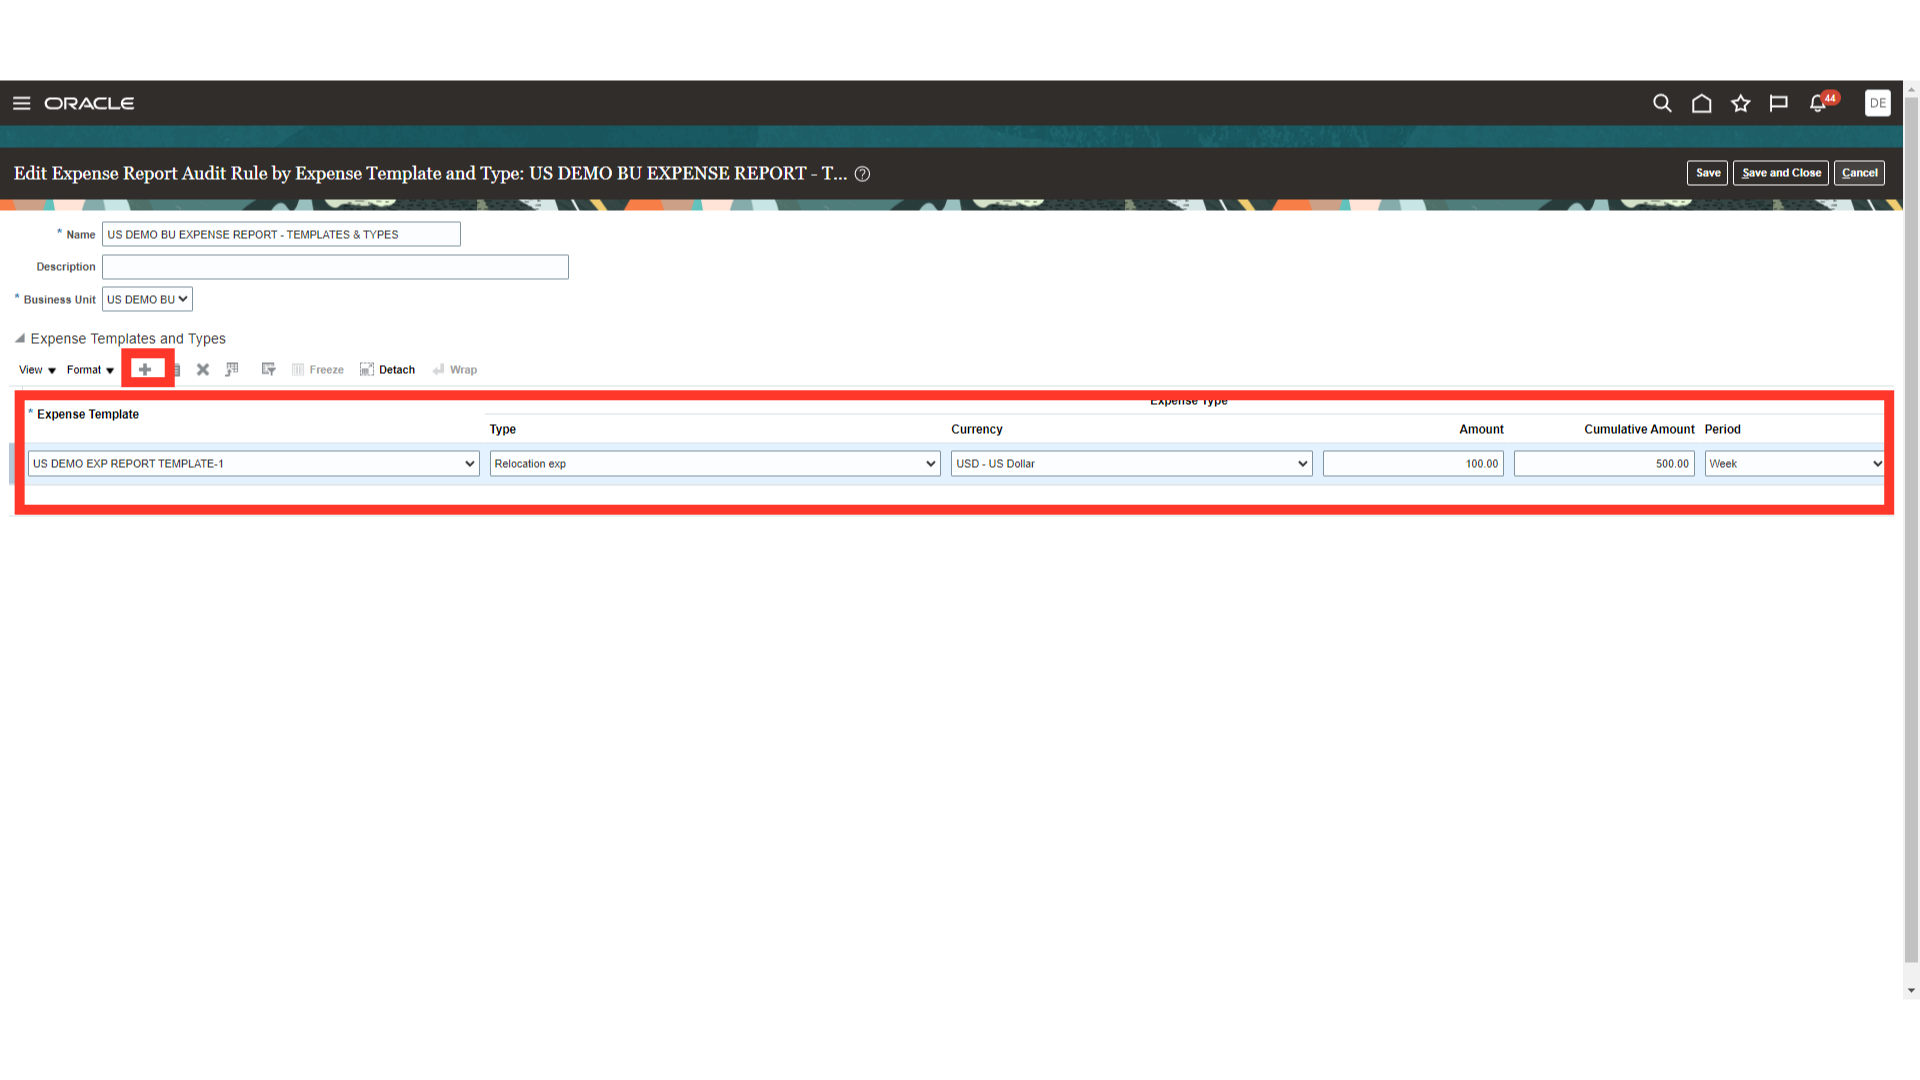
To add the new Expense template and Type, click the Plus Icon. Choose the type and format for the expense reports, the currency of choice, and the total and cumulative criterion amount depending on which expense reports are included in the audit. Additionally, decide which time frame will be used to compute the cumulative amount.
To save the settings click on the Save and Close button. Otherwise, directly click on Cancel button to return to rules list.
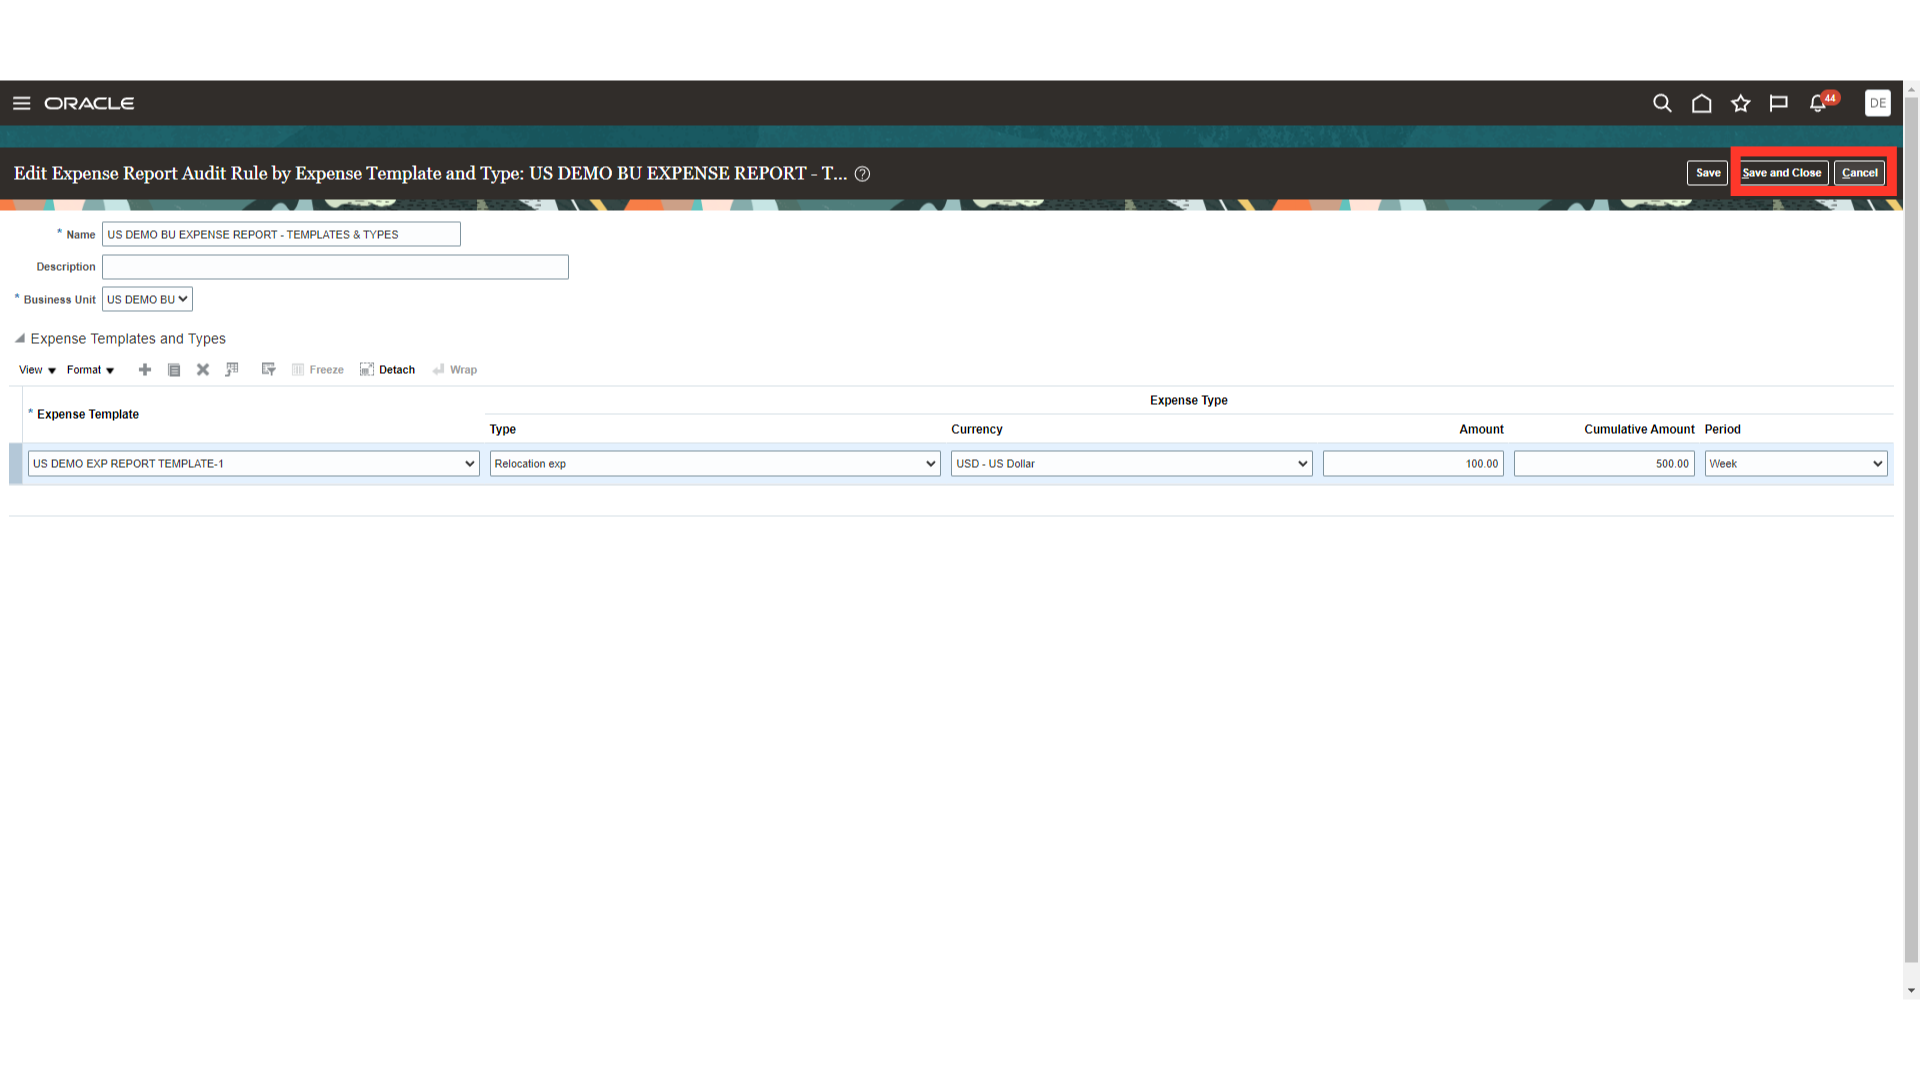
Click on the Done button to return to Setup and Maintenance page.

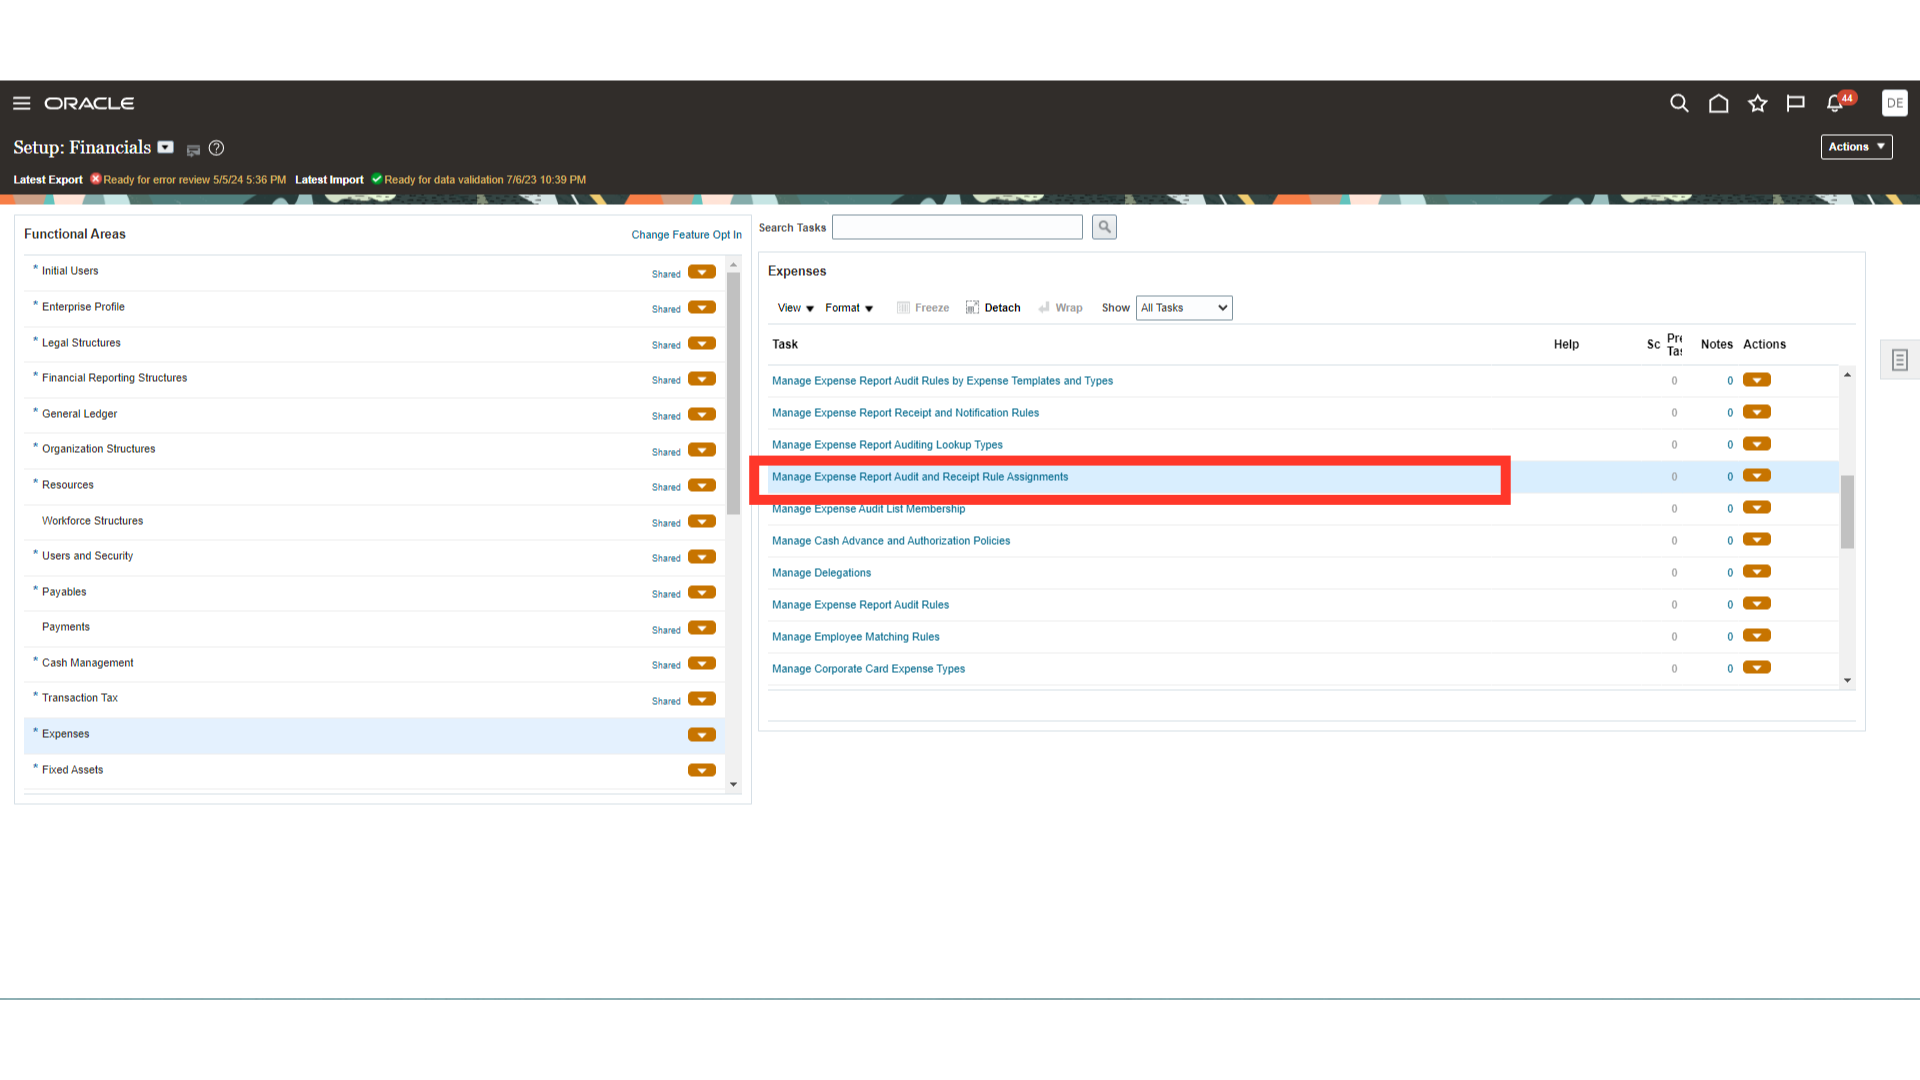
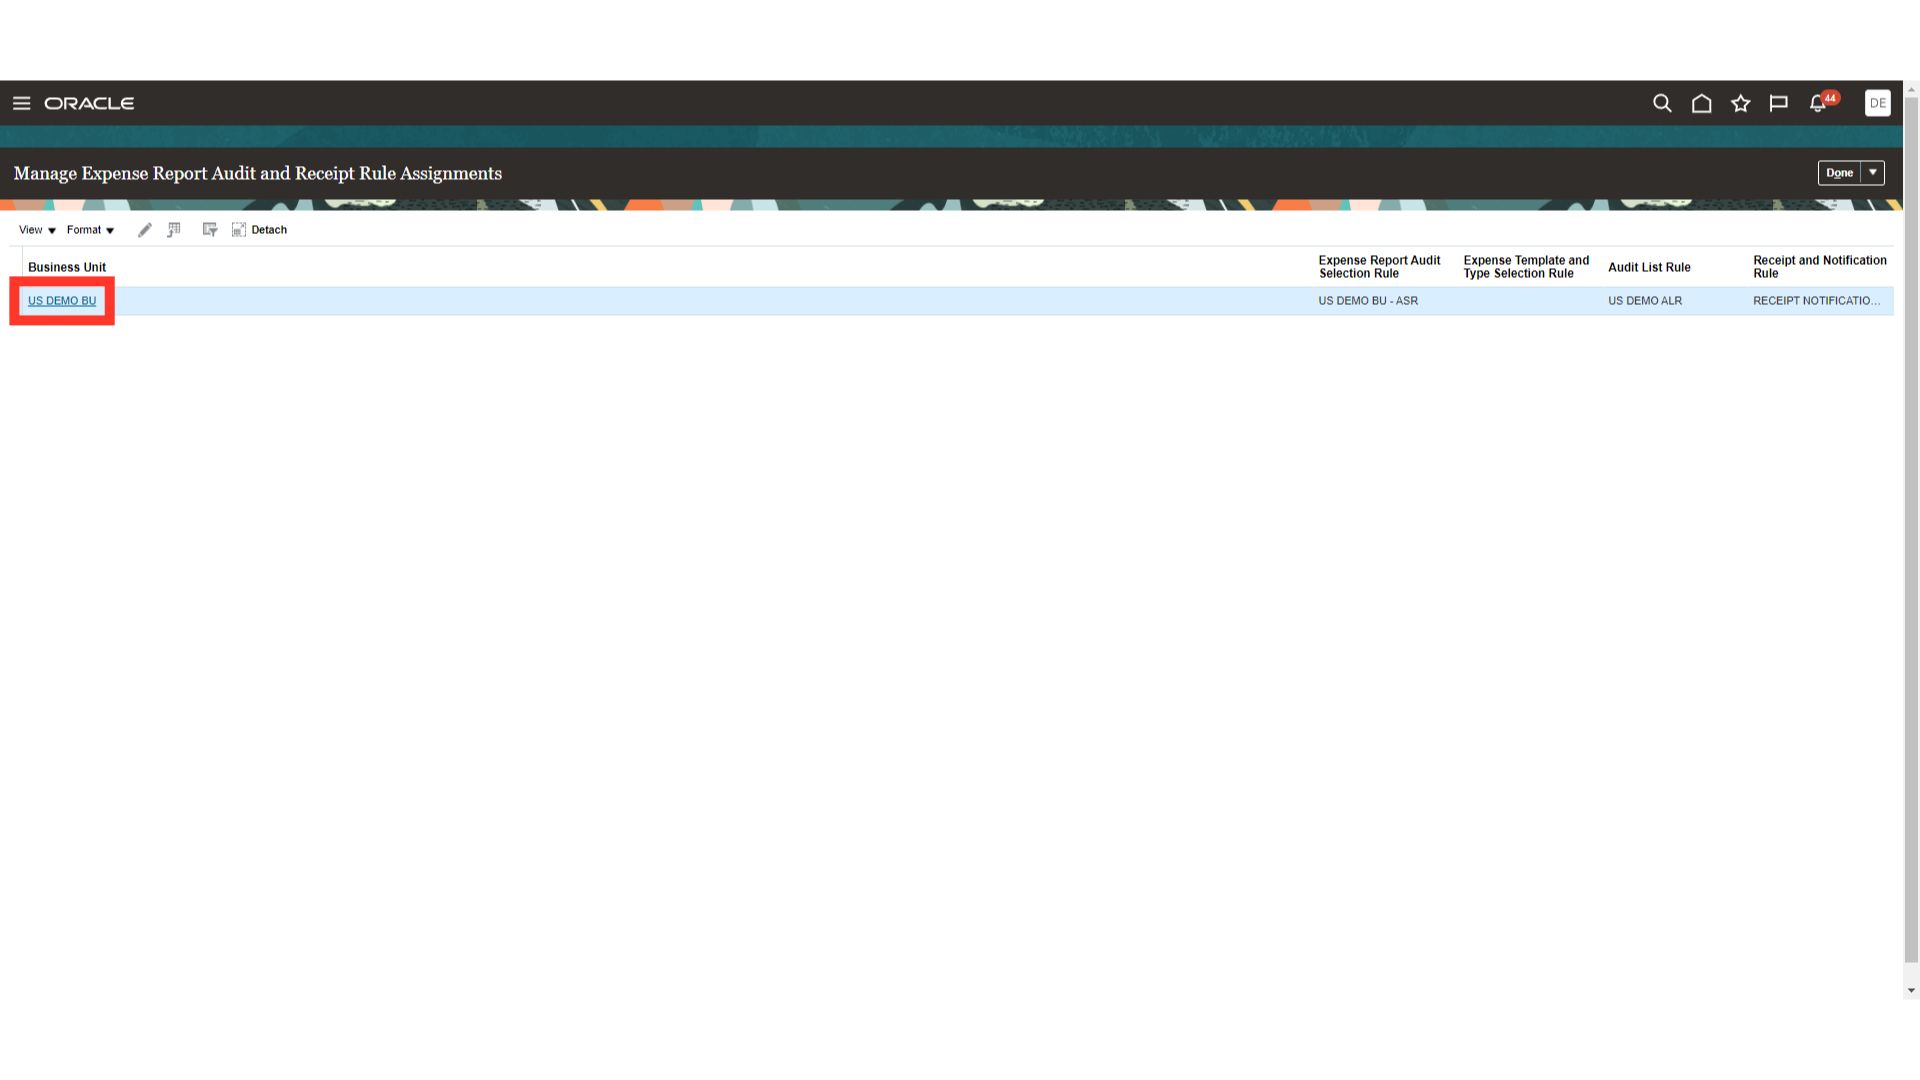
Click on the “Manage Expense Report Audit and Receipt Rule Assignments” to add the audit rules which you have created in above steps.
Audit rules need to be added to the Business unit. Open the setup by clicking on the Business unit name.
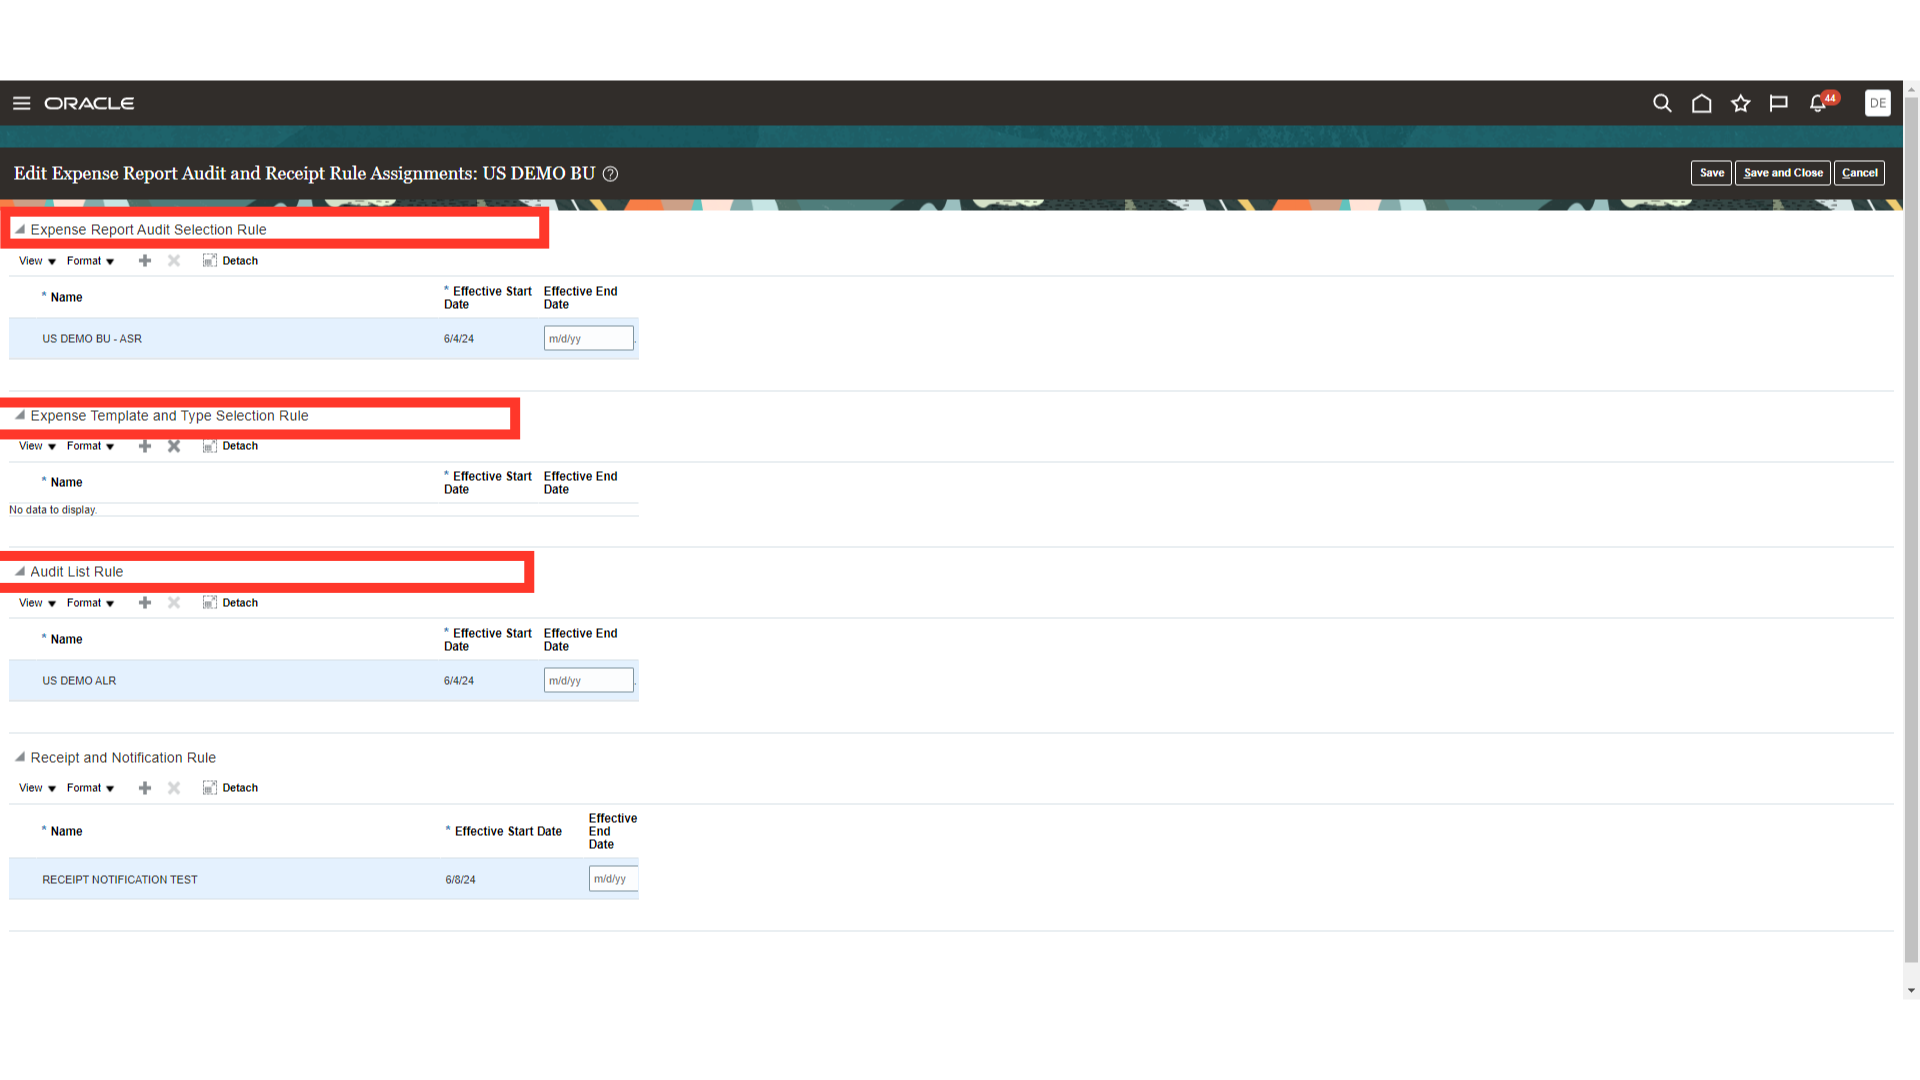
All the Audit rules such as Expense Report Audit Selection Rule, Expense Template and Type Selection Rule and Audit List Rule are assigned under this setup. Click on the plus icon to add the rule and enter the effective start date.
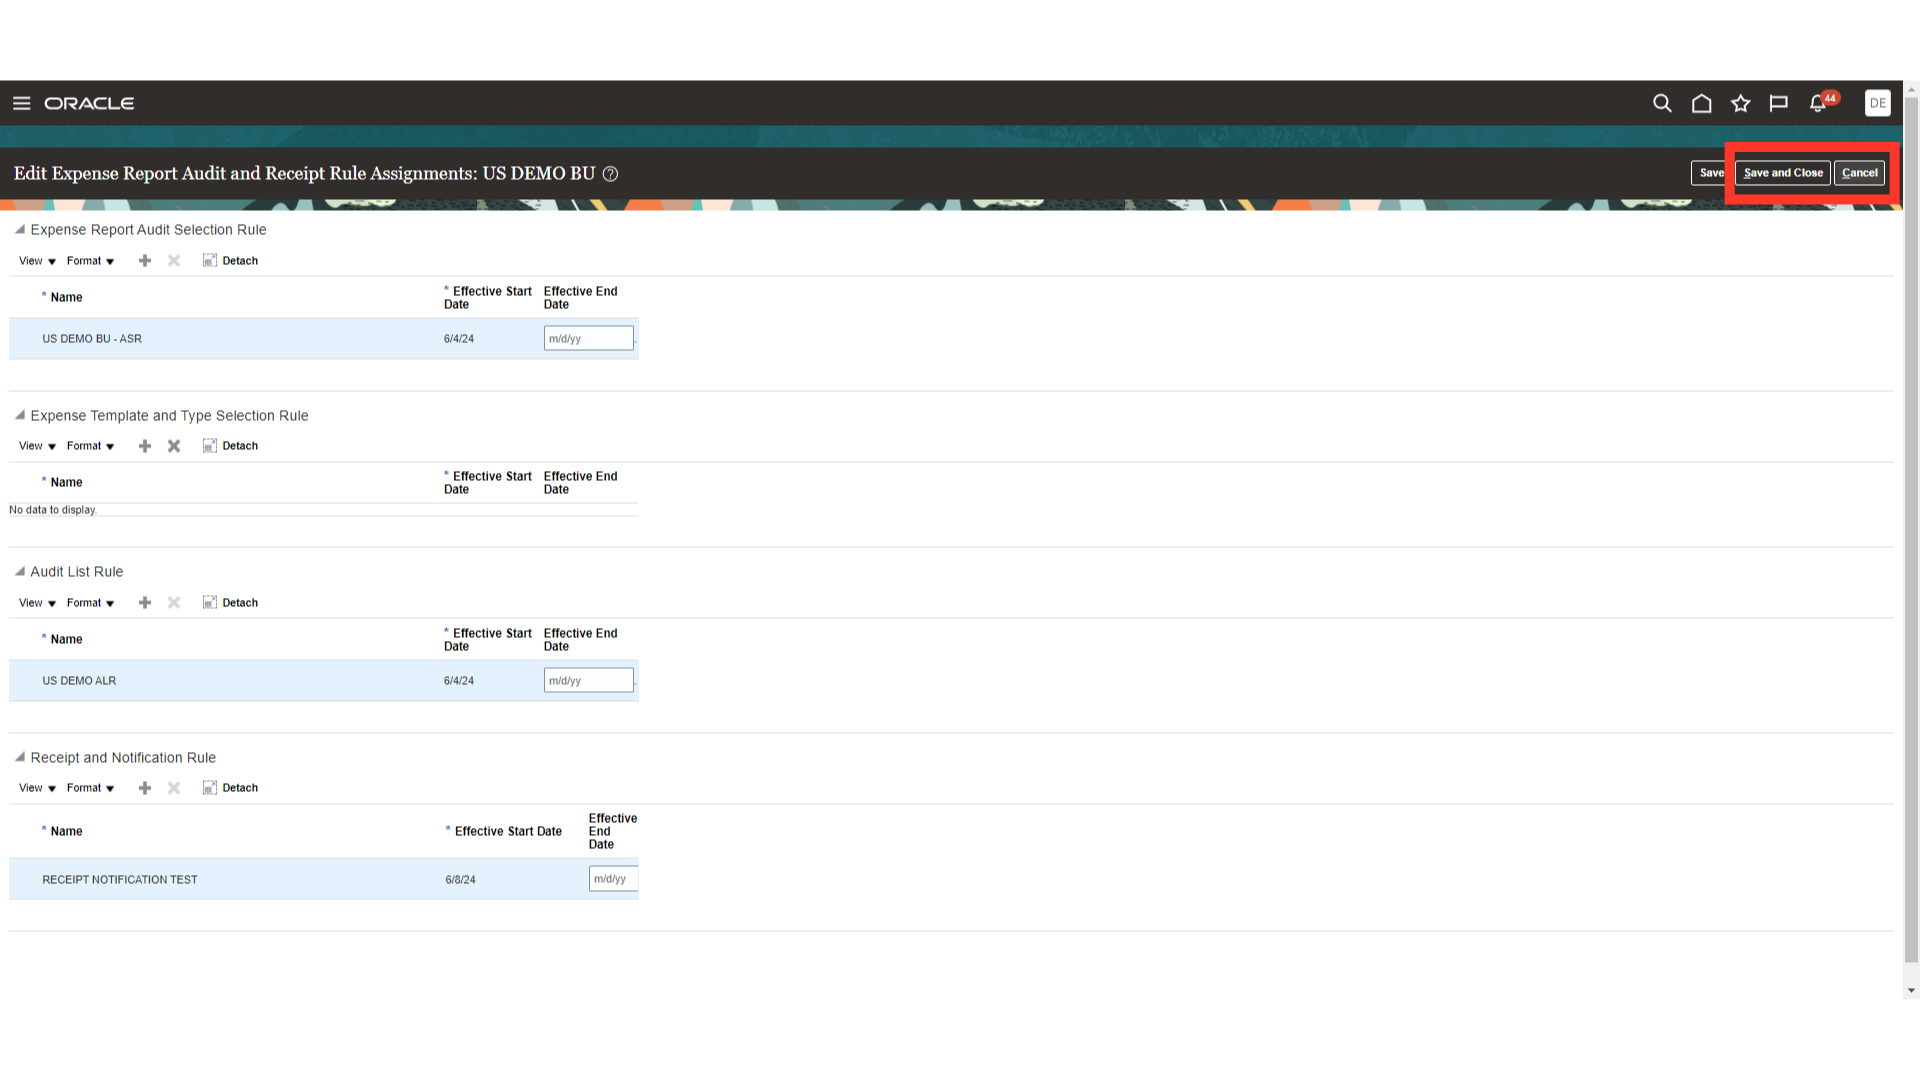
To save the settings click on the Save and Close button. Otherwise, directly click on Cancel button.
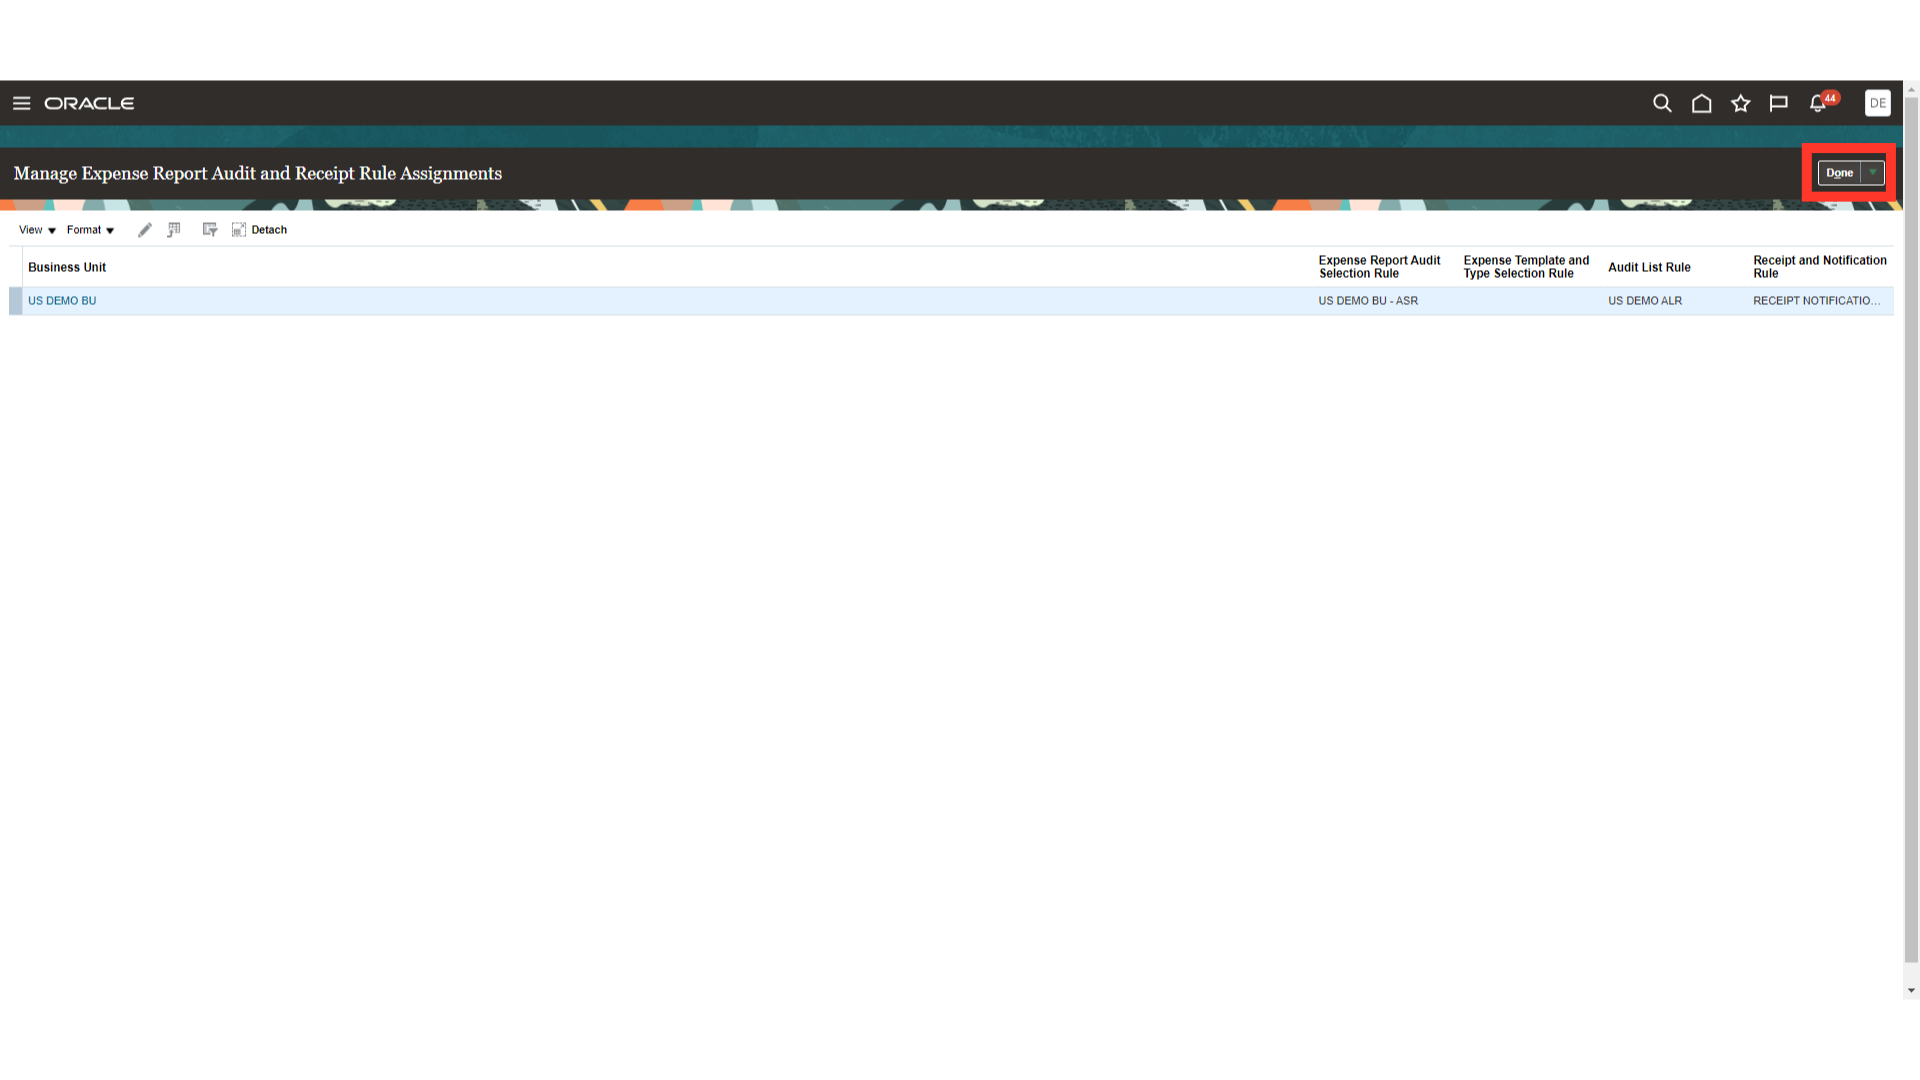
Click on the Done button to return to Setup and Maintenance page.
The creation of the audit rule based on the amount, expense template, and expense type criteria has been thoroughly explained in this guide. Furthermore, the procedures for assigning audit rule to the business unit have been discussed.