Benefits_Adding A Life Event
Navigation: Home>Benefits Administration>Enrollment>Search for the Employee>Benefits Summary>Potential Life Events>Click Add>Save and Close
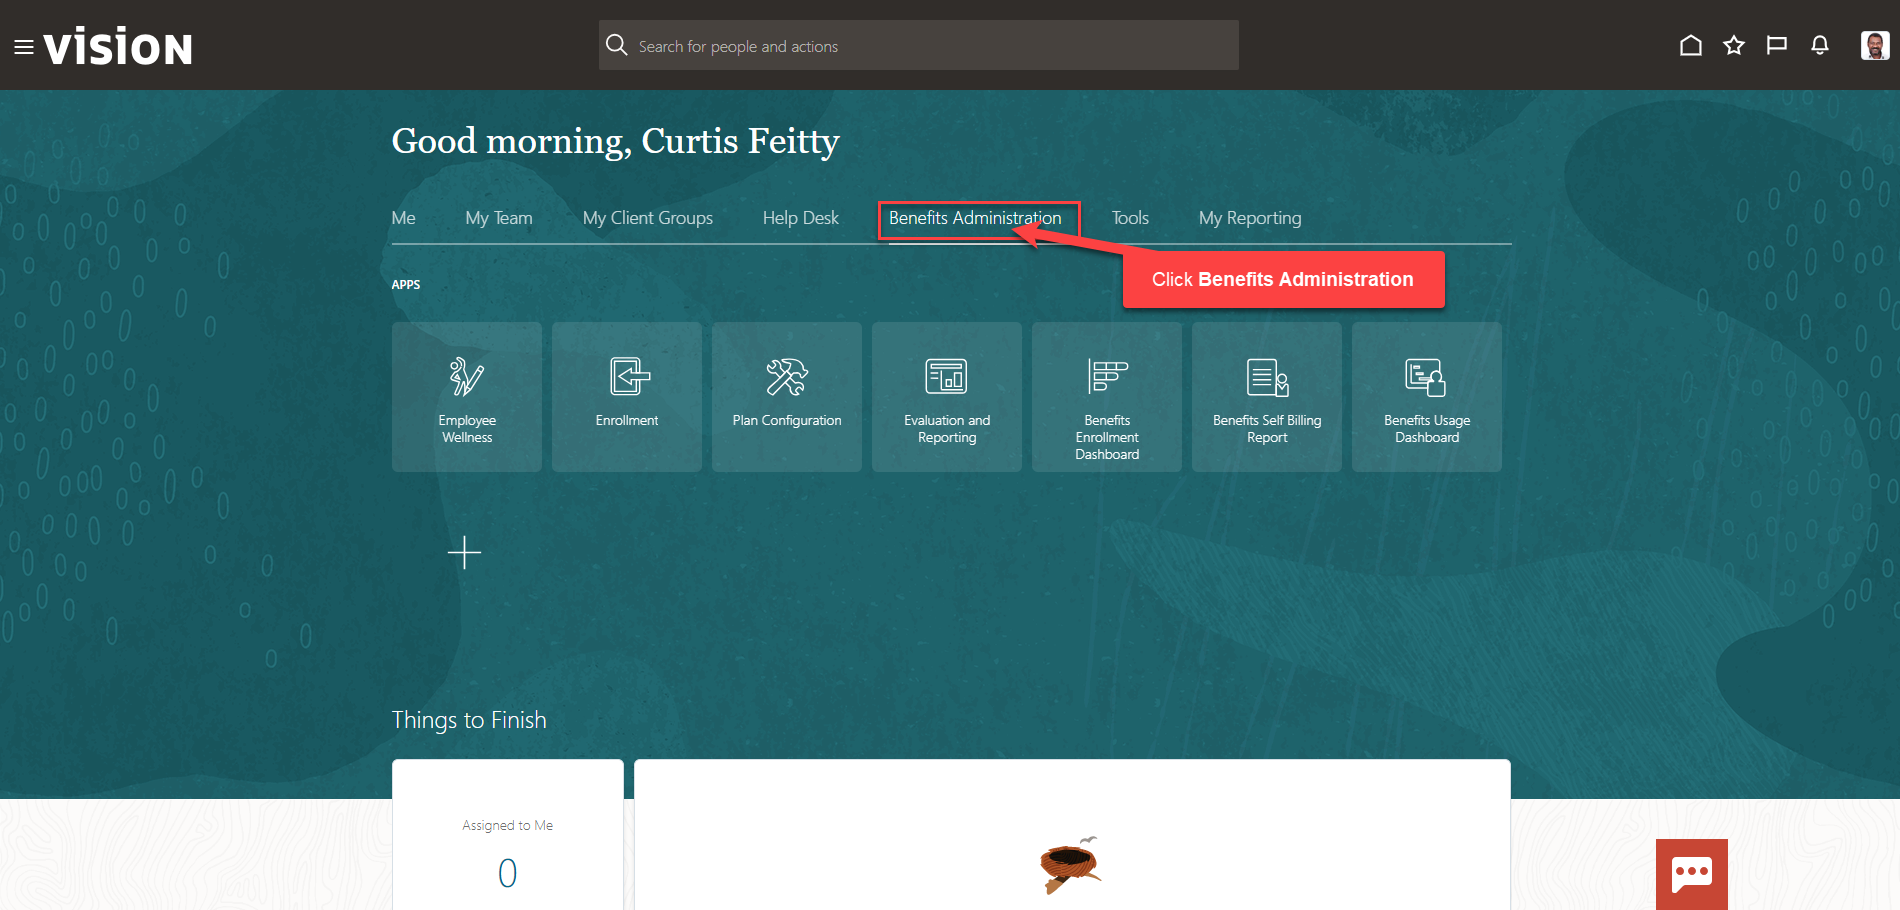
From the home screen, click Benefits Administration
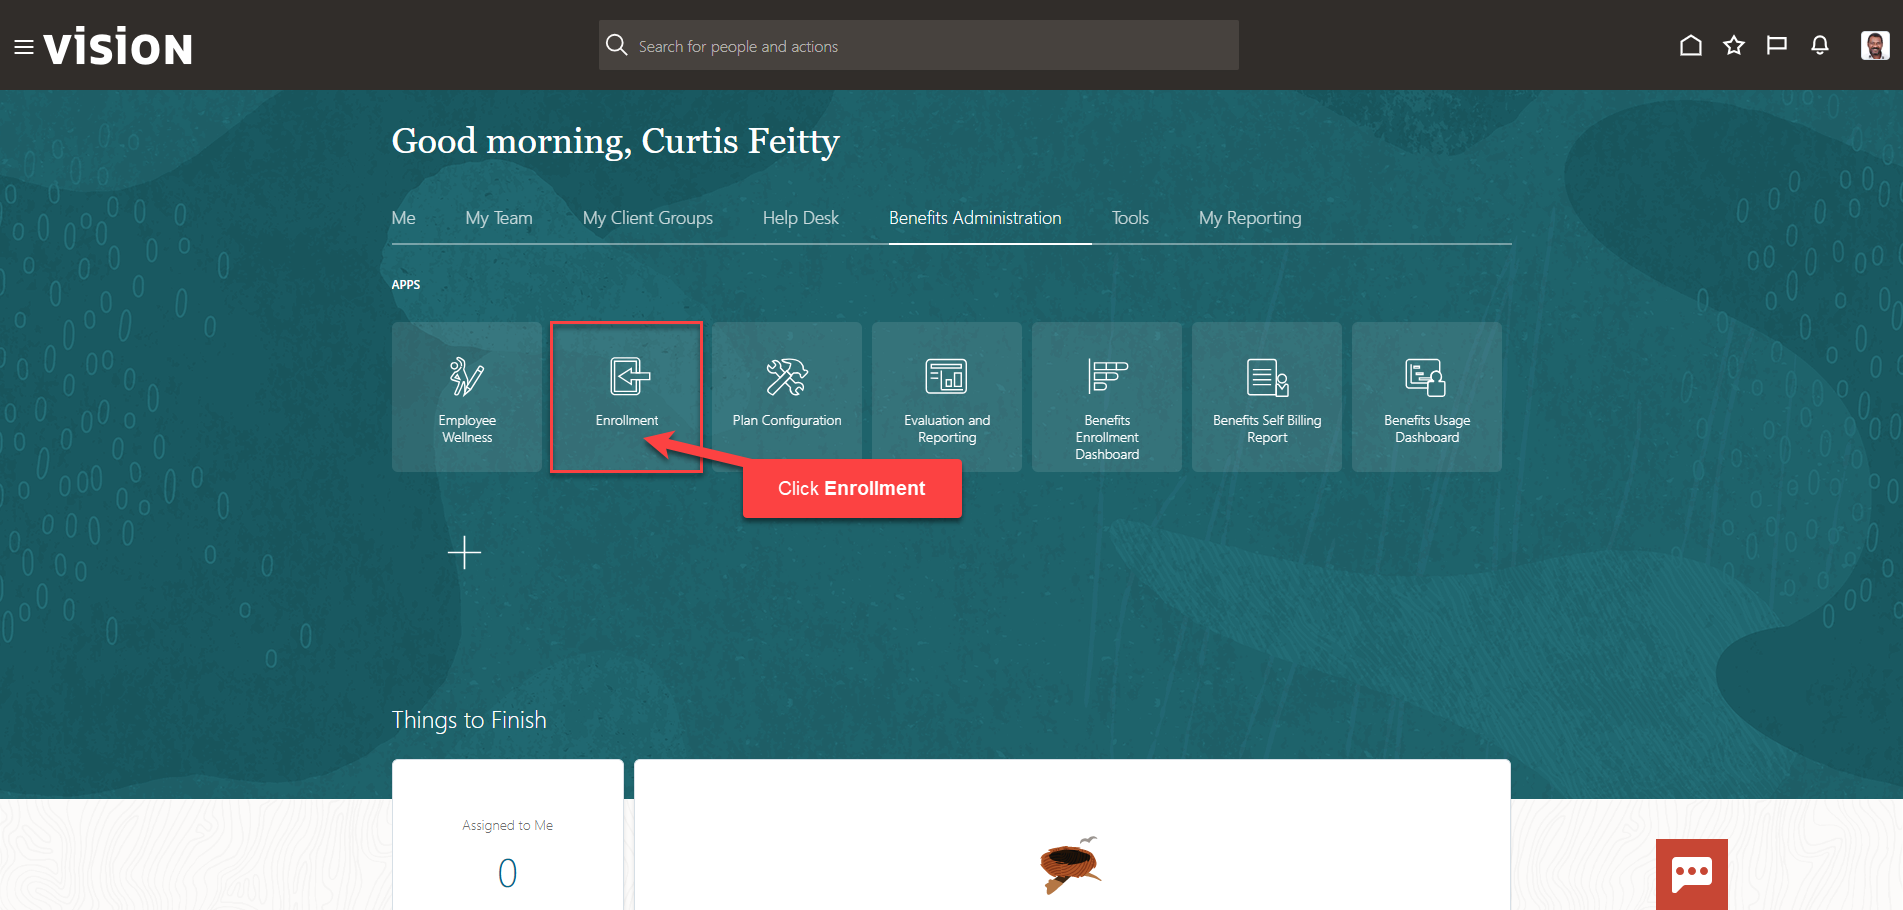
Next, click Enrollment
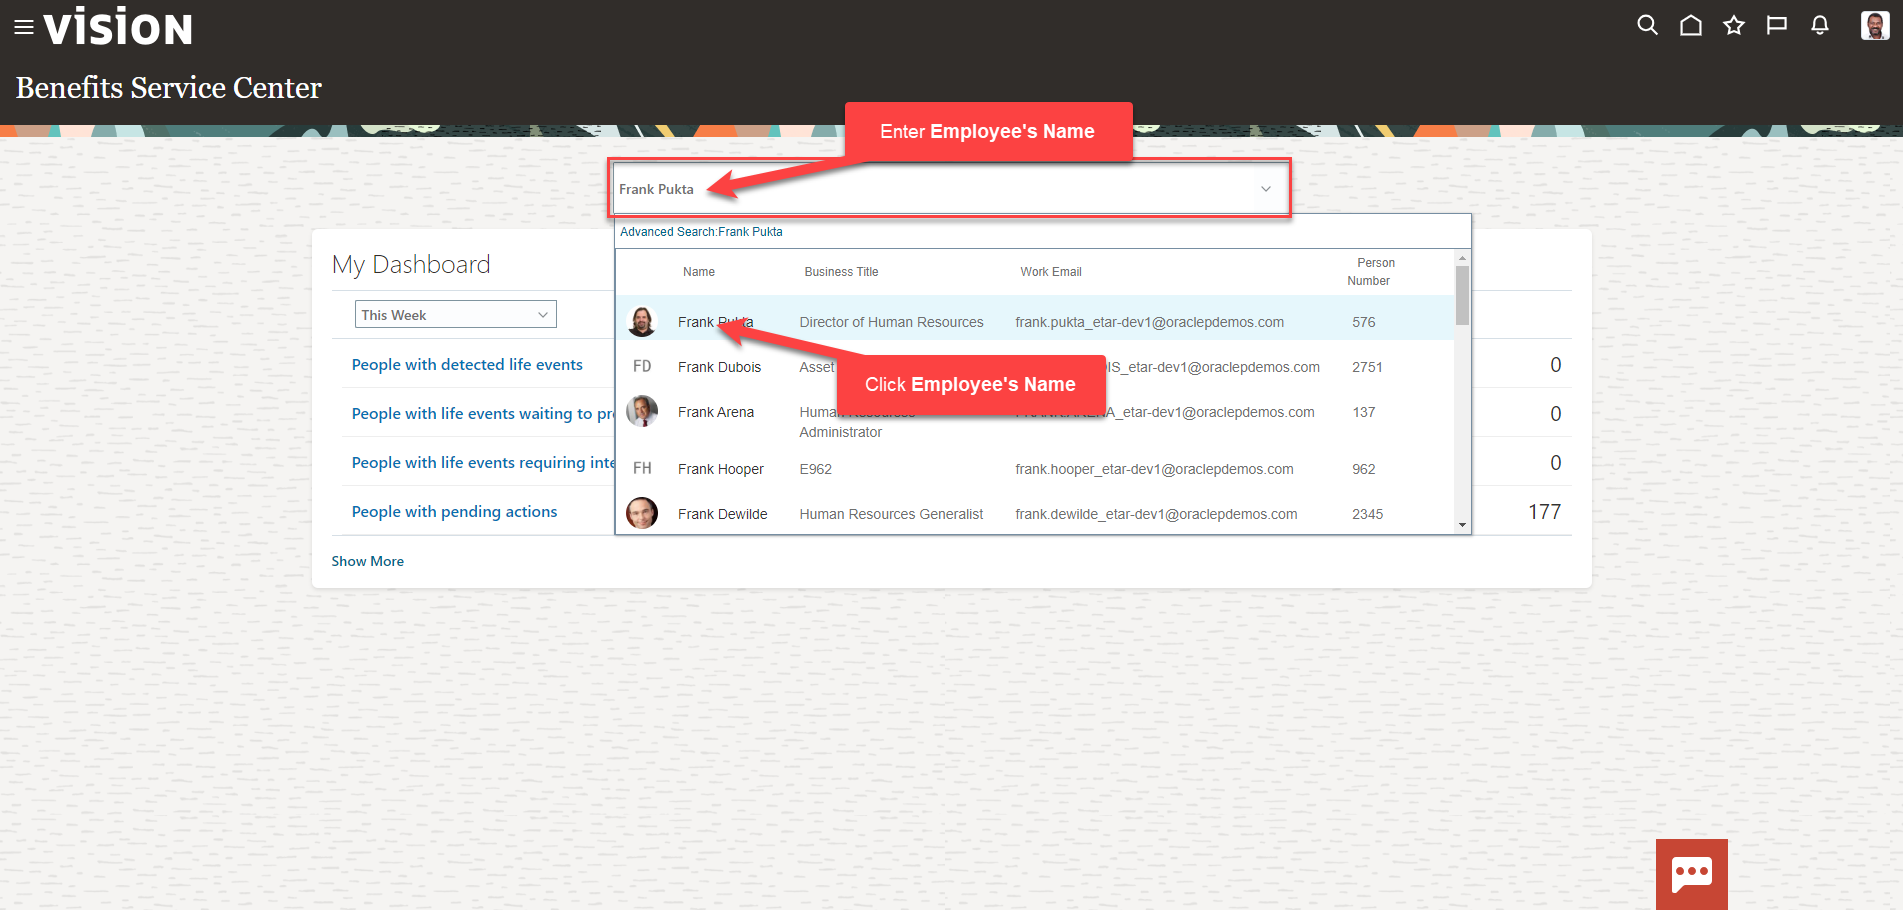
After clicking the Enrollment app, the Benefits Service Center Page is displayed.
Search for the employee for whom we wish to view or manage their enrollments. Once the employee’s name is visible, click on the employee’s name.
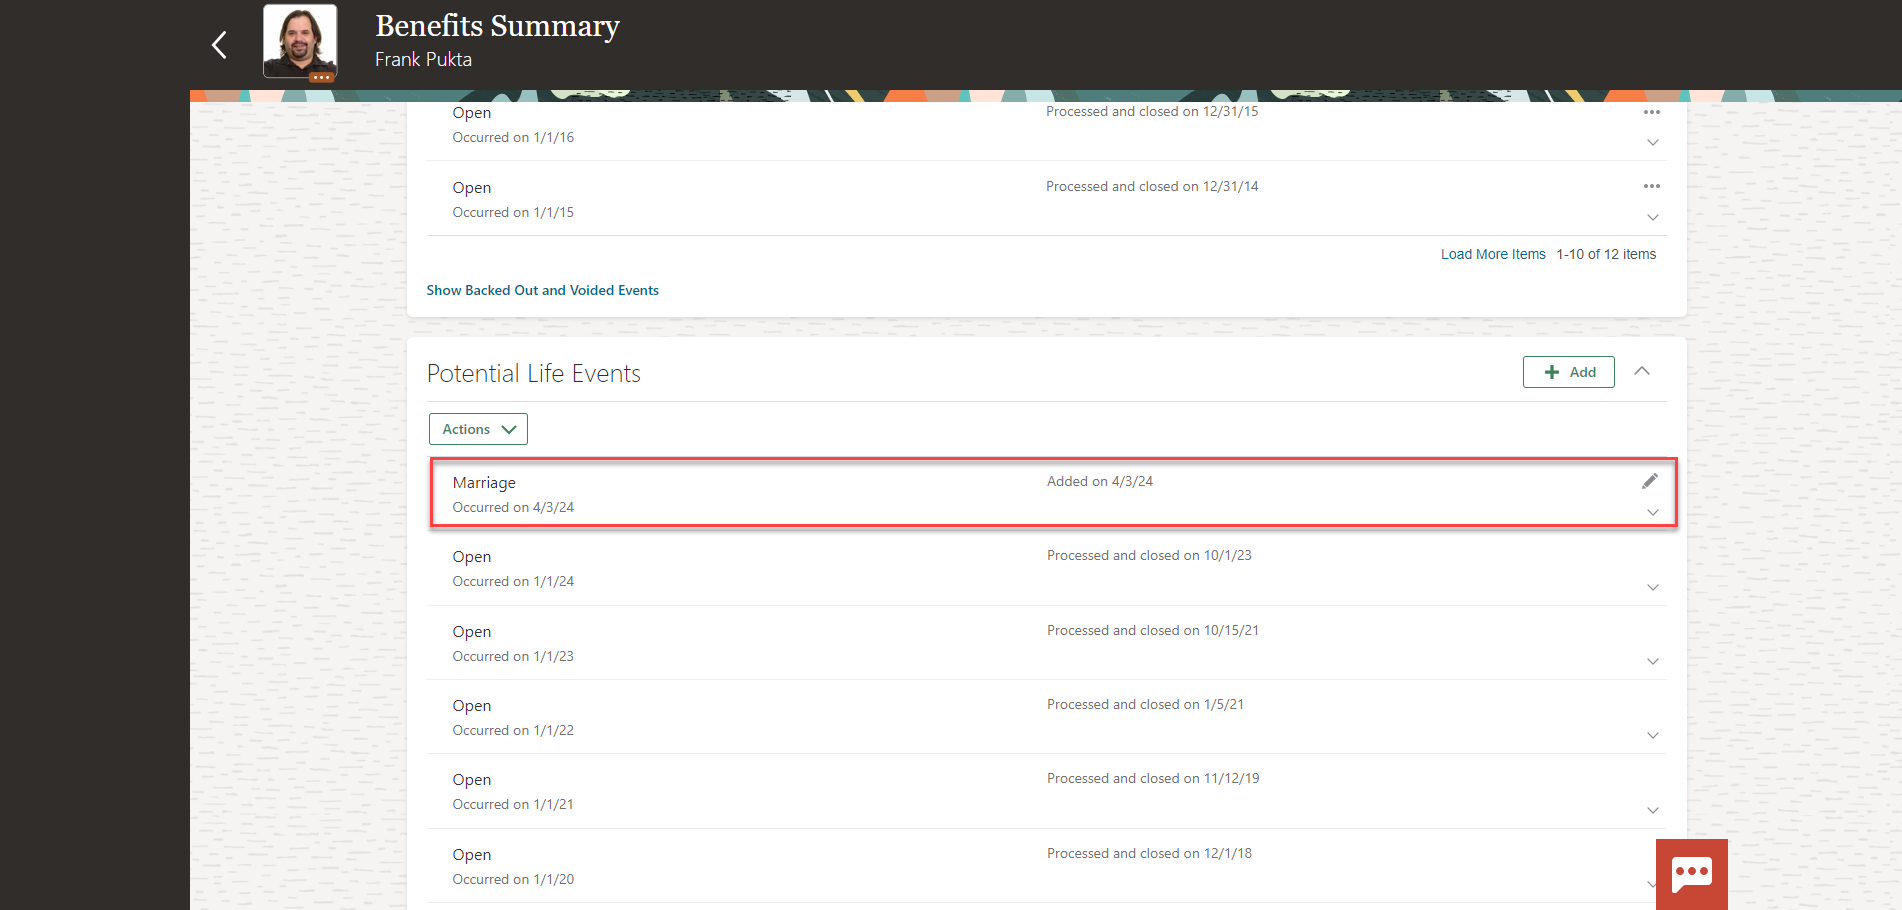
We are now viewing the Benefits Summary Page. Scroll down to Potential Life Events section. Click Add

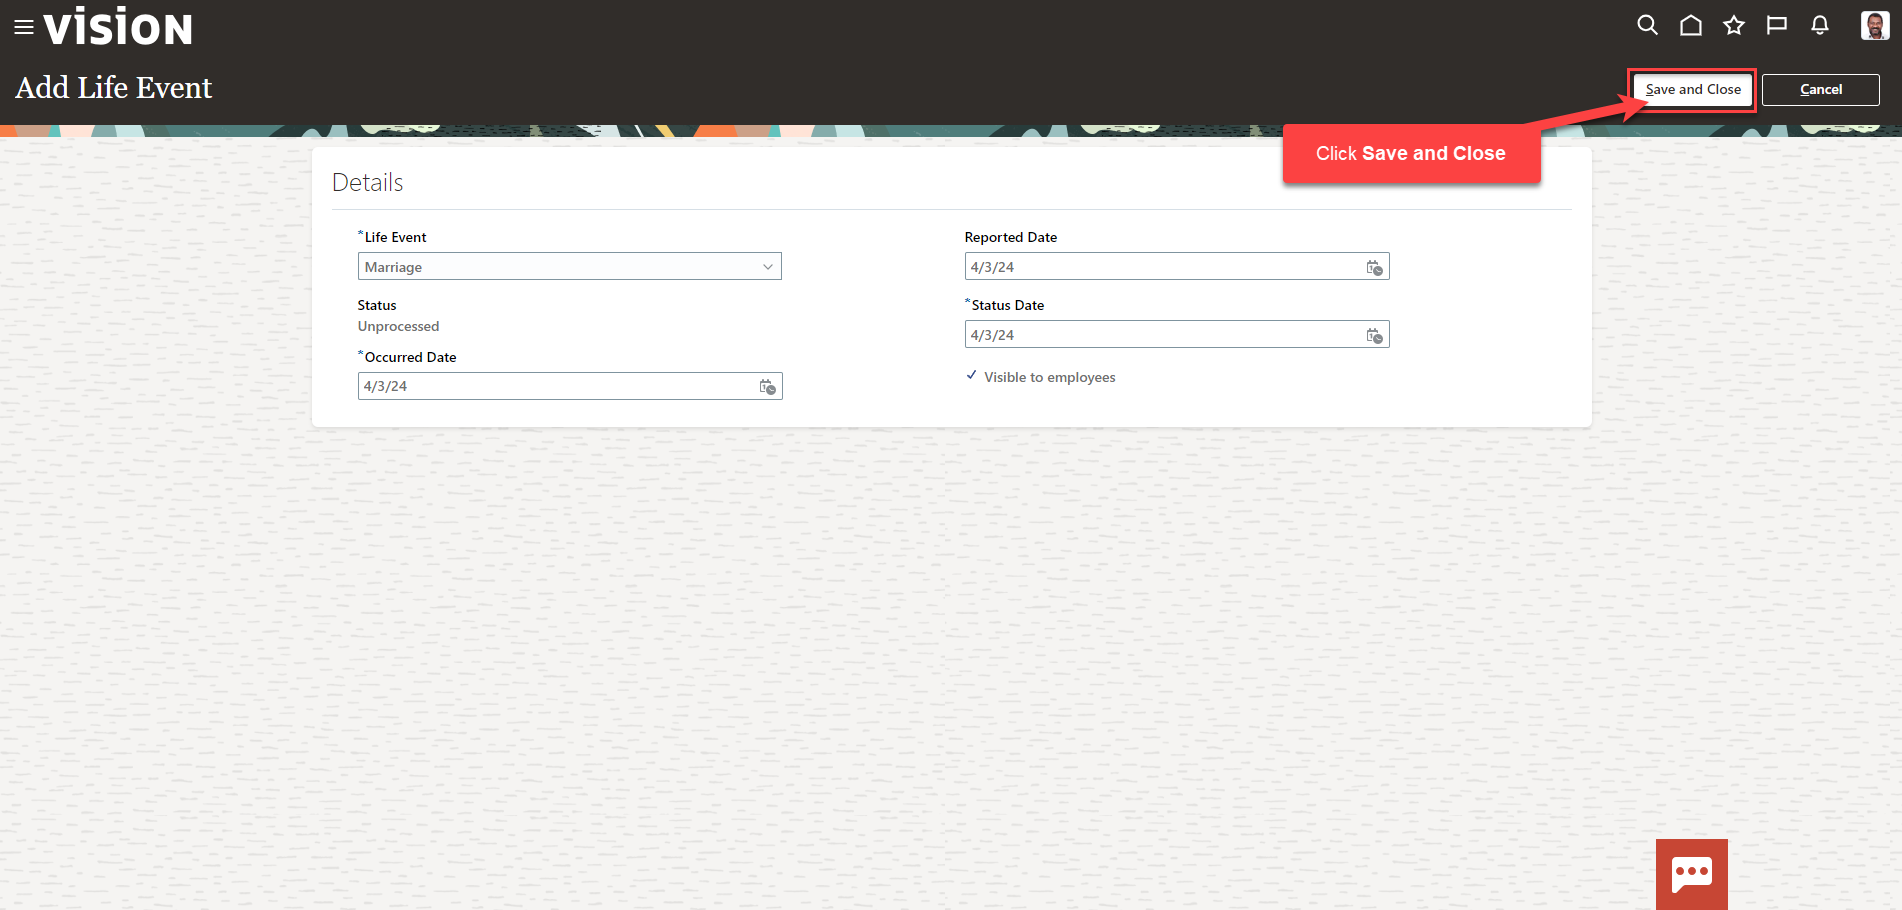
Next, select the Life Event that needs to be added from the dropdown. The Occurred Date is the date in which the Life Event occurred. Reported Date and Status Date can also be the same as the Occurred Date.
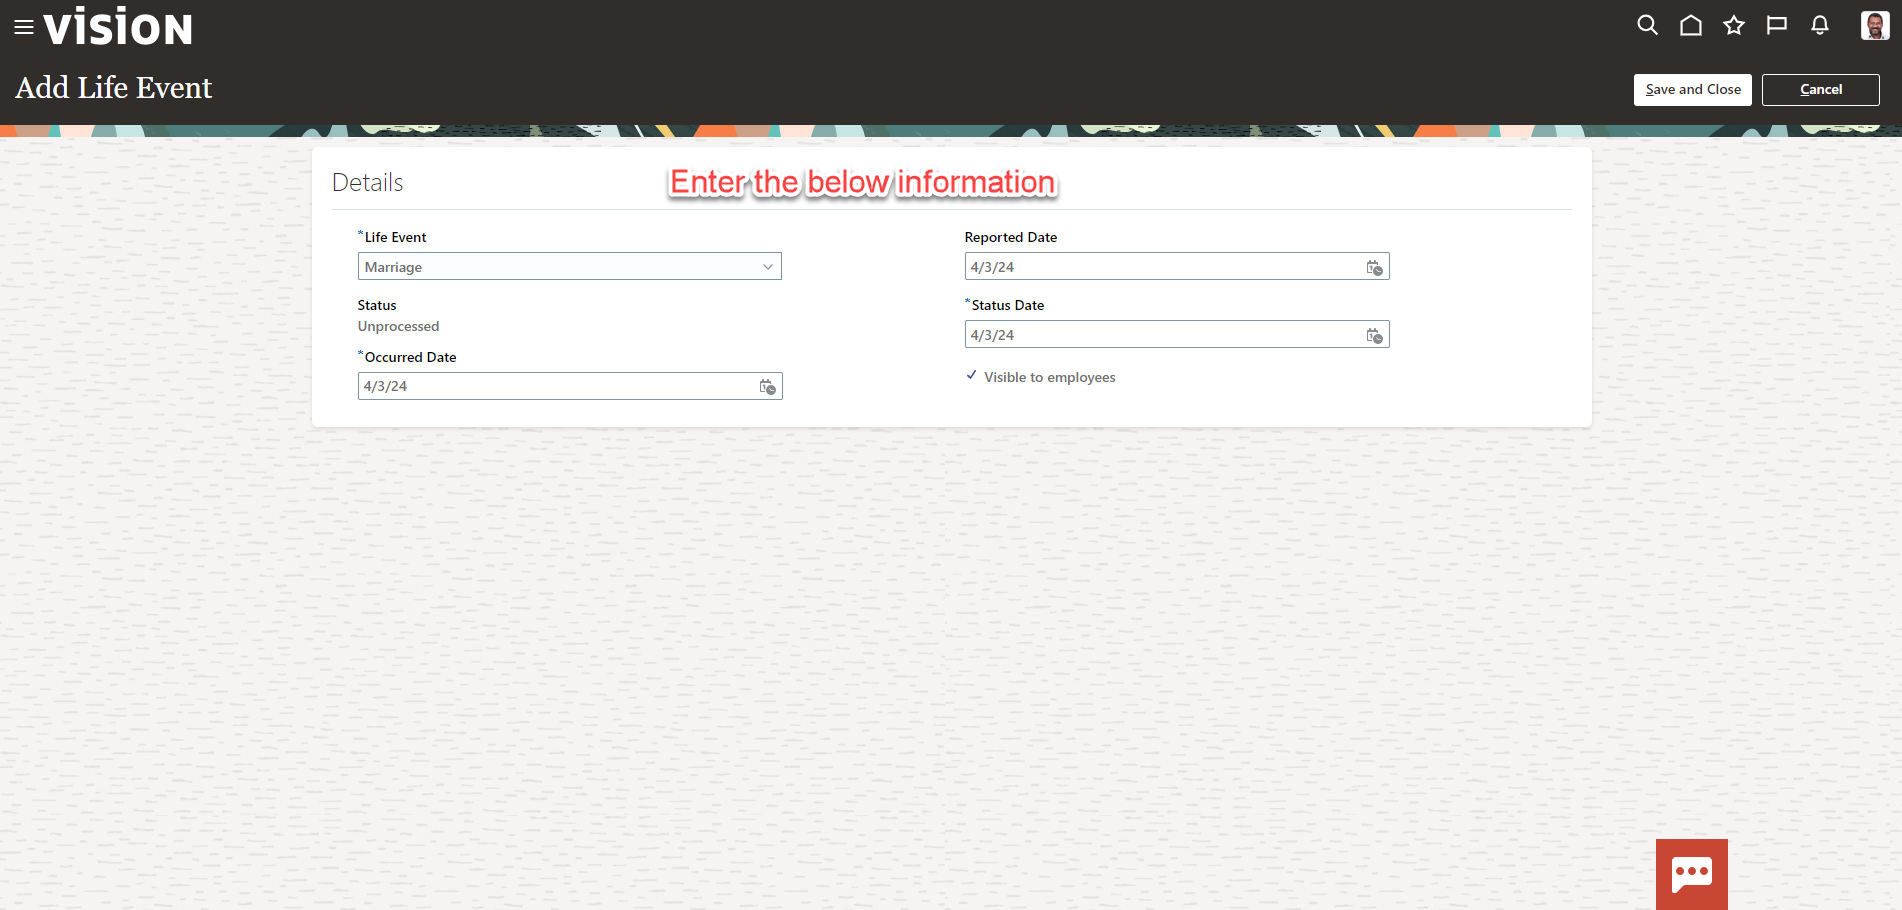
Lastly, Click Save and Close
Now the Life Event is added, it will be displayed in the Potential Life Events section as Added with the Occurred Date and will need to be evaluated to update benefit enrollments.
Next, we need to Evaluate the Life event.