Expense Category & Fields
This guide will walk you through the process of controlling expense fields at various levels, including category, template, and expense type levels. It will also explain the available options for expense field display.
Click on the Home icon to land on to homepage.
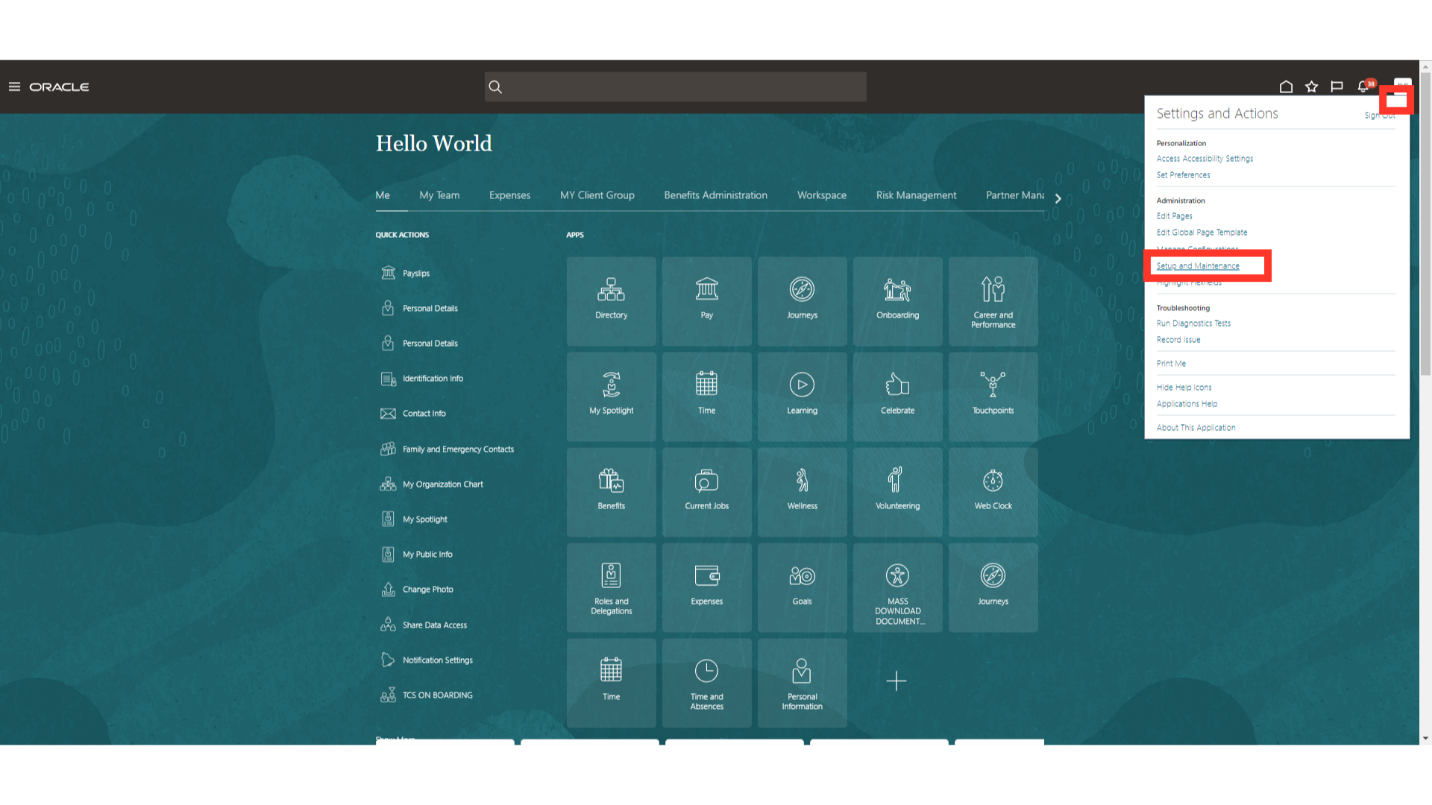
Click on the drop down under username and then click on the “Setup and Maintenance” hyperlink to land into the Functional setup area.
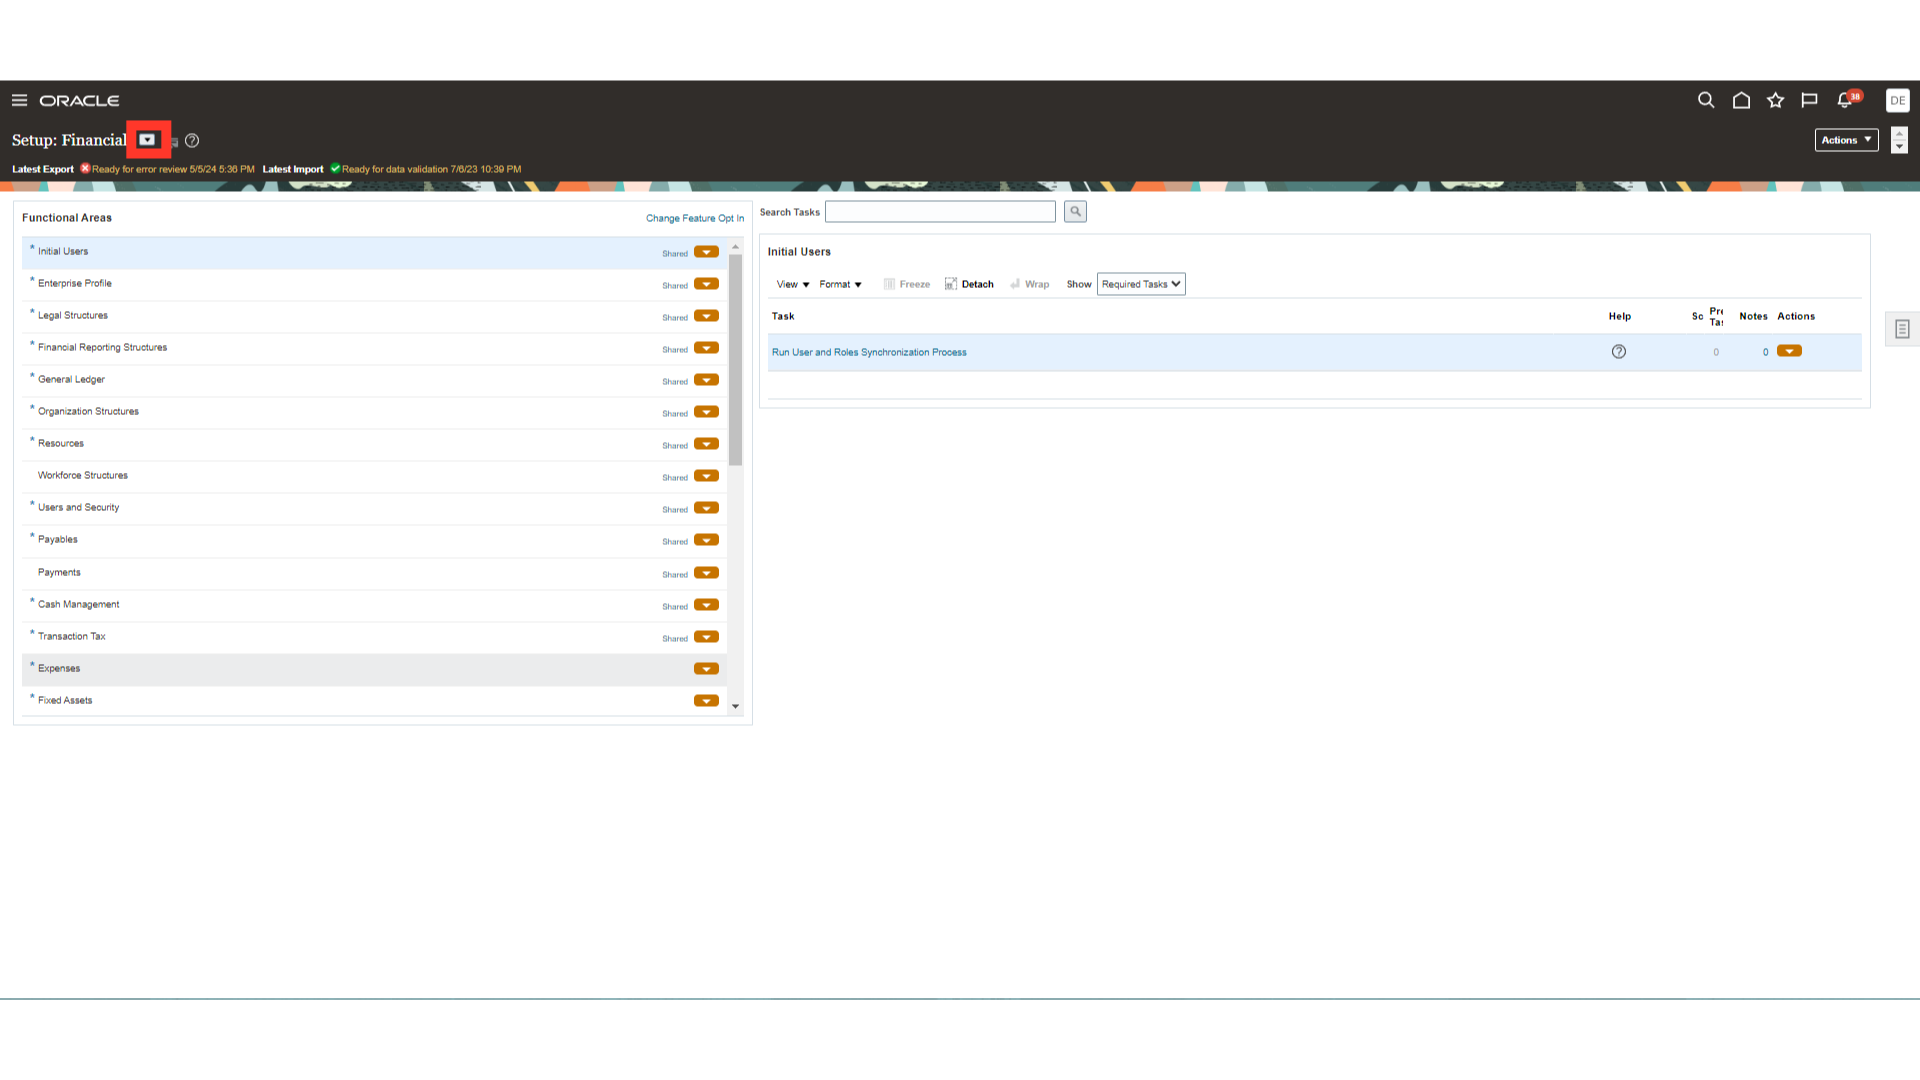
Every setup task is broken down into distinct functional areas, like Order Management, Financials, and Procurement, among others. This highlighted drop-down menu allows you to select the Financials section, which contains the setups related to the expense module.
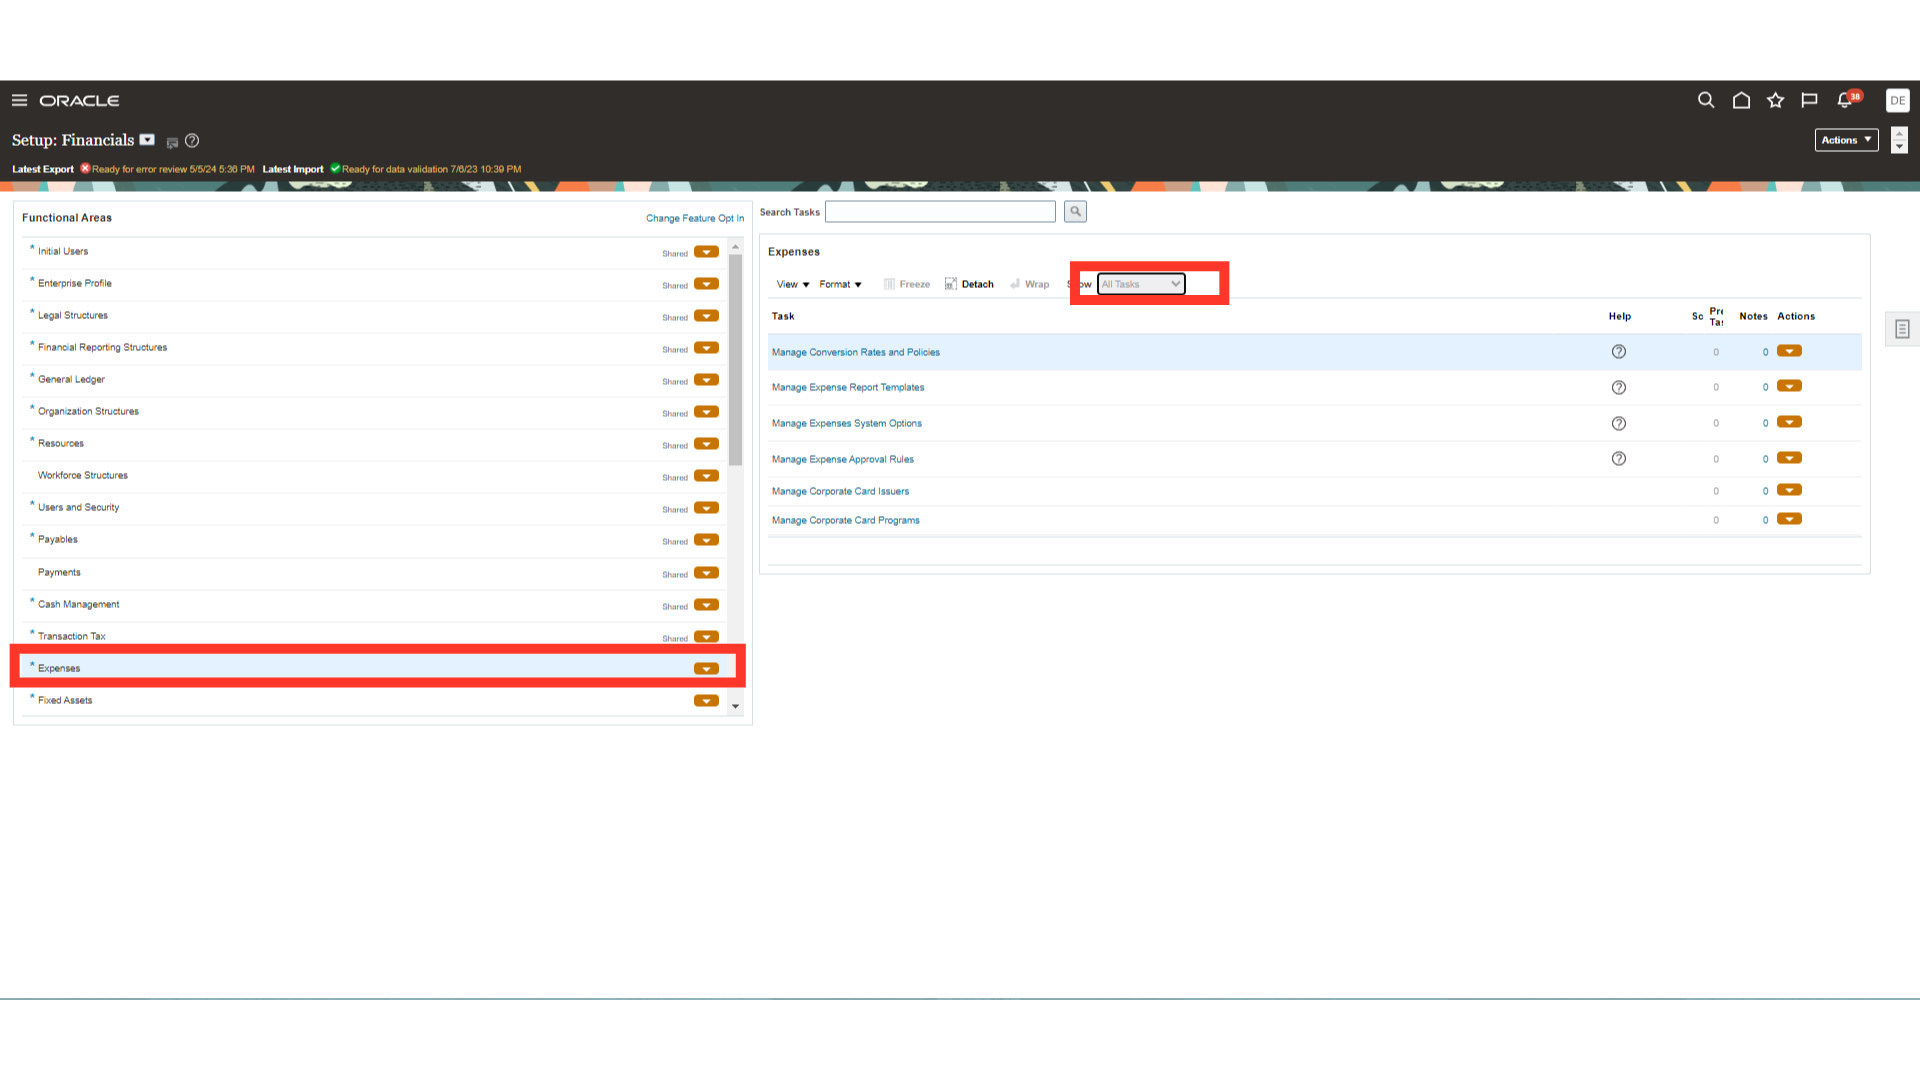
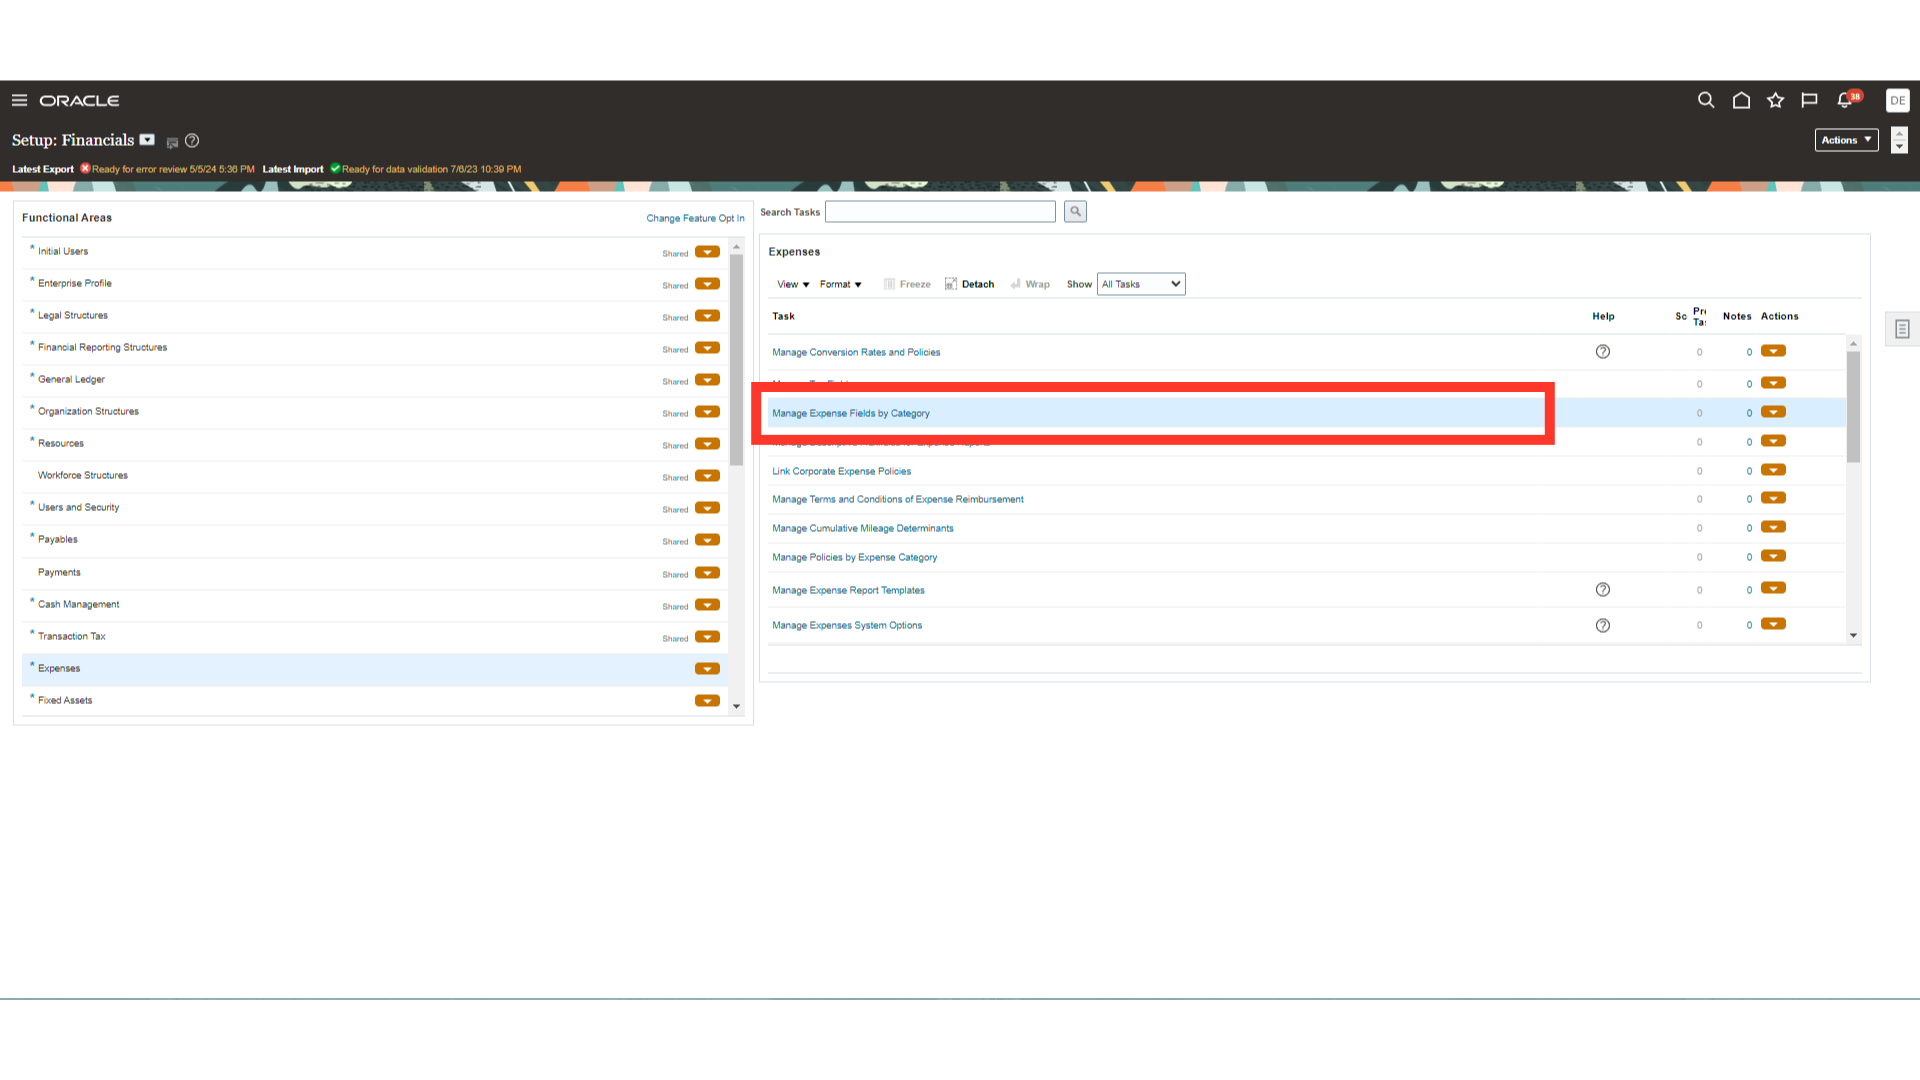
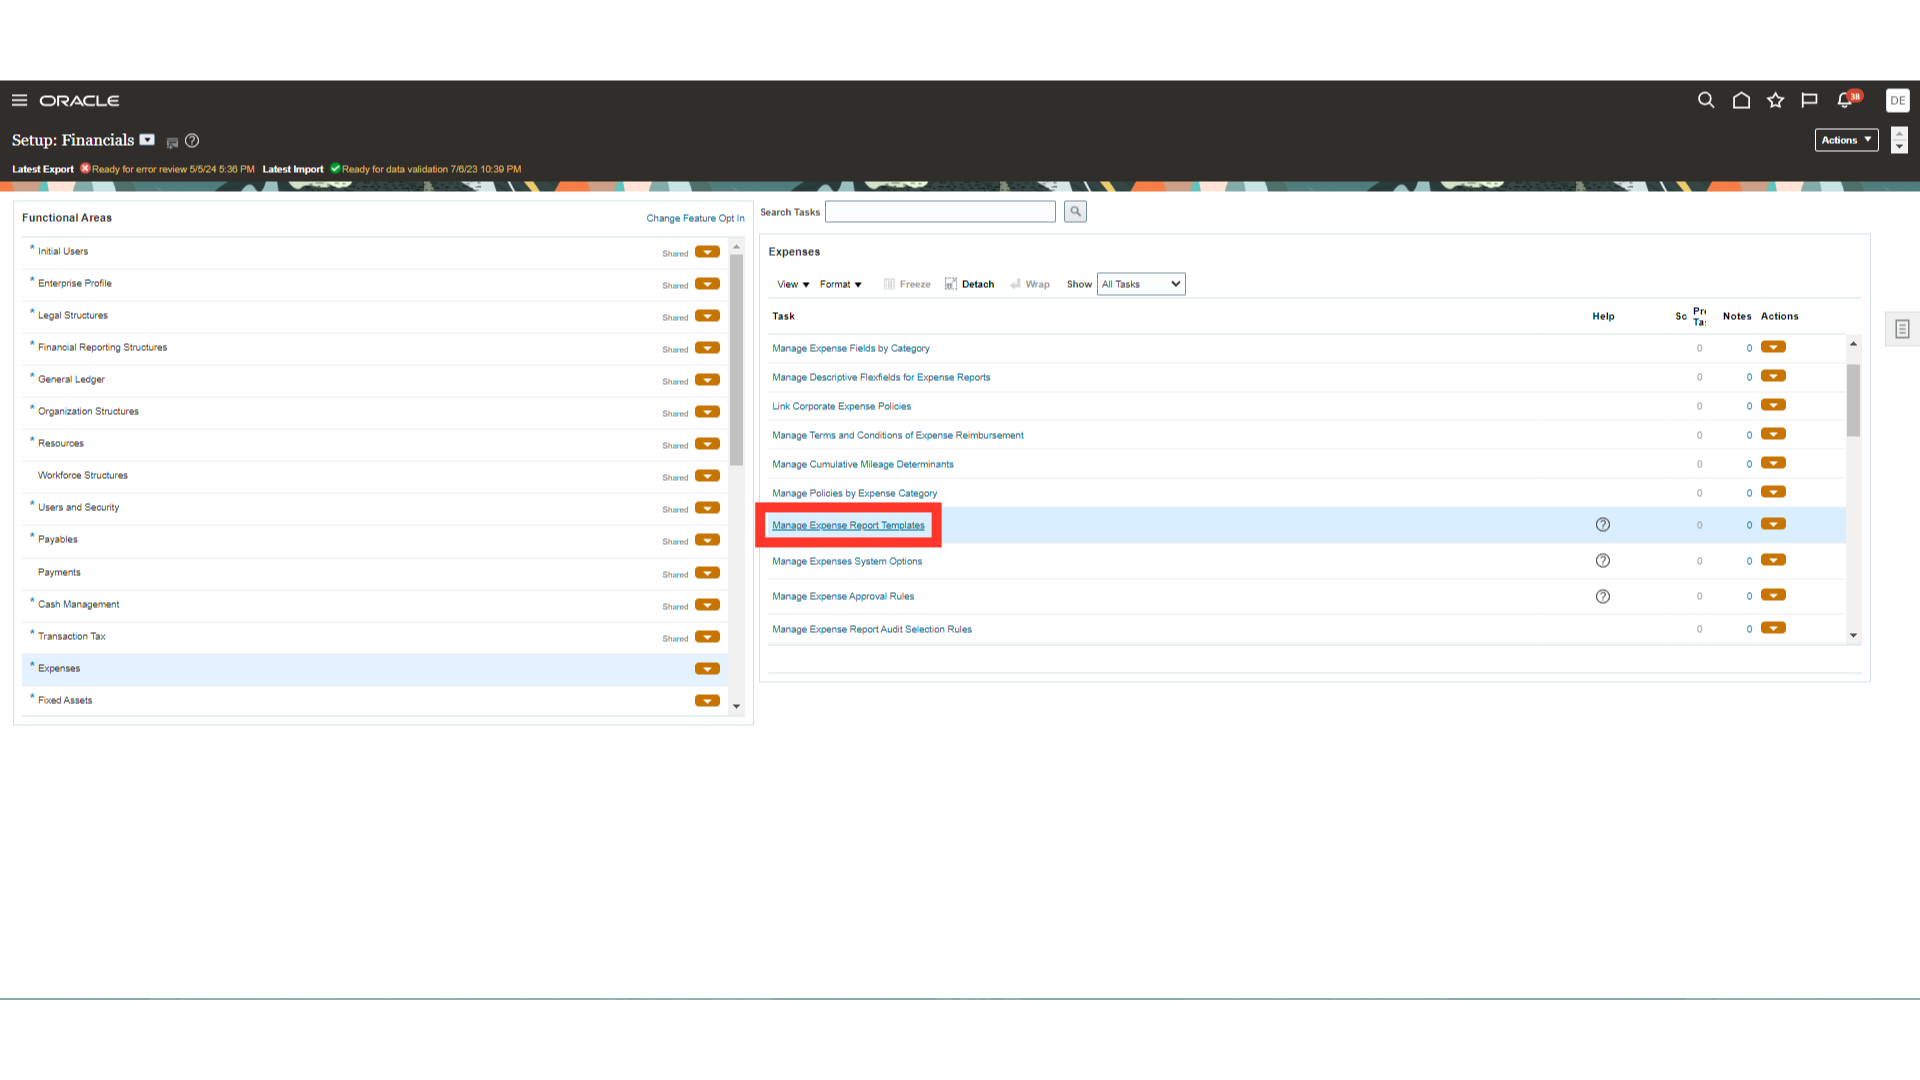
Click on the “Expenses” functional area to navigate to the tasks related to Expenses. By default, the tasks which are mandatory are shown under Required tasks. To see all the tasks, select the All Tasks option against Show field.
To enable, hide, or make expense fields optional according to categories, click on the “Manage Expense Fields by Category” setup task.
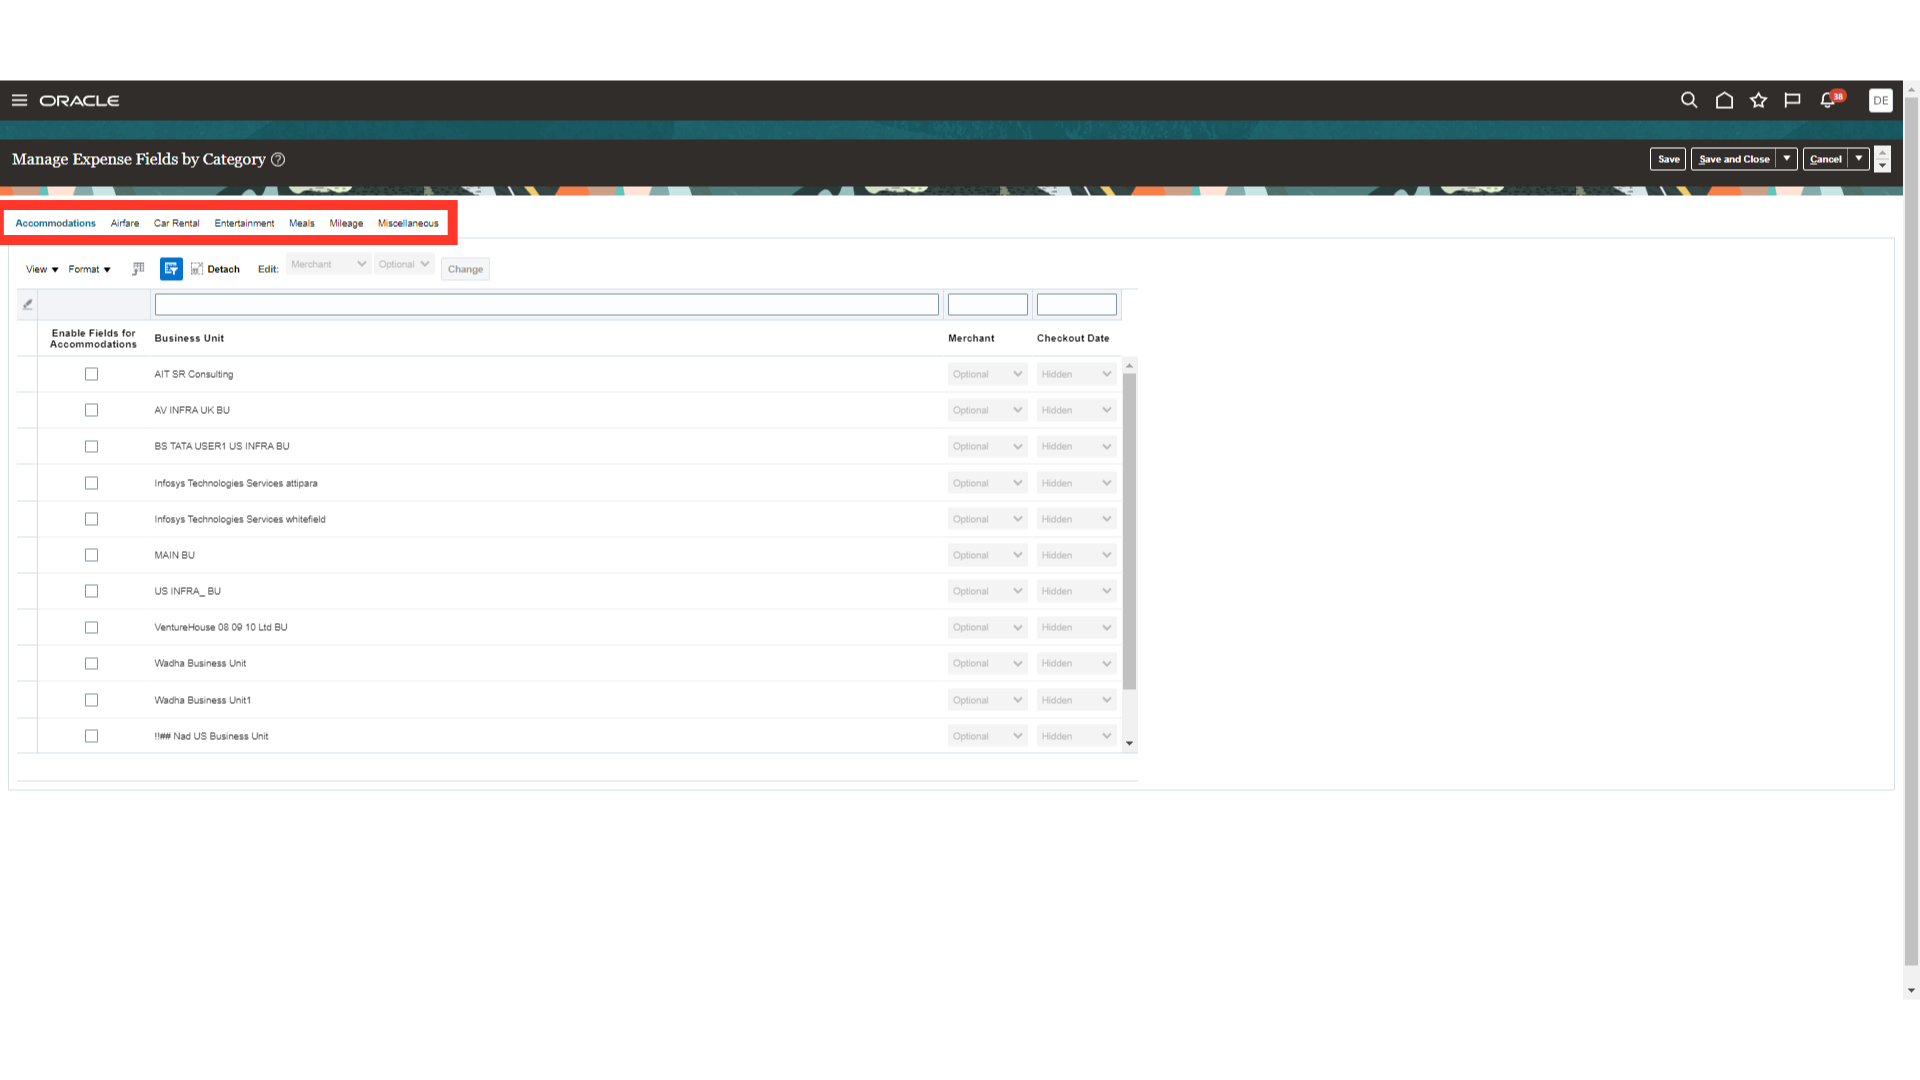
A broad category of expenses, such as Accommodations, Airfare, Car Rental, Meals, Mileage, and Entertainment, are available as expense categories. If an expense type does not fit into one of the seeded categories, new expense category cannot be created; instead, it falls under the Miscellaneous category. There are fields, referred to as category-specific fields, connected to each category of expenses. One expense category that includes the merchant and checkout date is Accommodations.
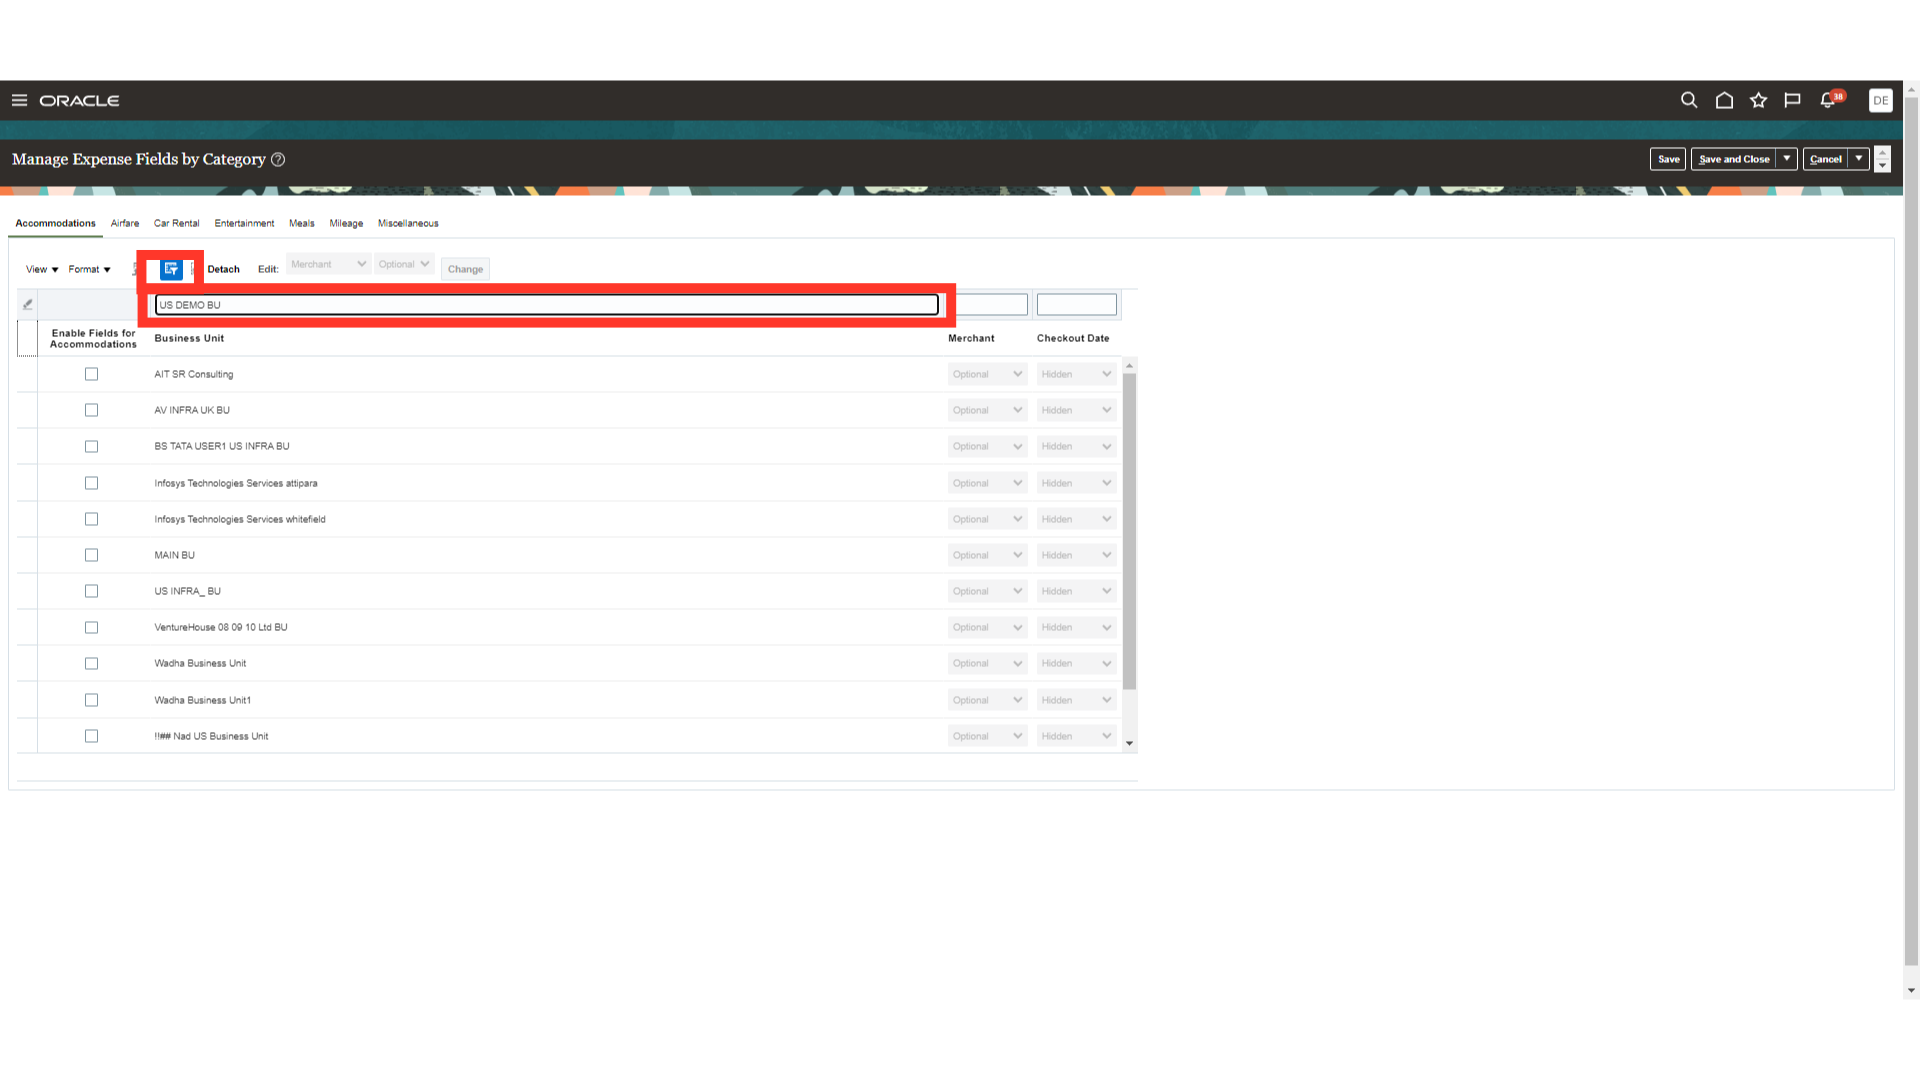
Fields can be enabled Business unit wise. Click on the Query by icon, type in the business unit name and press enter. Here for Demo purpose, we are selecting US DEMO BU.
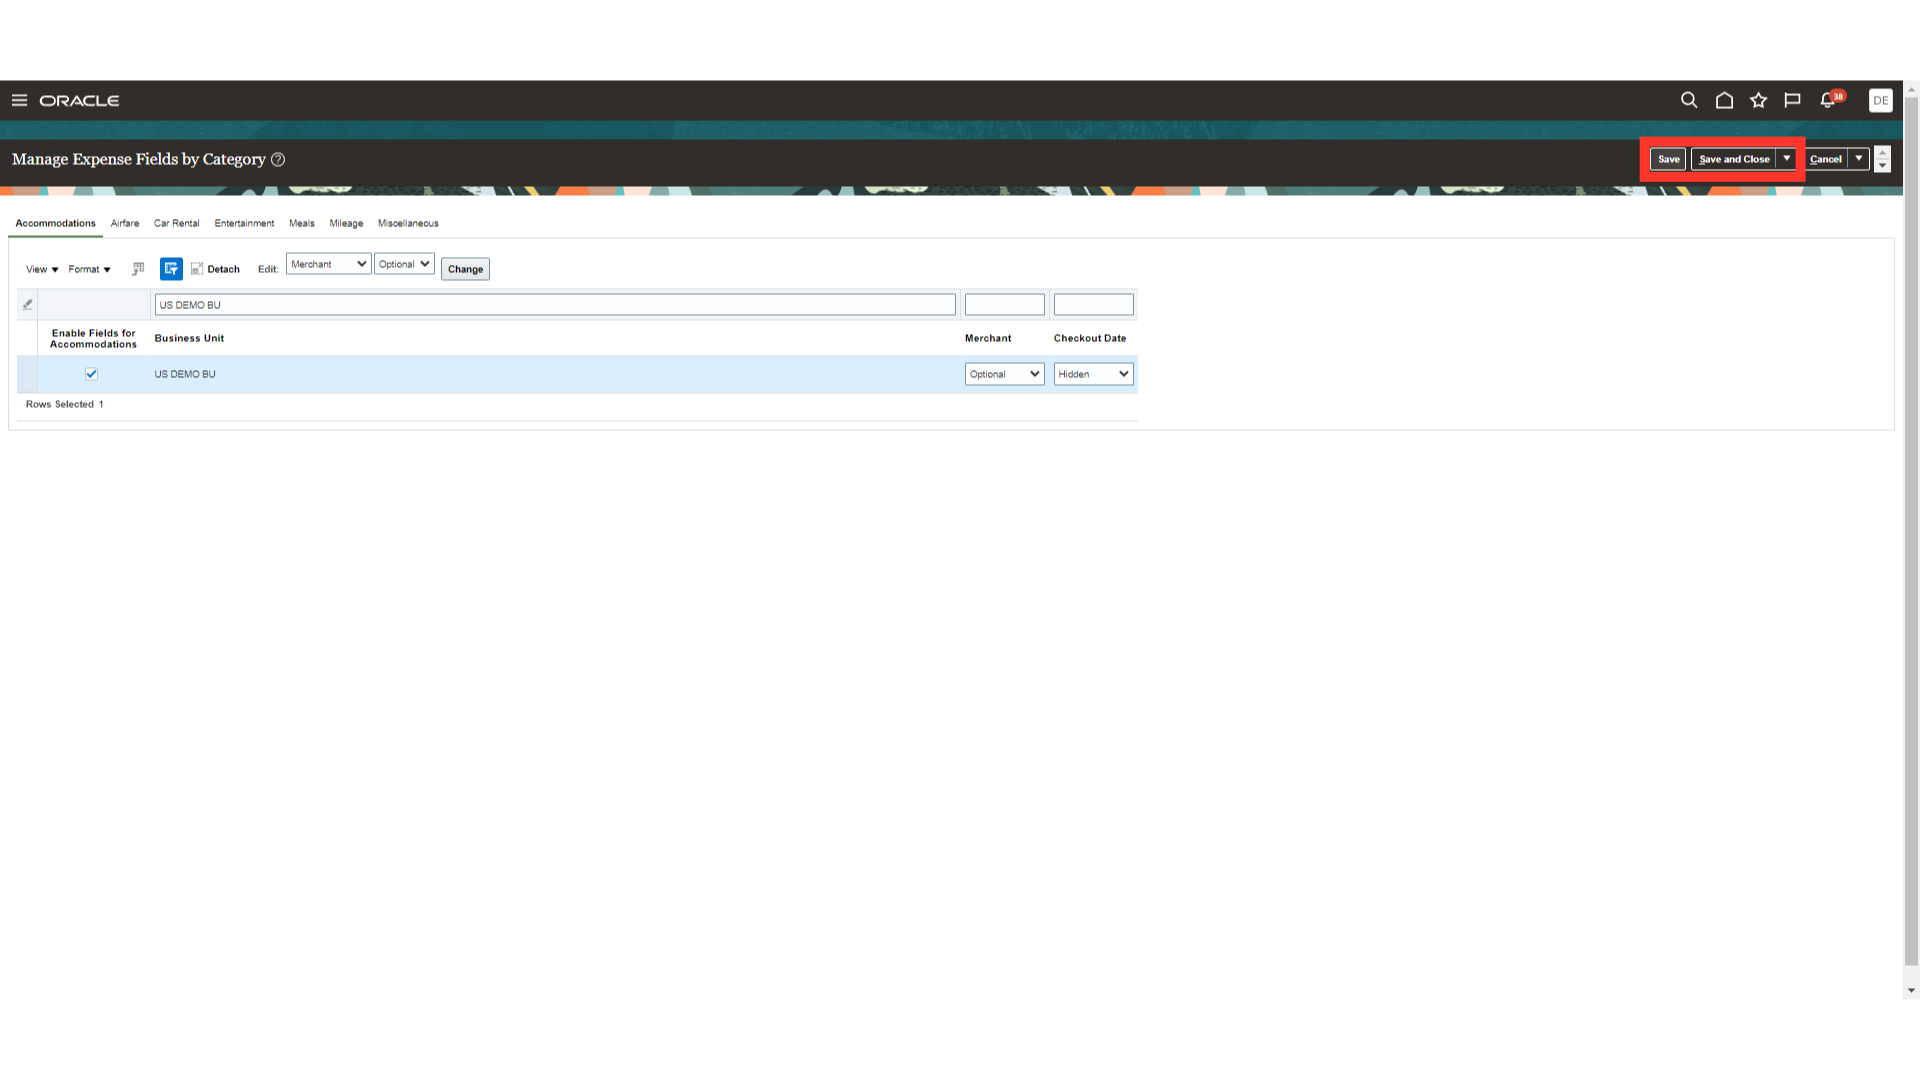
Under “Enable Fields for Accommodations”, check the box. The fields list of values has three options: Required, Optional, and Hidden. Here for demo purpose, I have selected optional and hidden.

To save the settings click on the Save and Close button.
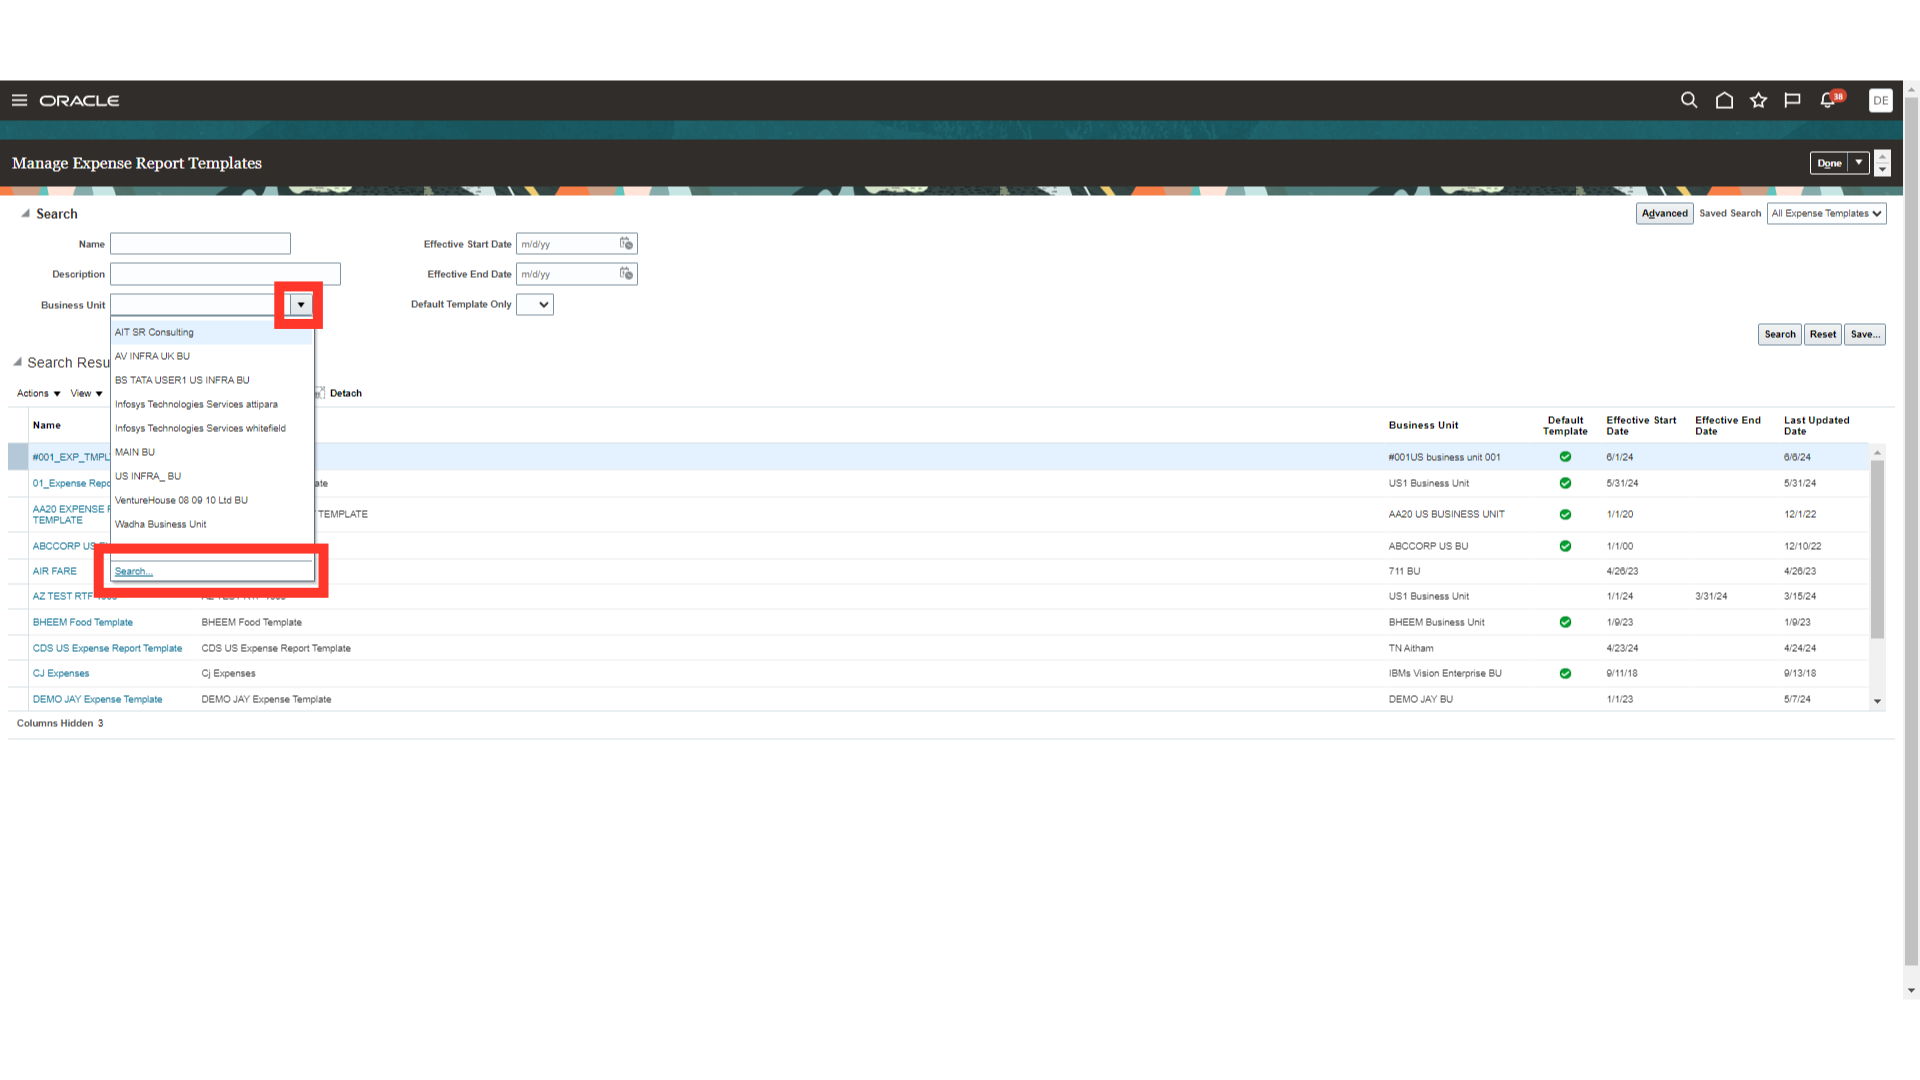
Now, open “Manage Expense Report Templates” setup in which expense fields settings are controlled at Expense type.
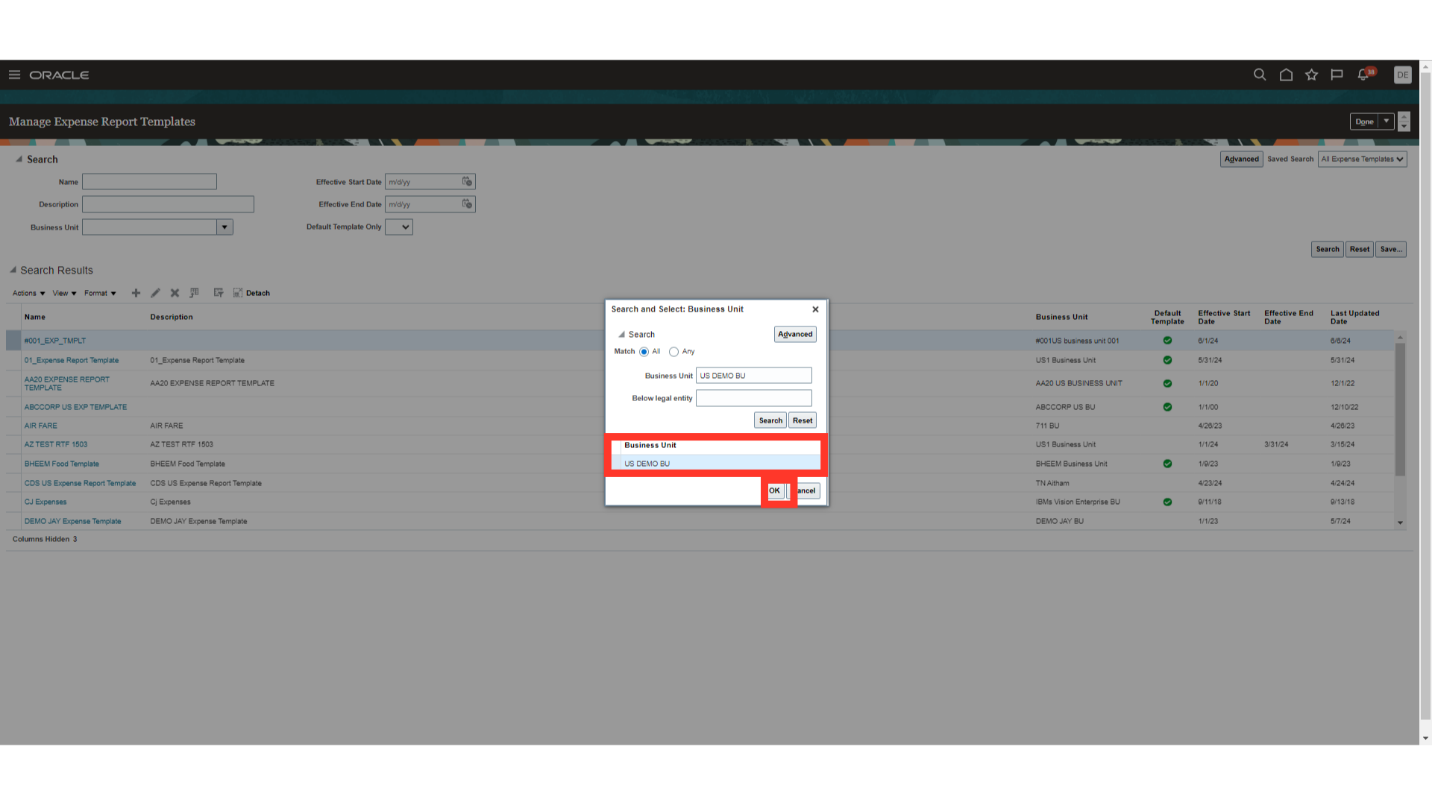
The setup of the expense report template is determined by business unit. To search for the business unit, click the search hyperlink located beneath the drop-down menu in the Business unit field.
After entering the Business unit name, click on the Search button. Select the required BU name and then click on the “OK” button.
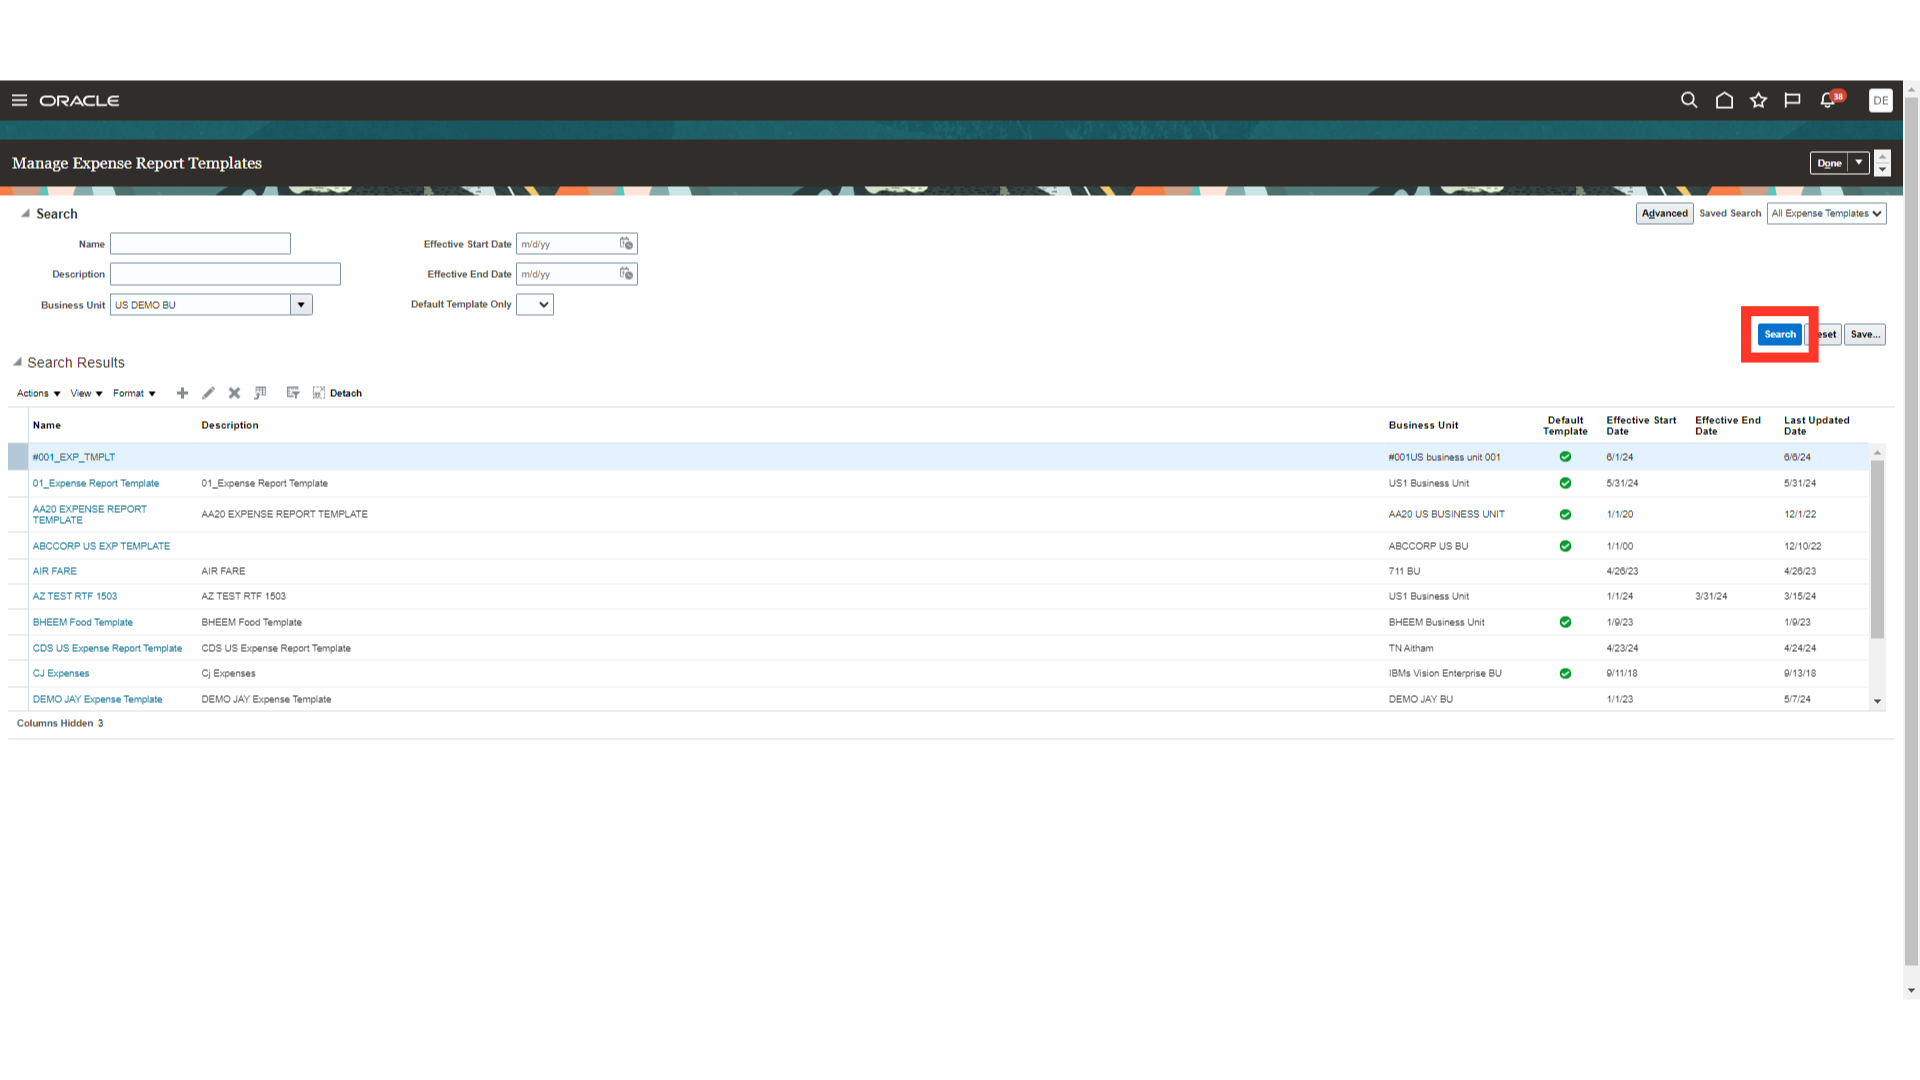
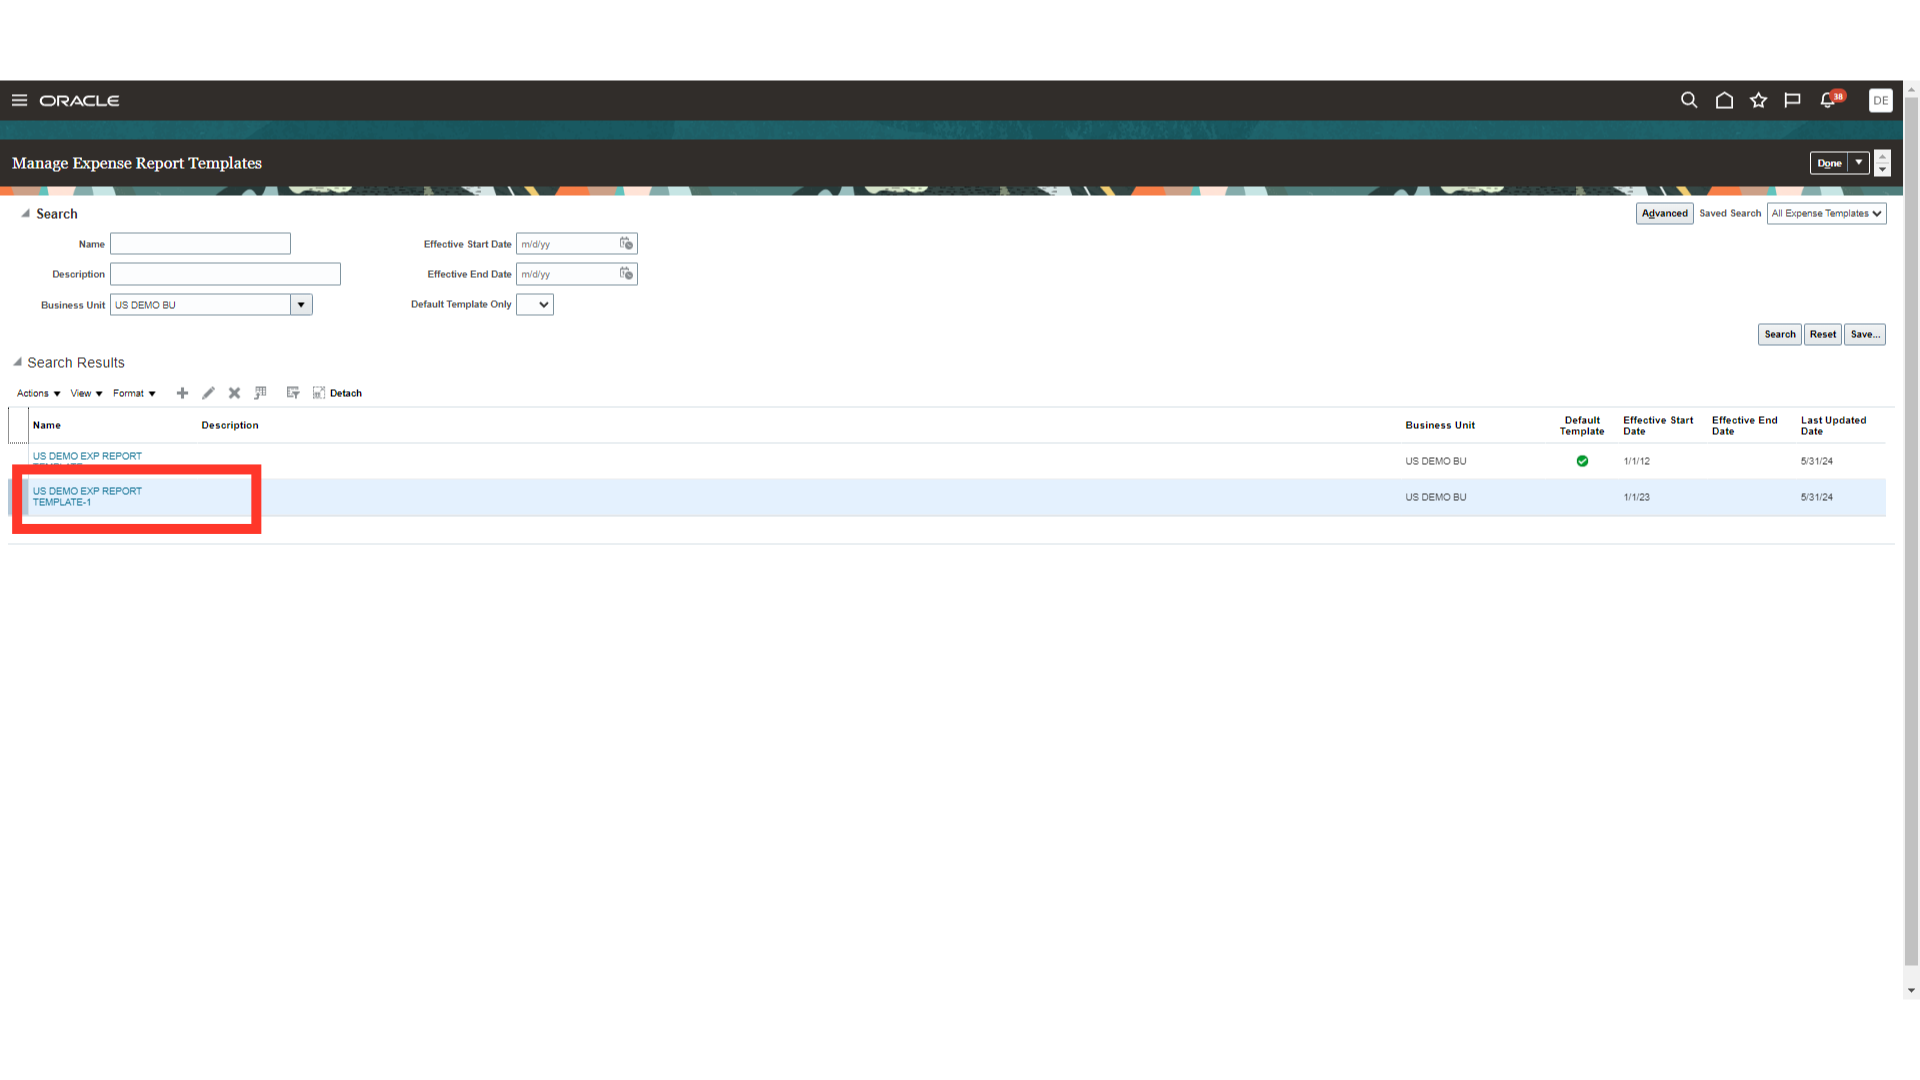
Click on the “Search” option, to search the expense report templates based on the selected Business unit.
Click on the report template name to open the setup.
The setup for the expense report template consists of 4 tabs.
- The first tab, Expense type, allows you to create and assign an expense type to an expense category.
- The second tab, Card Expense type mapping, is where the setup for the corporate card-related expense type mapping is done.
- The settings pertaining to the expense report’s requirement for receipts are managed by the third tab, Receipt Requirement.
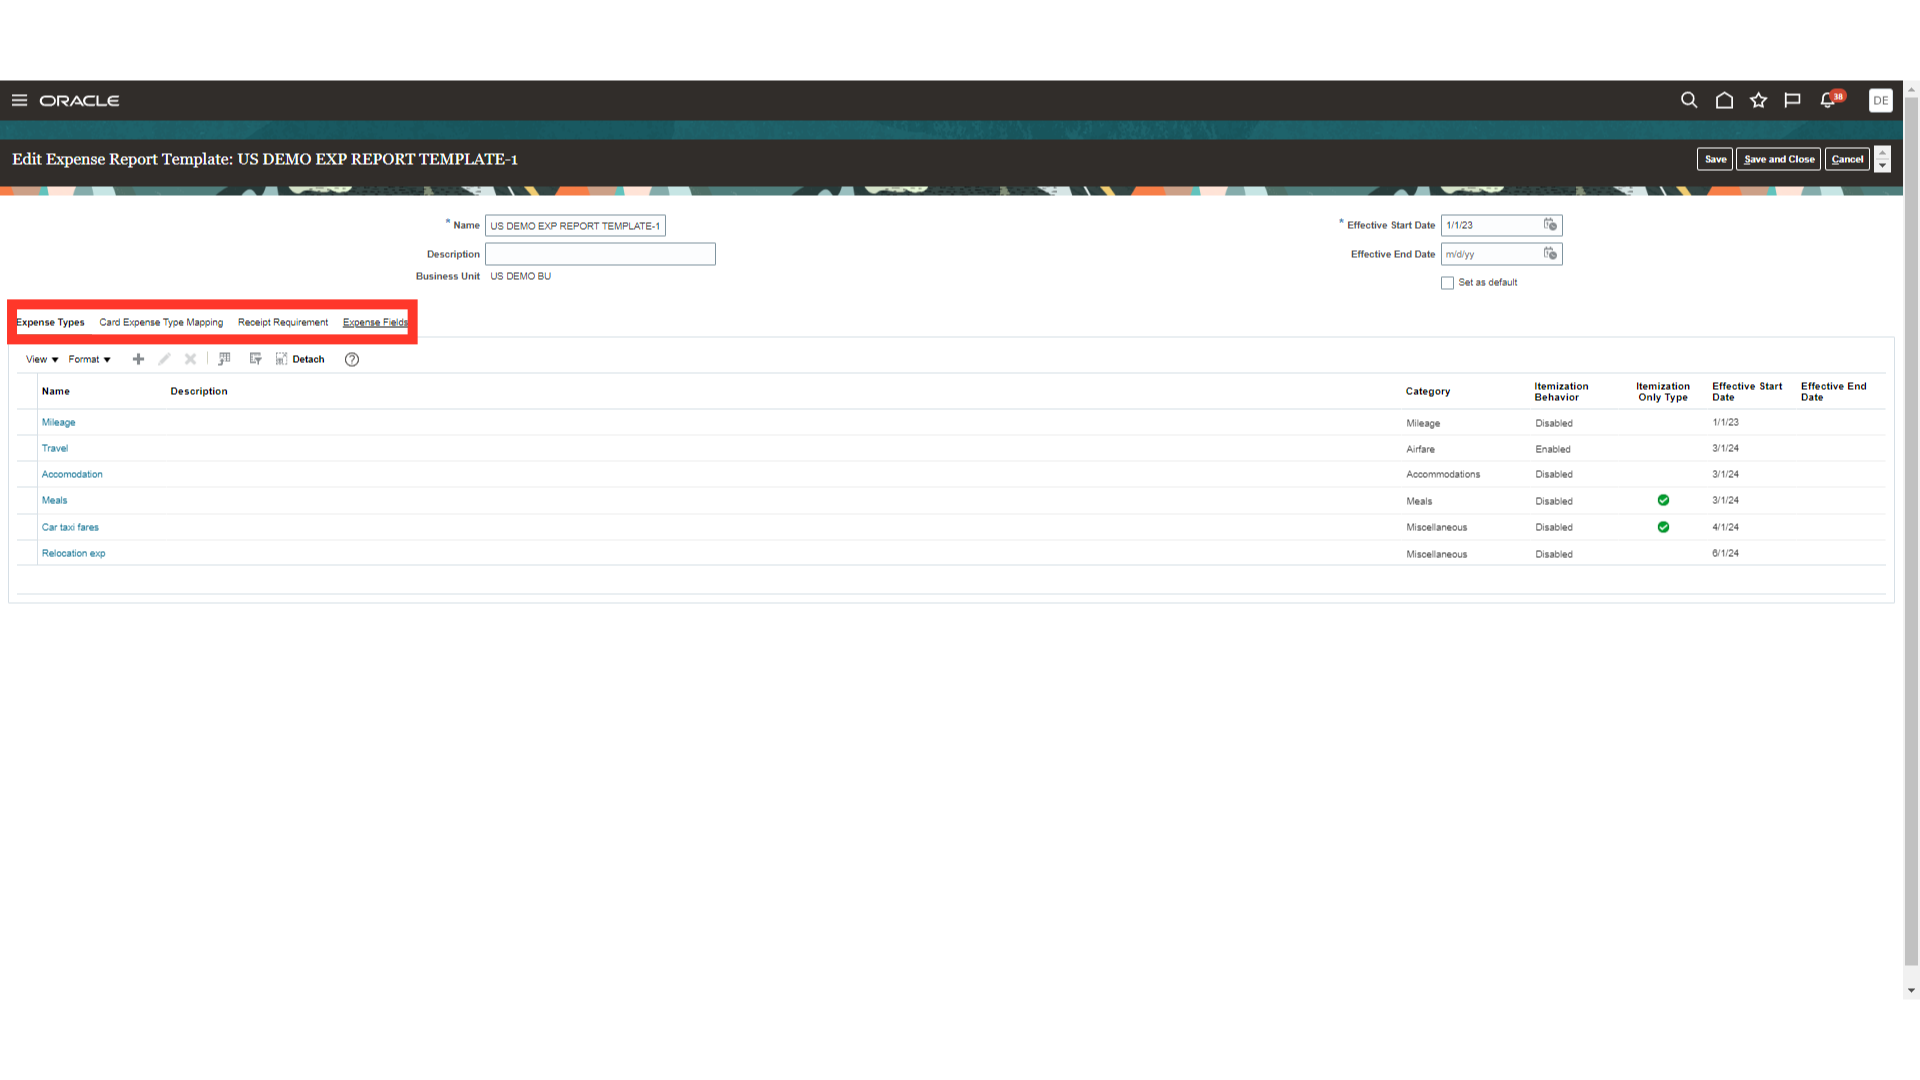
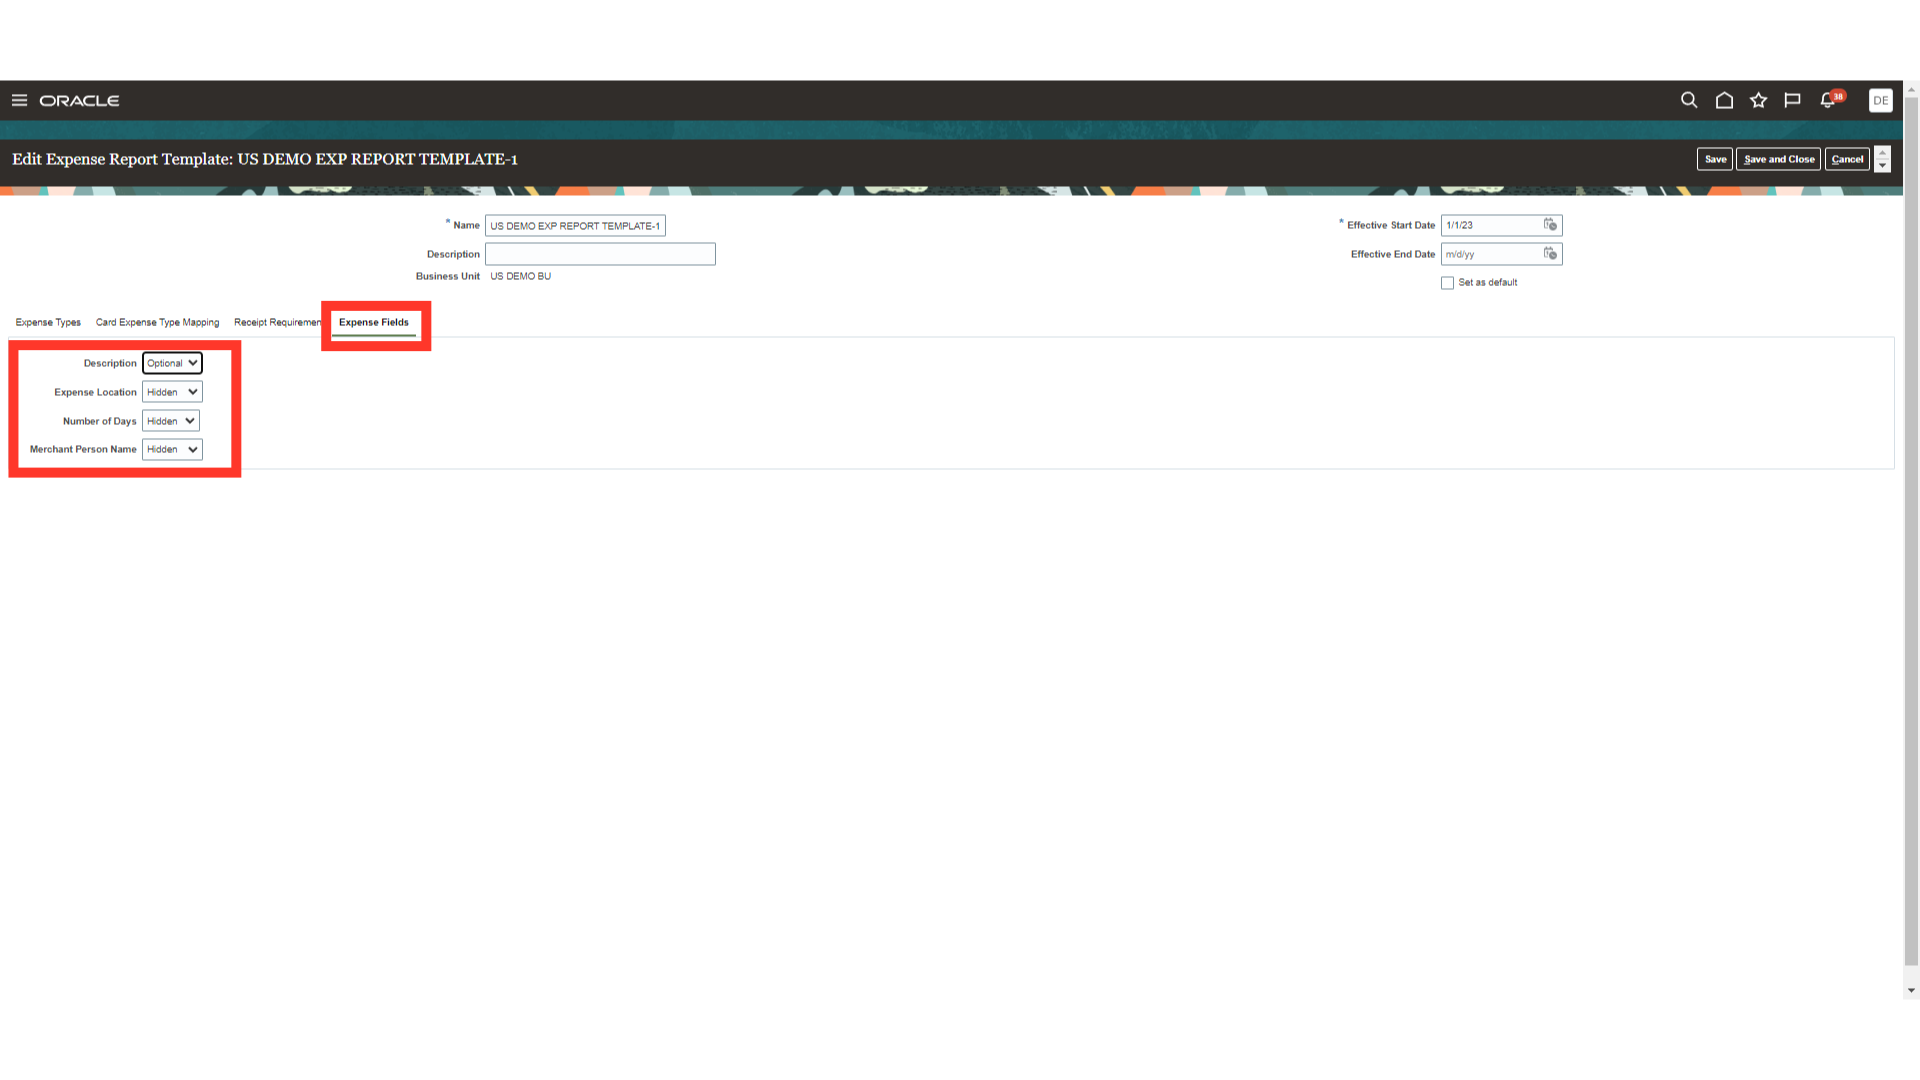
The last tab is called Expense Fields, and it contains settings for fields that are required, hidden, and displayed.
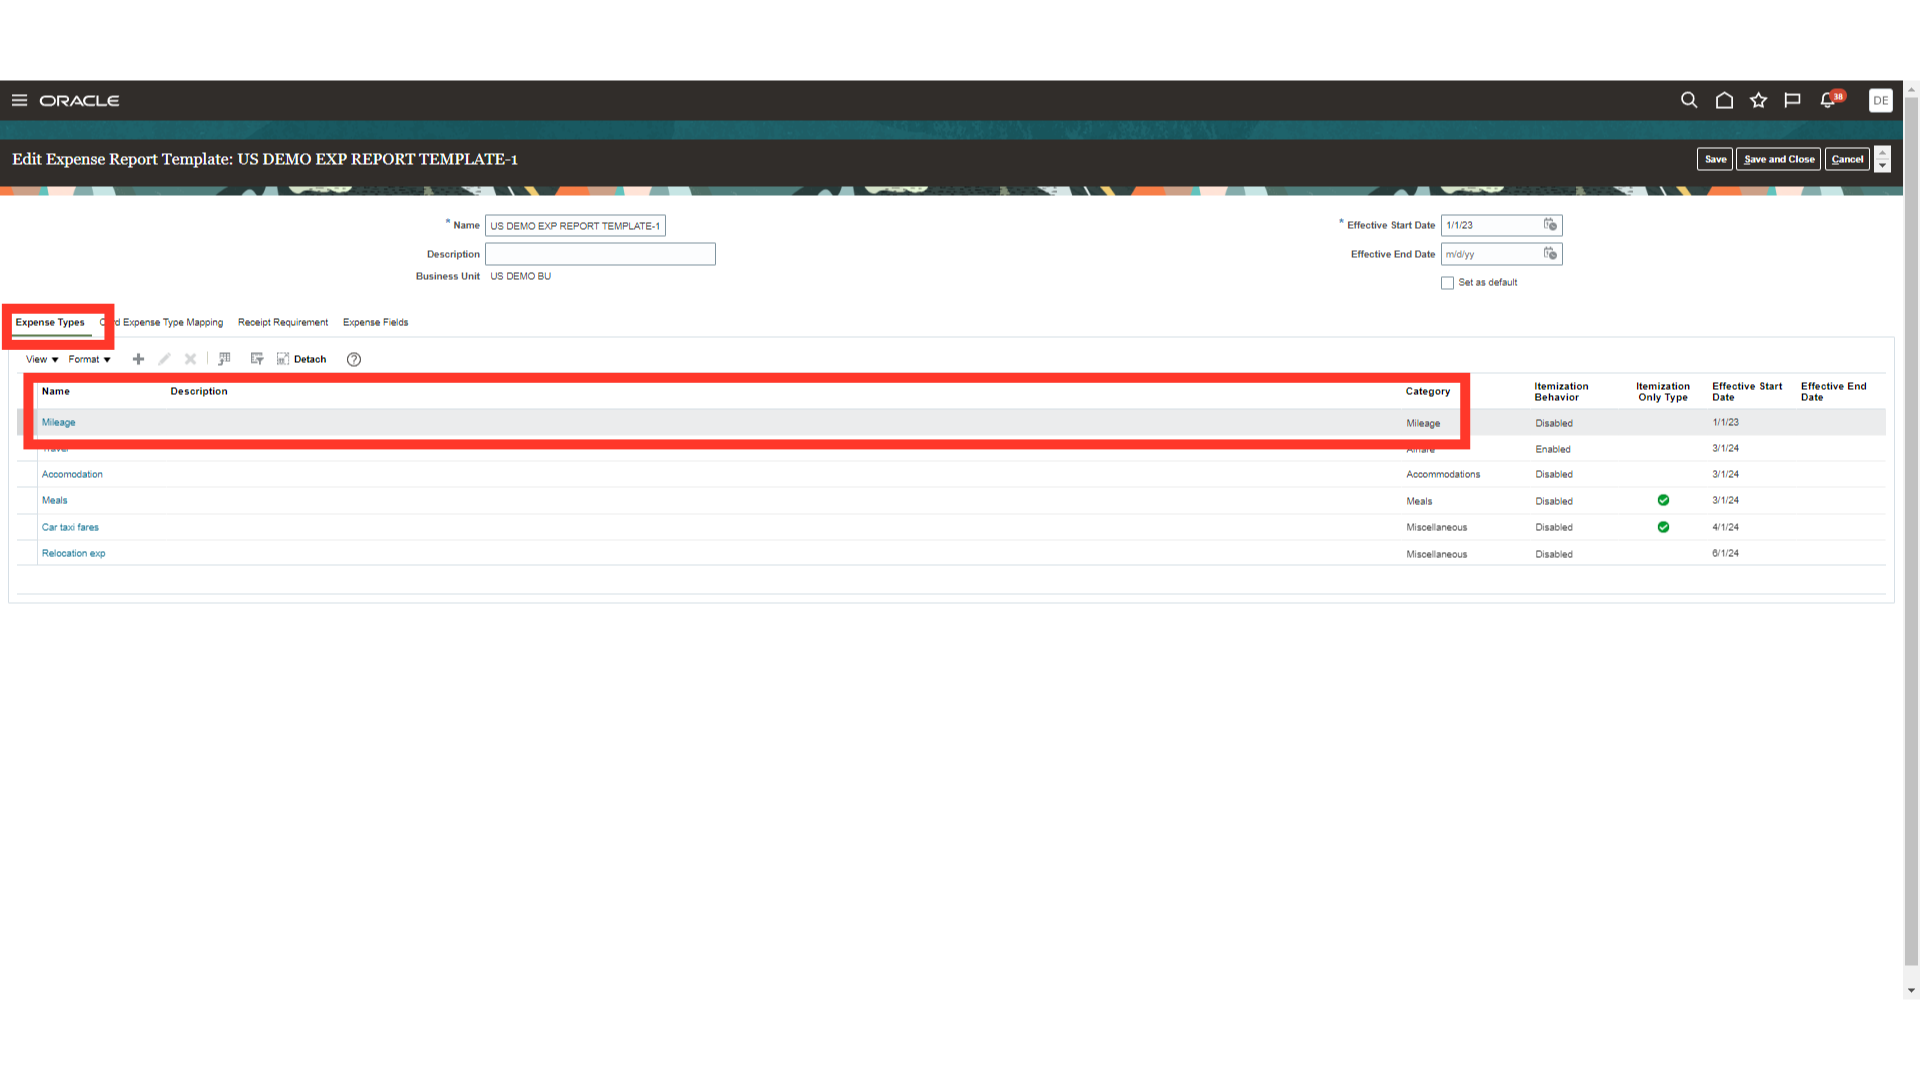
Click on the Expense type tab, to see the expense fields setups. Here for demonstration purpose, I am clicking on Mileage expense type.
From the Expense field tab, you can see the Description and Expense location fields. You can check the appropriate option next to the expenditure field, such as Use Setup from expense template, Optional, Required, or Hidden. Any settings you may have chosen in the Manage Expense fields by Category or at the template level will be superseded by this configuration.
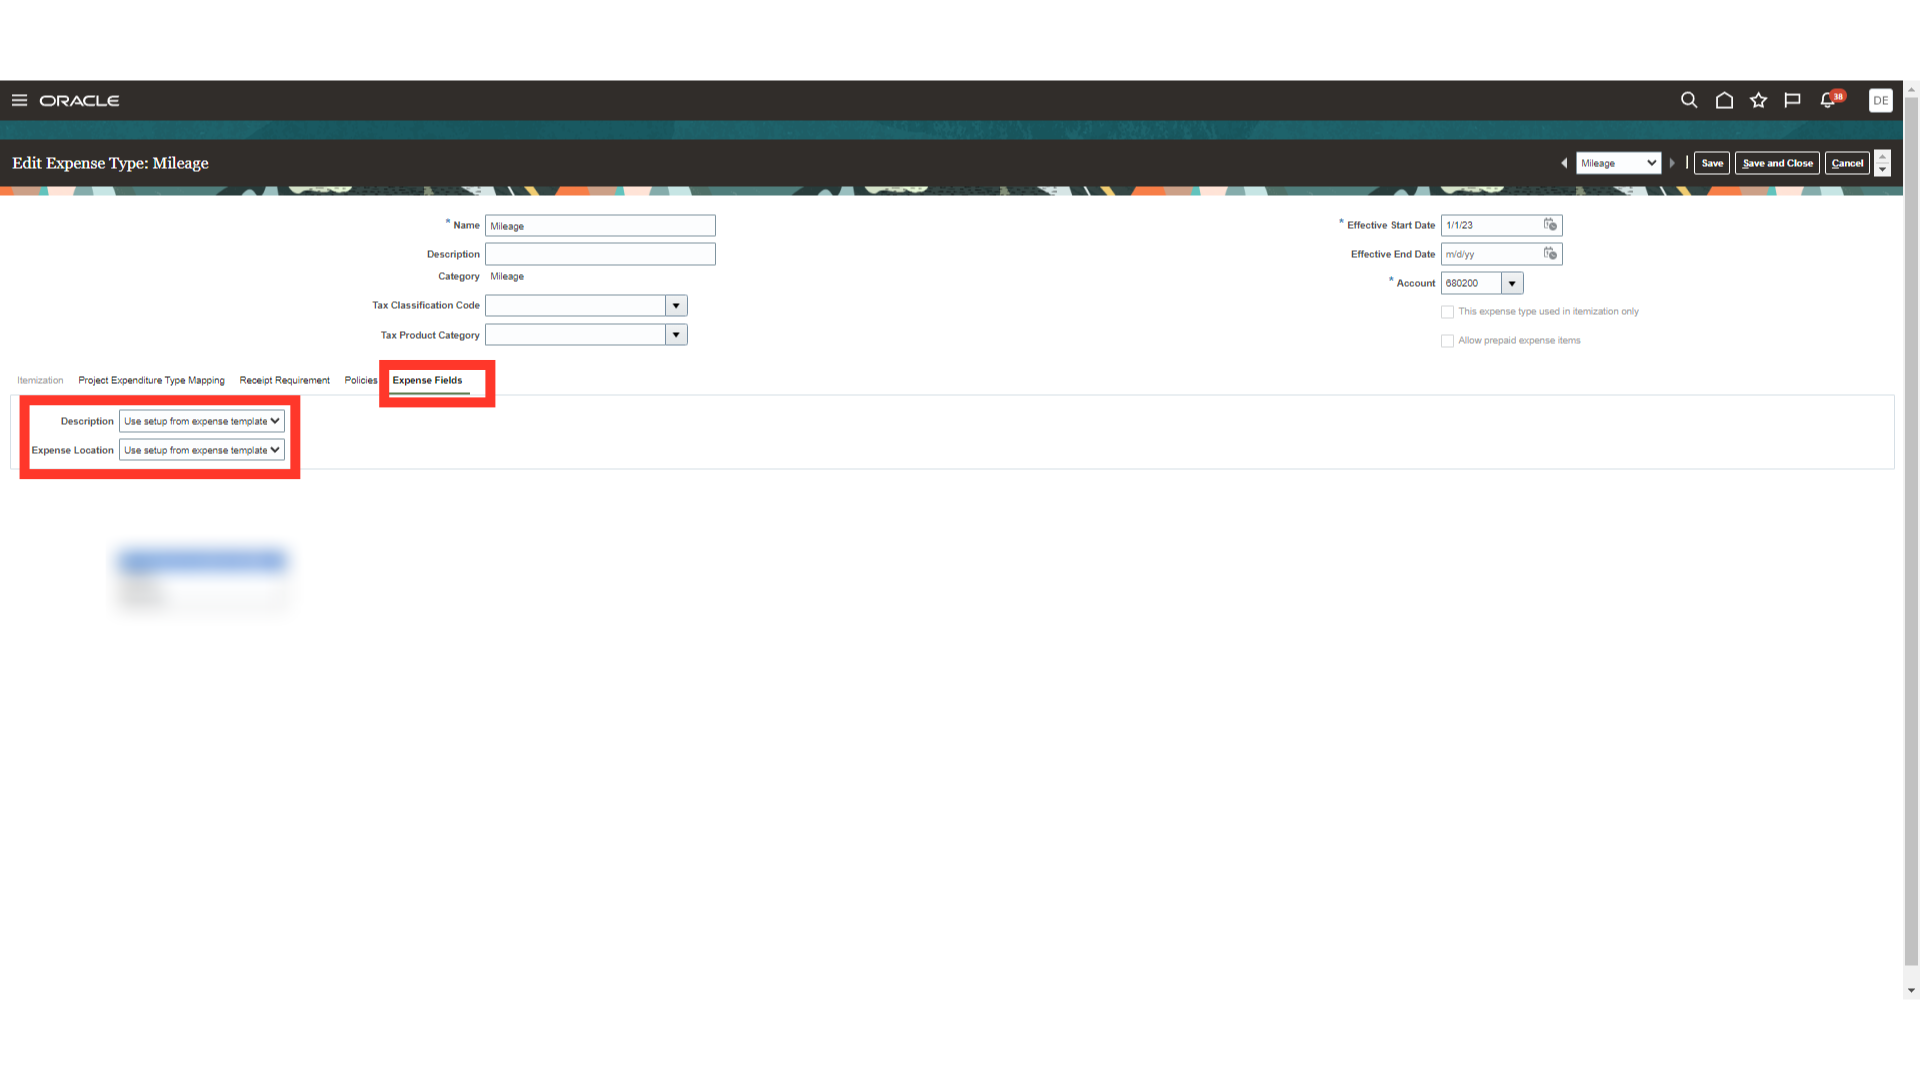
To save the settings click on Save and Close button. Otherwise, directly click on Cancel button.
The guide covered a comprehensive walkthrough of managing expense categories and fields in Oracle Fusion Cloud. After going through this guide, you will be aware how you can manage expense fields while raising expense reports.