Expense Line entry and Account Coding
This guide covers the process of creating expenditure items, uploading receipts, and explaining how expense accounts are set up by default and how to change them in detail.
Navigate to Expense module by clicking on “Expenses” submenu under “Me” menu. Otherwise, it can be accessed by clicking on the navigator icon and expanding the Me menu to select Expenses module. 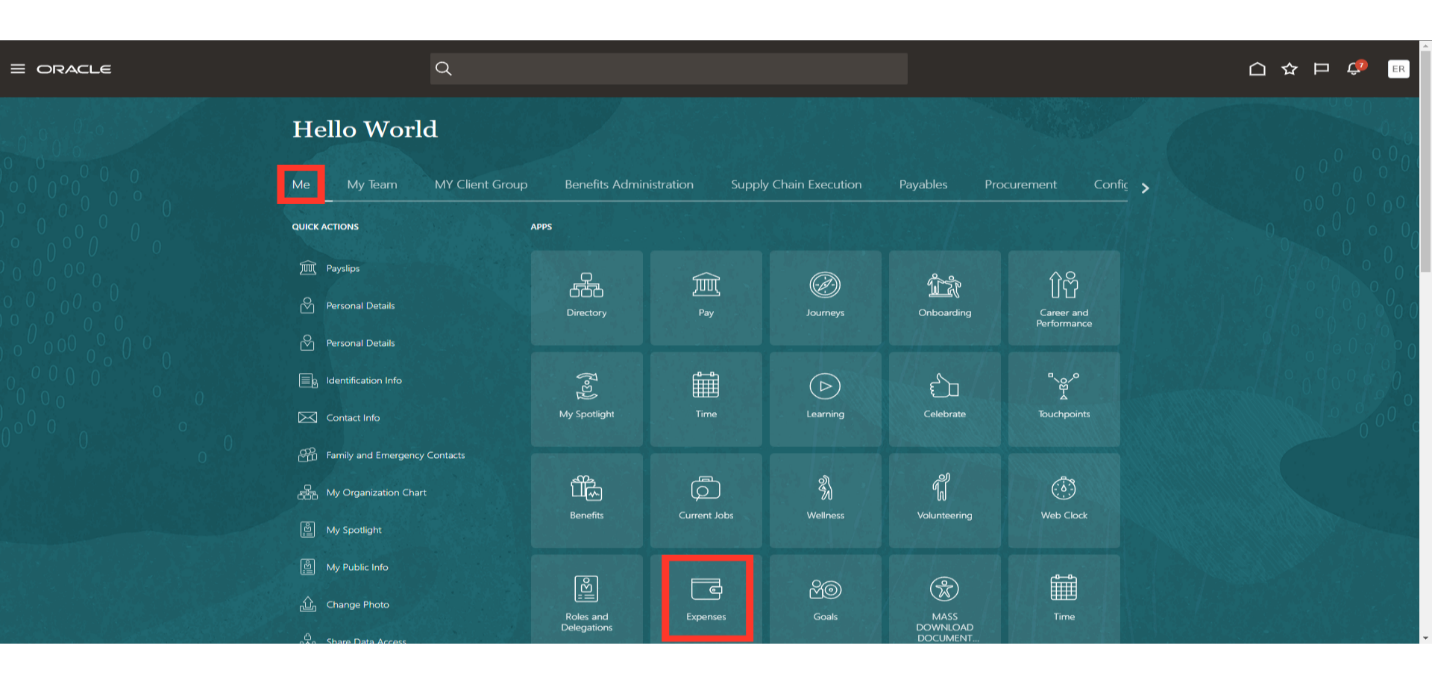
Click on the Expenses button to access the expense work area.
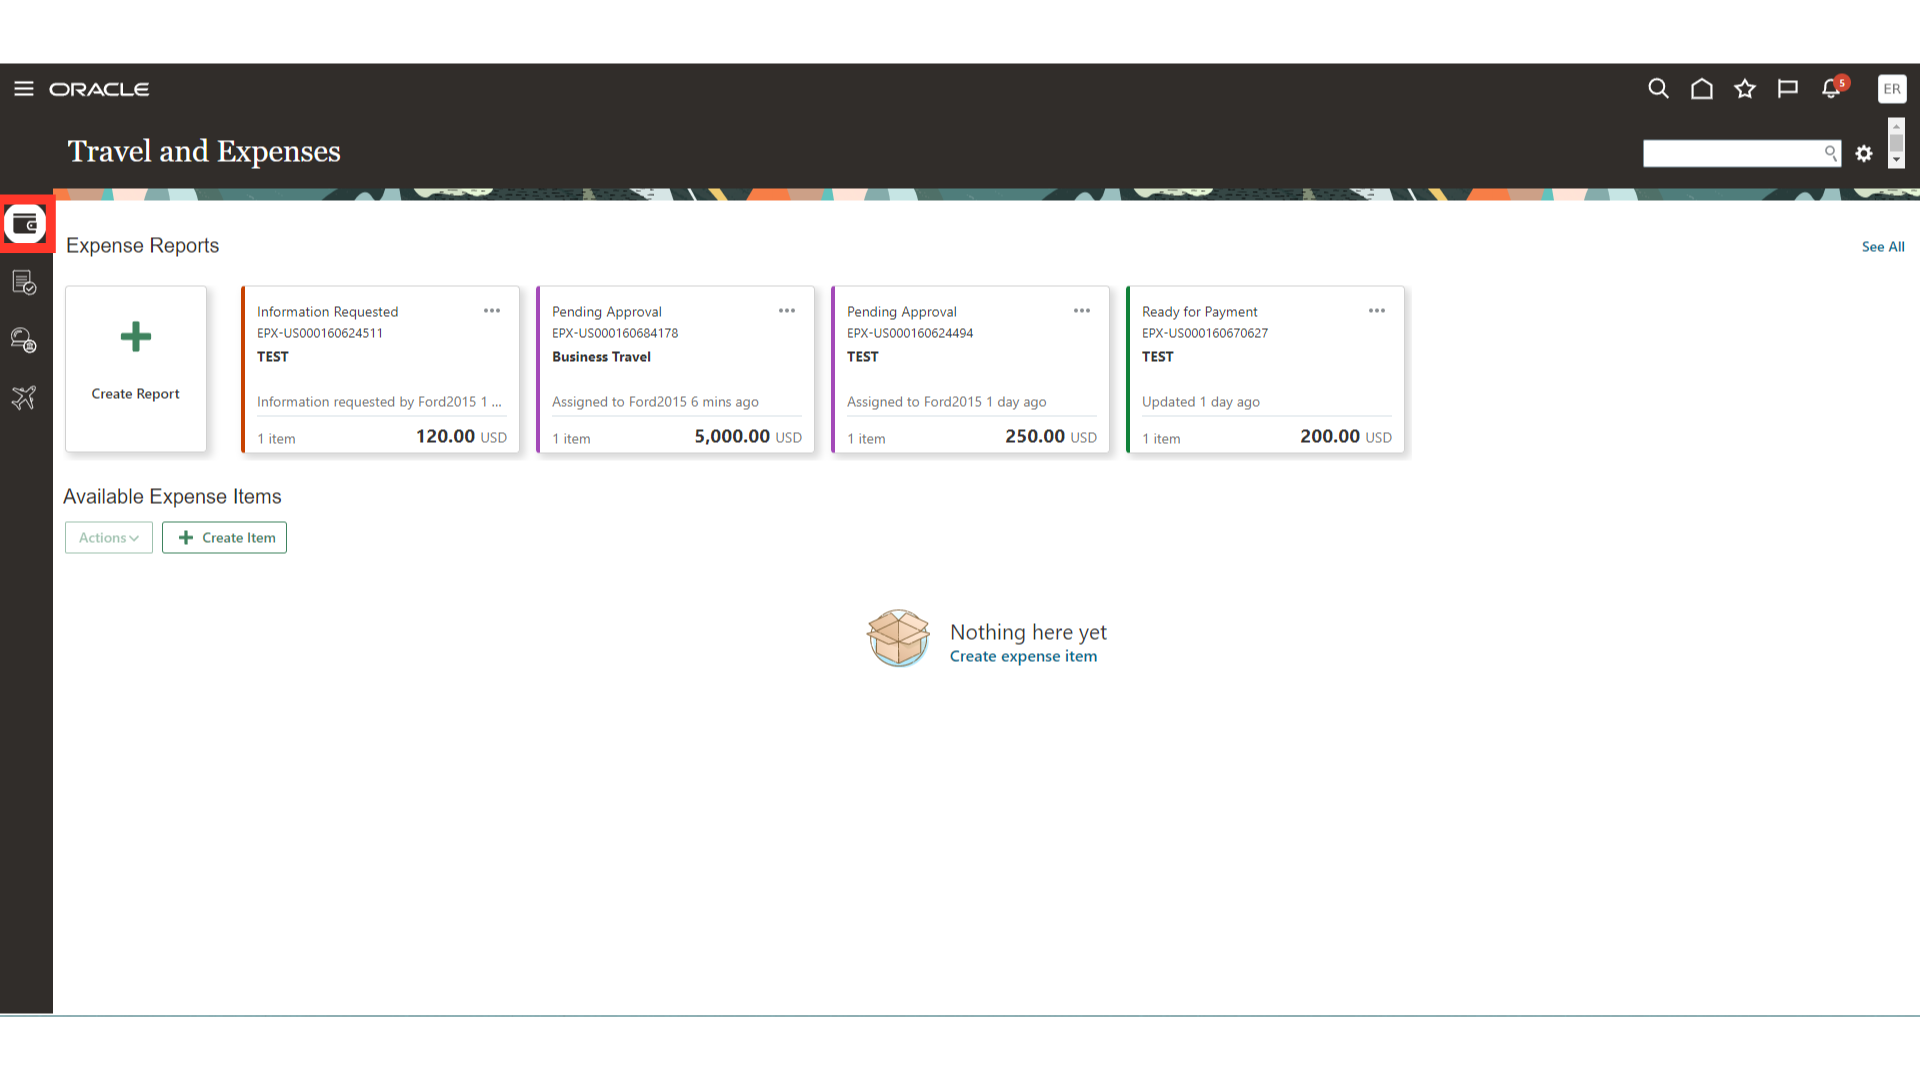
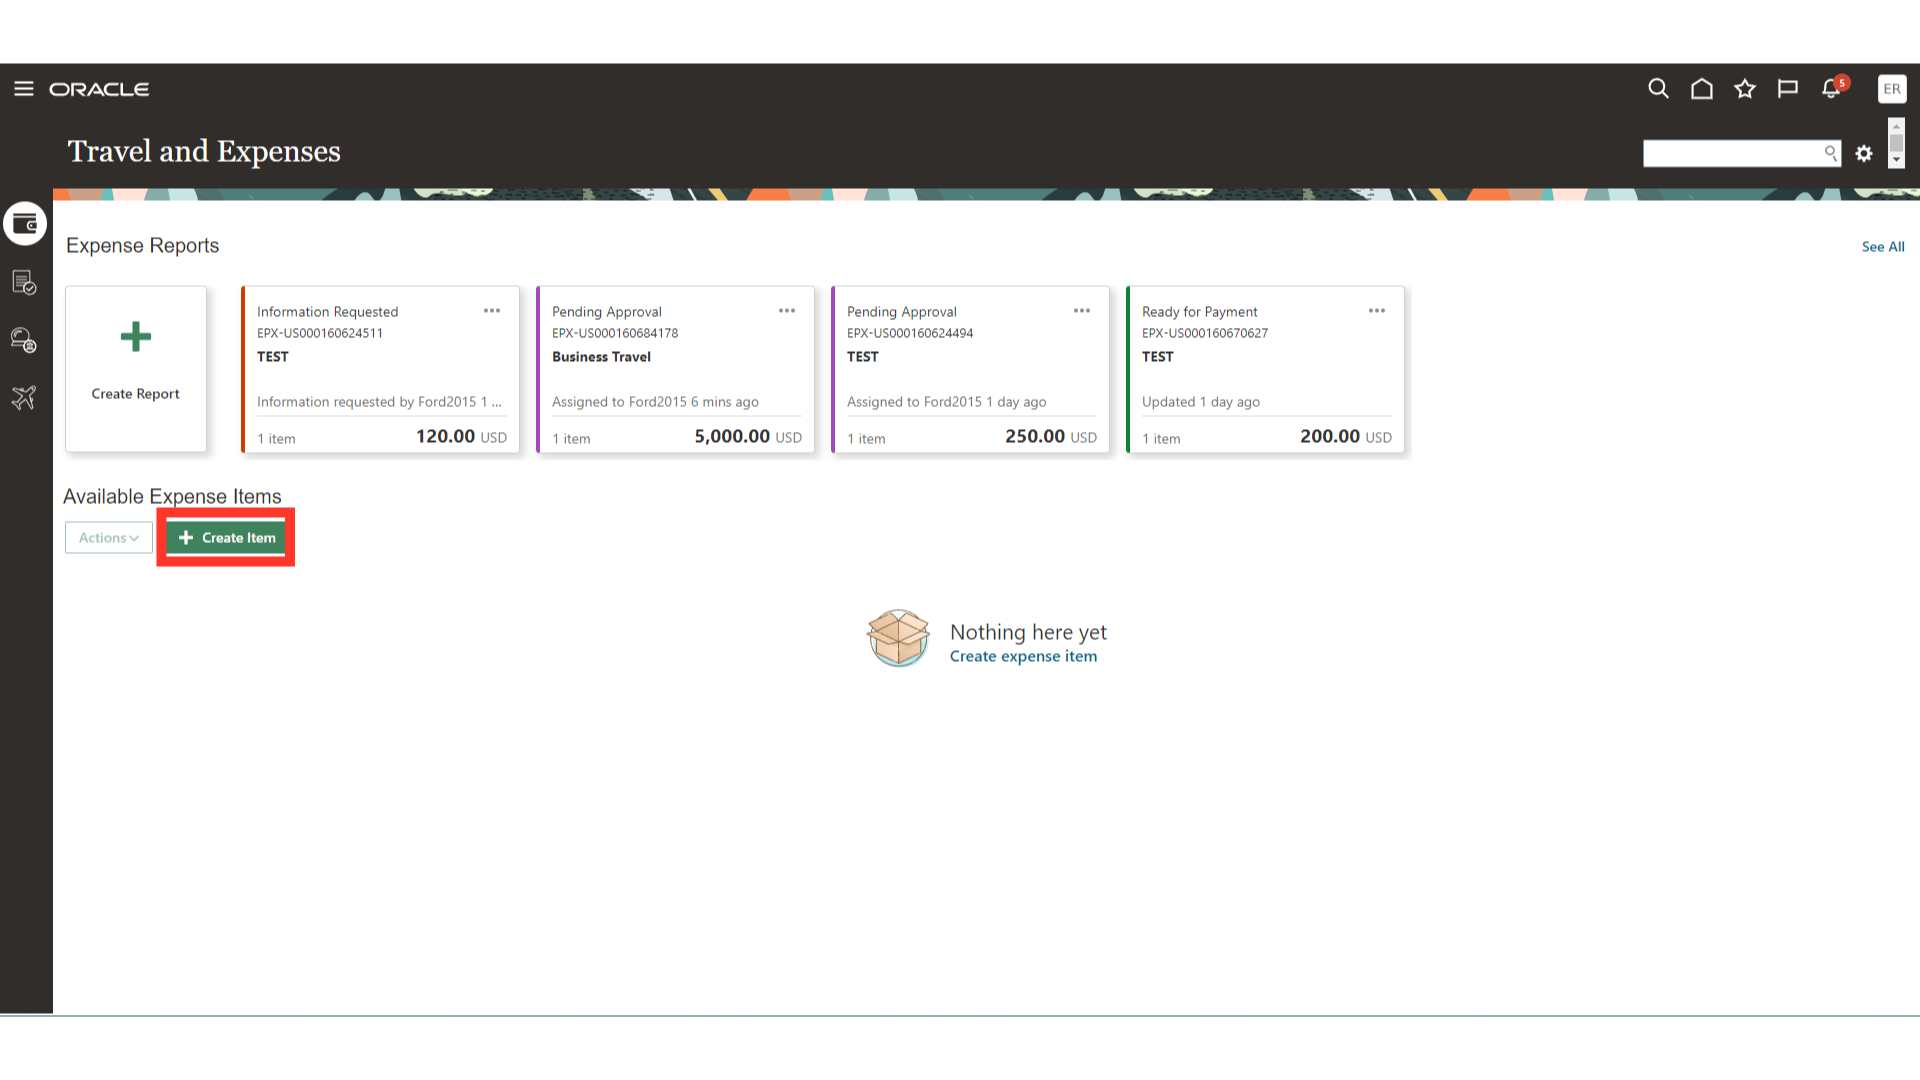
Click on the “Create Item” button to enter the expense line items and after that it would be added in the expense report. Otherwise, we can first create an expense report and add the expense items in it.
Enter the expense date manually, or by clicking on the calendar icon and selecting the appropriate date.
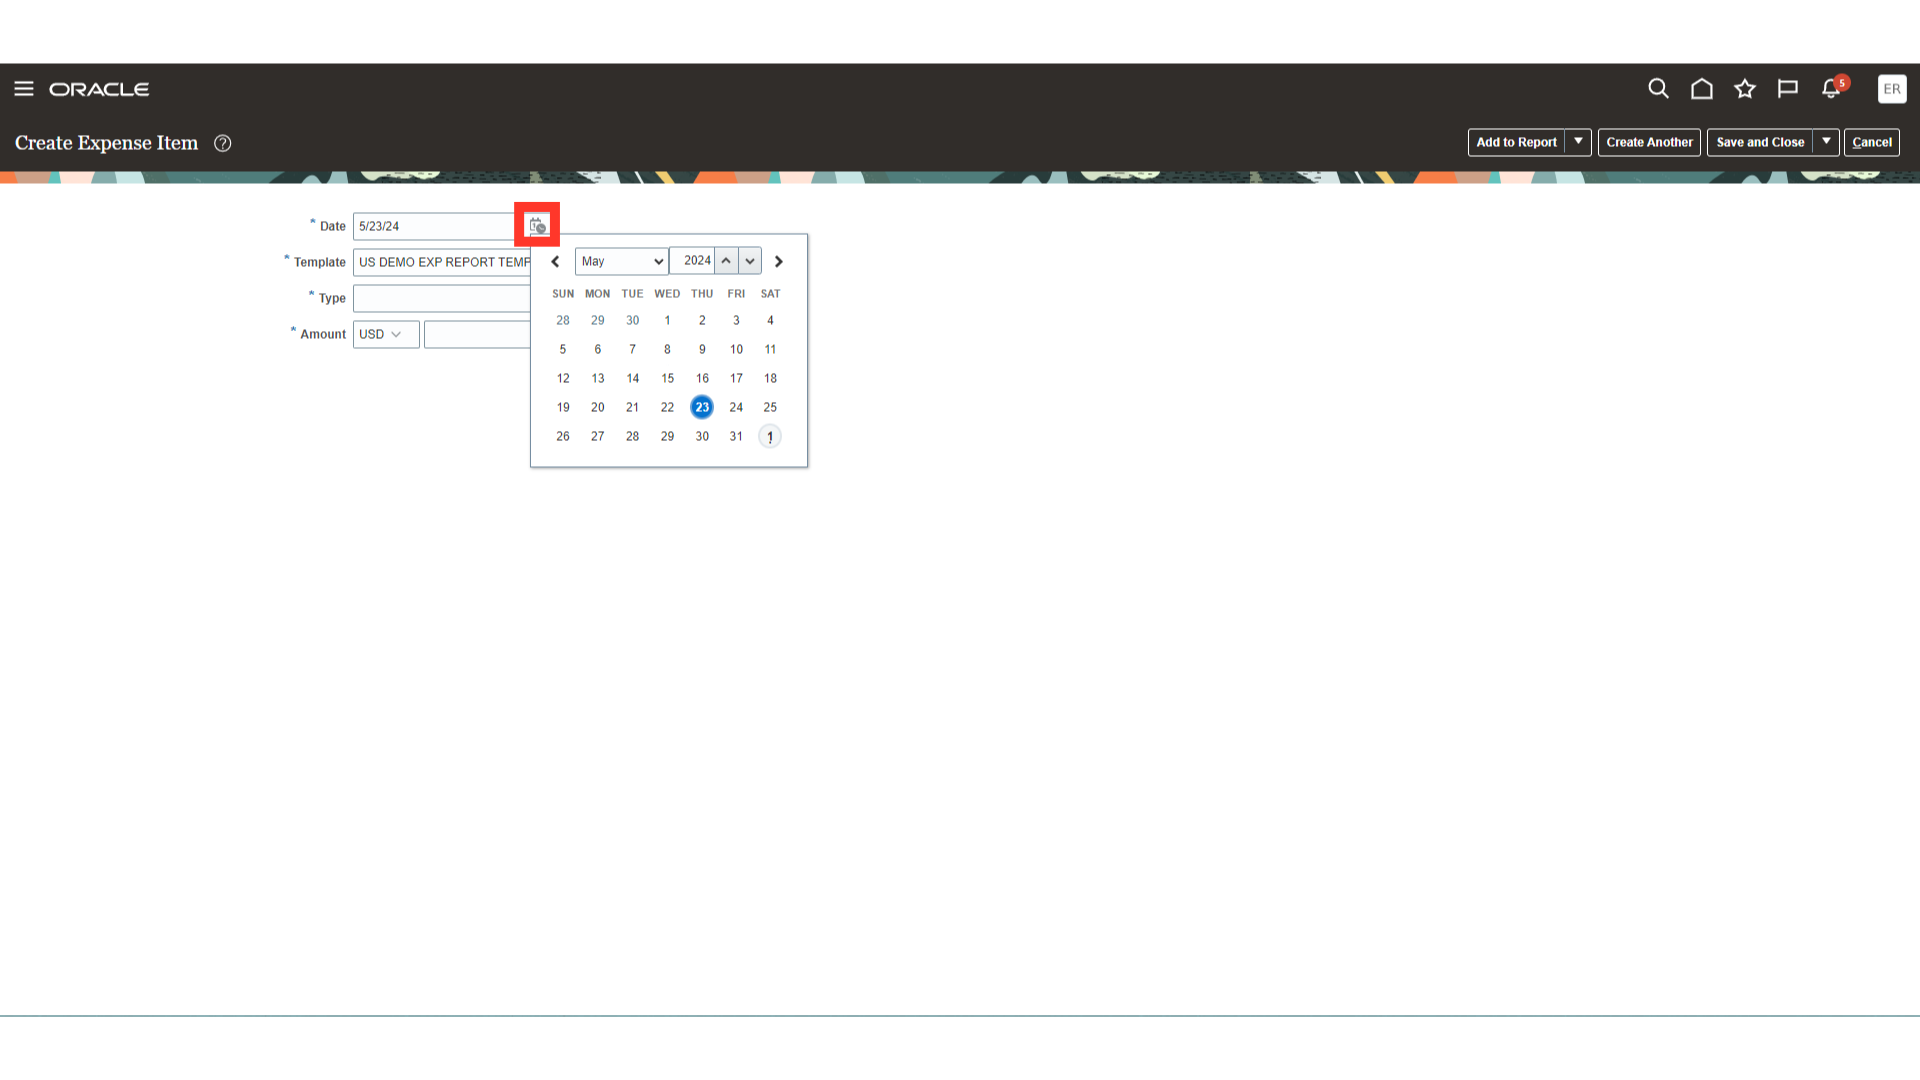
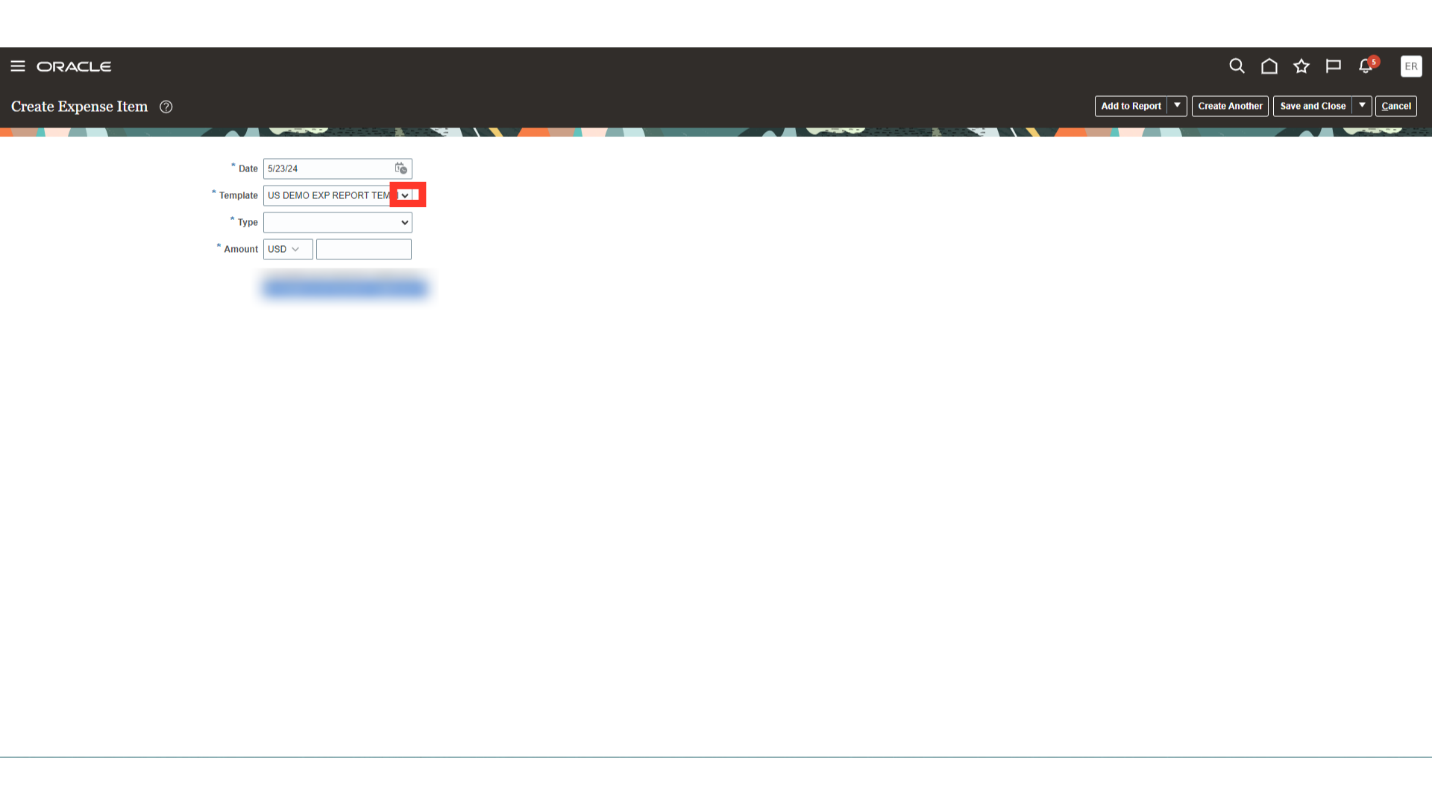
Select the required expense template from the list of values. Here for the demonstration purpose, we’re using US DEMO EXP REPORT TEMPLATE.
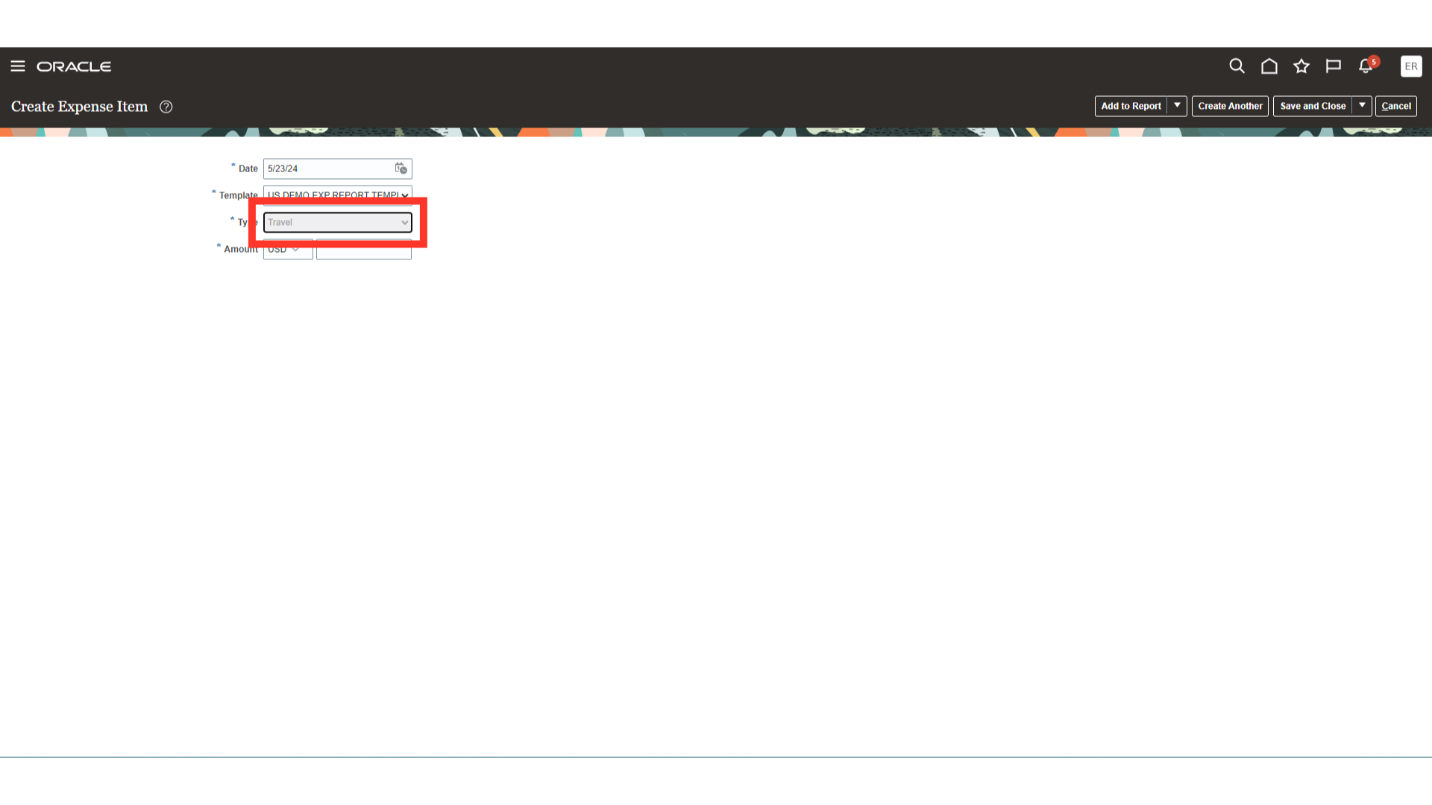
Select the appropriate type of expense from the available list of values. For the demonstration purpose, we have selected Travel here.
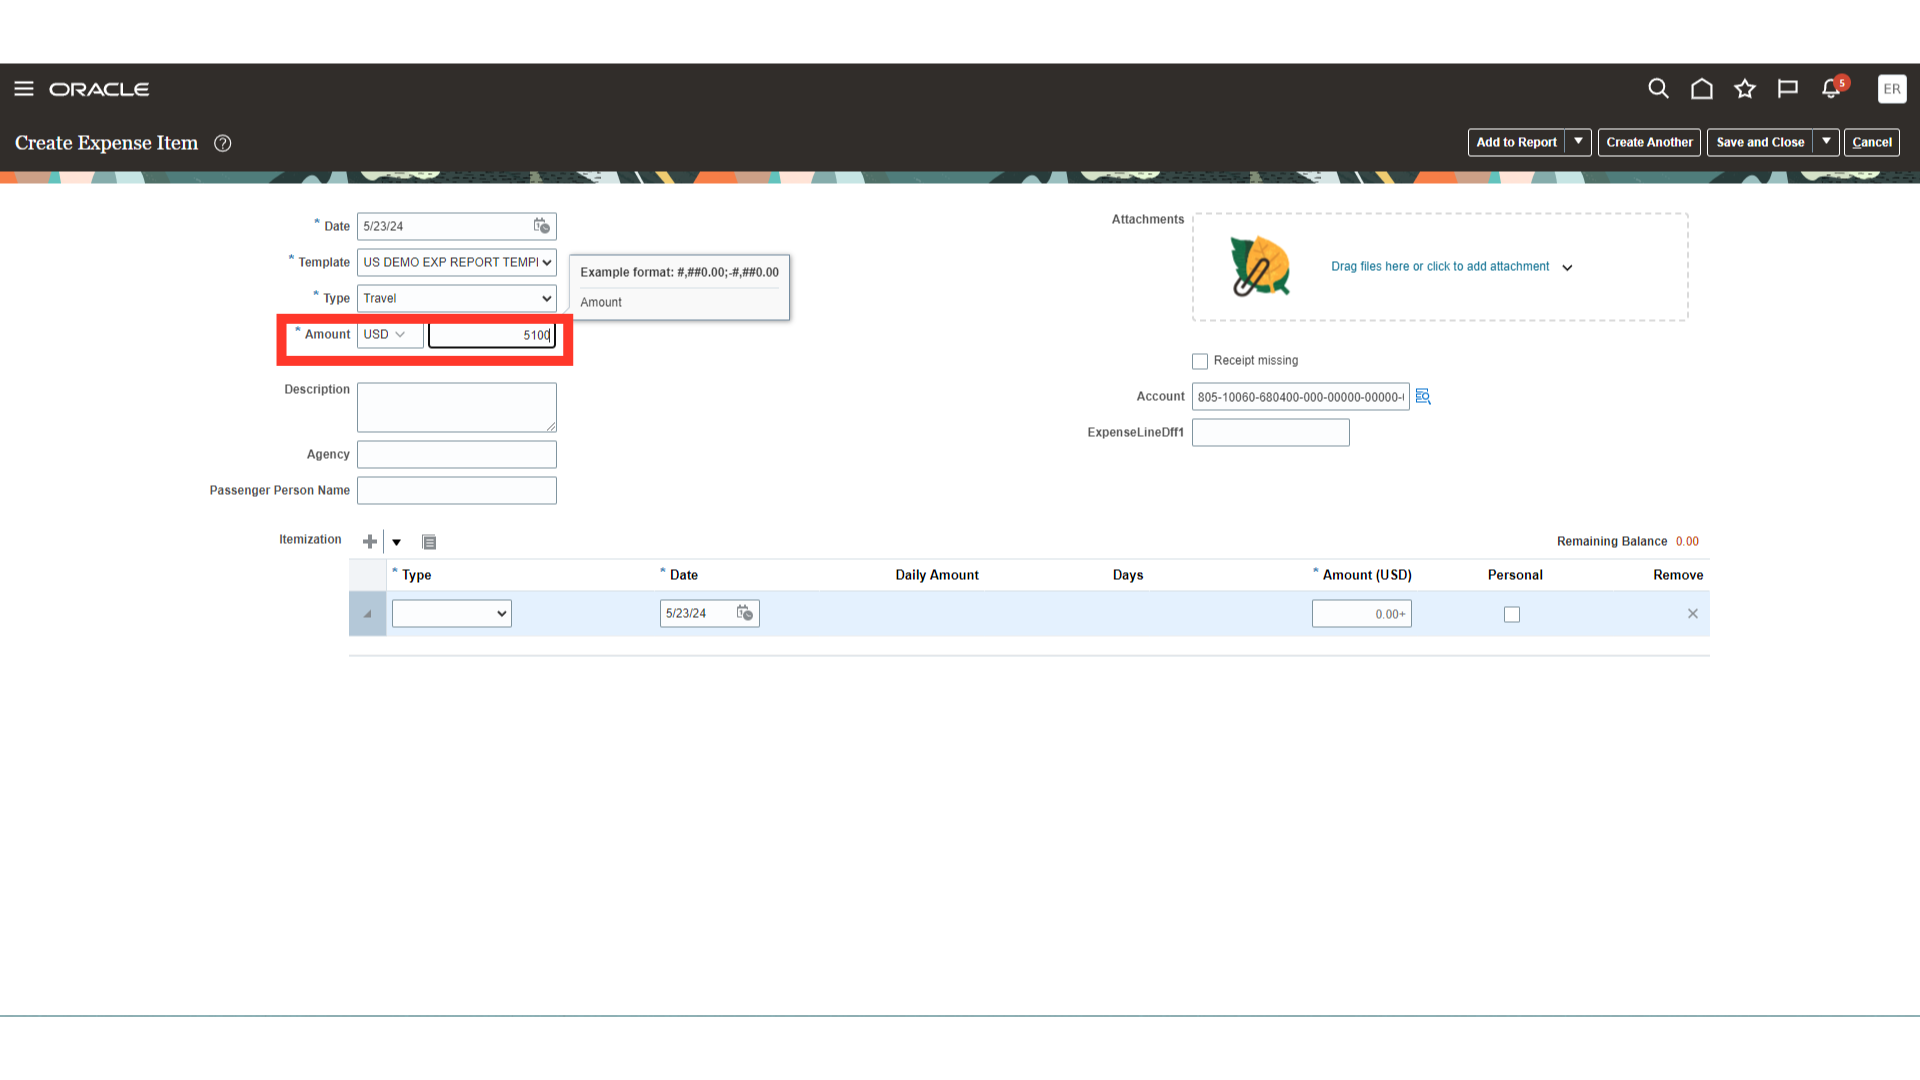
Enter the total expense amount and select the currency in which expense was incurred.
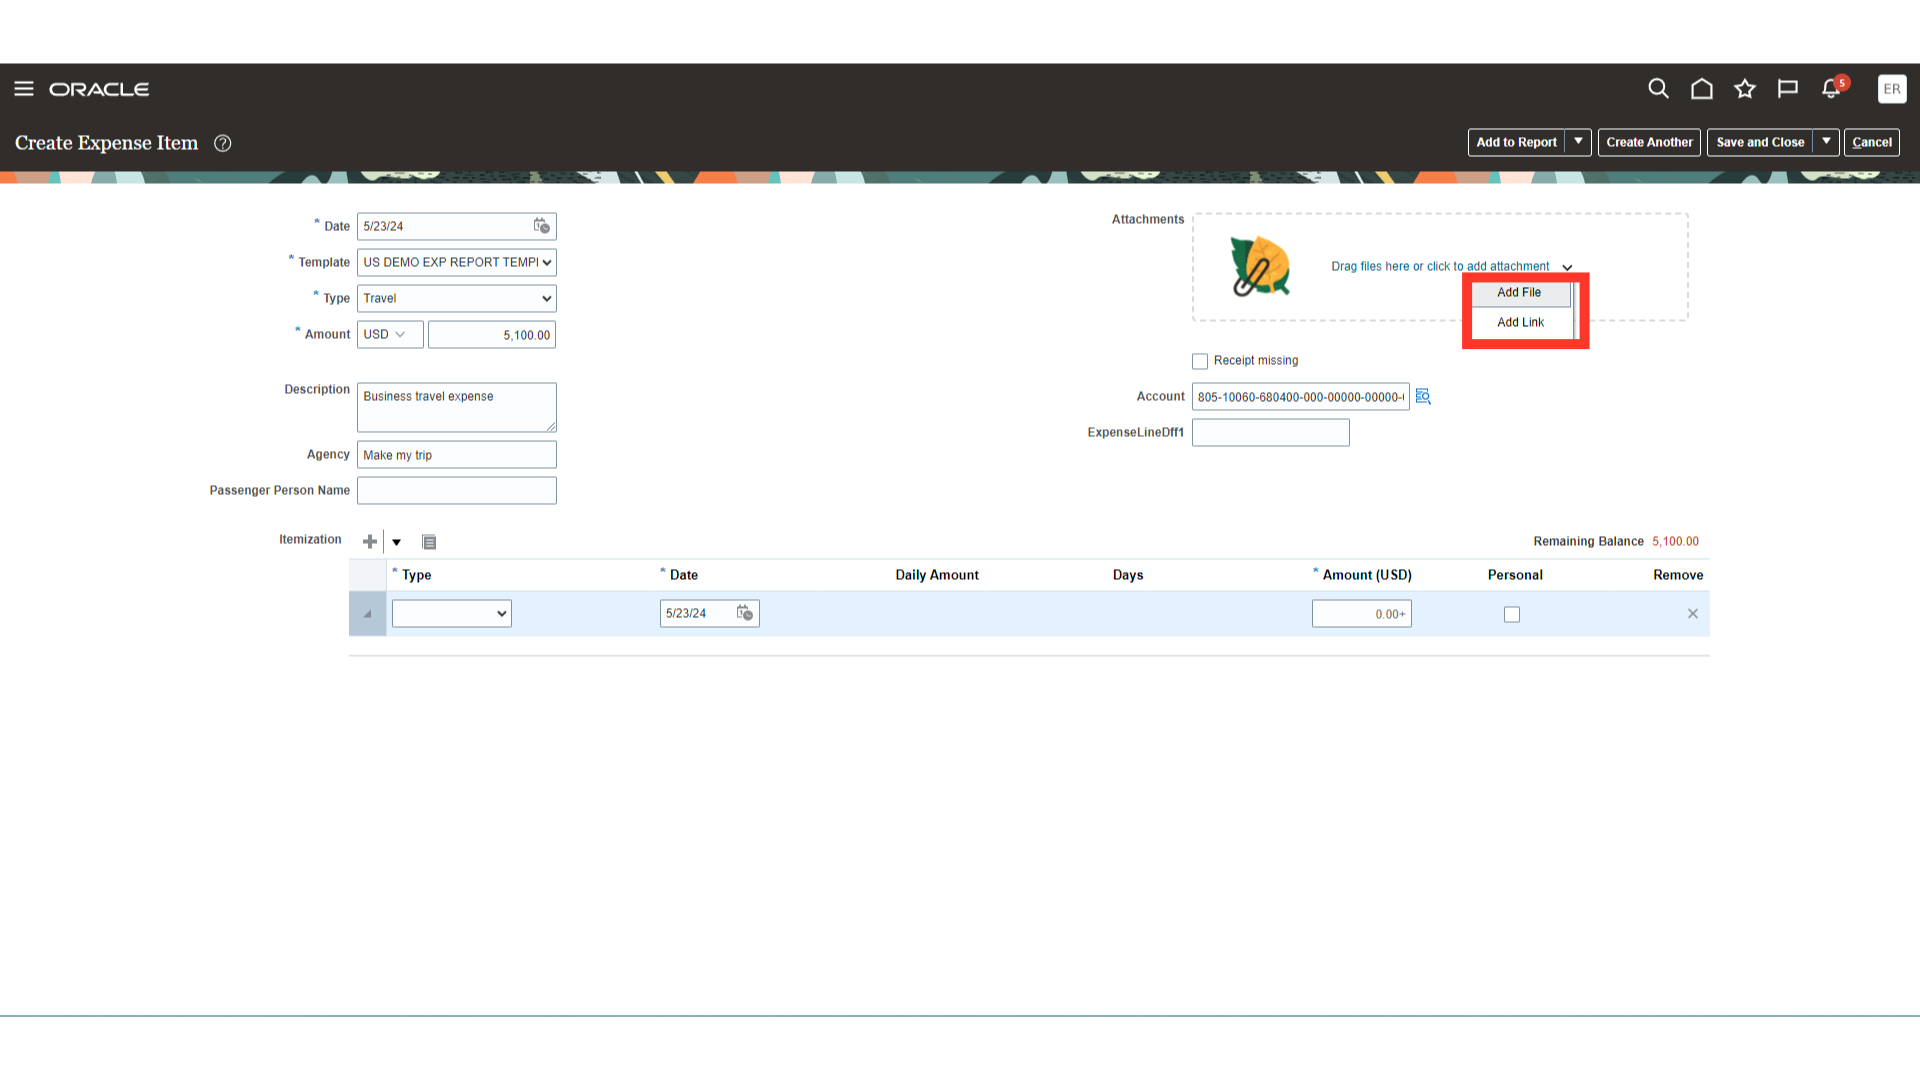
Upload the expense bills or receipts by clicking on Click to add attachment link.
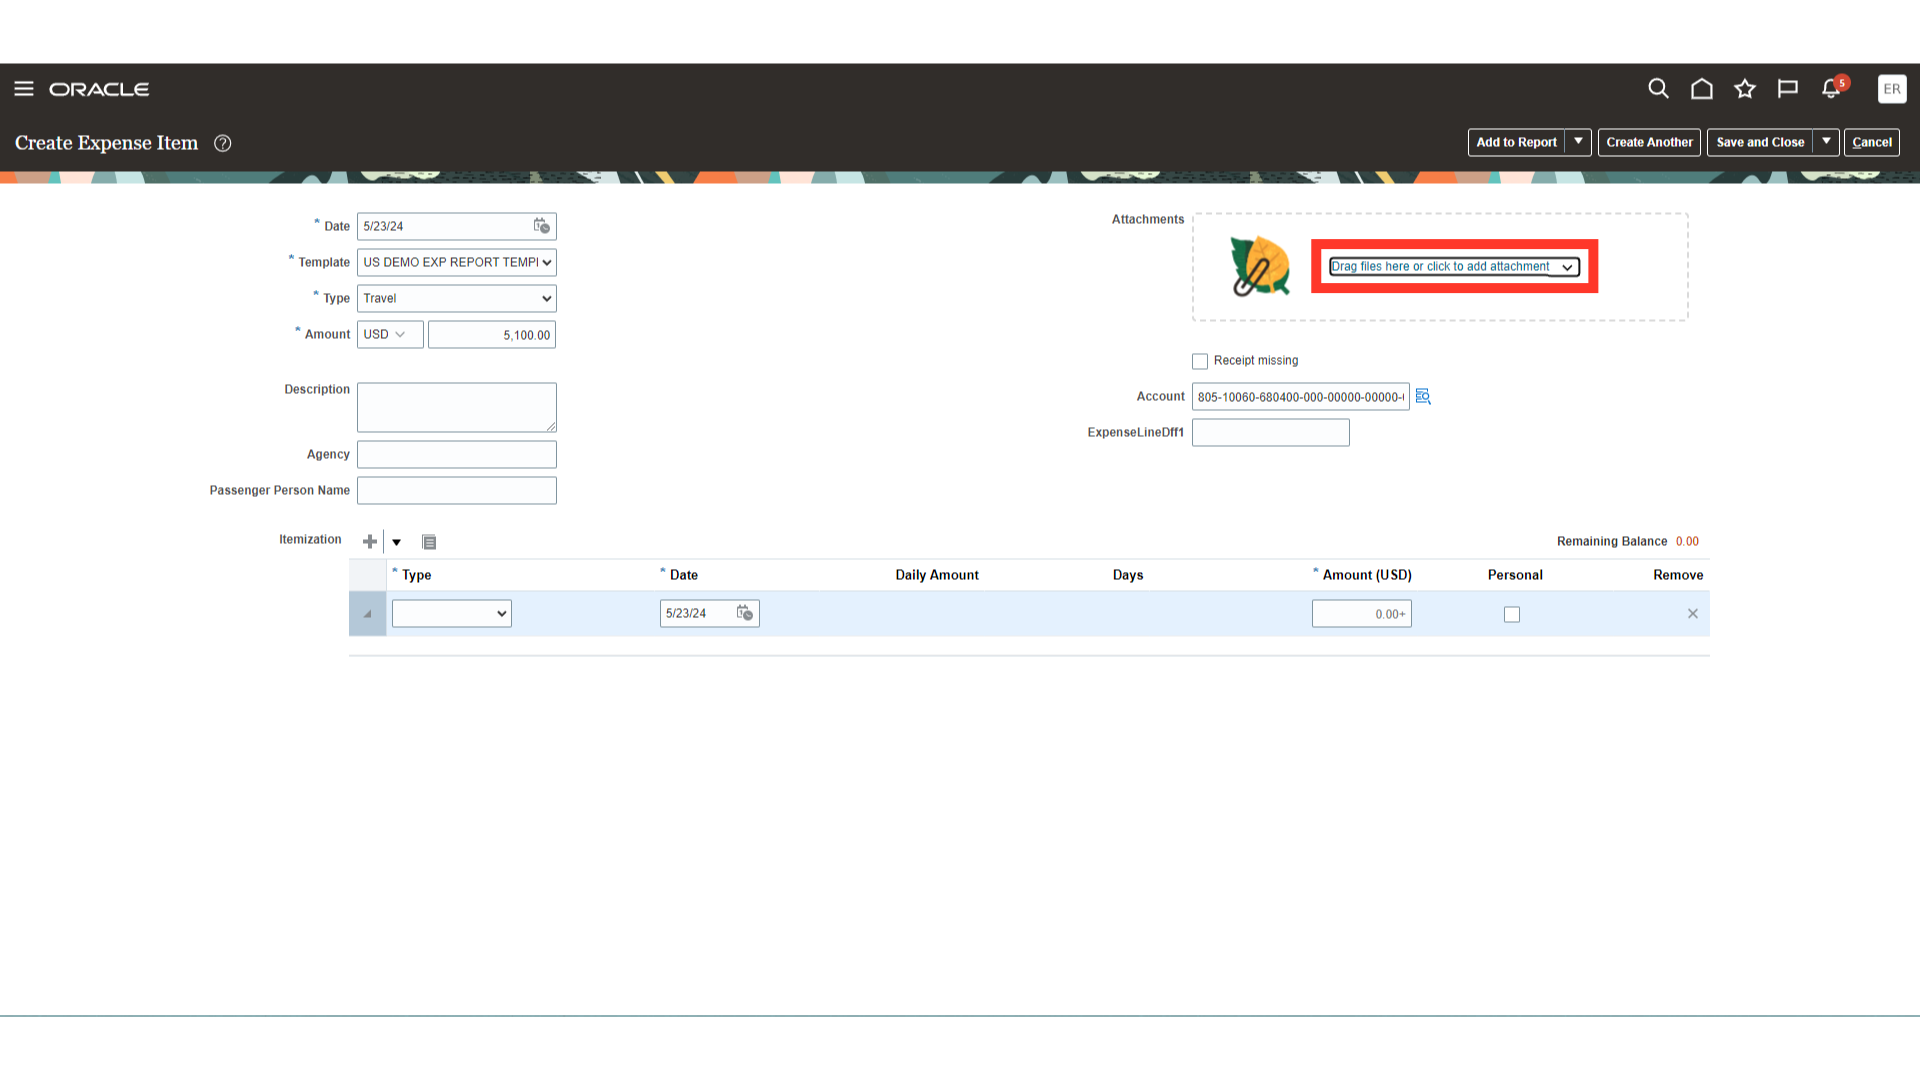
We have two options to upload the file, one by uploading the file from our local desktop and second by attaching the URL link of the document. Here for Demo purpose, we have uploaded the file by clicking on the Add file option.
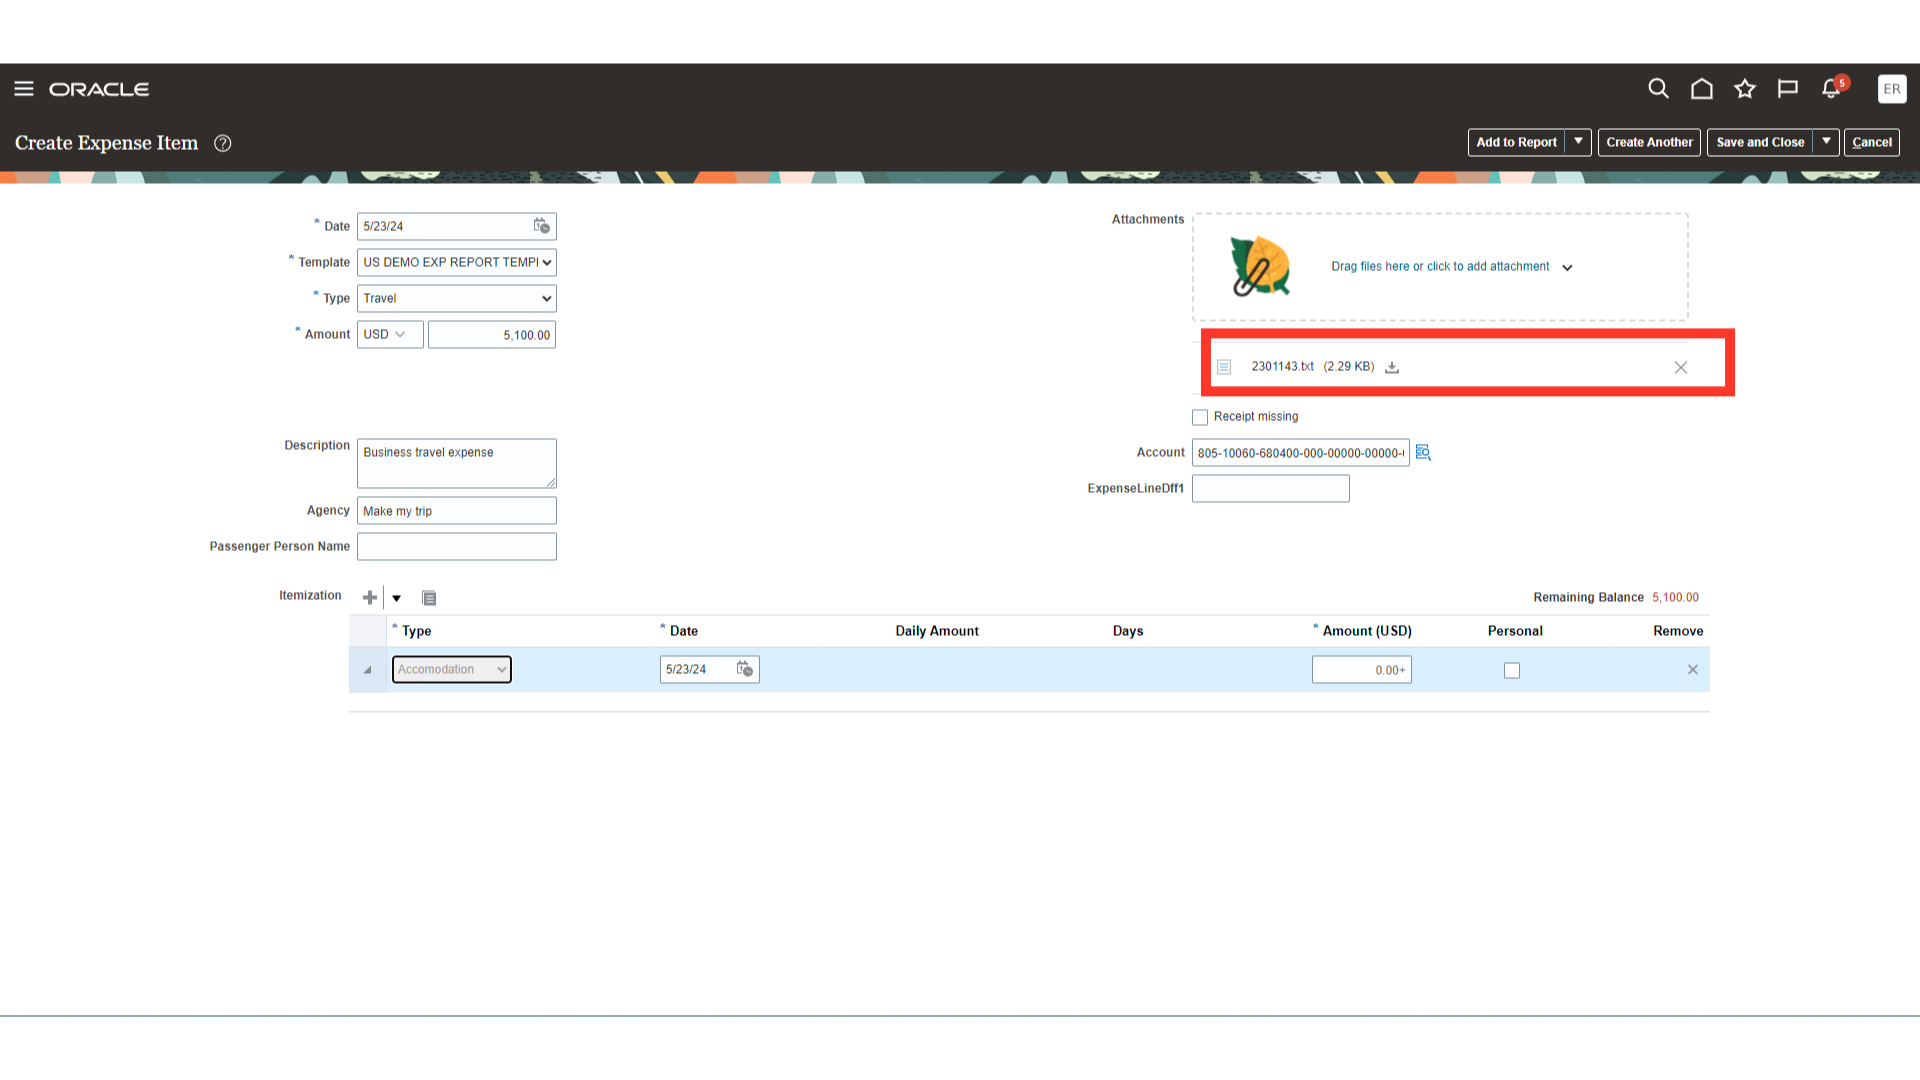
Once the attachments are uploaded , it would be visible under attachments section.
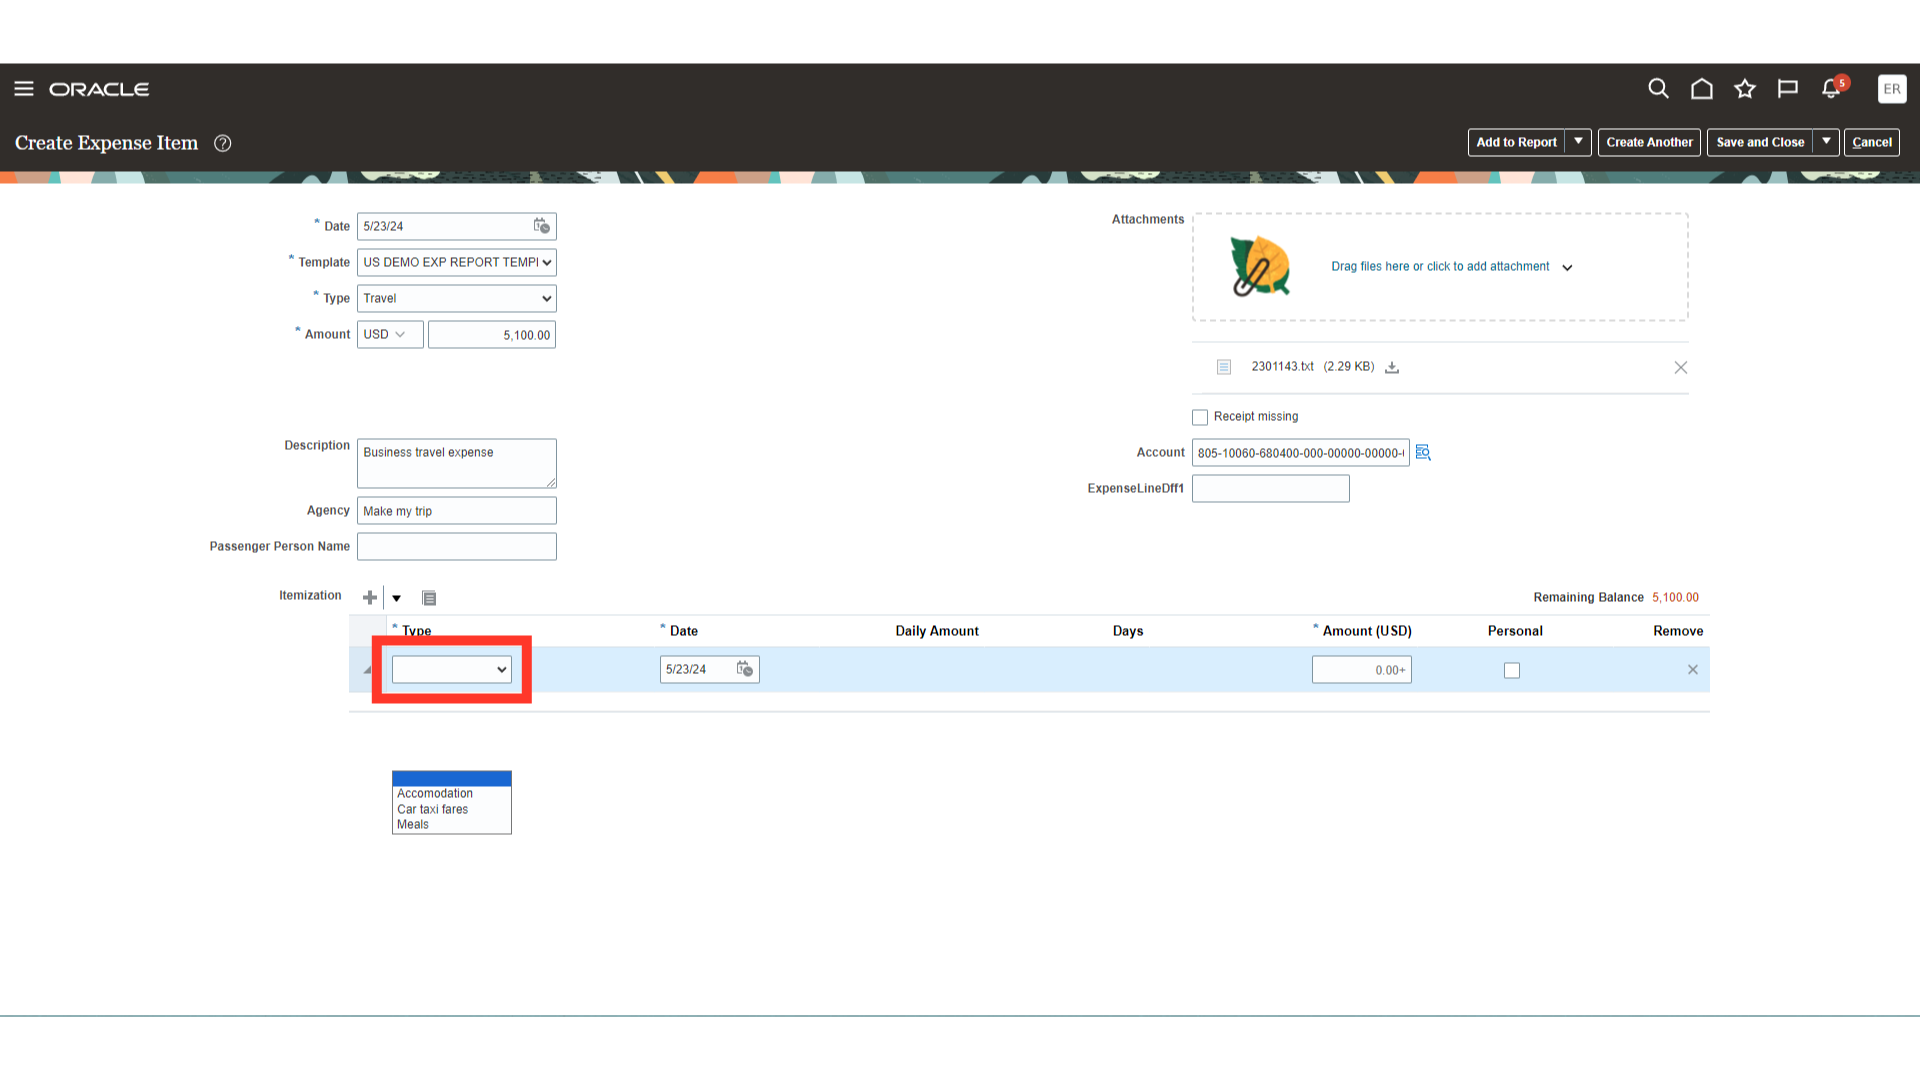
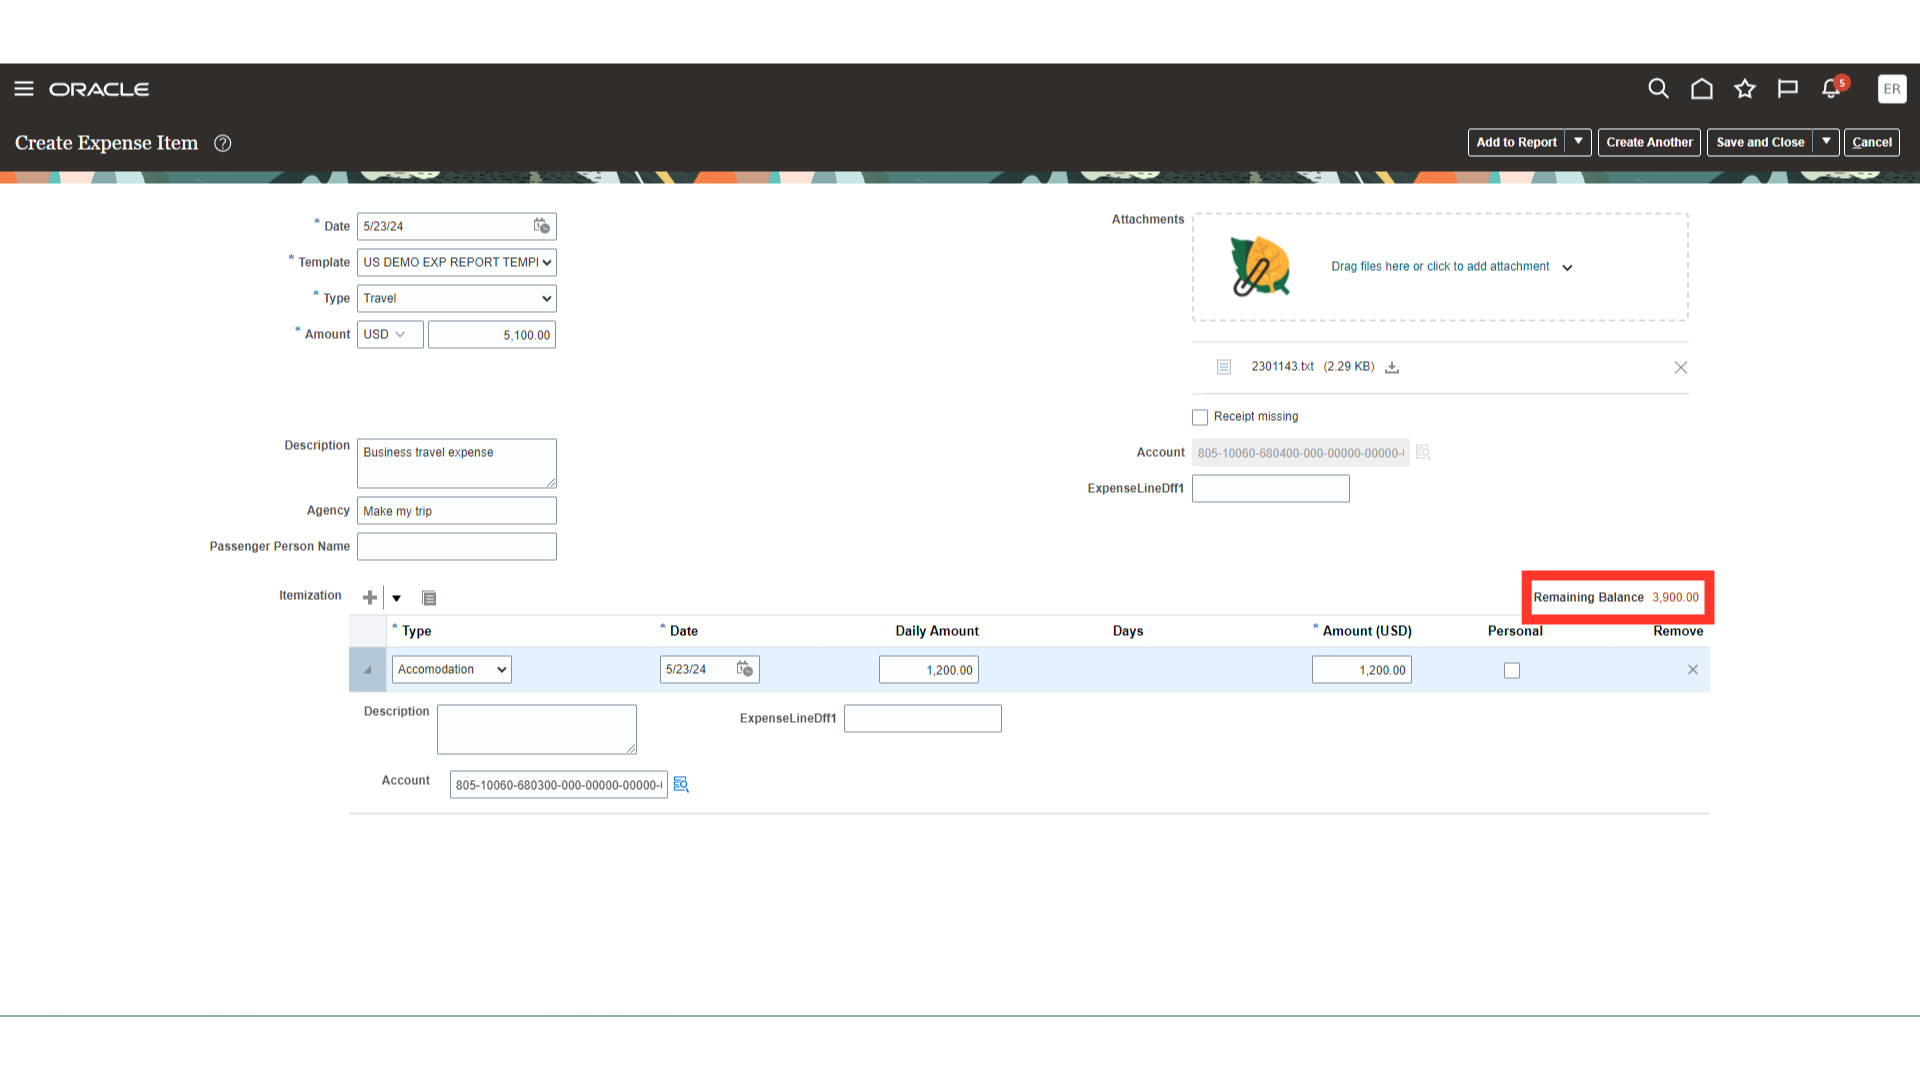
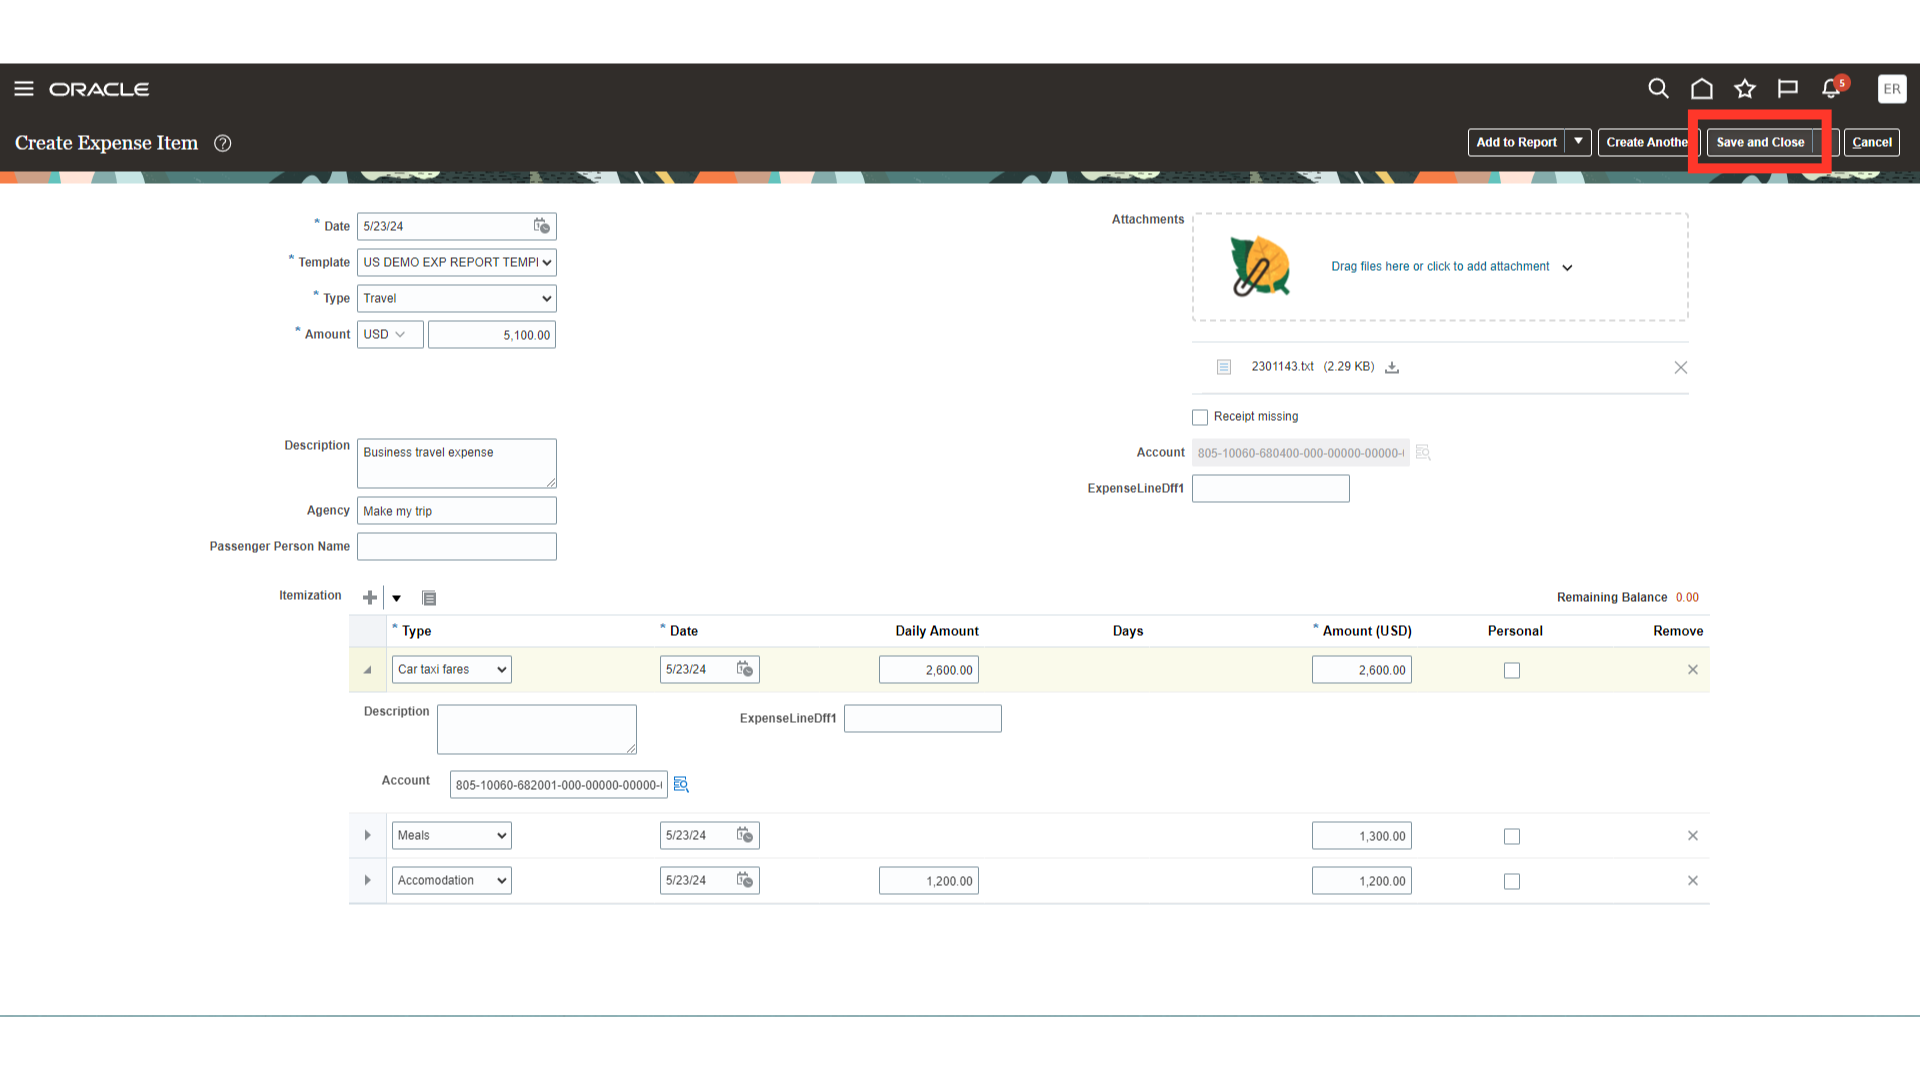
You can also add itemization of the expense due to which the expense can be recorded in separate accounts and classification of the expense would be available. Here for demo purpose, I have selected Accommodation expense type.
Enter the date and expense amount related to the expense.
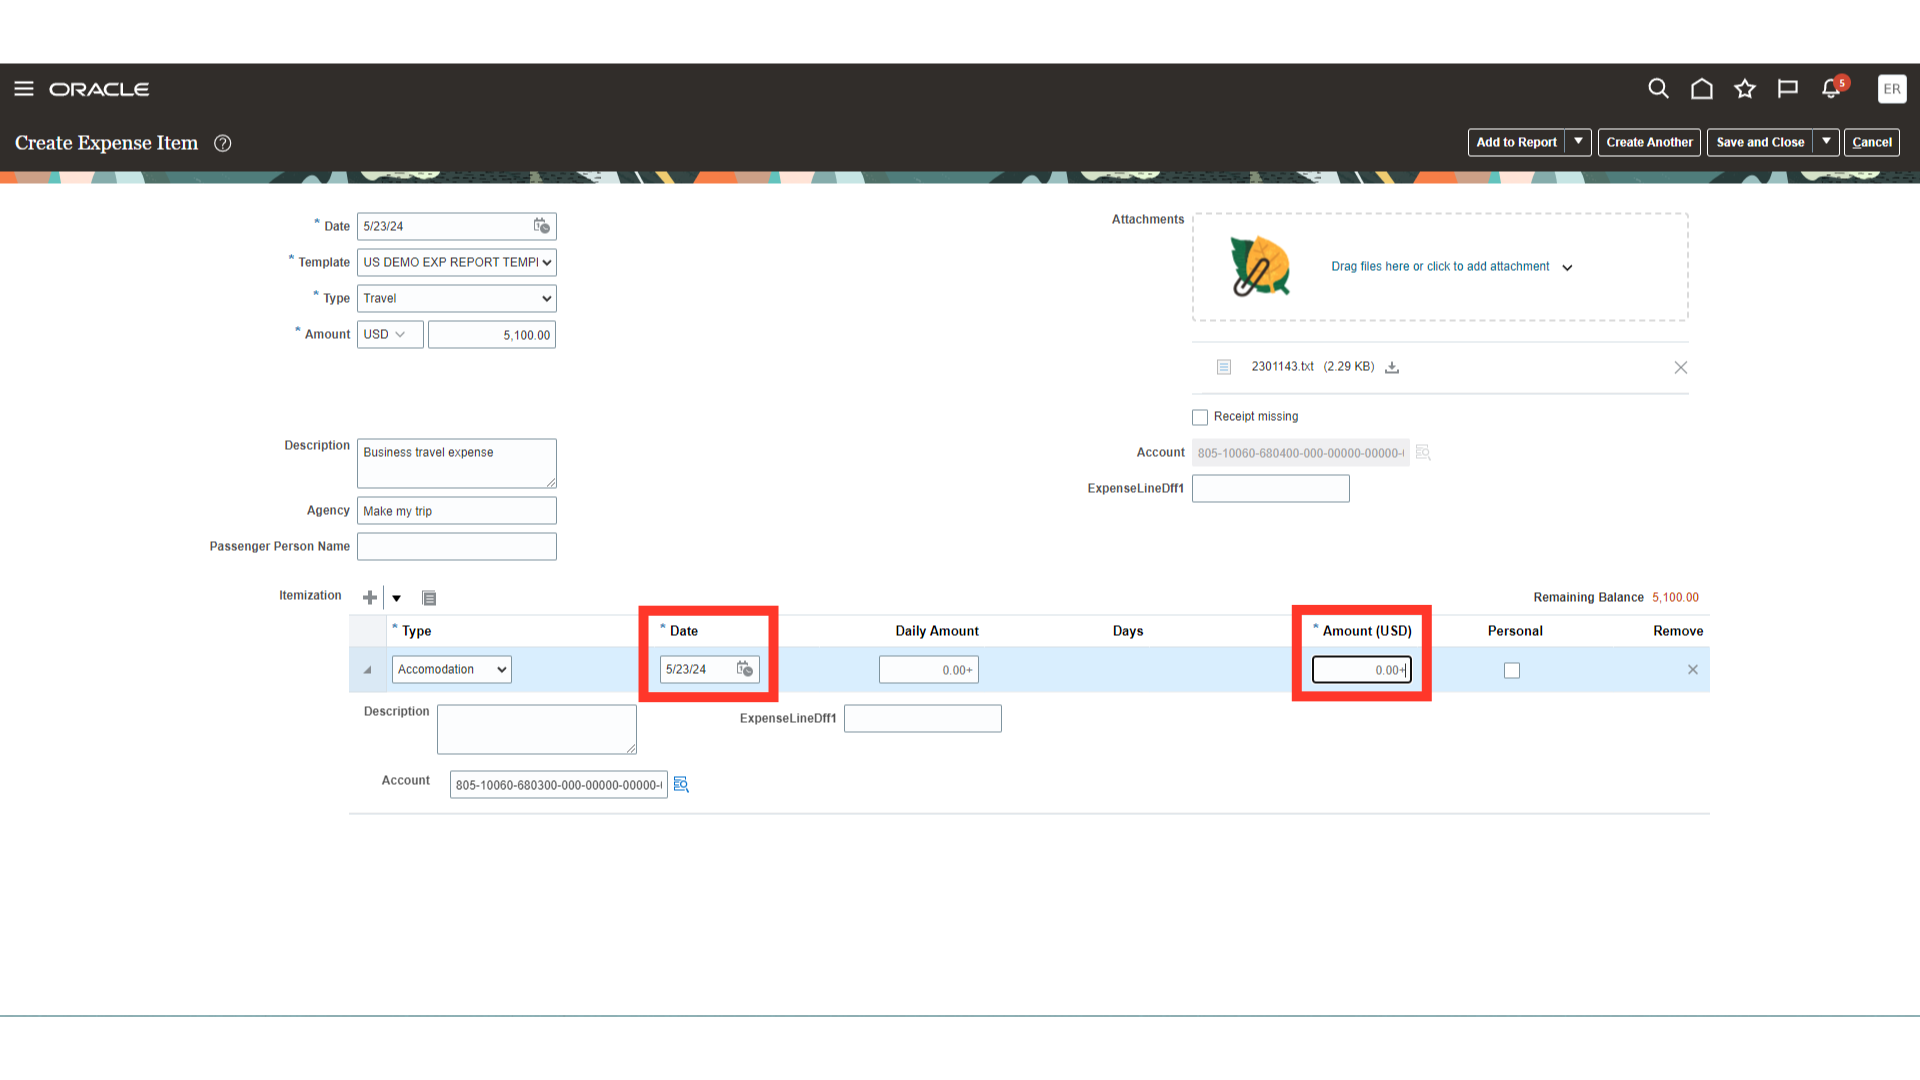
Remaining balance is automatically calculated based on the total expense amount and amount recorded by each expense type.
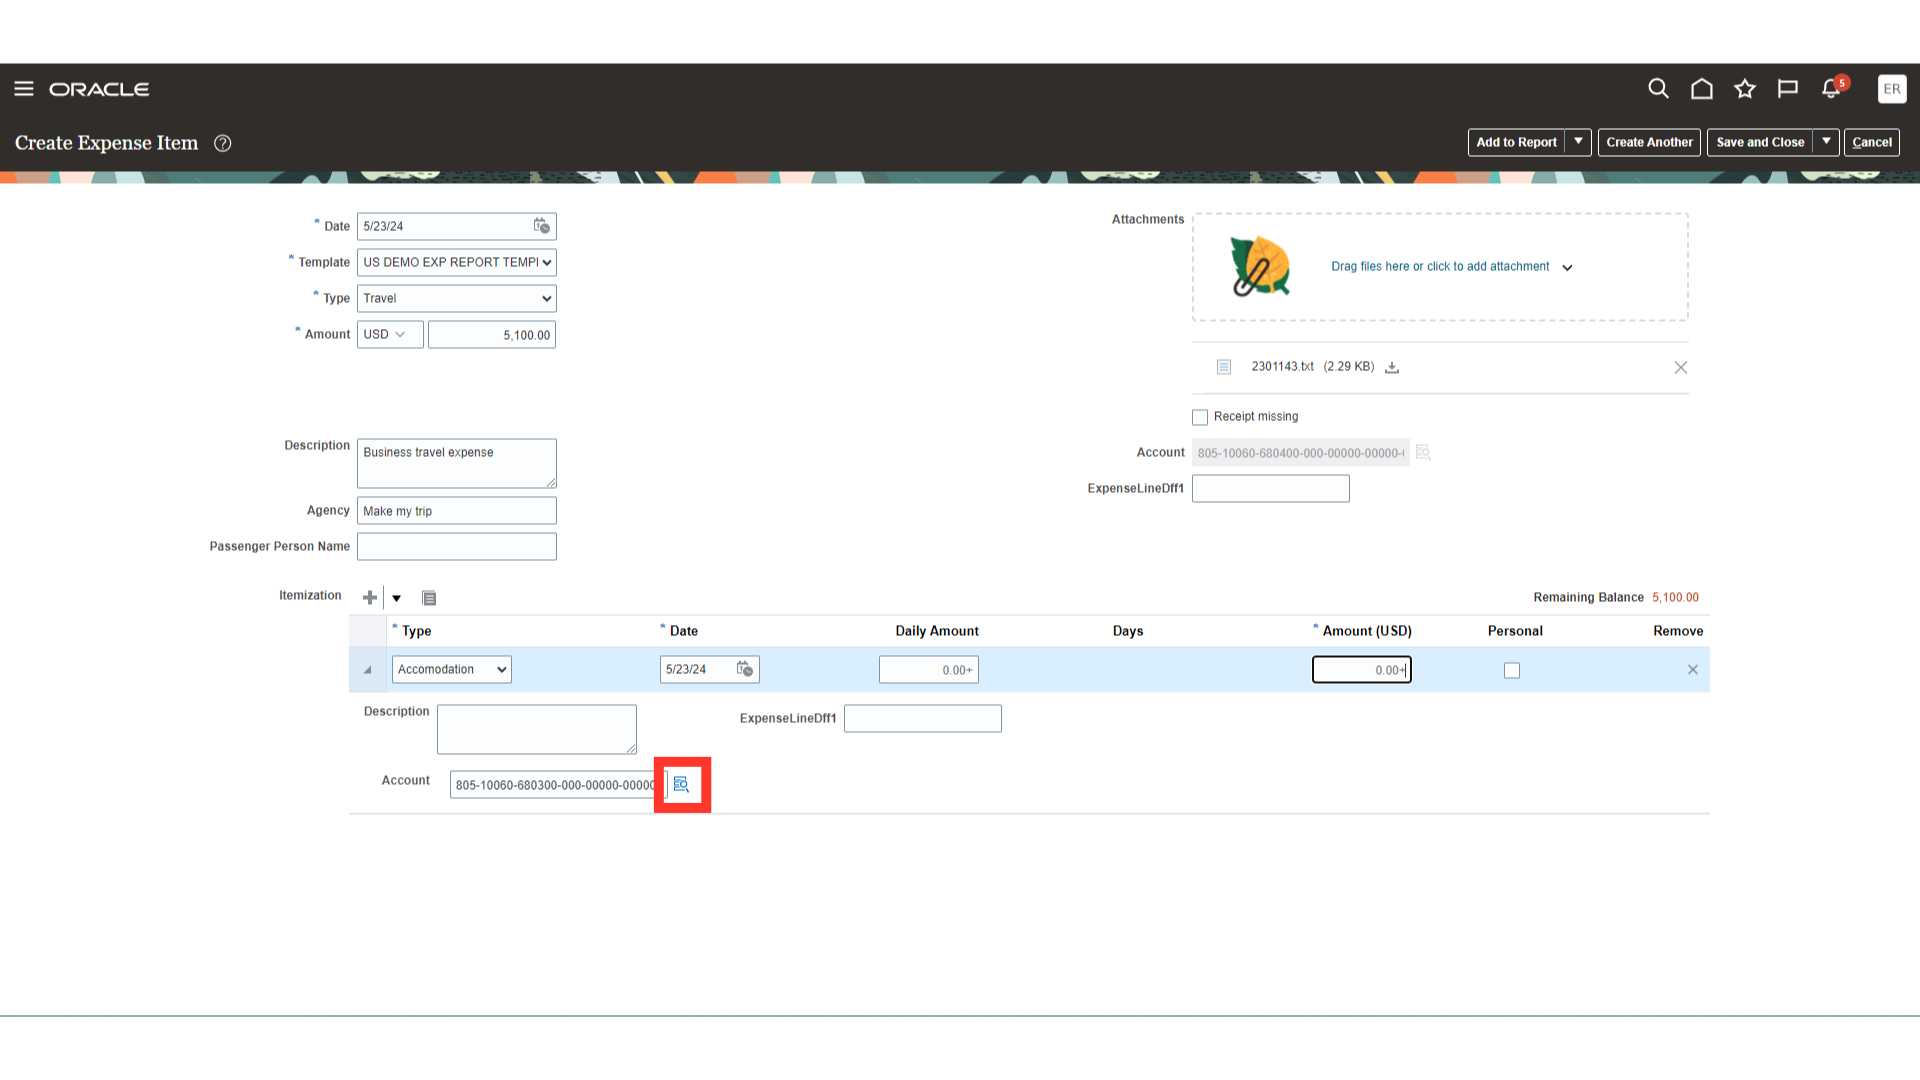
Expense Account combinations are defaulted from Employee master record except the natural account which is defaulted from expense type. If you want to change the account details, click on the highlighted icon and select the required values.
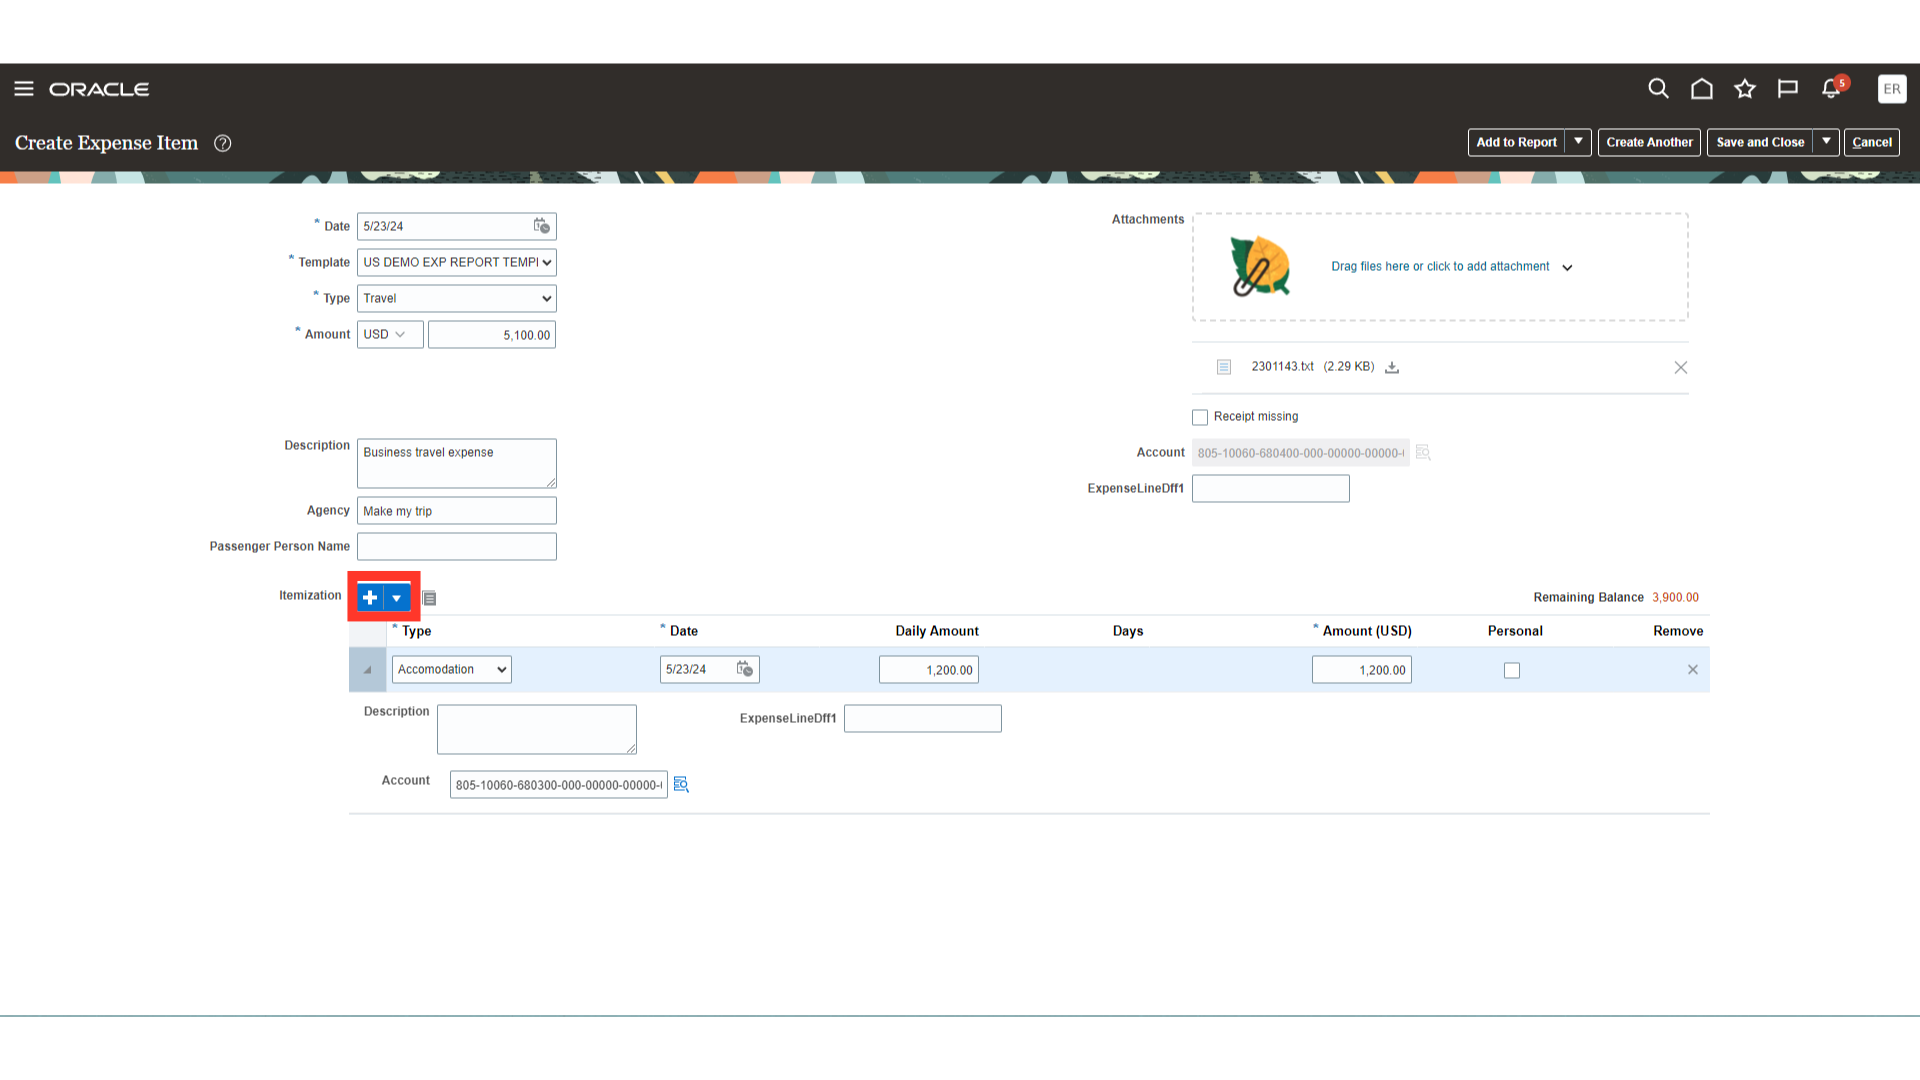
Click on plus icon to enter other expense items. Here for demo purpose, we have entered Meals, and Car Taxi fare expenses.
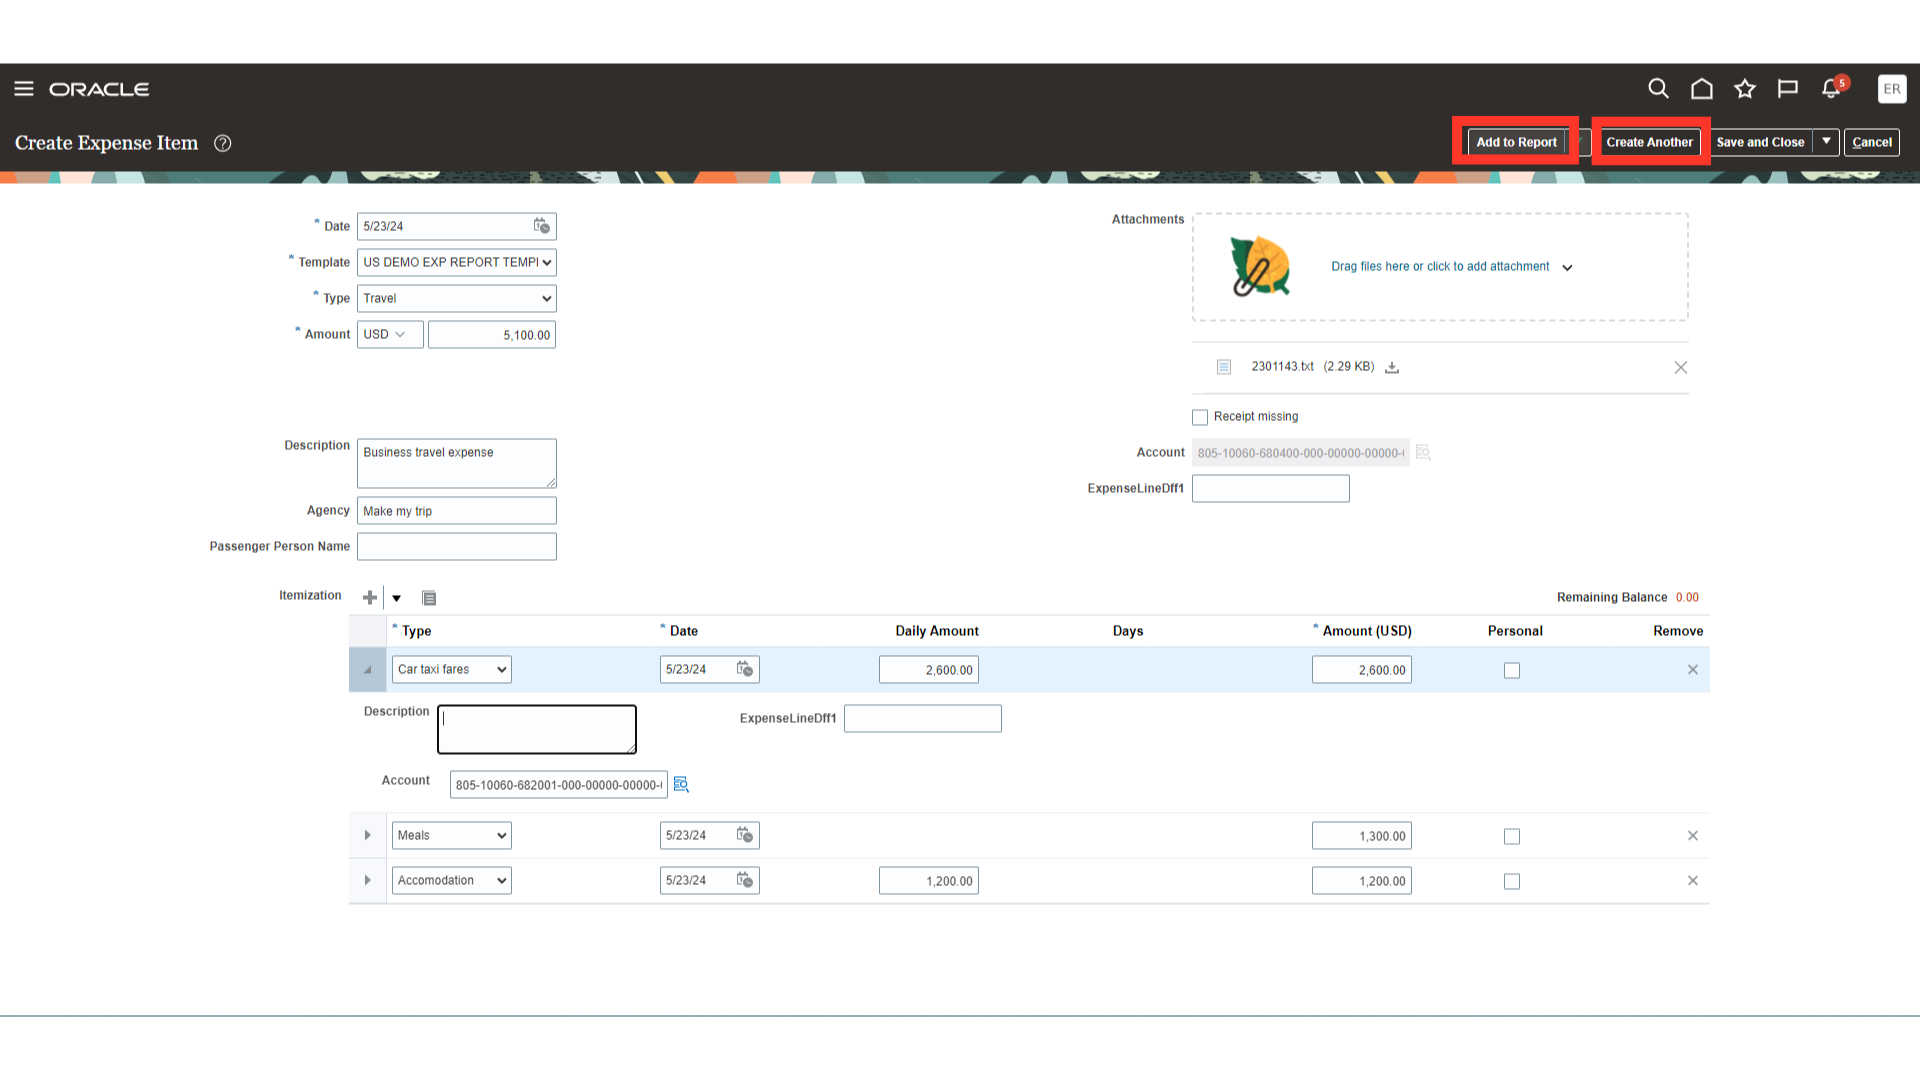
If you want to add this expense item to the expense report, select the “Add to report” button. Otherwise, you can enter another expense item by clicking on the “Create Another” button.
After verifying all the details entered, click on the “Save and Close” button.
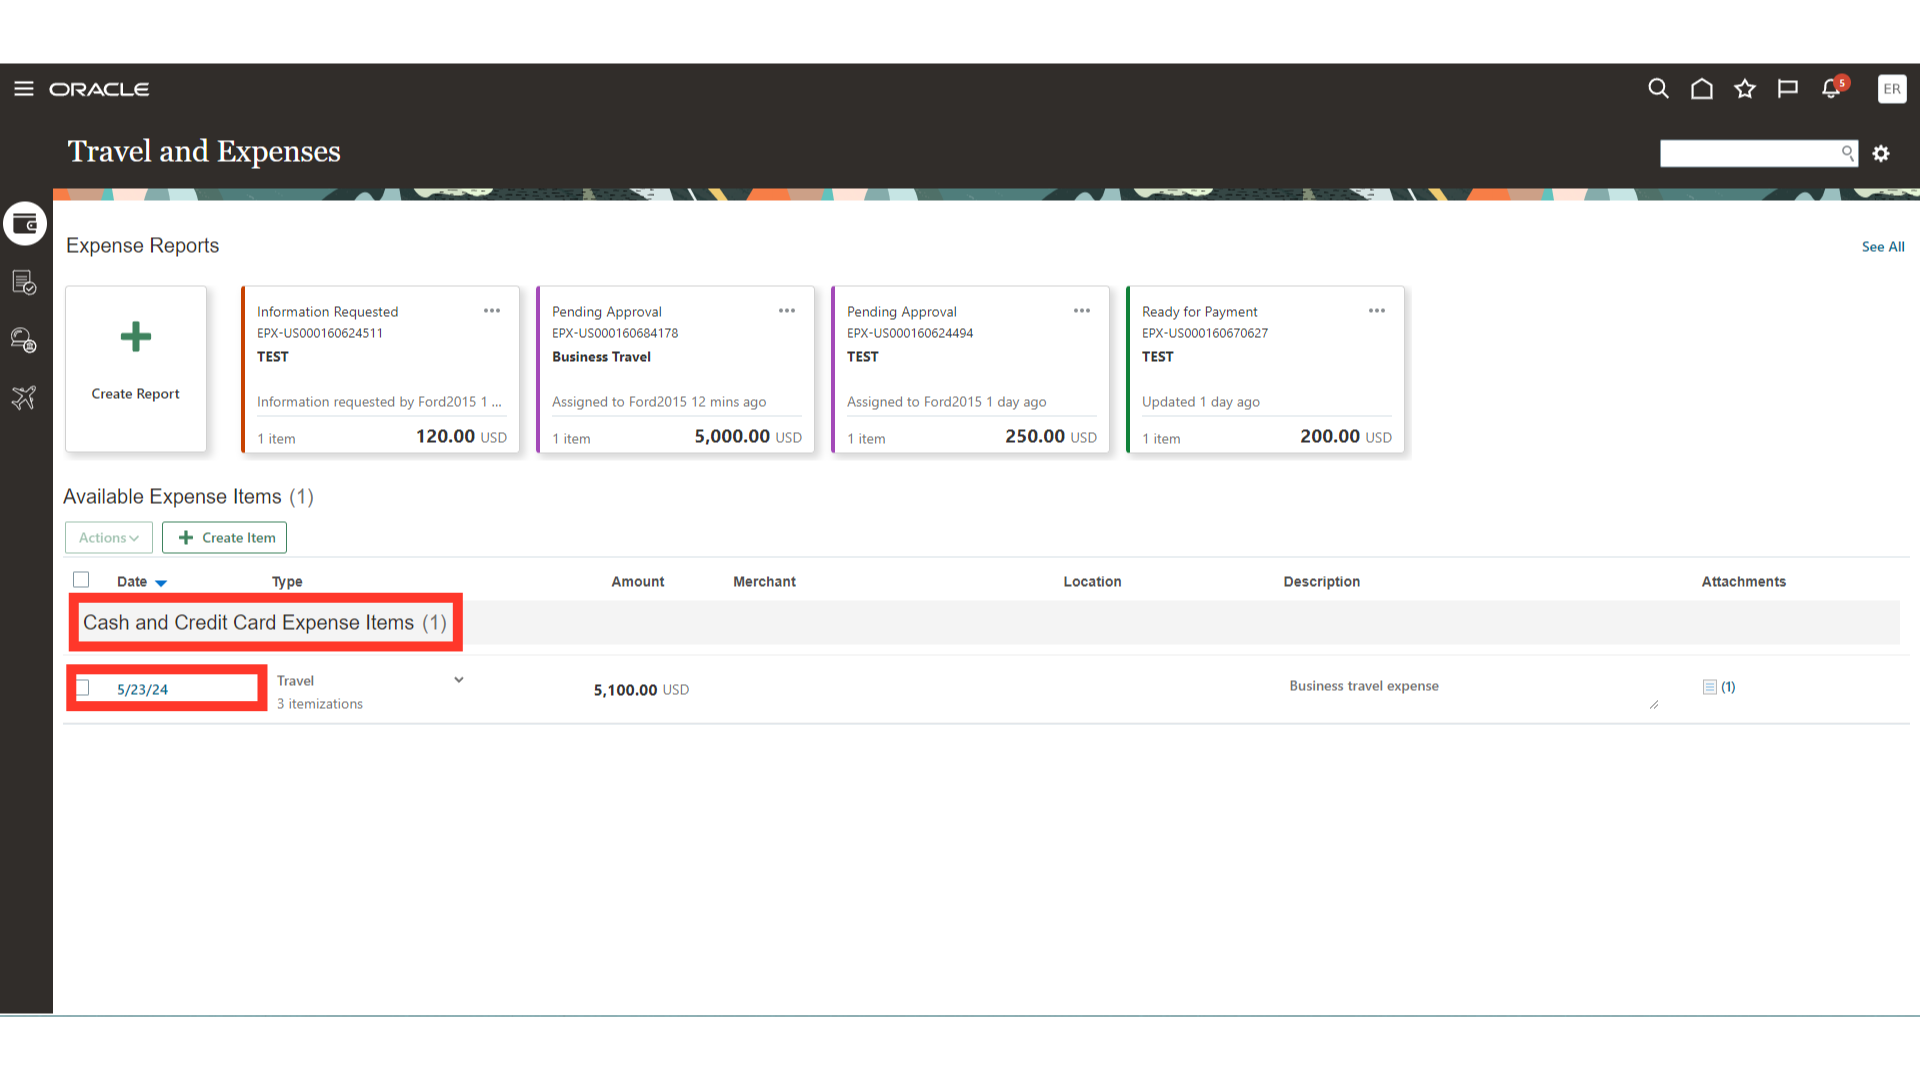
In case you want to make changes in the expense item saved click on the required expense items under Cash and Credit card Expense Items section on Expenses dashboard.
In this guide you learned detailed process of how to create expenditure items for reporting various types of expenses, how to submit a copy of the invoice as verification of attachments, and how to modify default expense account combinations.