Transaction Code and Other Maintenance
Along with the setup of tolerance and matching rules in Oracle Fusion, this guide will offer a thorough explanation of all the setups needed in the Cash Management modules, including Bank, Bank Branches, Bank Accounts, and Transaction codes.
Click on drop-down under the user’s name and then click on the ” Setup and Maintenance” hyperlink to land into the Functional setup area.
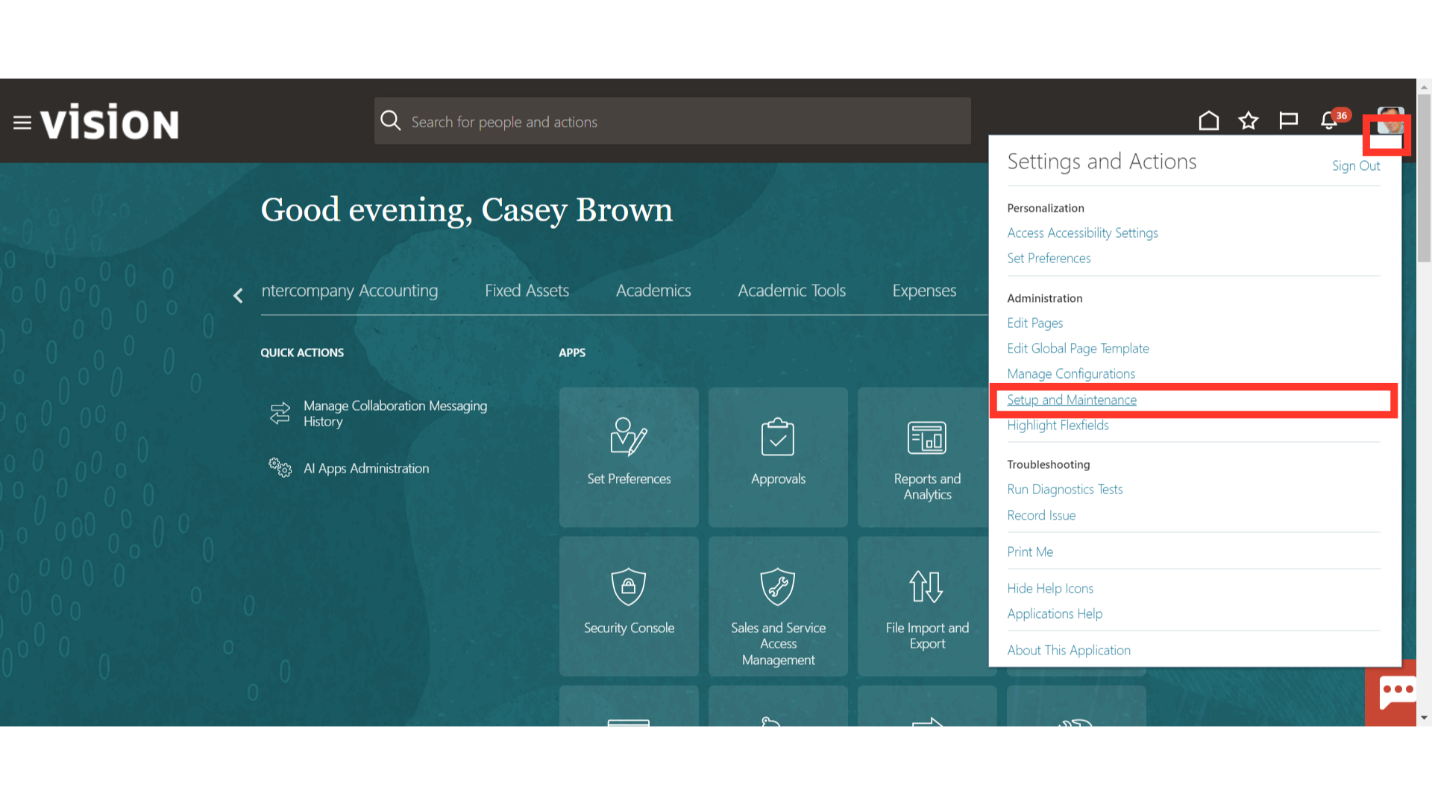
Every setup task is broken down into distinct offerings, like Order Management, Financials, and Procurement, among others. This highlighted drop-down menu allows you to select the Financials section, which contains the setups related to the Cash Management module.
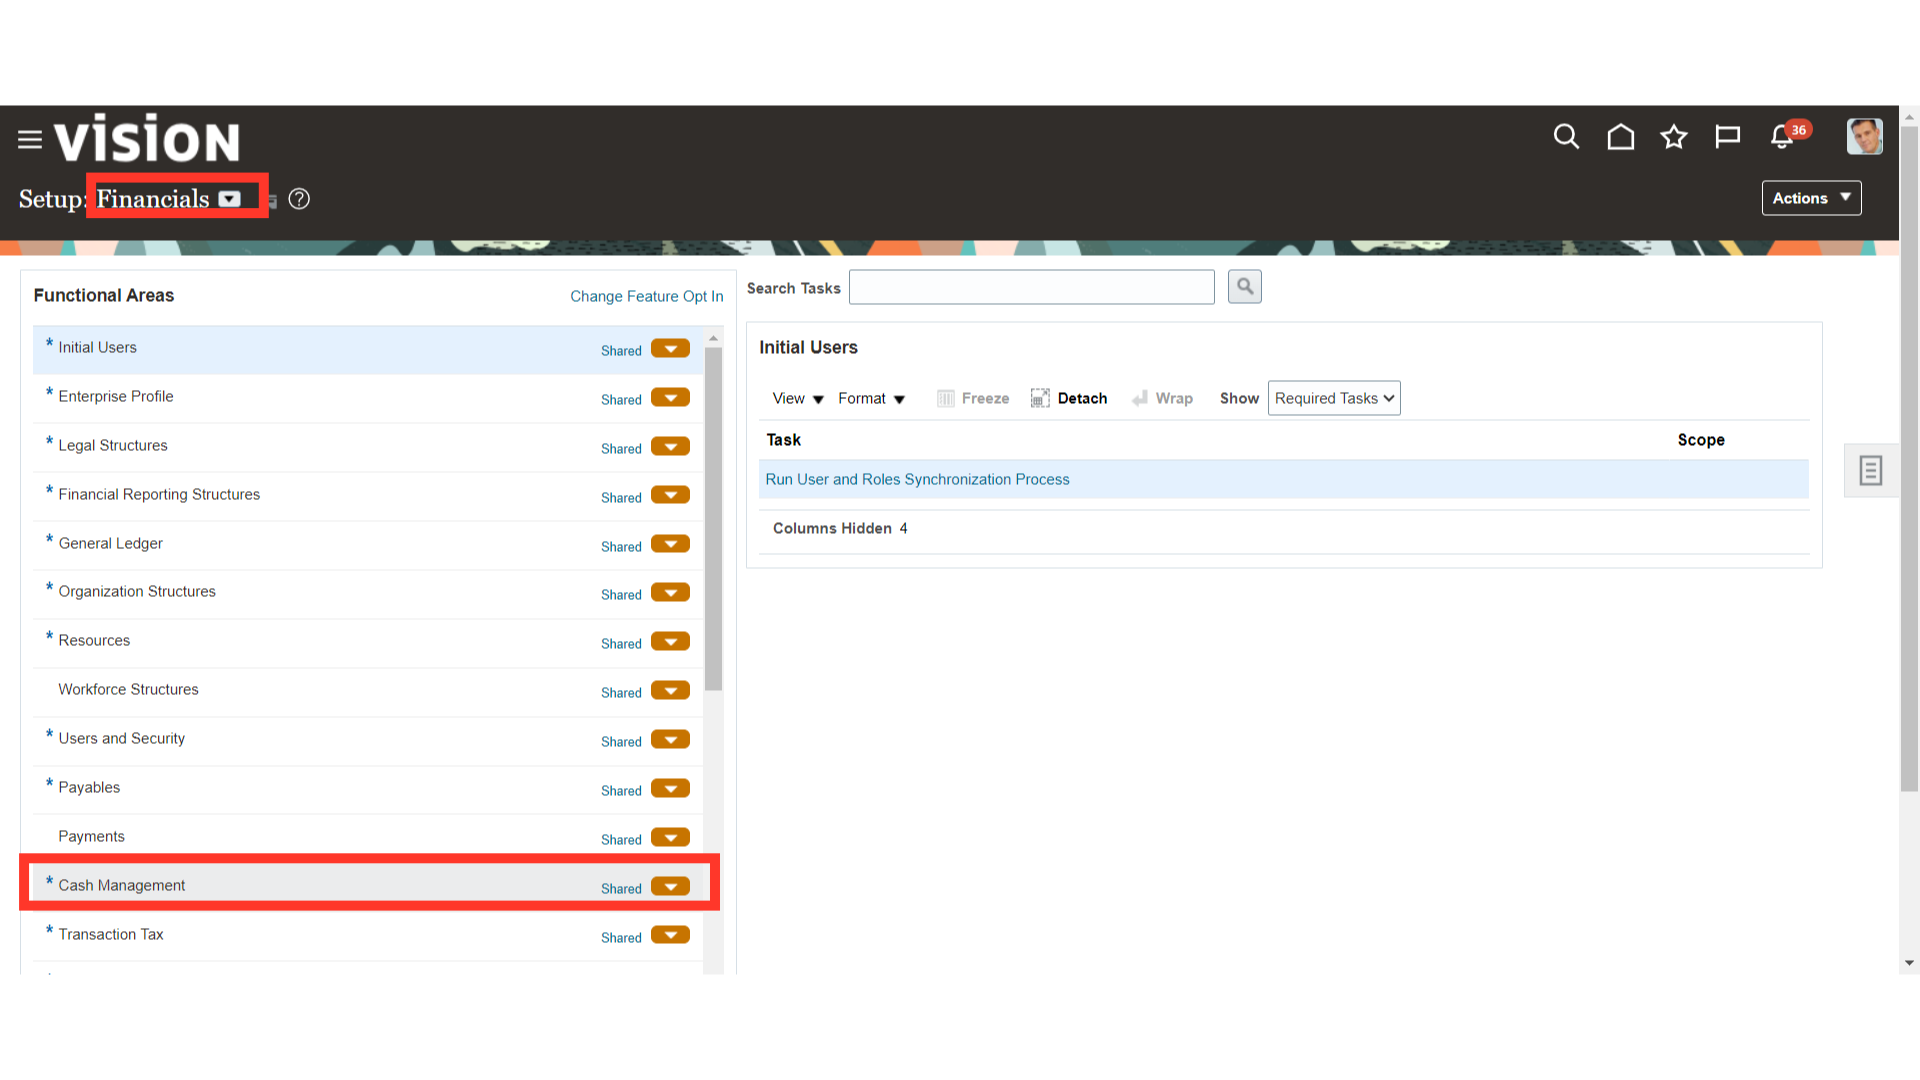
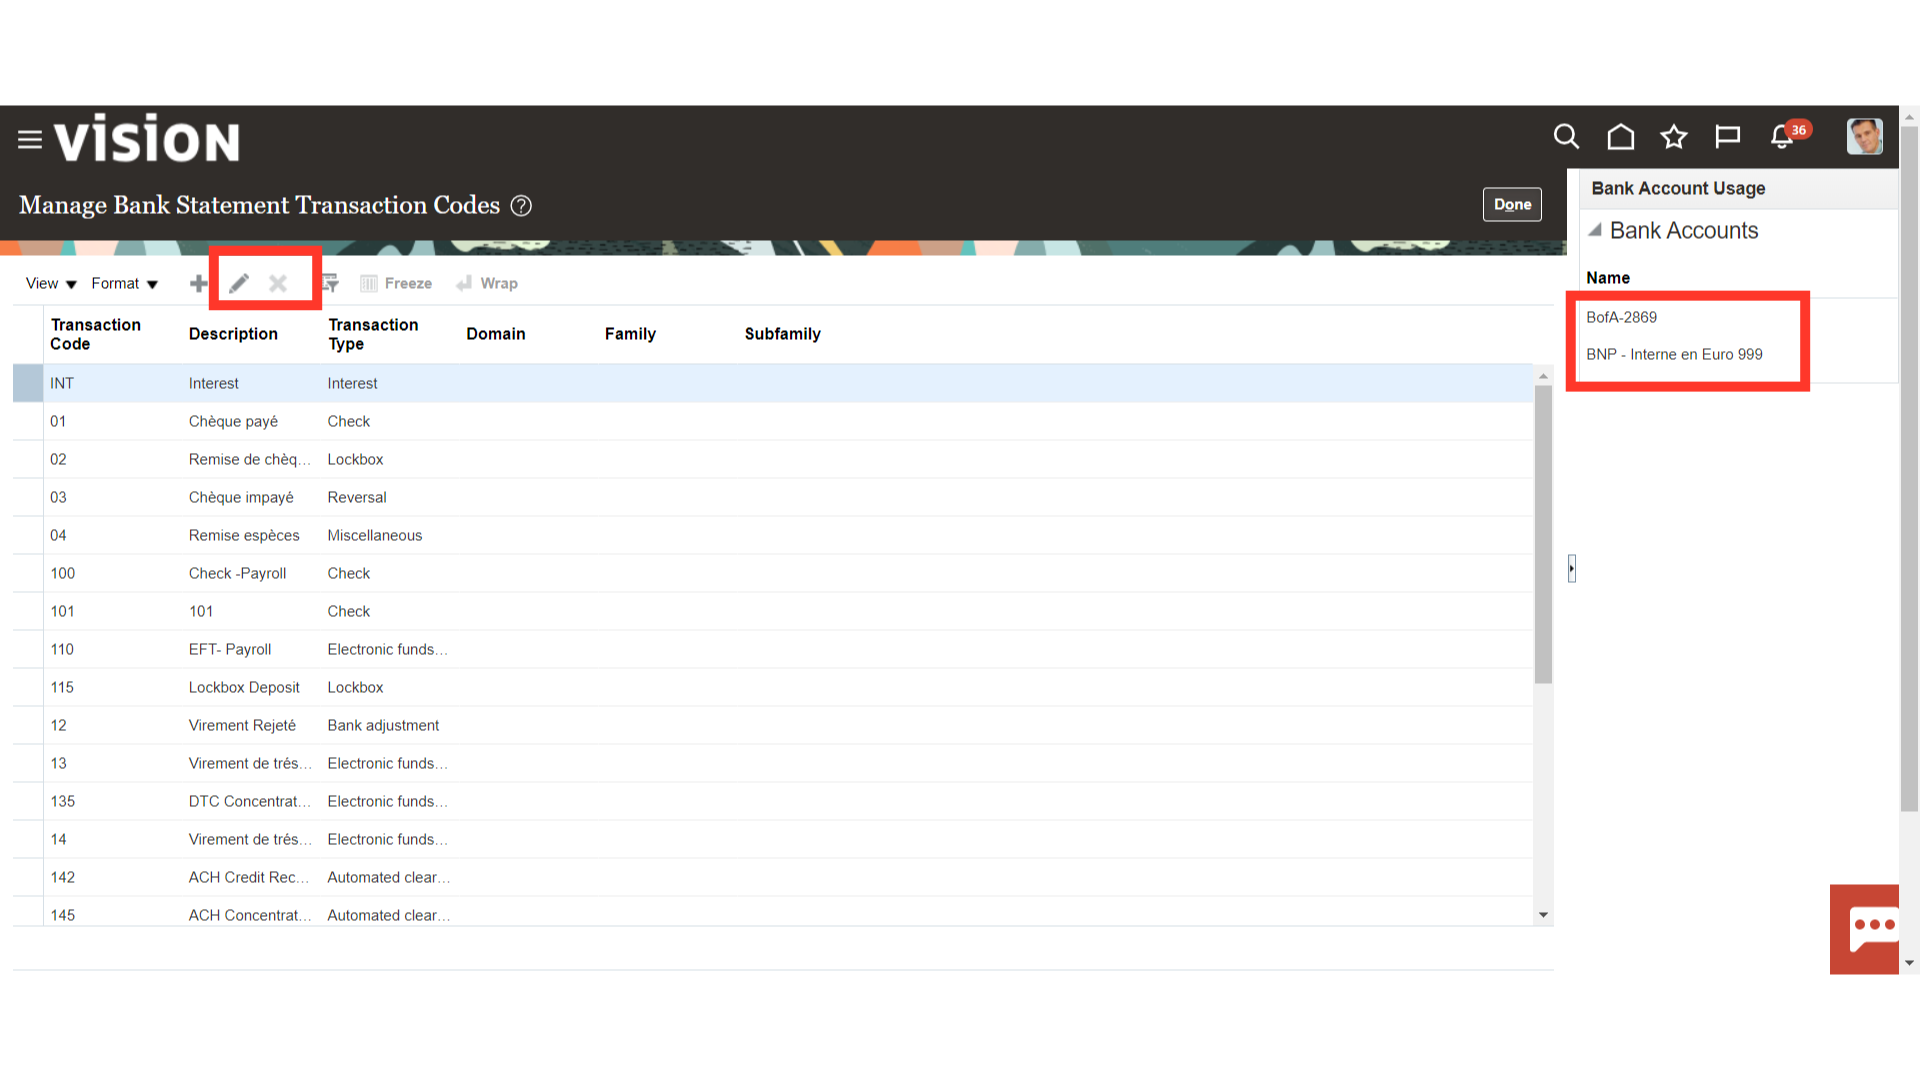
To define the new Transaction code, click the Manage Bank Statement Transaction Codes setup. Bank statement transaction codes are the internal codes that are used on a bank statement line to identify the type of transaction being reported

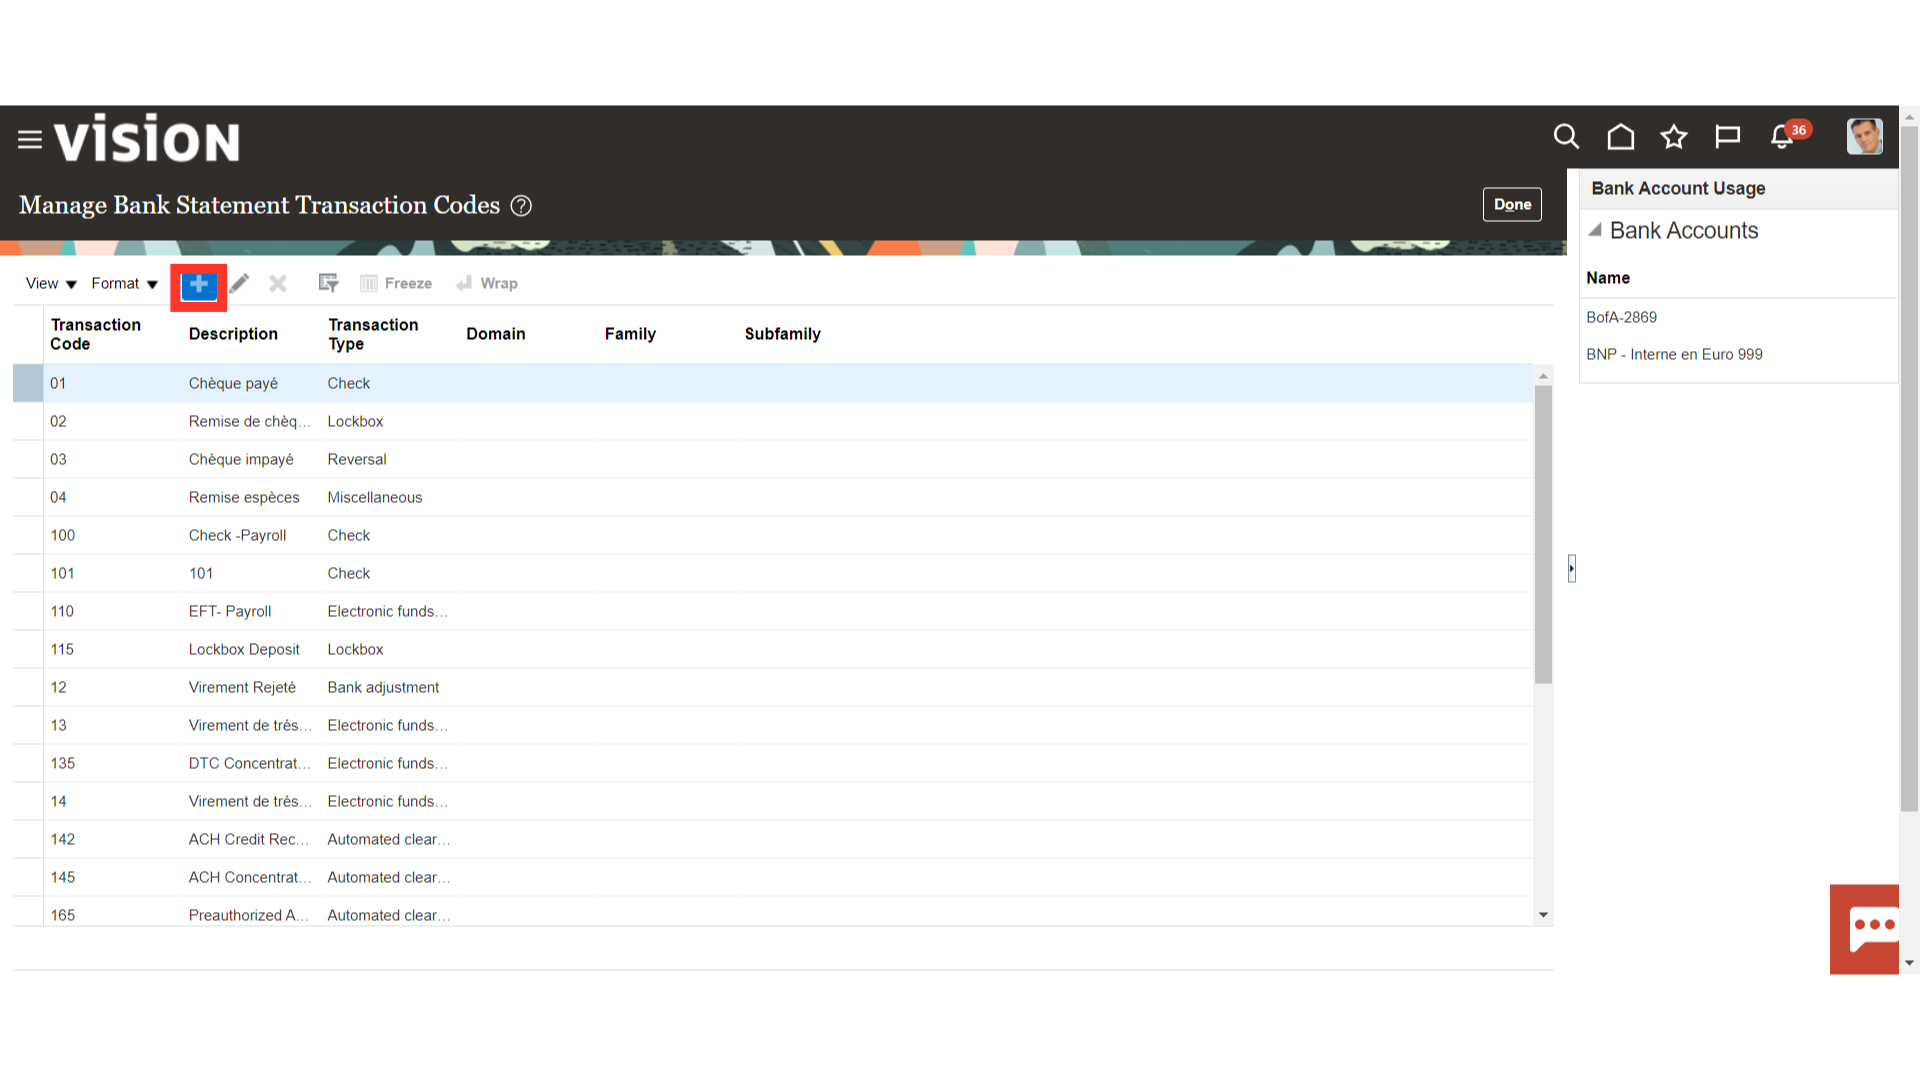
Click on the Plus Icon to add the new code.
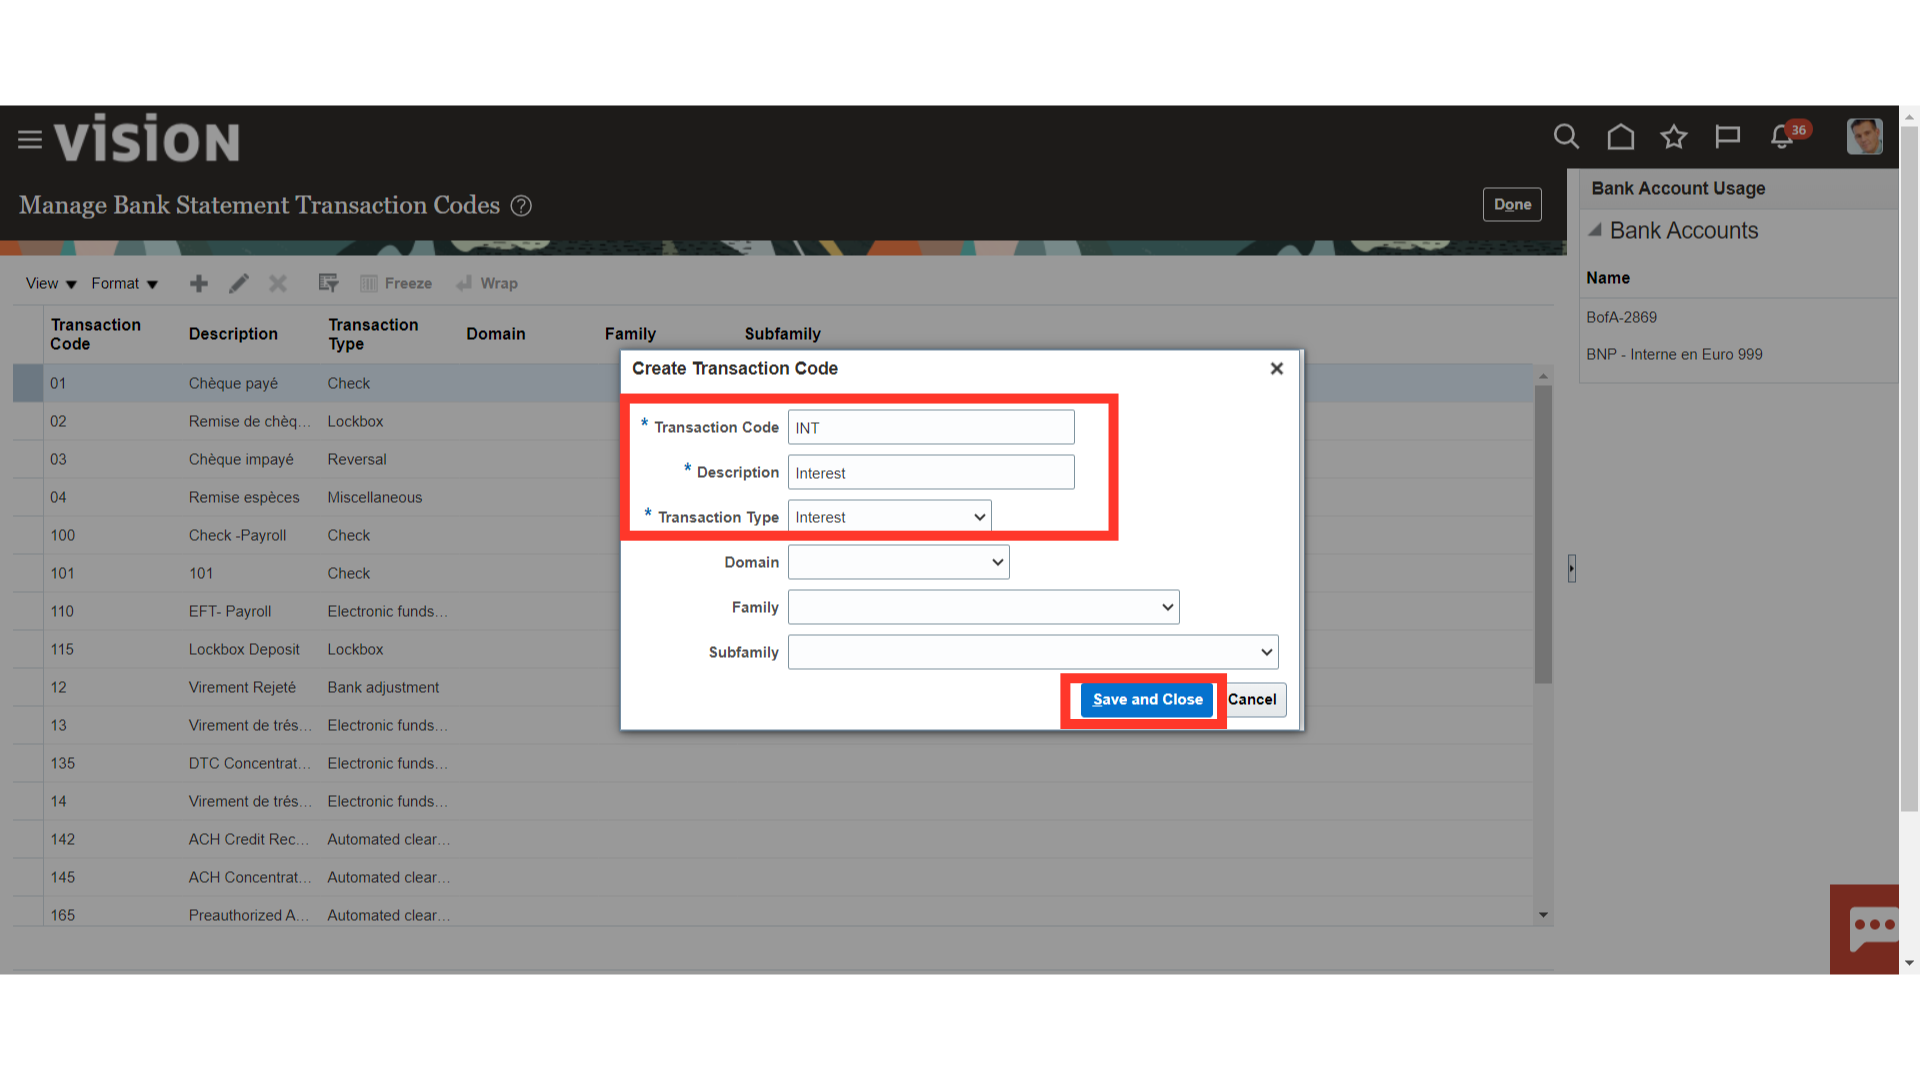
Enter the Transaction code as per the specification file received from the Bank which will be used at the time of importing the bank statement file. Enter the additional information in the description field, and select the transaction type to map the code for further classification as Revenue, Interest, or Miscellaneous. Click on the Save and Close button.
Click the Pencil icon to modify the transaction codes that have already been defined, and click the Cross icon to remove a transaction code that is not needed. The section on bank account usage lists the transaction codes that the bank uses.
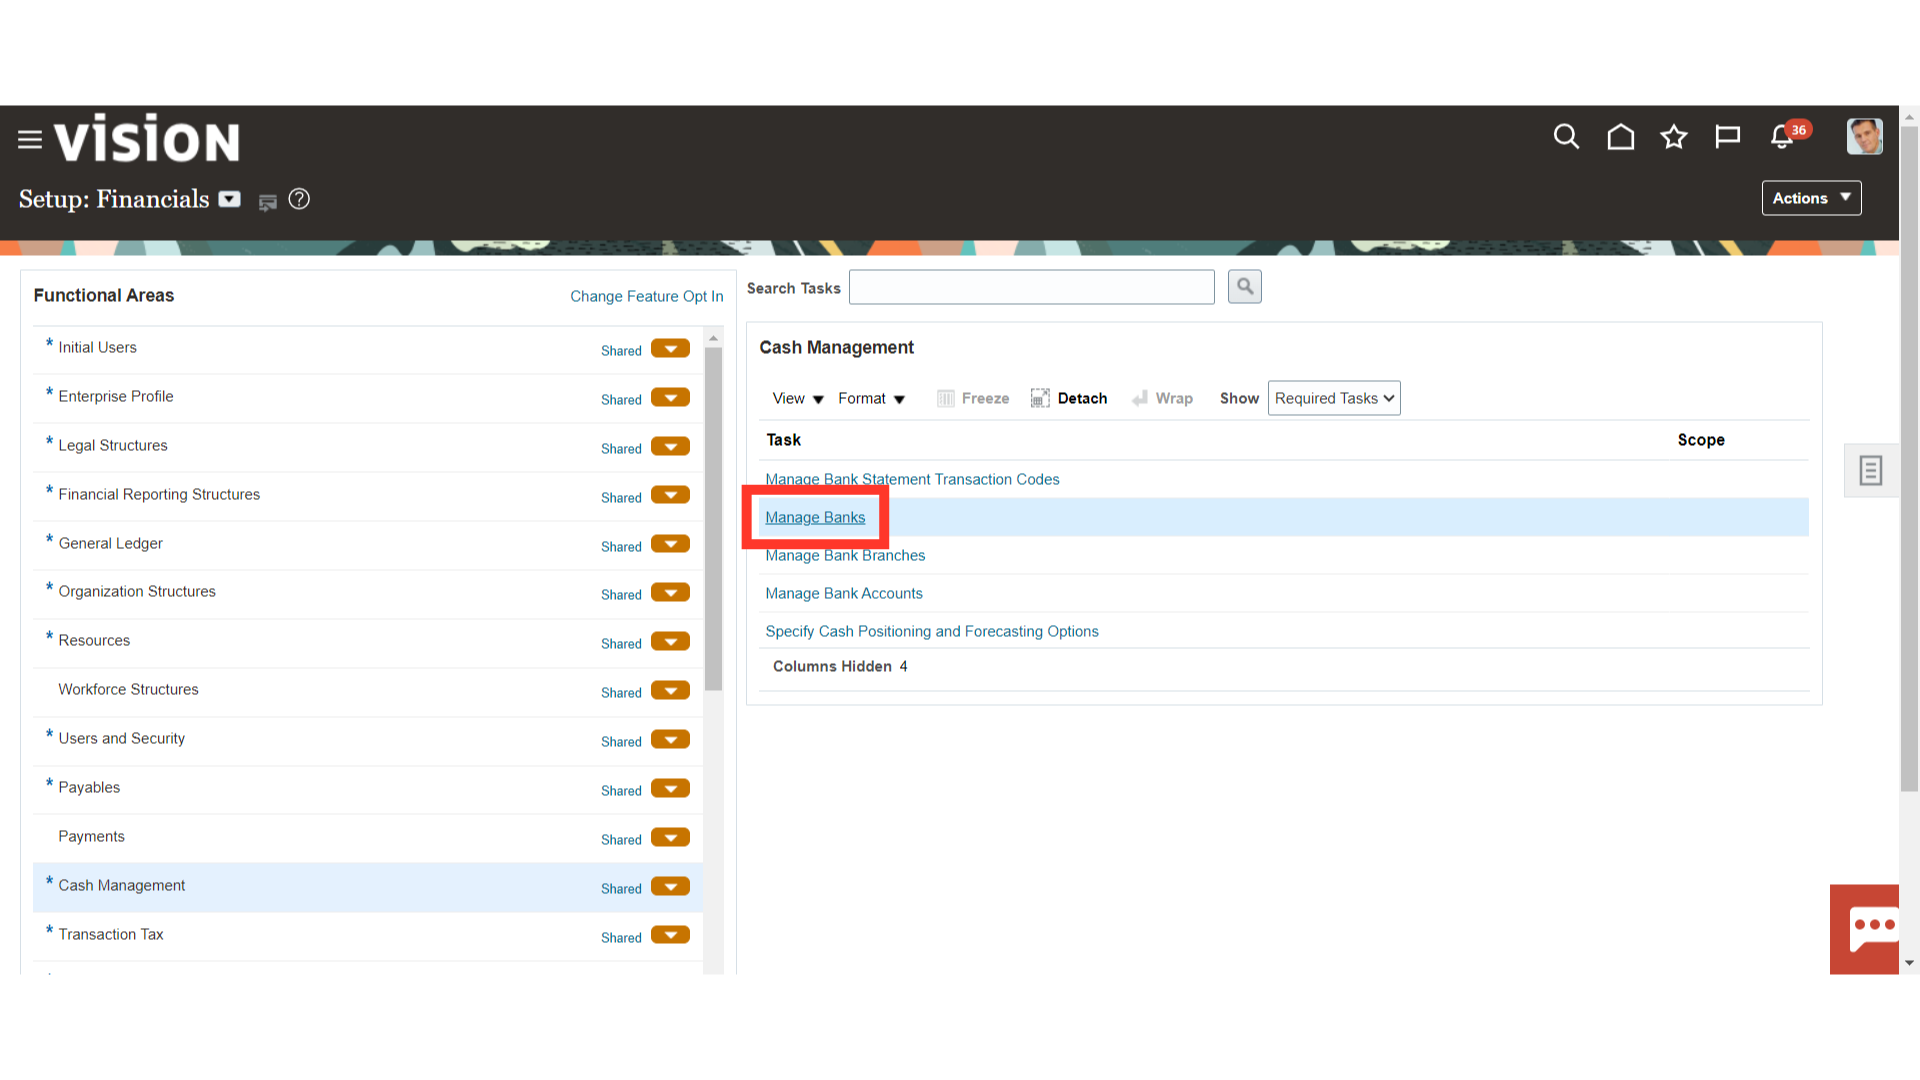
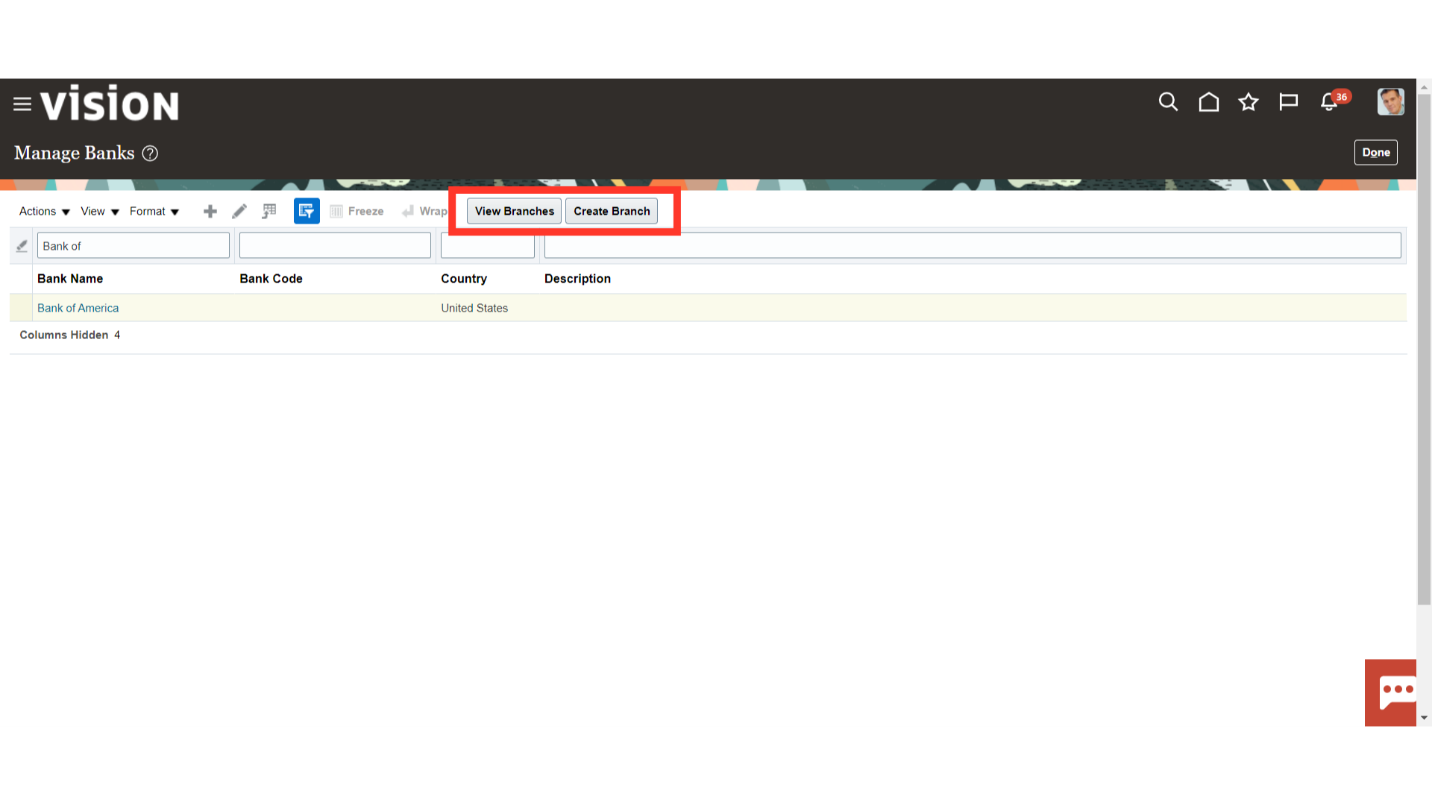
To define the new Bank, click on the Manage Banks task.
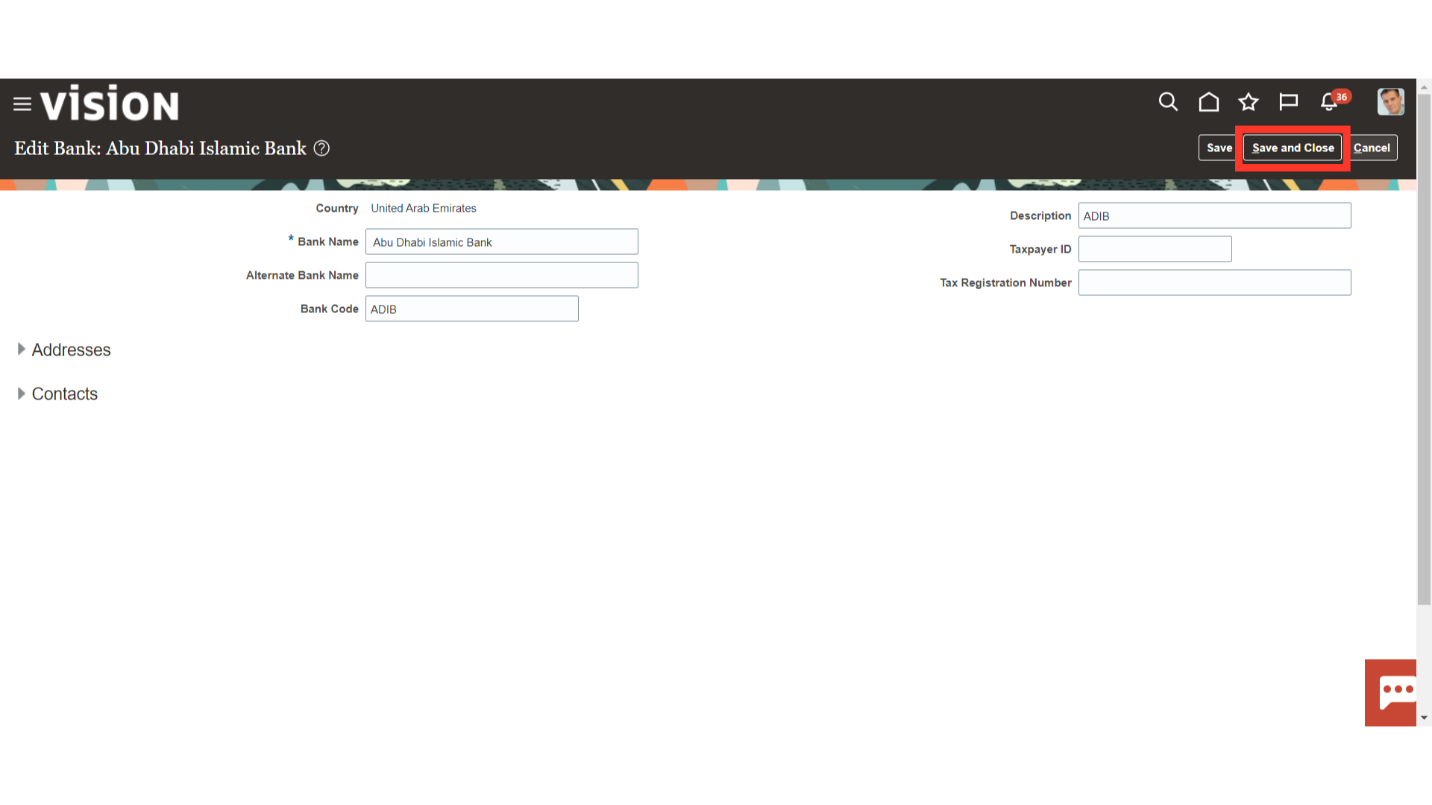
Click on the Plus Icon to add a new bank, and click on the Pencil icon to edit the existing bank details.
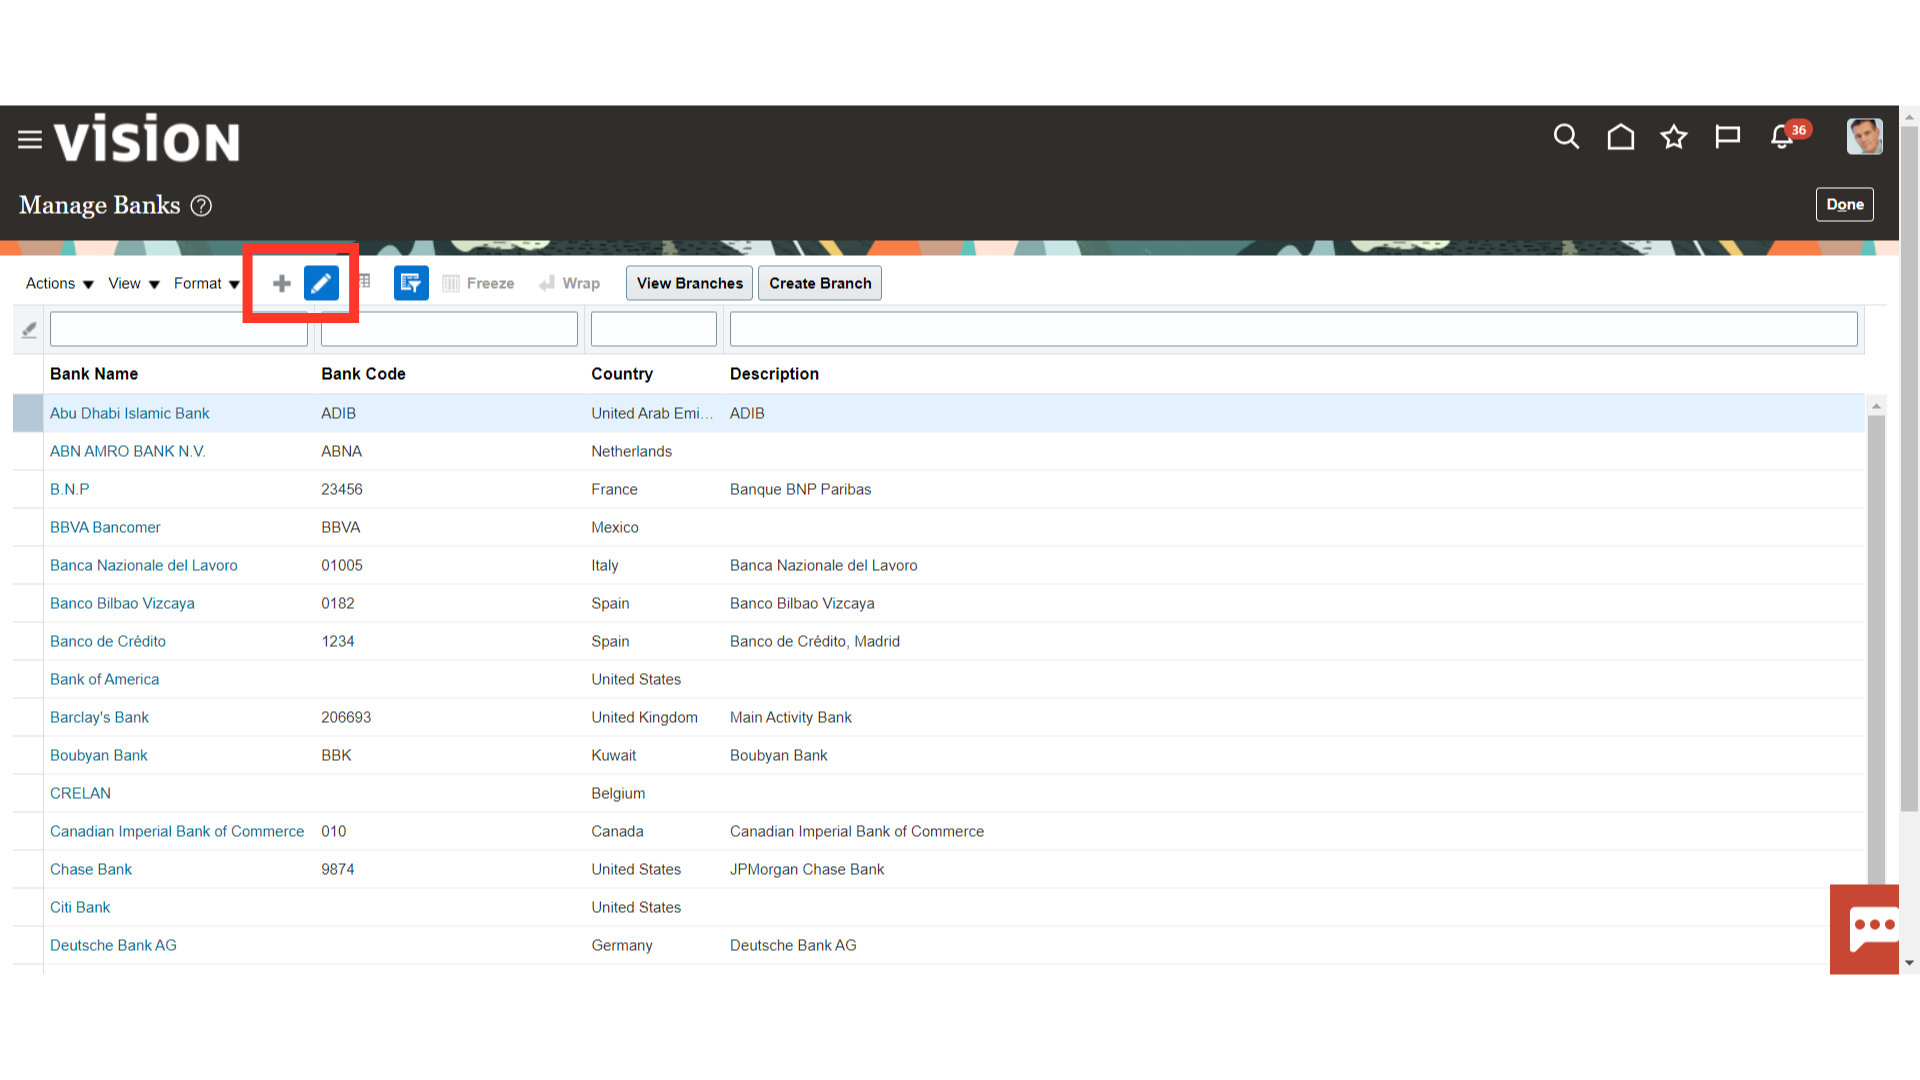
Click the Save and Close button once the bank’s information, including the bank name, taxpayer ID, bank country, etc., has been entered.
Click the Create Branch button to add new branches to the bank; if not, click the View Branches button to see the details of the branches that are connected to the bank selected.
After clicking on View Branches, the Manage Bank Branches setup will open up. Click on the Plus Icon to add a new branch, and click on the Pencil icon to edit the existing branch details.
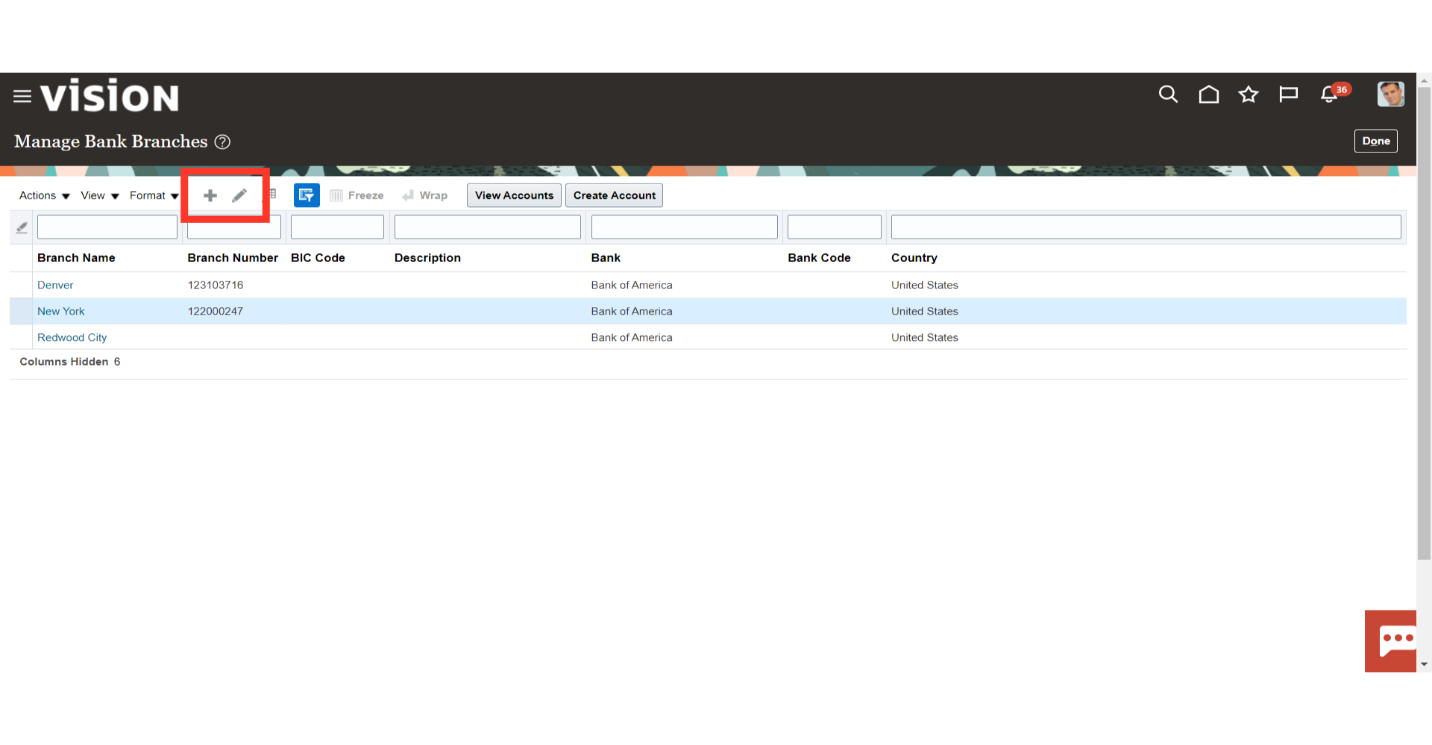
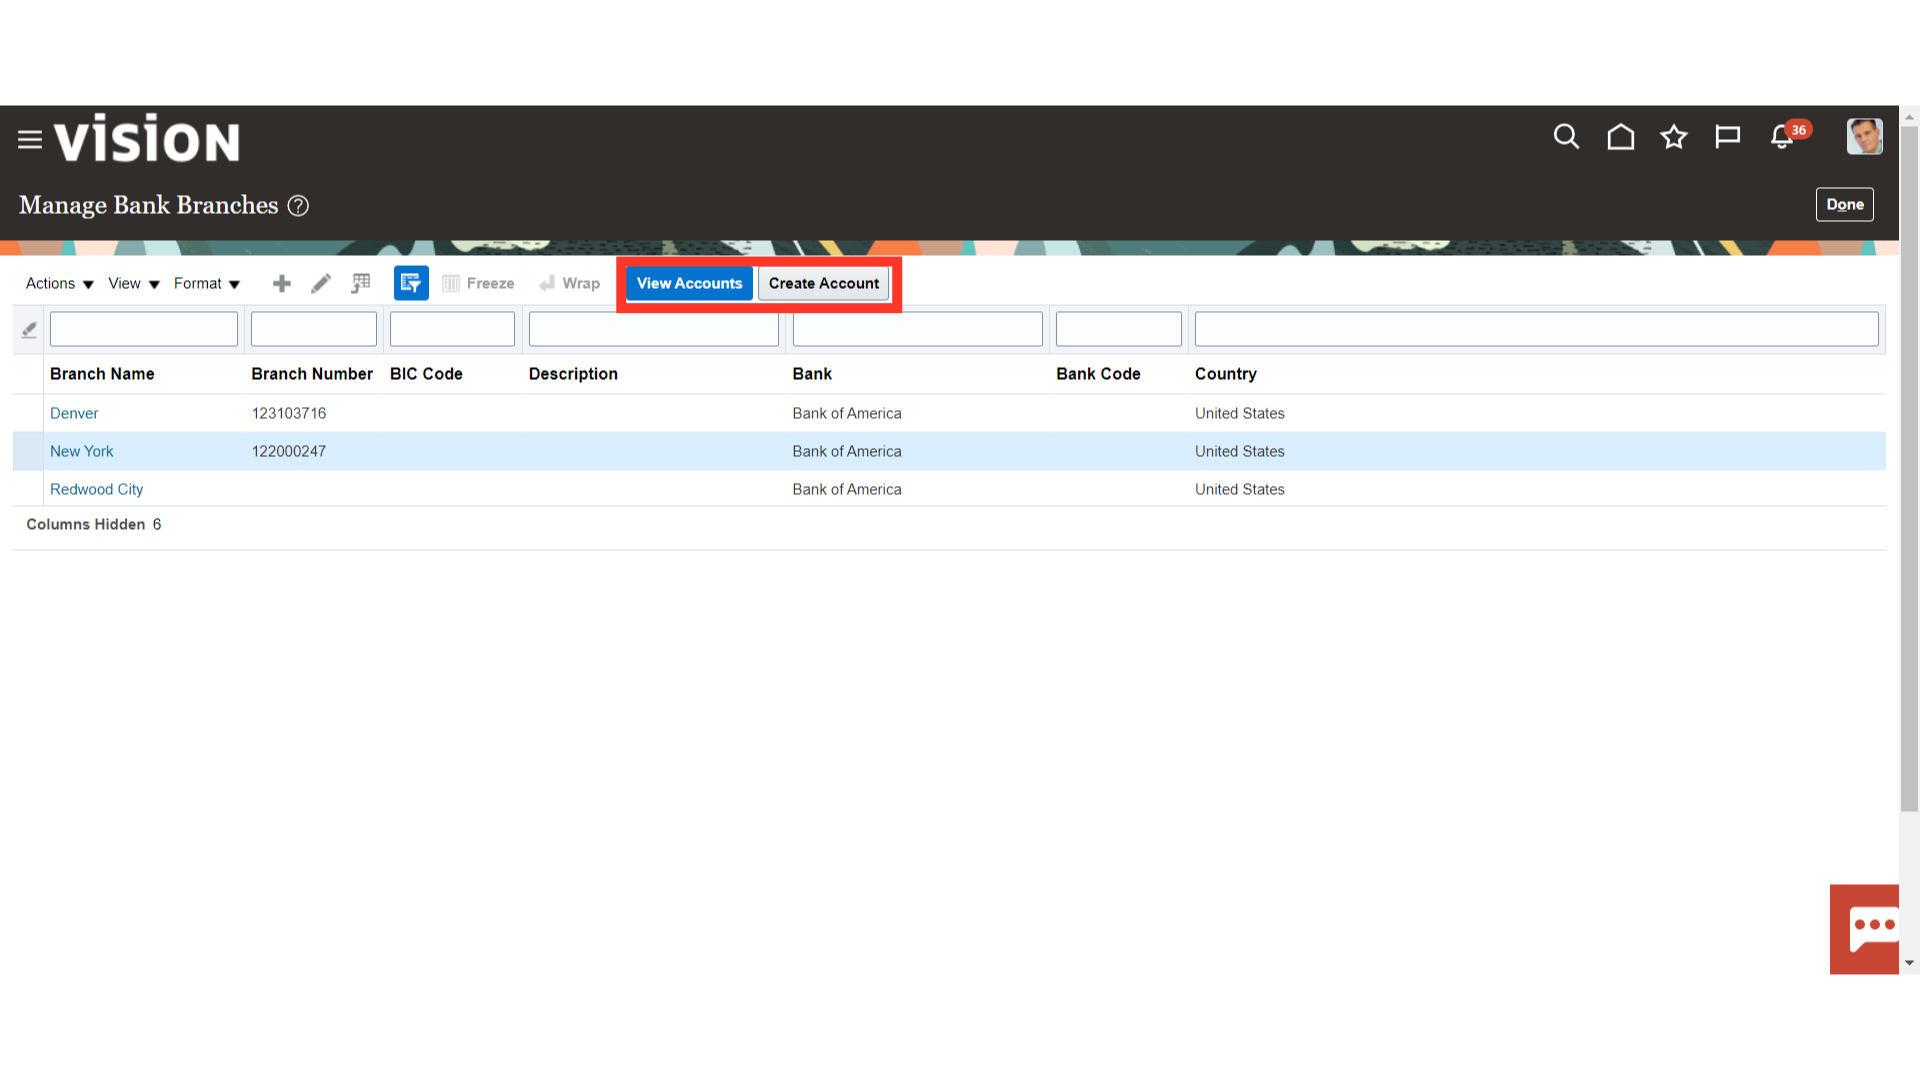
Click the Create Account button to add a new internal Bank account; if not, click the View Account button to see the details of the Account that is connected to the bank selected.
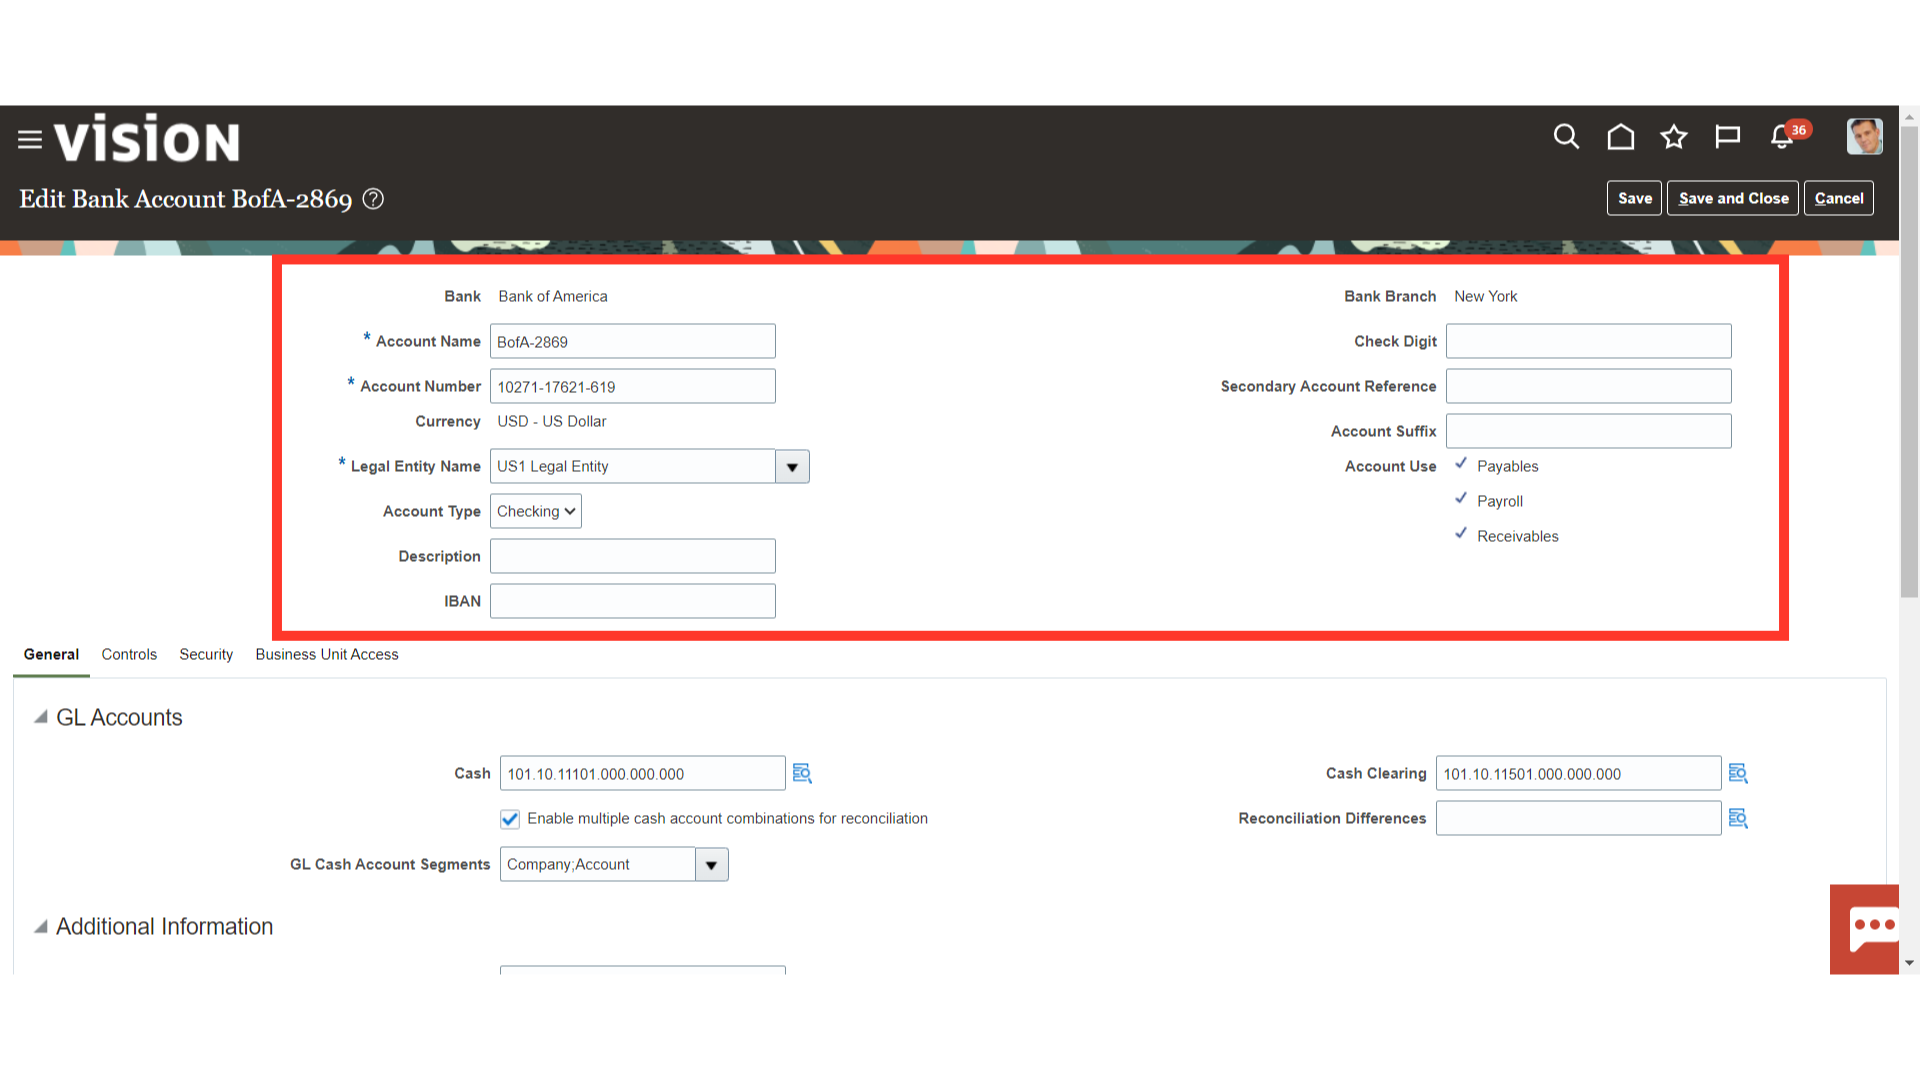
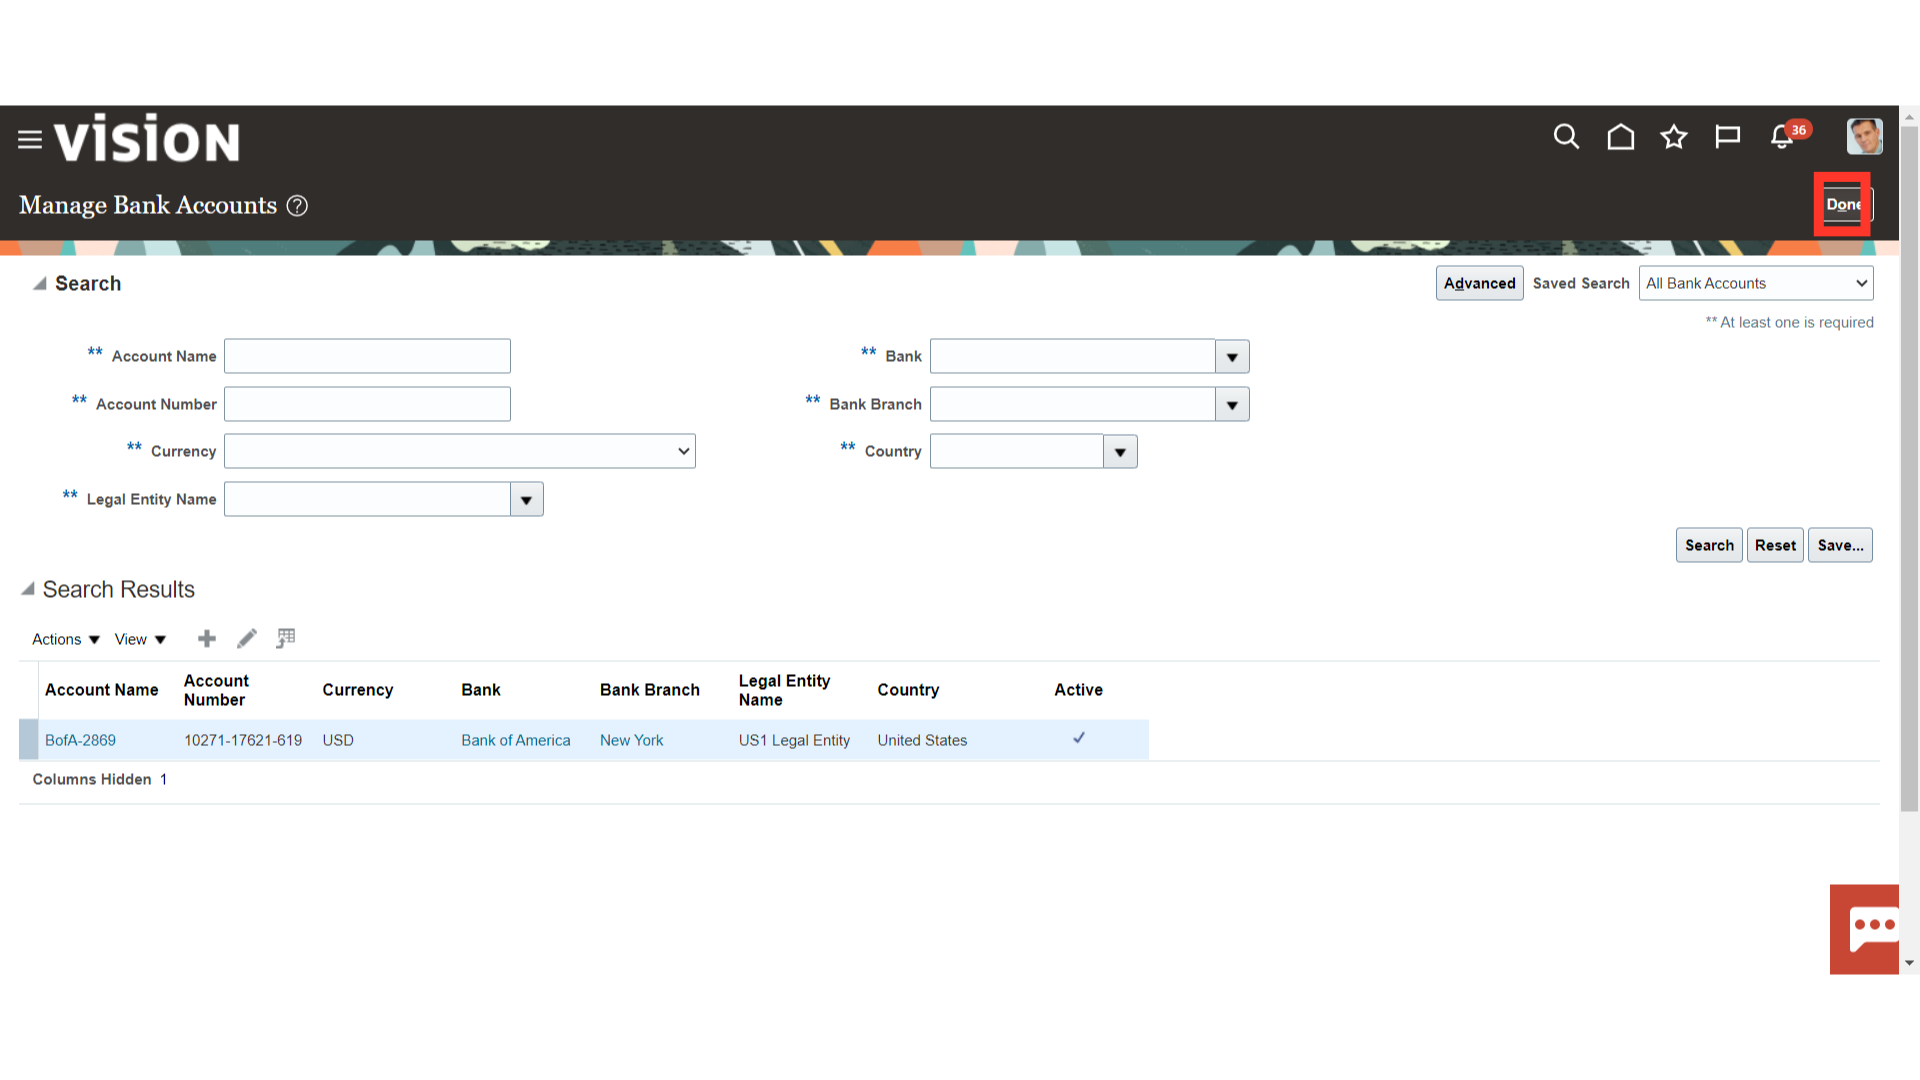
In “Manage Bank Account” you have the option to query, edit, or create a Bank Account.
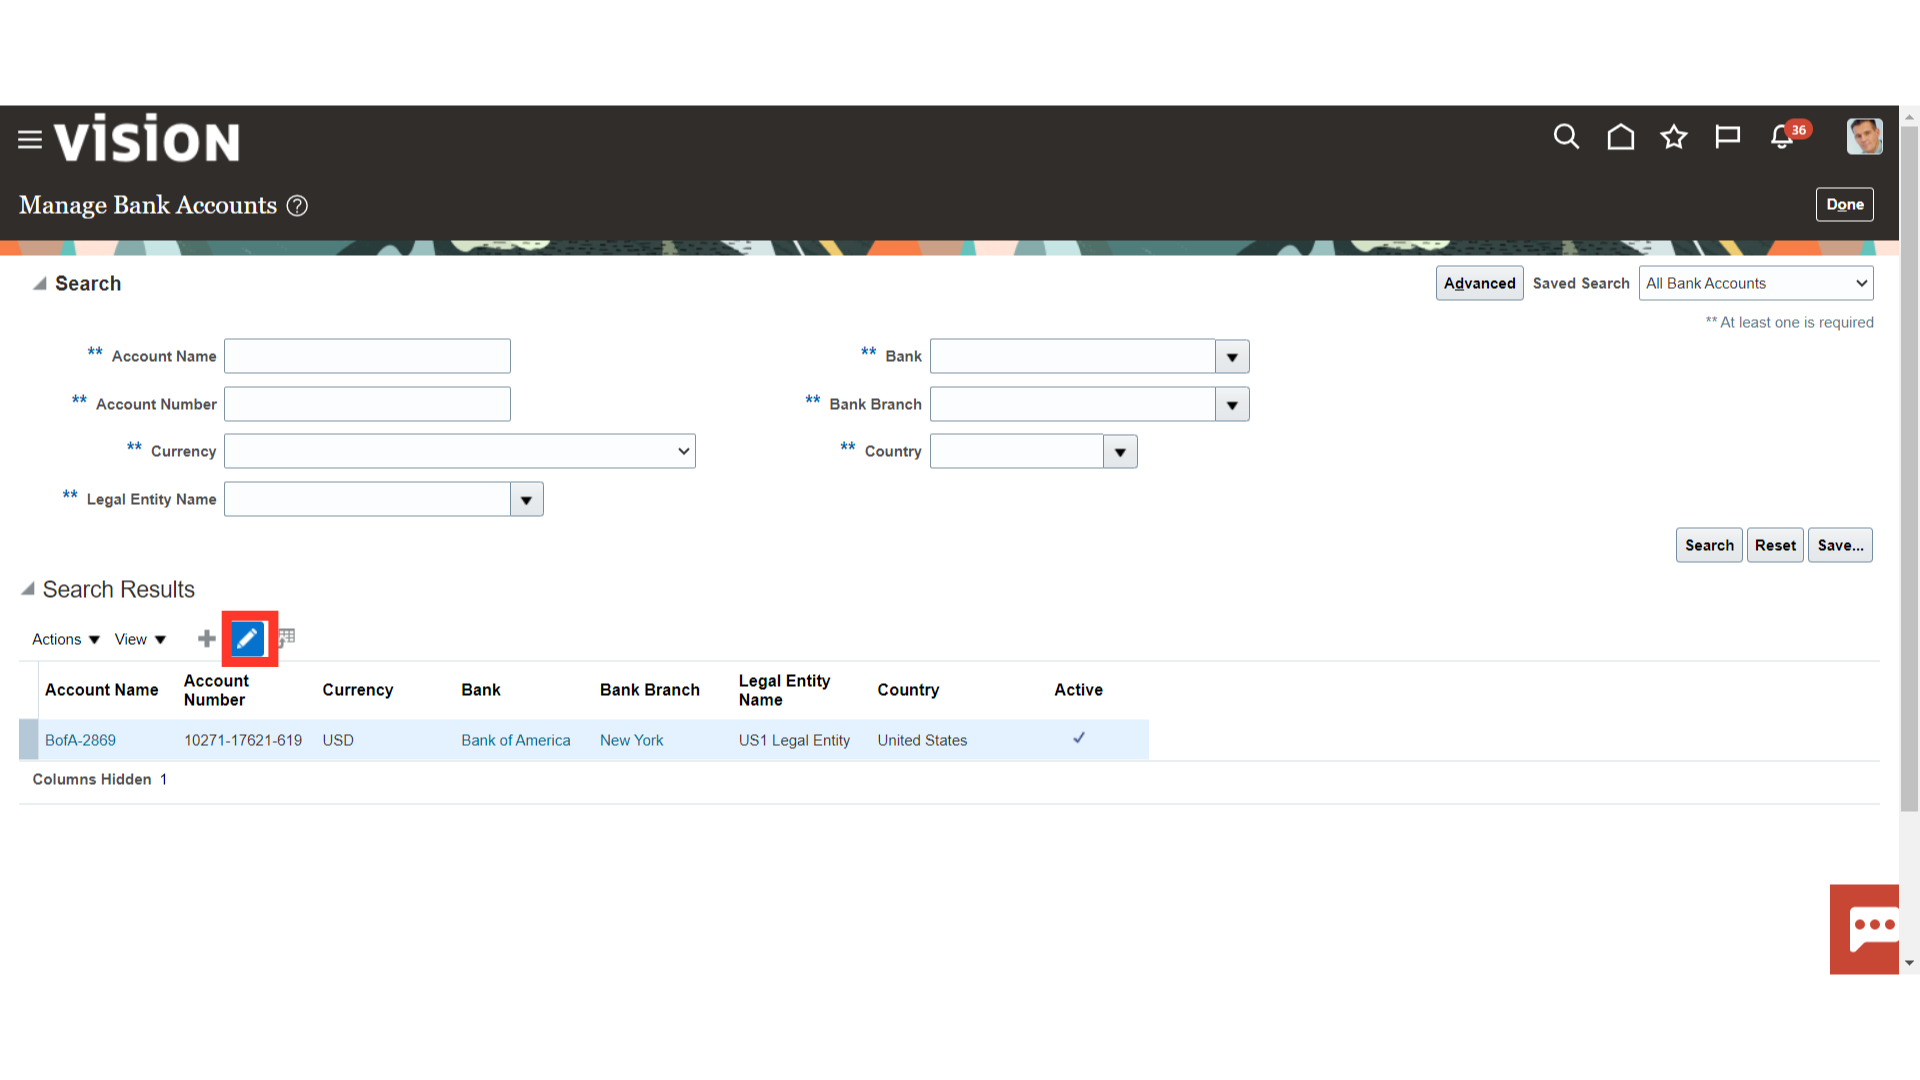
The Bank Account is linked to the Bank and Bank Branch fields. These are mandatory fields along with”Account Name”, “Account Number” and “Legal Entity”.
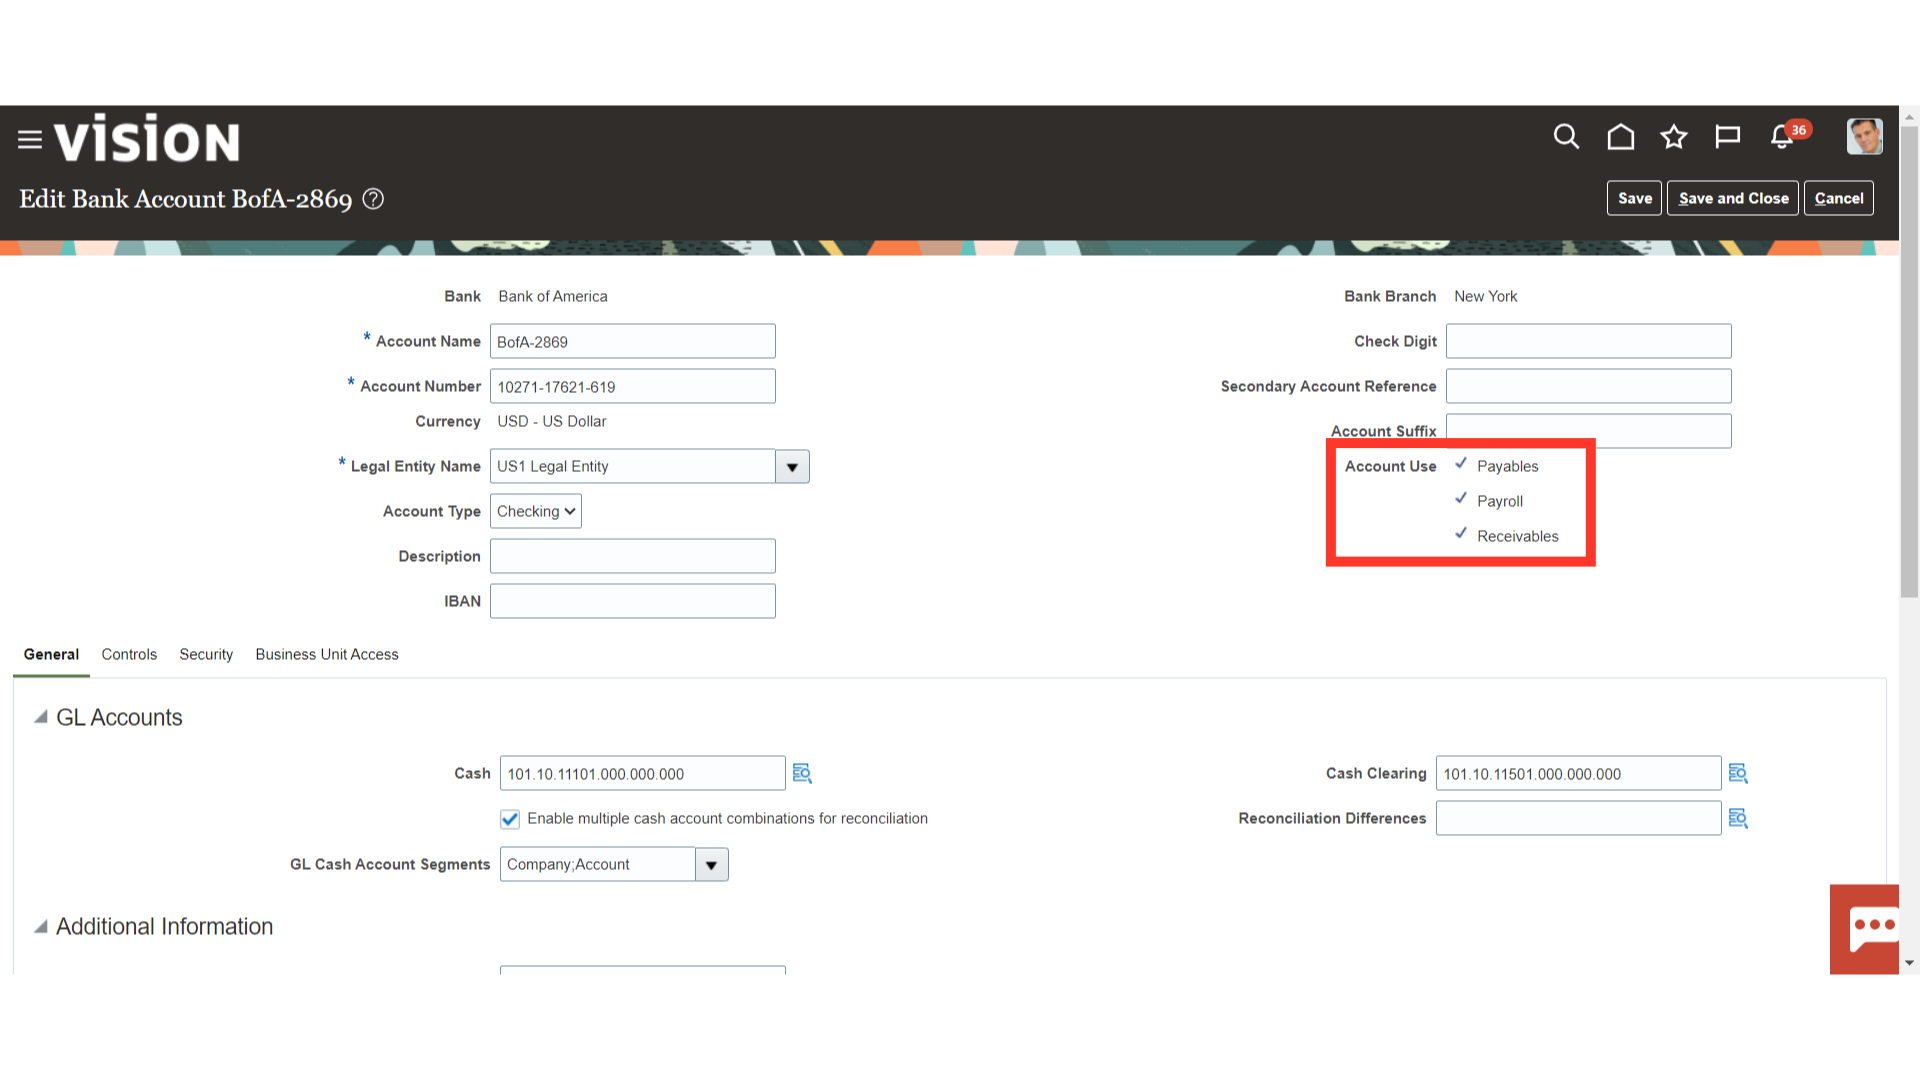
The main fields are:
Account Number – A unique number given which identifies the Legal Entity’s bank account which Payments and receipts are transacted from. See the Account validation section of this document.
Legal Entity – The Company that is legally responsible for the bank account.
IBAN – International Bank Account Number. The IBAN is an international standard that uniquely identifies the account number of a bank’s customer.
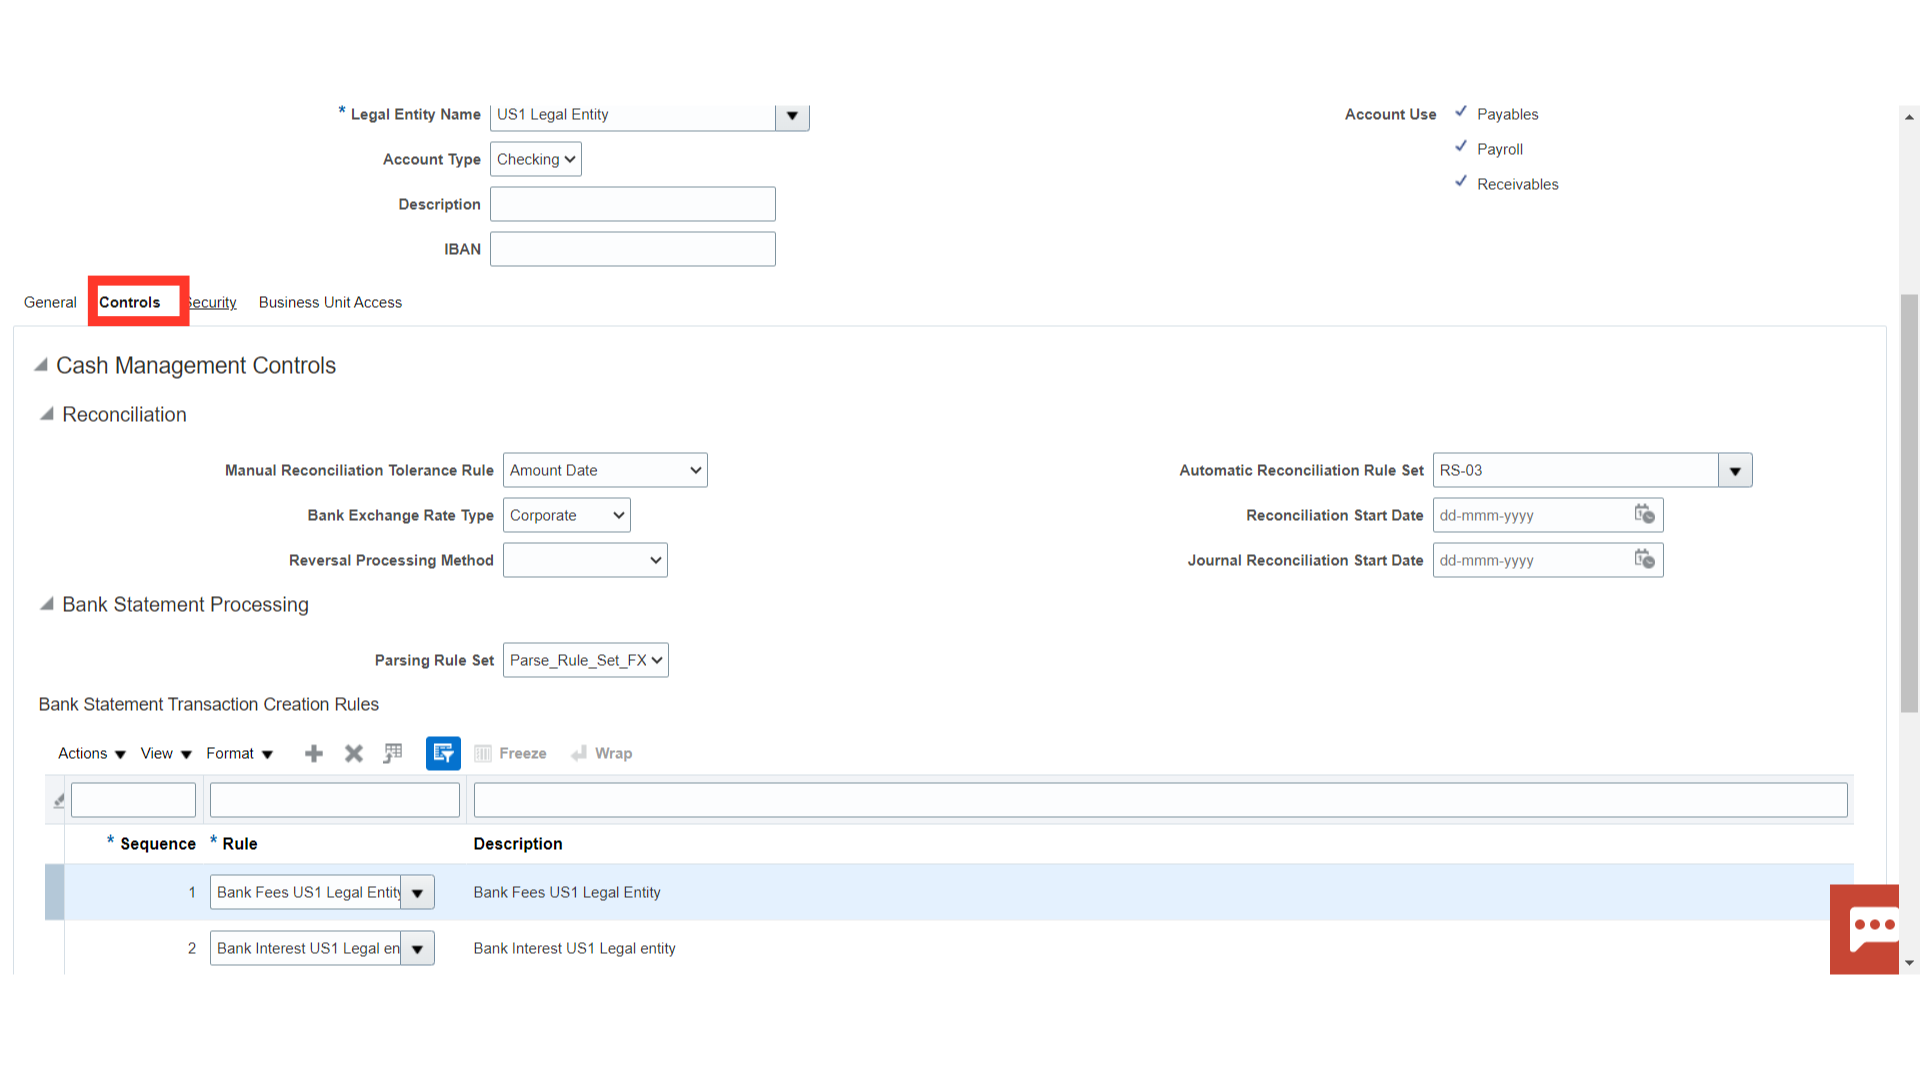
Bank Accounts Controls can be used for setting up for: Manual and Automatic Reconciliations Bank Statement Processing – For example moving data from one field to another during the statement import process.
Bank Statement Transaction Creation – For example items not appearing in Subledger like bank charges. Payables Bank Account Controls – Limits and usage of the Bank Account.
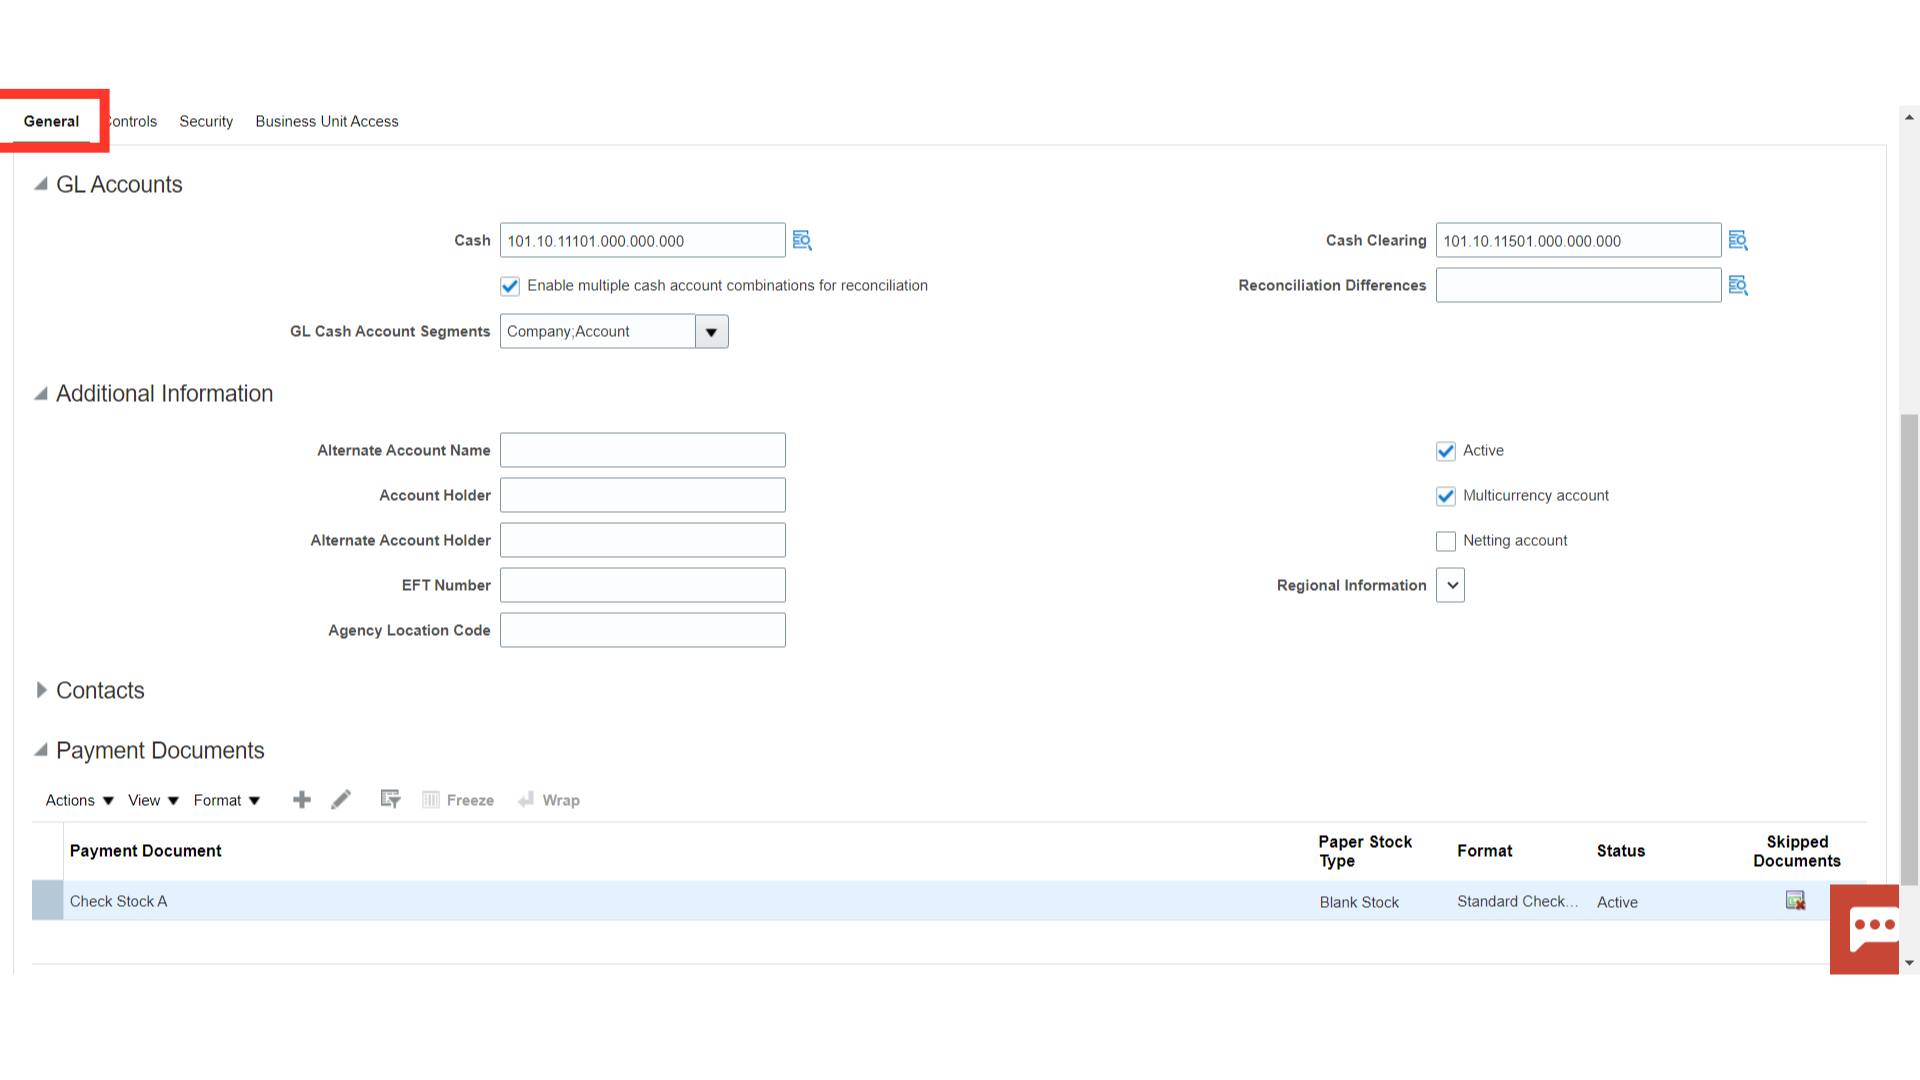
In the general tab, the default cash, cash clearing, and recon difference accounts are specified. Status, Active is enabled by default. we may enable the Multicurrency Account checkbox if the bank account currency matches the Ledger currency and we intend to use the bank account for making or receiving foreign currency payments. We may also add a payment document if required.
We have the option to further secure the bank account so that it can only be used by certain users and roles. The default value for secure bank accounts by users and roles is No. If the secure bank account by users and roles is set to Yes, we must be named or we must carry a role that is named expressly on the bank account in order to use it.
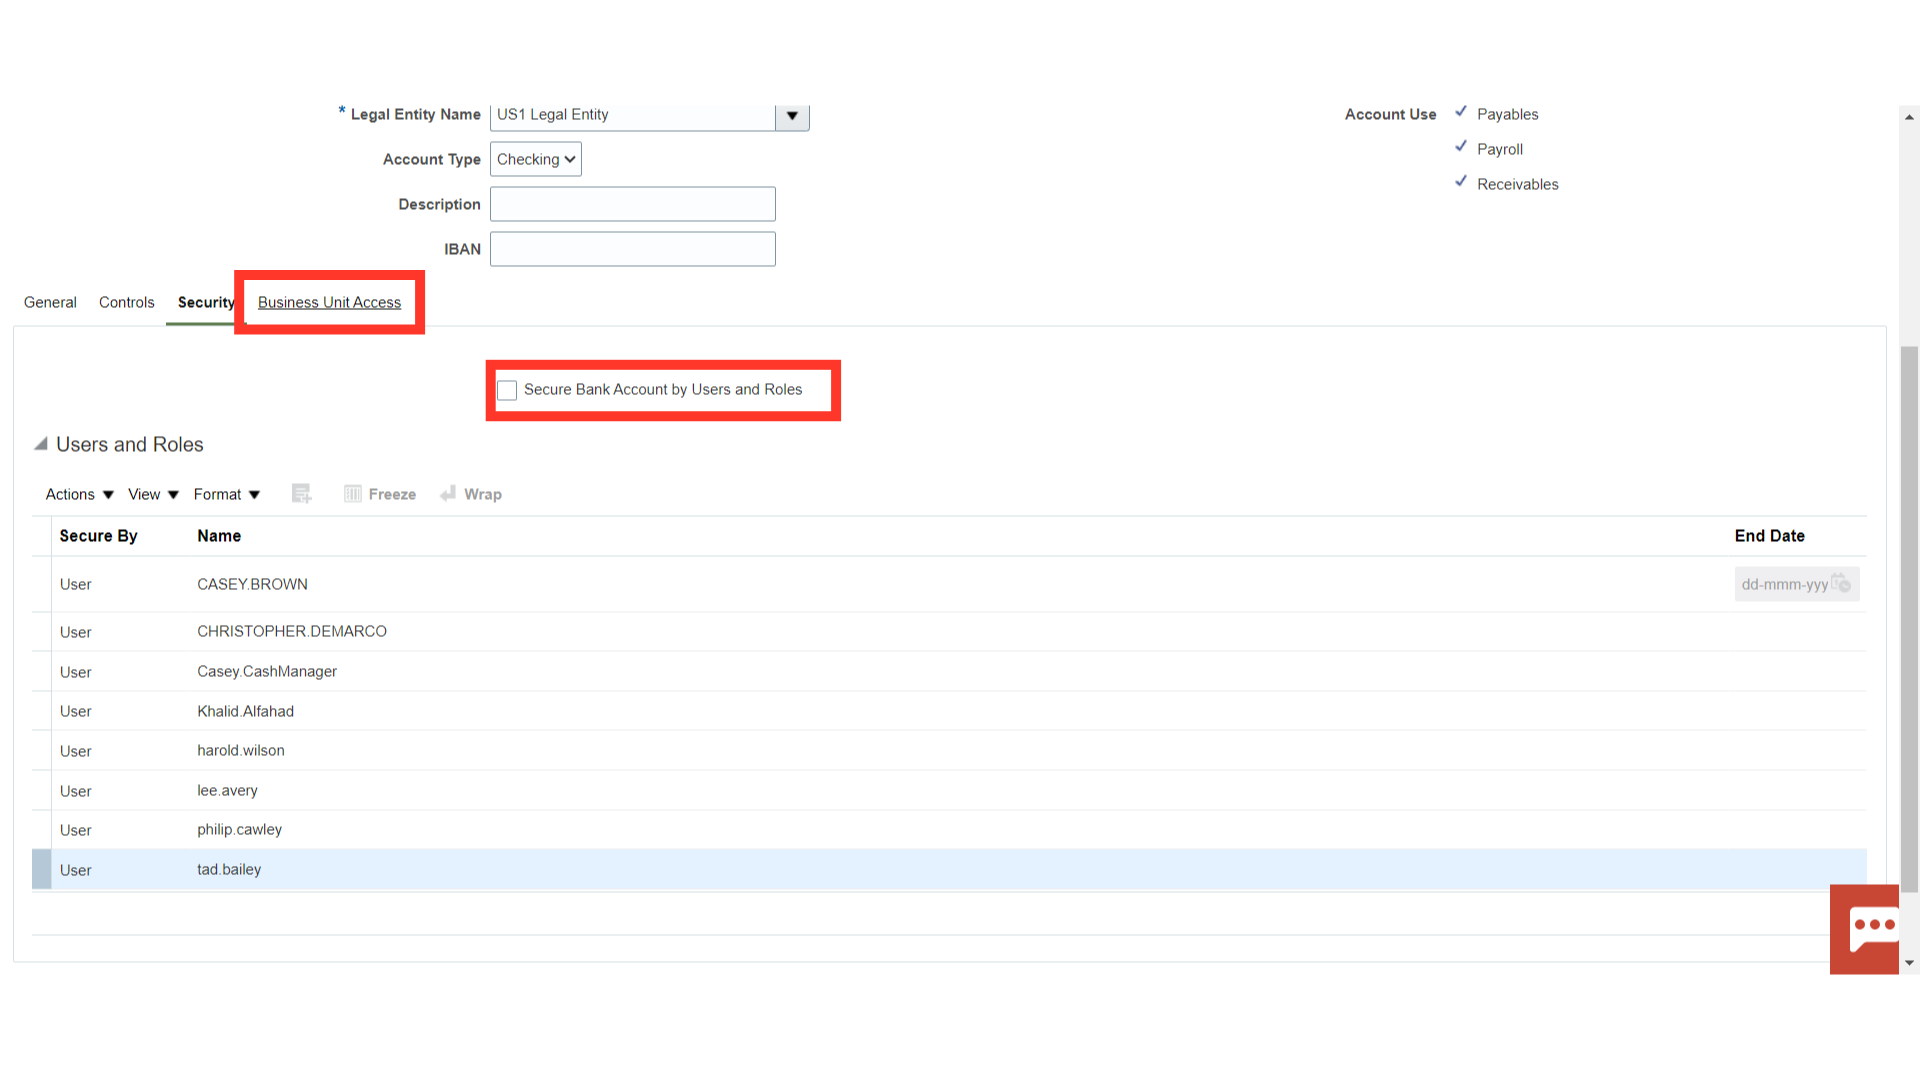
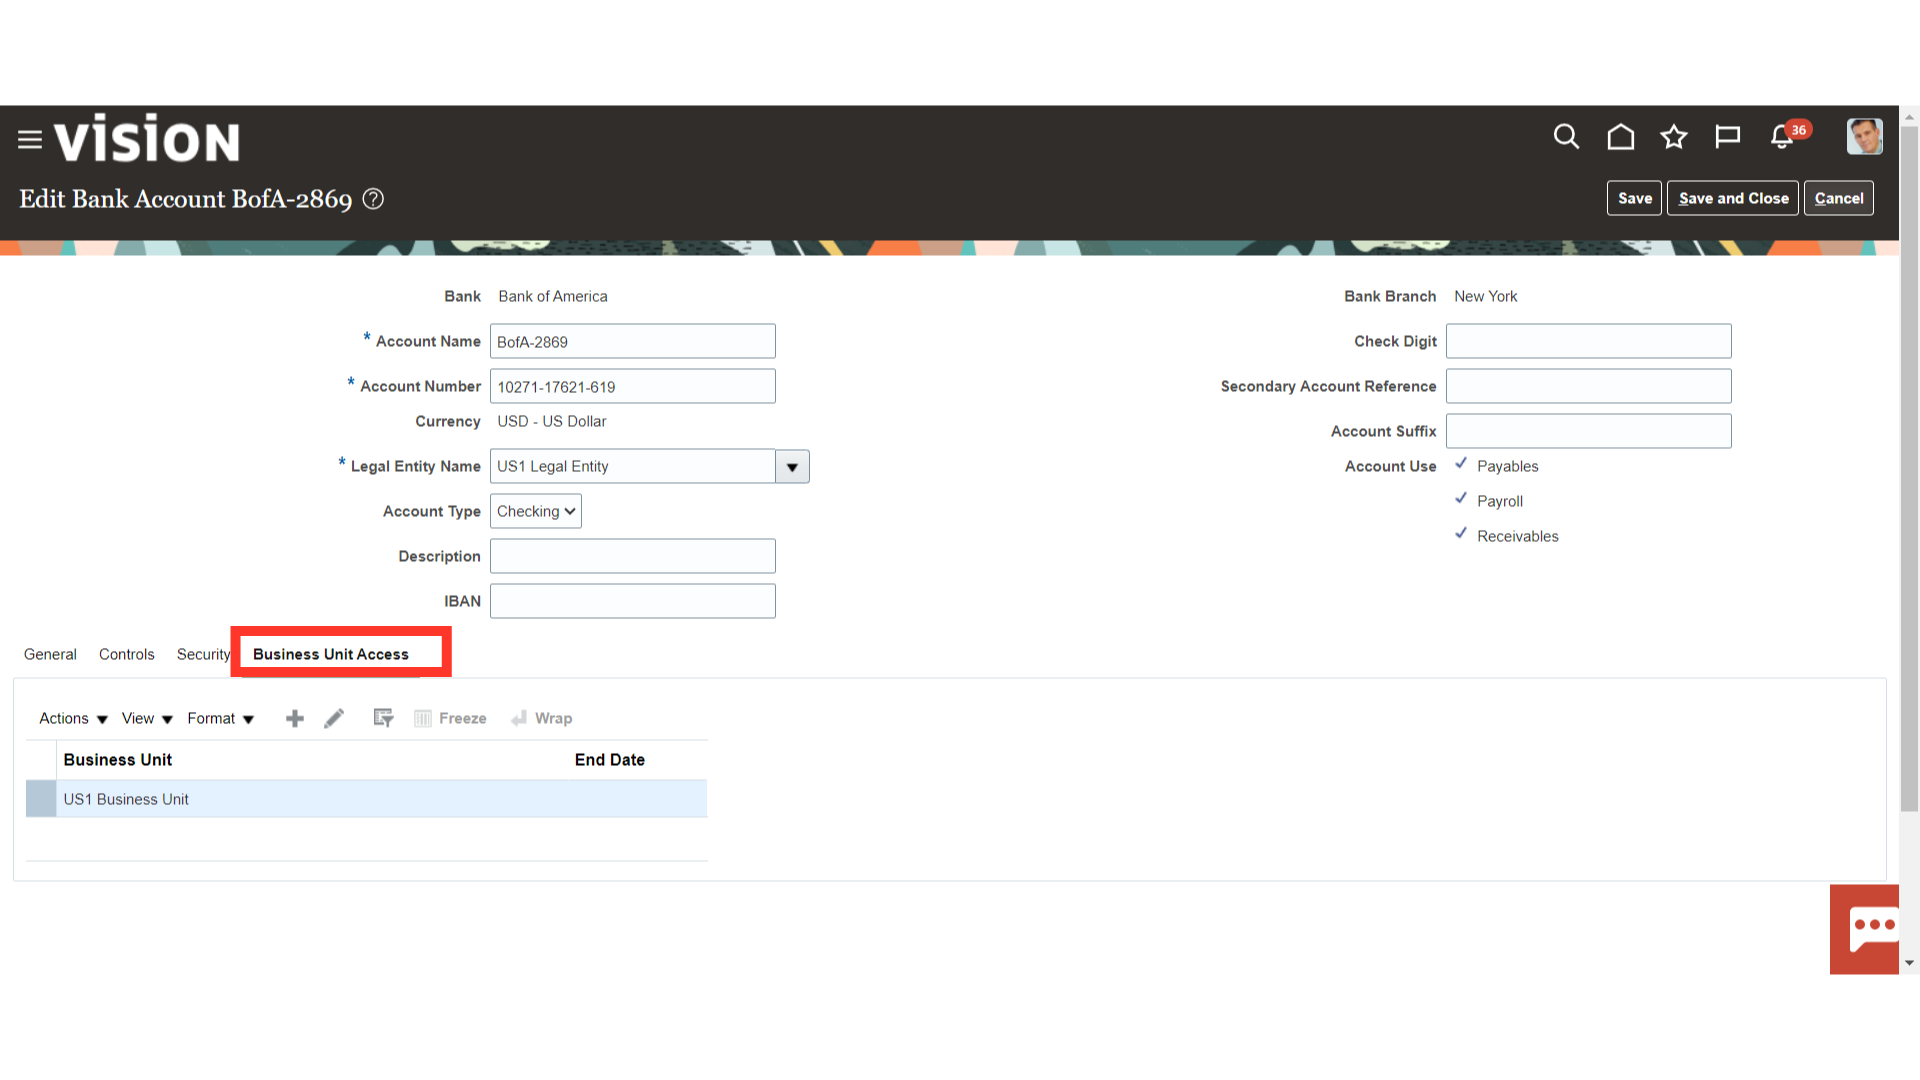
It is mandatory to have at least one Business Unit assigned to the Bank Account.
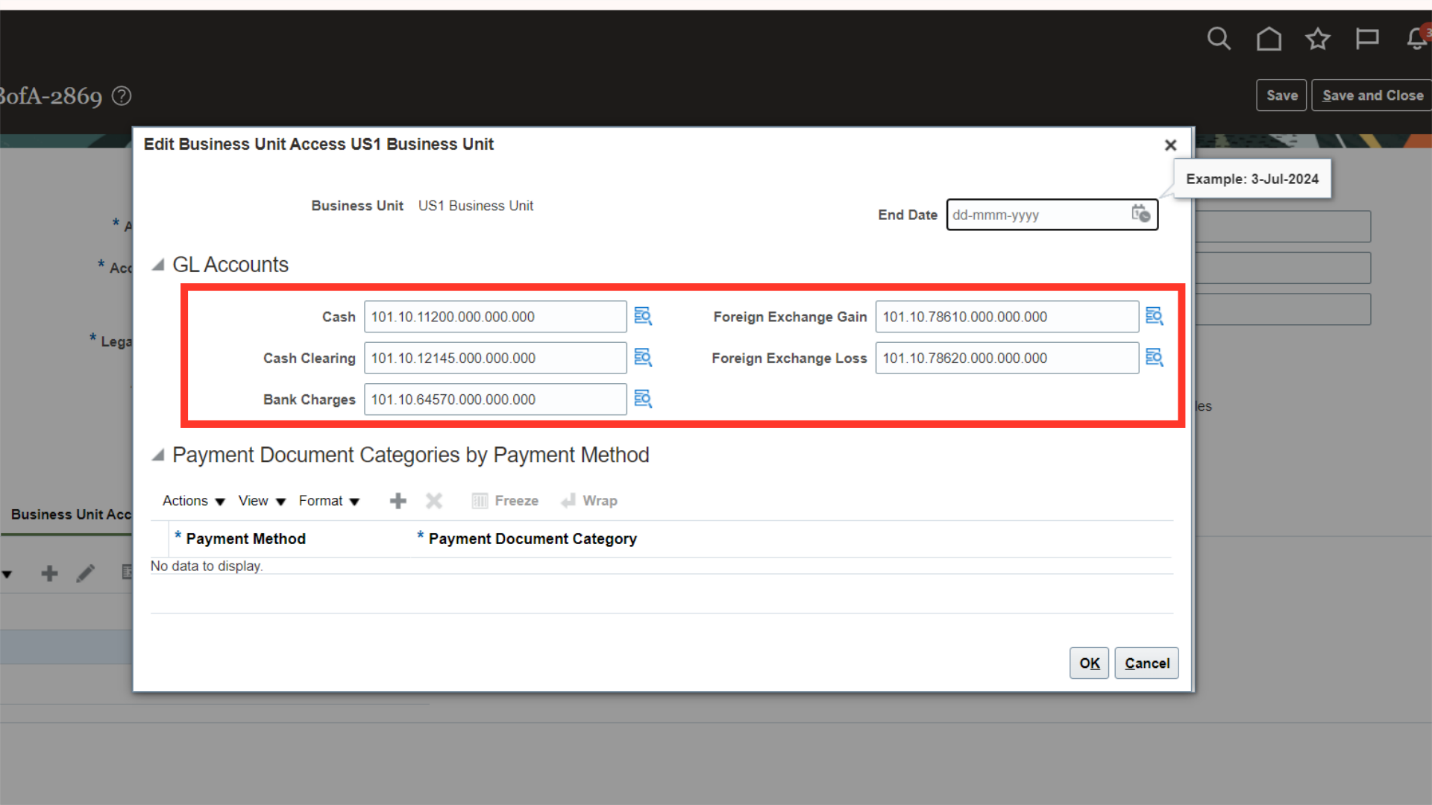
We may override the GL Accounts for Cash, and Cash Clearing here. We can additionally specify the Bank Charges & Foreign Currency Gain / Loss accounts.
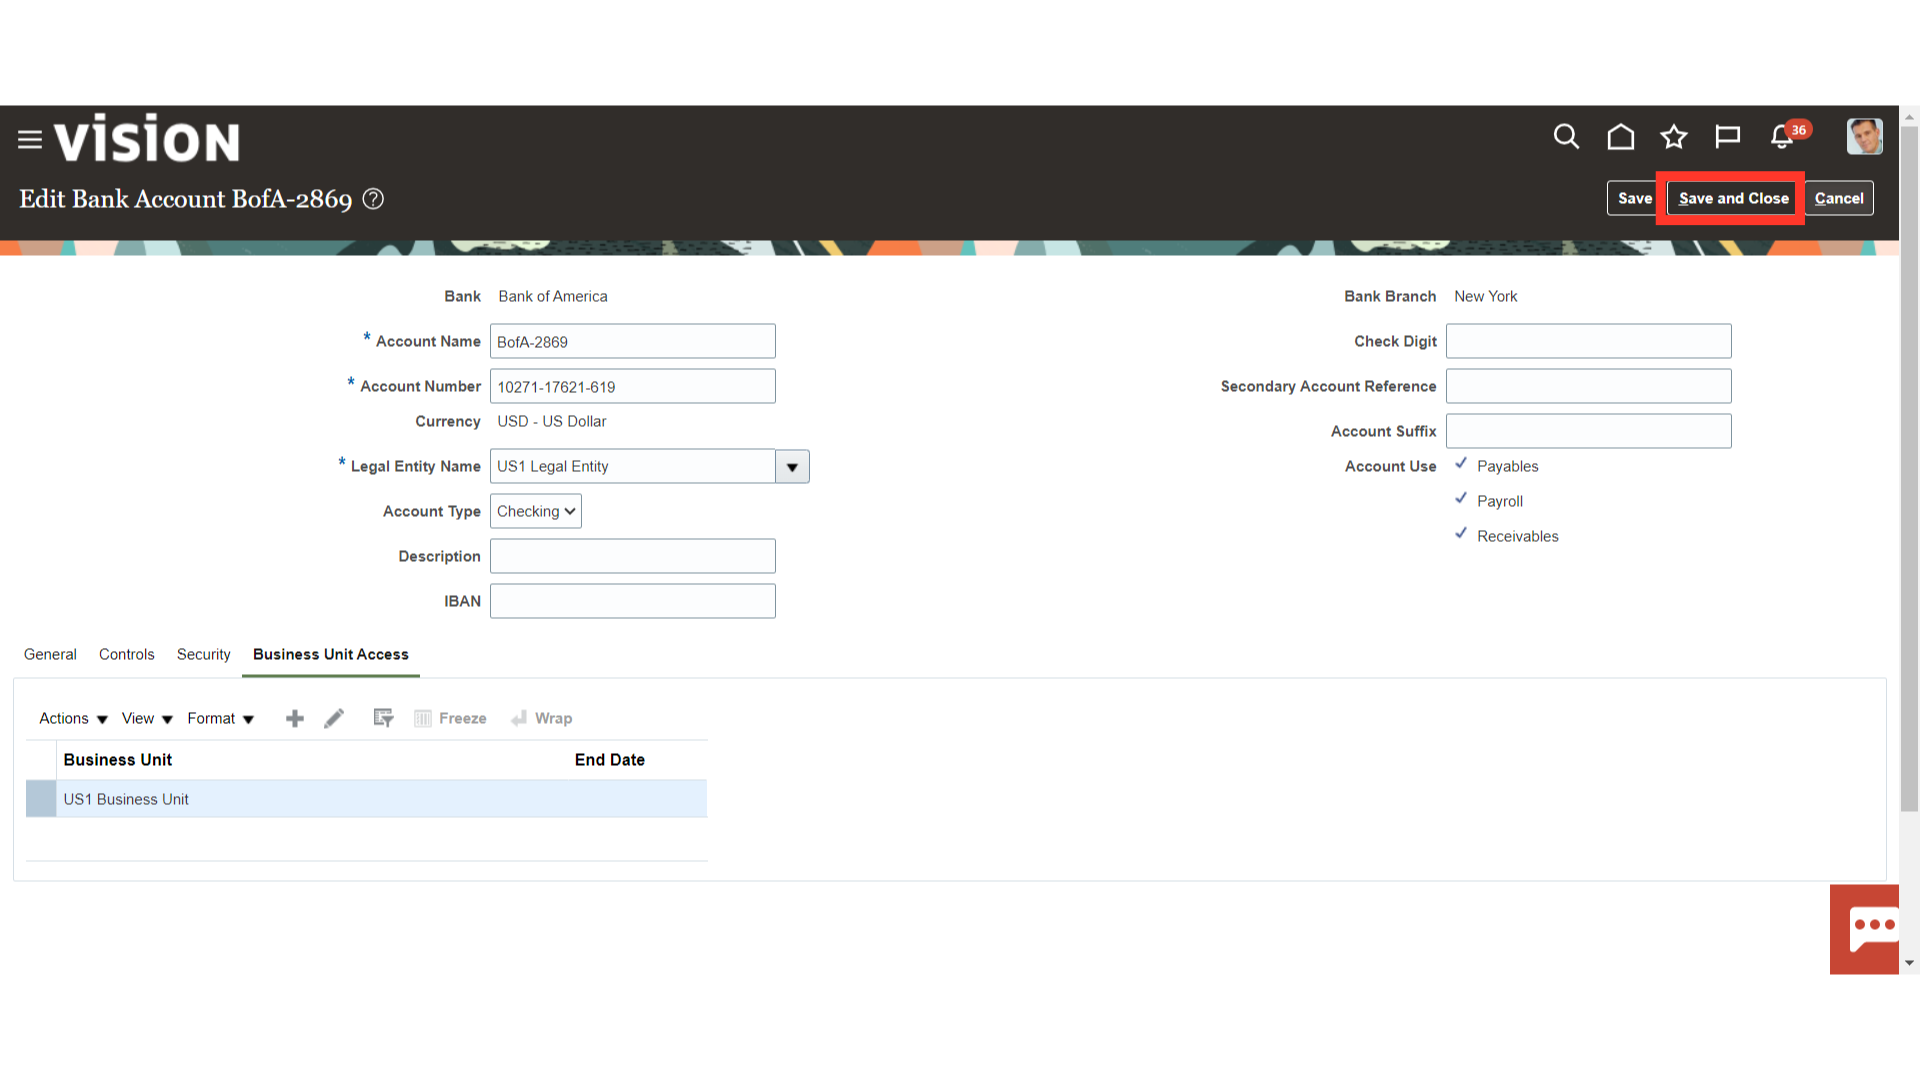
To save the changes, click the Save and Close button.To exit this page without saving, click the Cancel button.
Click on the Done button to return to the Setup and Maintenance page.
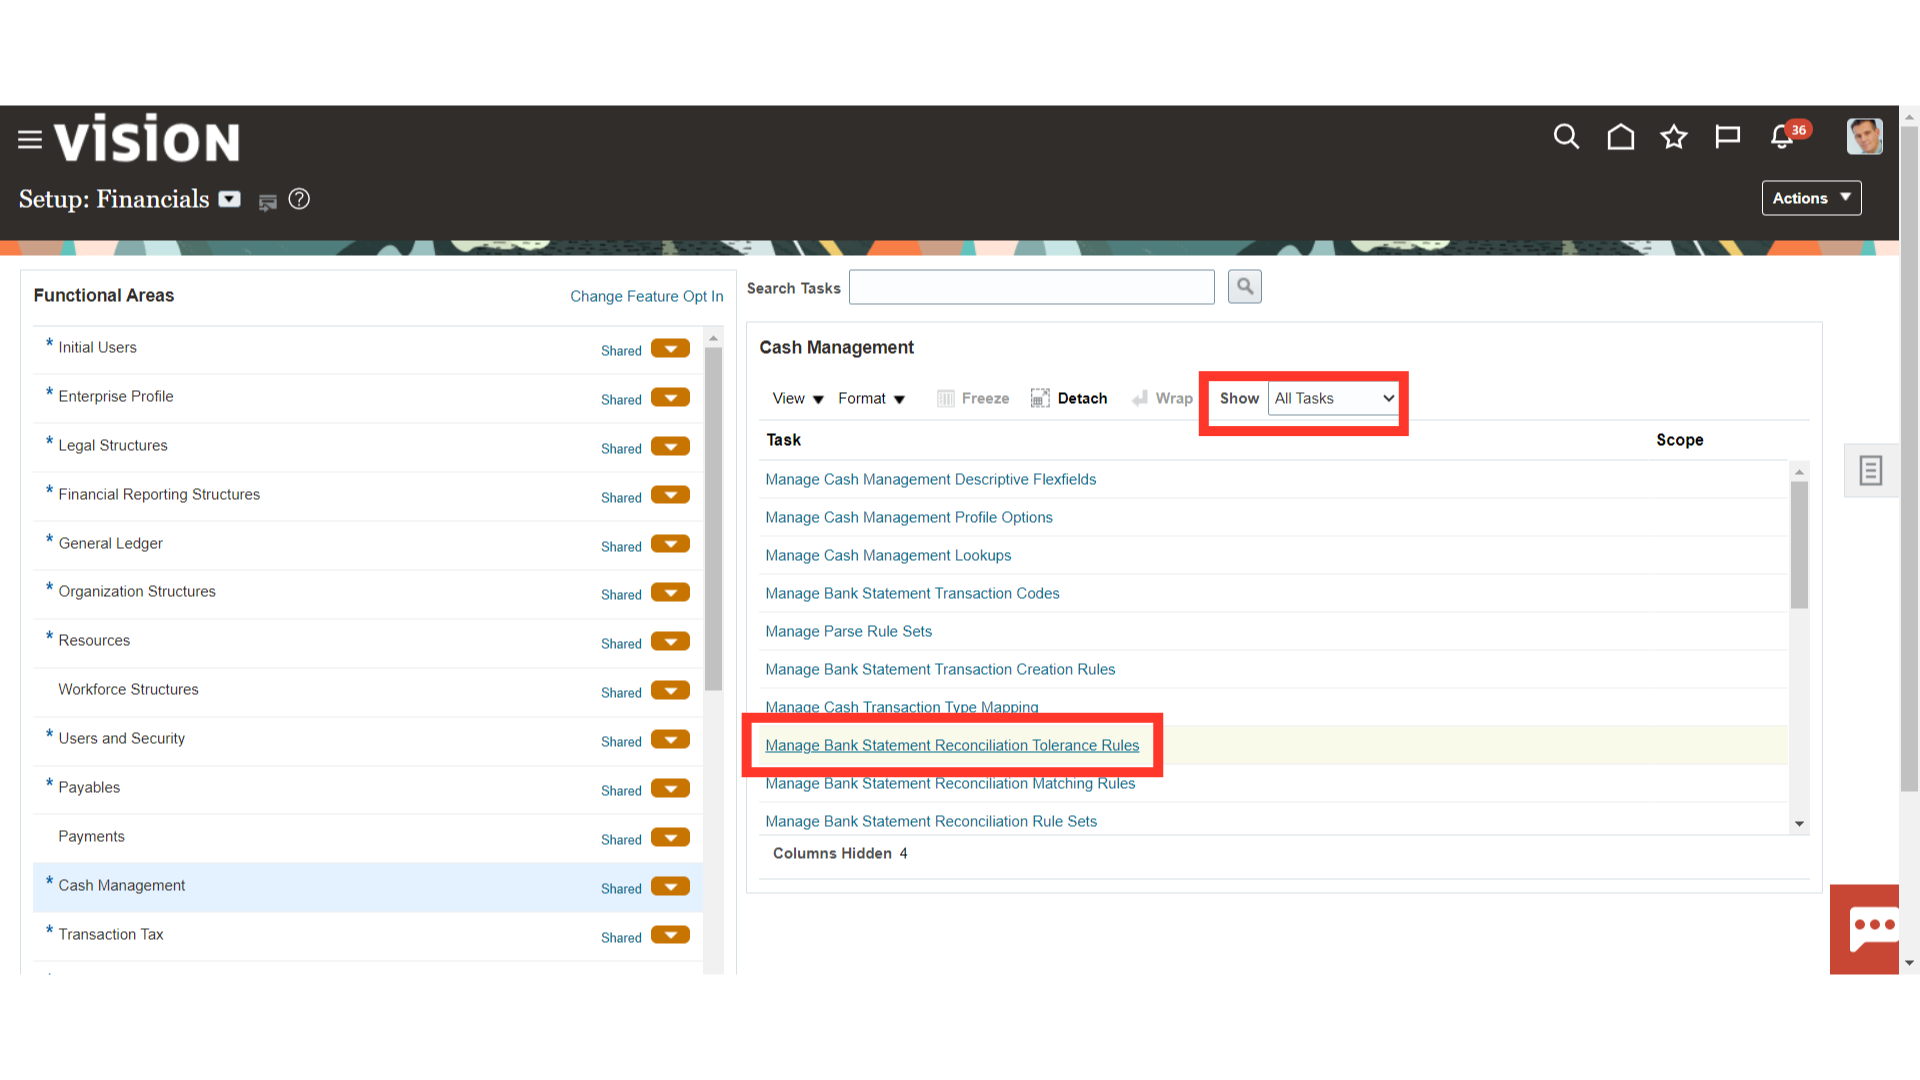
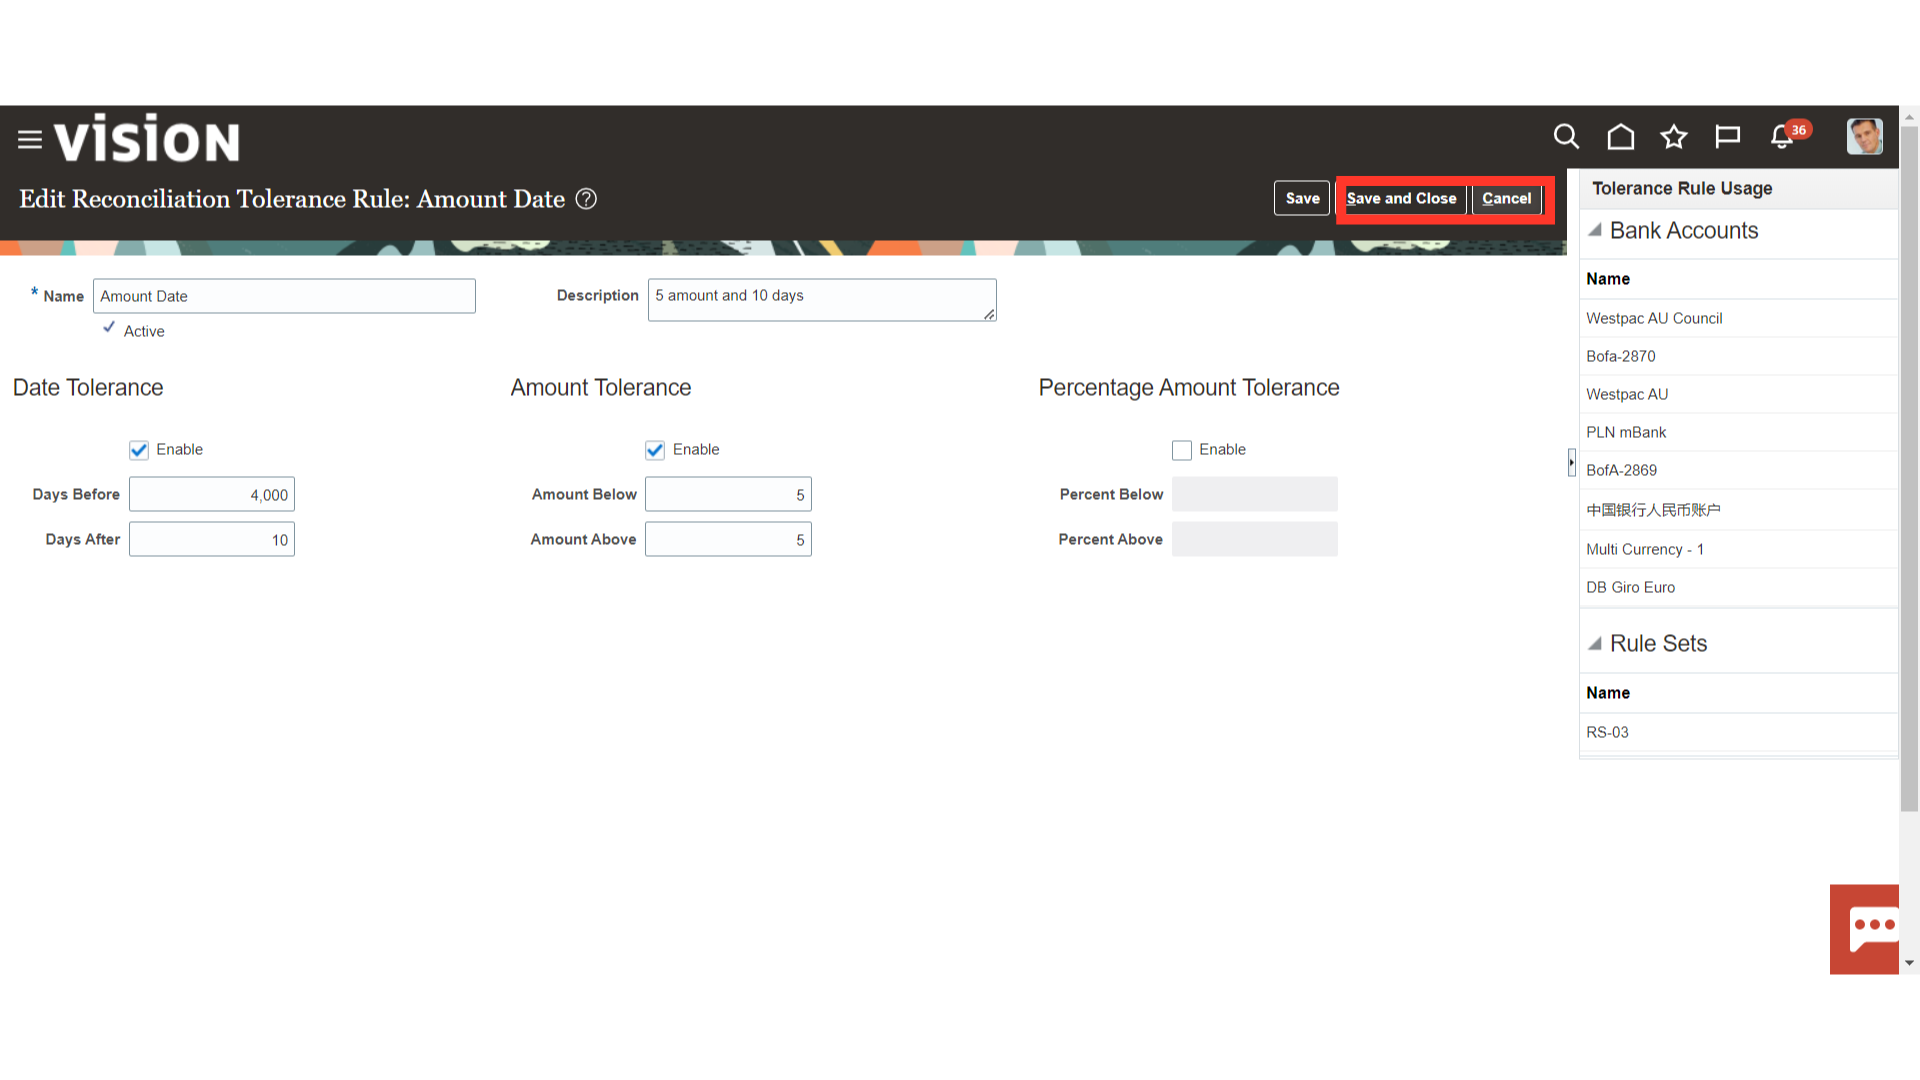
To view the Other tasks, Select “All Tasks” against the Show field. After that click on Manage Bank Statement Reconciliation Tolerance Rules to define tolerance limit.
Tolerance rules enables you to specify date and amount tolerances that prevent or warn you when reconciliation would be a breach of a defined tolerance. Click on the Plus icon to create a new rule, and select the Pencil icon to open the rule in the edit mode.
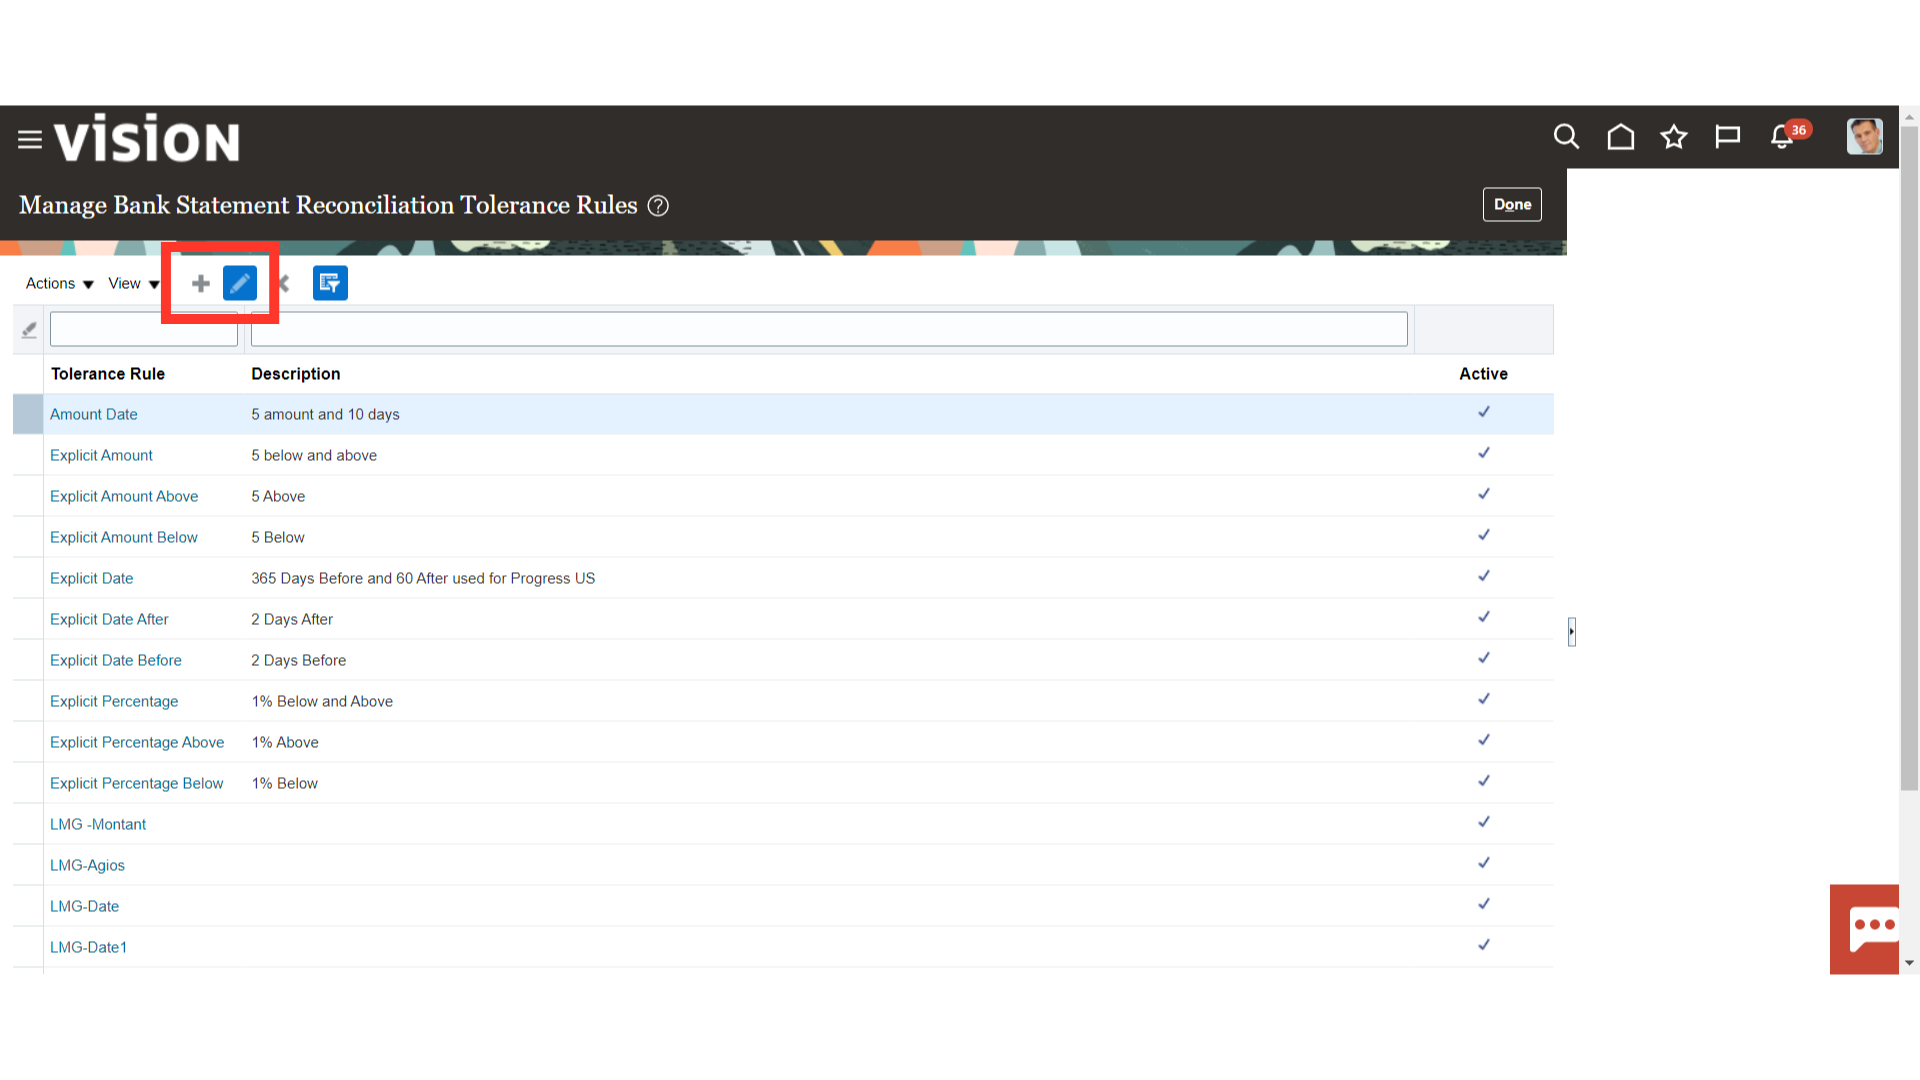
Enter the appropriate rule name and description in the respective field.
Date tolerances: are primarily used for checks that may be issued on one day and not clear the bank until days or weeks later.
Amount tolerances: are most often used when reconciling foreign currency transactions where there may be differences due to rounding or fluctuations in the conversion rate. They can also be used if a bank includes a processing fee in the bank statement line amount
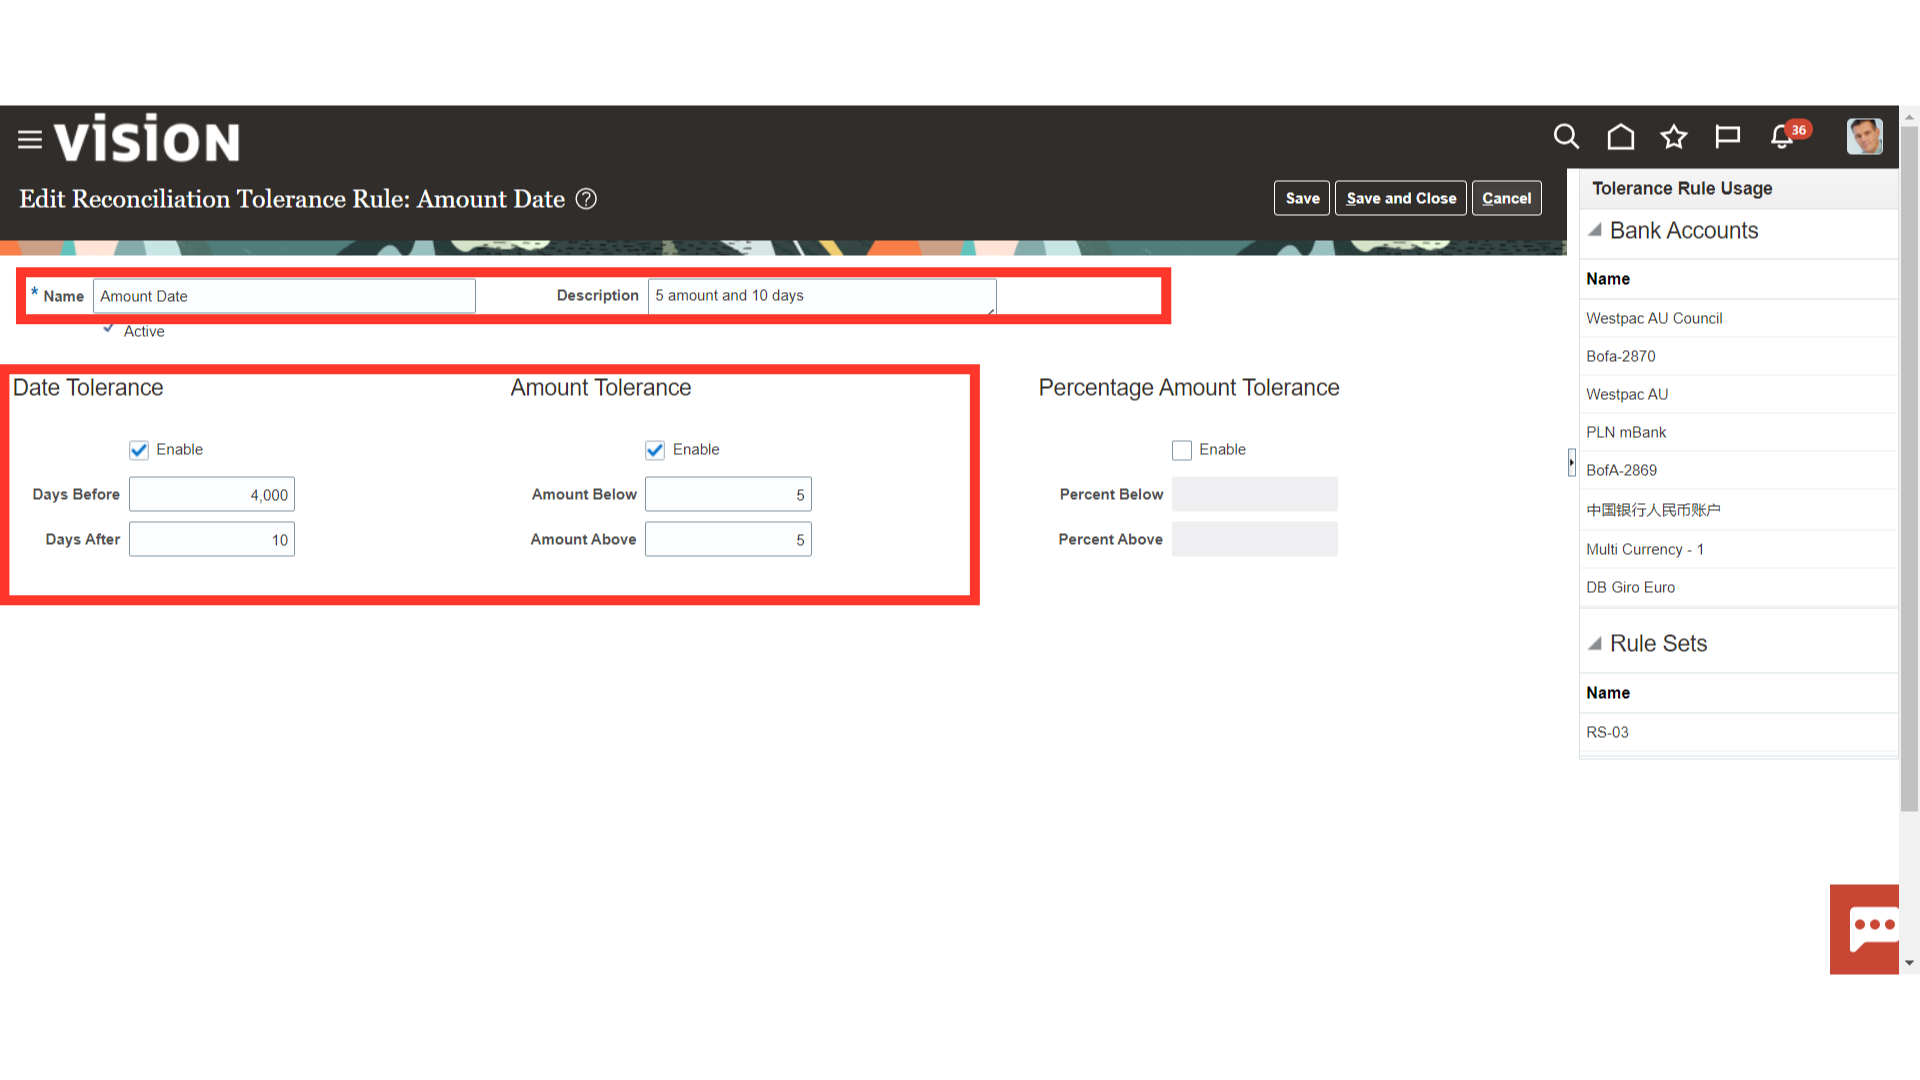
To save the changes, click the Save and Close button. To exit this page without saving, click the Cancel button.
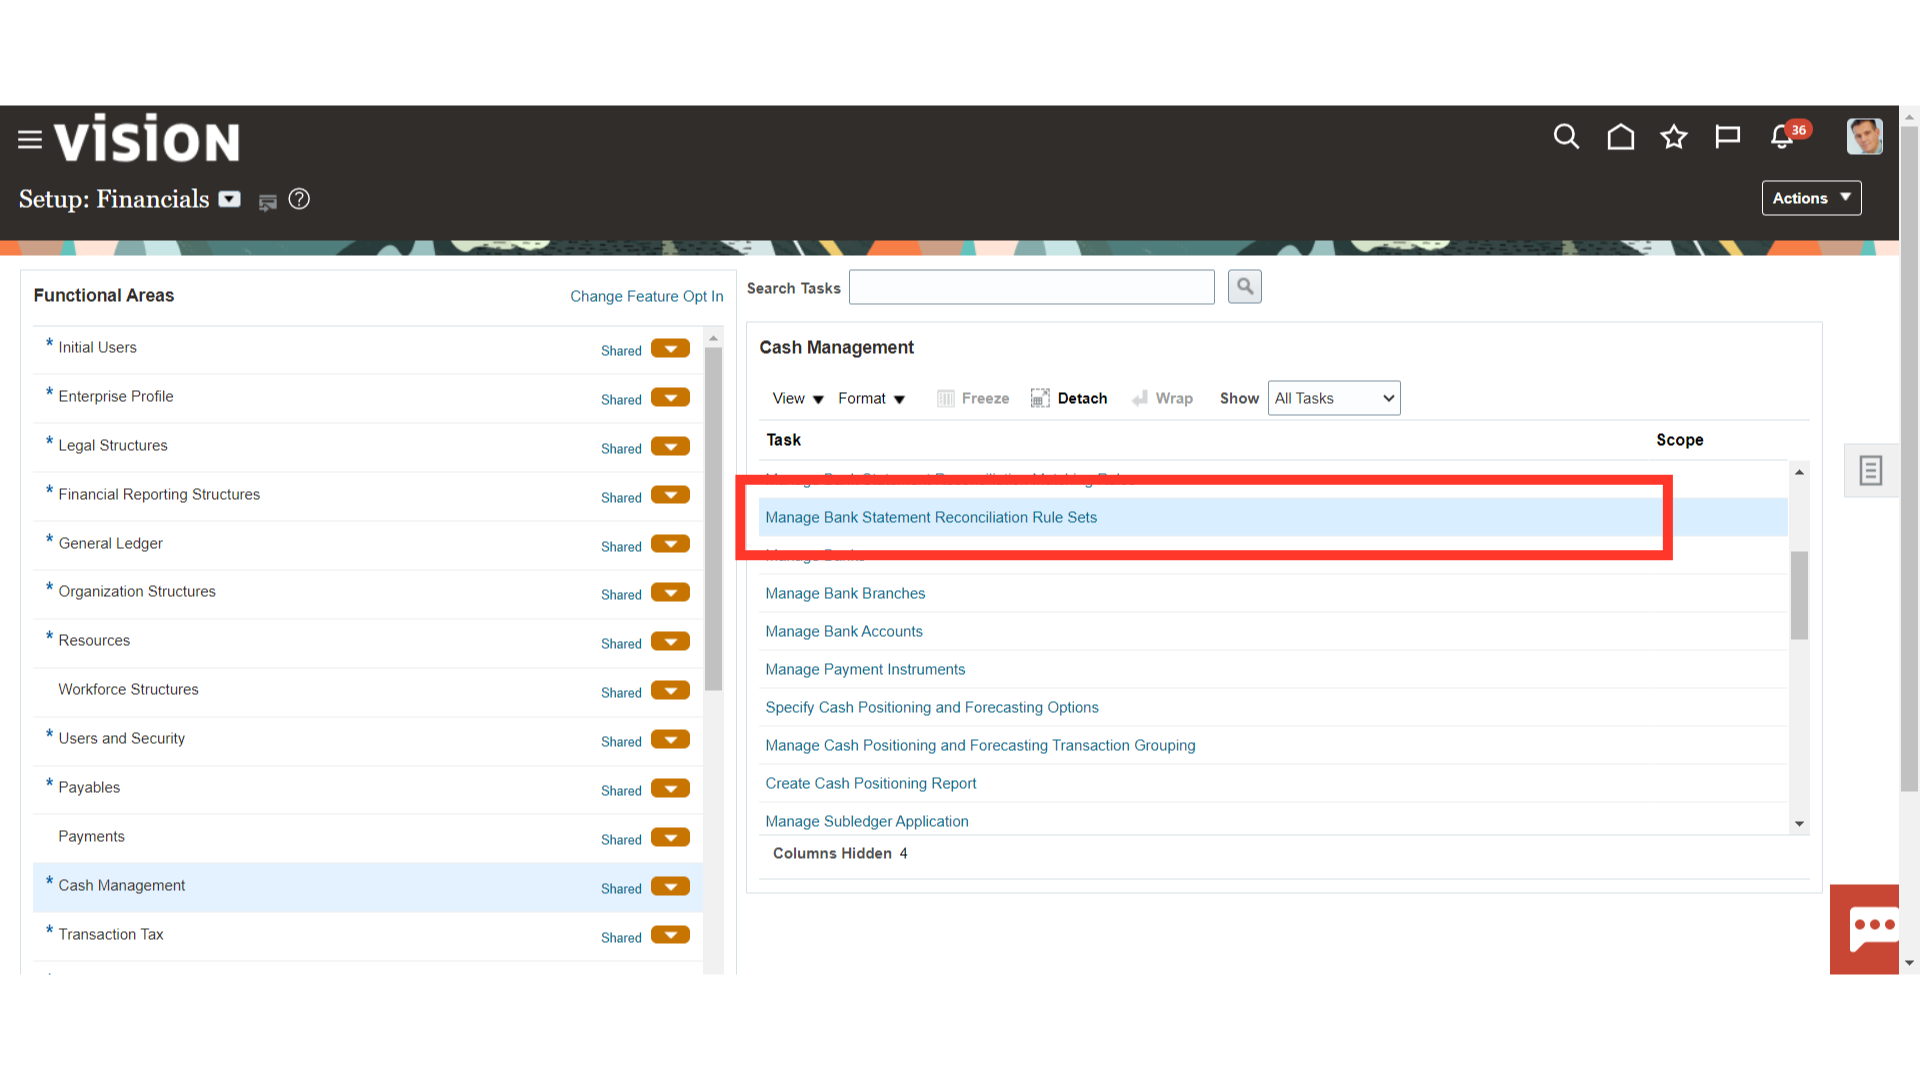
Open the Manage Bank Statement Reconciliation Matching Rules to define the matching criteria for Auto reconciliation.
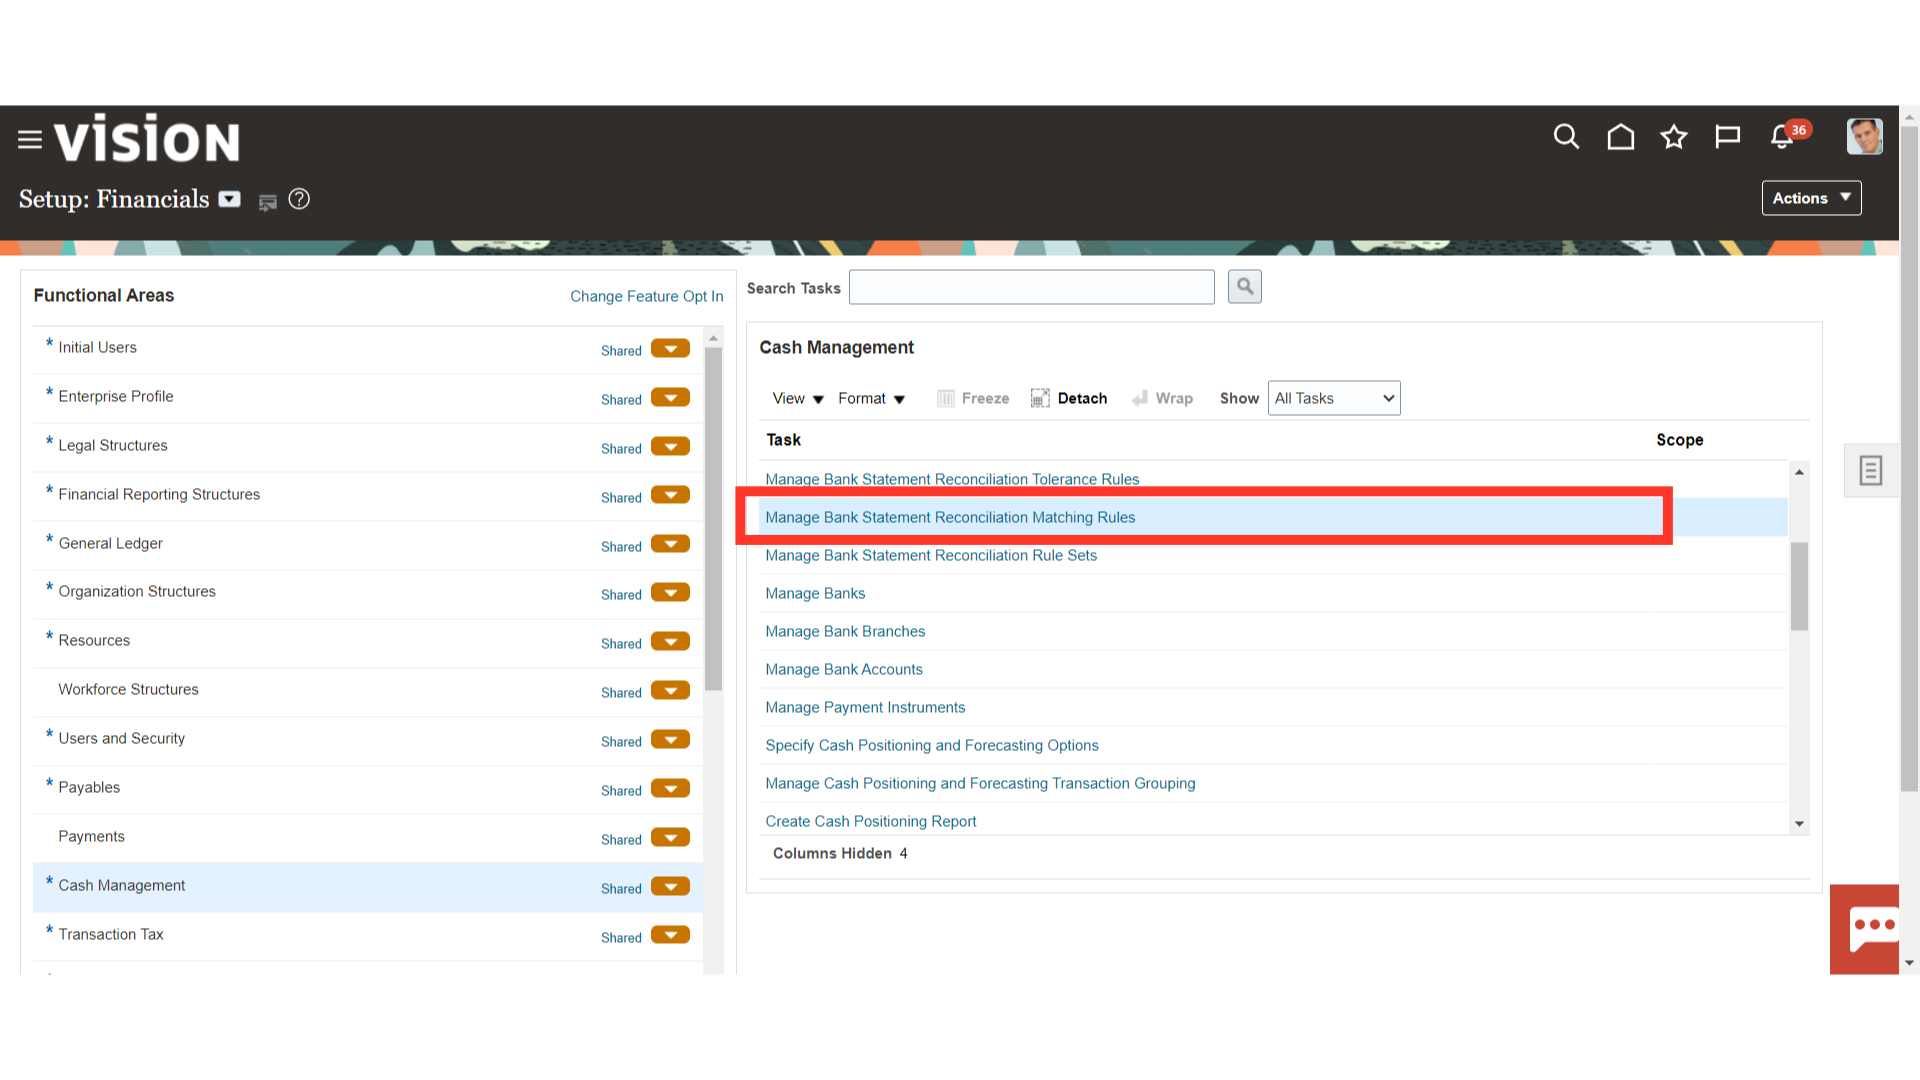
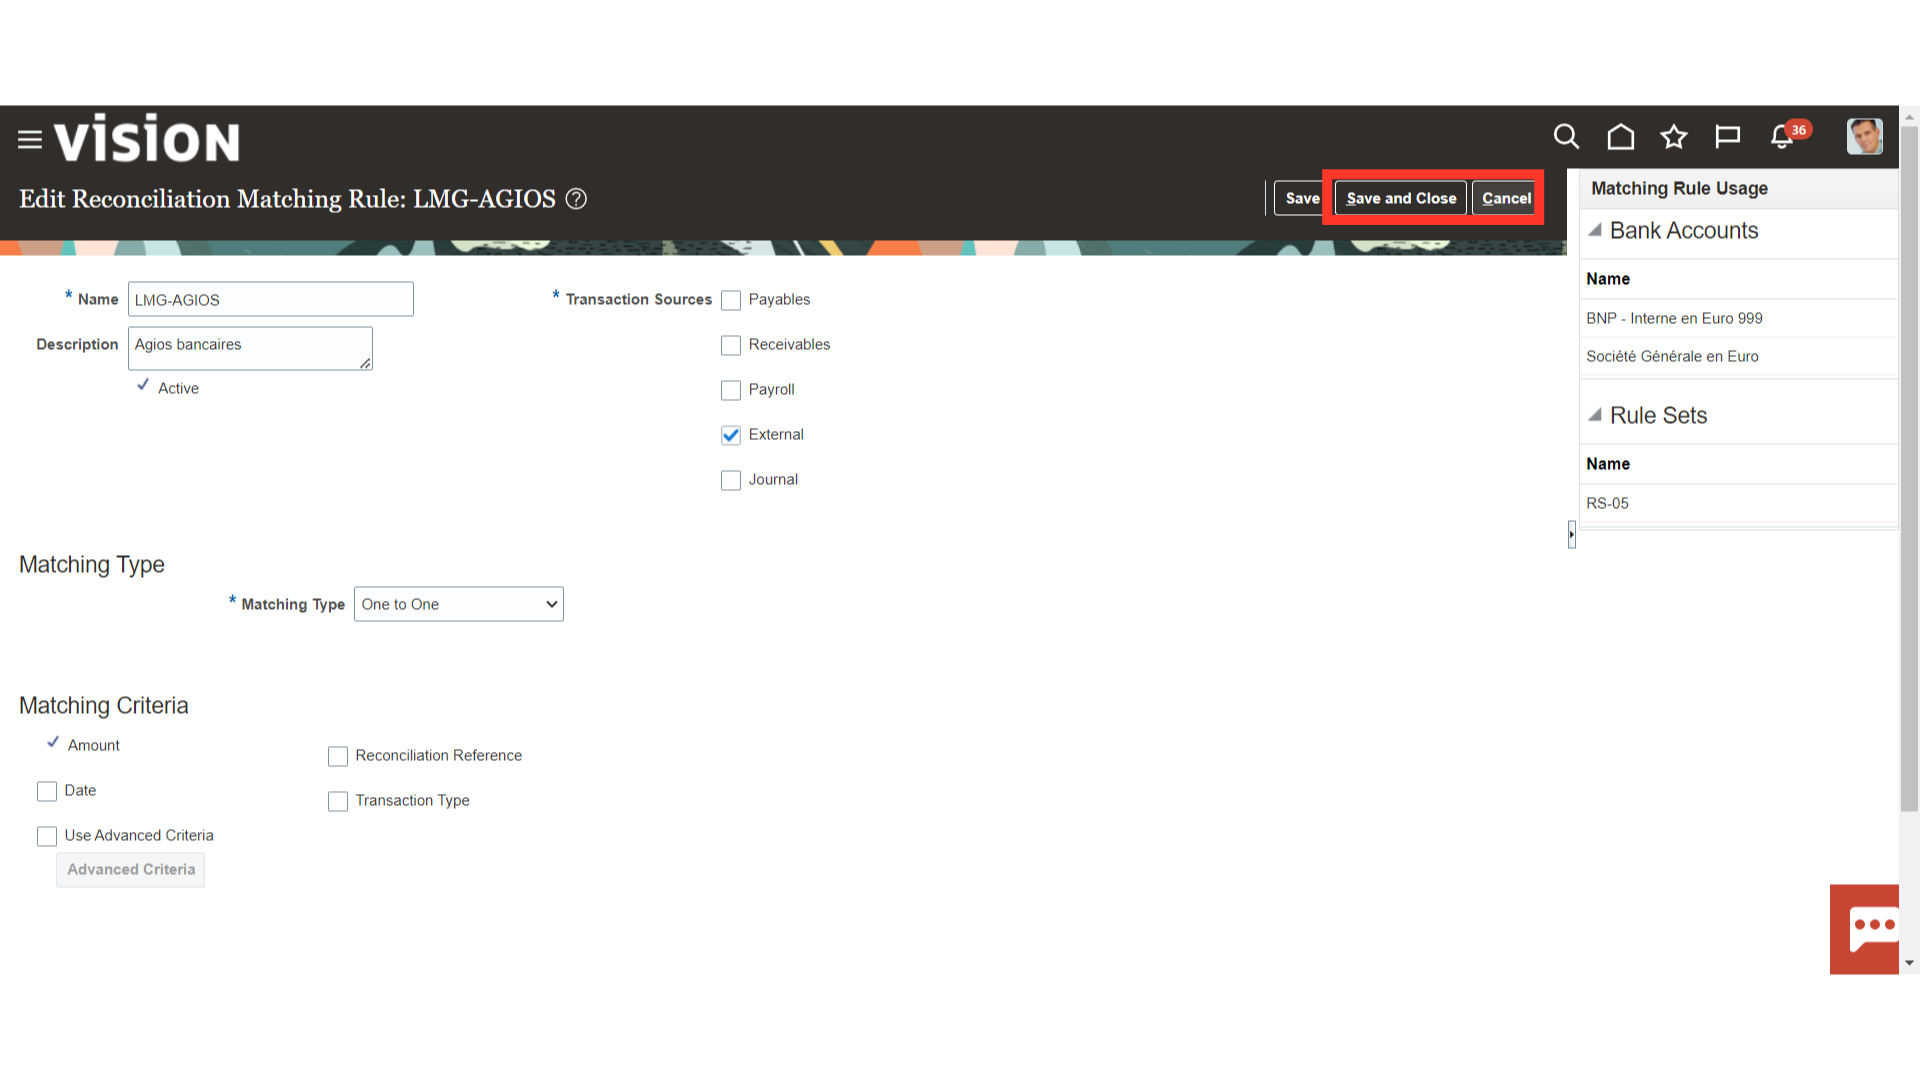
Reconciliation Matching rules help you match bank statement lines and system transactions to minimize the need for manual intervention. Click on the Plus icon to create a new rule, and select the Pencil icon to open the rule in the edit mode.
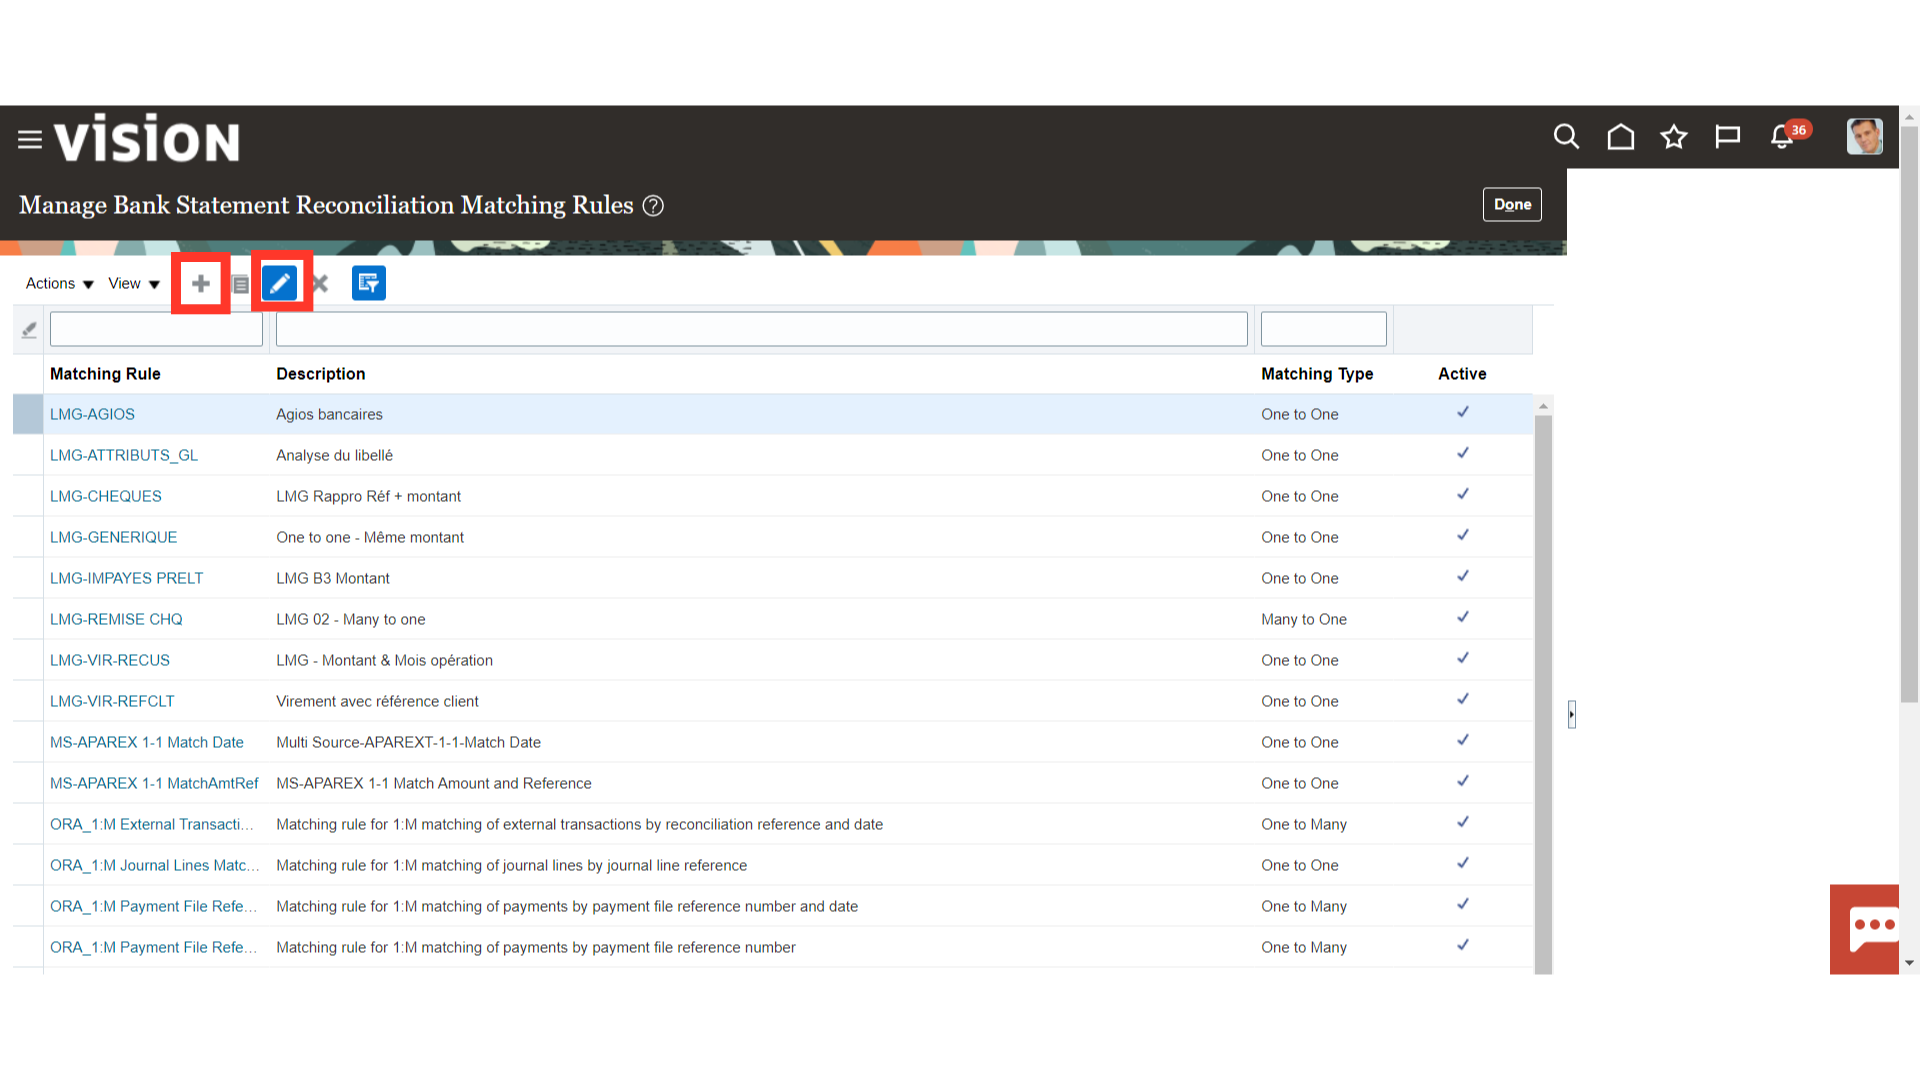
Enter the Rule name and description of the reconciliation matching rule.
And, Specify the following for each matching rule :
- Transaction Sources: Payables, Receivables, Payroll, Journals, or External.
- Matching Type: One to One, One to Many, Many to One, Many to Many.
- Under Matching Criteria, enable the checkbox against different fields such as Amount, Date, Reconciliation Reference, and Transaction Type using which system would try to match bank statement lines with the system transactions.
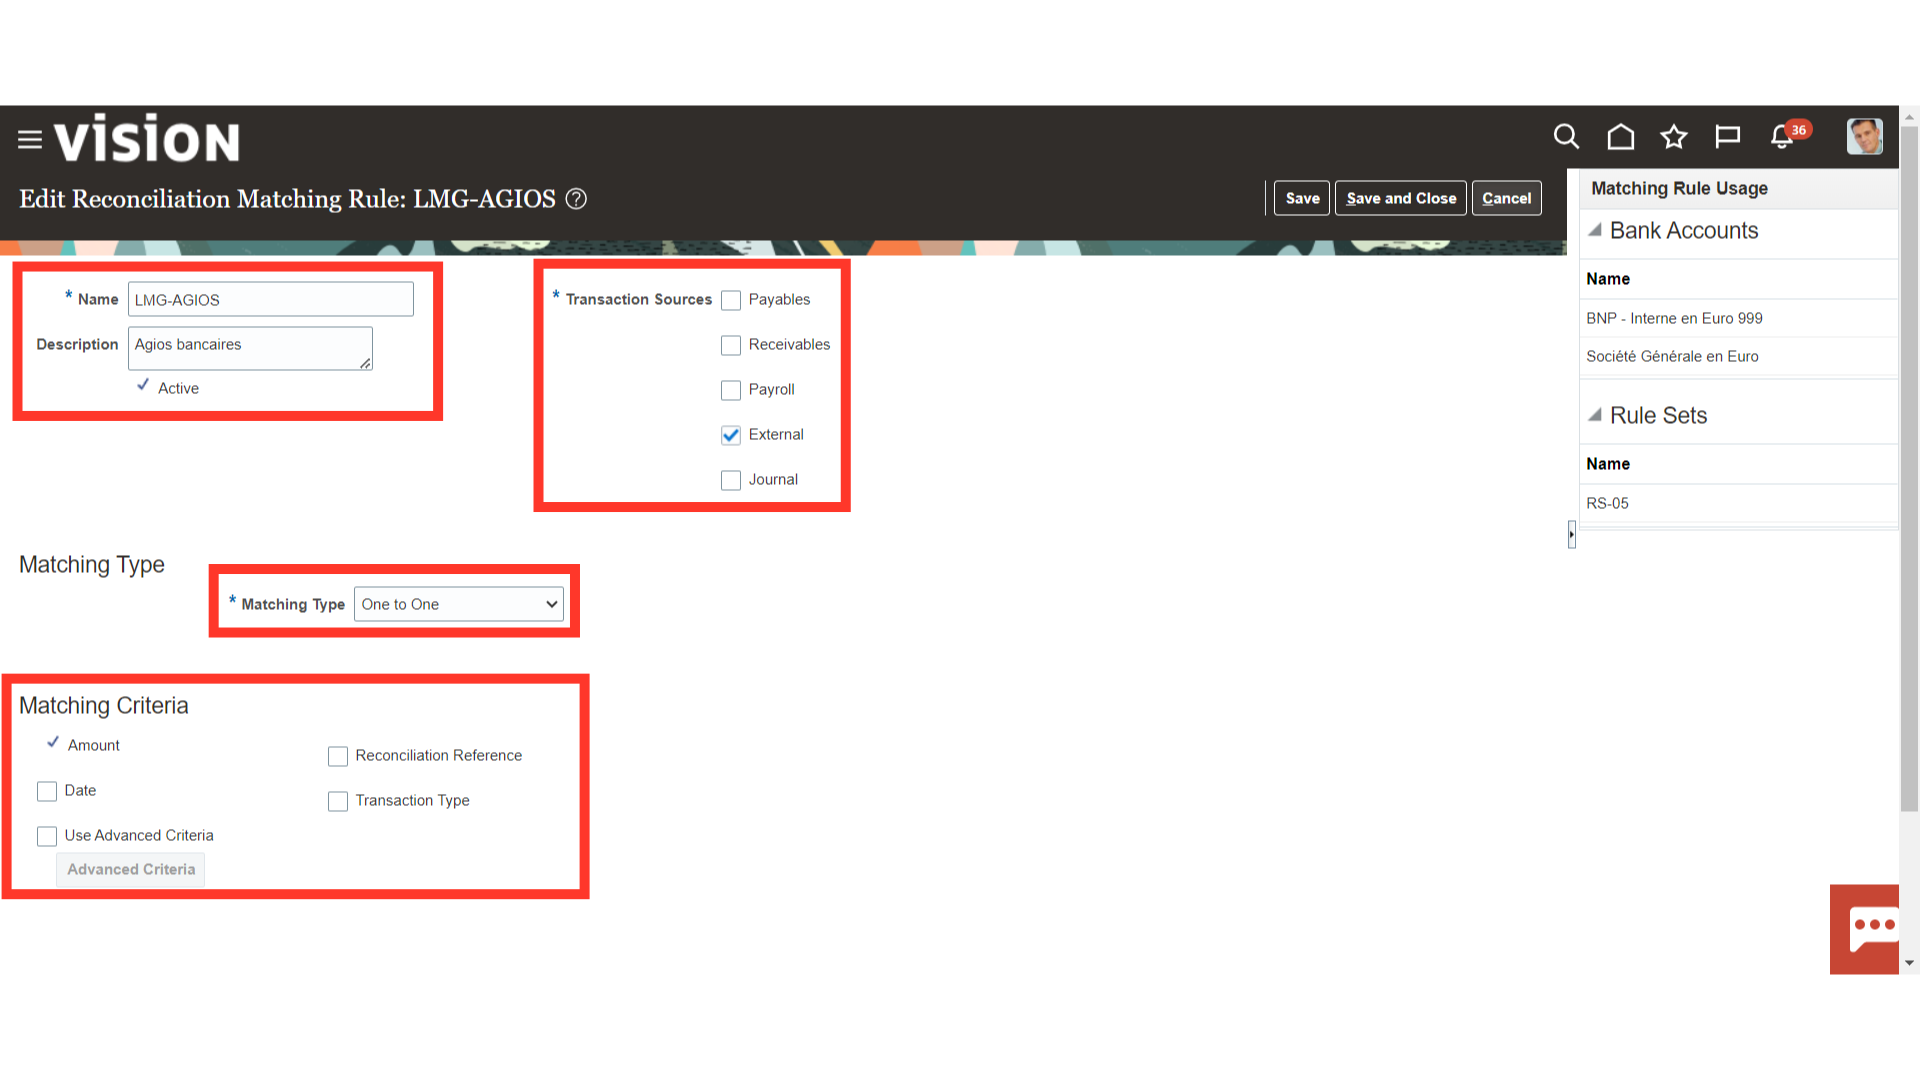
To save the changes, click the Save and Close button.To exit this page without saving, click the Cancel button.
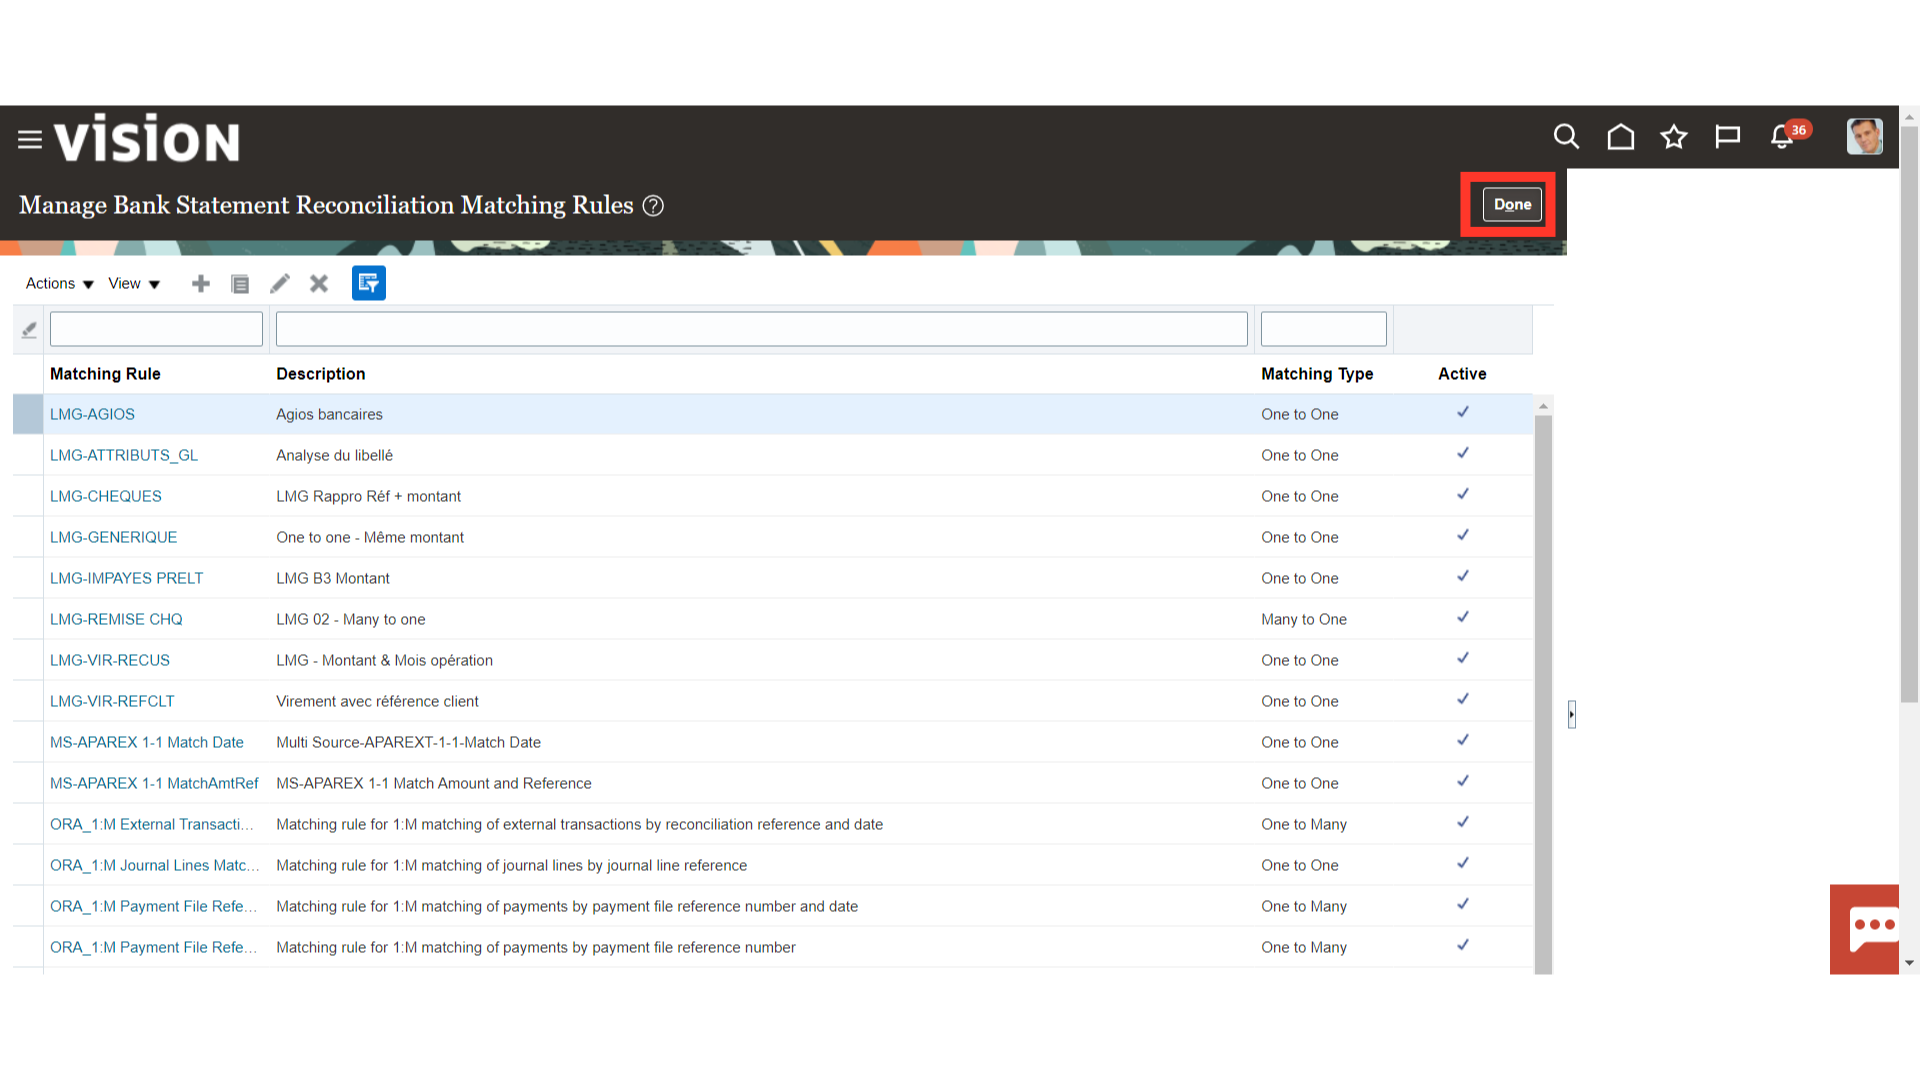
Click on the “Done” button to return back to Setup and Maintenance page.
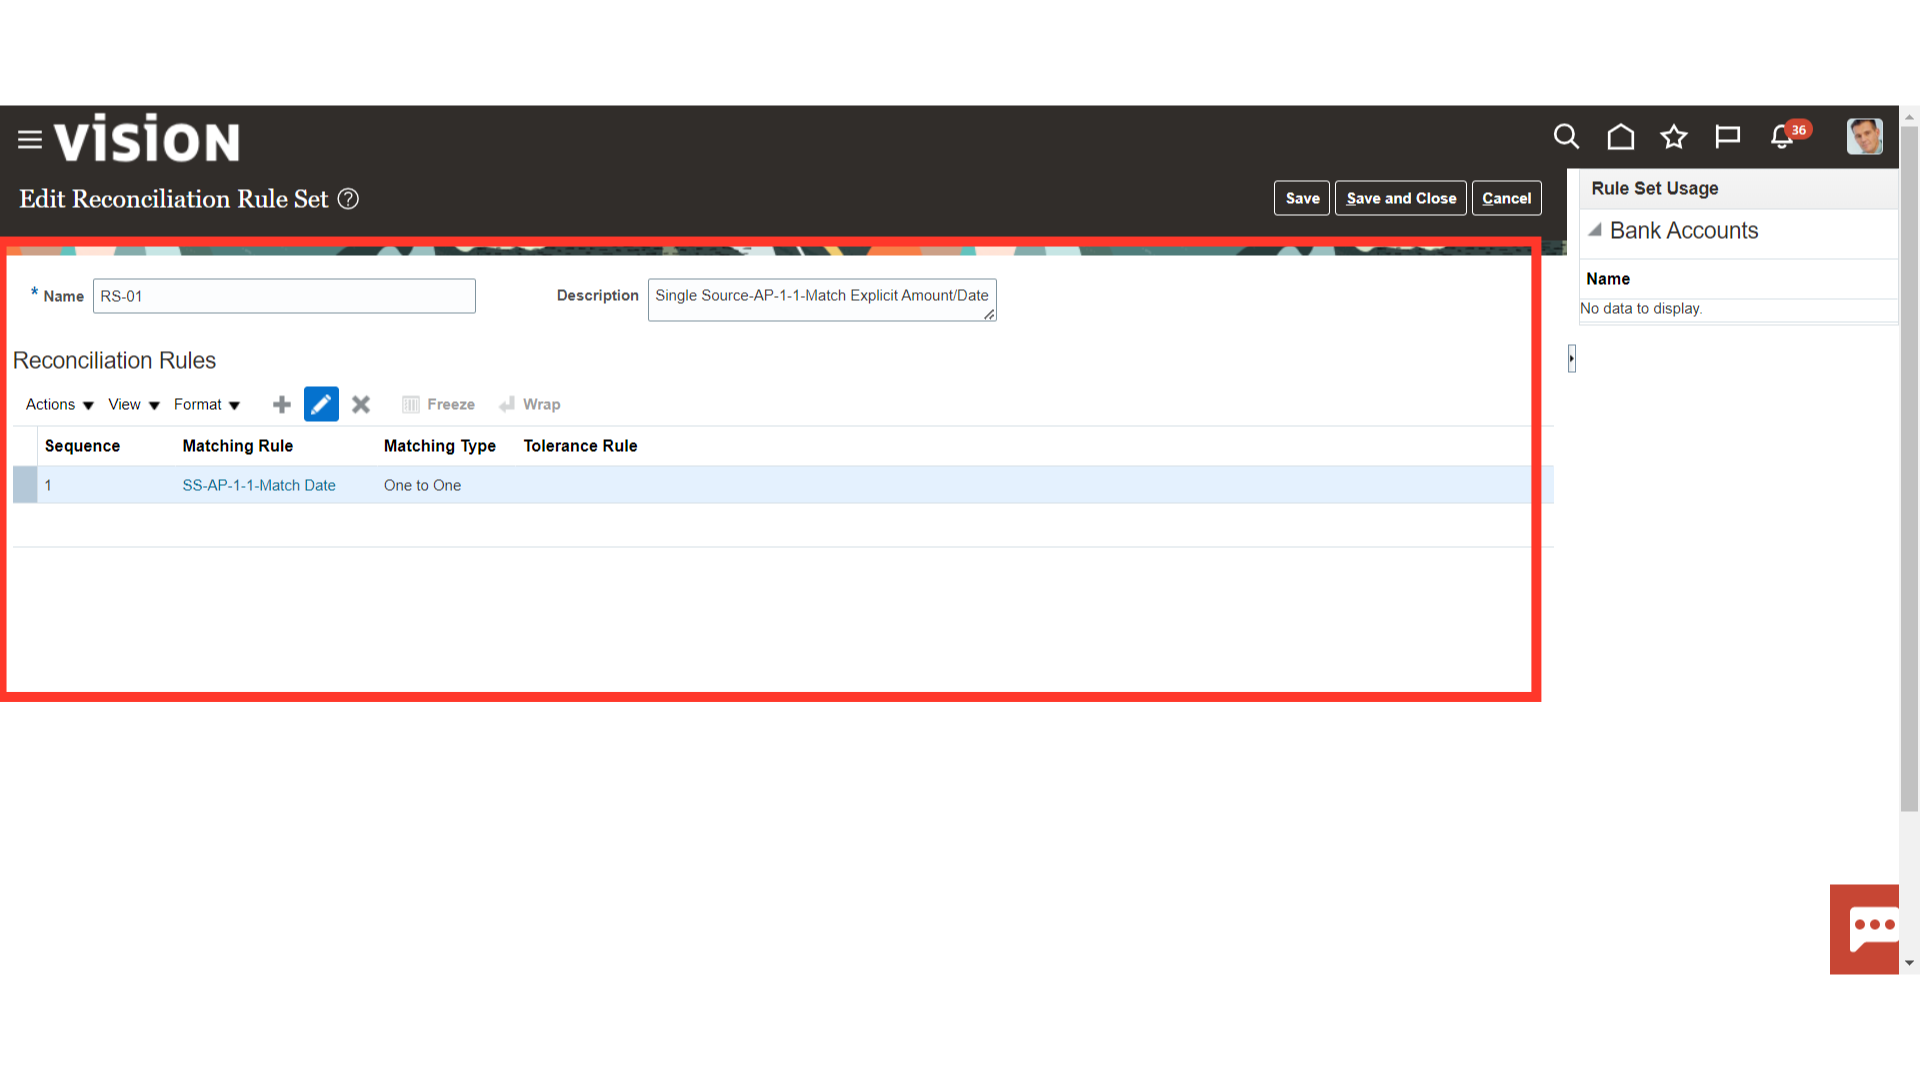
Open the Manage Bank Statement Reconciliation Rule Sets to make a group of matching and tolerance rules for automatic reconciliation.
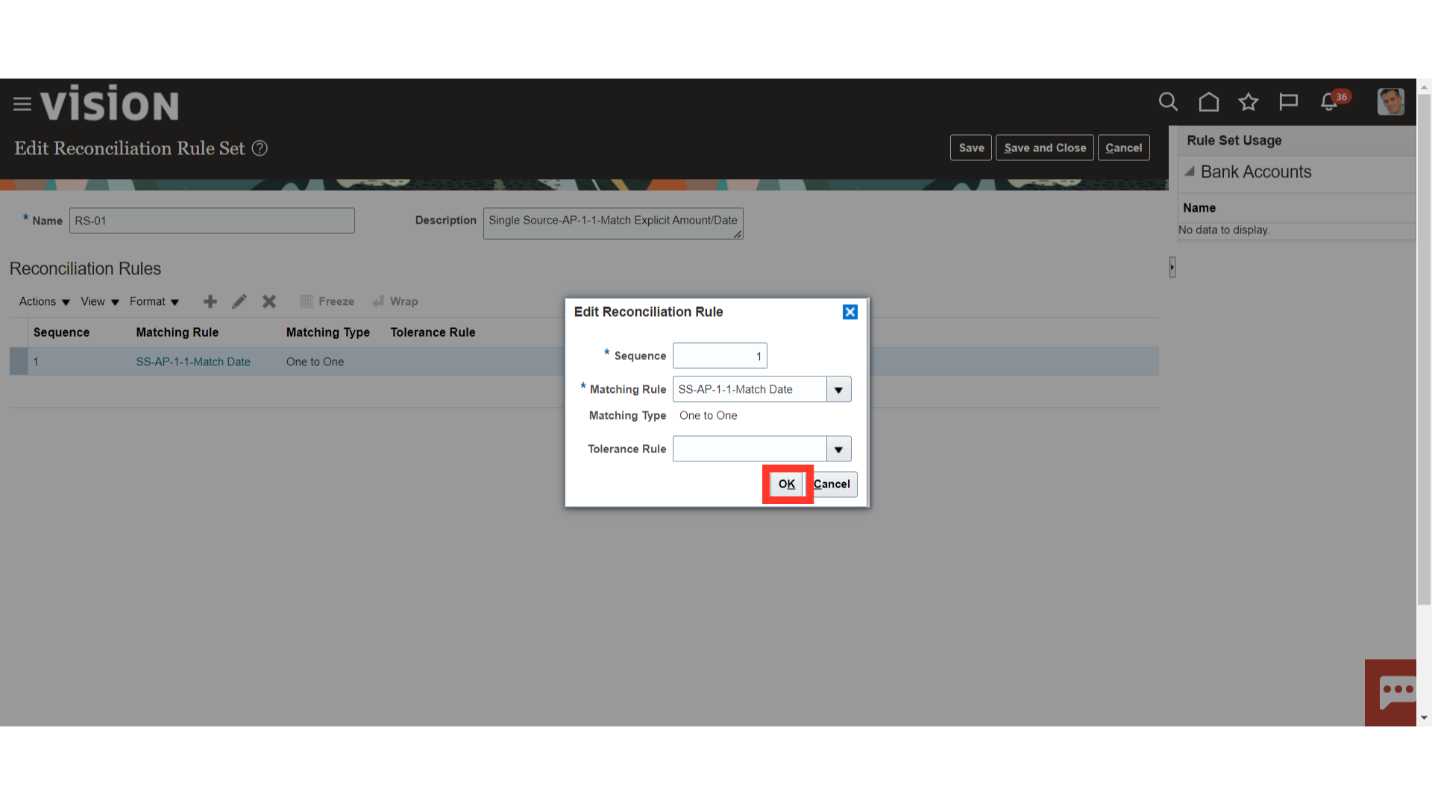
Bank statement reconciliation rule sets are a group of matching rules and tolerance rules. They are assigned to a bank account and used to reconcile bank statement lines with transactions. Click on the Plus icon to create a new rule, and select the Pencil icon to open the rule in the edit mode.
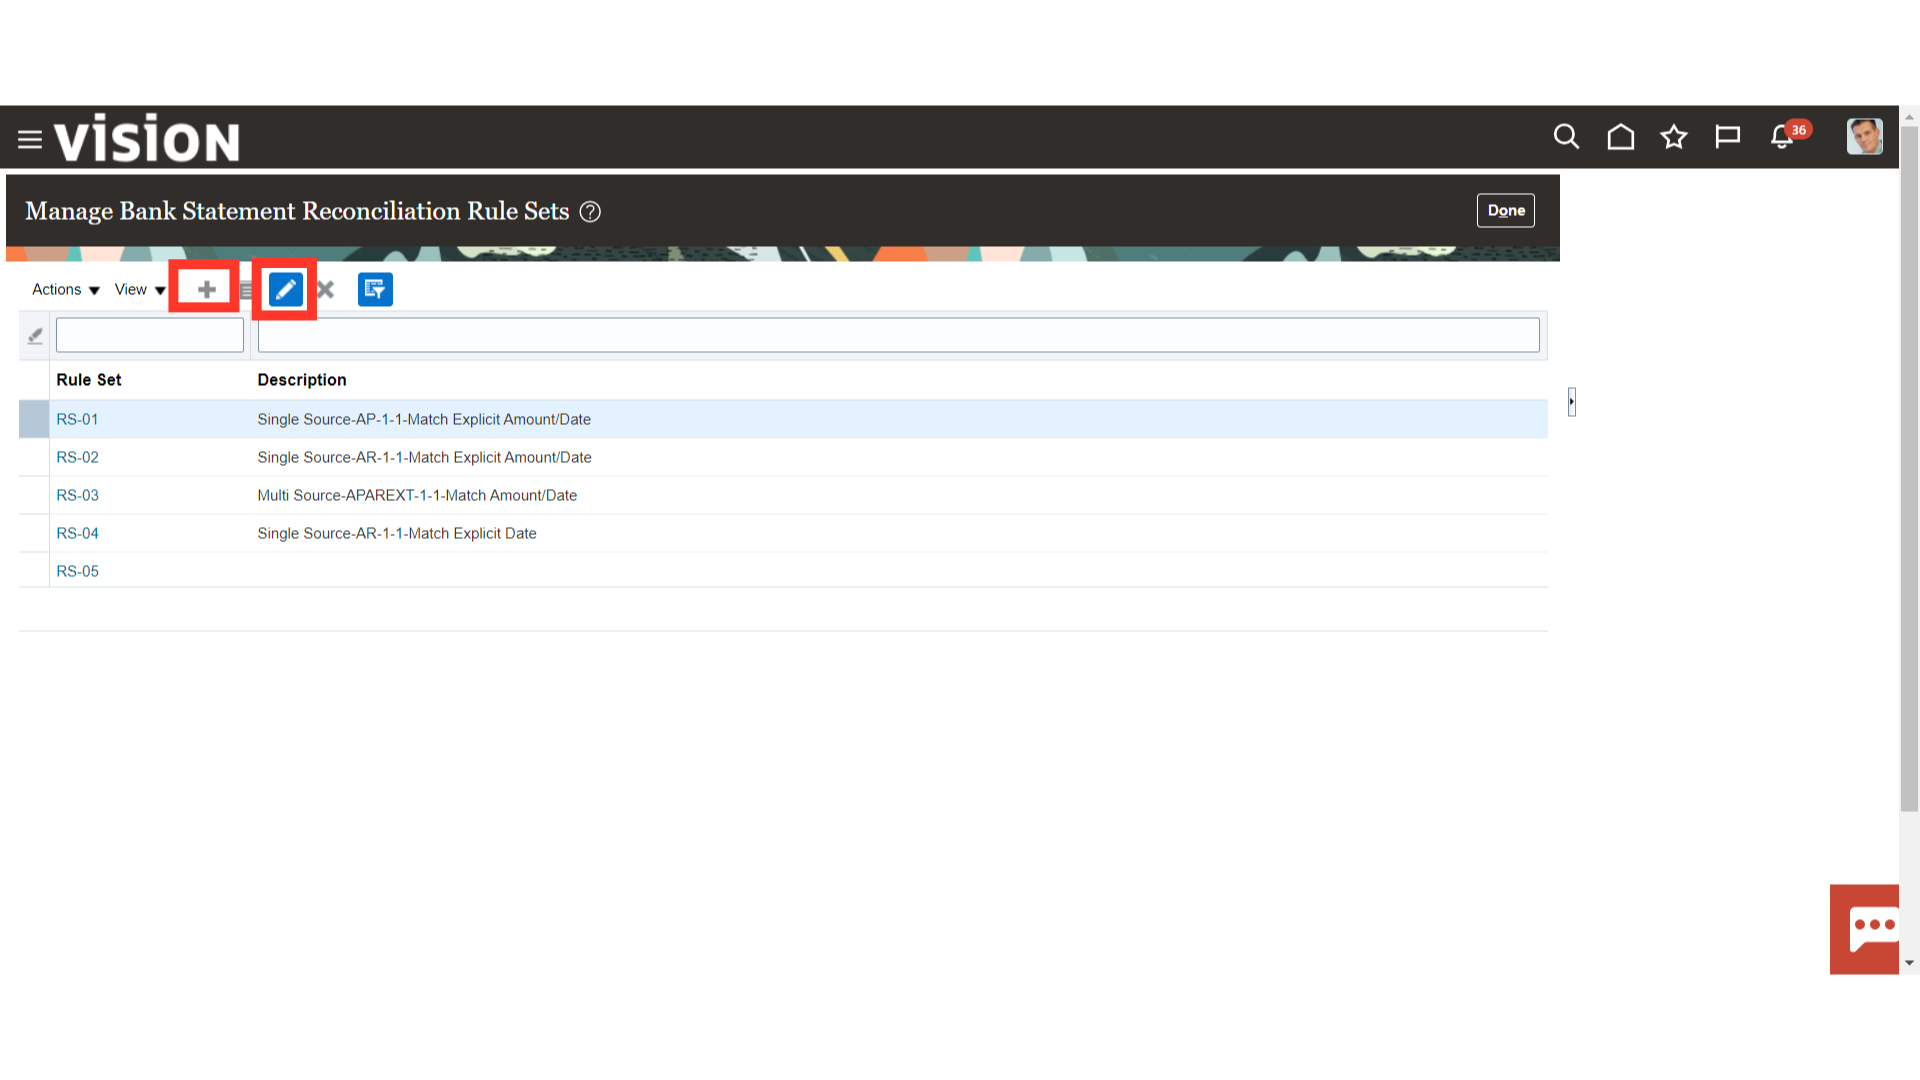
Each rule set consists of one or more matching rules that can be prioritized or sequenced. The rules should be ordered to achieve a greater reconciliation success rate. It’s strongly recommended that one-to-one rules be sequenced ahead of rules of other types.
After entering all the details, click on the Ok button to continue.
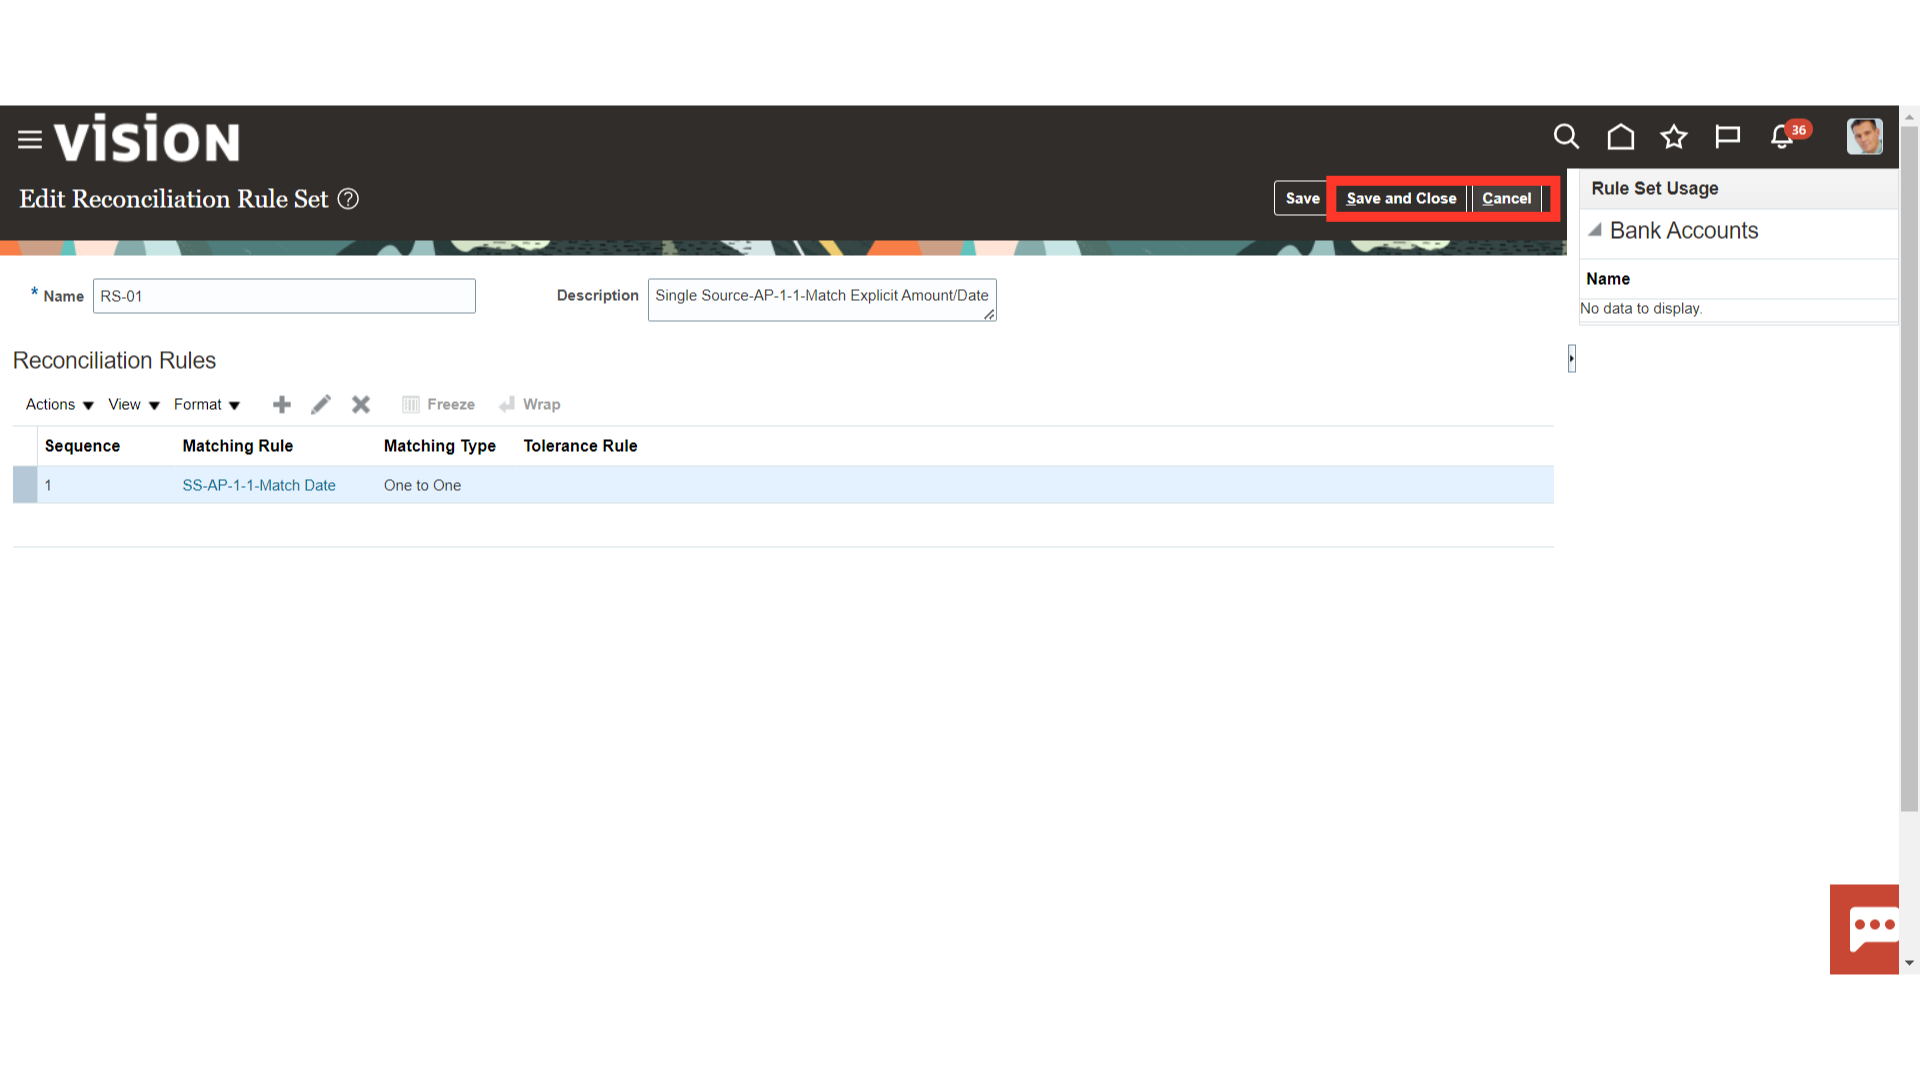
To save the changes, click the Save and Close button. To exit this page without saving, click the Cancel button.
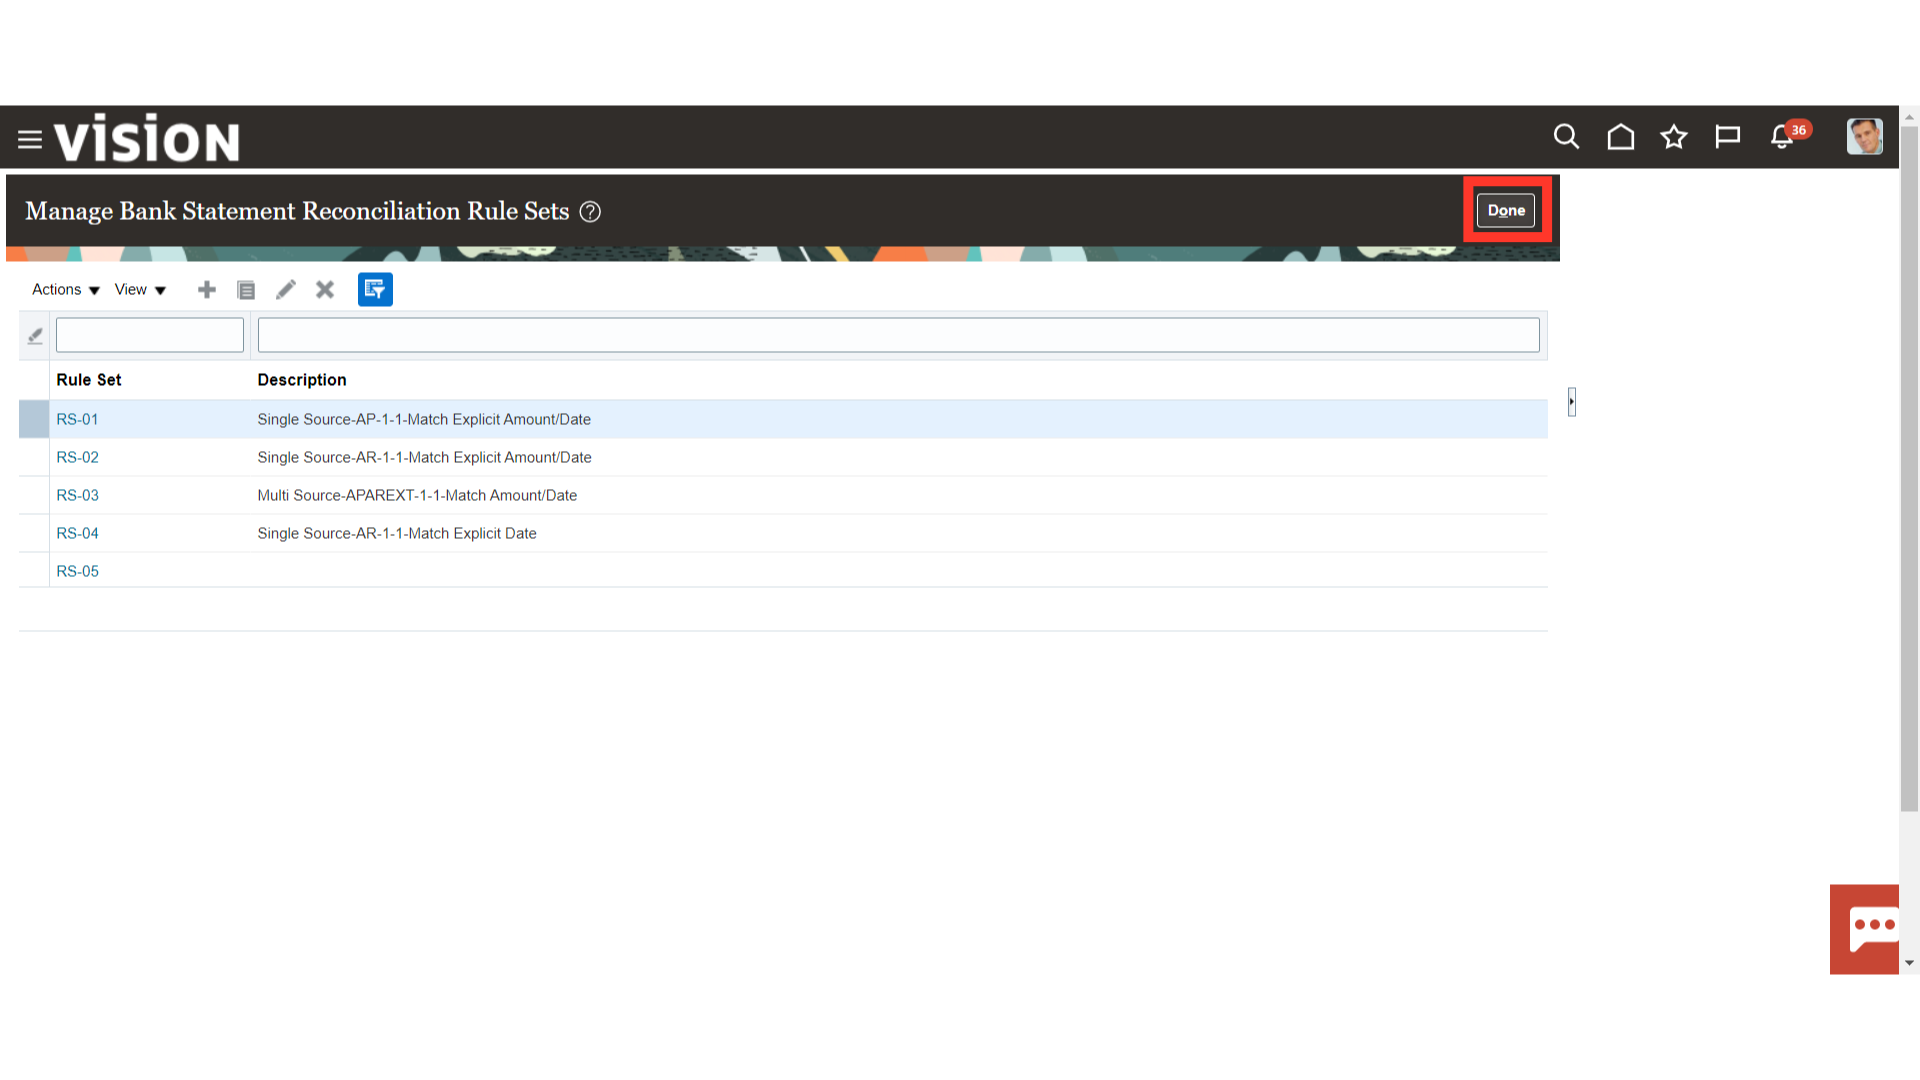
Again click on the “Done” button to return to Setup and Maintenance.
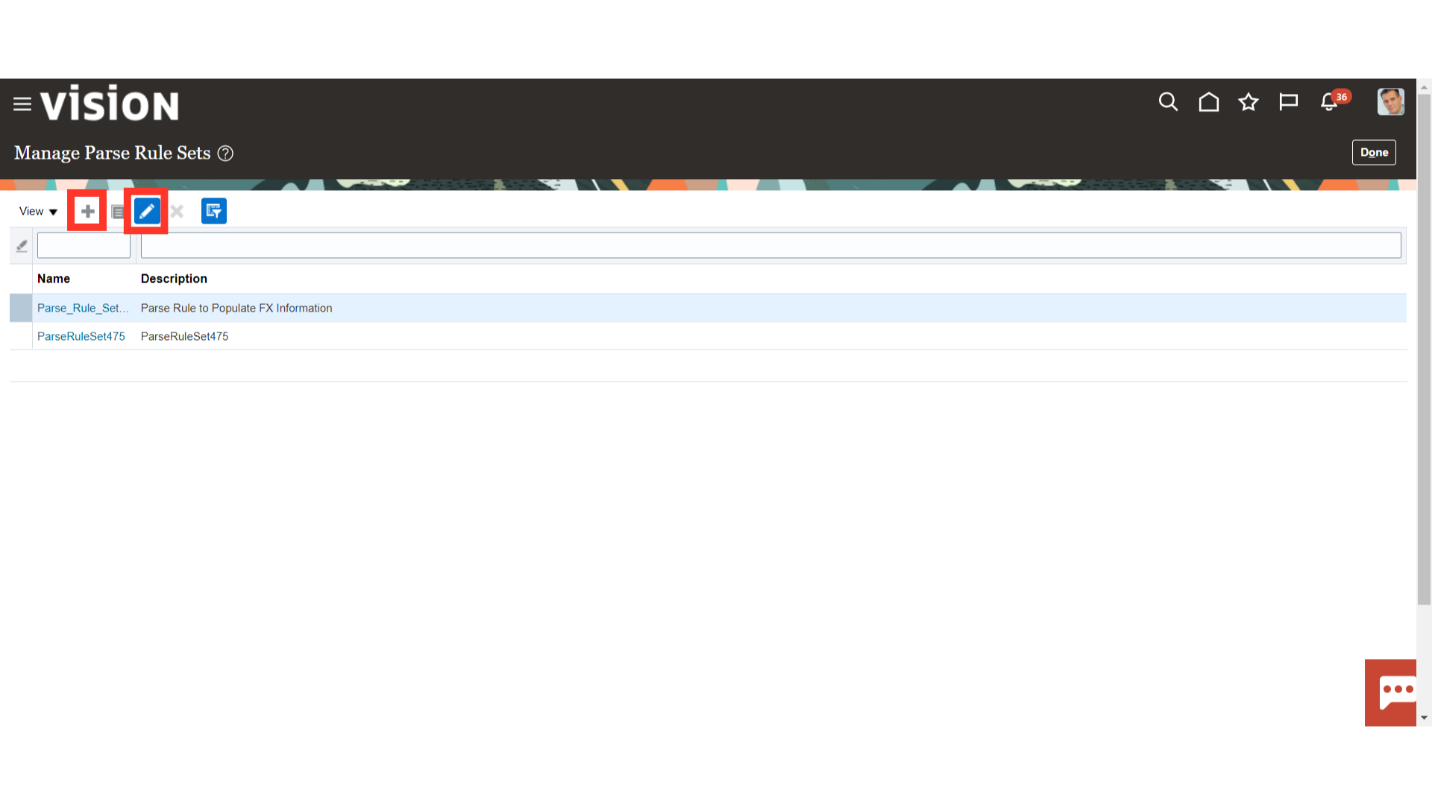
The parse rule set is most commonly used to parse data from the statement line addenda field into more specific statement line fields. Open the parse rule setup, by clicking on Manage Parse Rule Sets.
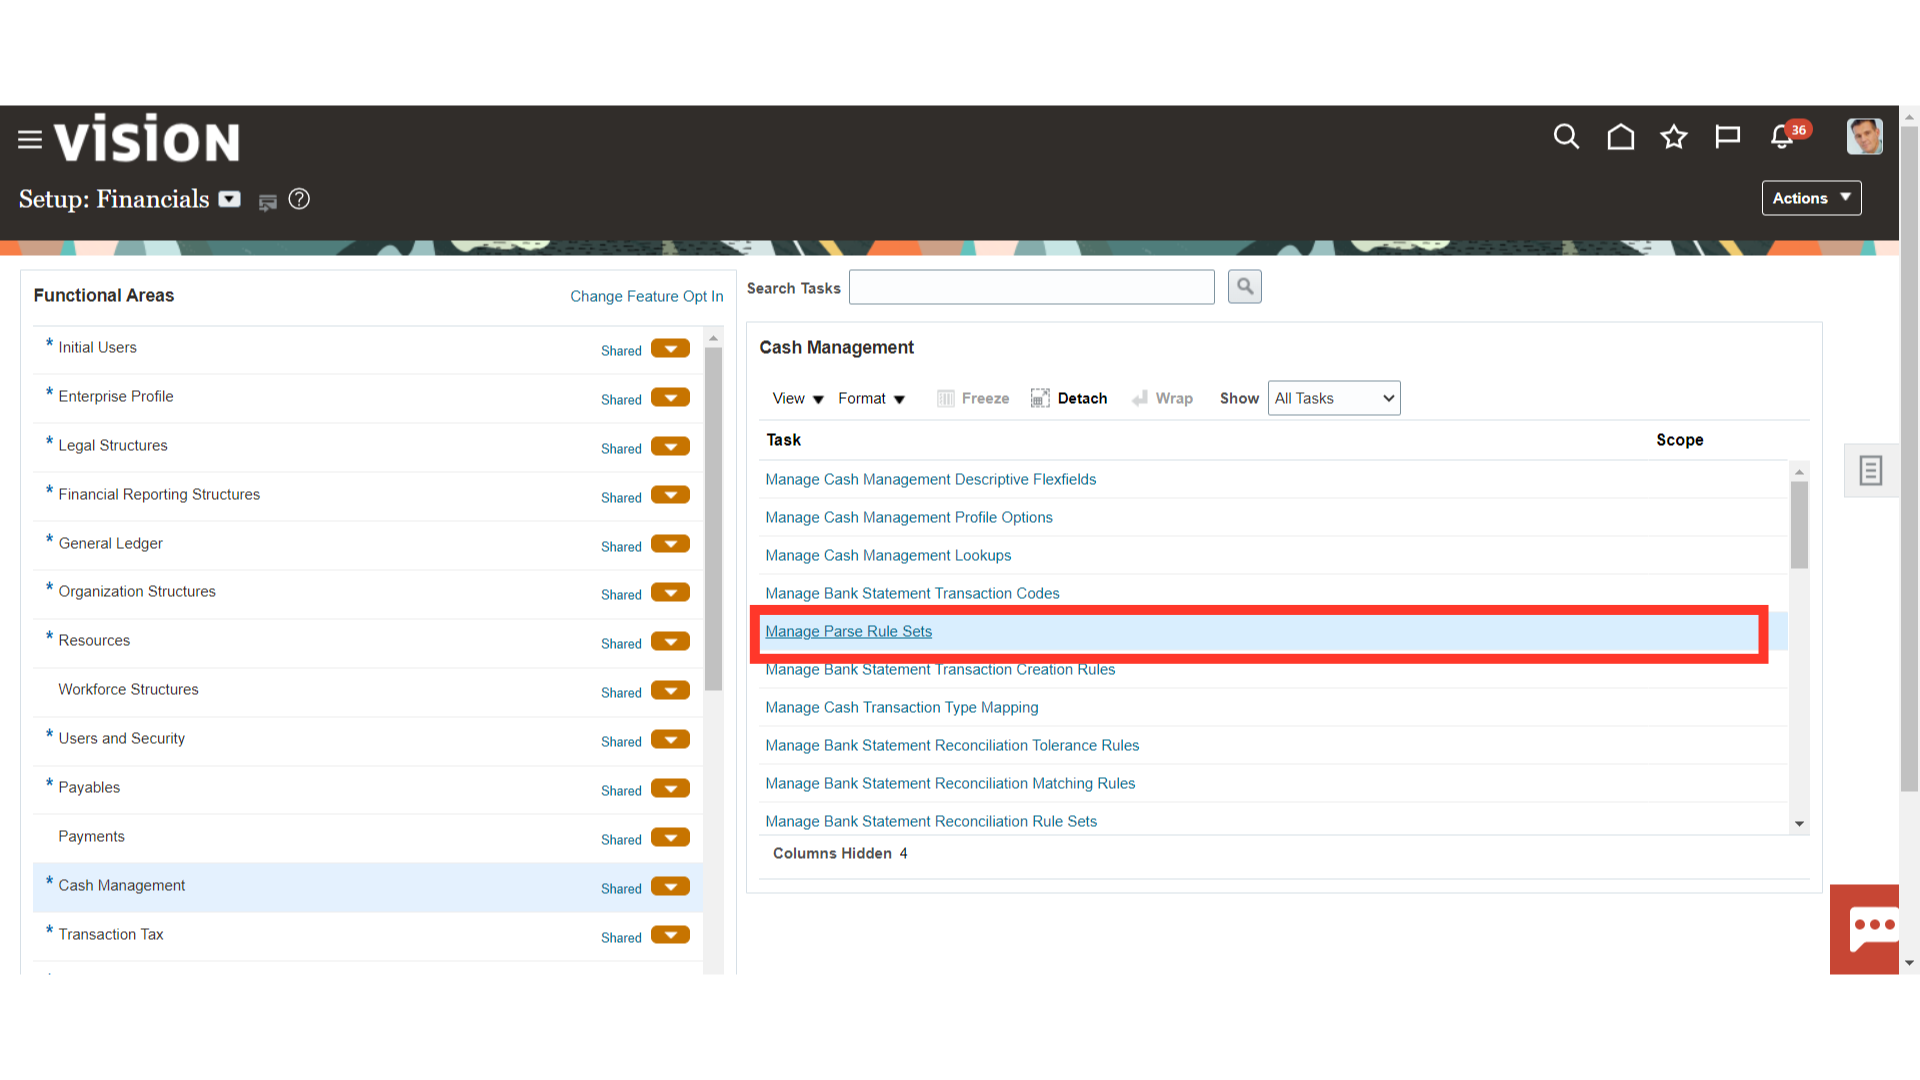
Click on the Plus icon to create a new rule, and select the Pencil icon to open the rule in the edit mode.
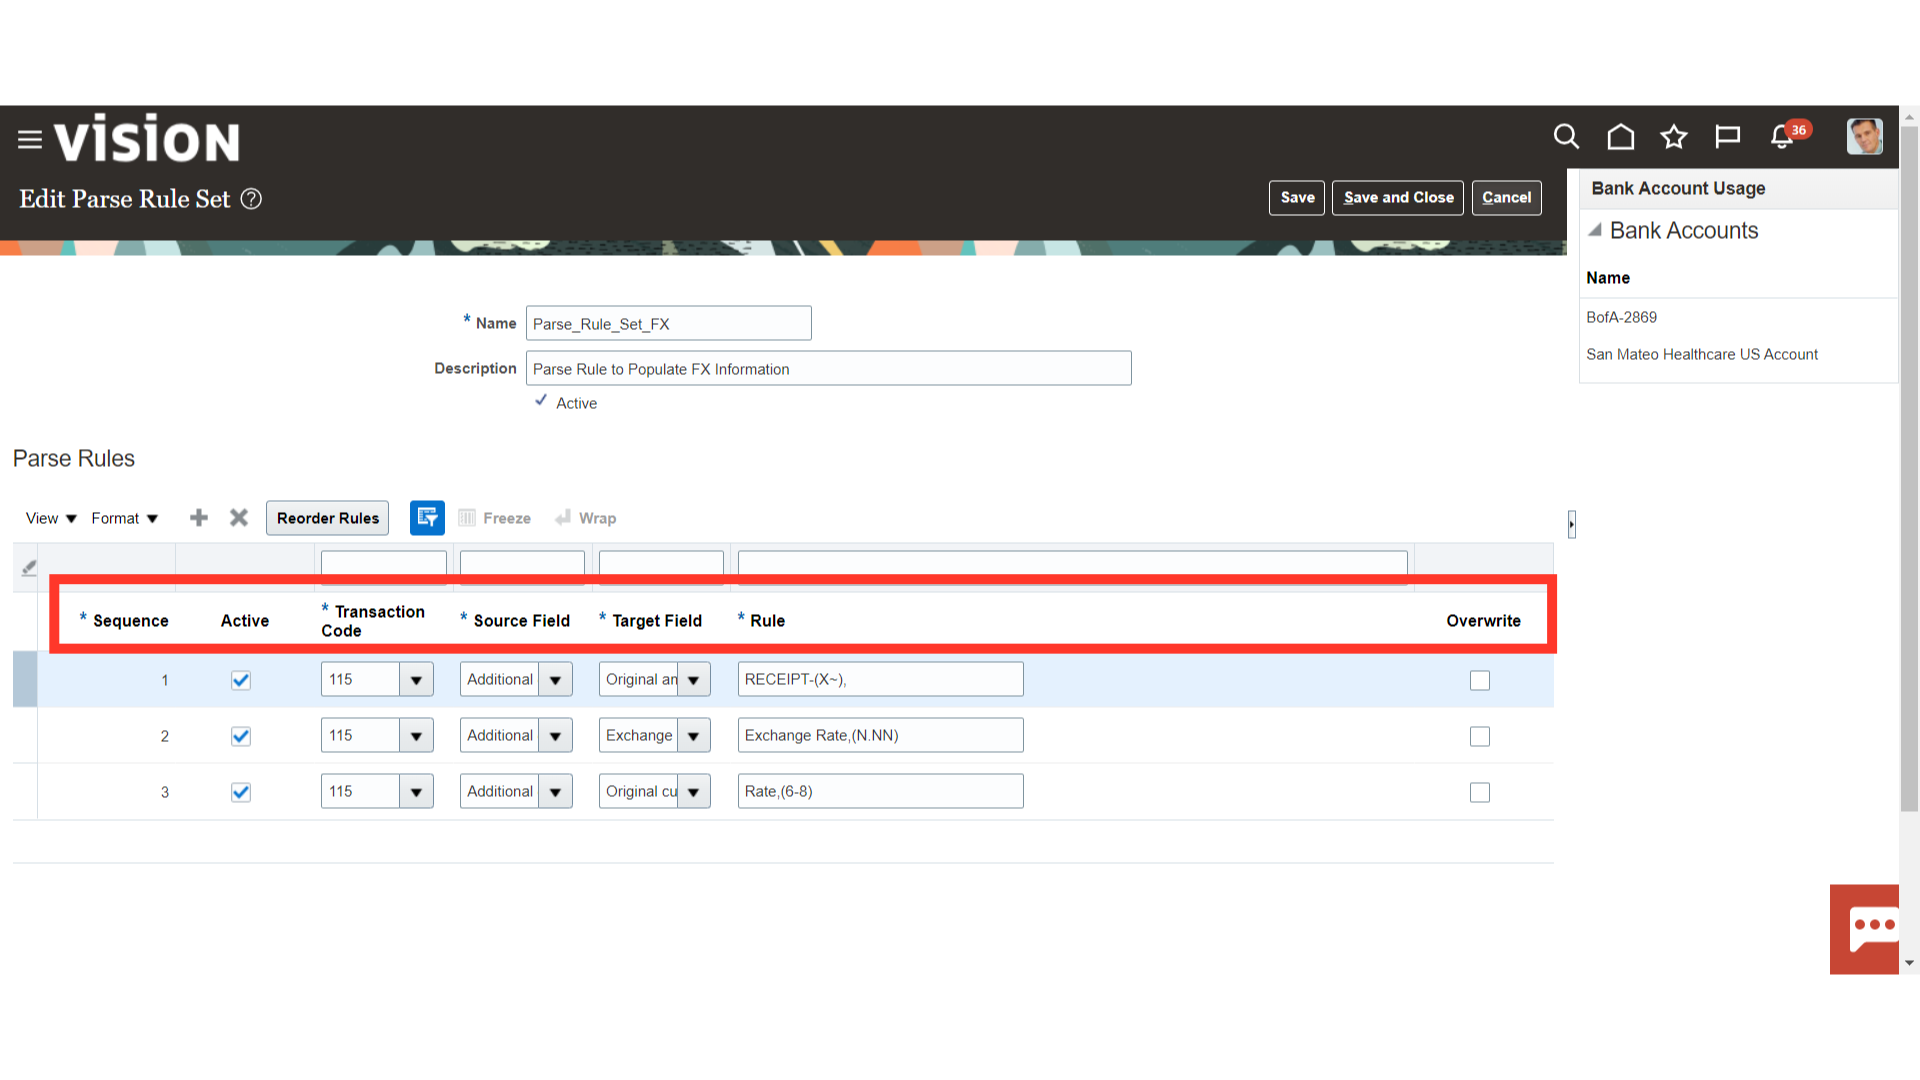
Each parse rule within a parse rule set consists of the following fields:
- Sequence: Determines the order in which to process the rules.
- Transaction Code: The code used to determine the statement line type.
- Source Field: The interface table field that contains the data to be parsed.
- Target Field: The statement line field that the data is to be parsed to.
- Rule: Contains the syntax for determining the data within the source field to be parsed.
- Overwrite: Used to control whether to overwrite existing data in a target field or skip parsing the data.
The process of setting up the Cash Management module has been outlined in this guide, beginning with the creation of the bank, branches, and bank accounts, as well as the transaction codes, tolerance rules, matching rules, and rules for auto reconciliation.