Invoice Creation – Manual – PO Matched
This guide will walk you through the process of matching an invoice to a purchase order and validating it on Oracle Fusion Cloud. Follow these precise instructions to efficiently complete the creation of PO matched invoice task.
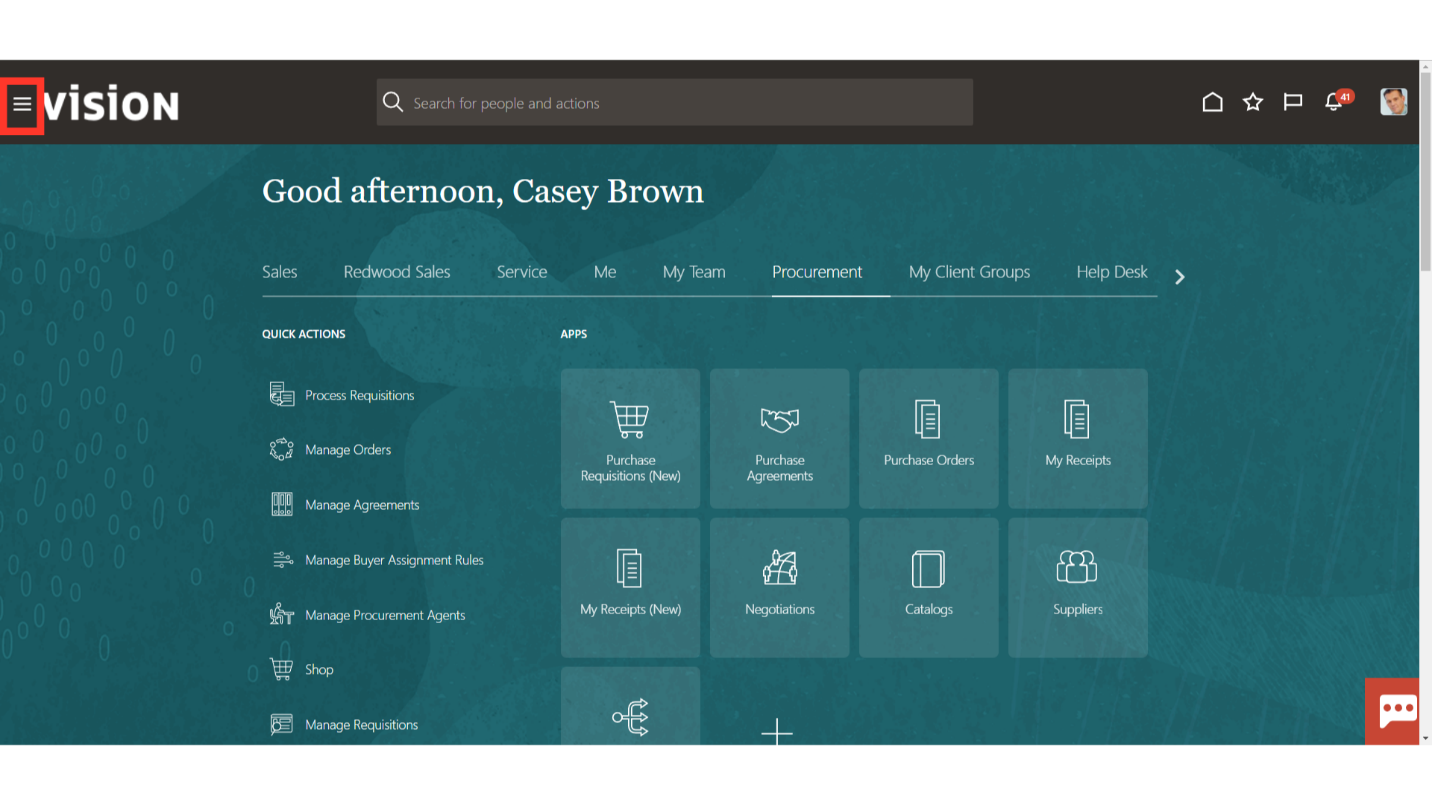
Click on the Navigator icon to access the Payables menu.
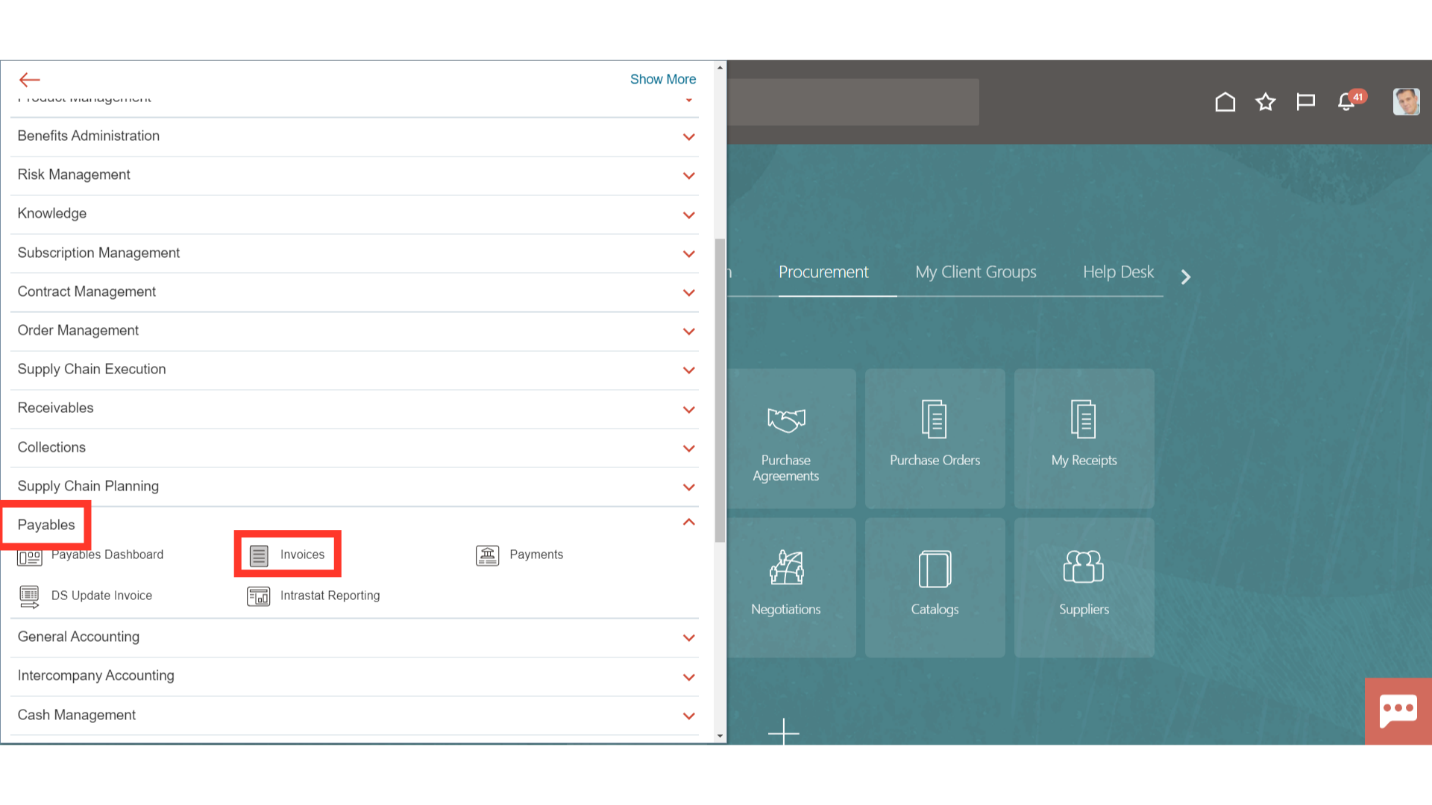
Access the Invoice work area by selecting the Invoices option under Payables menu from the navigator. Alternatively, on the Home page, you may select the Payables menu and under that select the Invoices submenu.
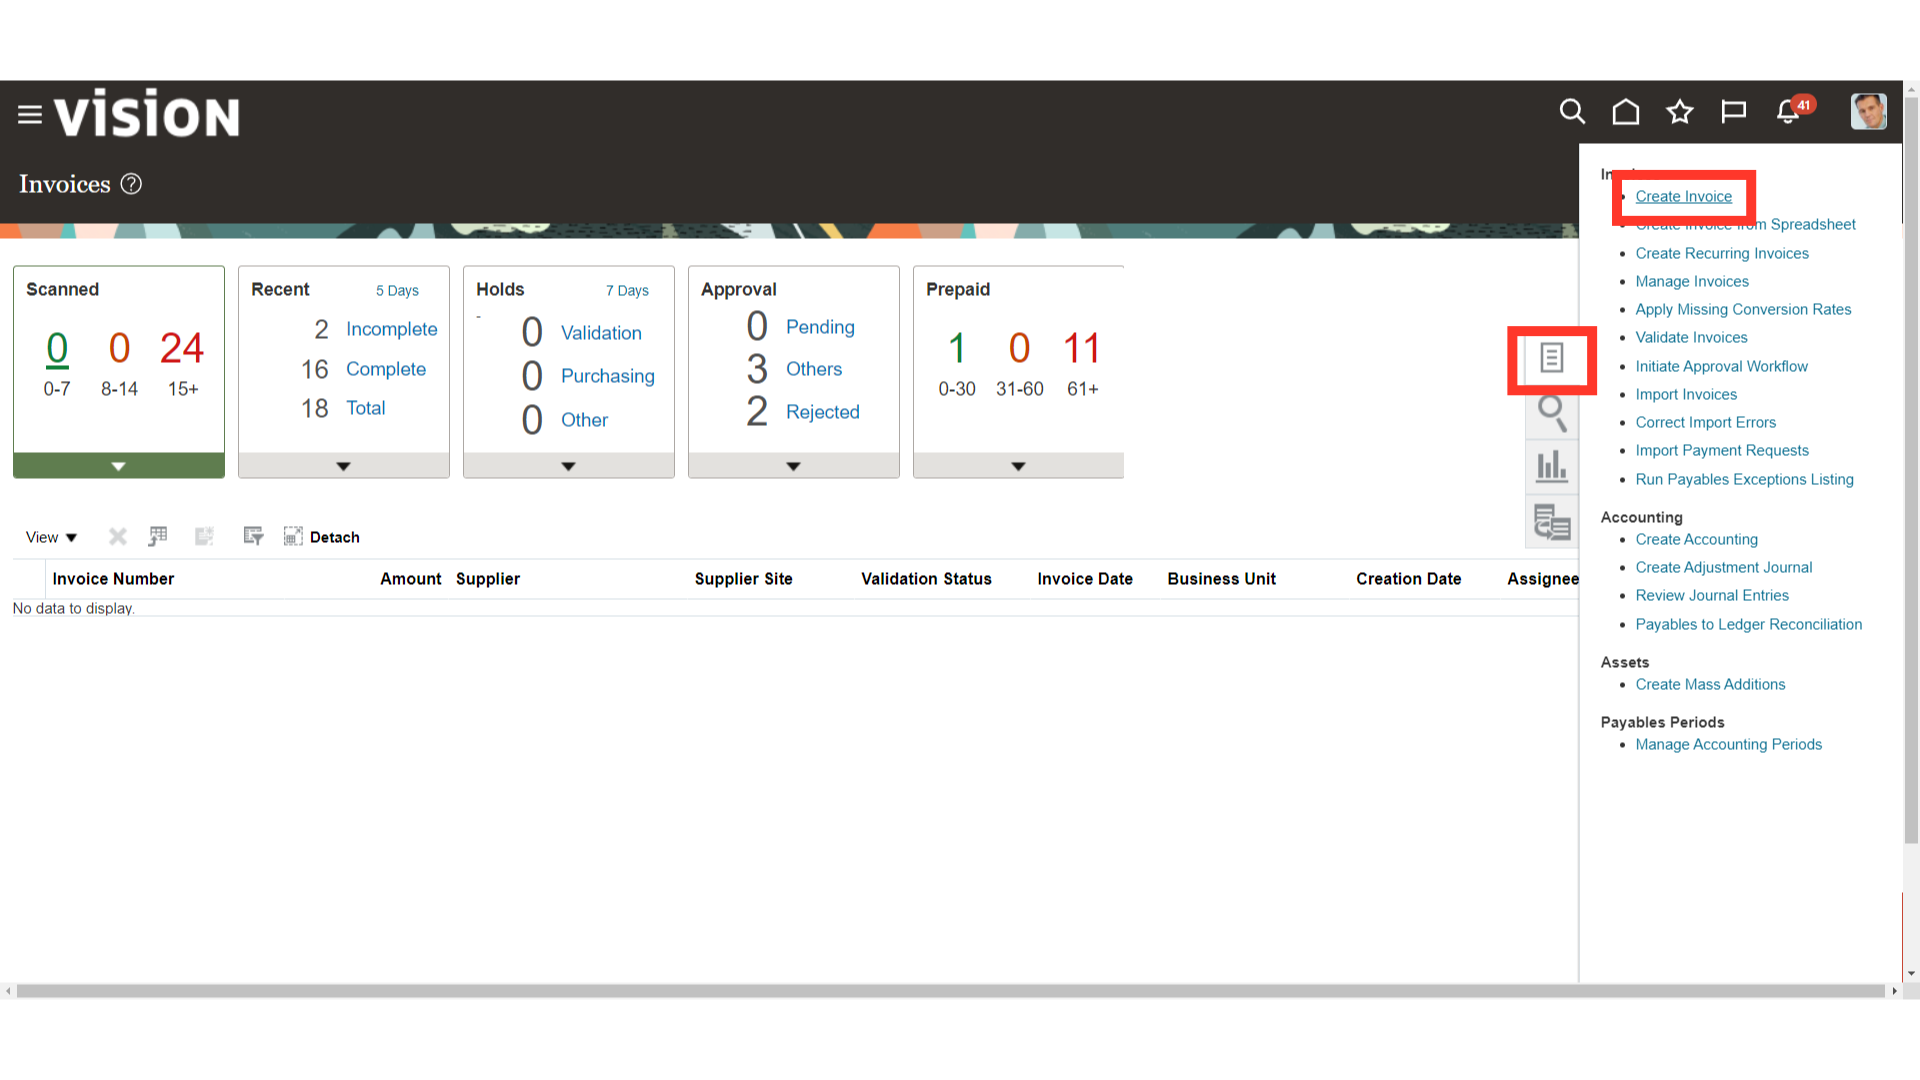
This is the Invoices Landing Page. To begin creating an invoice manually, click on the Tasks icon and then click on the Create Invoice option from the list available.
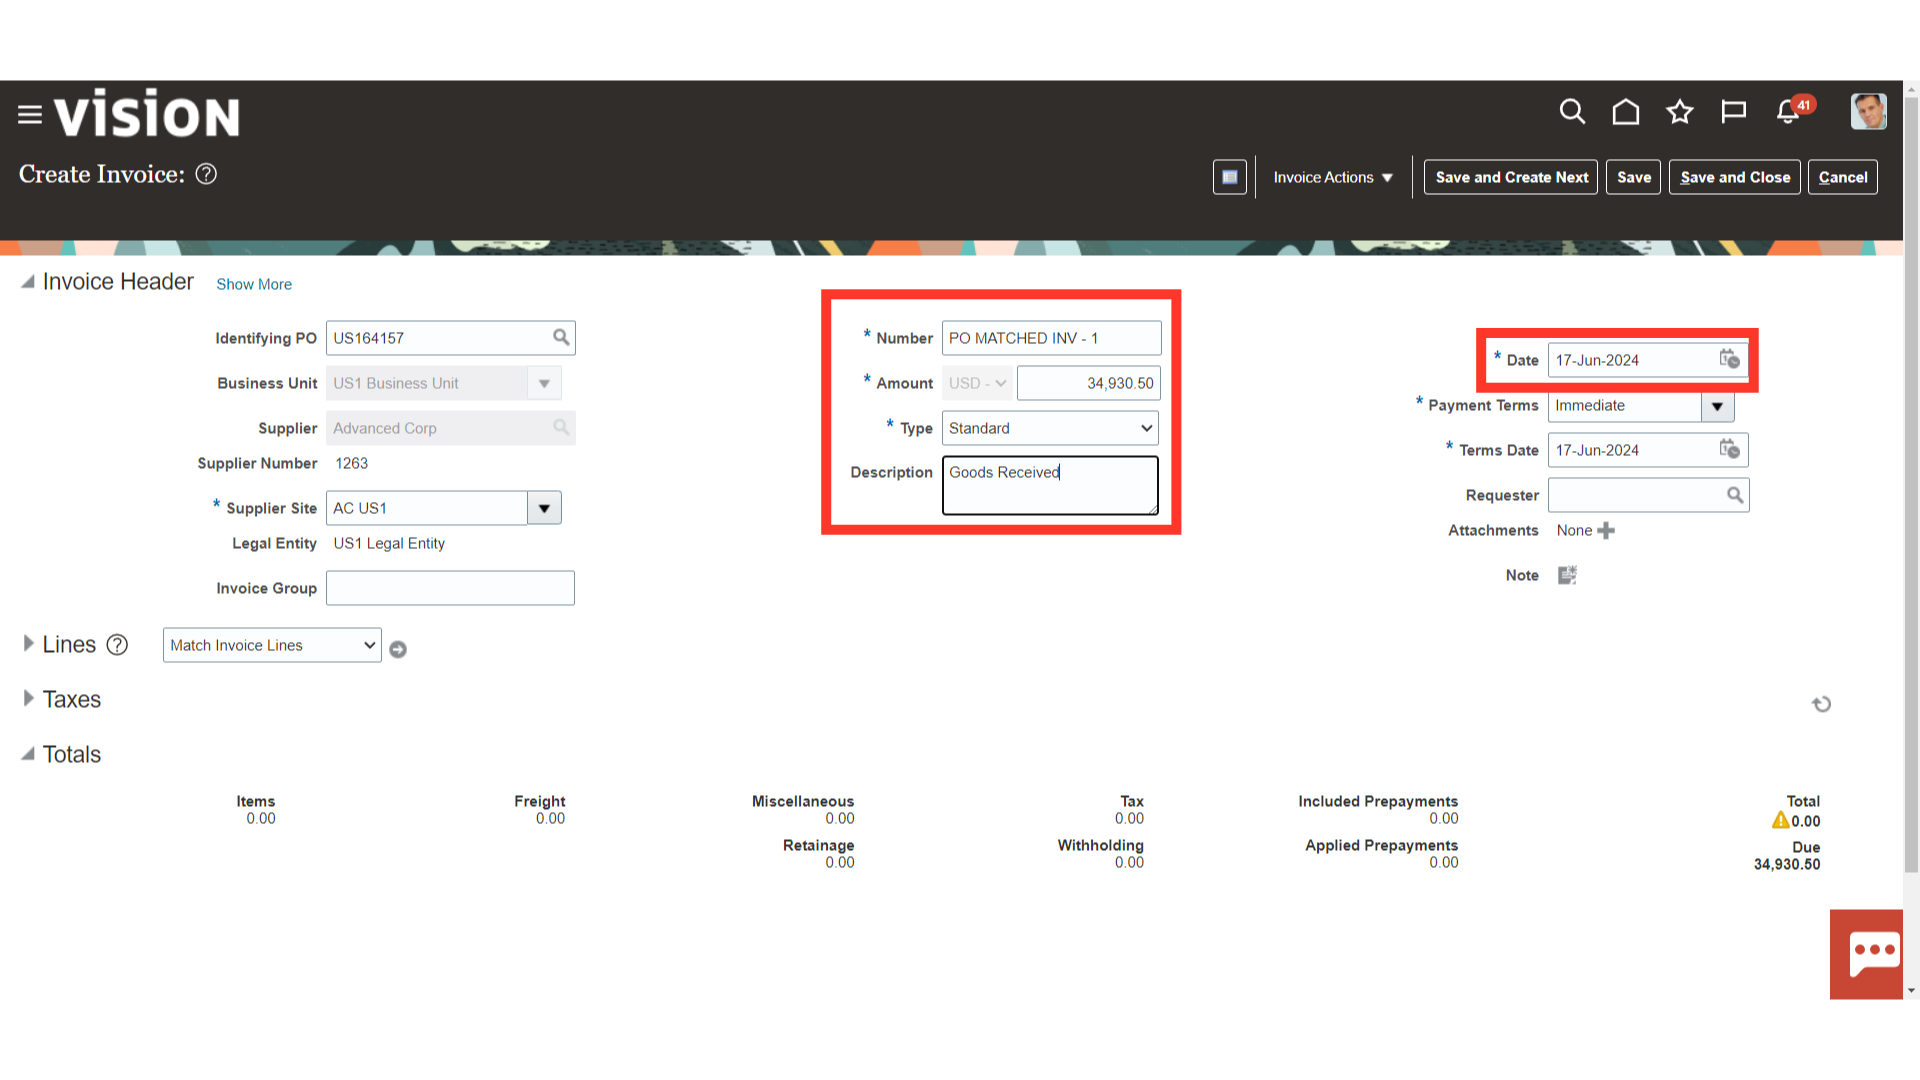
Enter the PO number in the field ‘Identifying PO’ or search for the PO from the search icon available and select the relevant PO against which the invoice needs to be created.
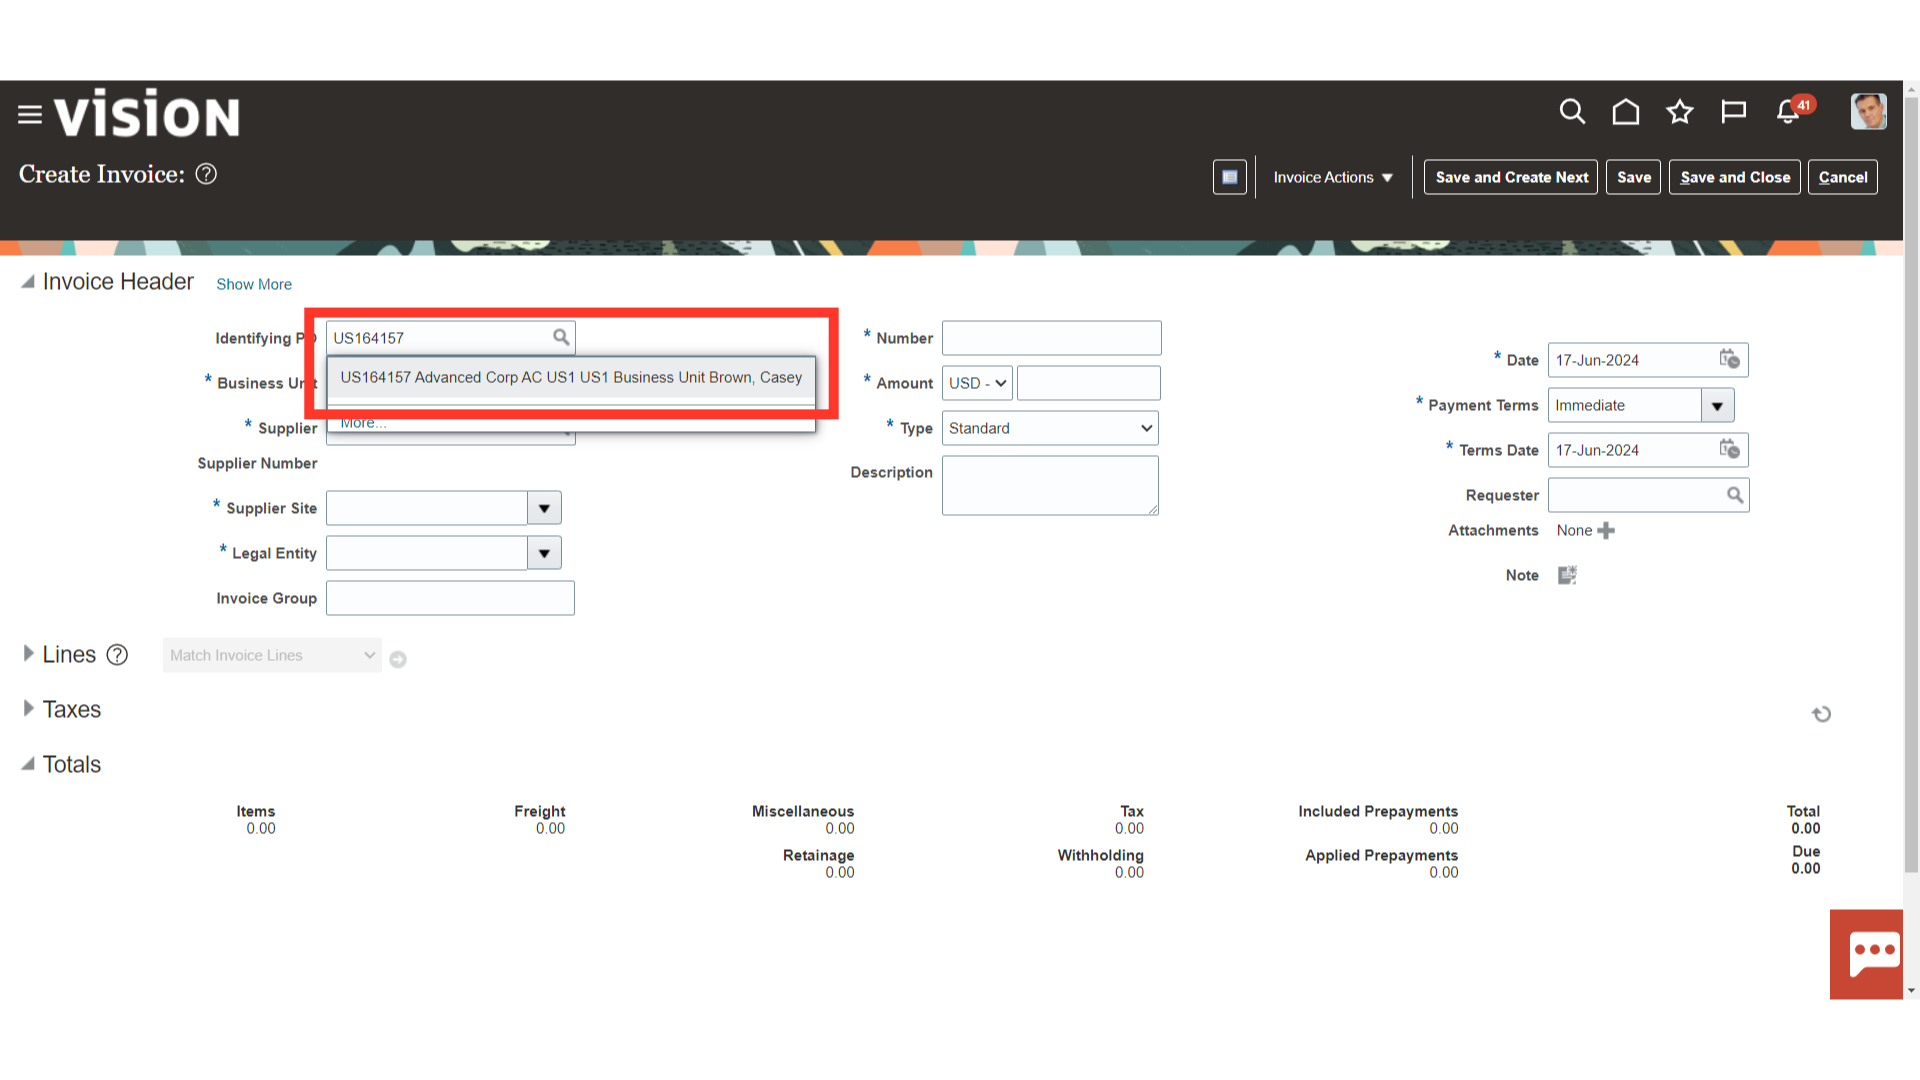
As the PO is selected, the supplier and legal entity details will populate automatically from the PO. Enter the Invoice number, Amount and Description of the Invoice as required. Invoice Type will remain as Standard only. If the date is required to be updated then either directly type in the date on the field or select the correct date via the calendar icon.
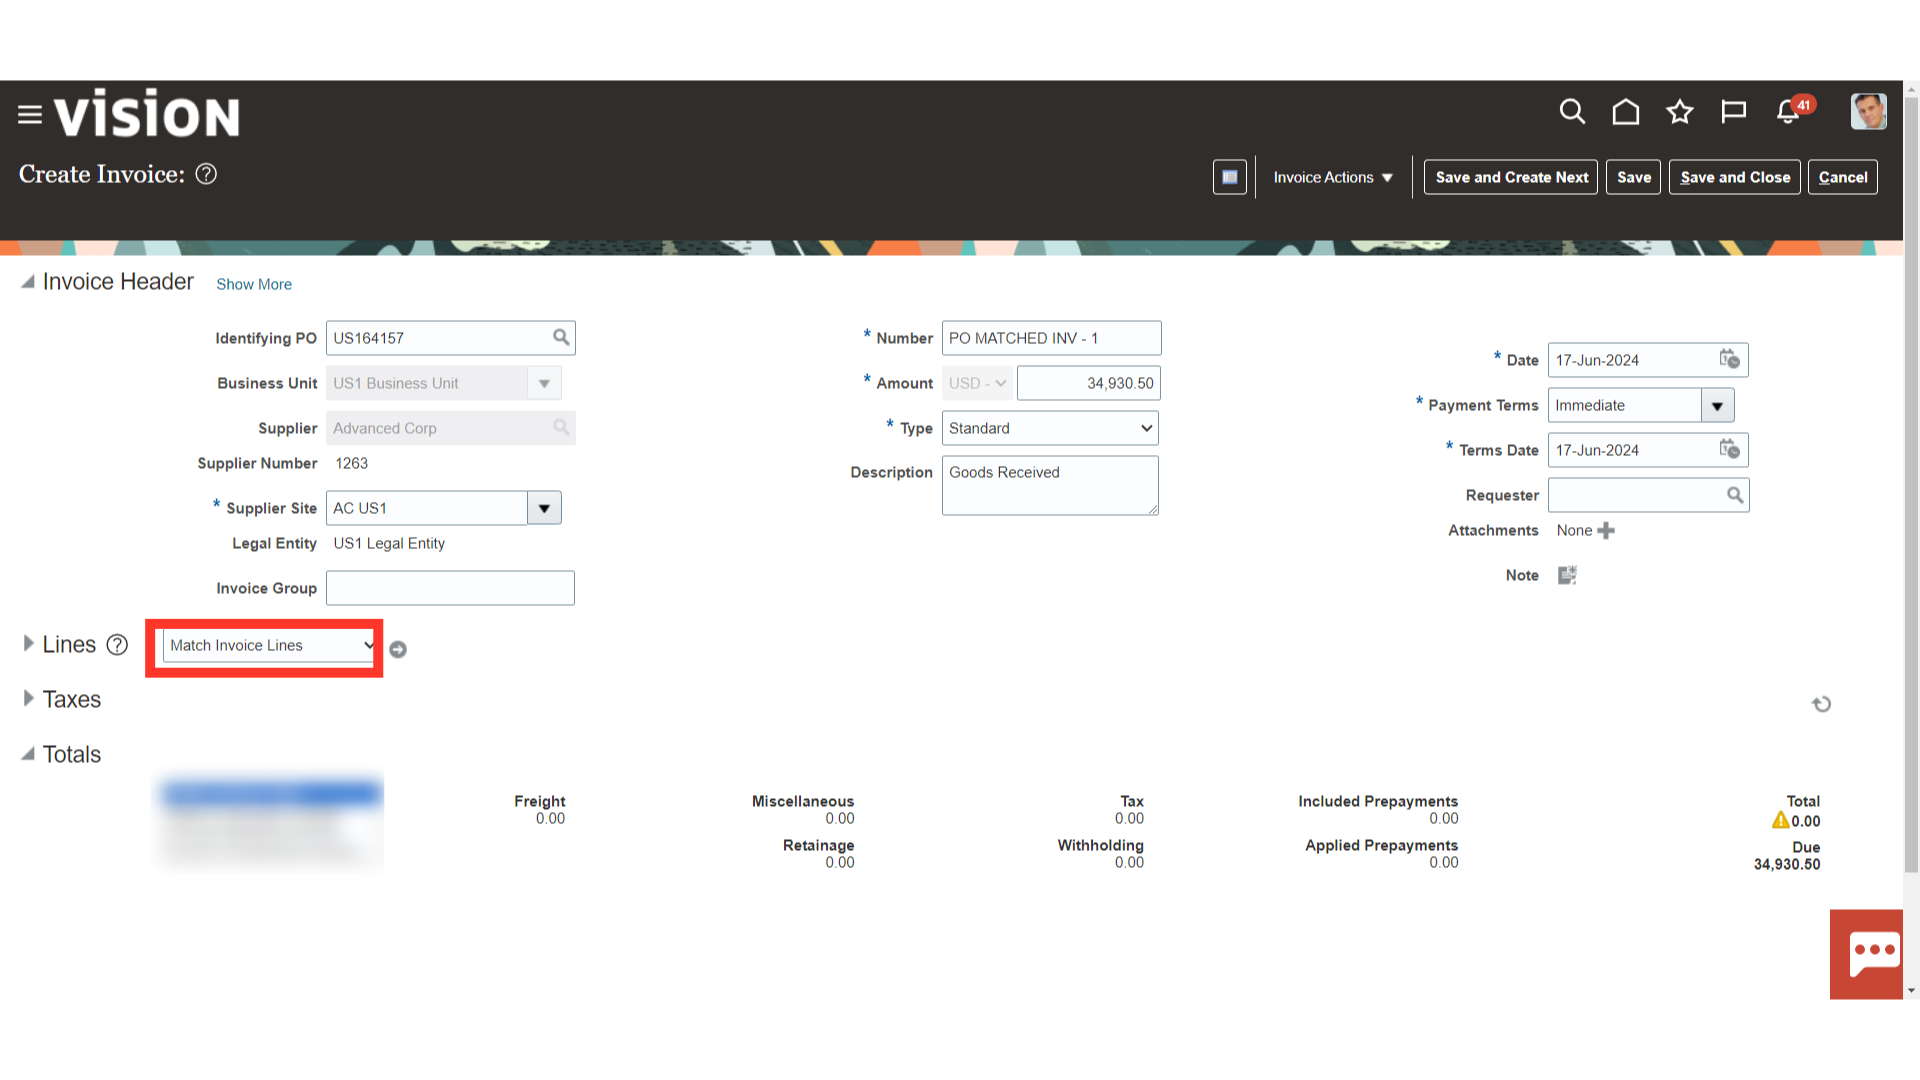
 In the Lines section, there are 4 options, firstly “Matching Invoice Lines” in which Matching is the process of associating an invoice with a purchase order, receipt, or consumption advice. Matching ensures that you pay only for the goods and services that you ordered, received, or consumed. Match to Receipt Charges is used when you match an invoice with freight, tax, or miscellaneous charges to a receipt, the total cost of the goods includes those charges. Matching to receipt charges doesn’t affect the billed quantities and amounts on the purchase order schedule. Correct matched Invoices and Correct unmatched Invoices are used if a correction is to be made on the standard invoices. Here, for matching with the purchase order select the Match Invoice lines.
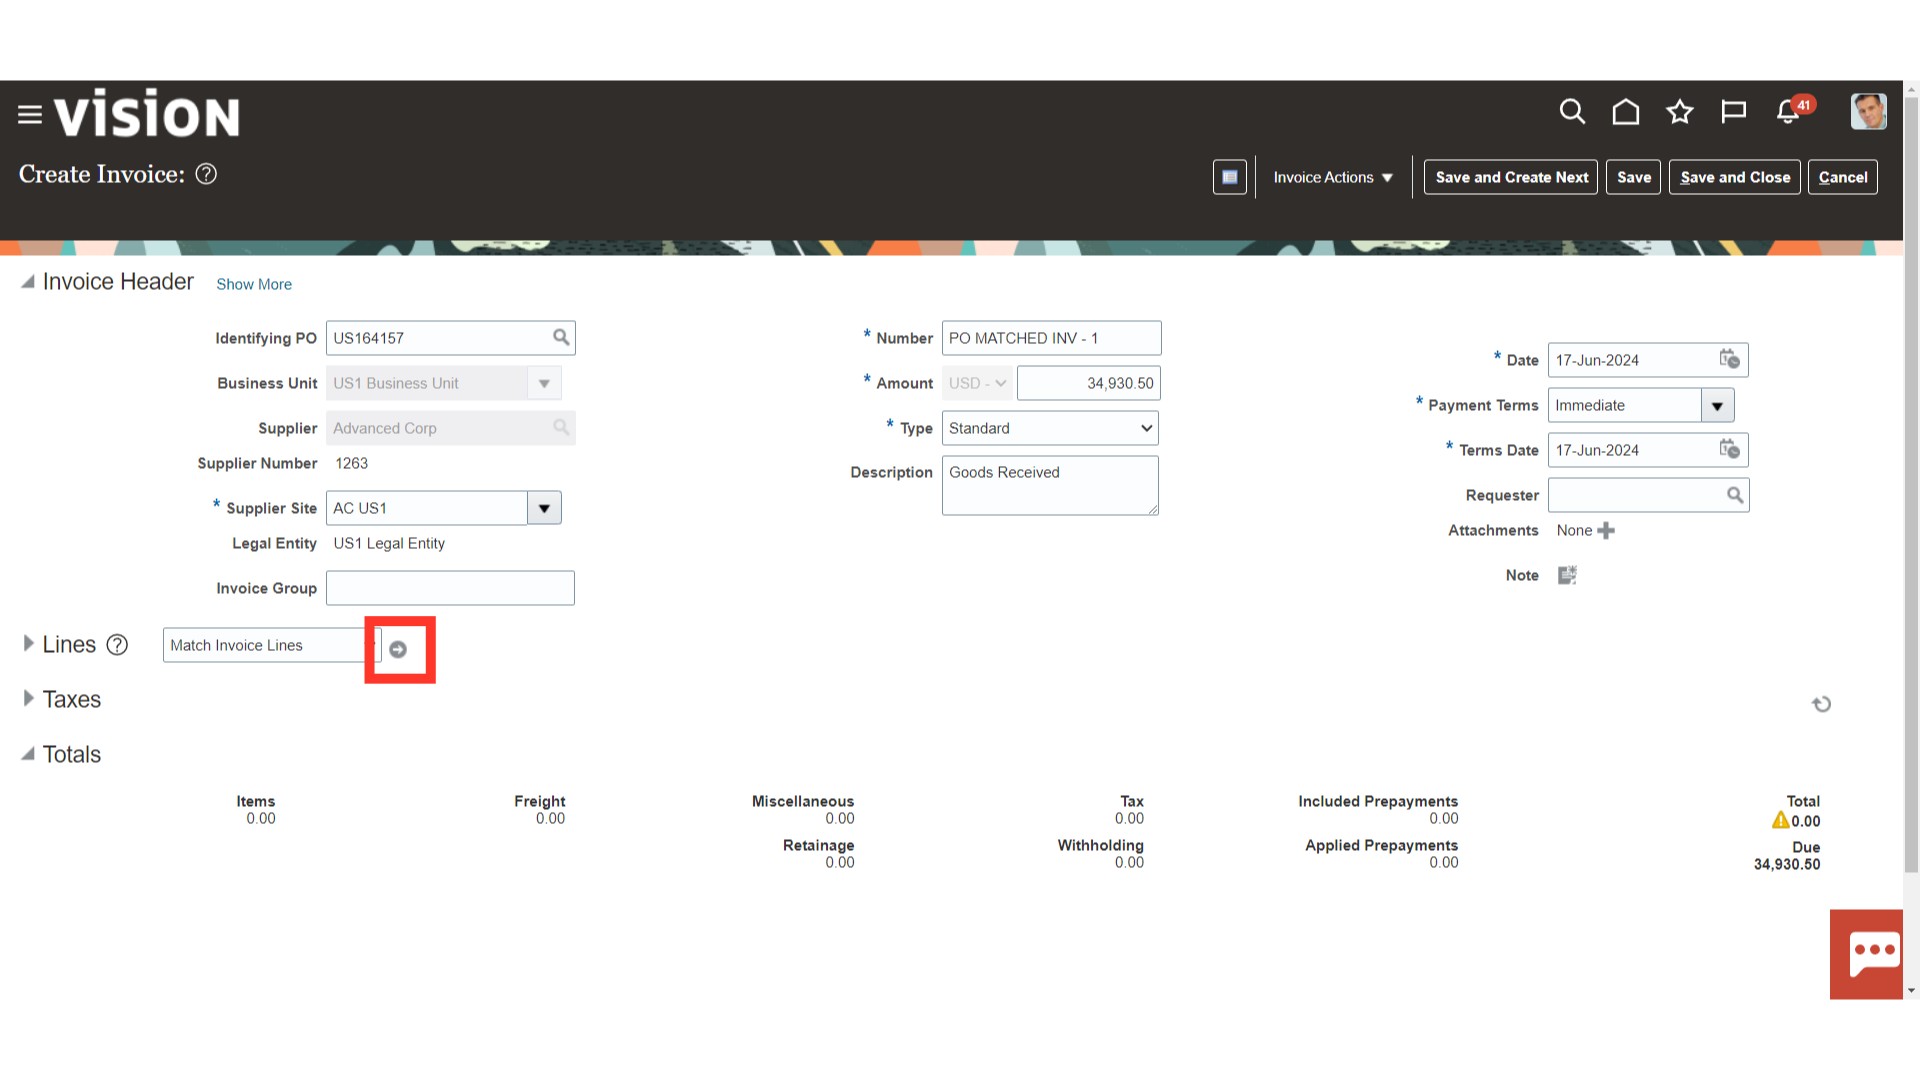
To match invoice lines with the PO, click on the highlighted ‘Go To’ icon.
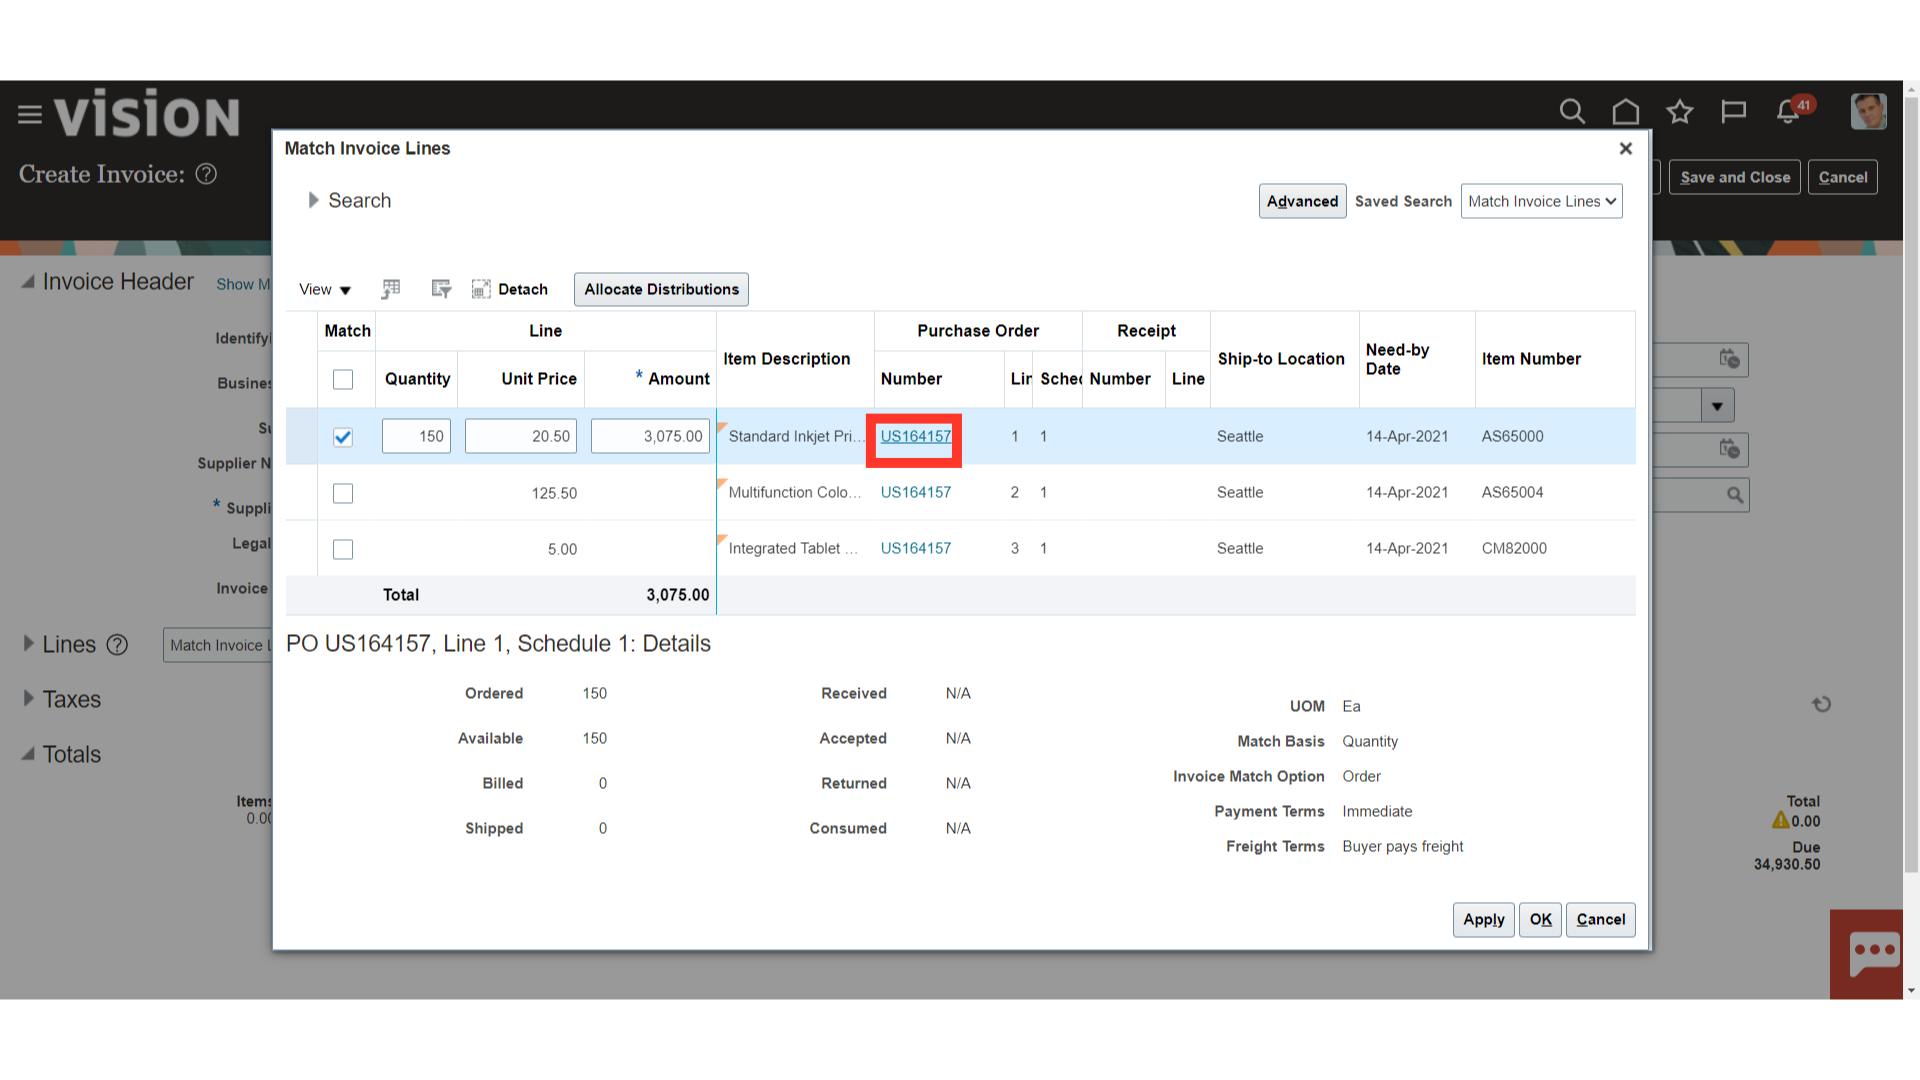
Select the relevant PO line by checking the check box in front of the line. Also, you can update the quantity, unit price, or the amount as required.
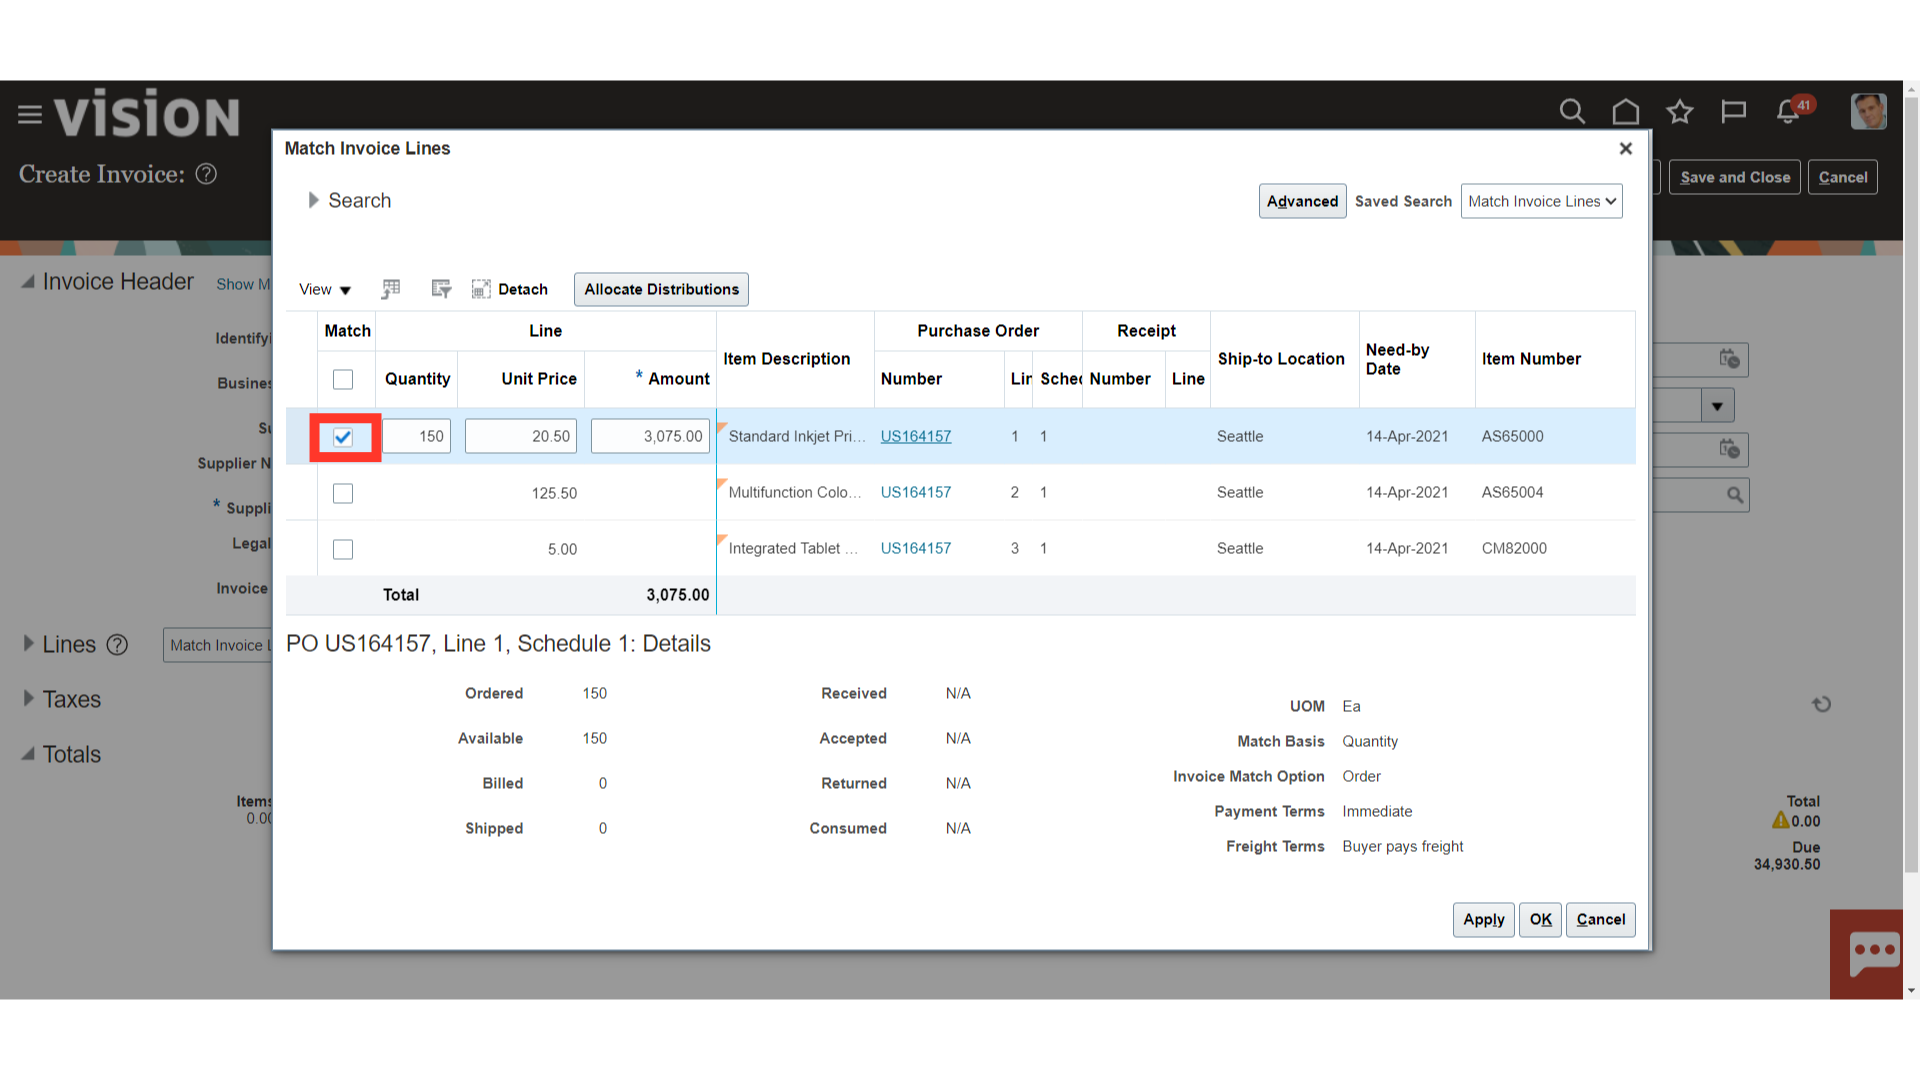
To check the PO details, click on the PO number hyperlink to open the PO screen.
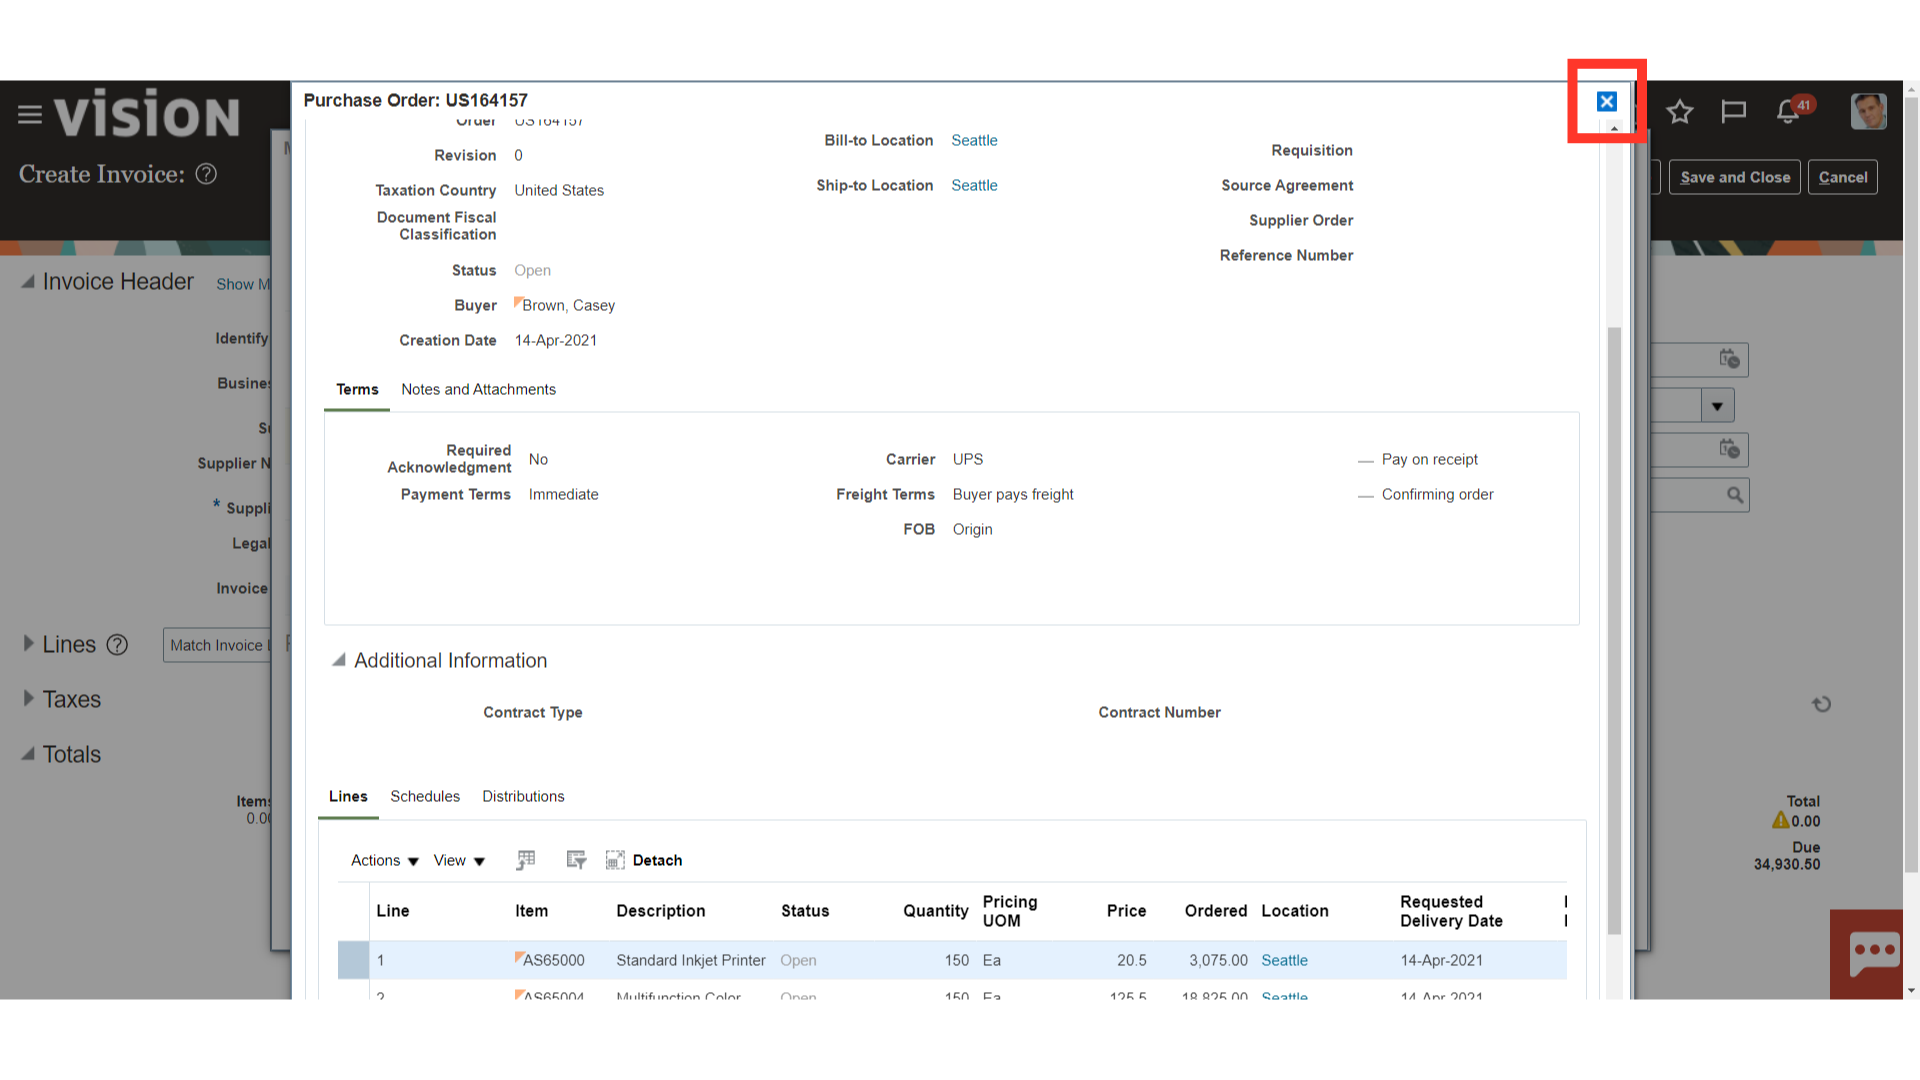
Clicking on the PO number hyperlink will open this pop-up which will reflect all the PO details. Click on the cross to close this window.
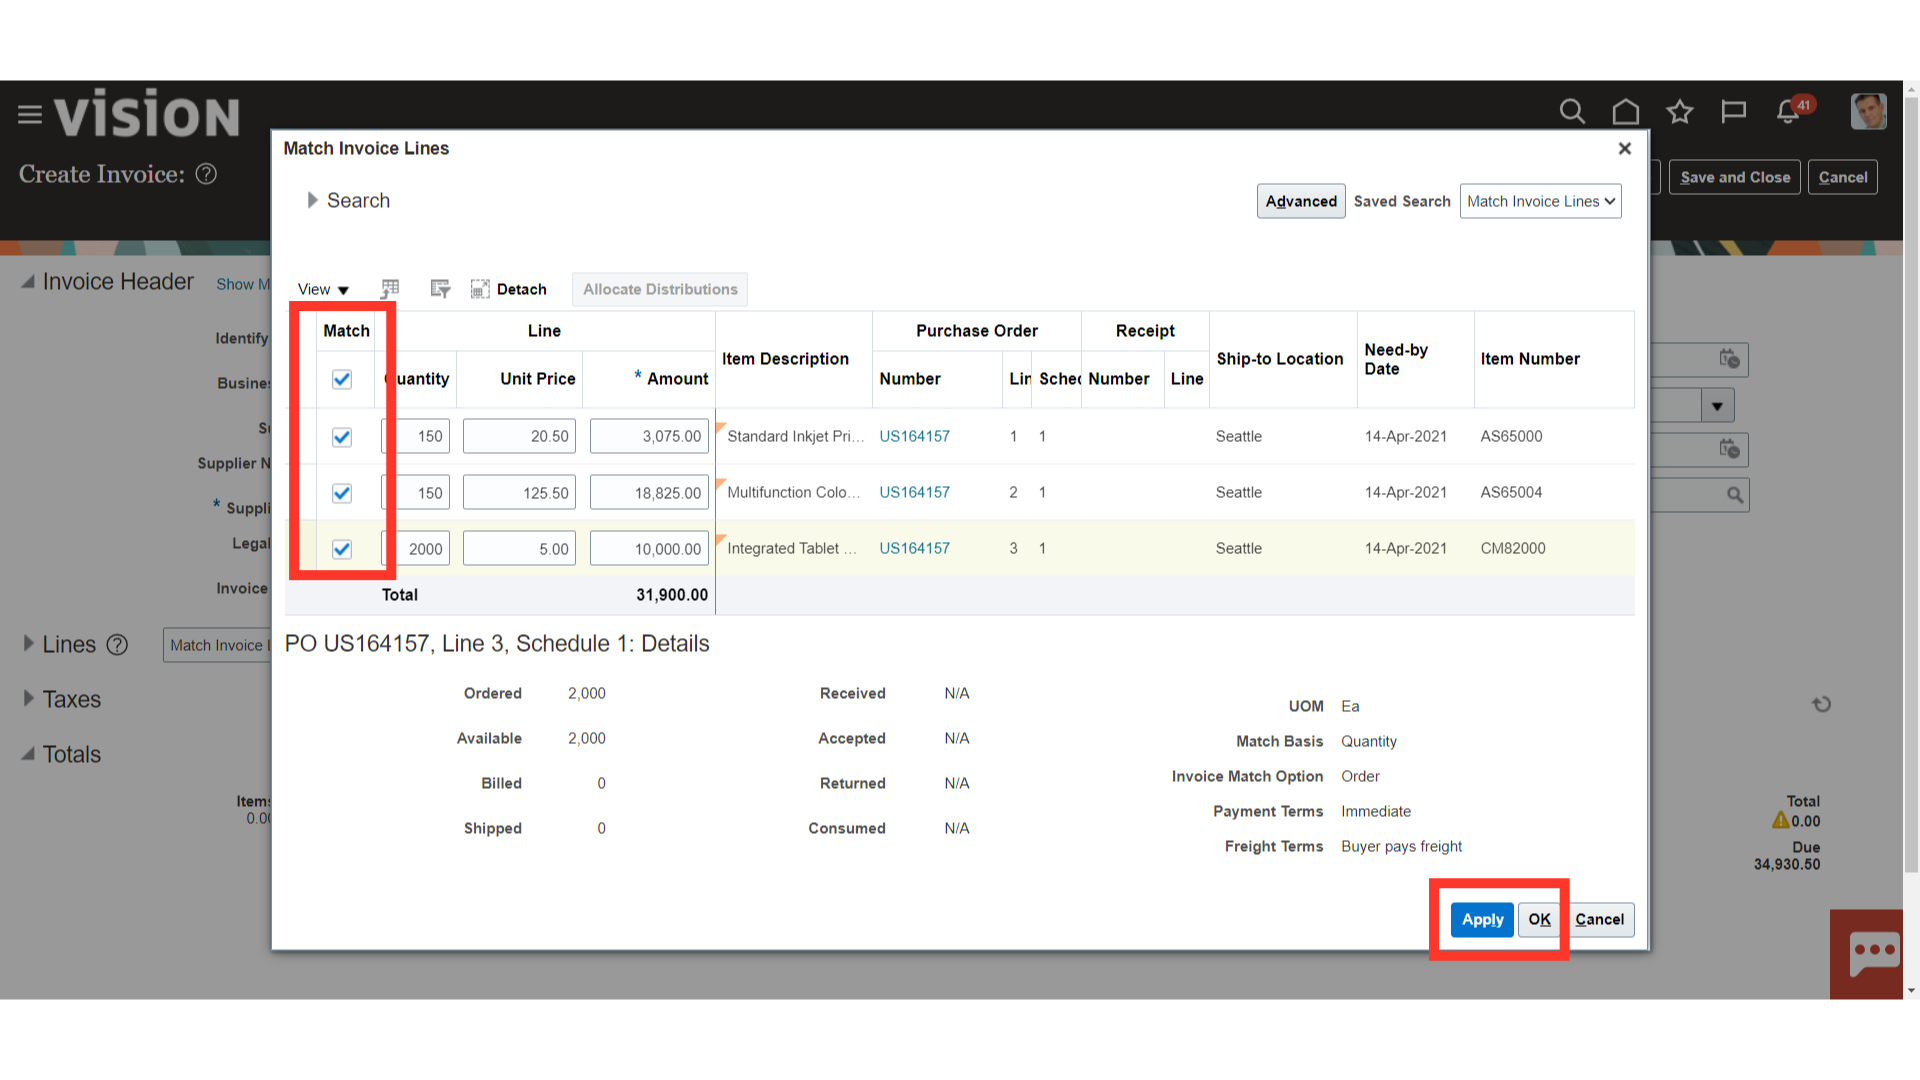
Check all the relevant PO lines as required based on the invoice received from the supplier. If all the invoice lines match to one PO only then after all the required lines are selected, click on ‘OK’. If different lines in the invoice pertains to different PO, then select the relevant line of the PO, amend the details as required, and click on ‘Apply’. Once that line is applied, then search for the next PO and perform the same activity. You can click on Apply after each selection to confirm on one line and then move to the next selection.
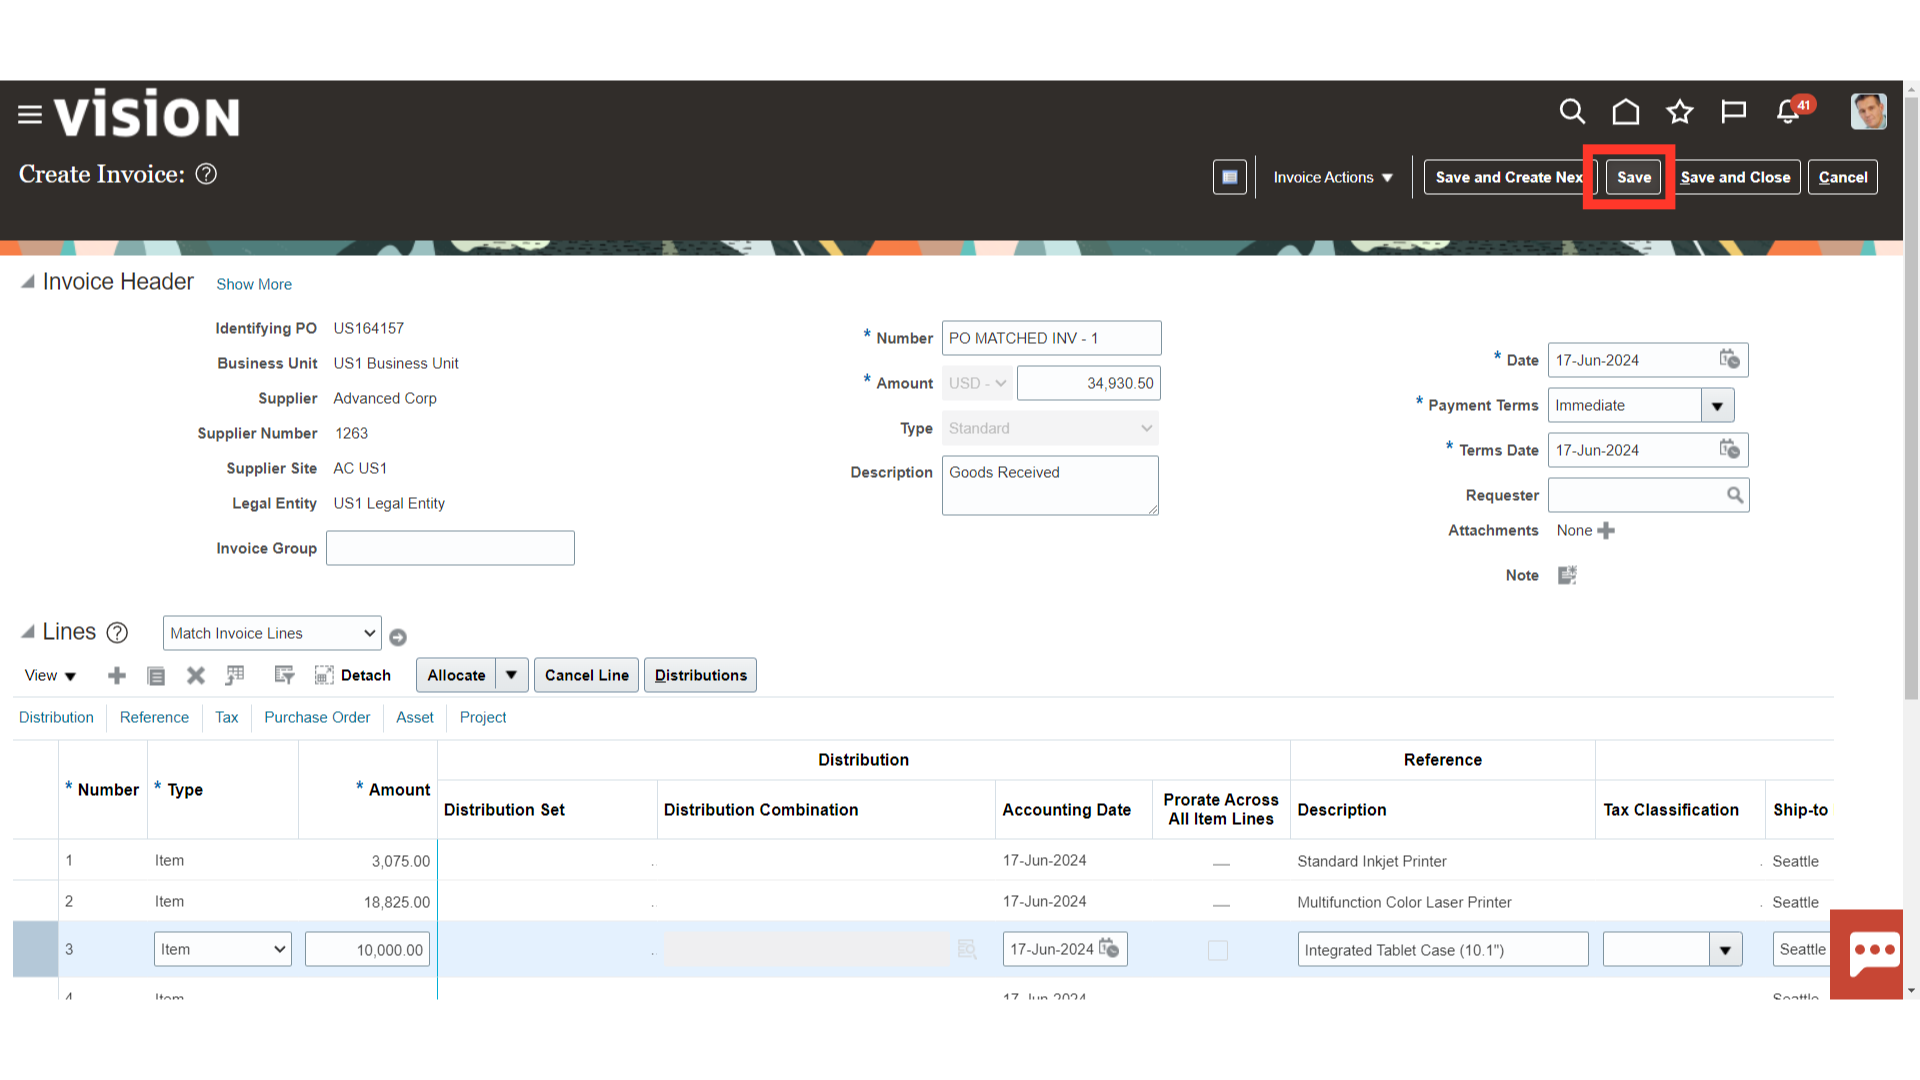
After the lines are added, click on the Save button to save the invoice details.
Once all the details in the invoice are added, click on the Invoice Actions menu and select ‘Validate’ from the list.

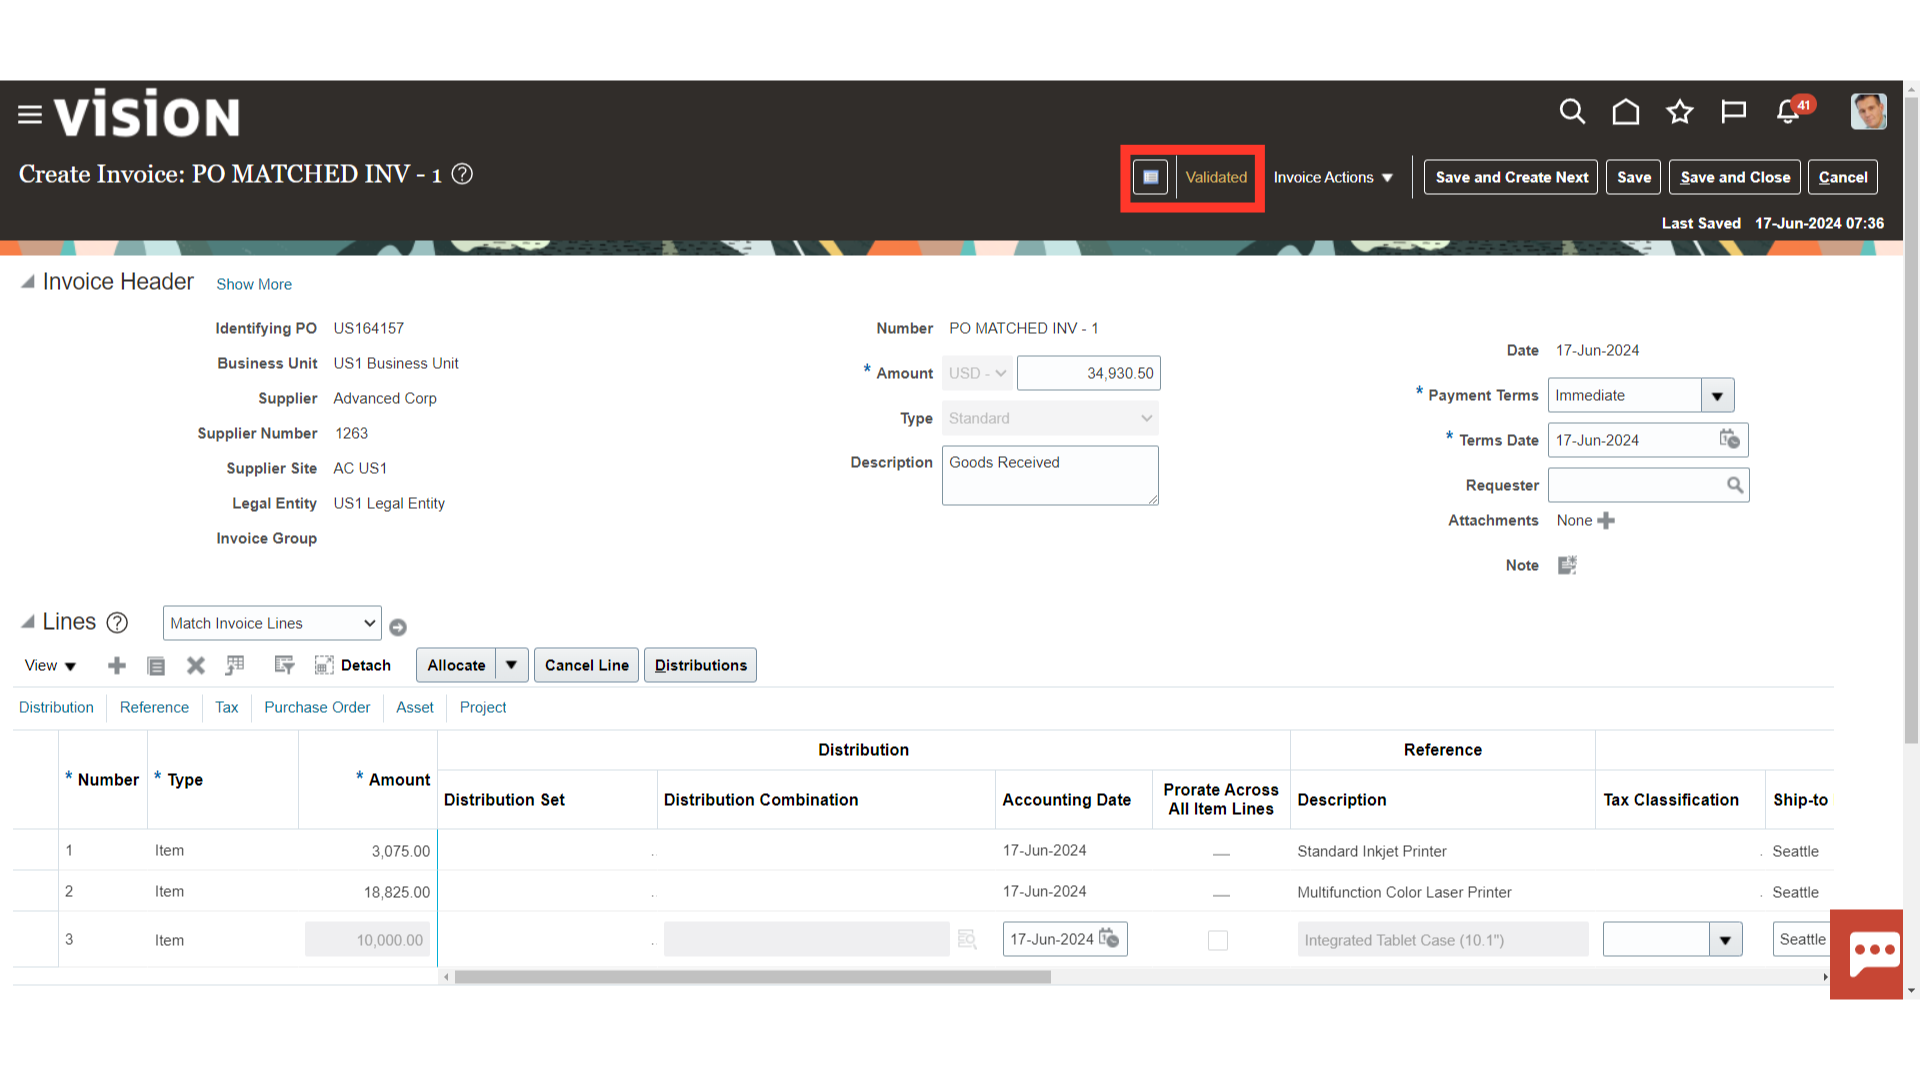
The validation status of the invoice will appear here as highlighted.
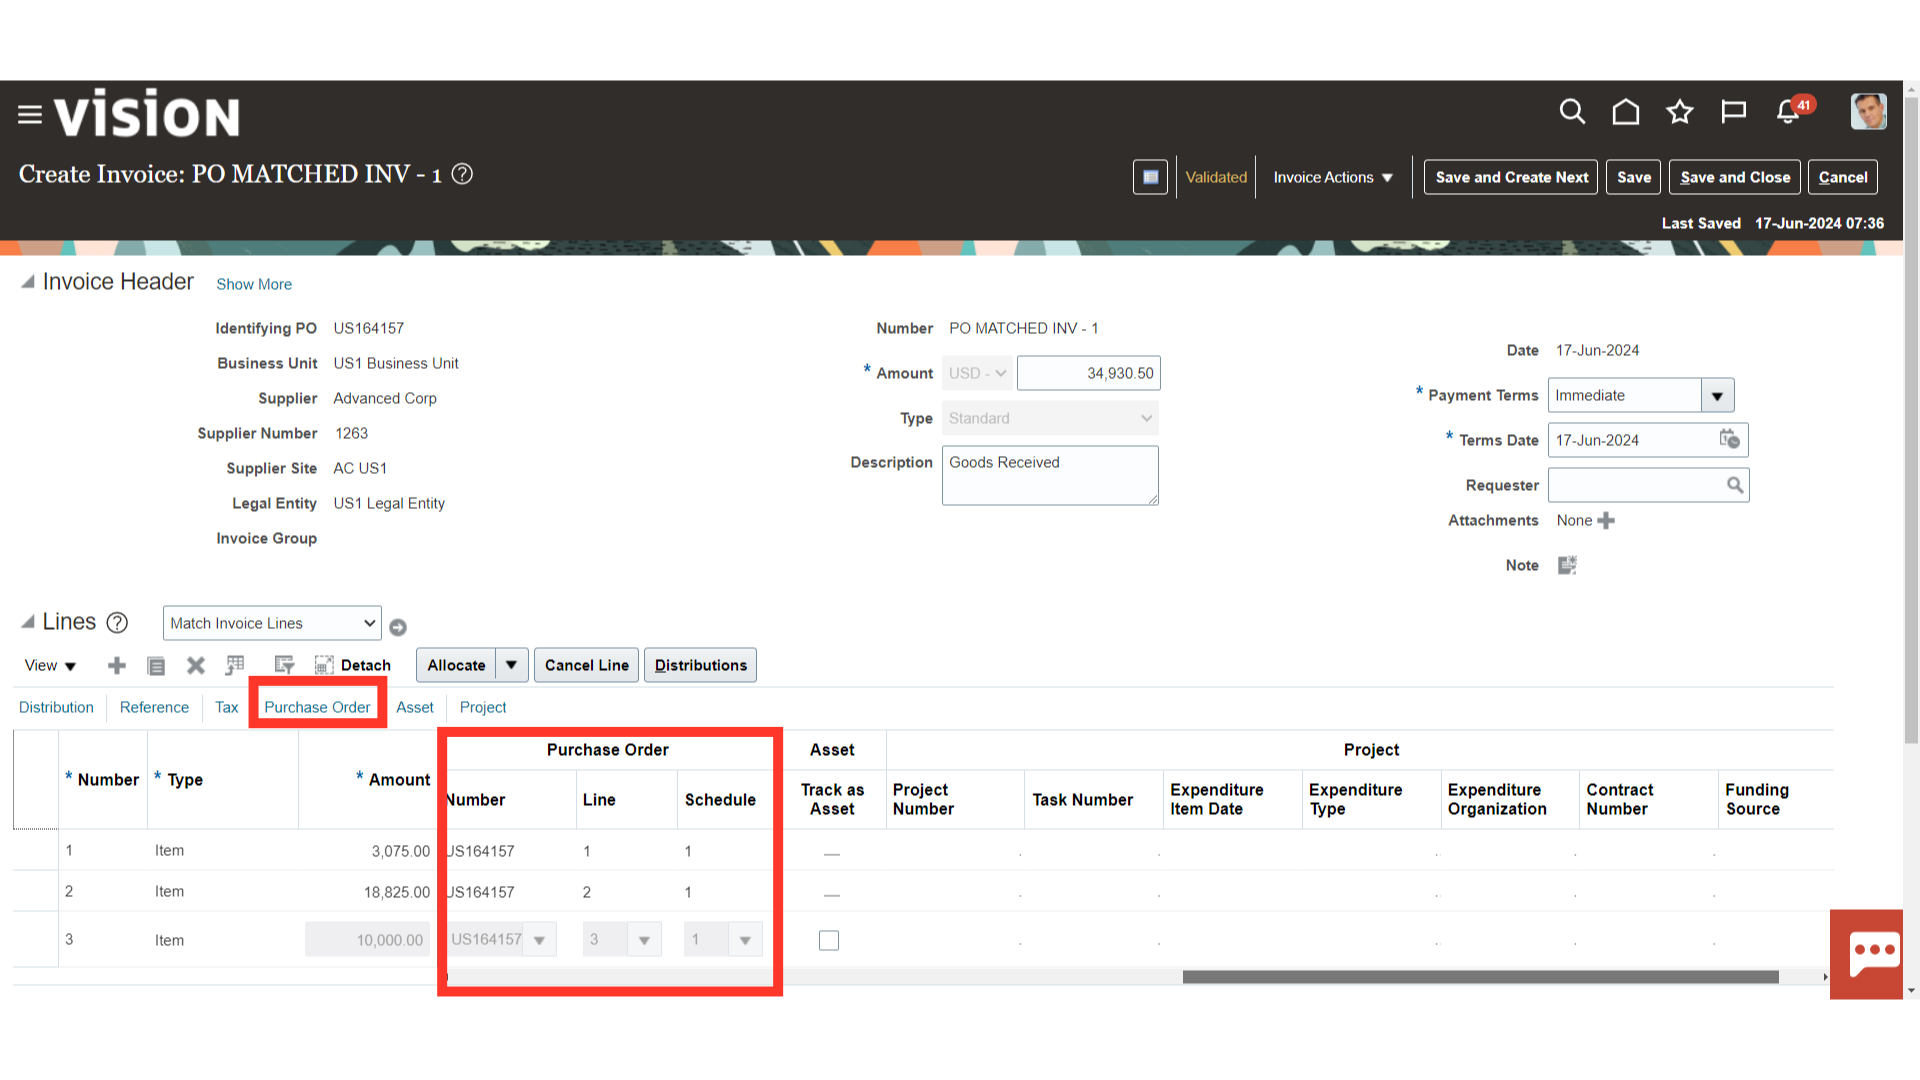
To review the PO details, select the Purchase Order tab or scroll to that section.
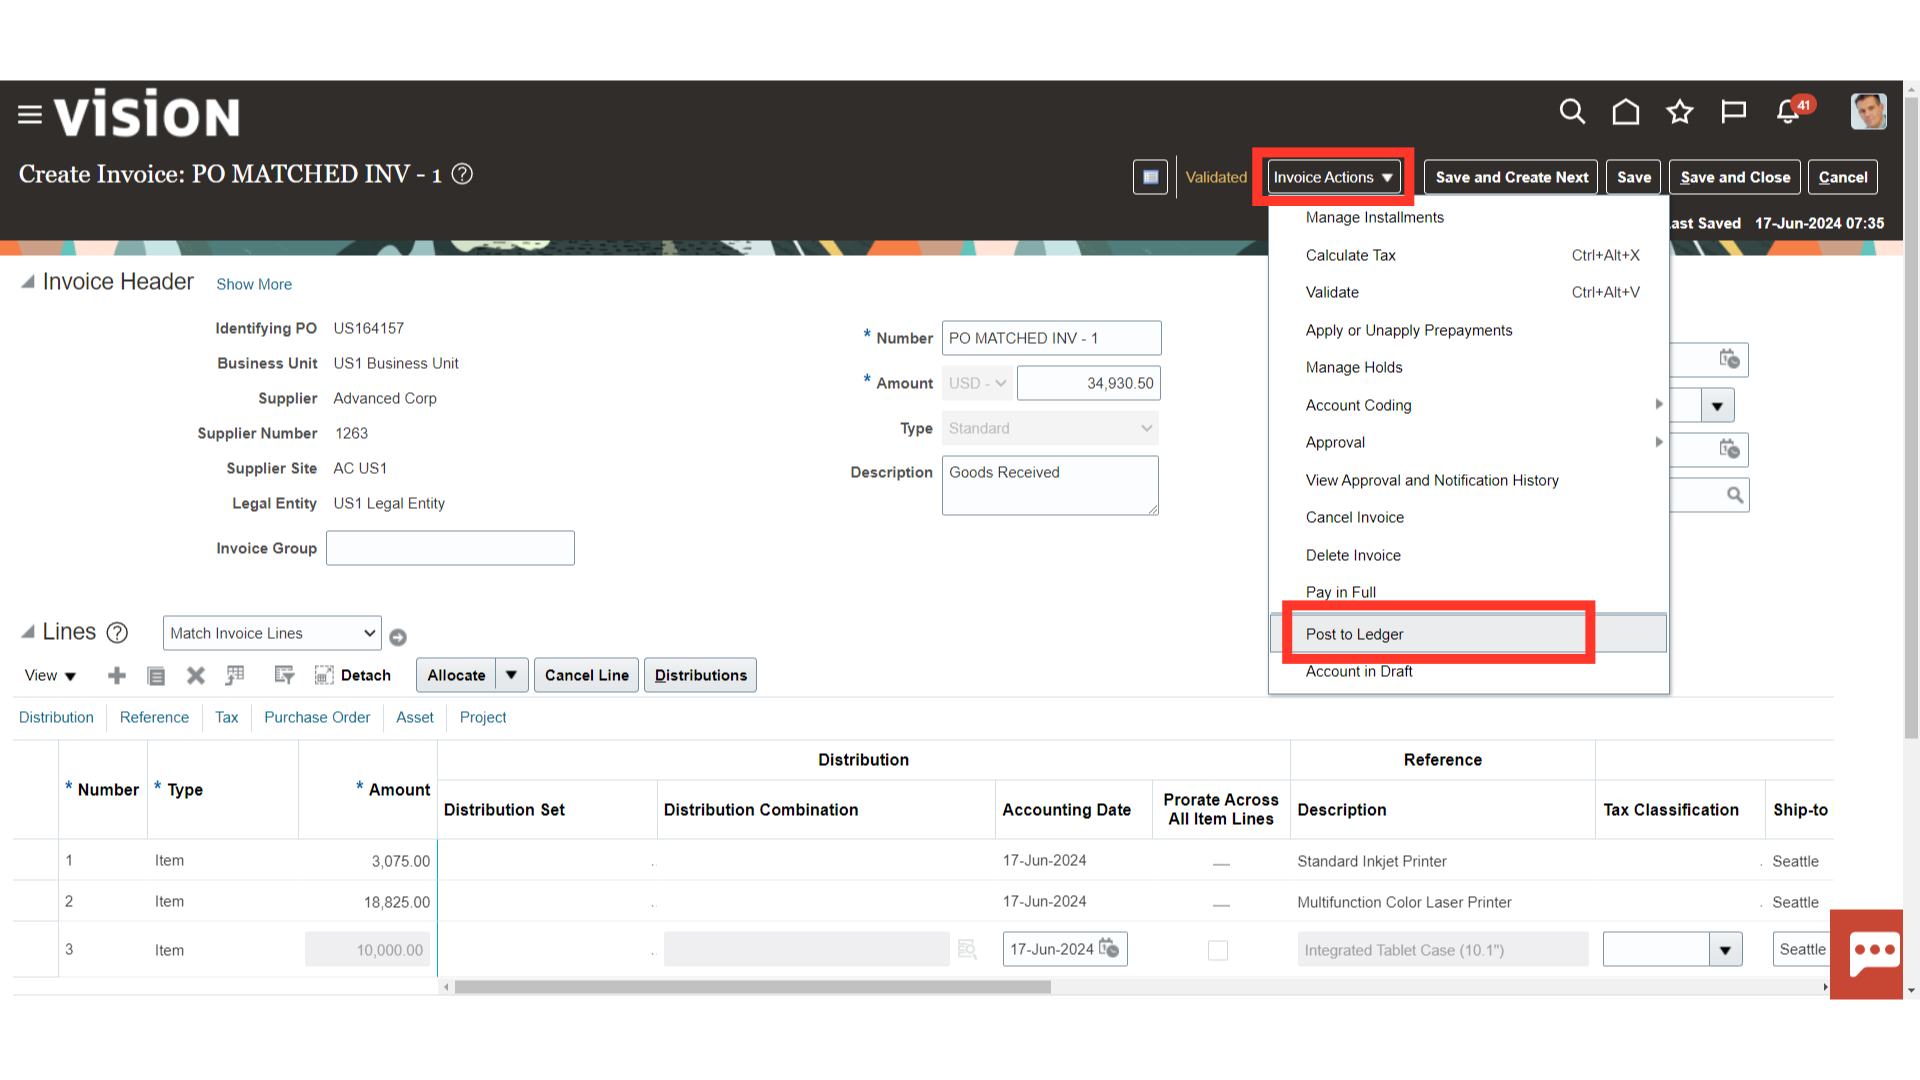
To create Accounting for the invoice, click on the Invoice Actions menu and then select Post to Ledger option from the list.
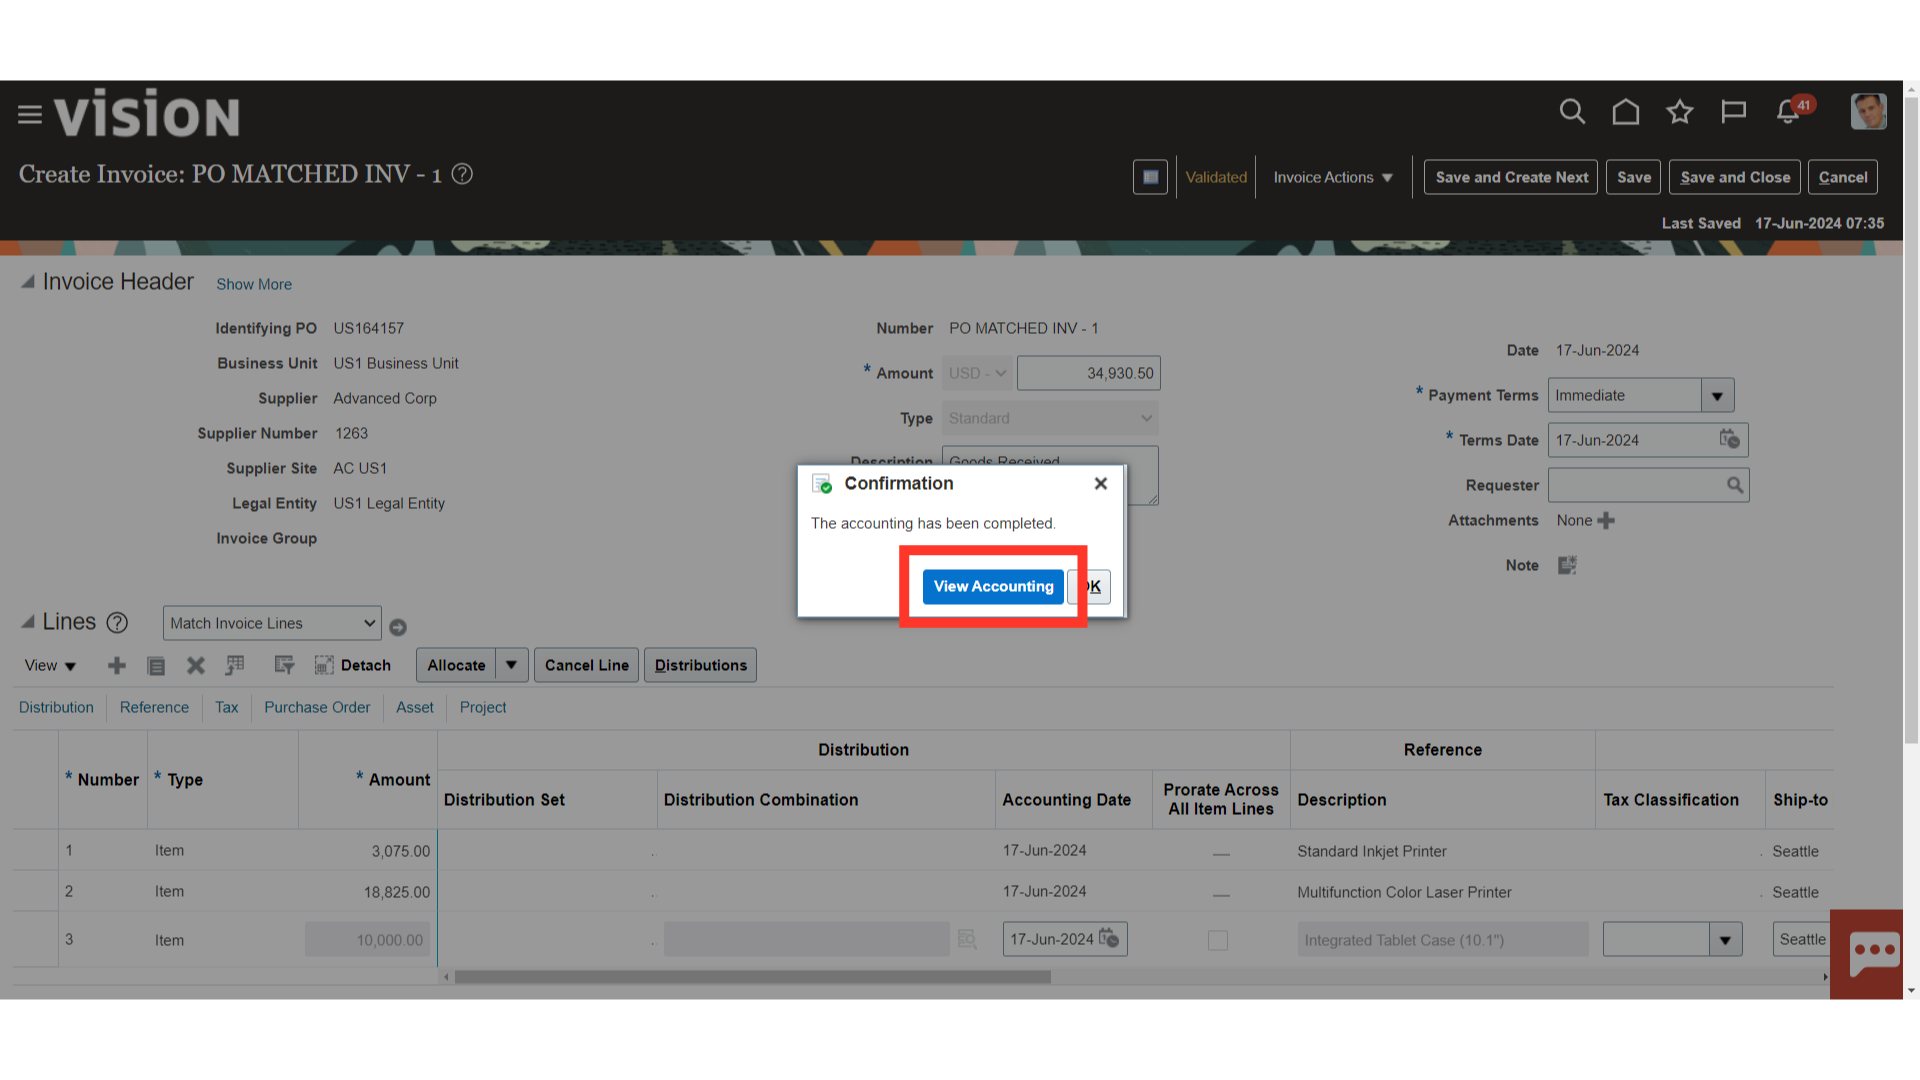
A confirmation pop-up will appear confirming that the accounting has been completed. Select the “View Accounting” option.
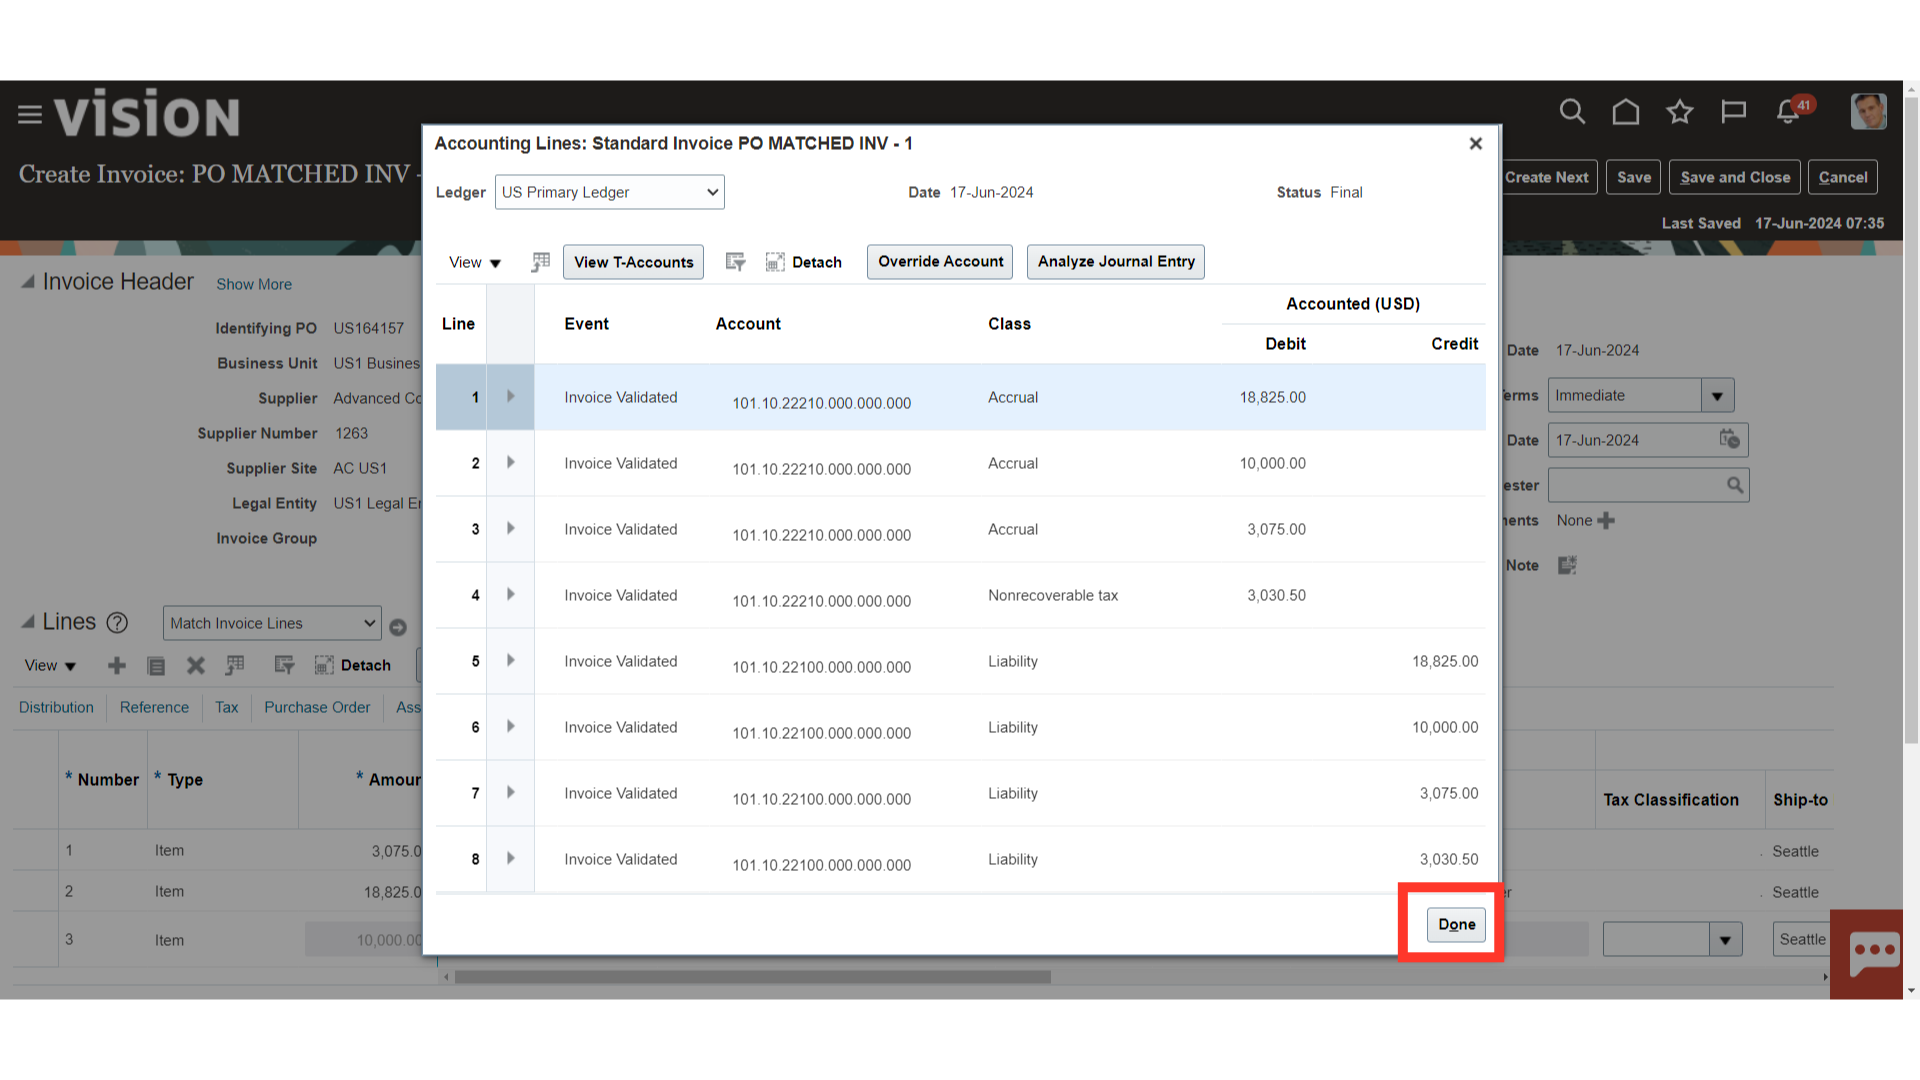
Review the accounting generated and once completed, click on Done to close the accounting screen.
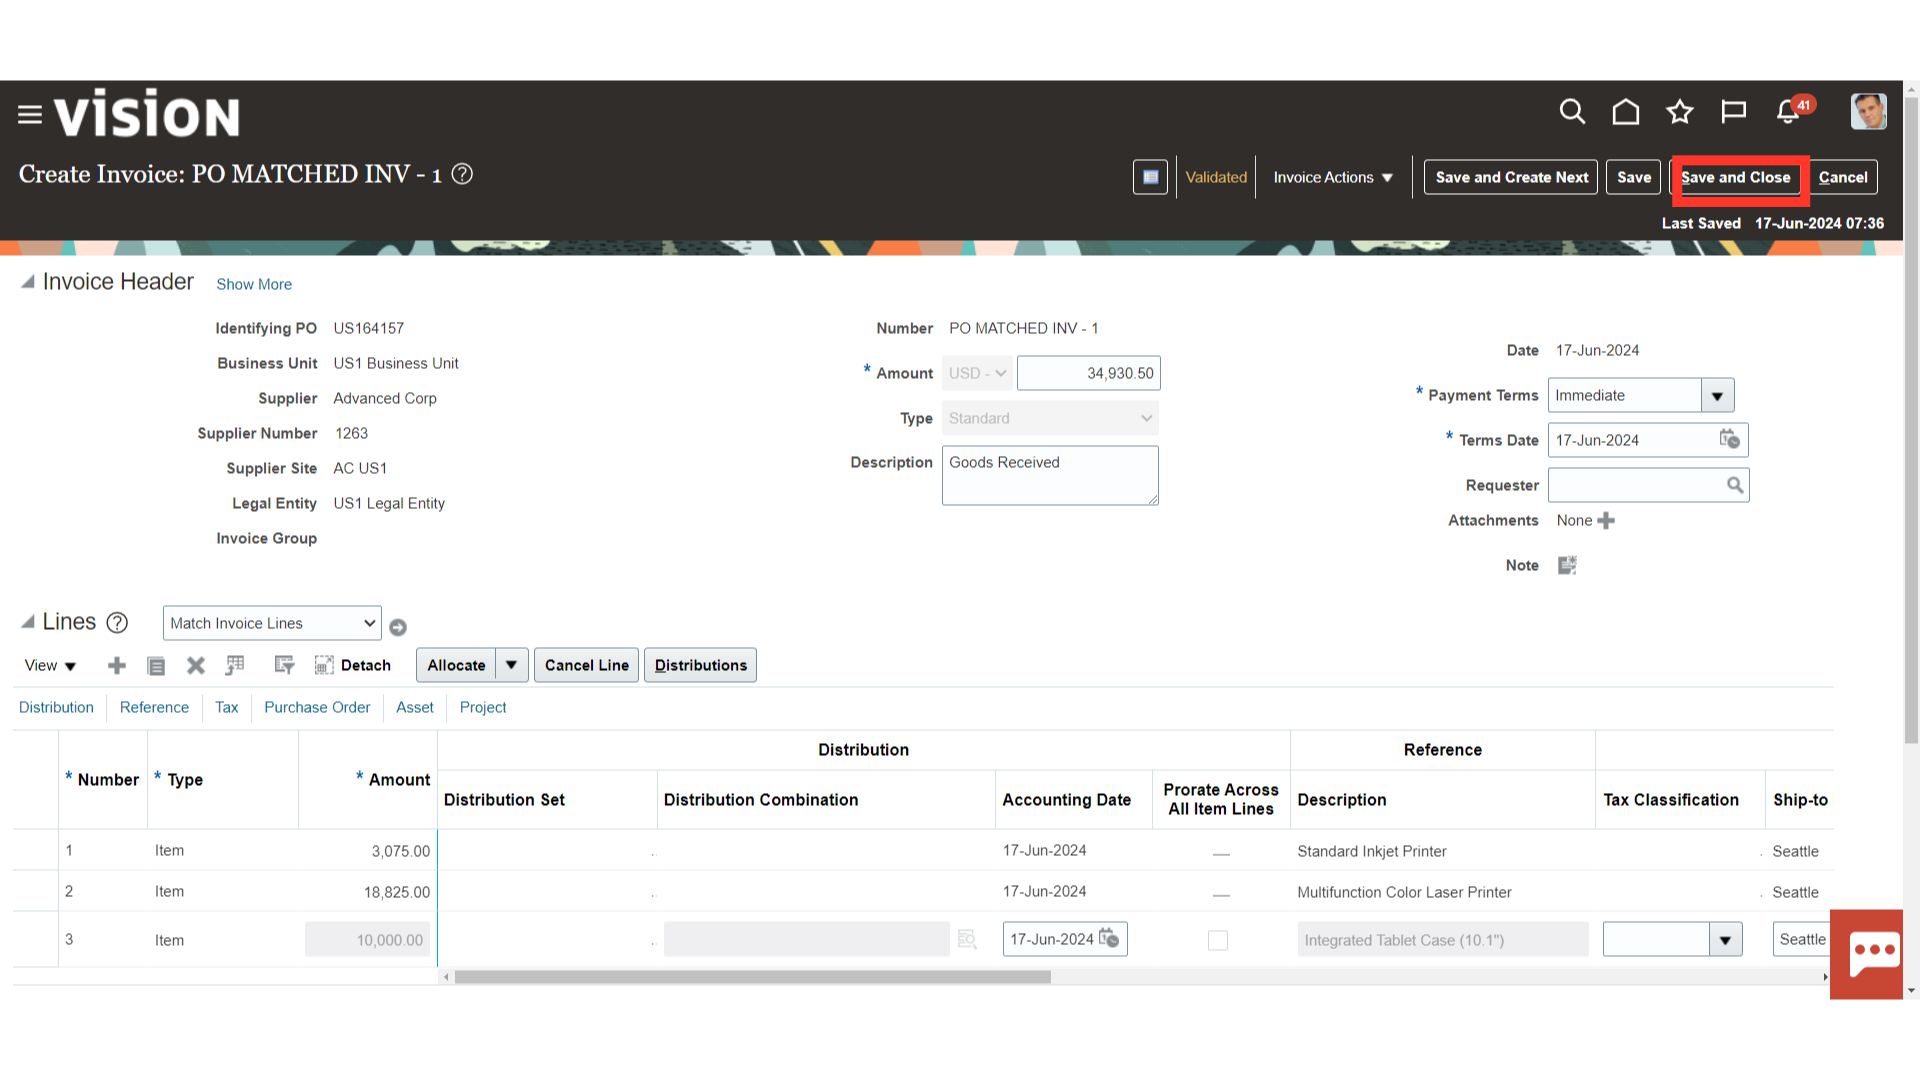
Click on the Save and Close button to save the invoice and close the invoice screen.
The guide covered the step-by-step instructions to match an invoice to a purchase order in Oracle cloud, ensuring accuracy and efficiency in the process.