Invoice Scanning
Many suppliers and customers send and receive Payables invoices electronically via email. Oracle Fusion Cloud ERP offers Intelligent Document Recognition (IDR), a fully integrated invoice recognition solution. It extracts invoice information from the emailed documents to create invoices and imports them into Payables. This guide will go through the step-by-step process of creating invoices through the scan process.
The invoice must be mailed in soft copy to the designated email address that Oracle provided.
Note that IDR is compatible with the following file extensions for invoices and credit memos: PDF, TIF, TIFF, PNG, JPEG, DOC, and DOCX.
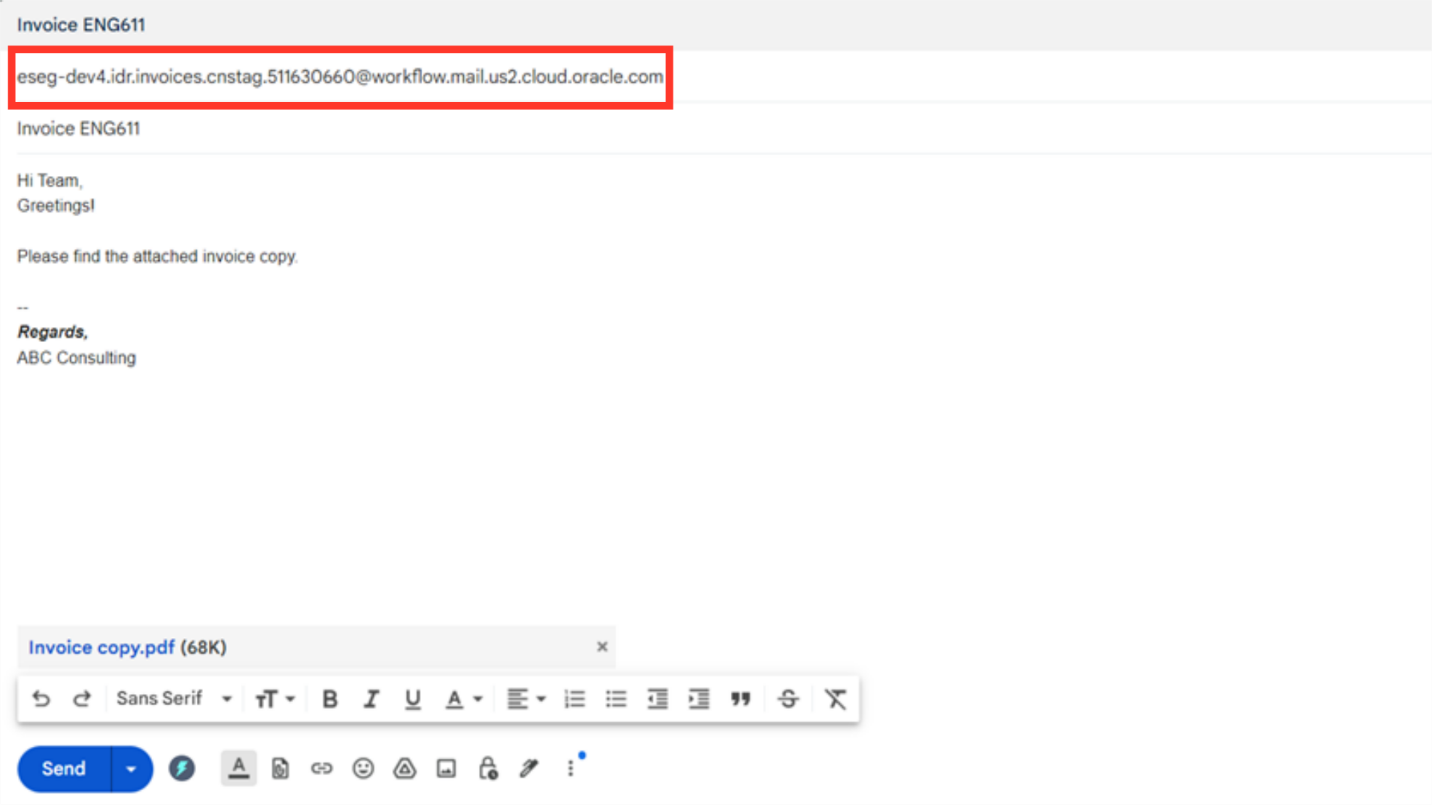
To check the details of the invoice copy mailed to the designated email, click on the Navigator icon to access the Tools menu.
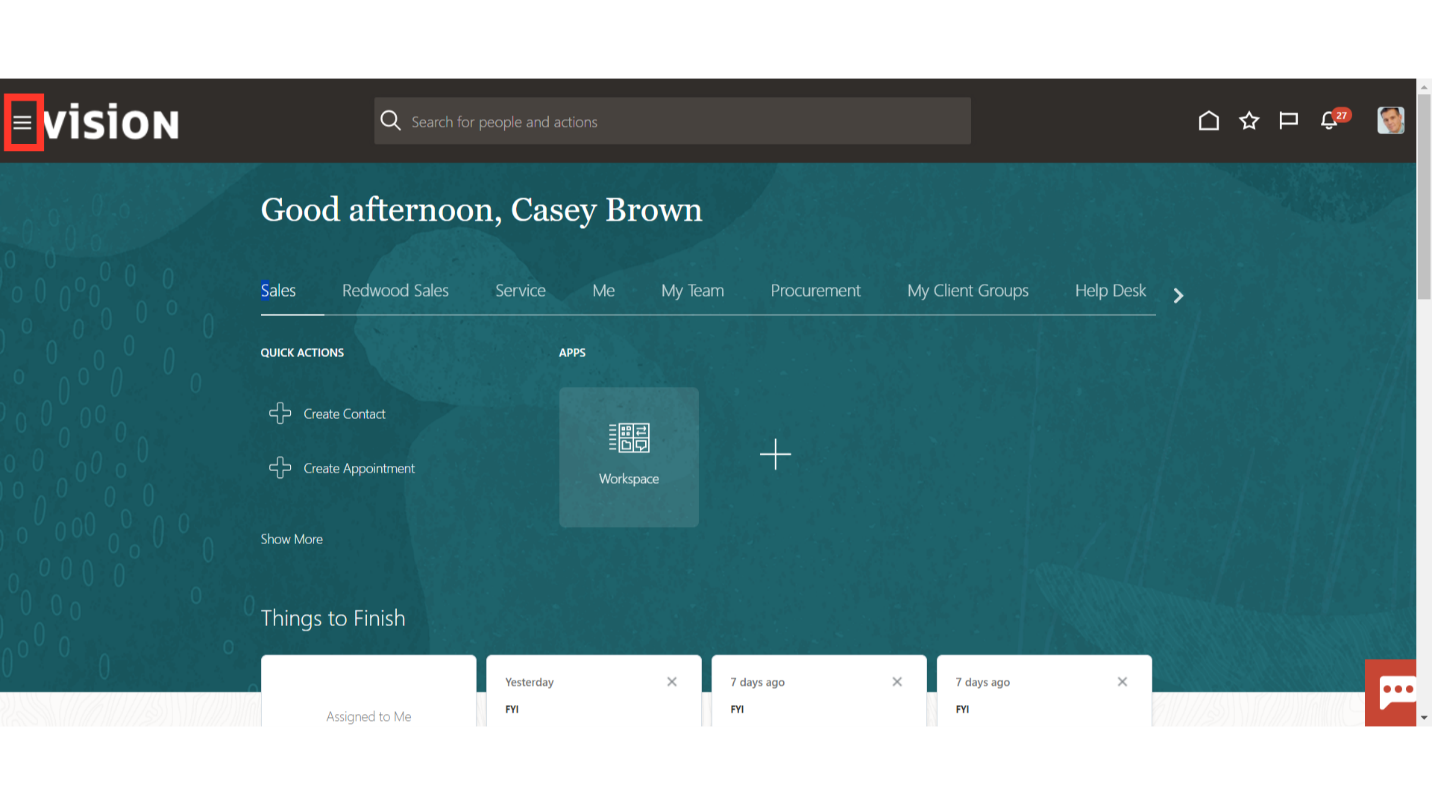
After expanding the Tools menu, click on the Scheduled Processes submenu.

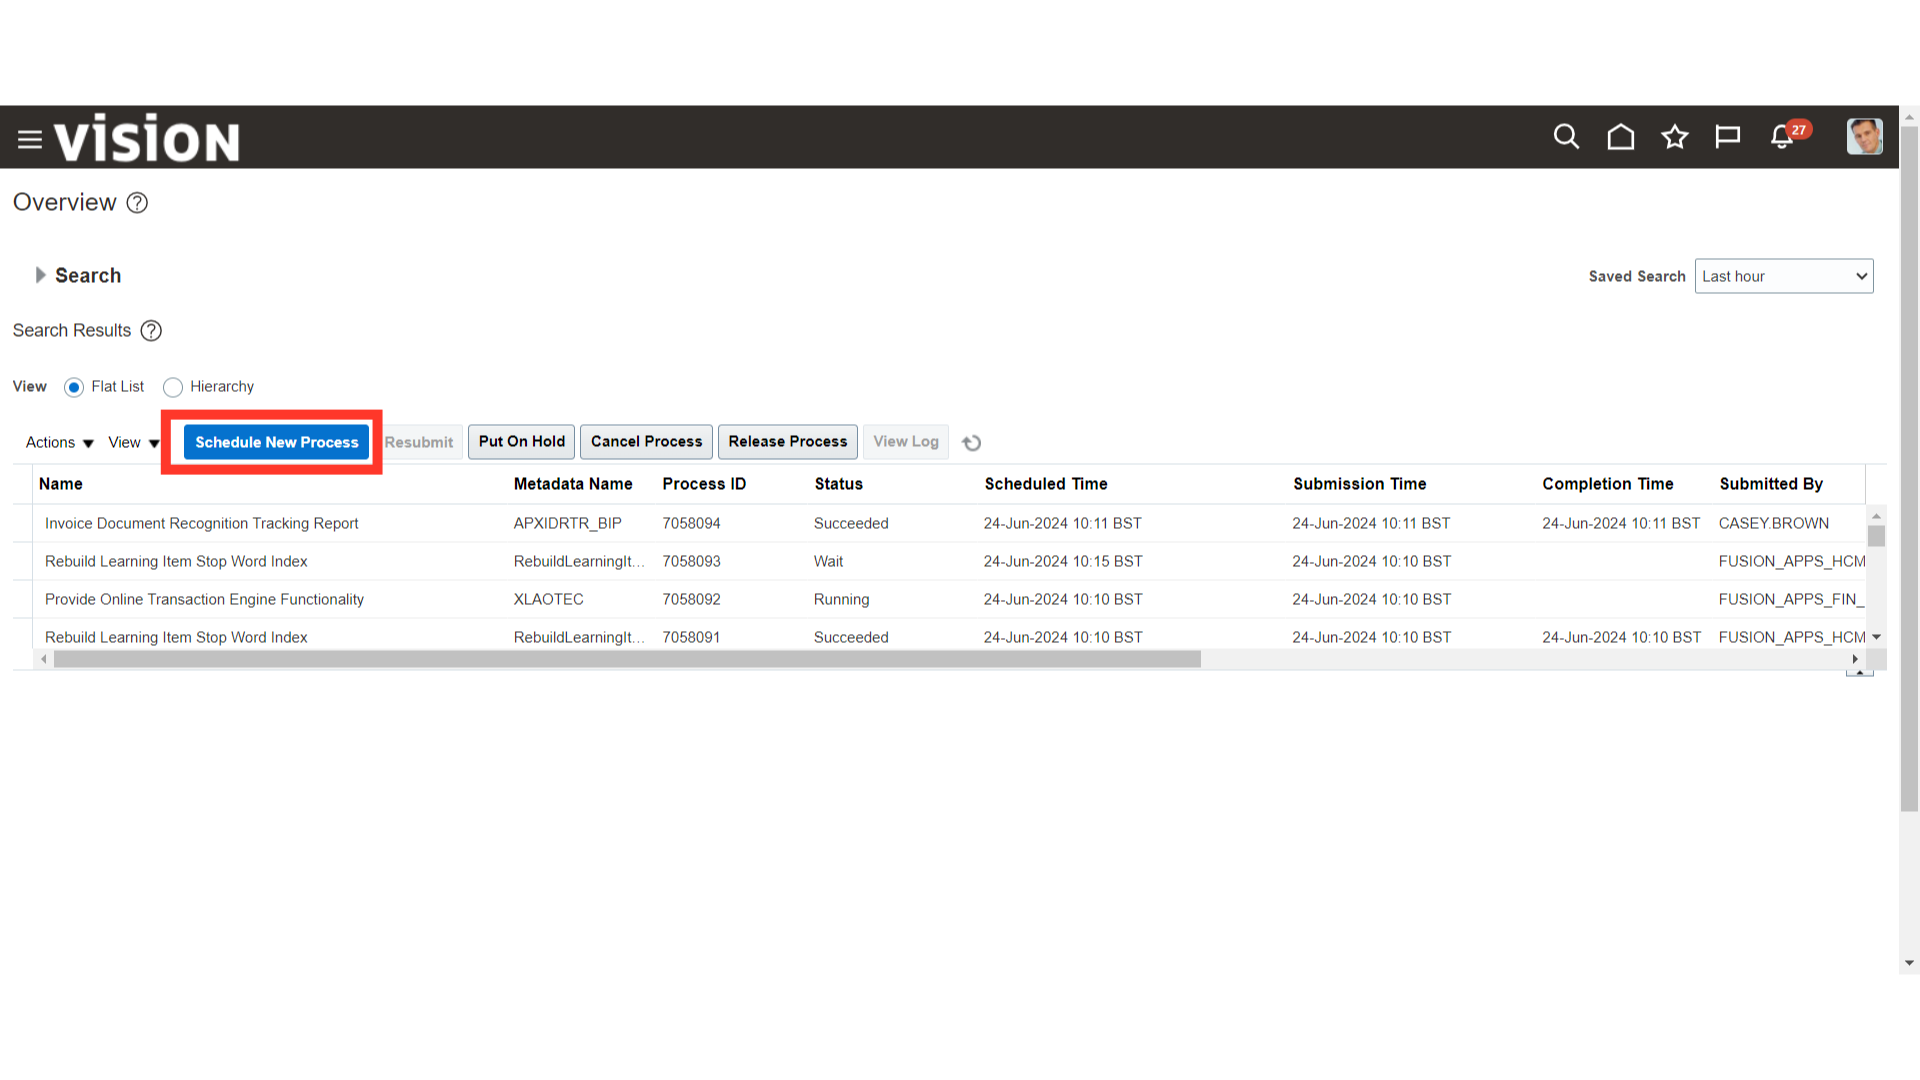
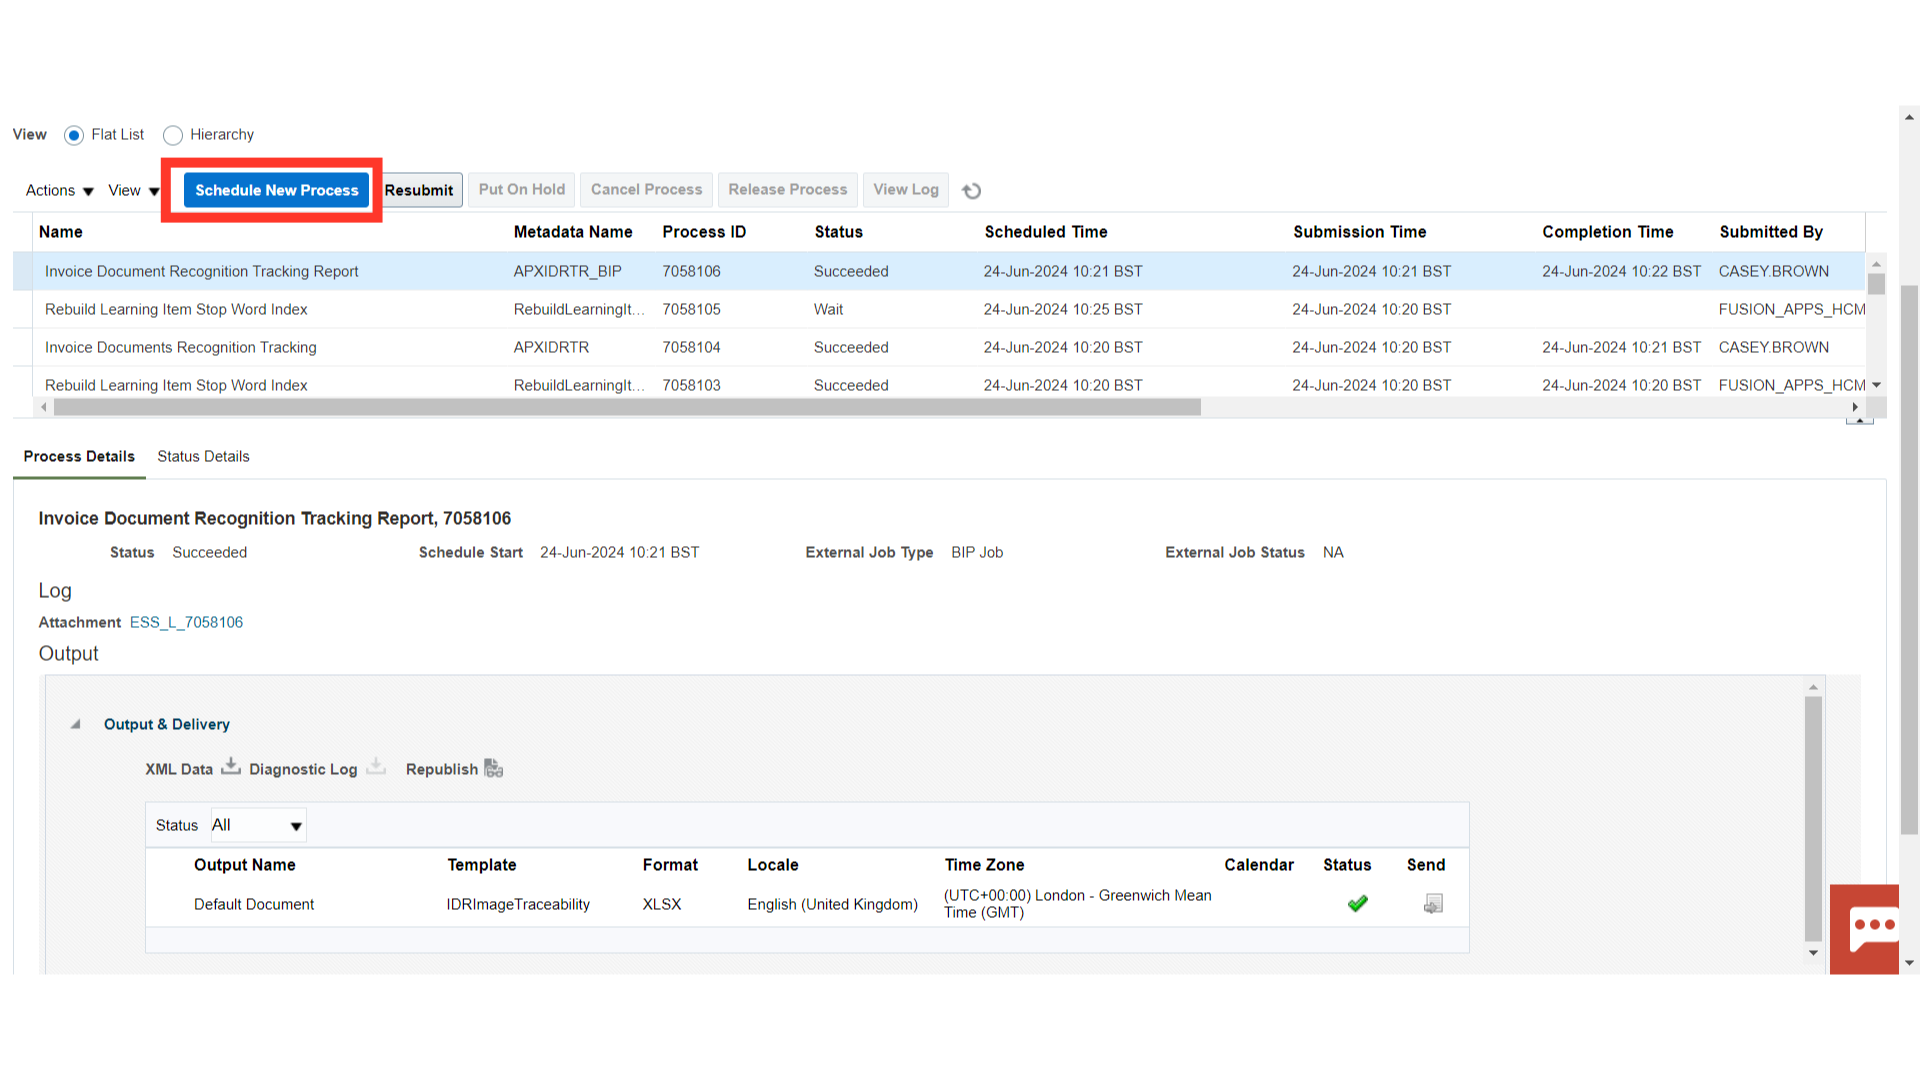
To initiate the new process, click on the Schedule New Processes button.
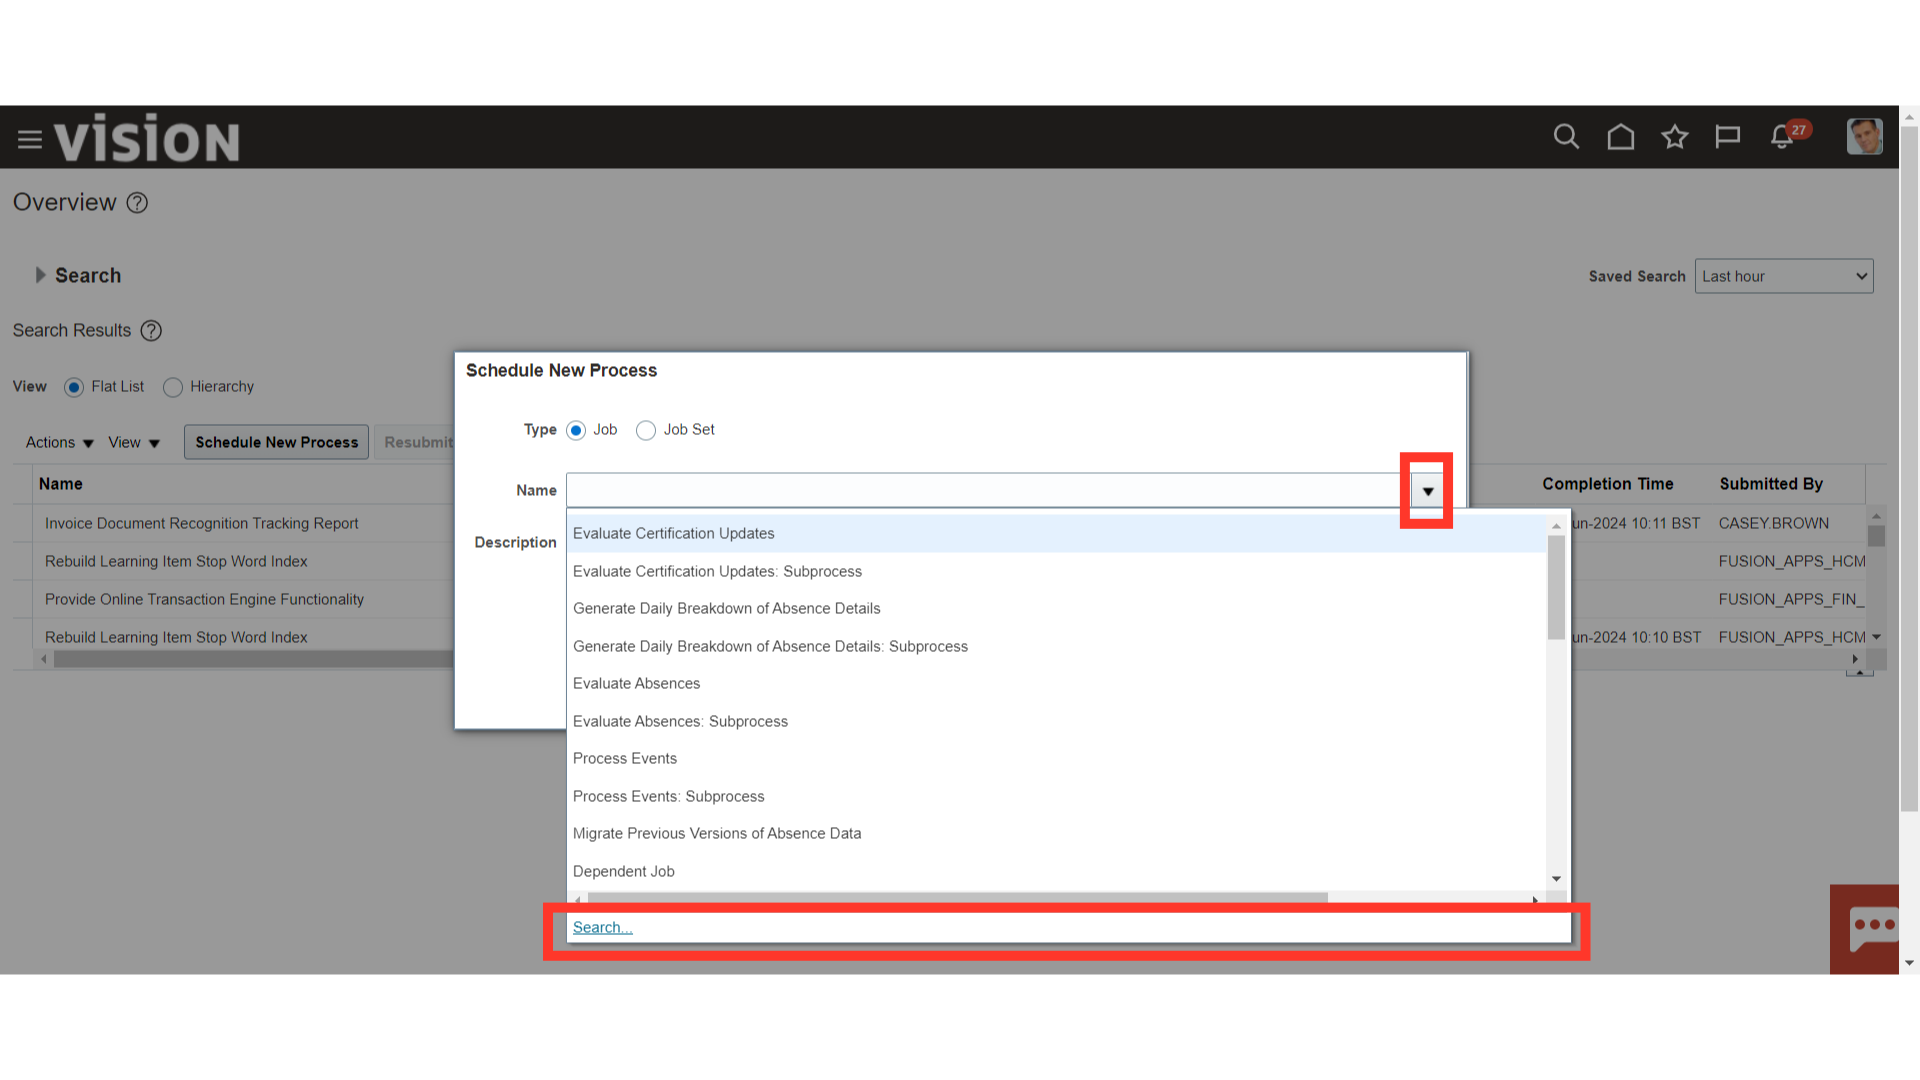
After selecting the Drop-down icon, click the search hyperlink to find the process name.
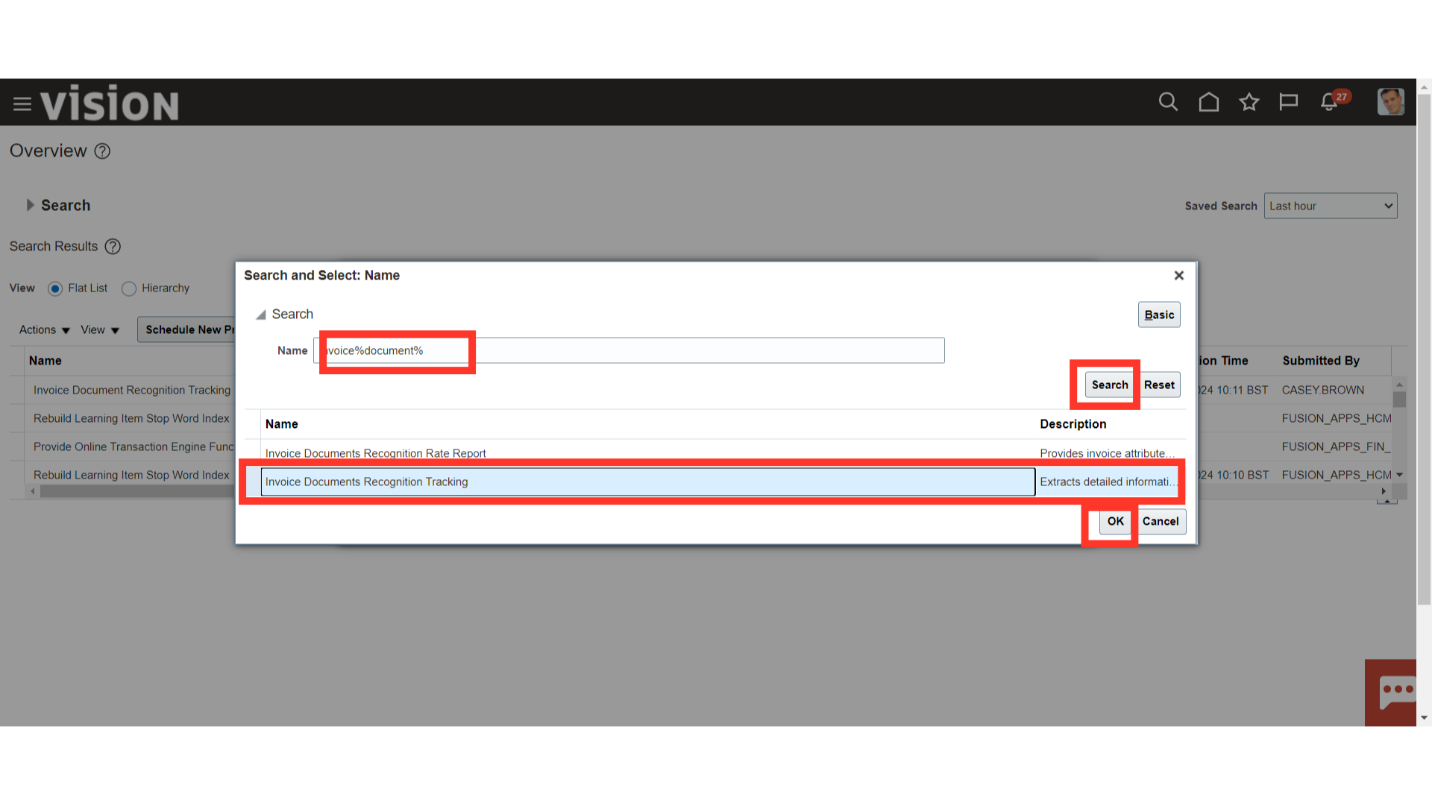
After entering the process name, using wild character search with a percentage sign click on the Search button to search the process name. Select the Invoice Document Recognition Tracking process name, and then click on the OK button to continue.
Again, click on the OK button to run the Invoice Document Recognition Tracking Process.

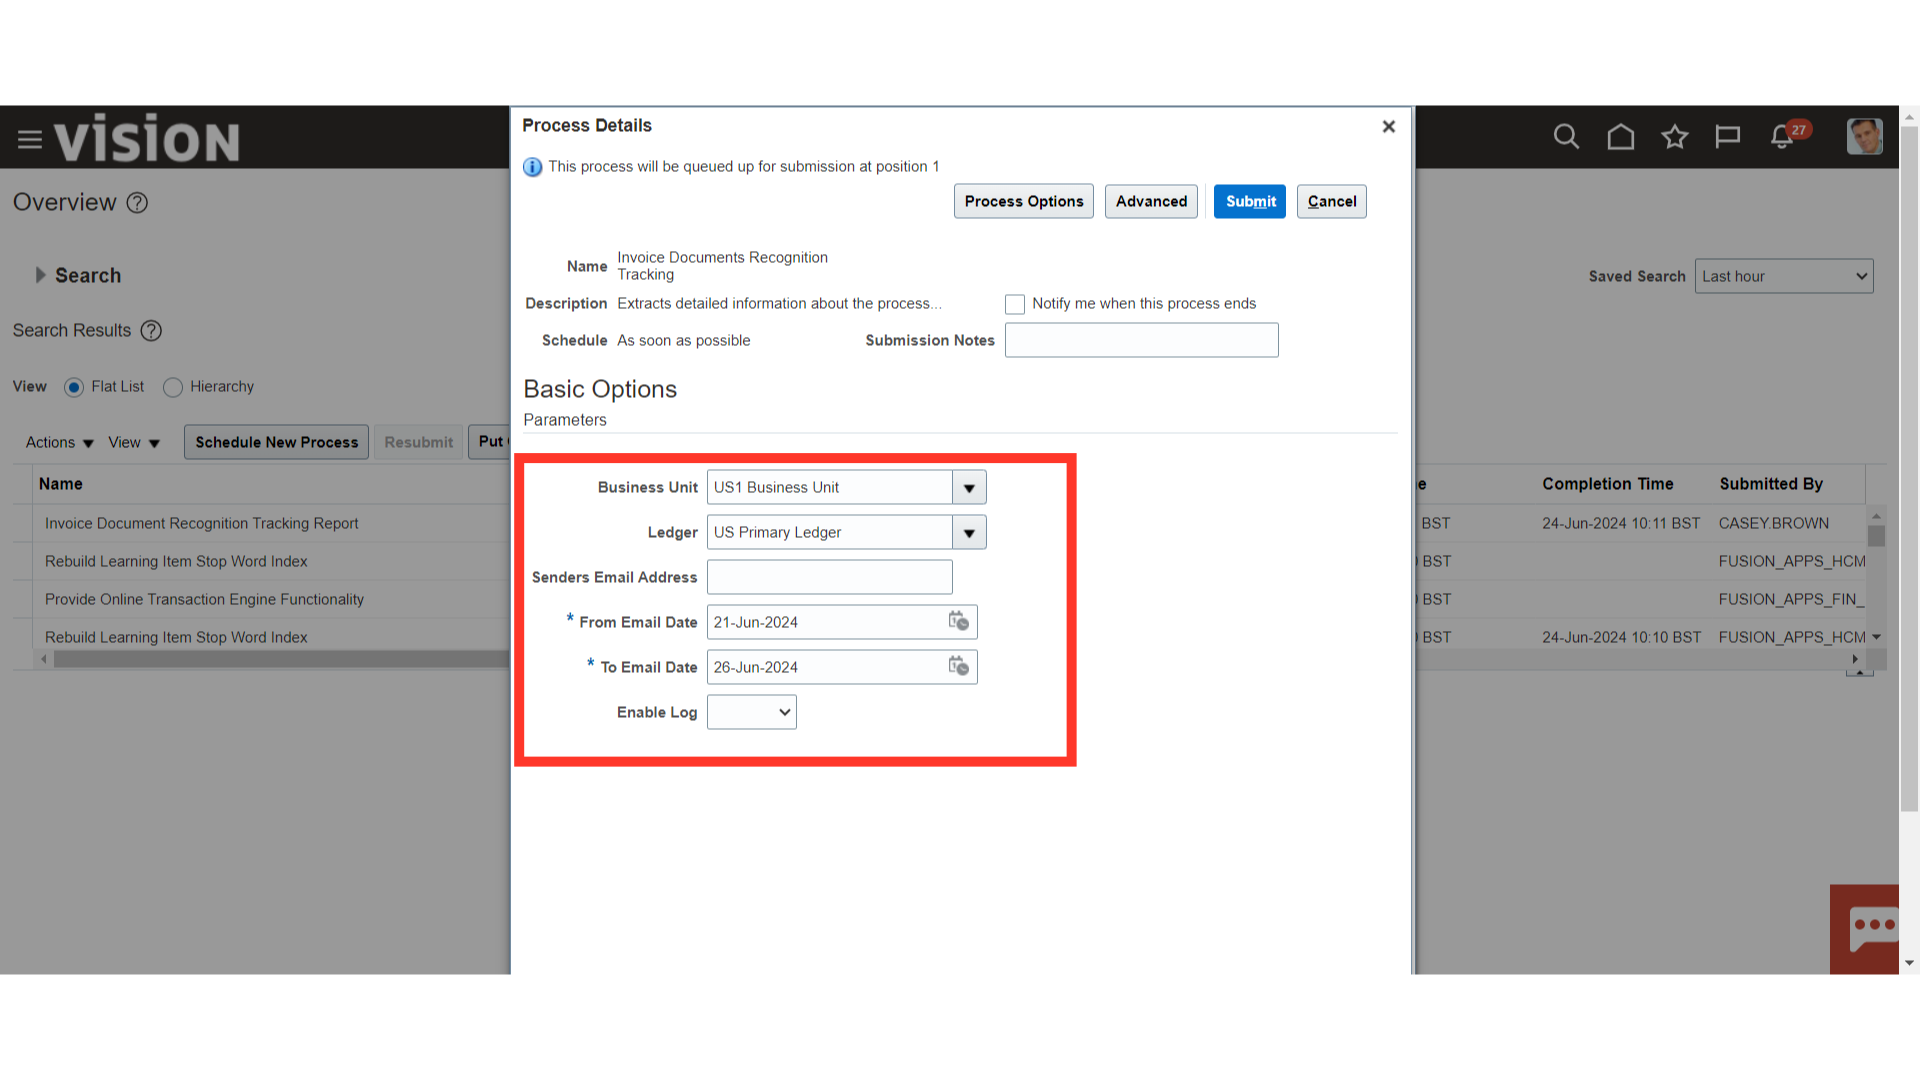
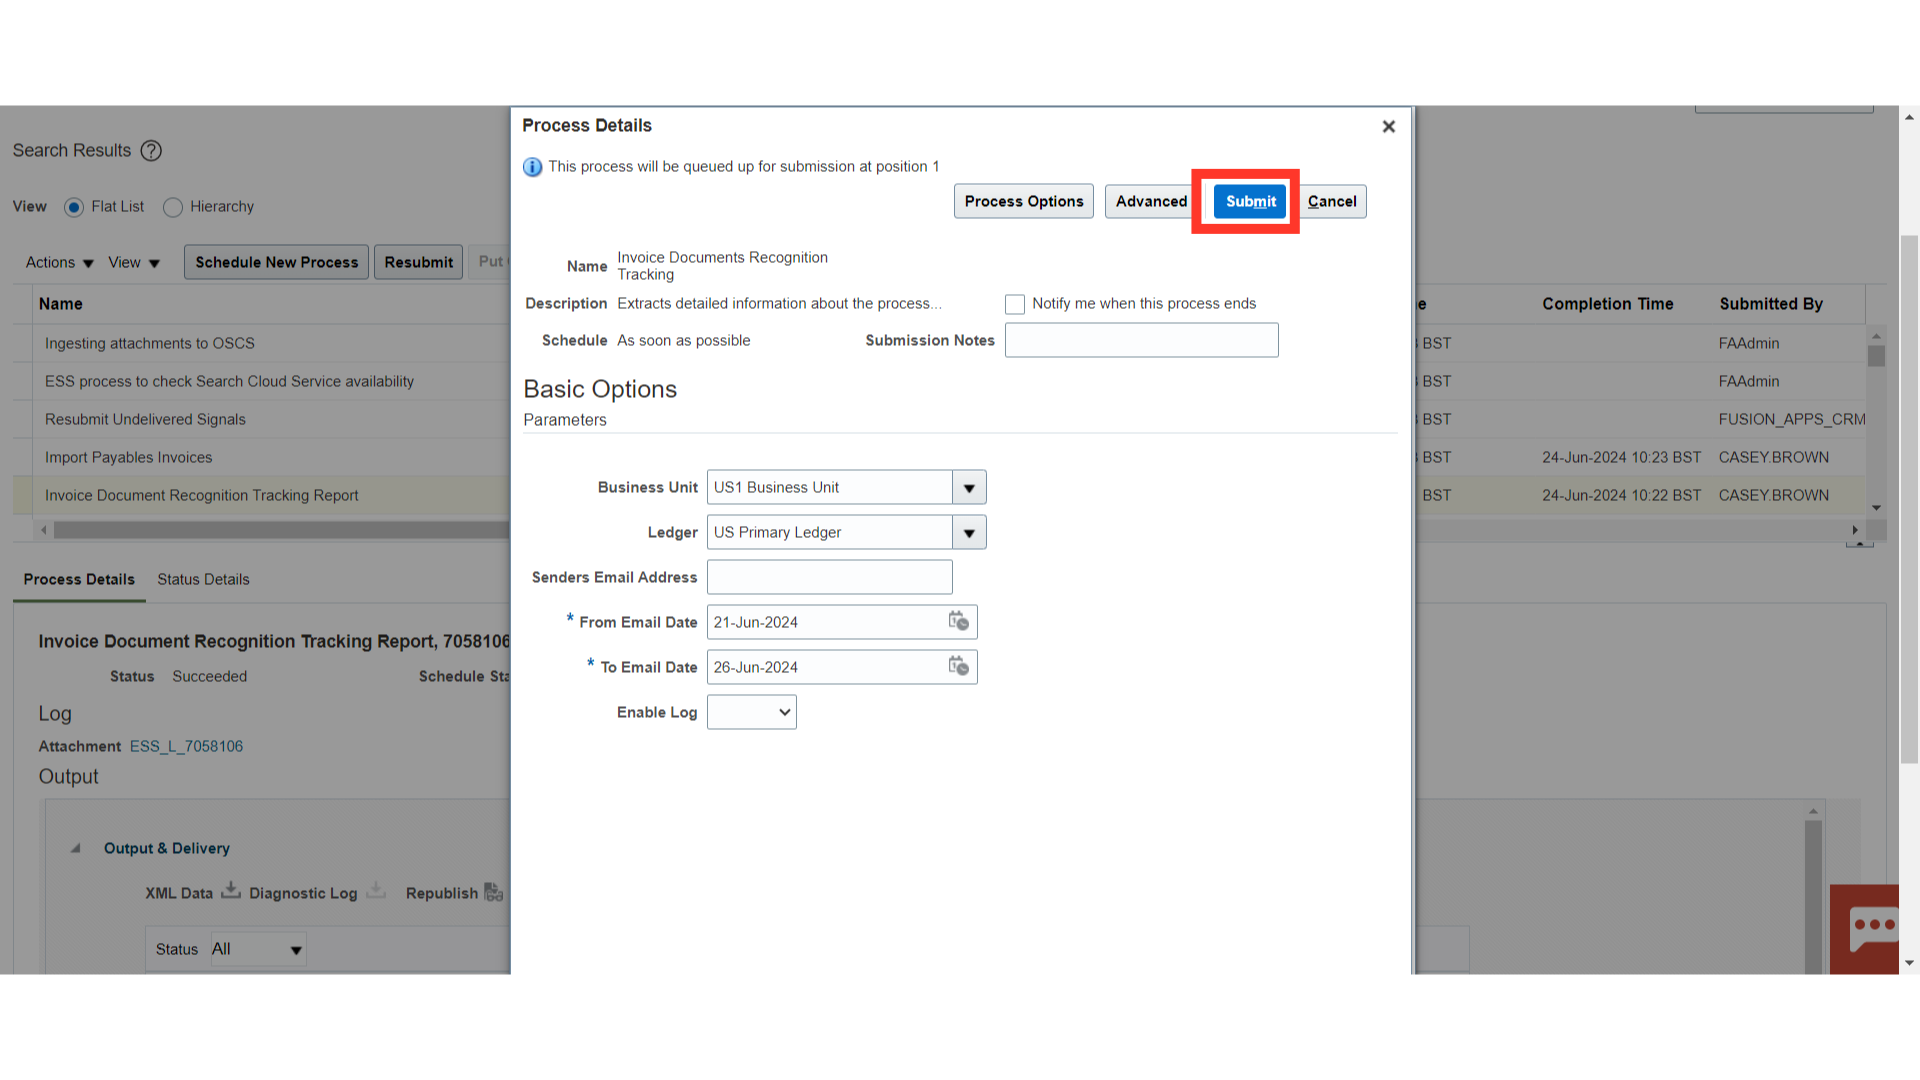
You can manually enter the Business Unit and Ledger or choose it from the drop-down menu. Enter the email address of the sender to find out the status of invoices sent from that specific email address. In addition, manually enter the date or choose it from the calendar in the From Email and To Email date fields.
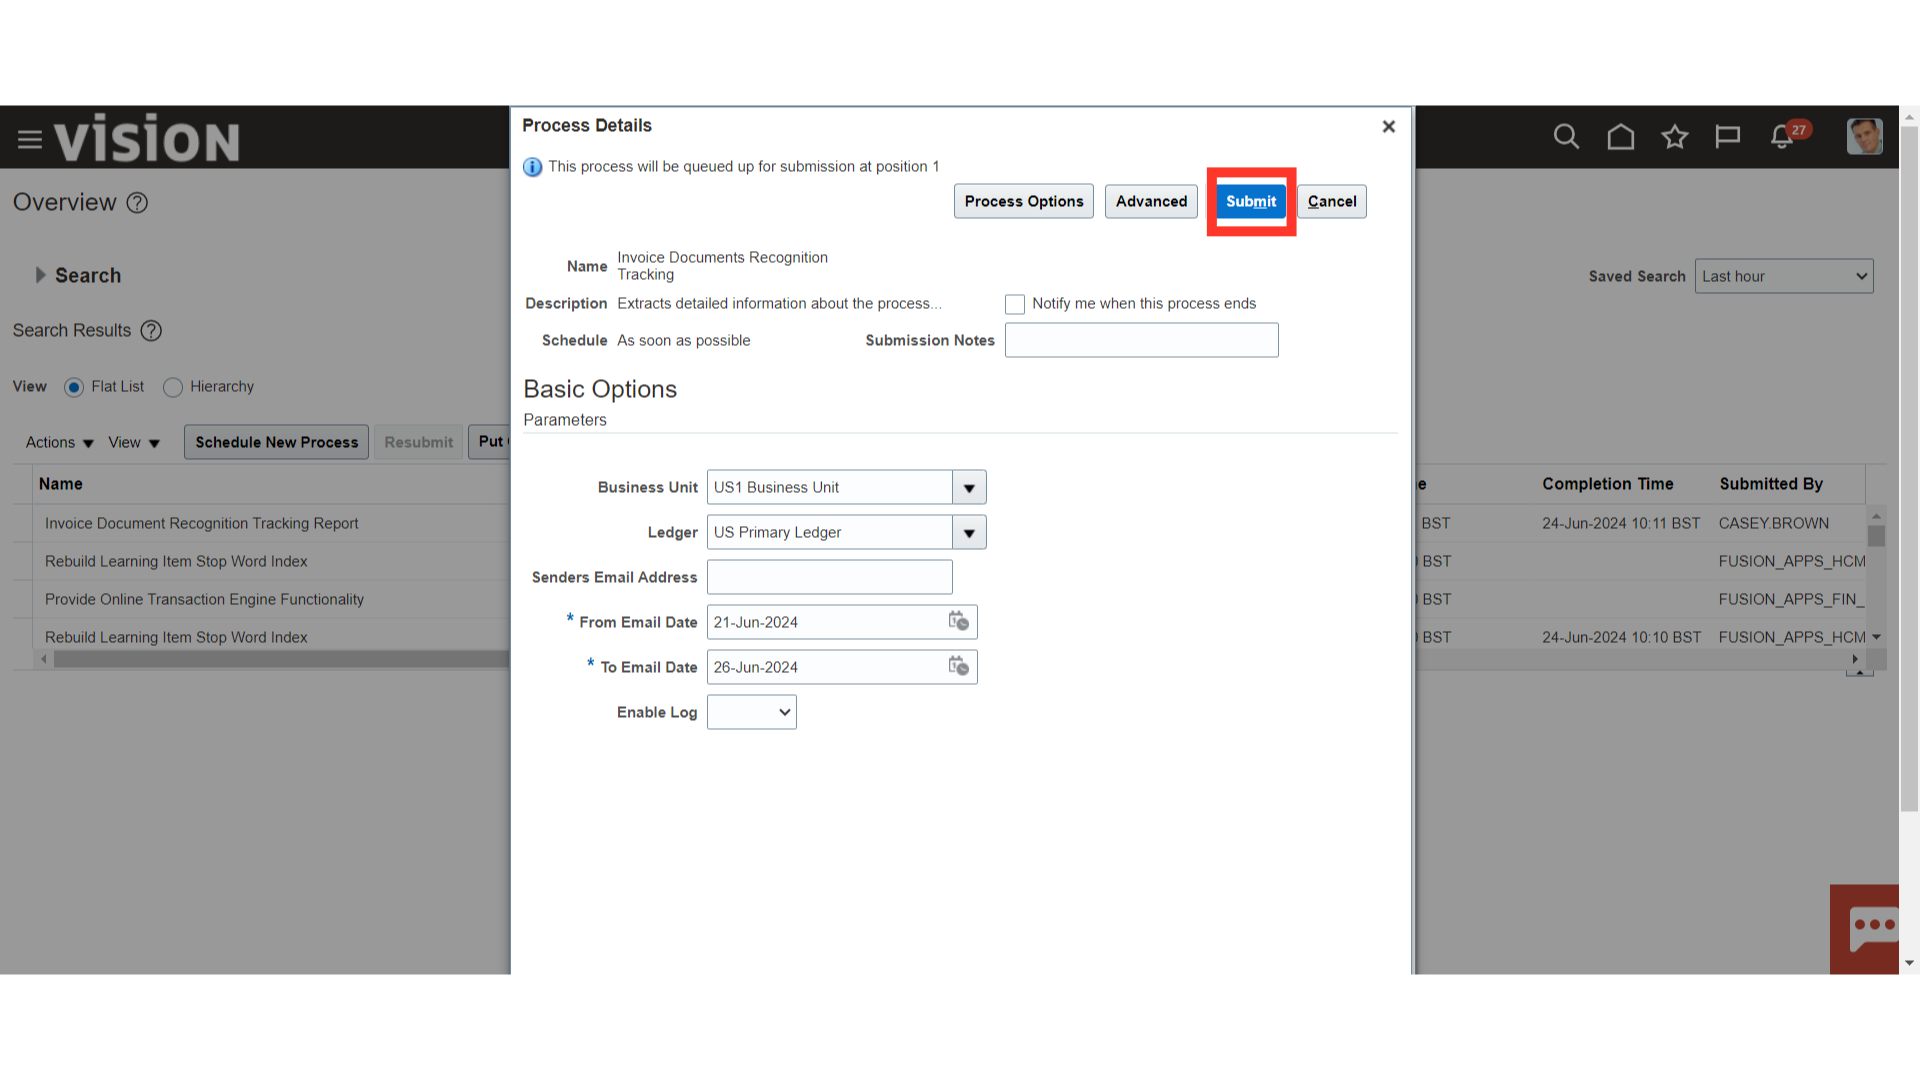
After entering all the parameters, click on the Submit button.
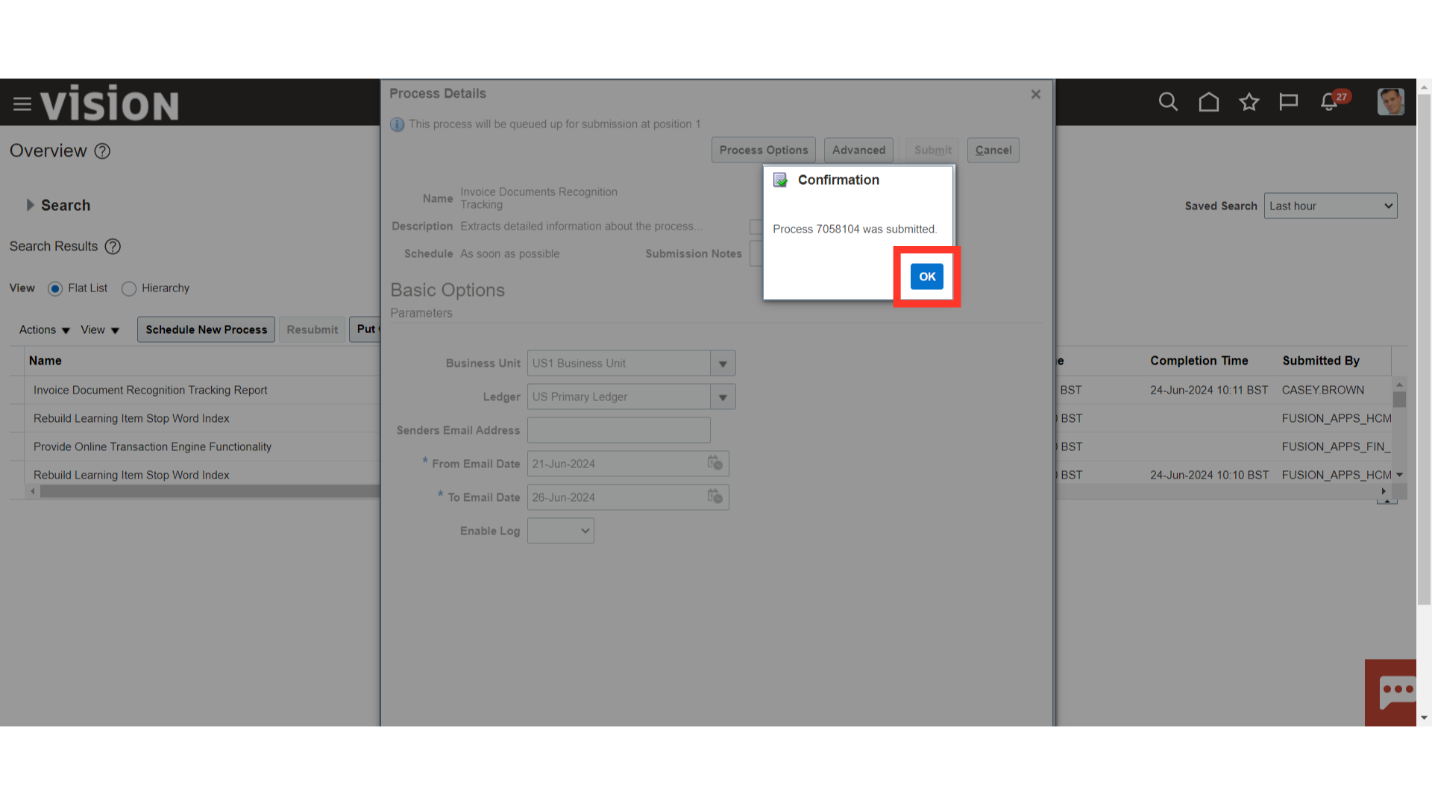
A confirmation message is displayed along with the Process ID. Click on “OK” button to continue.
Click on the “Refresh” Icon to refresh the process status.
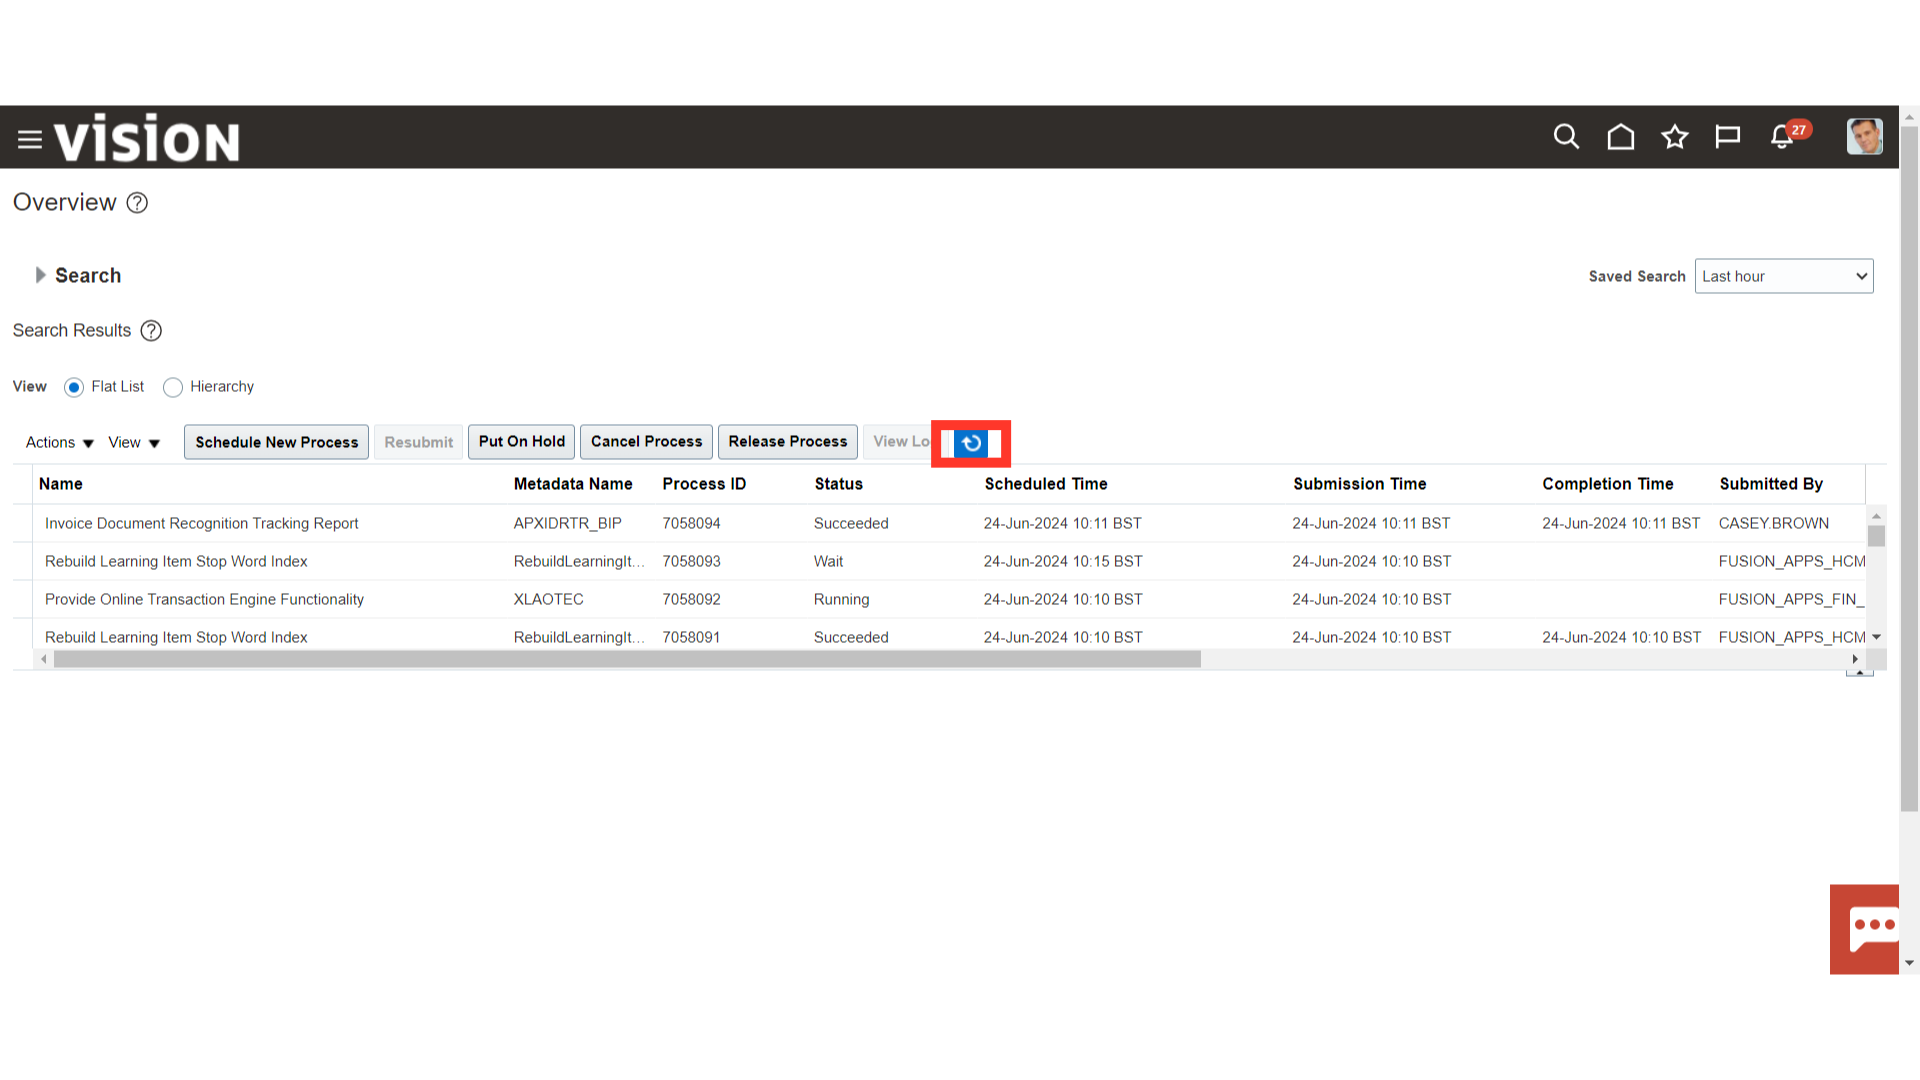
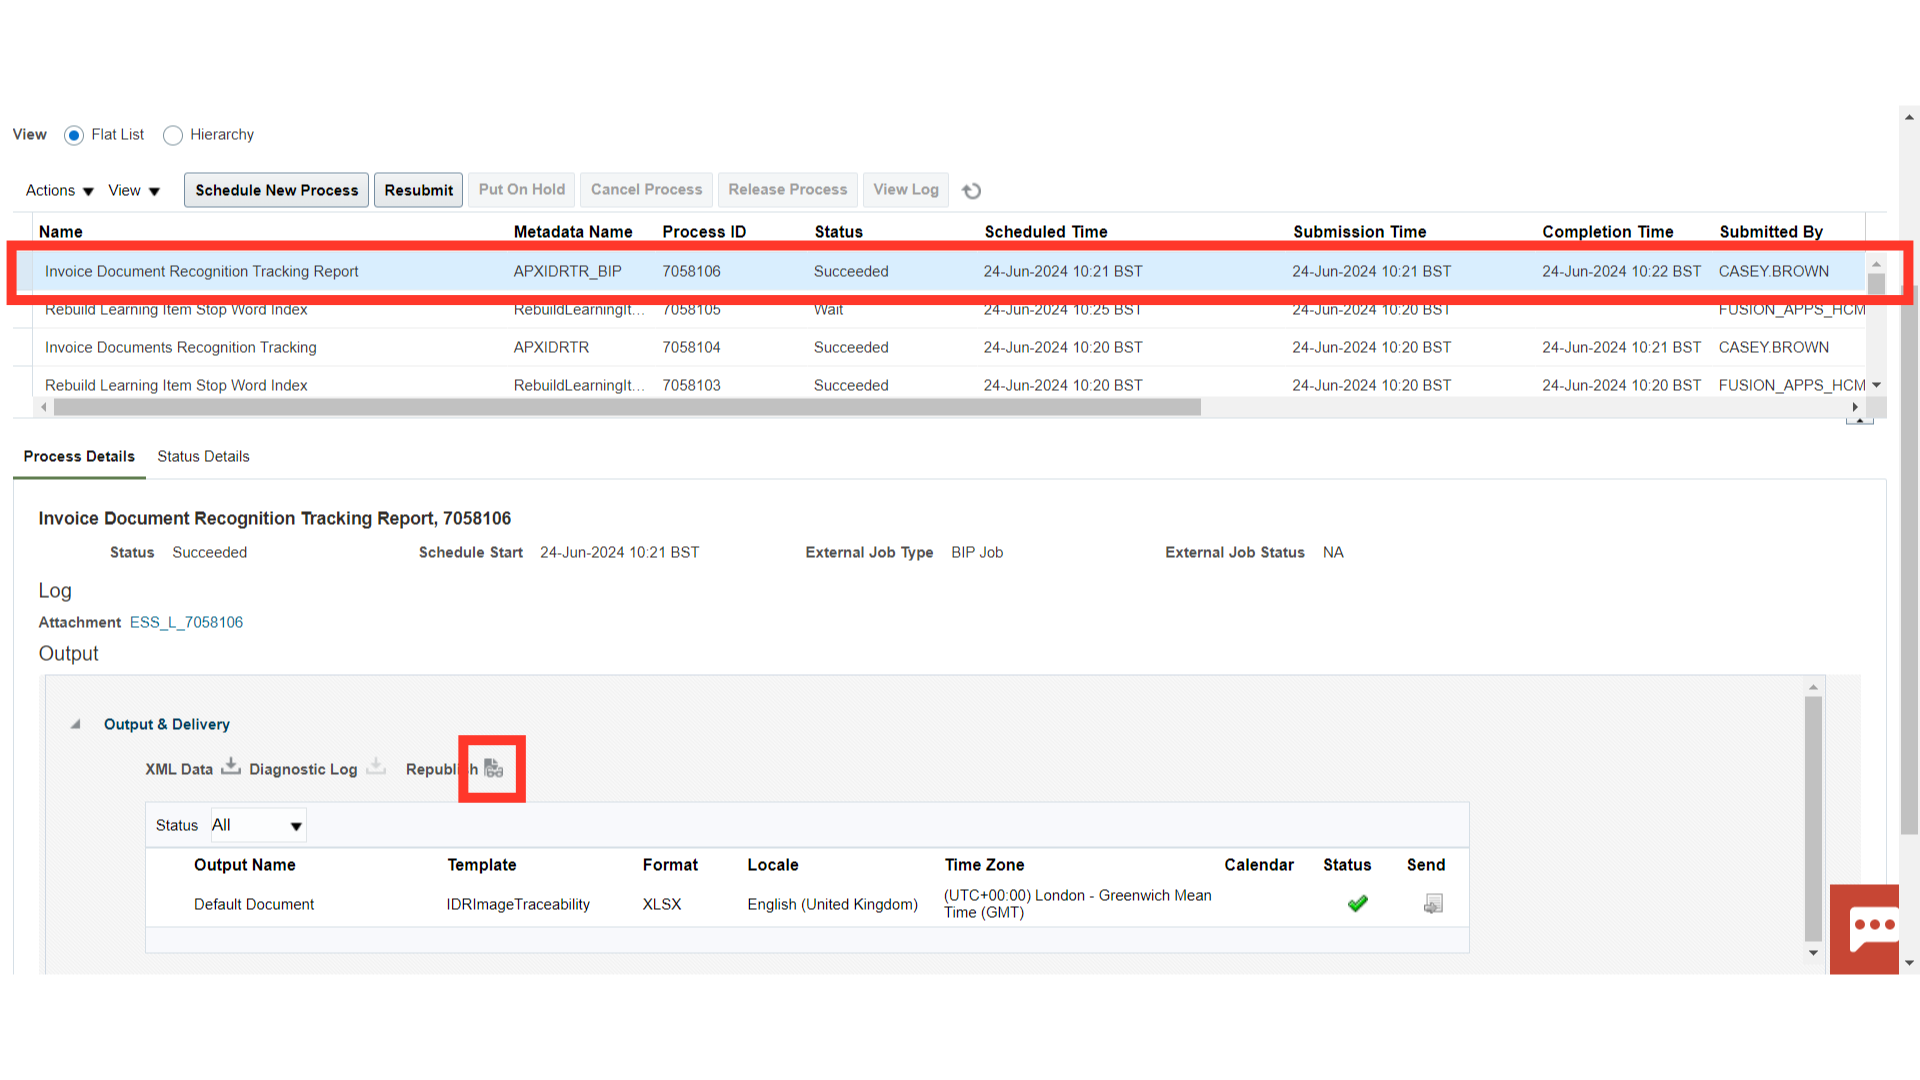
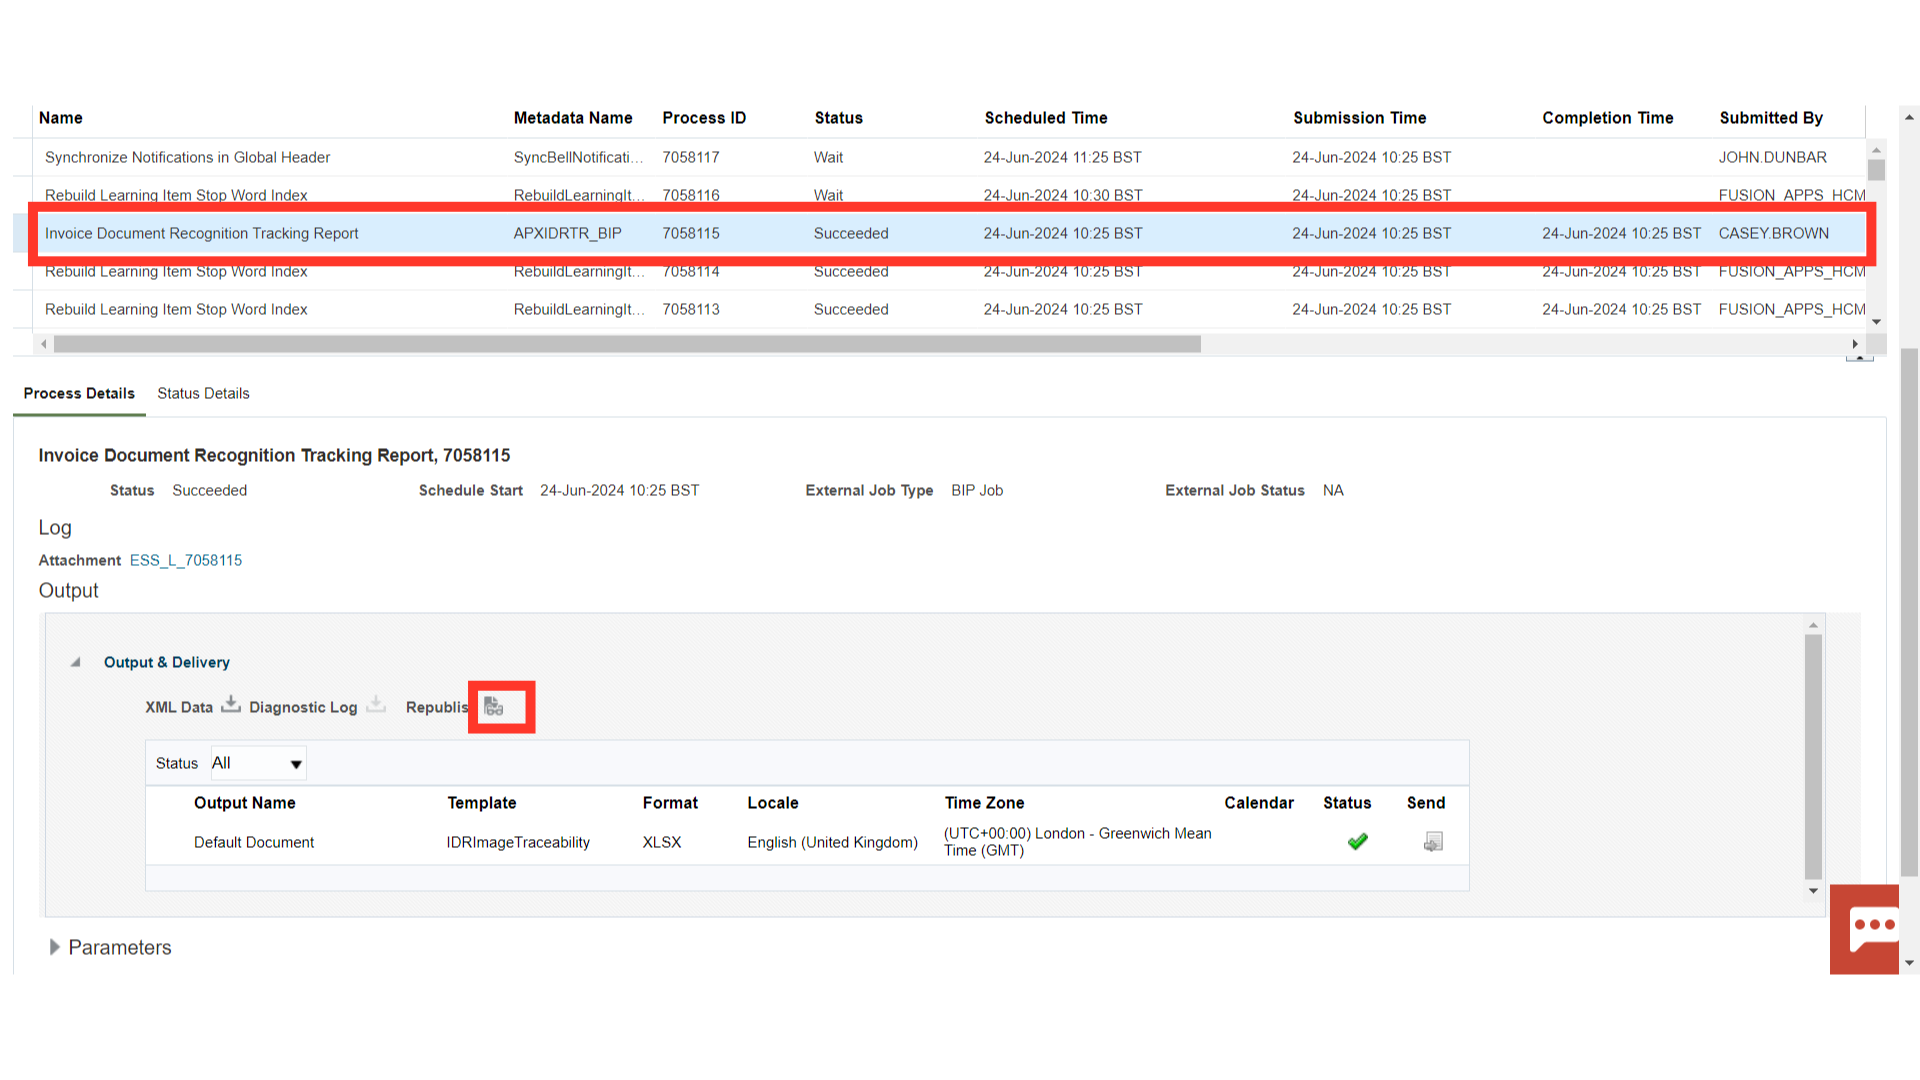
Invoice Document Recognition Tracking Report is submitted automatically along with the Invoice Document Recognition Tracking process. This report enables users and administrators to track the status of each invoice sent to IDR and provides the status of each email attachment. To download the report, select the process and click on Republish button.
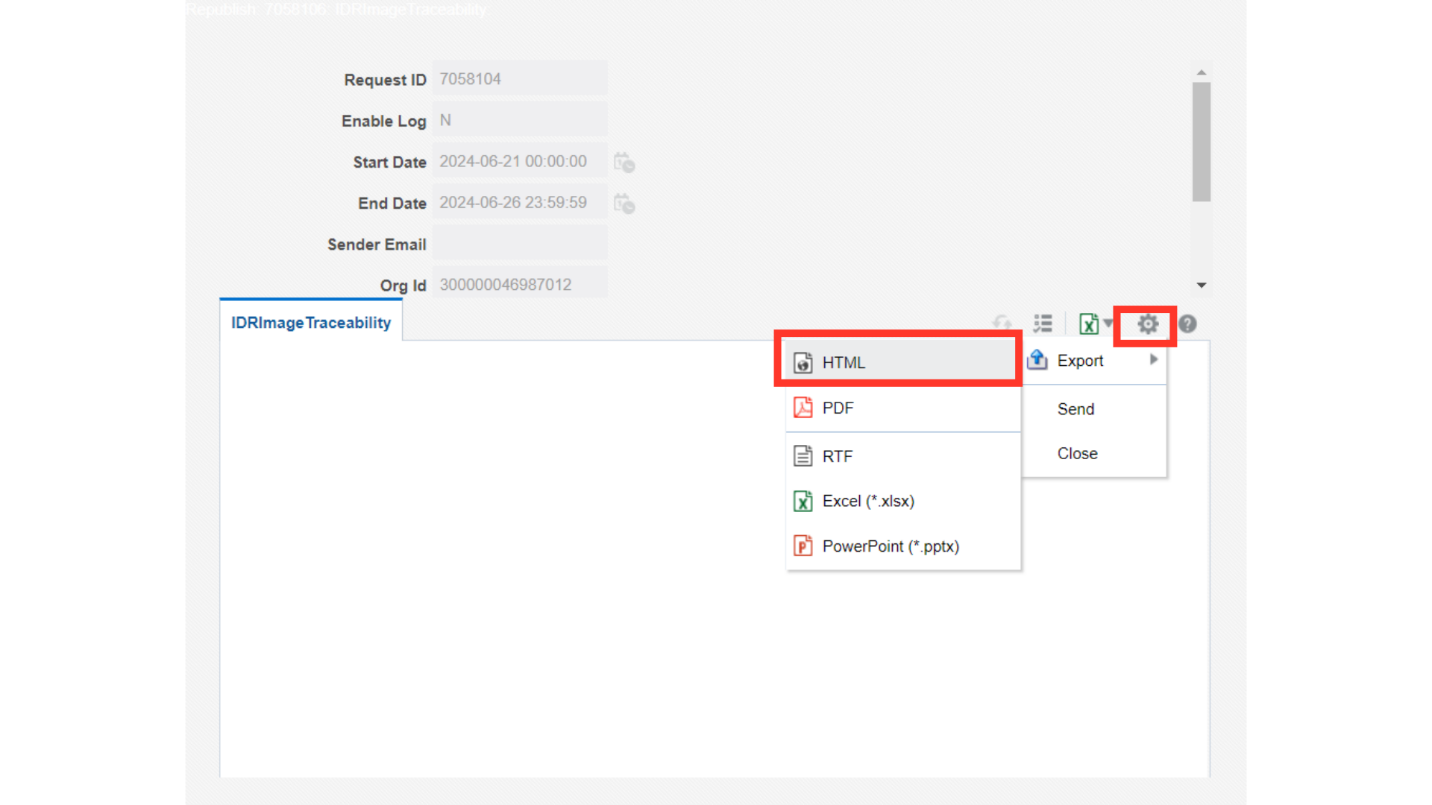
Click on the Gear icon, and then click on the HTML view option under Export.
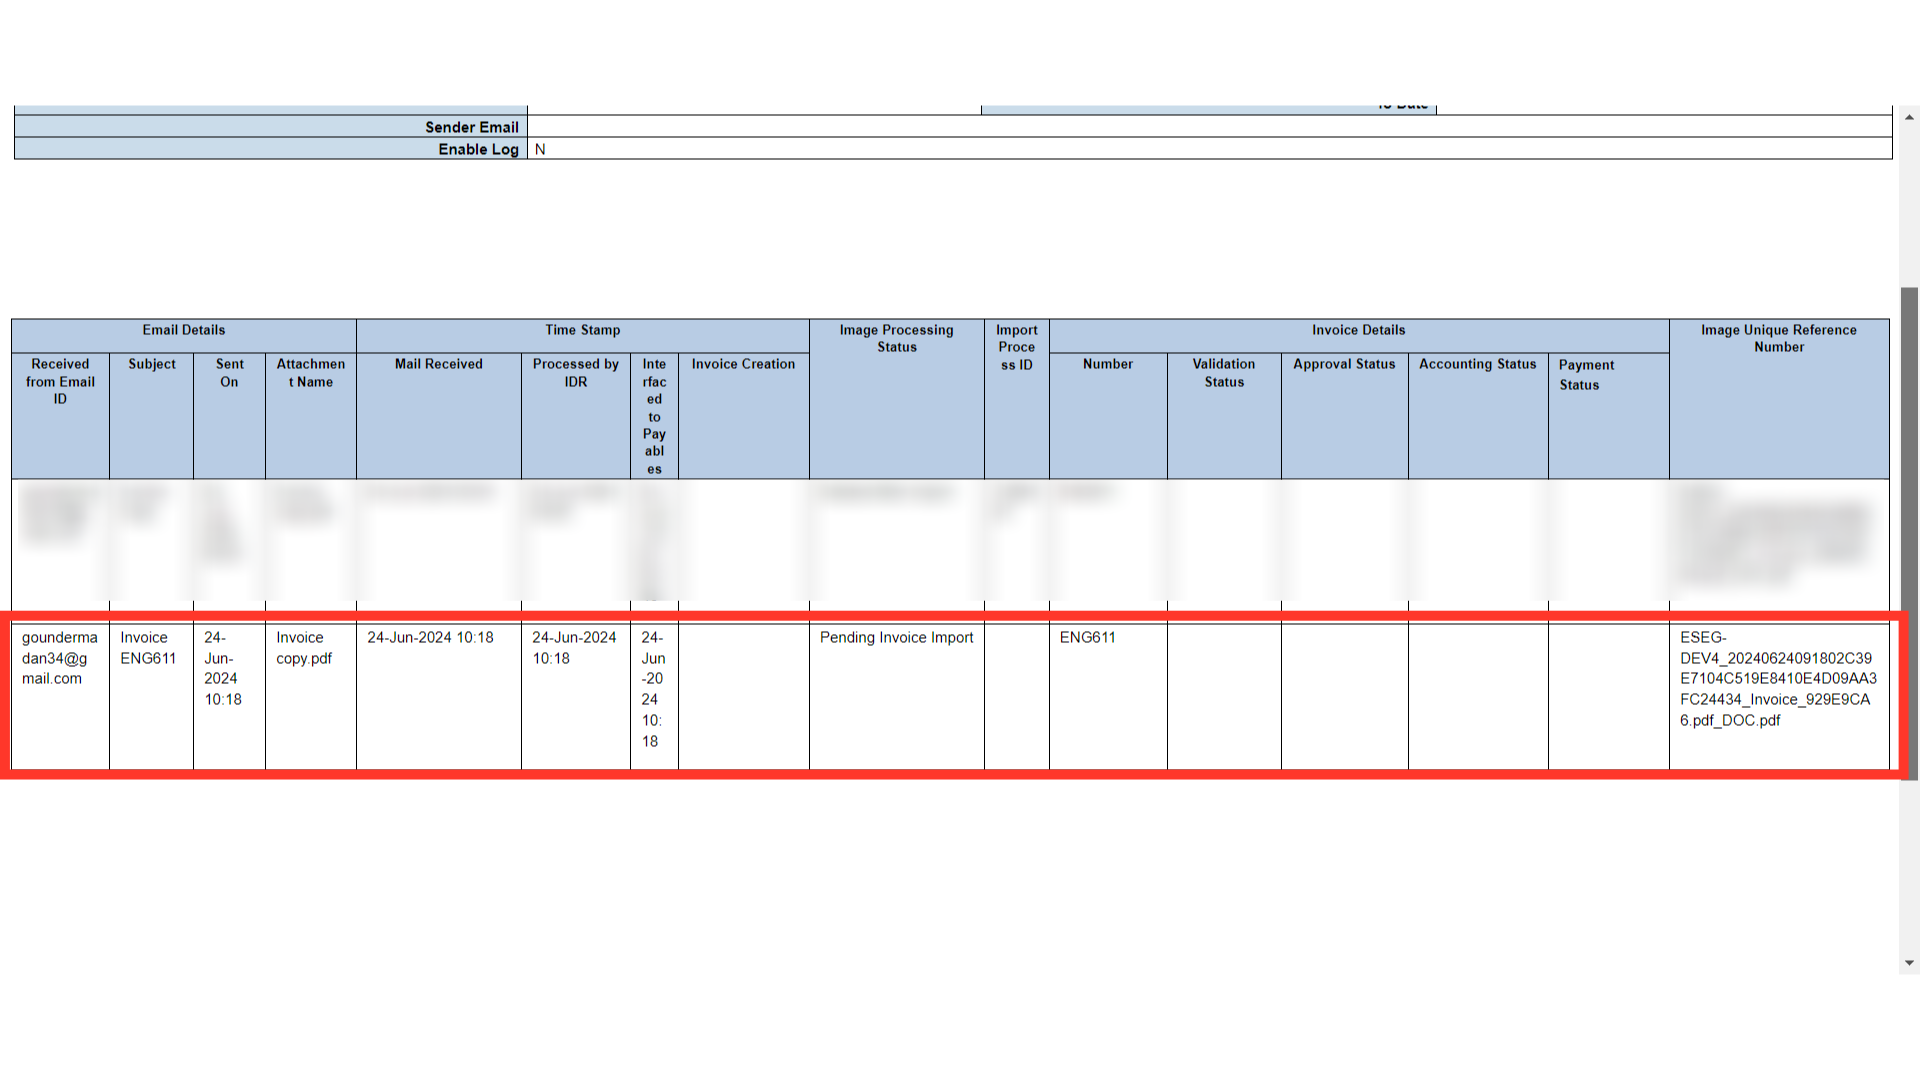
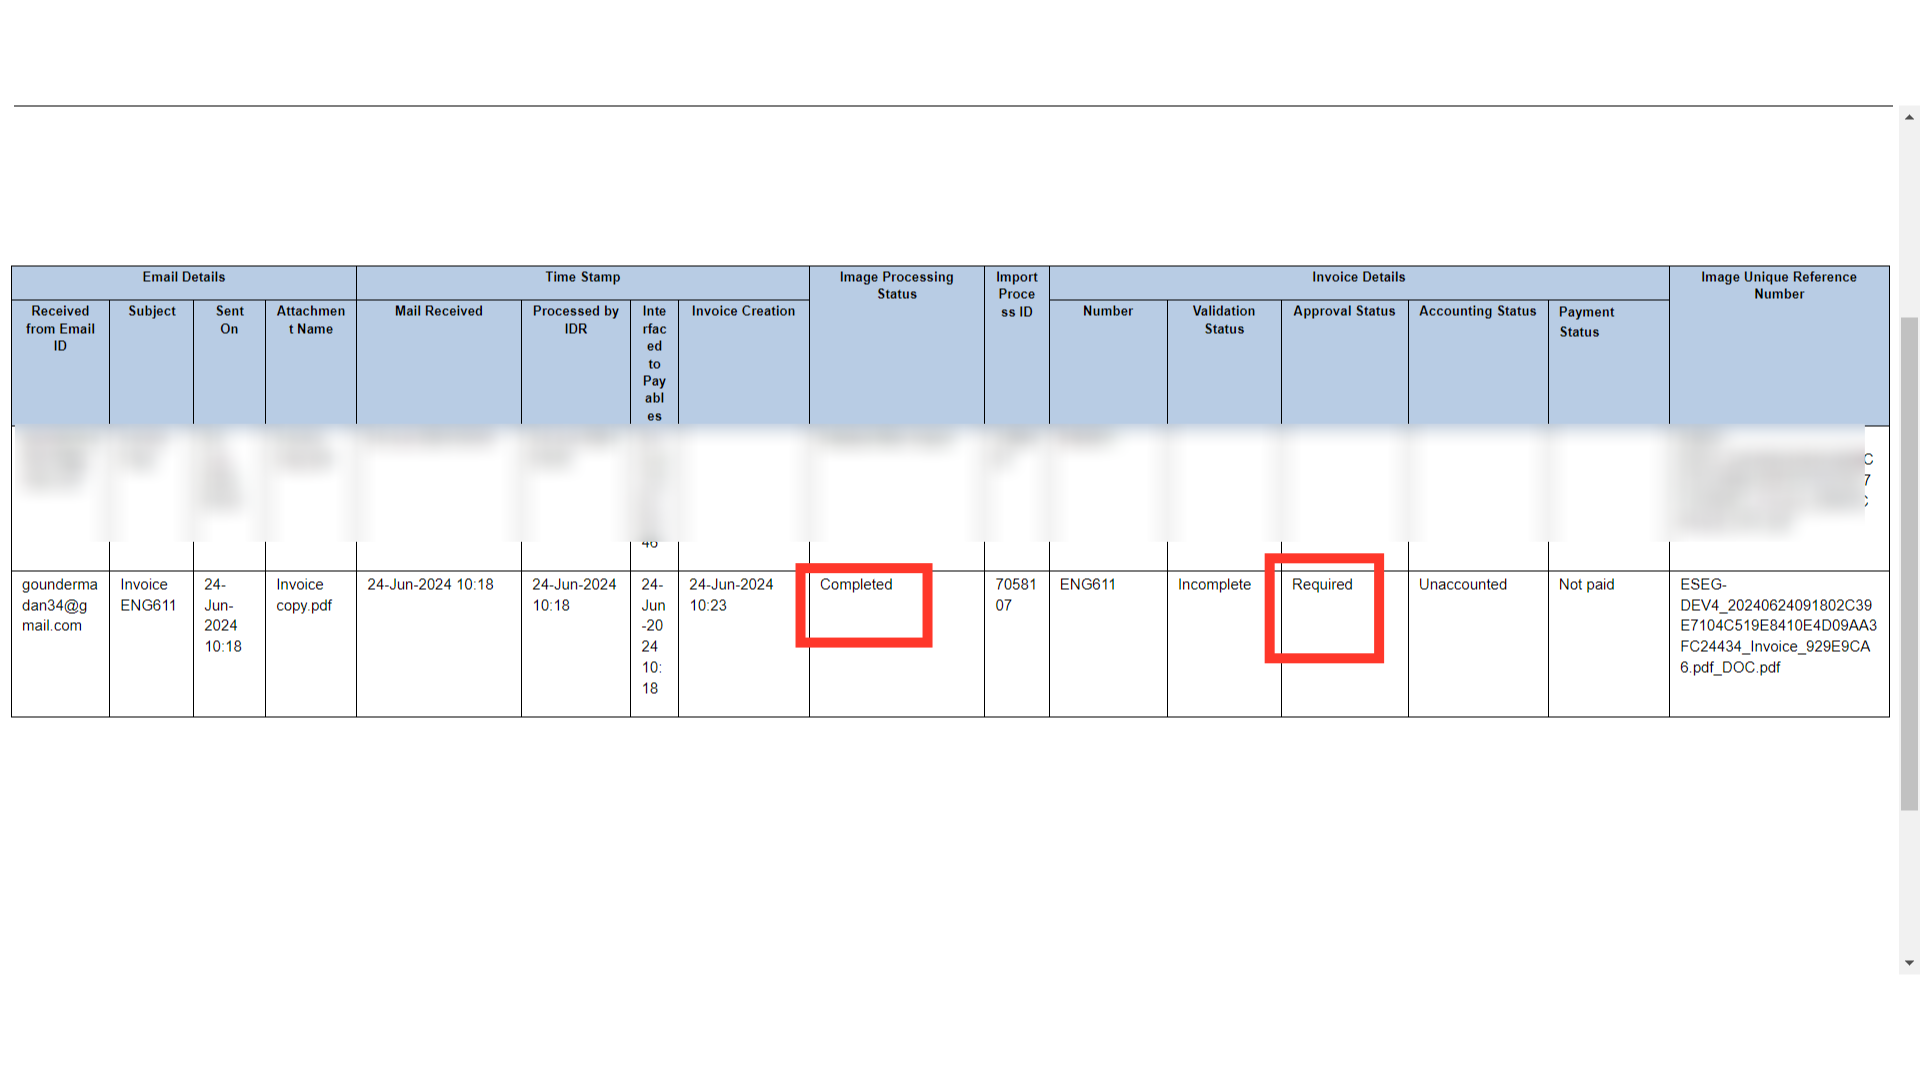
This is the layout of the report in which invoice status, sender email ID, Invoice number, etc details are displayed. The report tracks the status of the invoice at each stage, starting from the time that the email reaches the IDR service, until it is imported and created in Payables
To initiate the new process, click on the Schedule New Processes button.
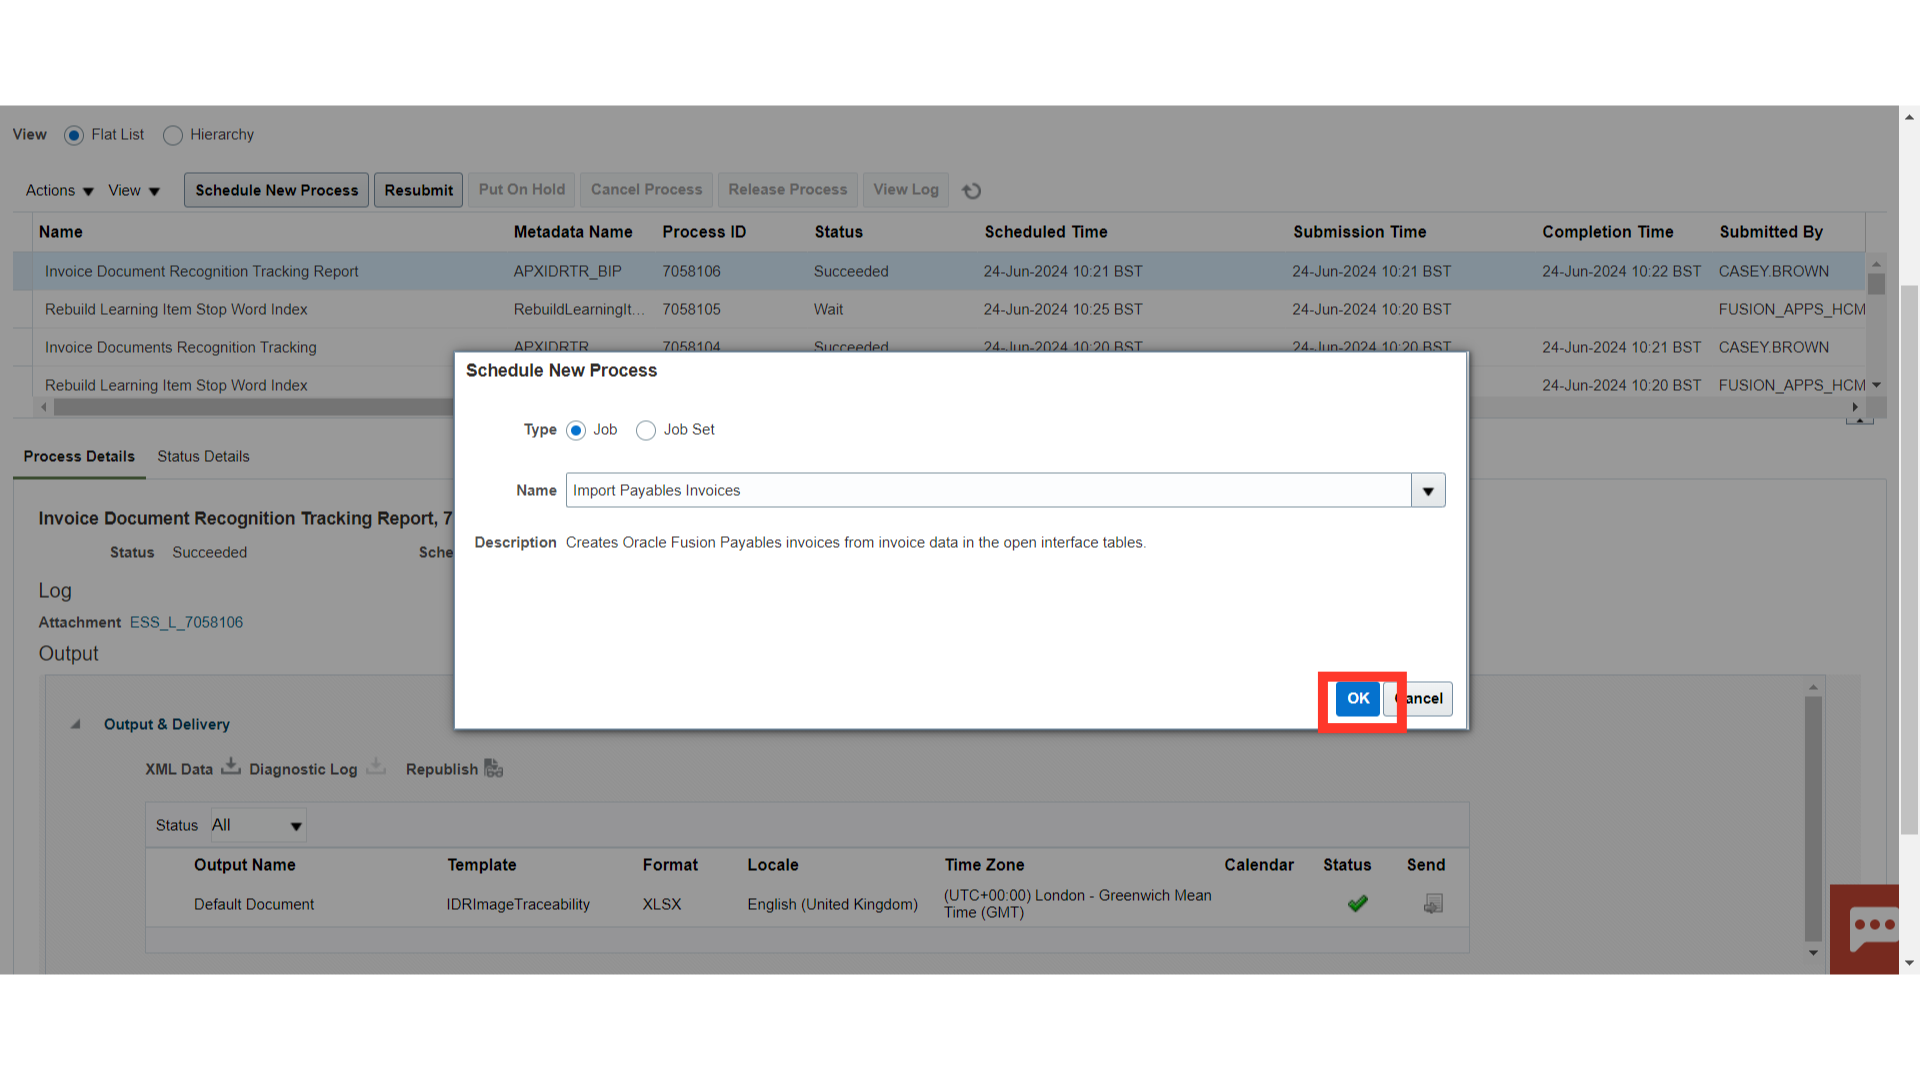
To import the invoices into the payable’s module, enter the process name Import Payables Invoices manually or by selecting it from the drop-down. Click on the OK button to continue.
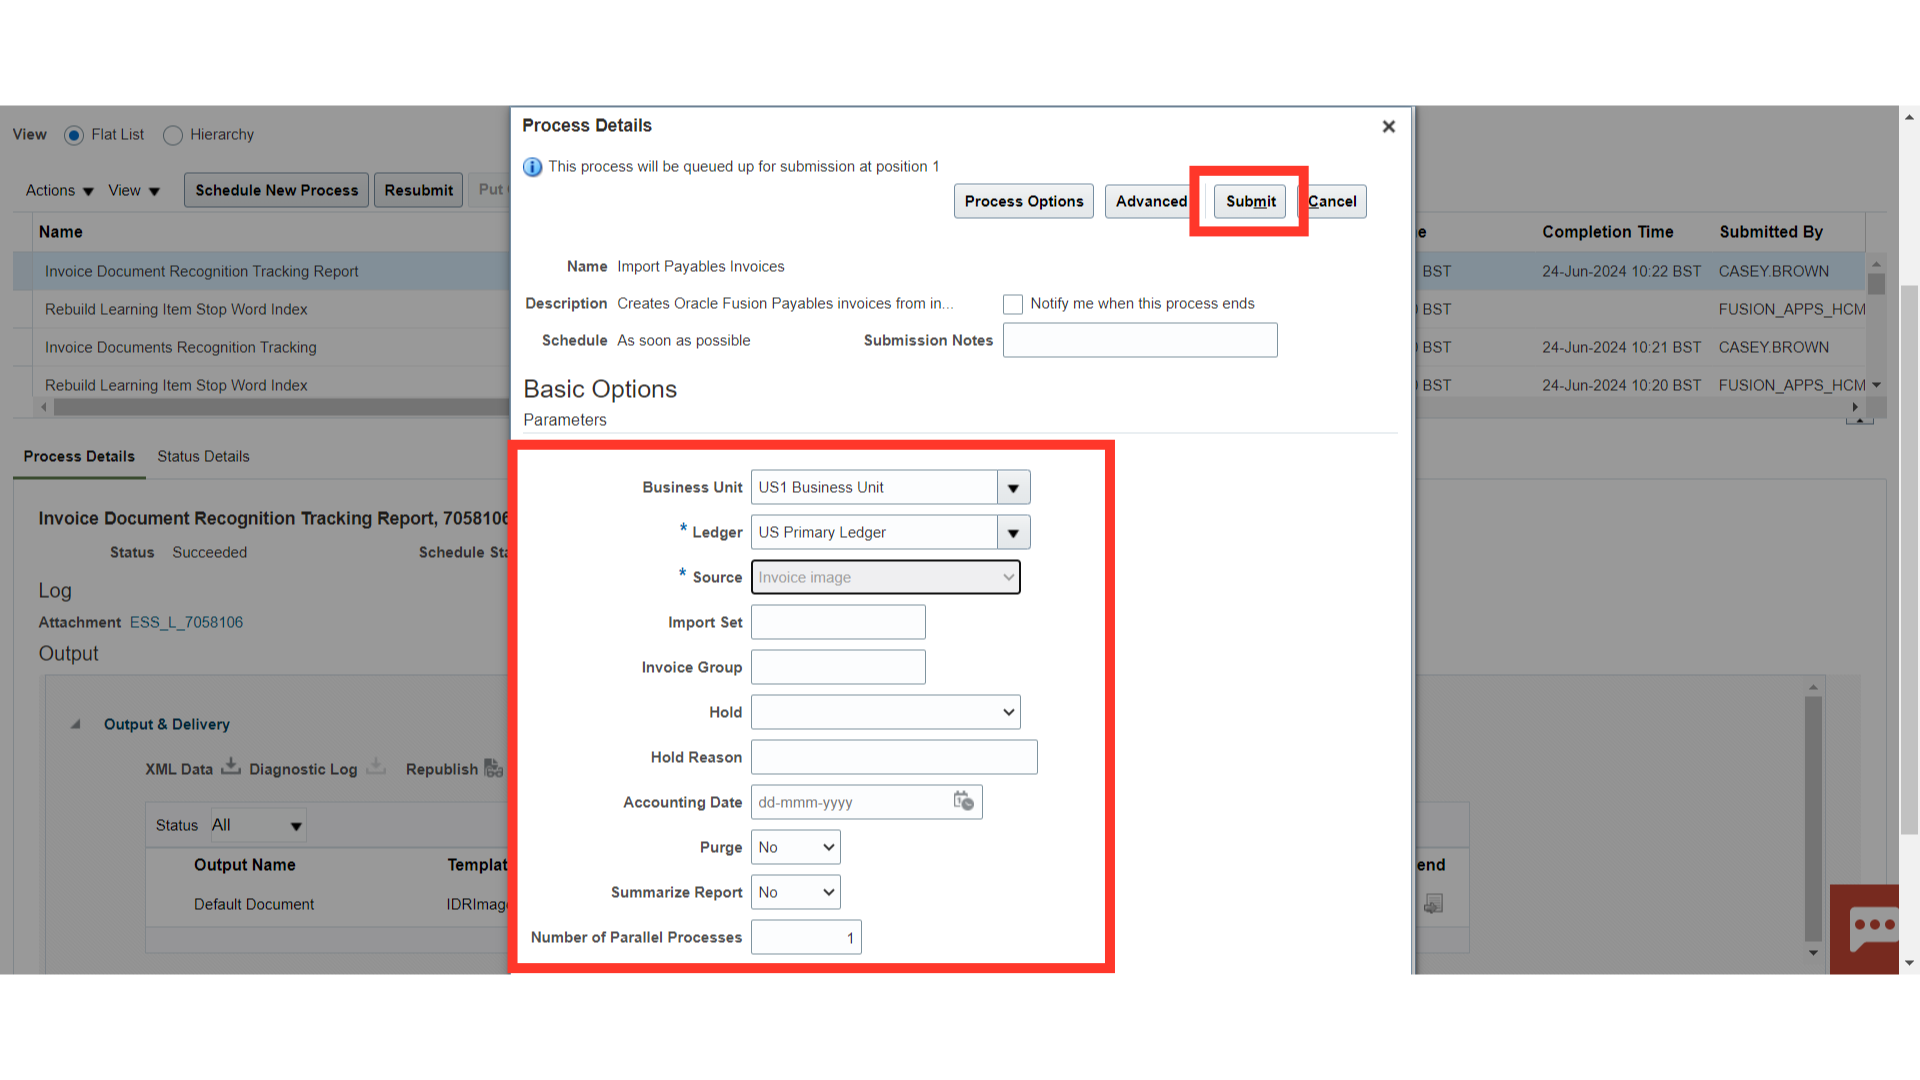
Select the Business Unit and Ledger name under which invoices are to be imported. Additionally, select the Source as “Invoice image” to import the scan invoices. Invoice Group, import set, and accounting date can be entered to import invoices specifically falling under those parameter details. Additionally, the Hold parameter can be selected to apply a hold to all imported invoices. After entering all the required parameters click on Submit button to run the import process.
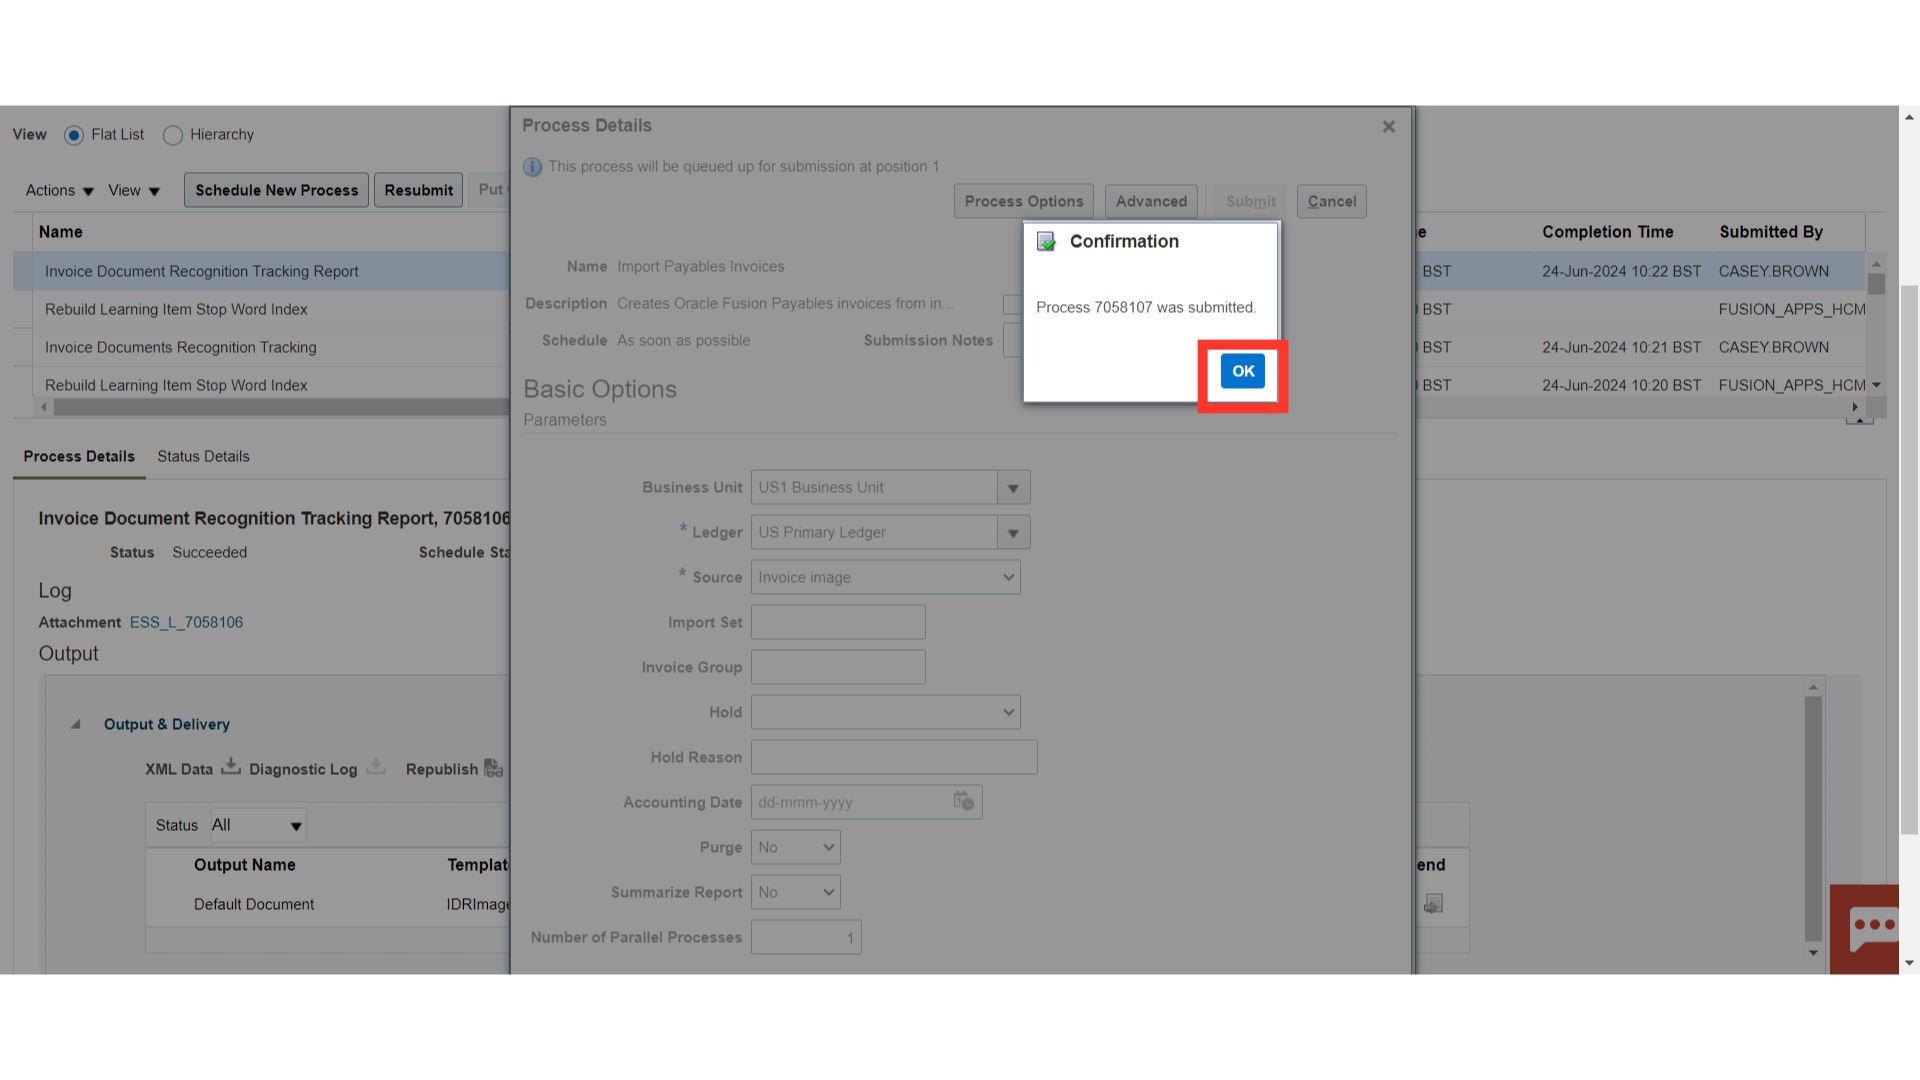
A confirmation message is displayed along with the Process ID.
Once the status of Import payables Invoices is Succeeded, again run the Invoice Document Recognition Tracking process.
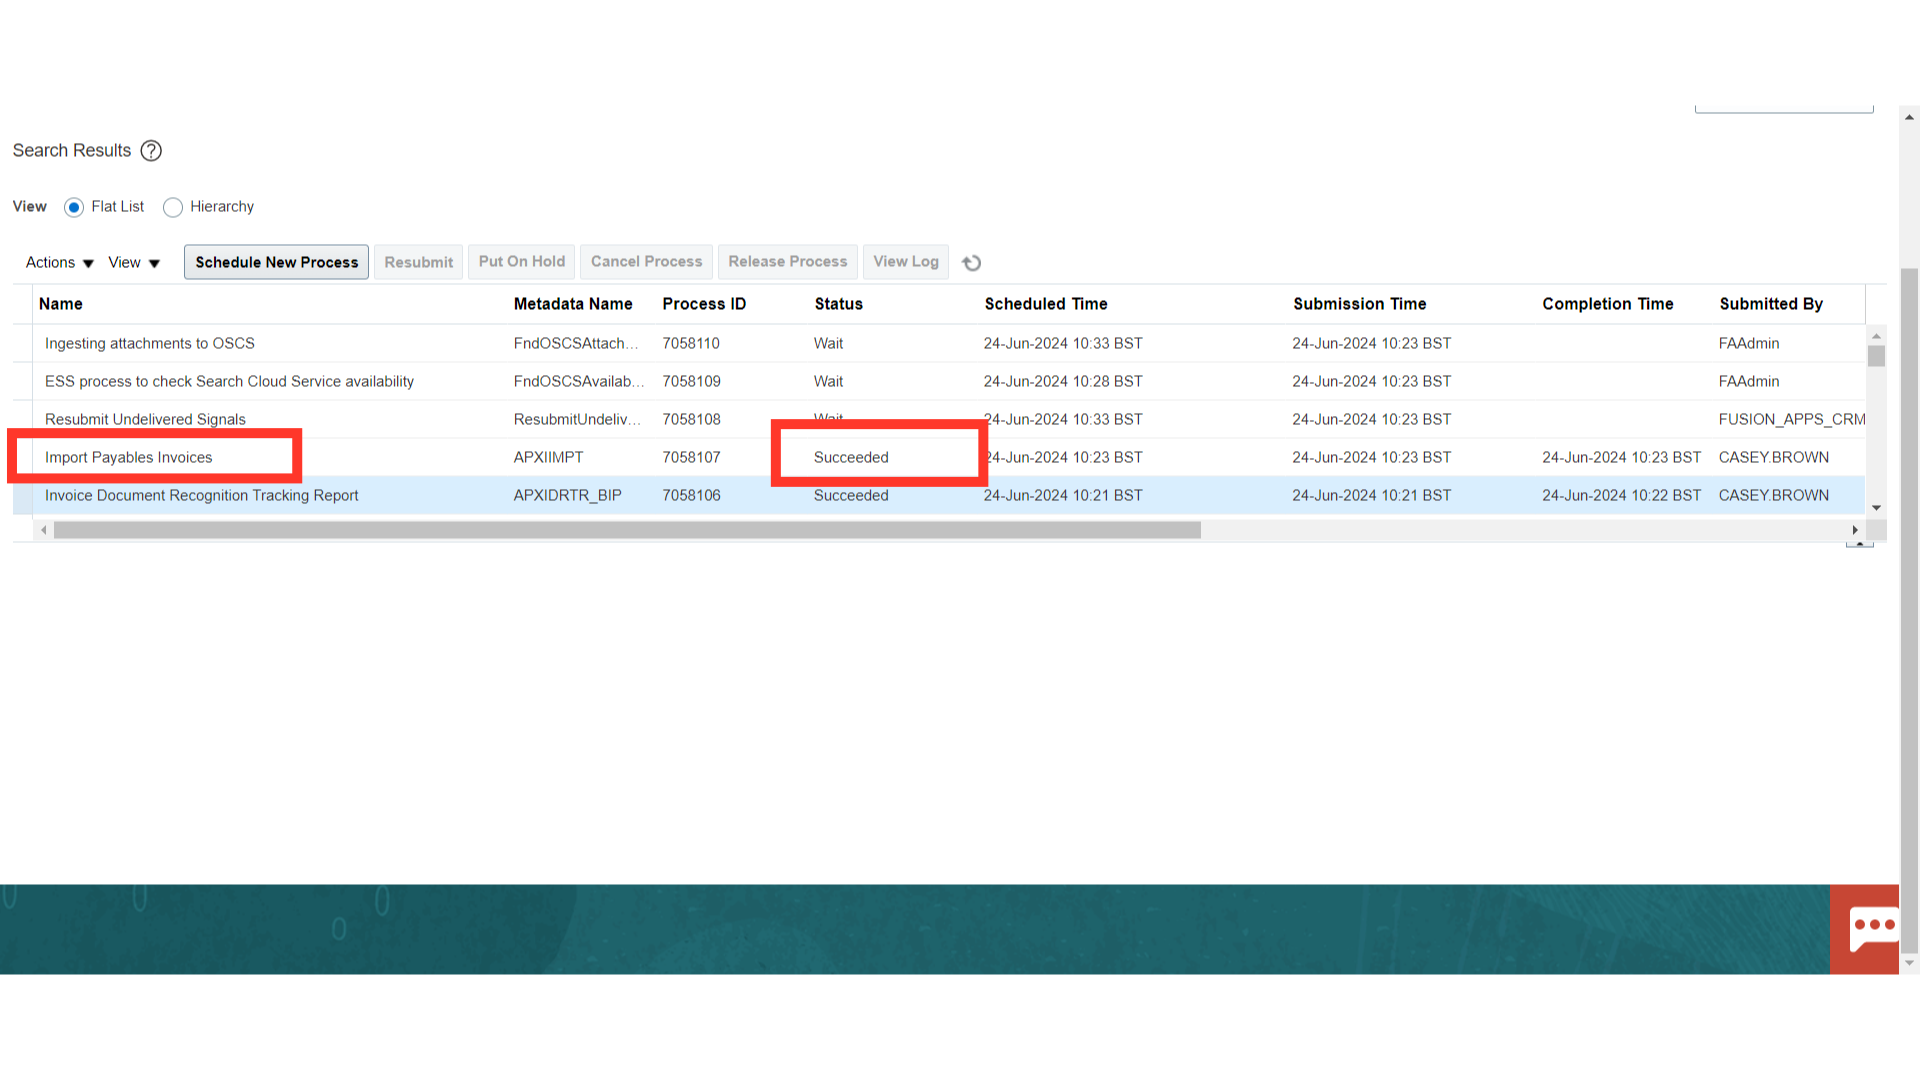
After entering all the required parameters, click on submit button again.
Download the Invoice Document Recognition Tracking report, by clicking on the Republish button after selecting the process name.
The Image processing status of the invoice is Completed and Incomplete is the validation status. Now, navigate to the Invoice workbench to check the imported invoice details.
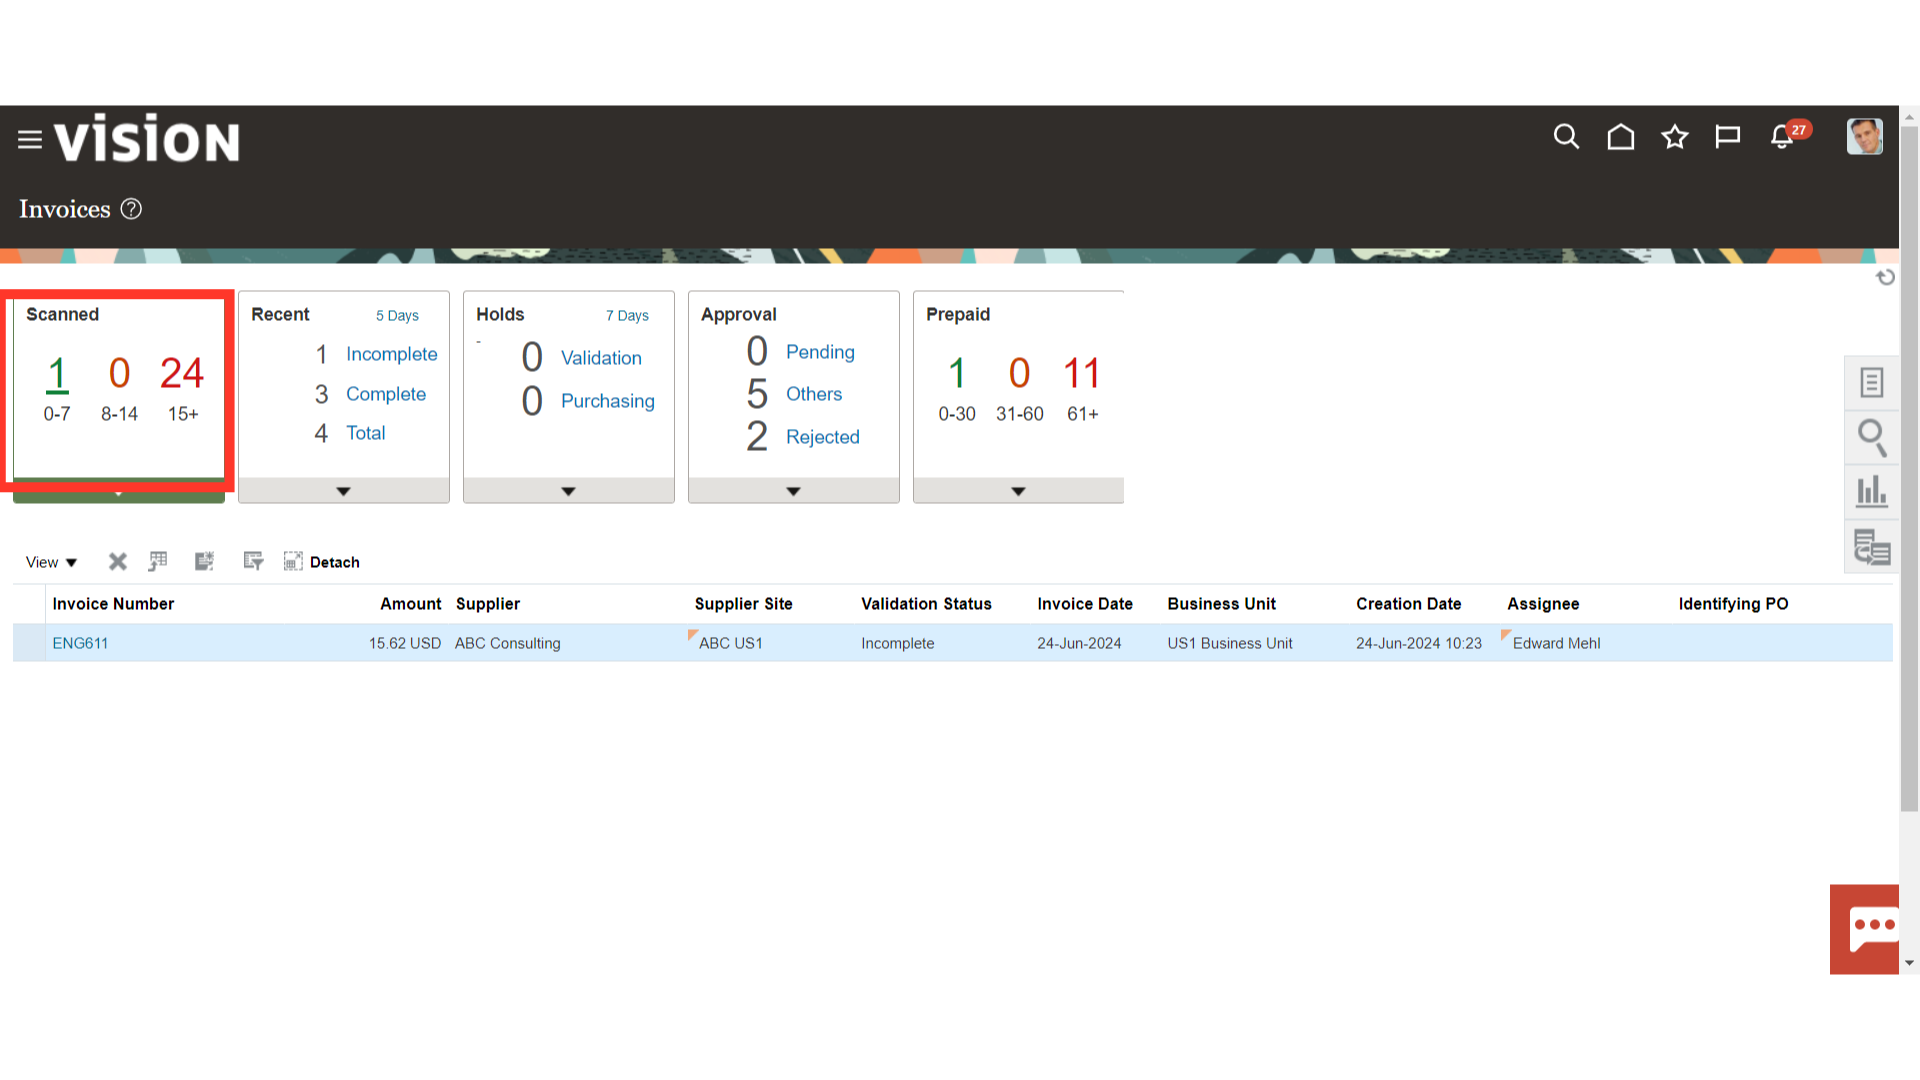
Invoices that have been recorded in the application through scanning and are incomplete are displayed under Scanned infotile. Scanned invoices are arranged in aging buckets, by clicking any of the numbers those invoices are displayed in a table.
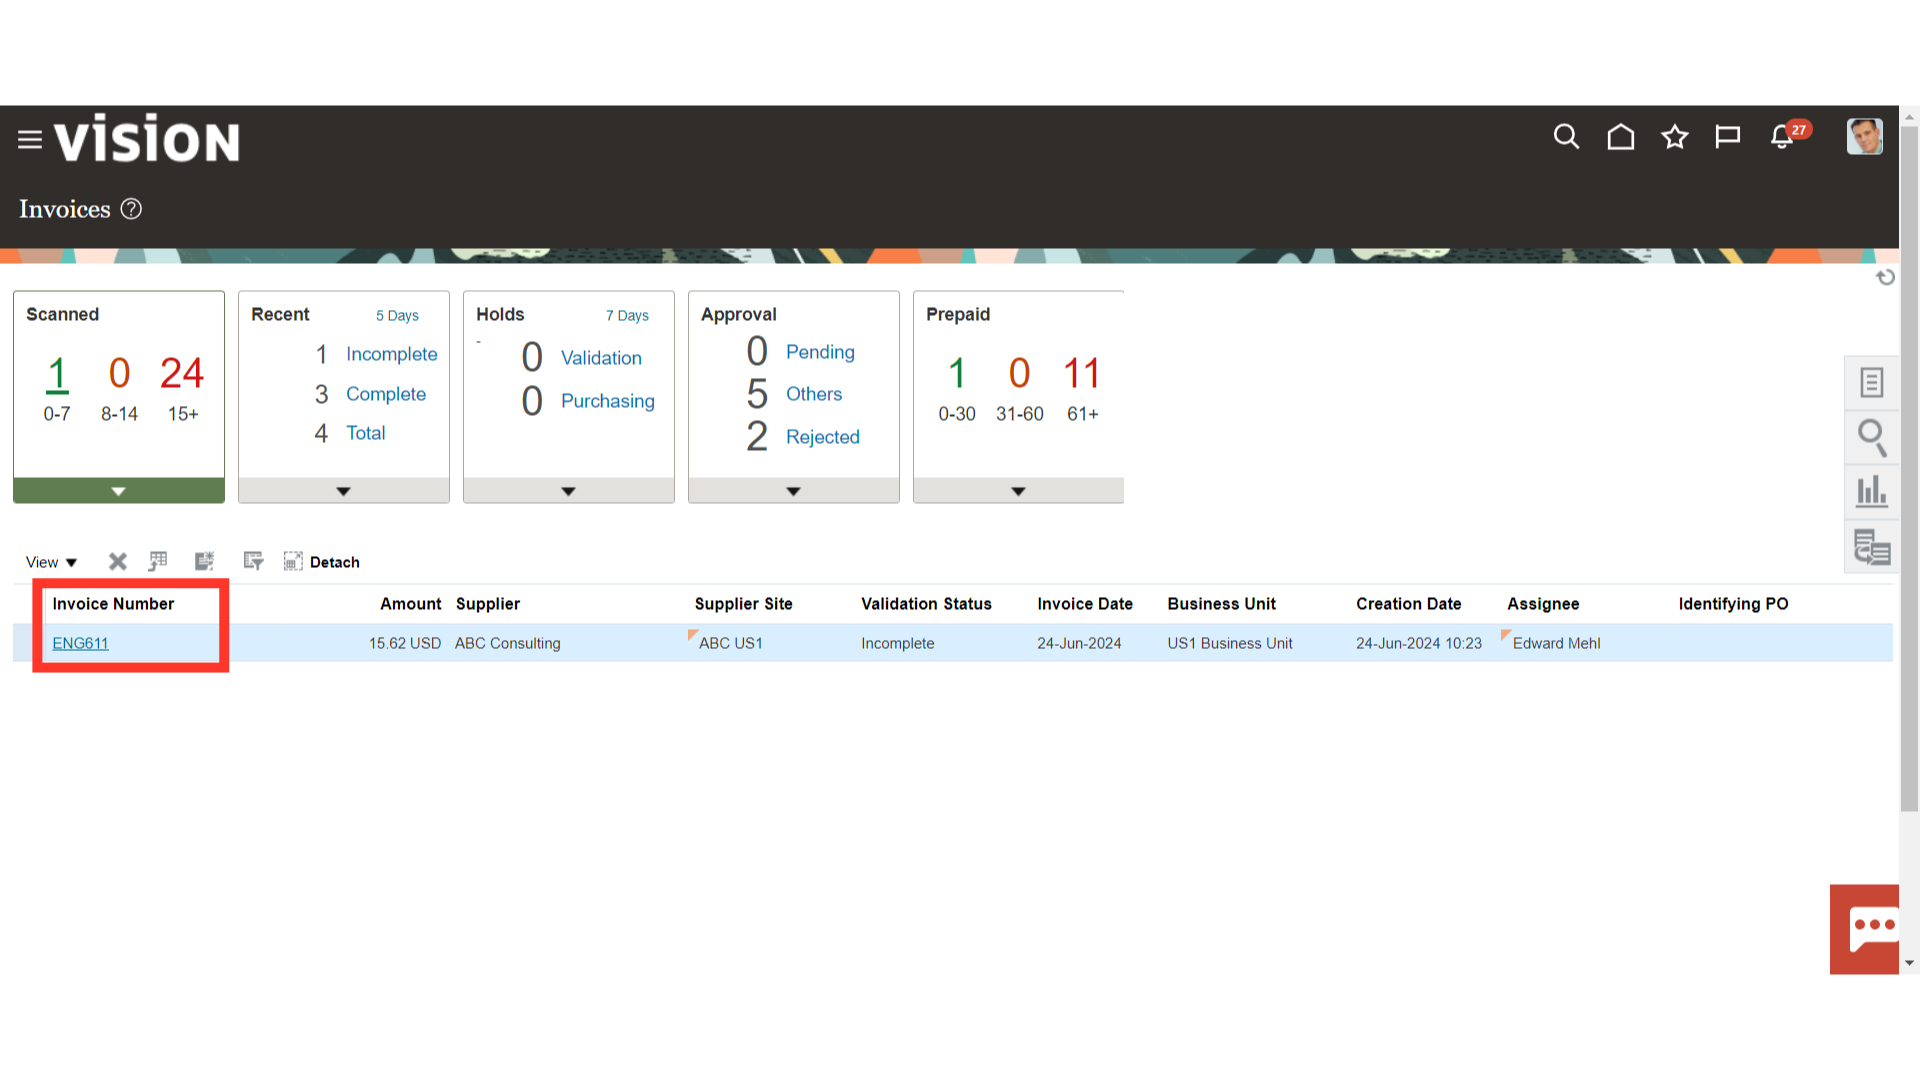
Click on the Invoice number hyperlink to open the invoice in edit form.
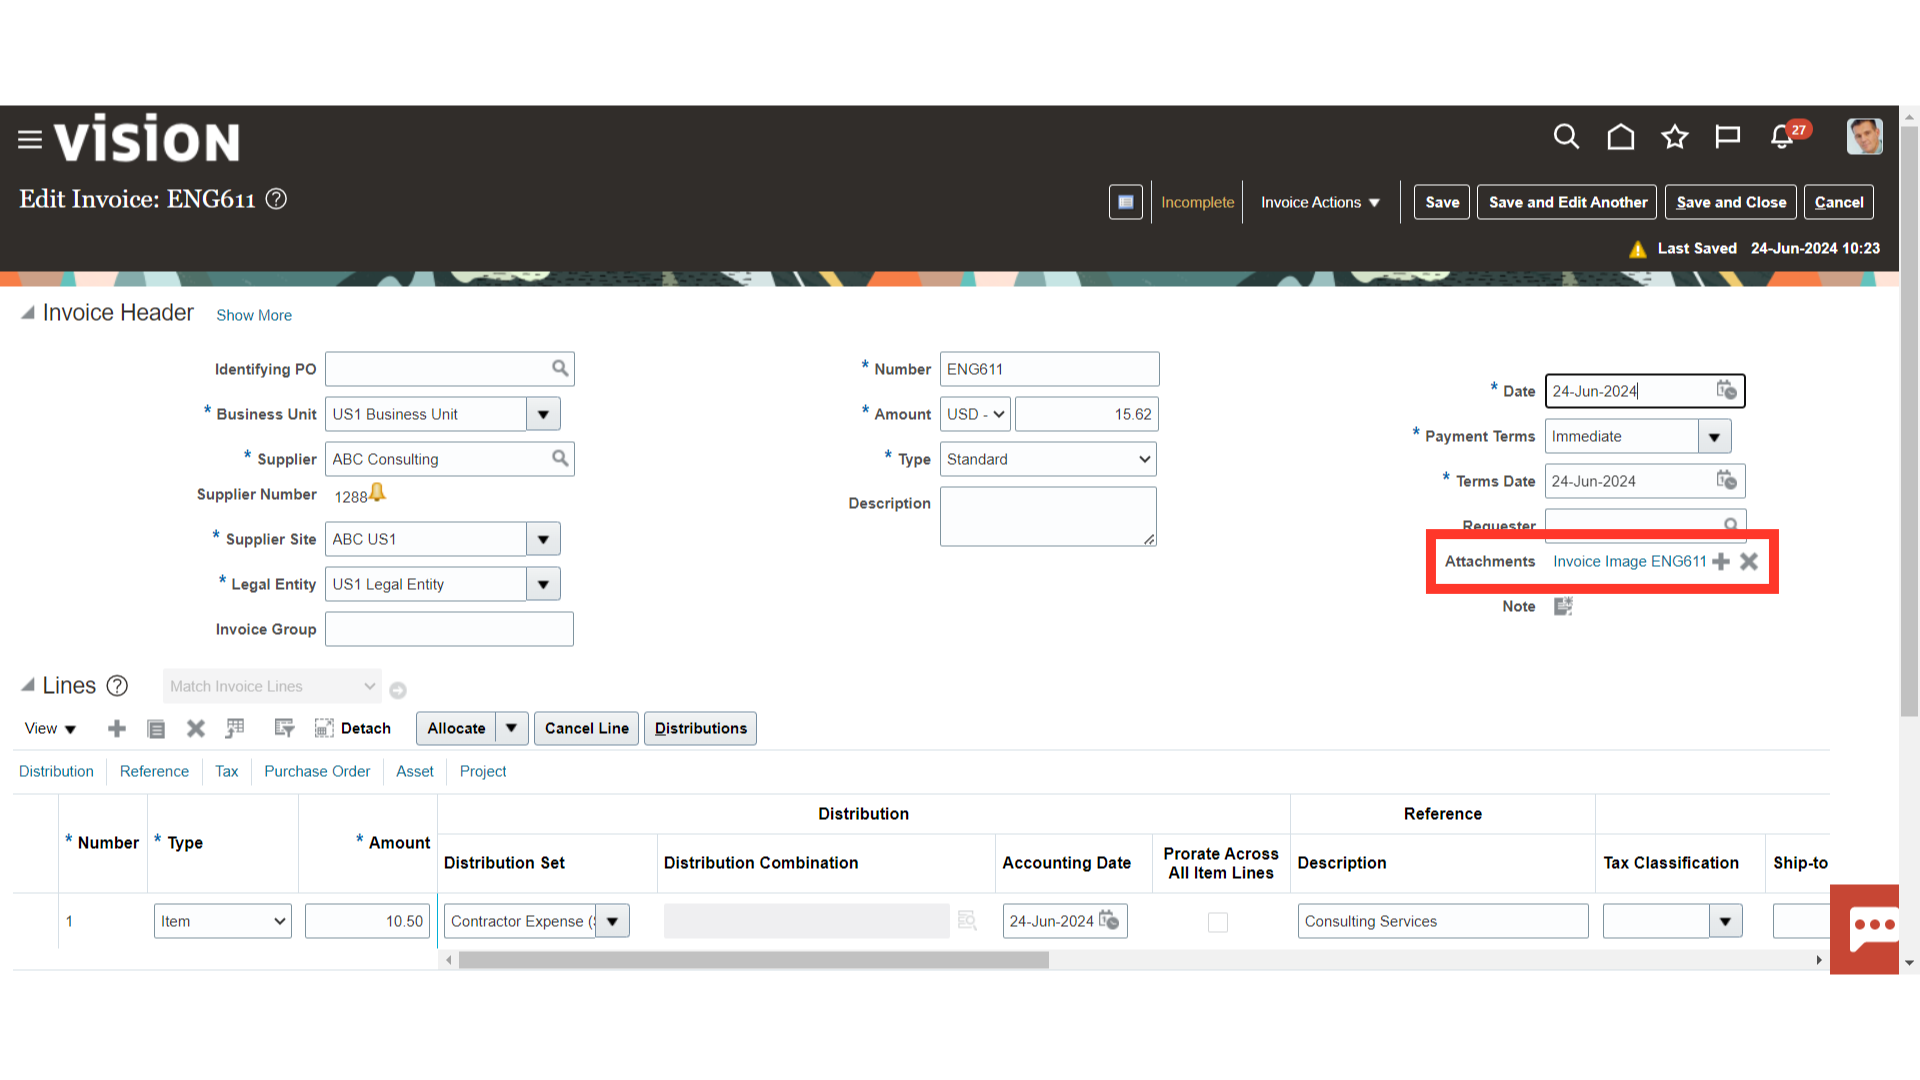
Click on the Attachment hyperlink, to see the scan copy of invoice.
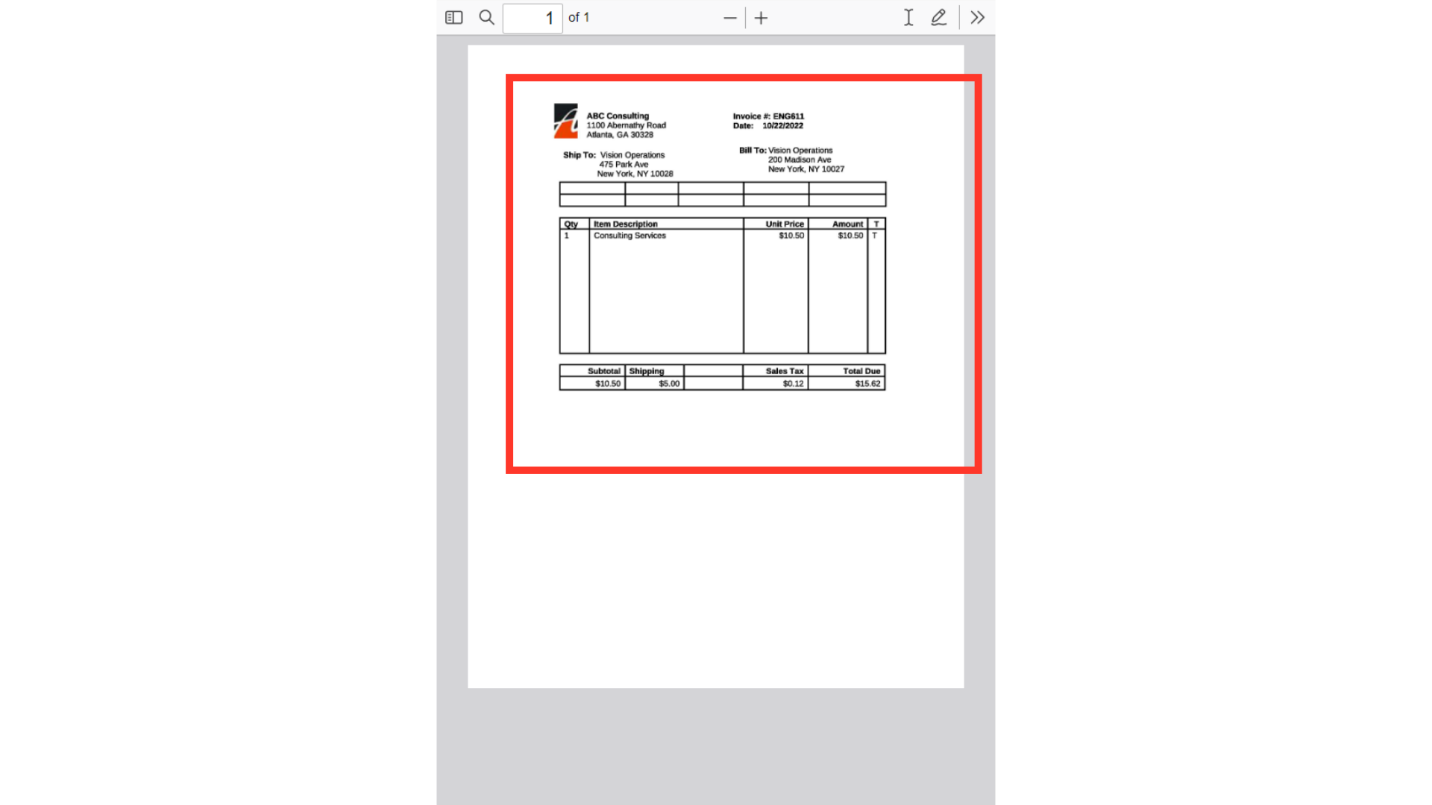
Upon selecting the attachments hyperlink, the invoice copy appears on a new tab.
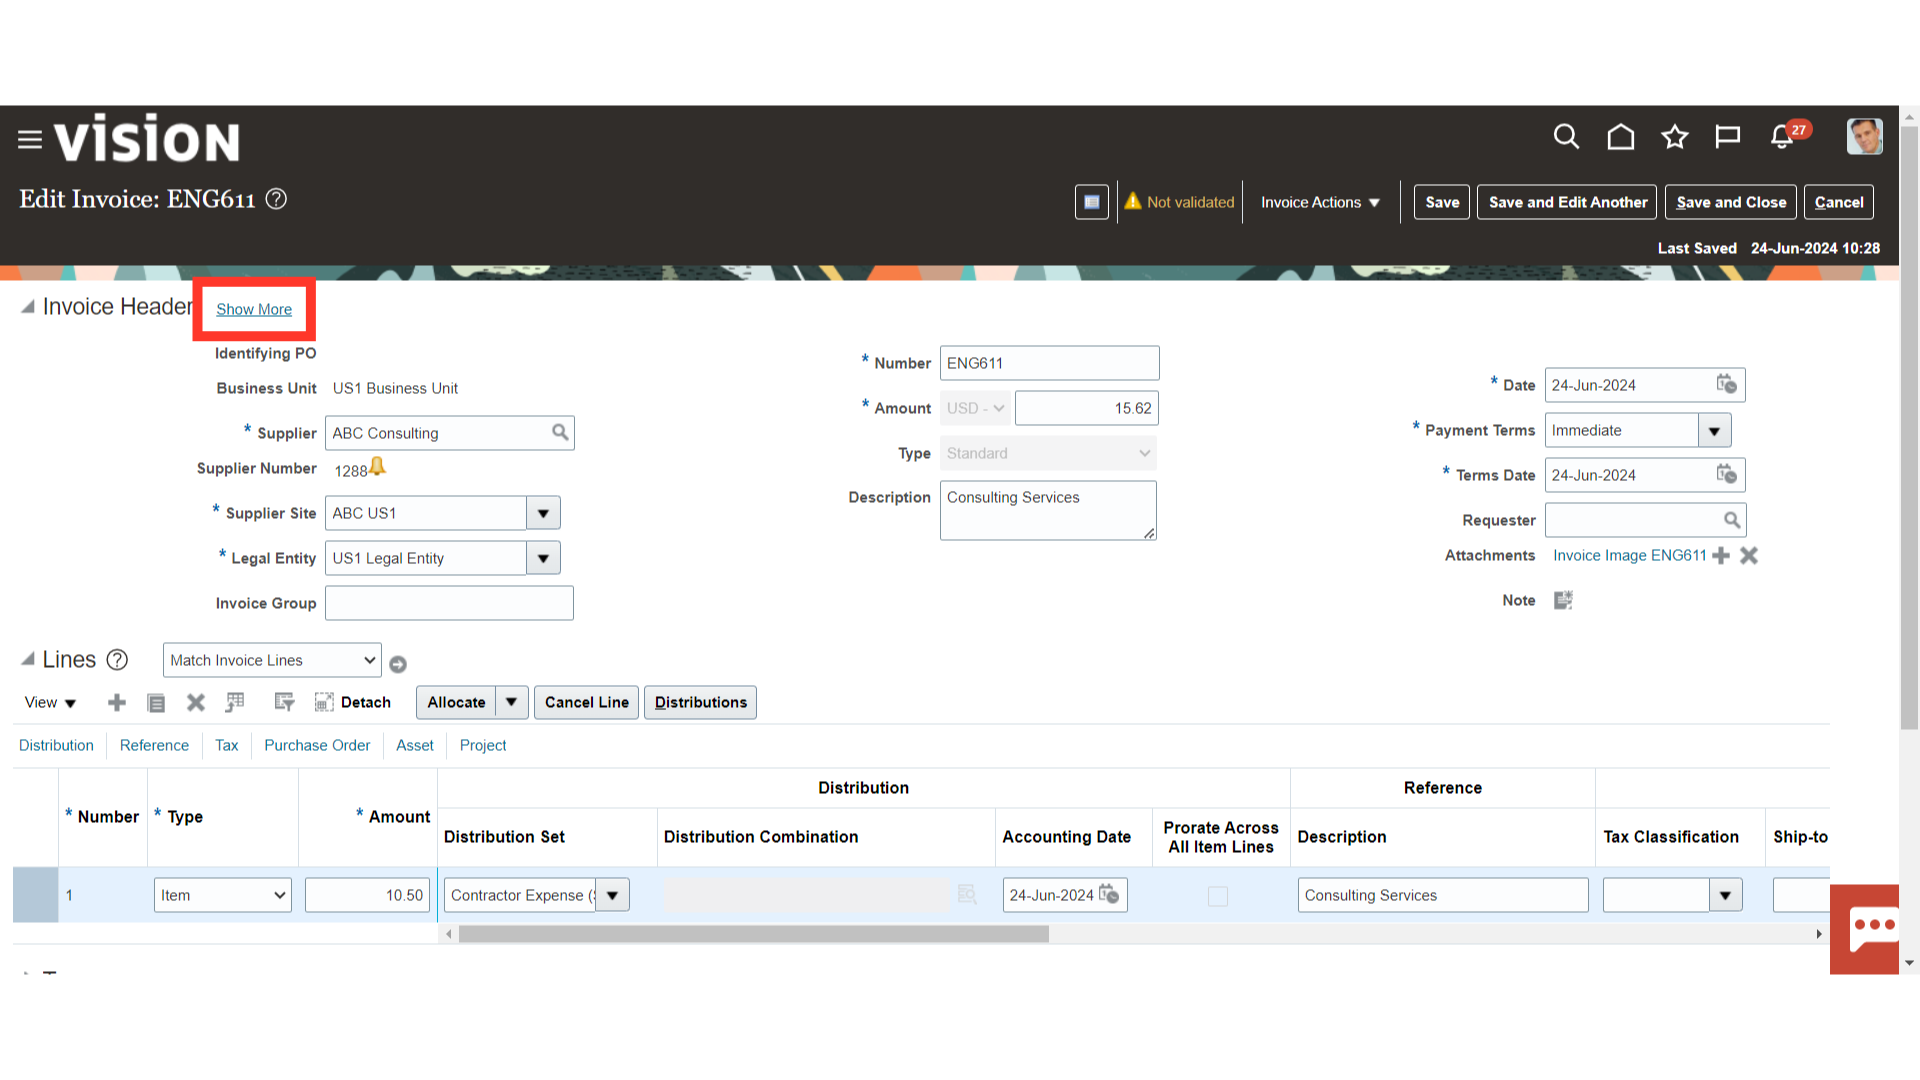
Click on Show more to see more details at the invoice header level.
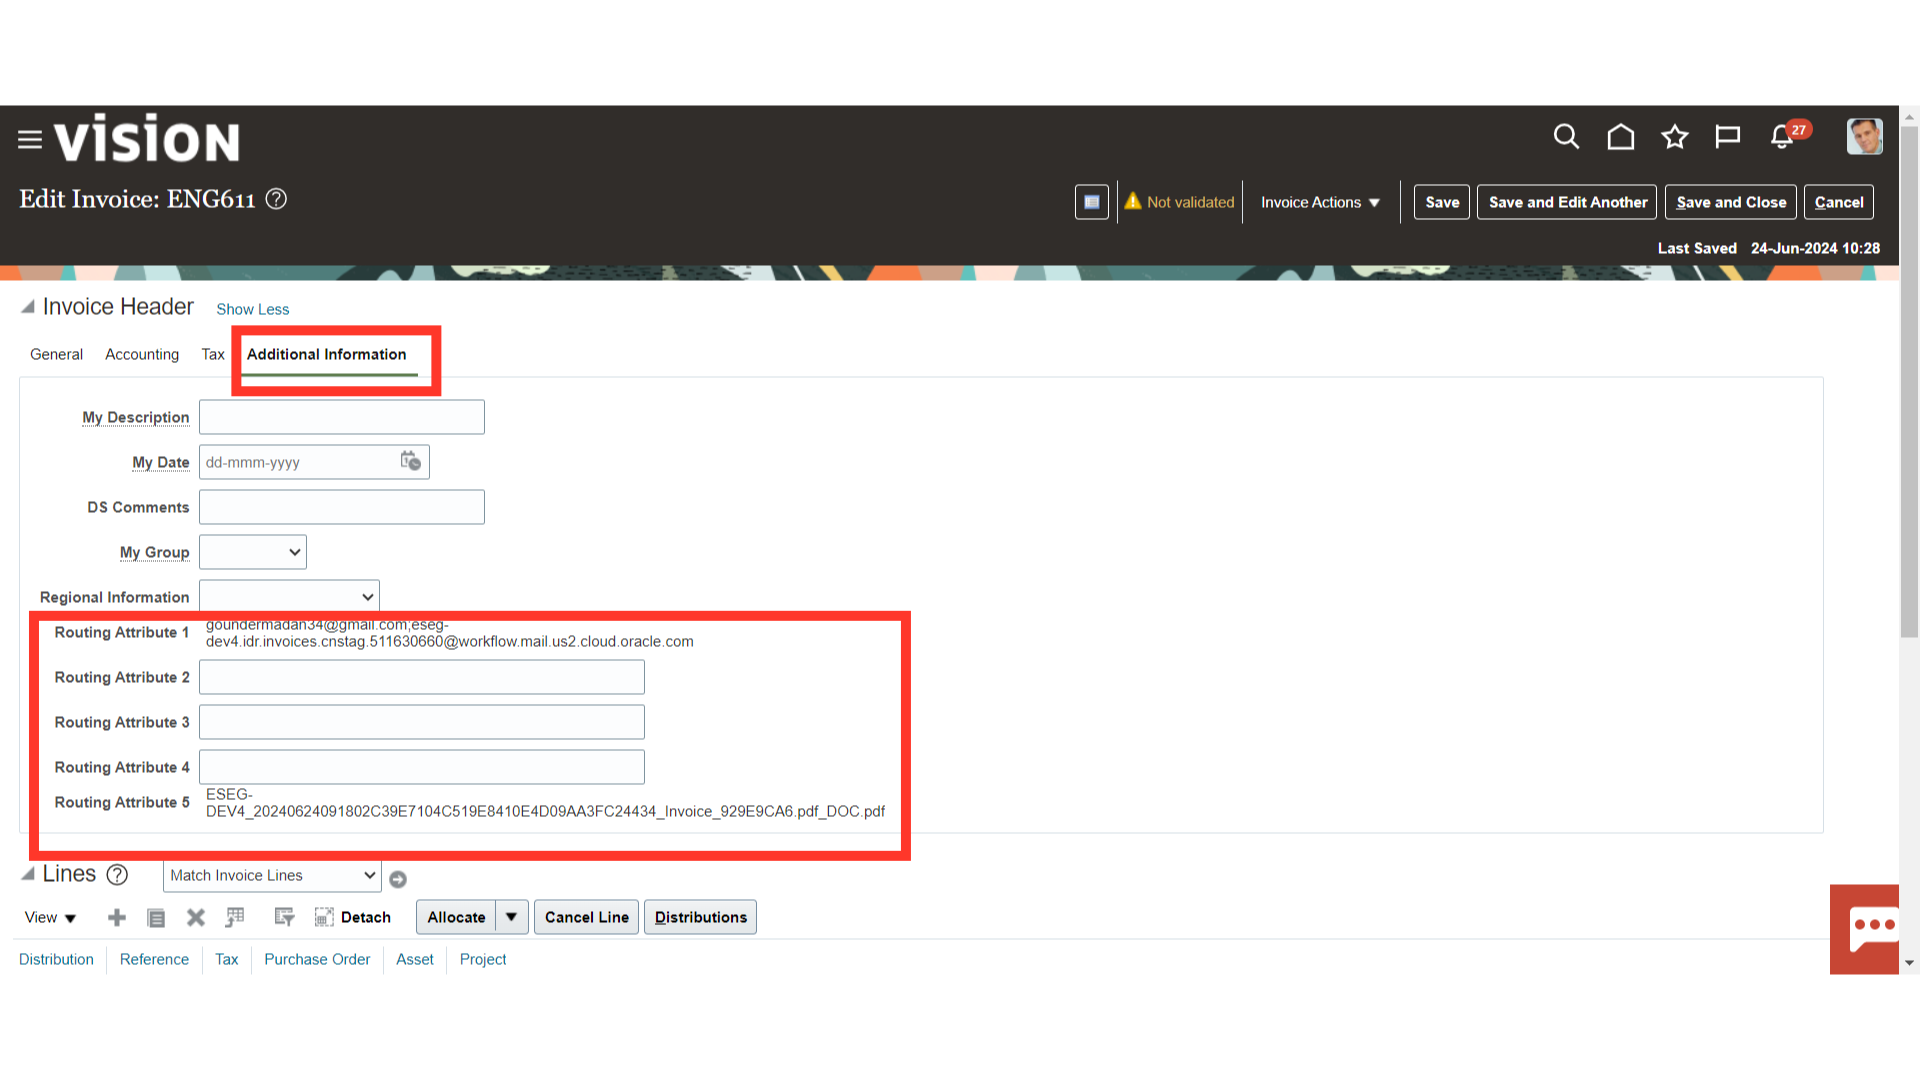
The Additional information tab shows the Sender email details as well as the Designation email address. After verifying the details, validate the invoice and make the payment.
The process of creating invoices through scanning was thoroughly explained in this guide. It began with sending a copy of the invoice to the designated email address, followed by the import payables invoice process, the invoice document recognition tracking process, and finally, confirming the scanned invoices from the scan infotile in the invoice workbench.