Prepayment Invoices
Sometimes you might need to pay for goods or services before you receive an invoice. For example, you might need to pay an advance to the supplier before the supplier dispatches the goods. For situations in which you have not yet received an invoice, you can enter a prepayment invoice for an advance payment. This guide will provide you the detailed step by step explanation for creating the prepayment invoice and generating the accounting along with application of the same to the standard invoices.
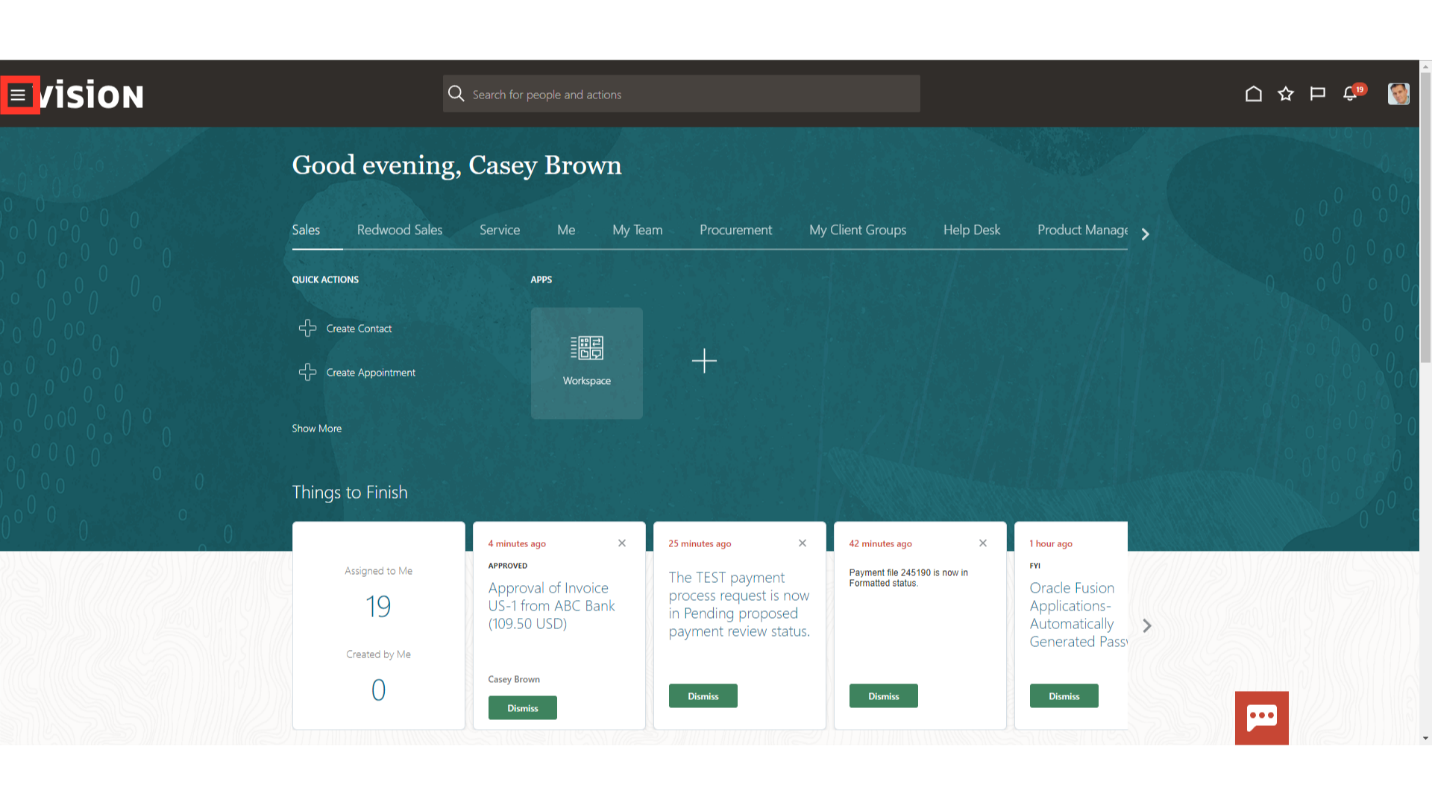
Click on the Navigator icon to access the Payables module.
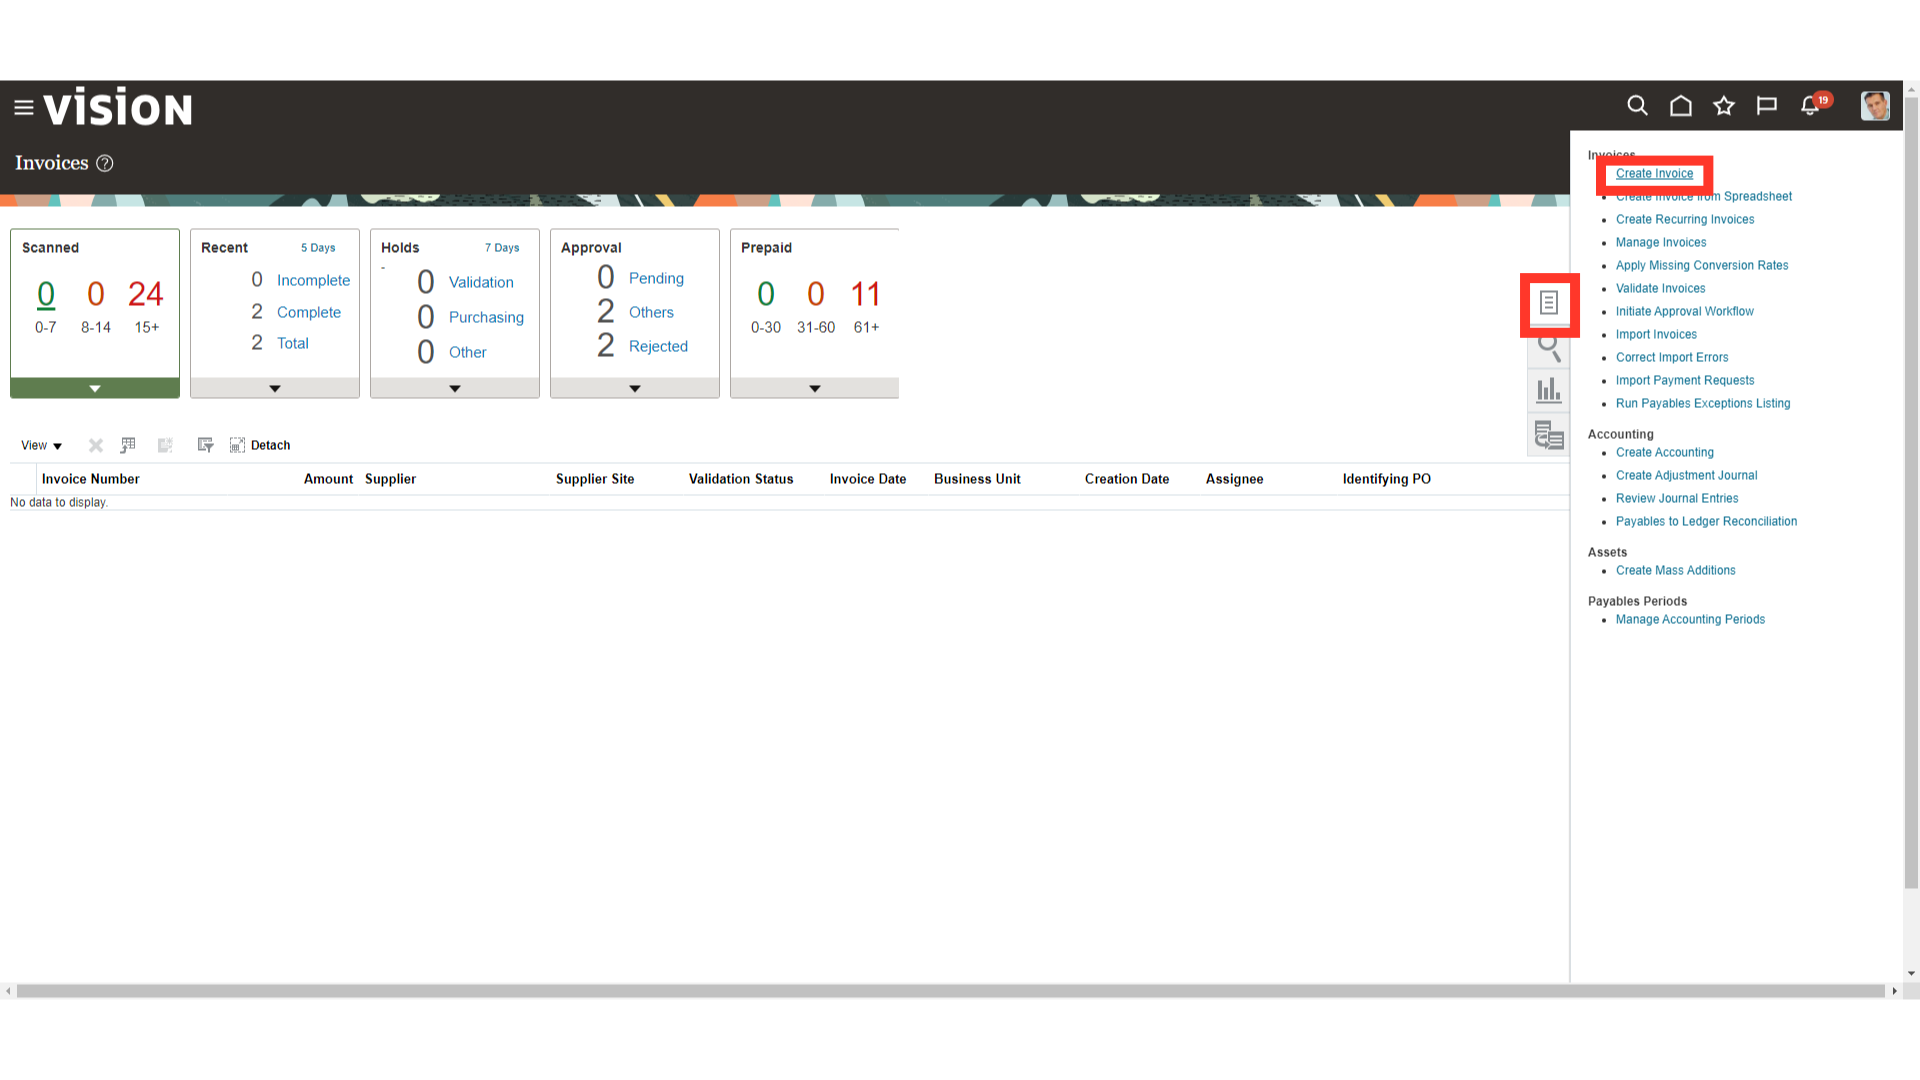
Click on the “Invoices” sub module by expanding the “Payables” module.

Once you land on the Invoice work area, select the “Create Invoice” option from the Task list for recording the invoice.
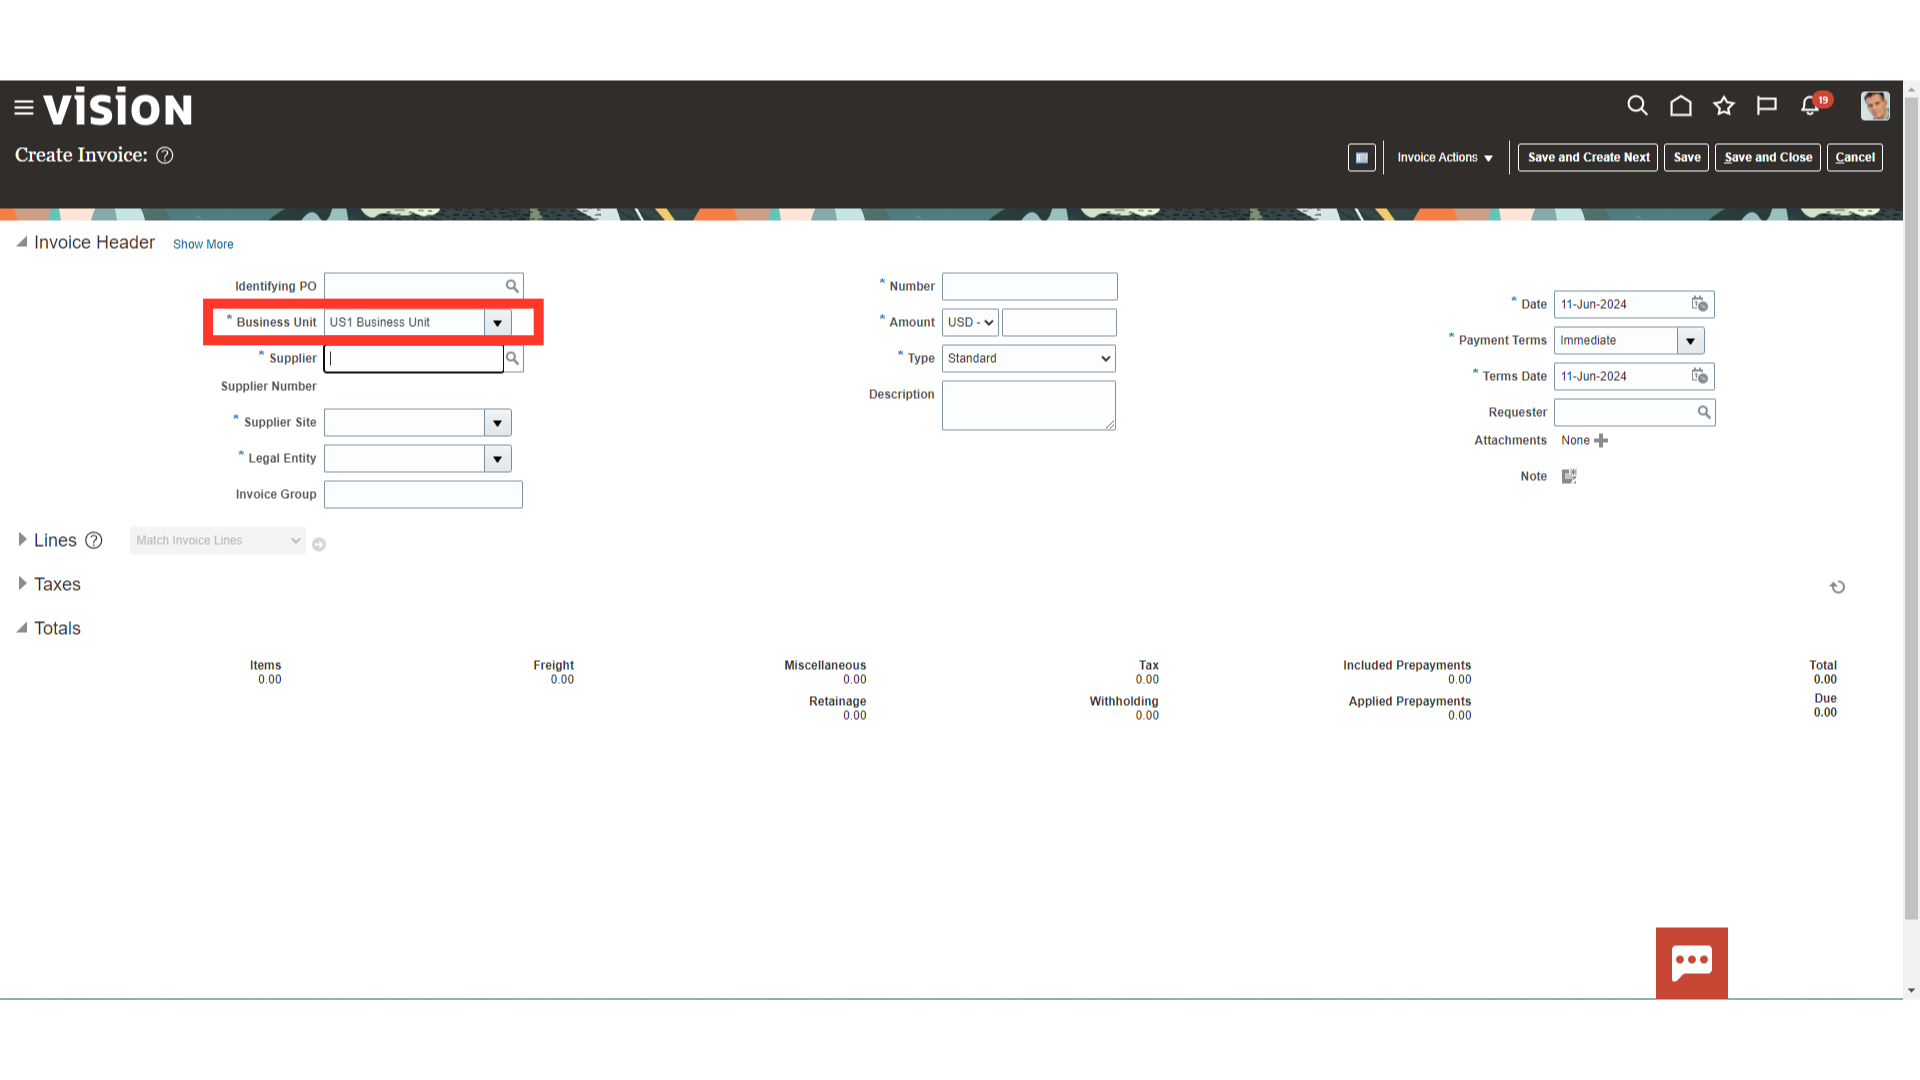
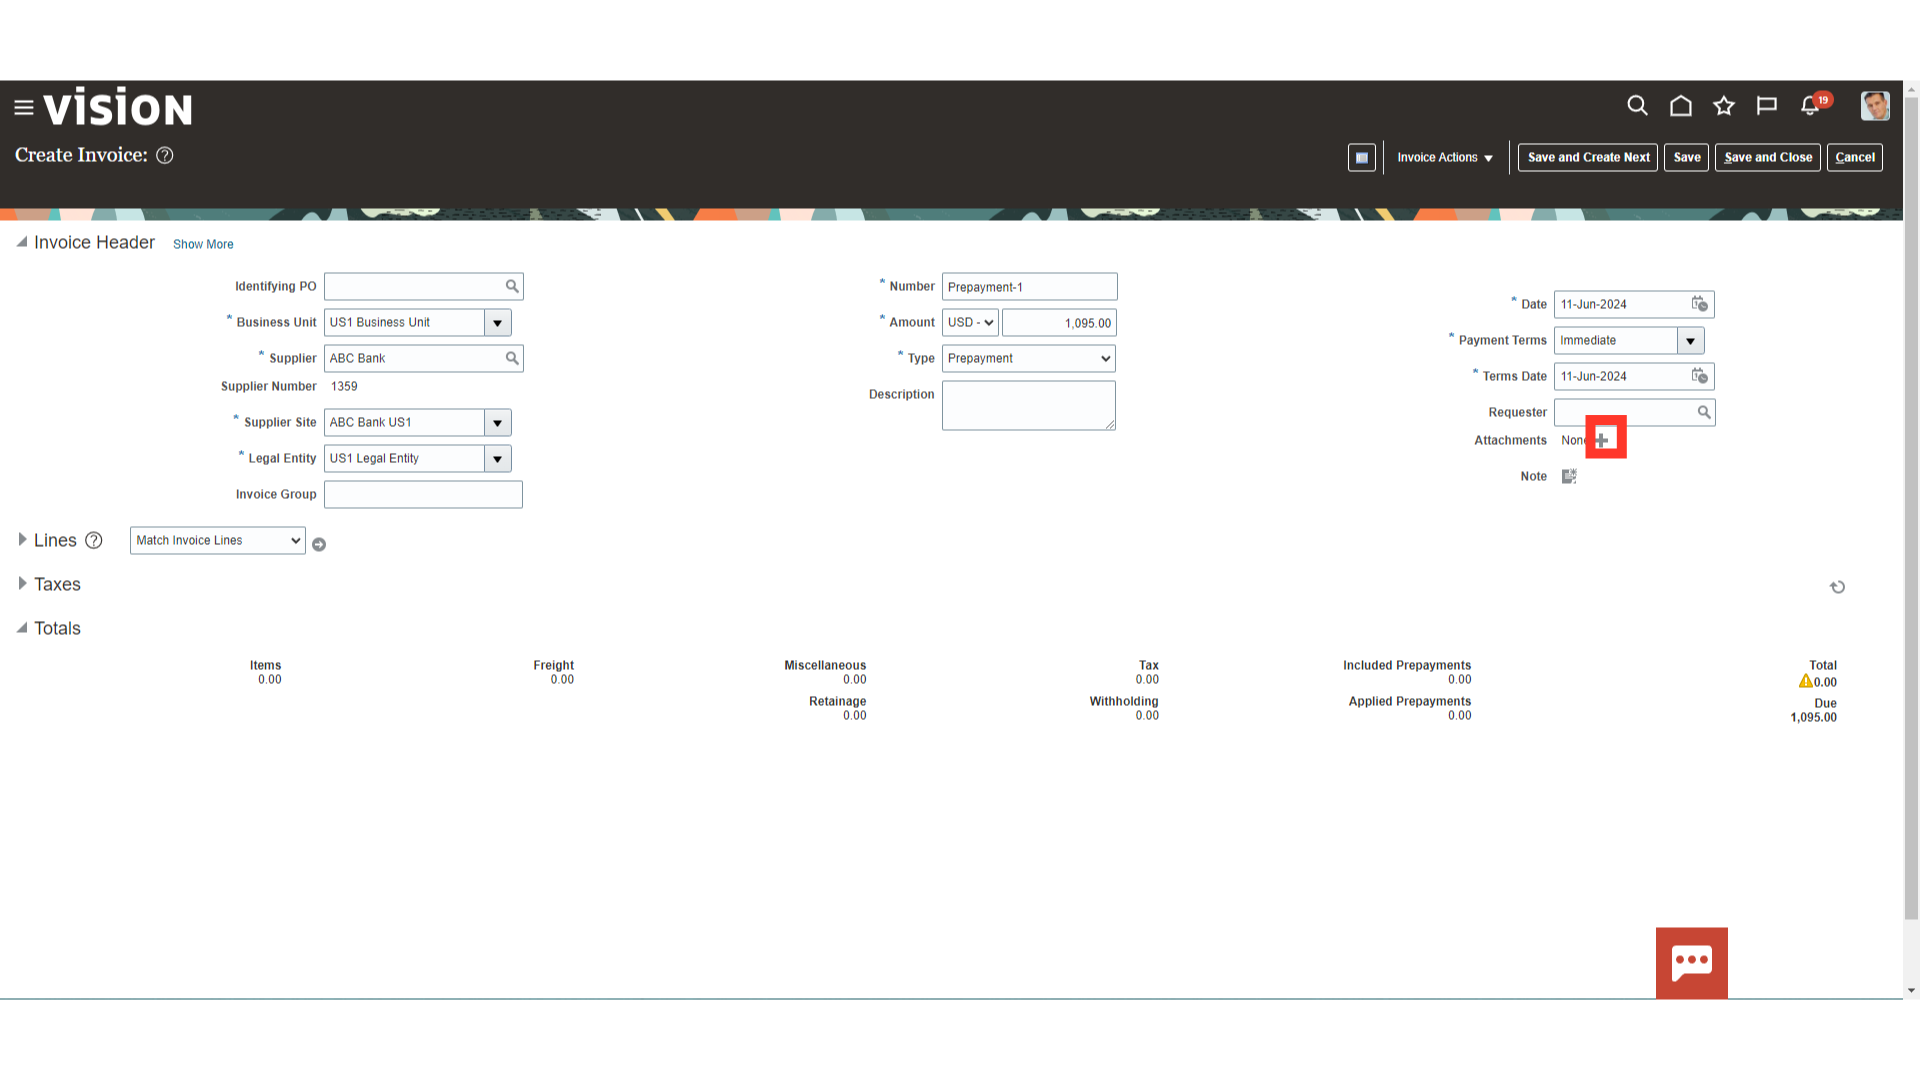
Select the Business Unit where the prepayment invoices need to be created. Here for demo purpose, we have selected US1 Business unit.
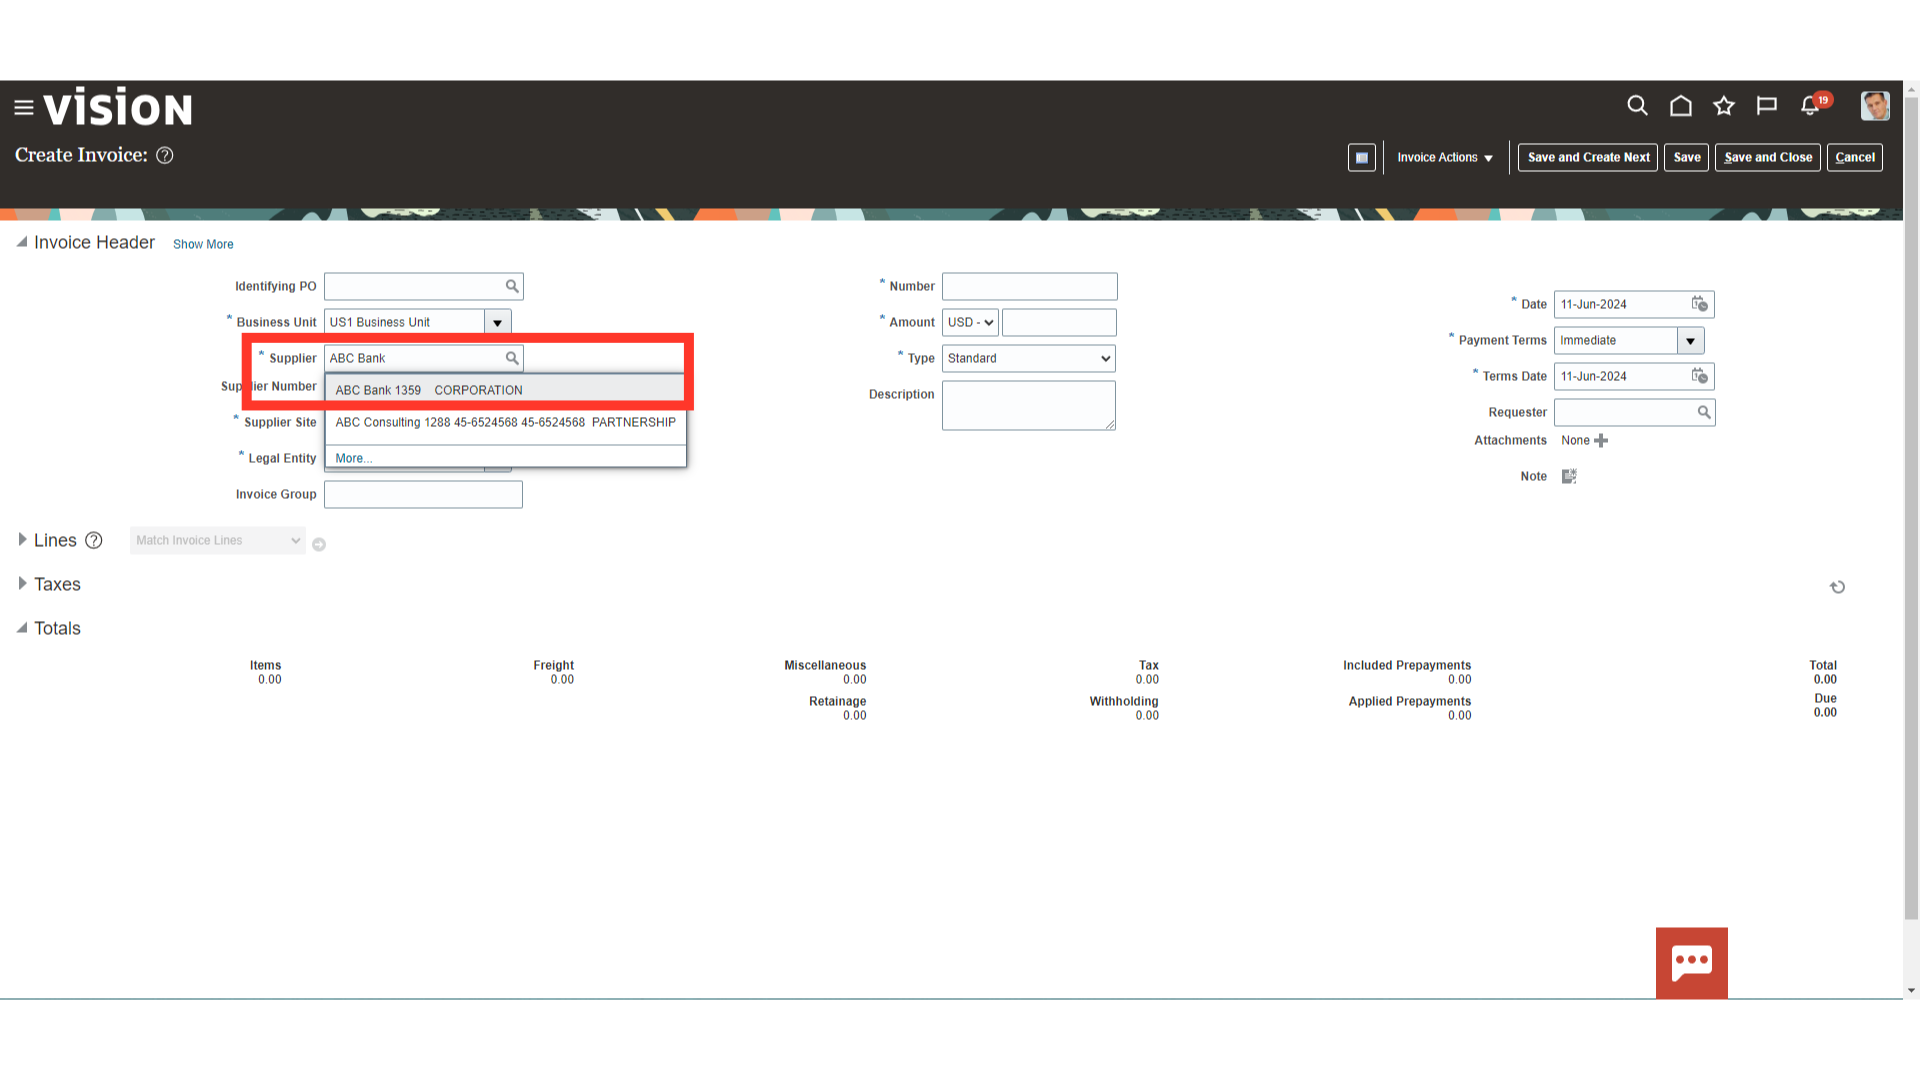
After that, enter the Supplier for whom payment need to be made by entering the supplier’s name or by searching and selecting the supplier’s name by clicking on the magnifying lens.
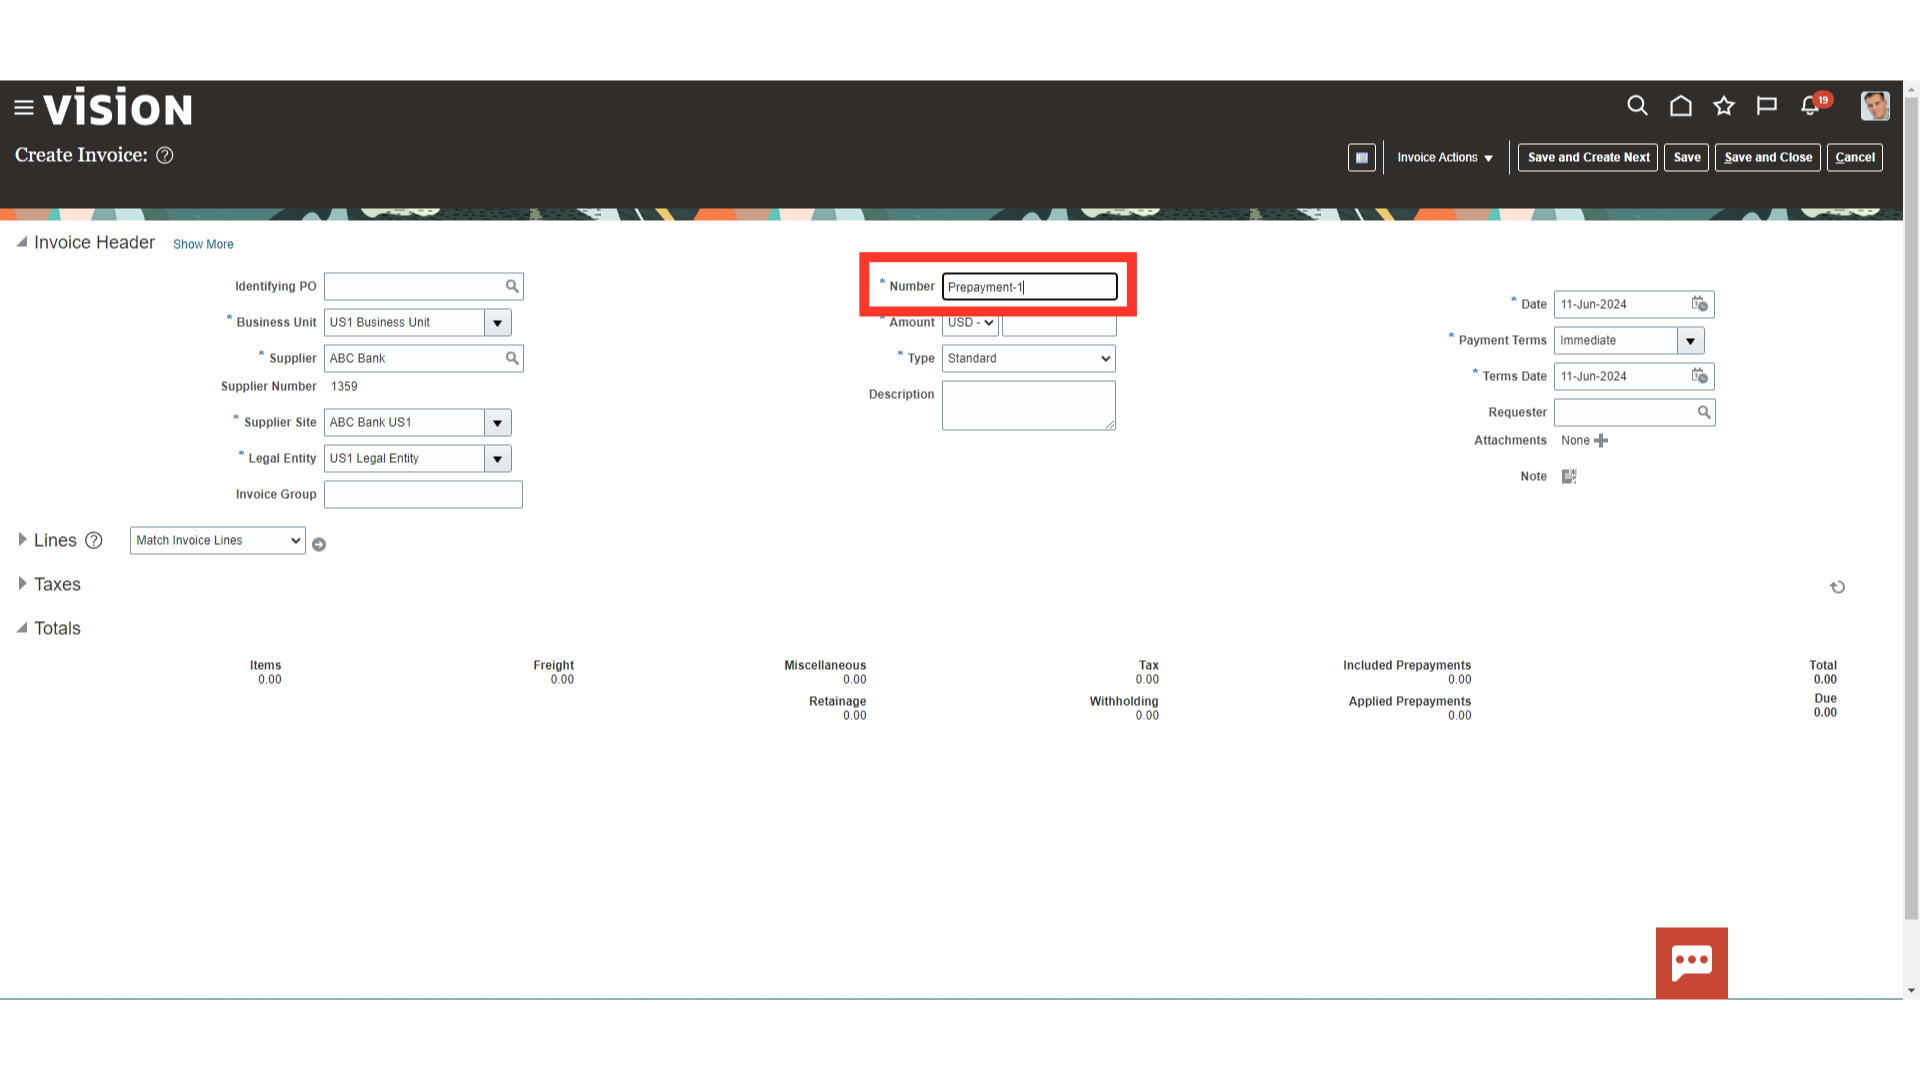
Enter Invoice number at the invoice header level against the Number field.
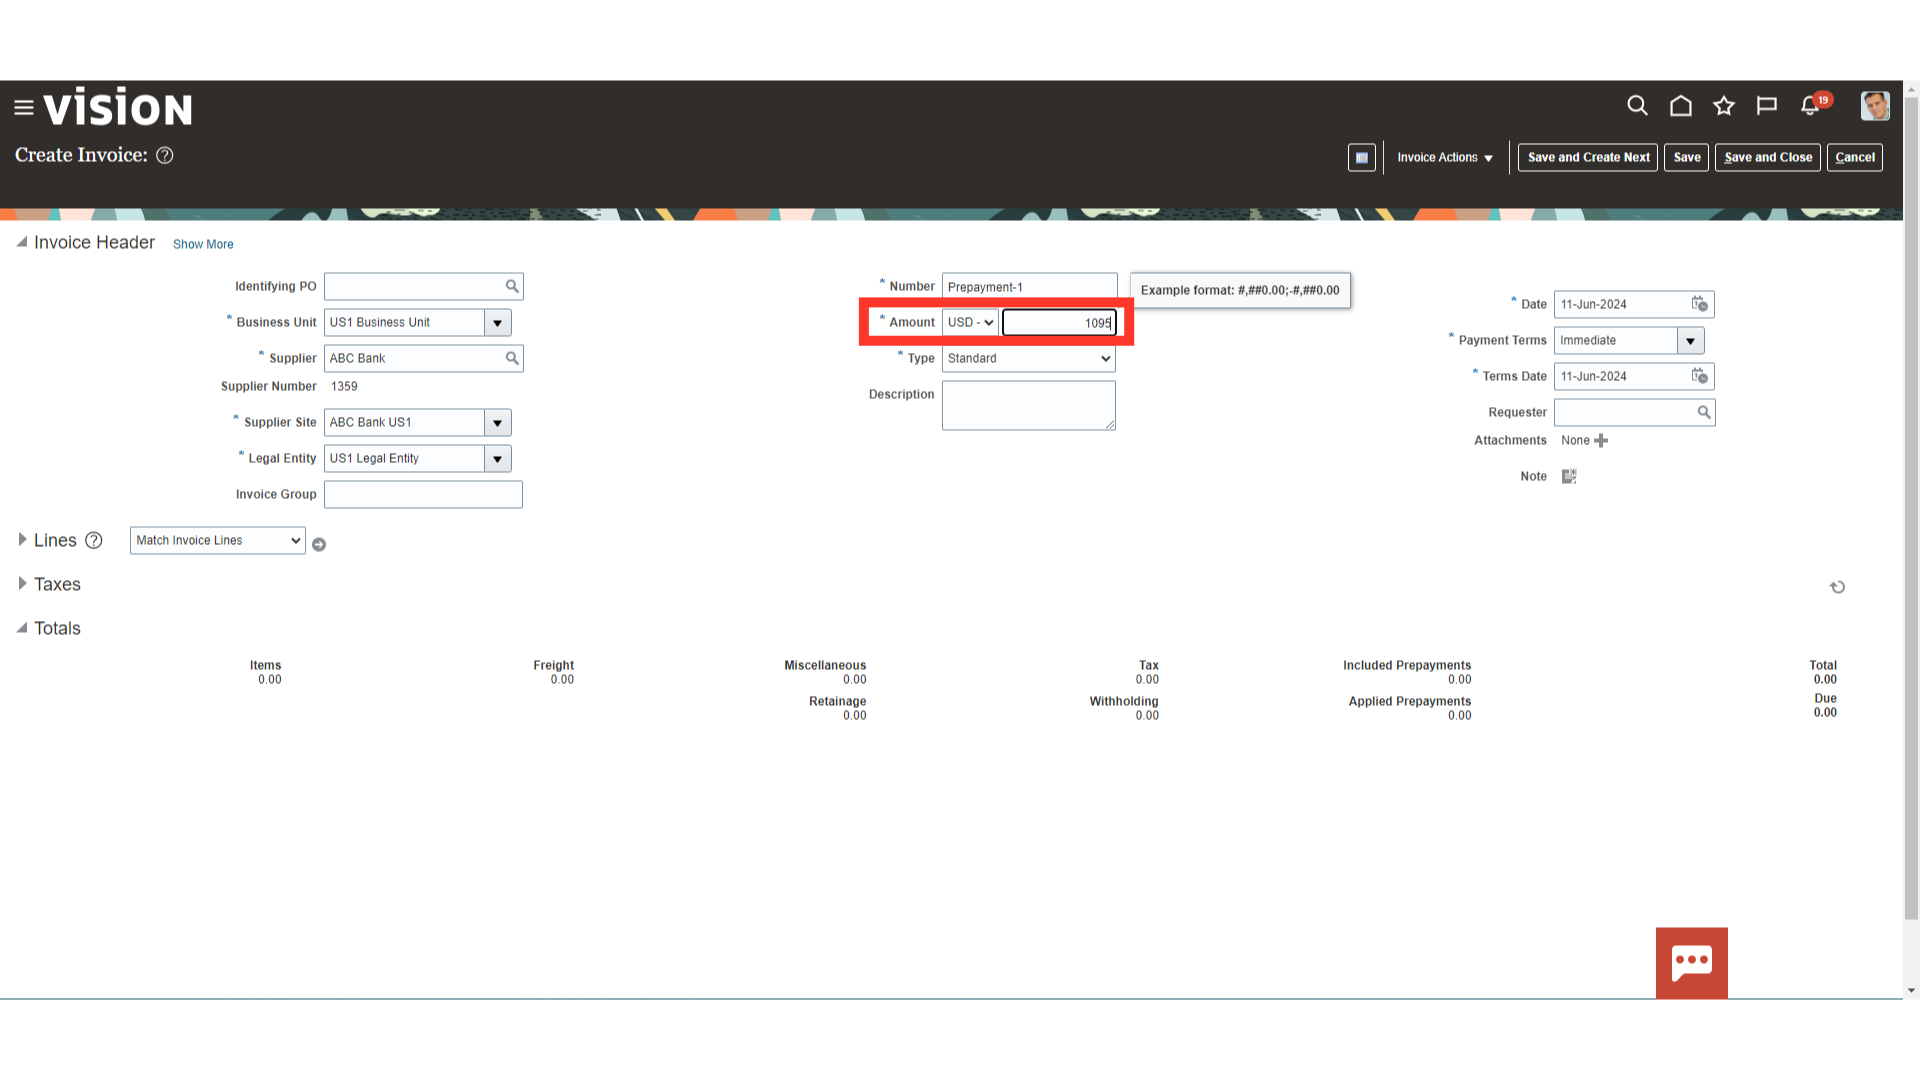
Enter the total invoice amount including tax amount in the Amount field. Also, select the currency in which invoice is to be created.
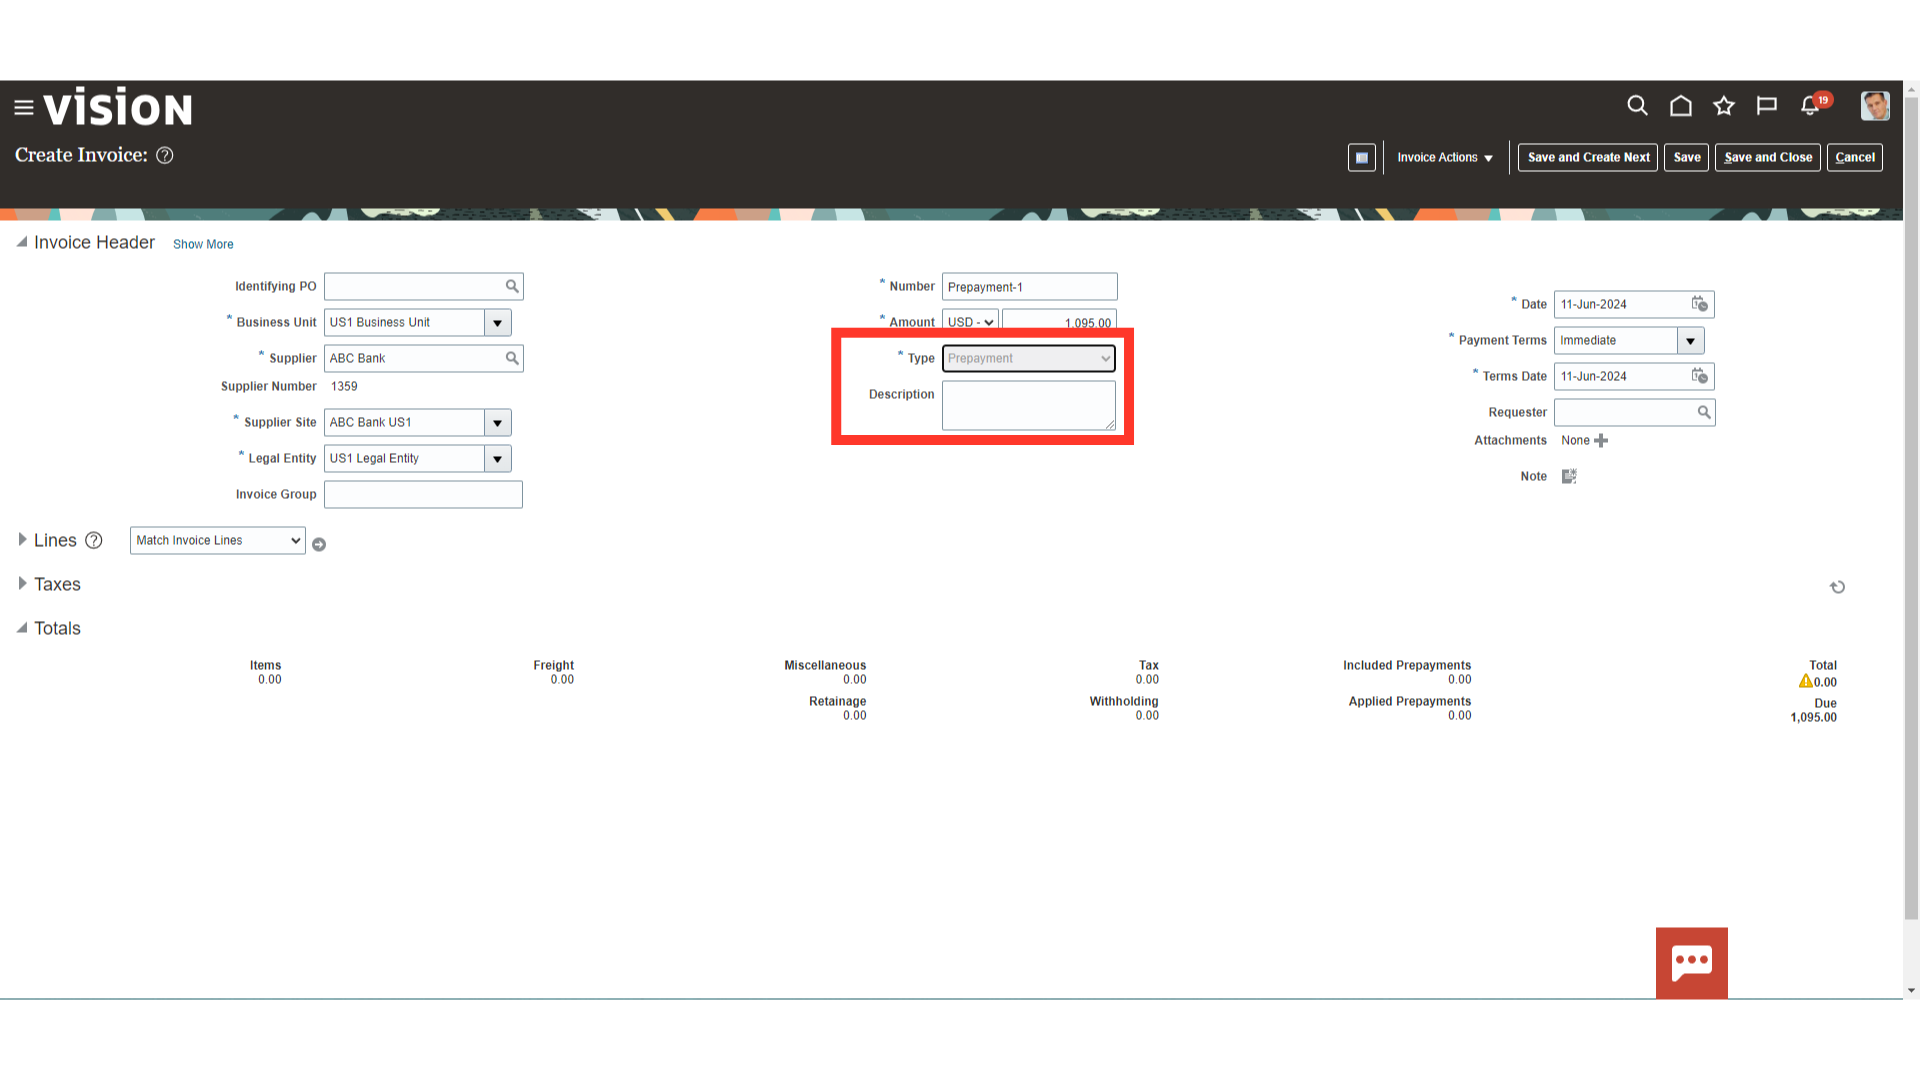
Select the Invoice type as “Prepayment”, and enter any additional information in the description field.
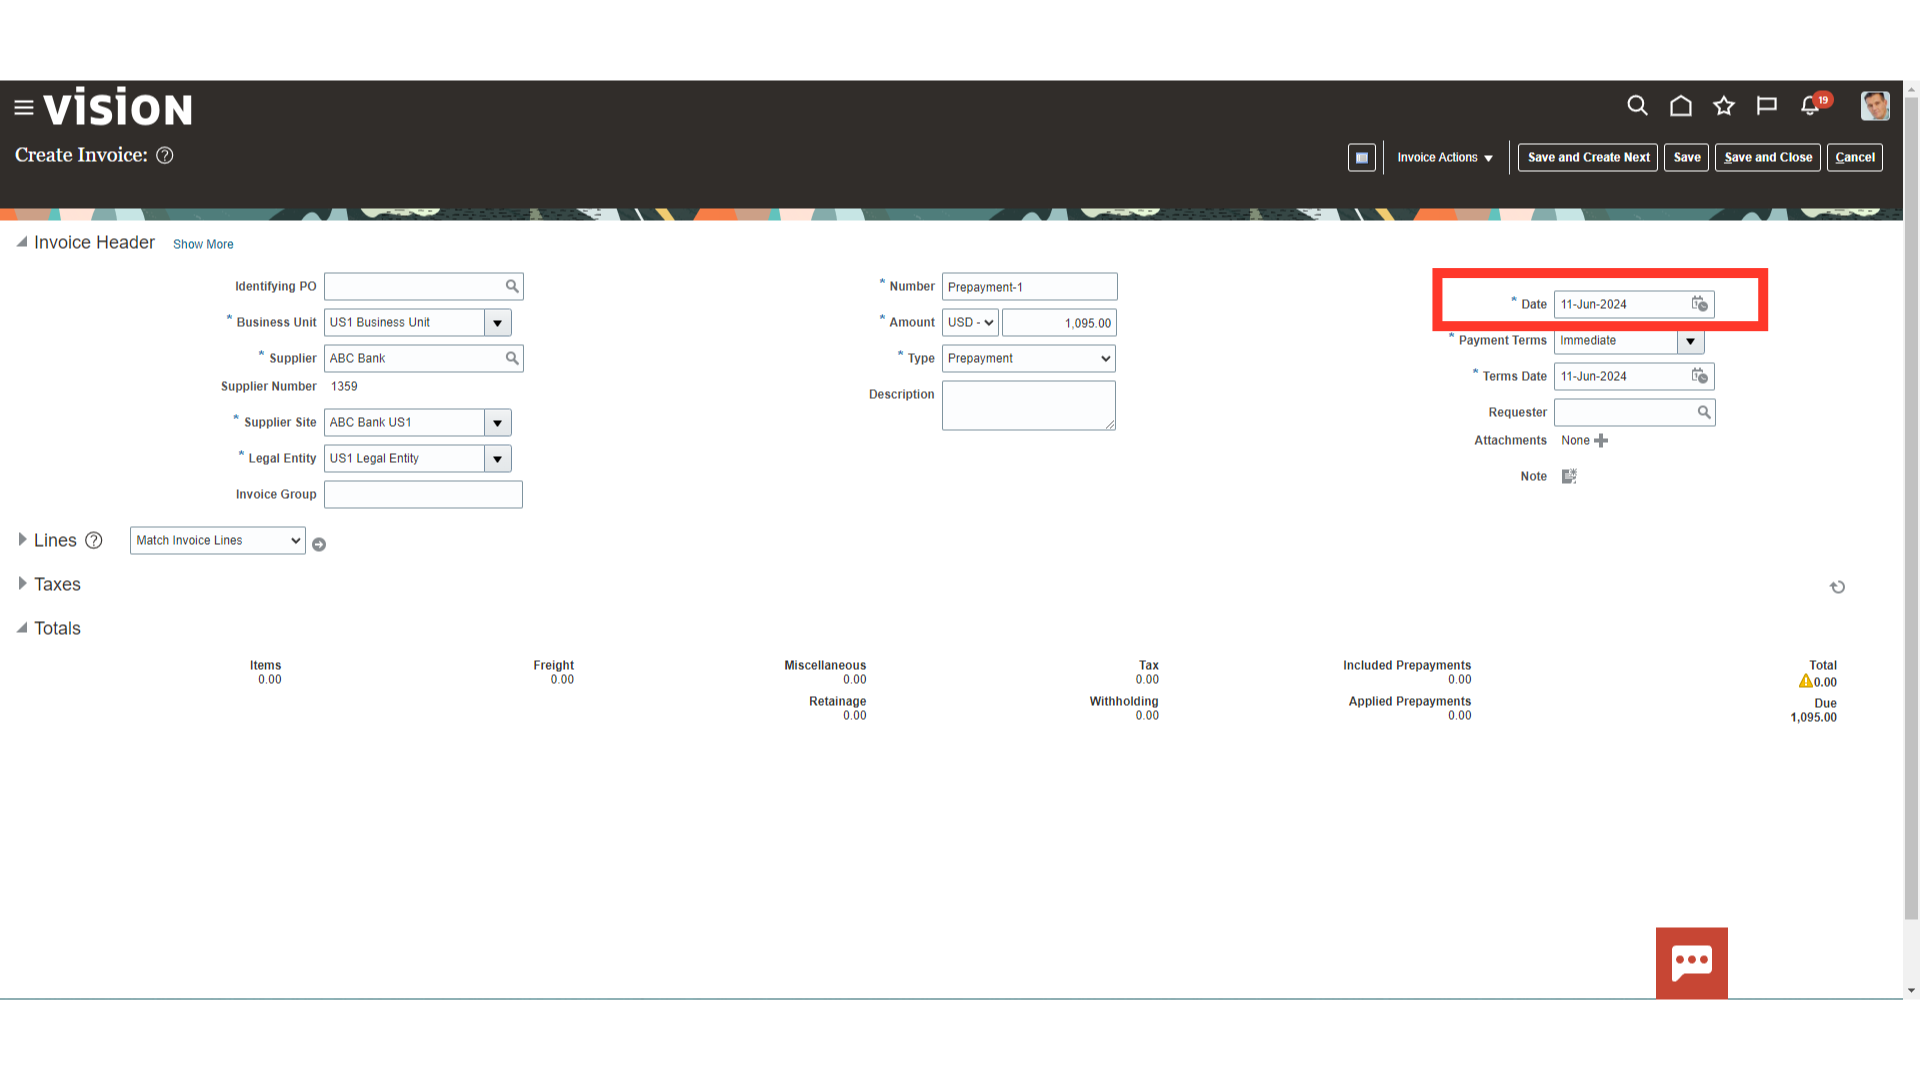
Current system date is defaulted as the “Invoice date”, you can change the date manually or by selecting date from the calendar.
Click on the plus icon to upload the attachment.
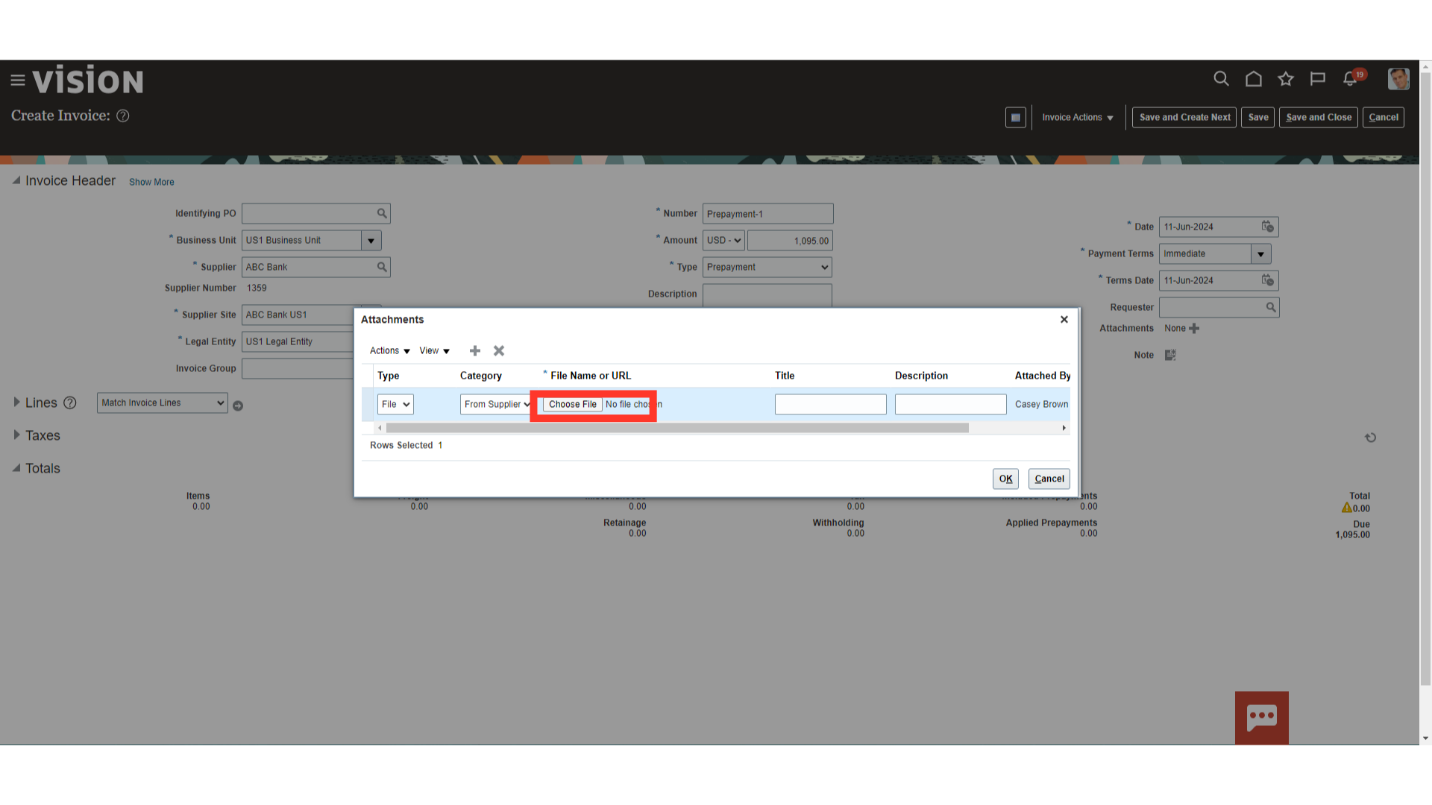
Click on the Choose File option to upload the attachments from your local desktop.
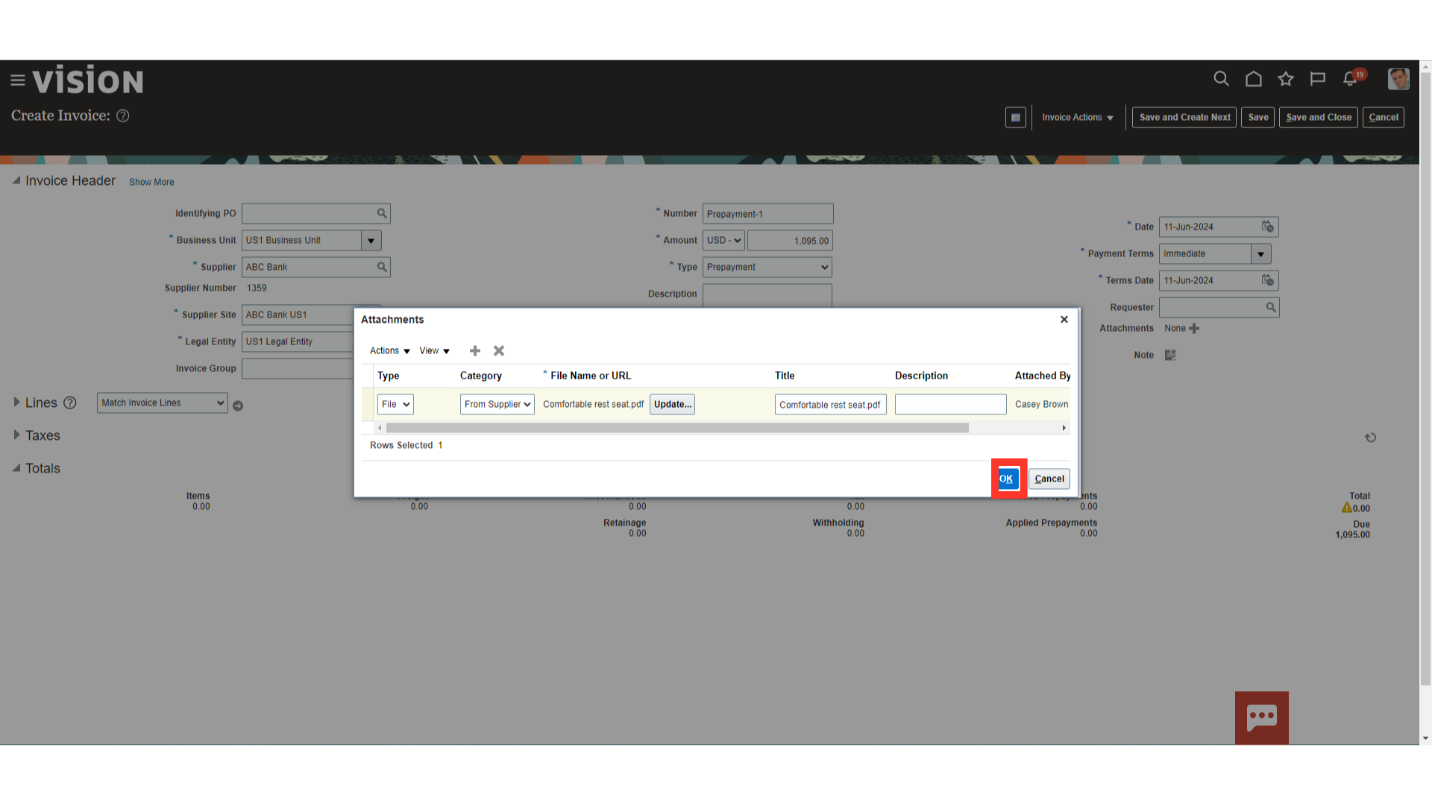
After uploading, Click on OK to continue.
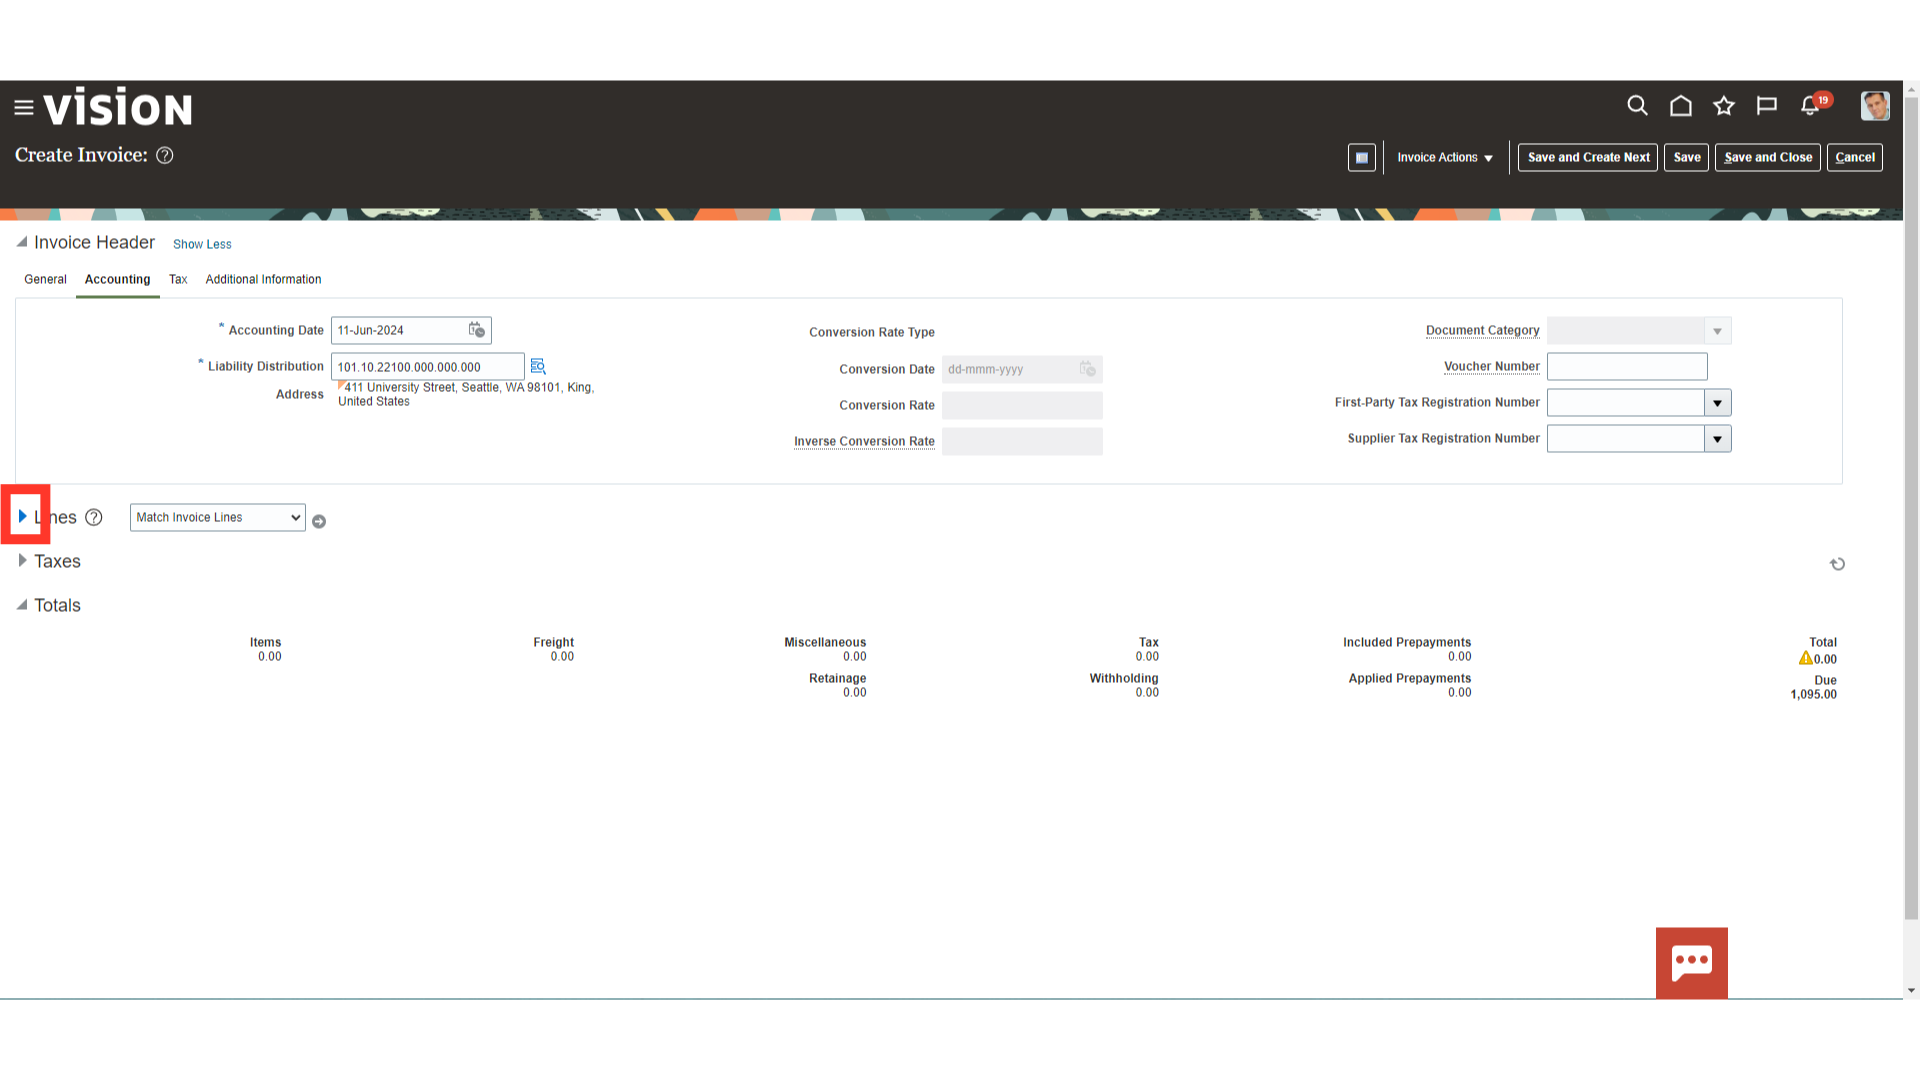
Expand the lines to enter the invoice lines and distribution details.
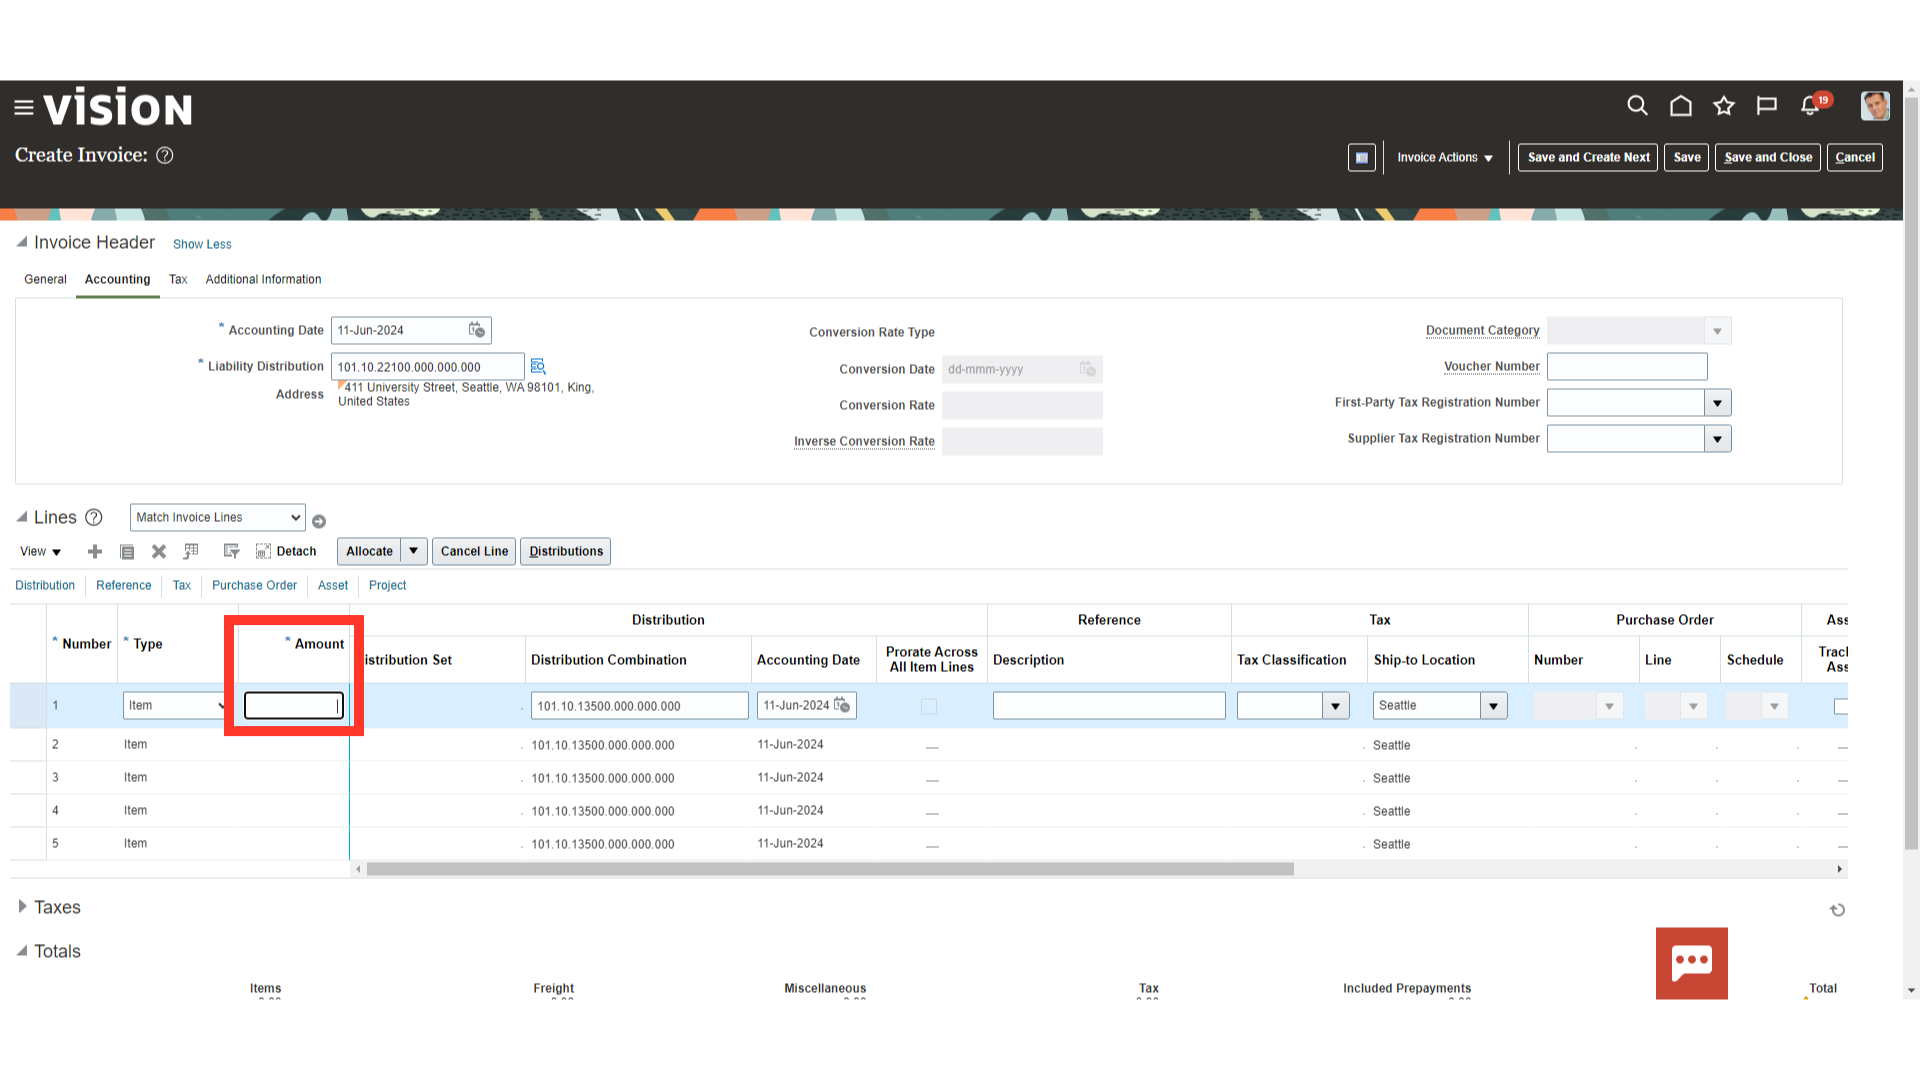
Enter the amount to be paid in advance in amount field.
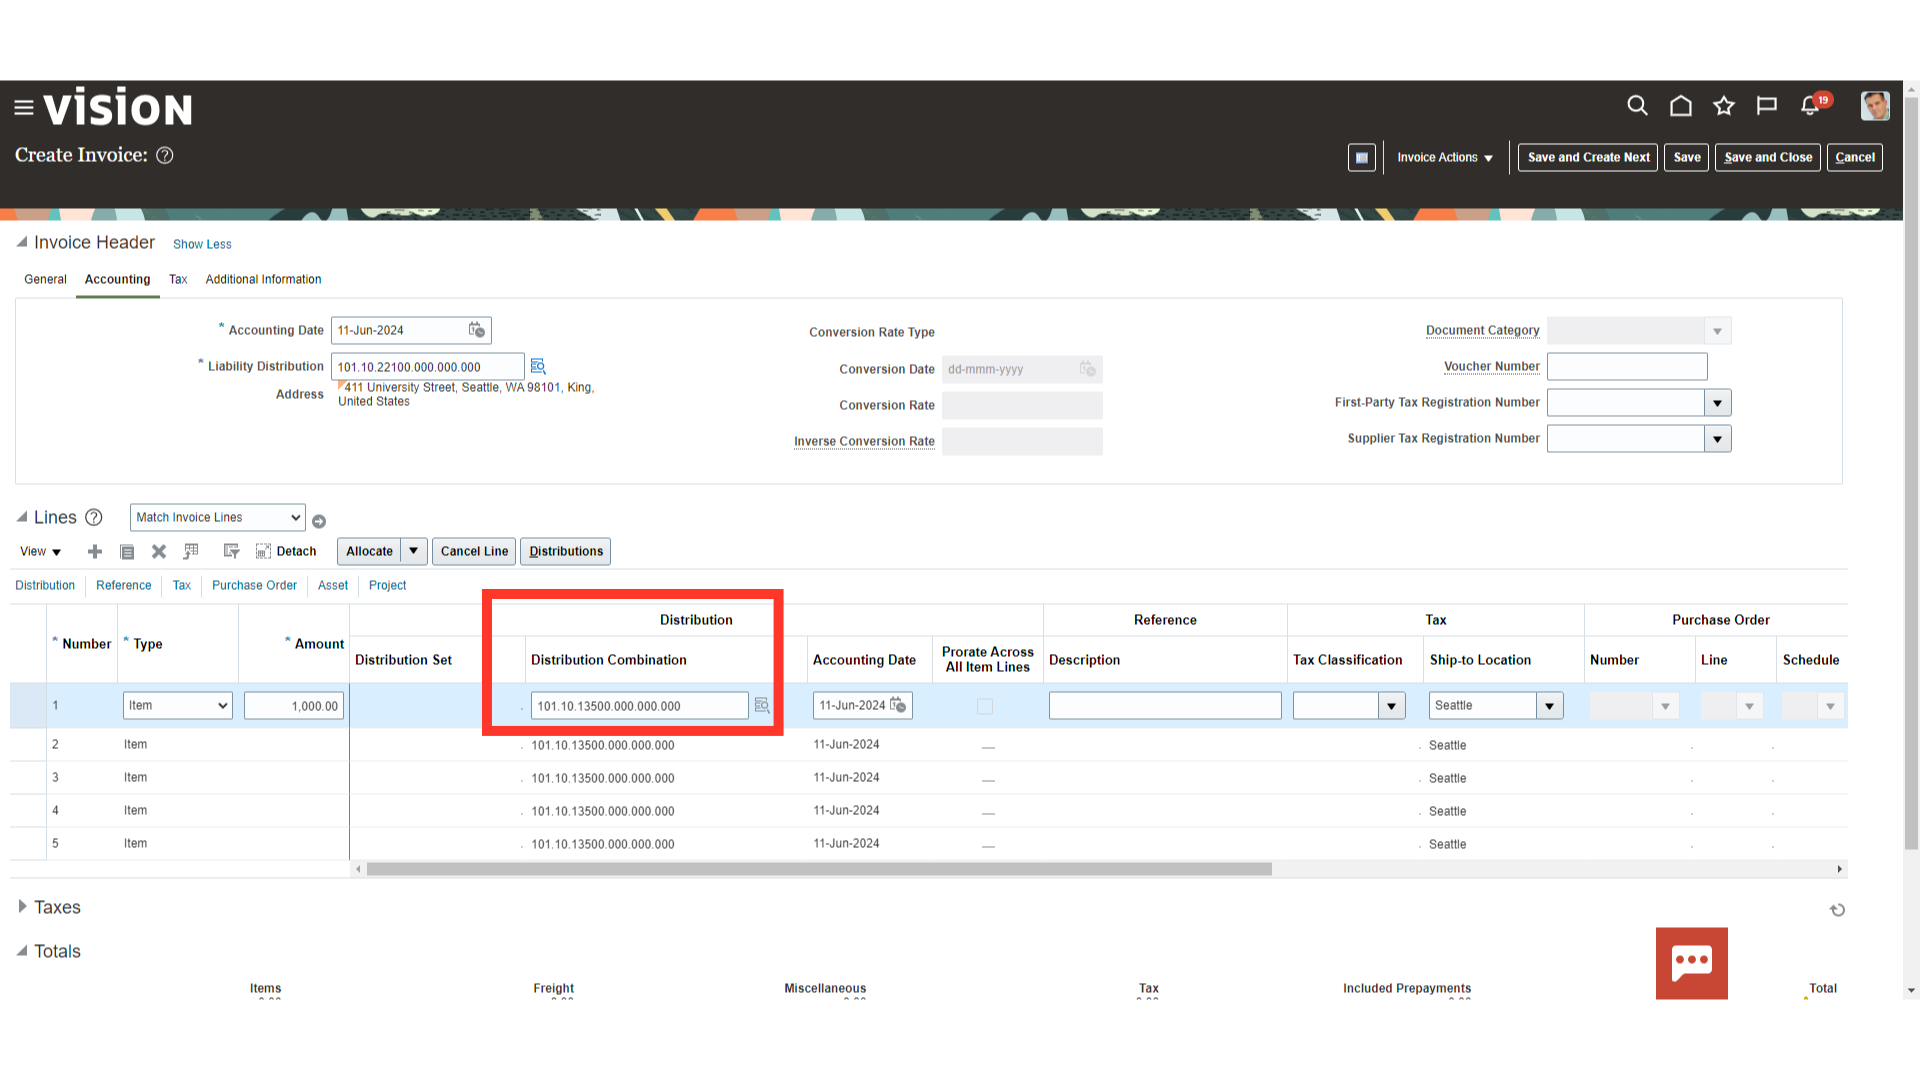
Prepayment account combinations would be defaulted from the payables setup, if nothing is configured at the supplier site level.
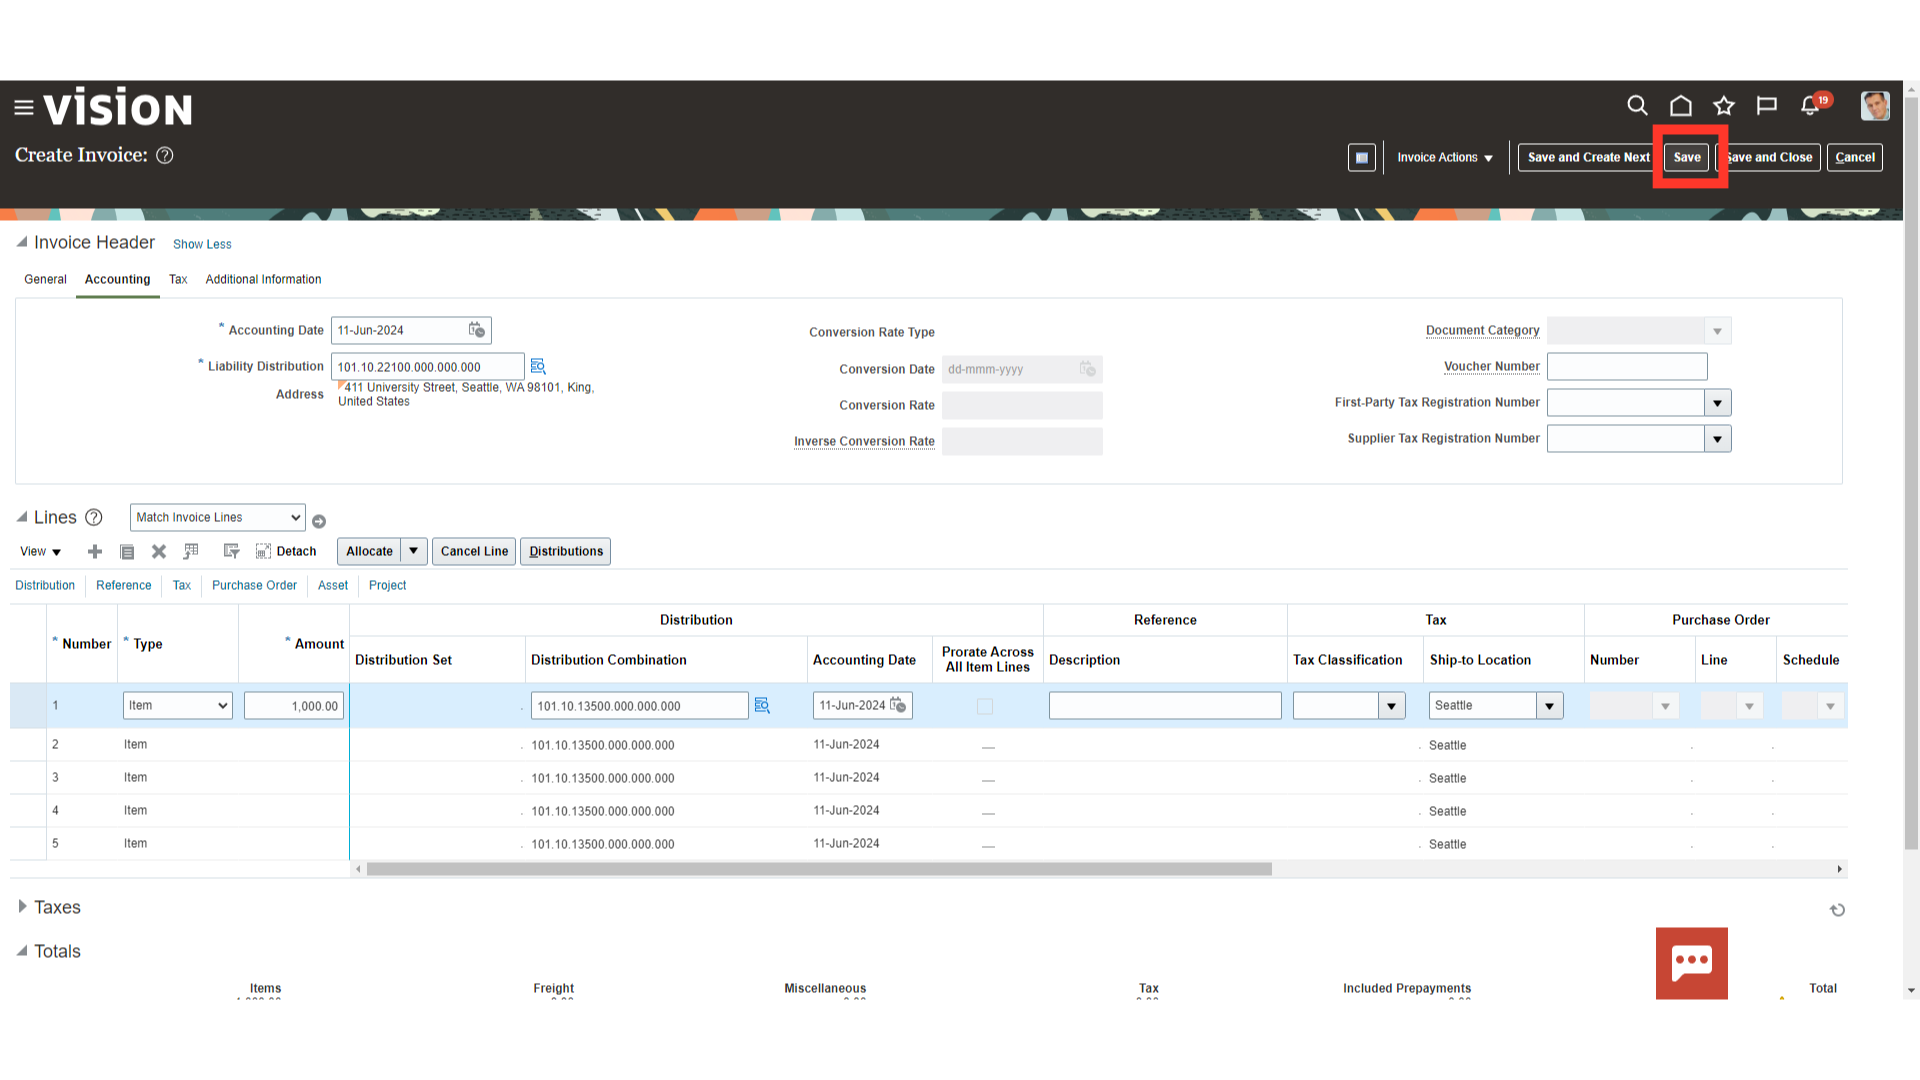
Click on the “Save” button to save the invoice details.
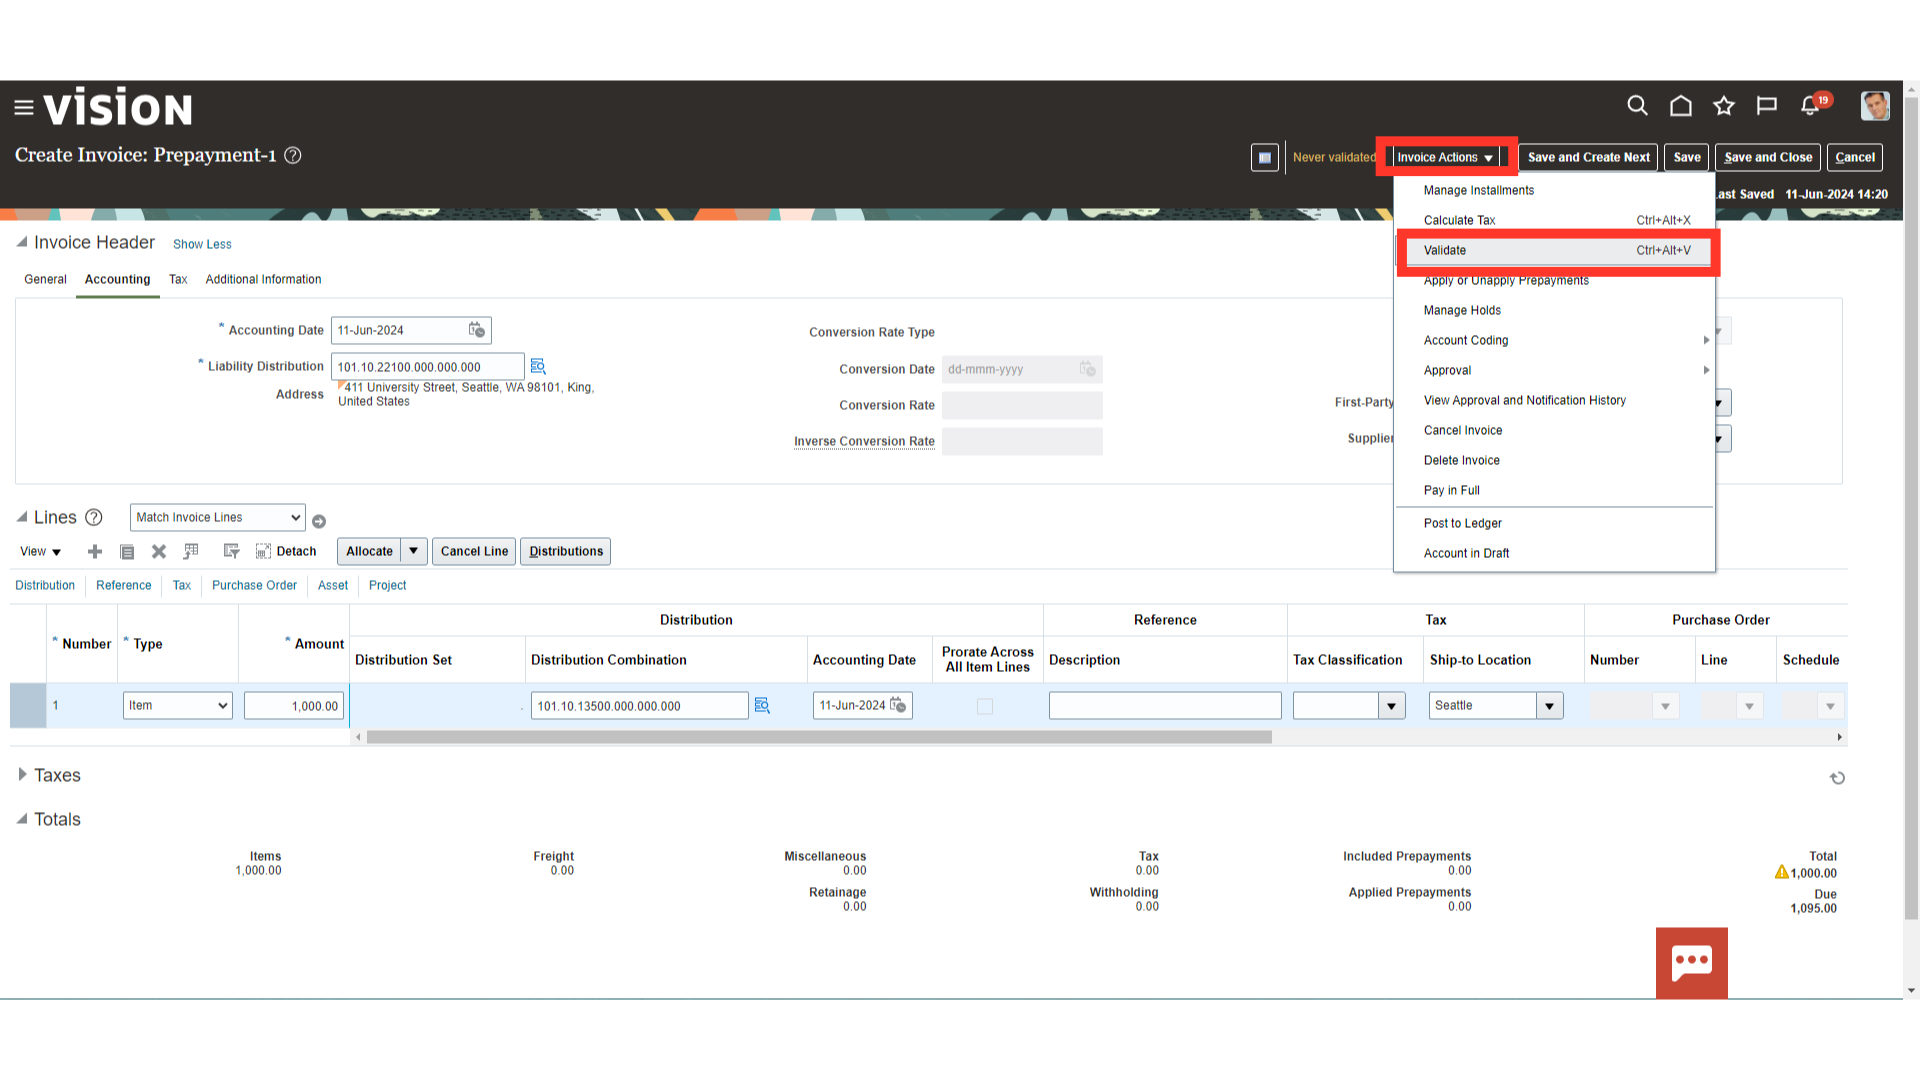
After saving the invoice, prepayment invoice status is changed to “Never Validated”.
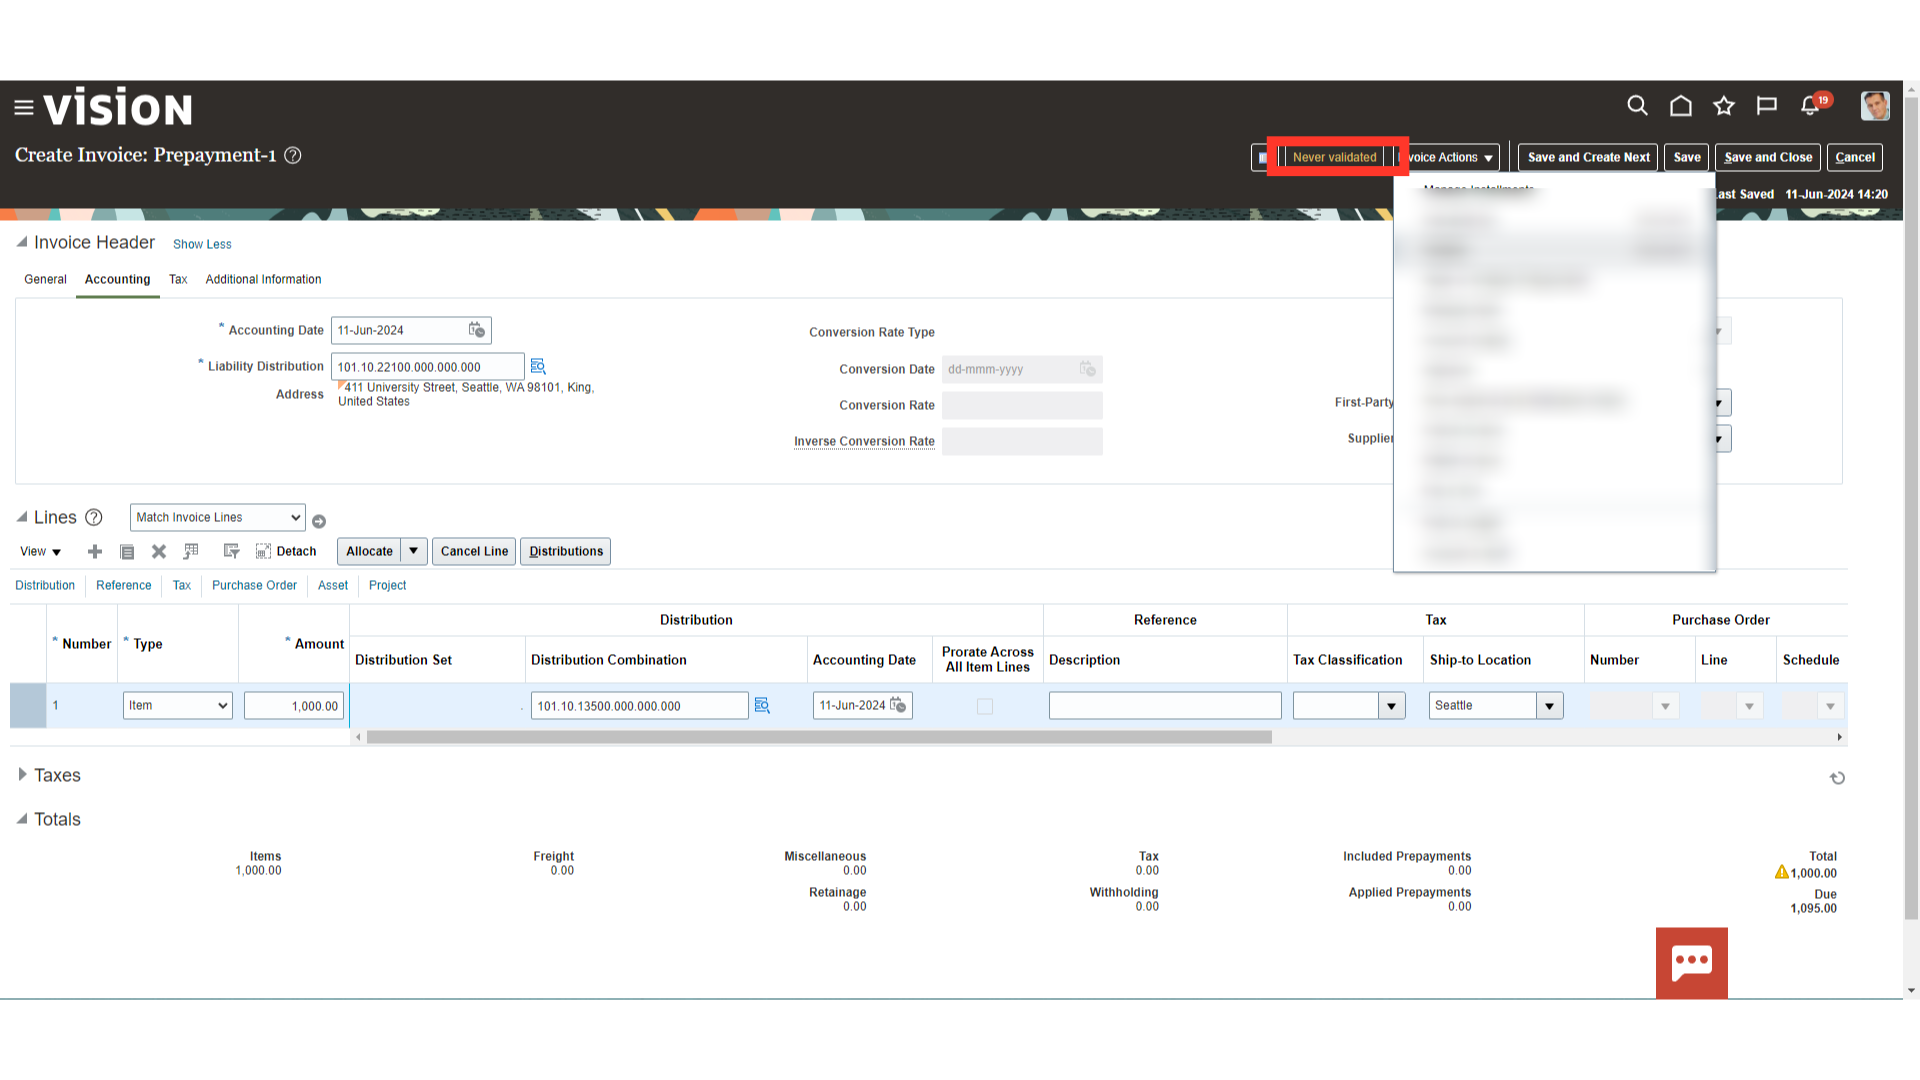
For validating the invoice, click on the “Validate” option under the Invoice Actions menu.
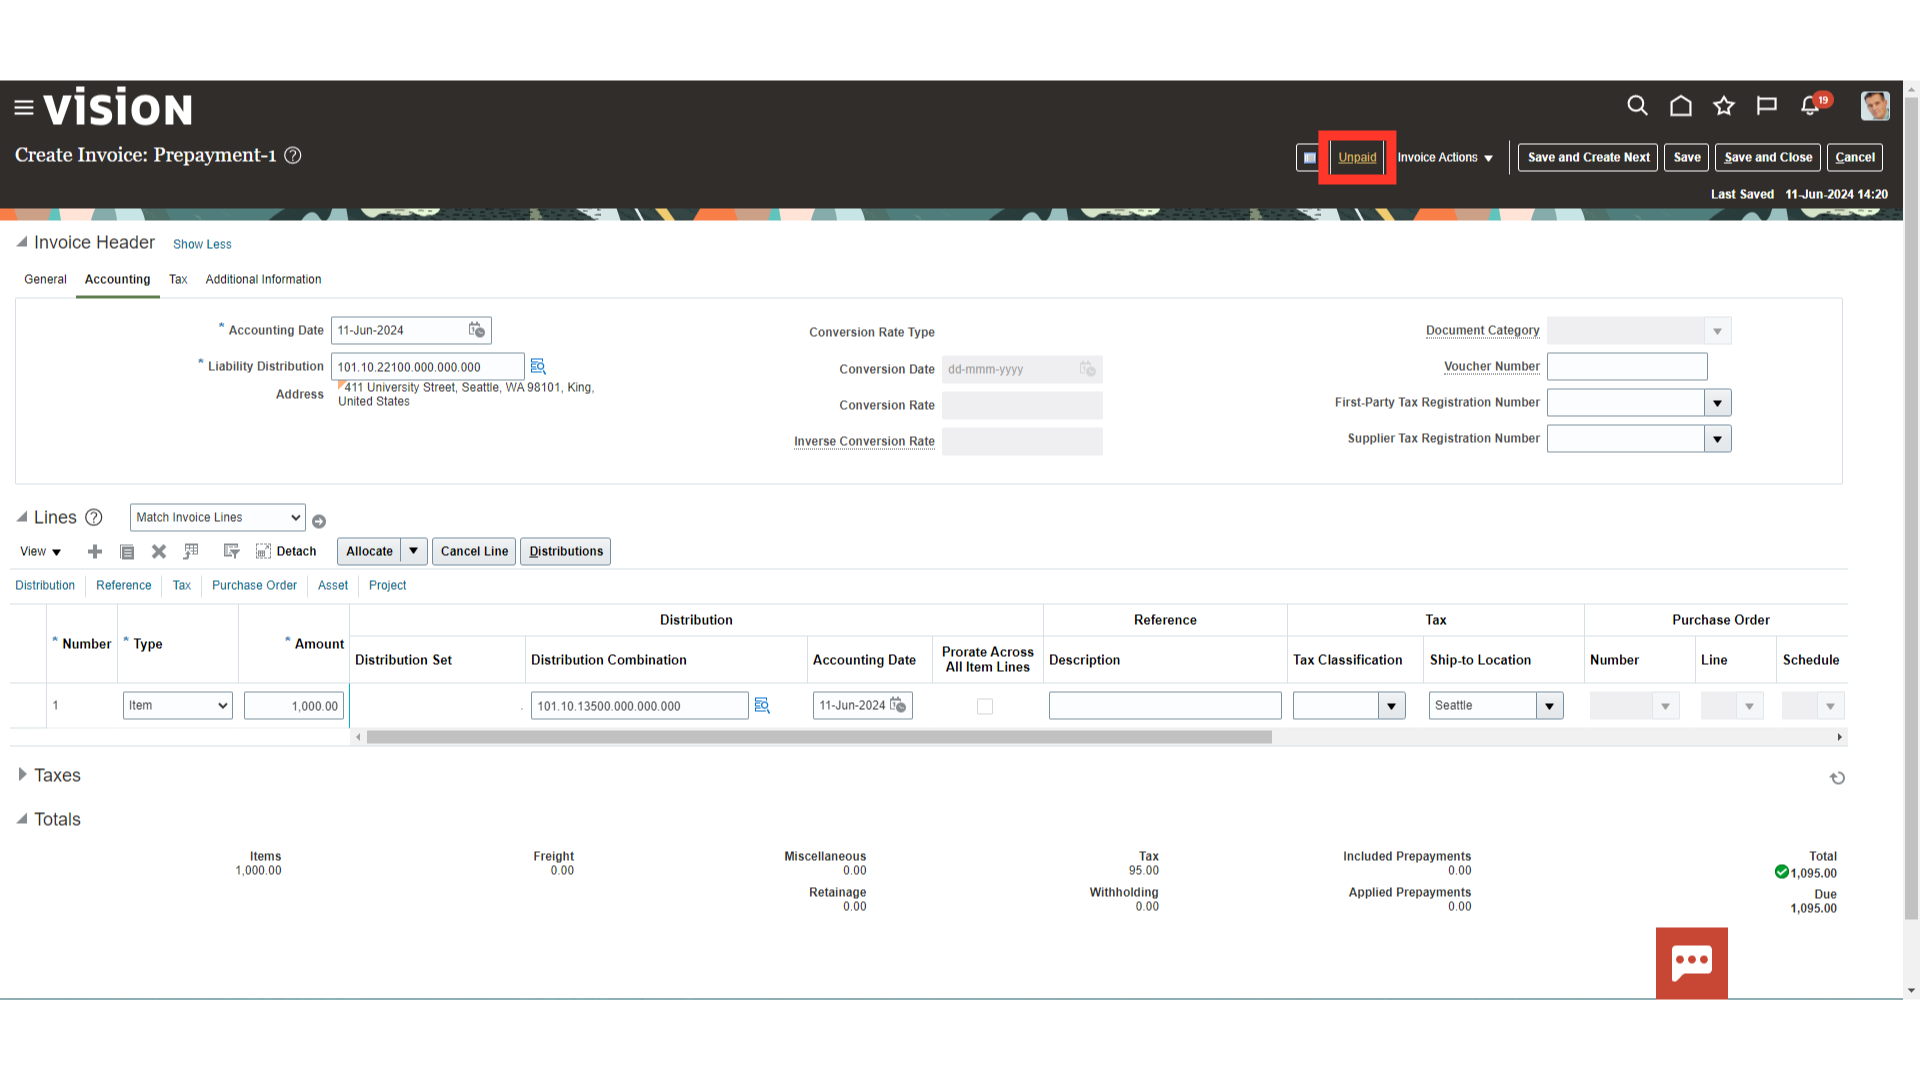
Once the invoice is validated, the status would change to “Unpaid” status.
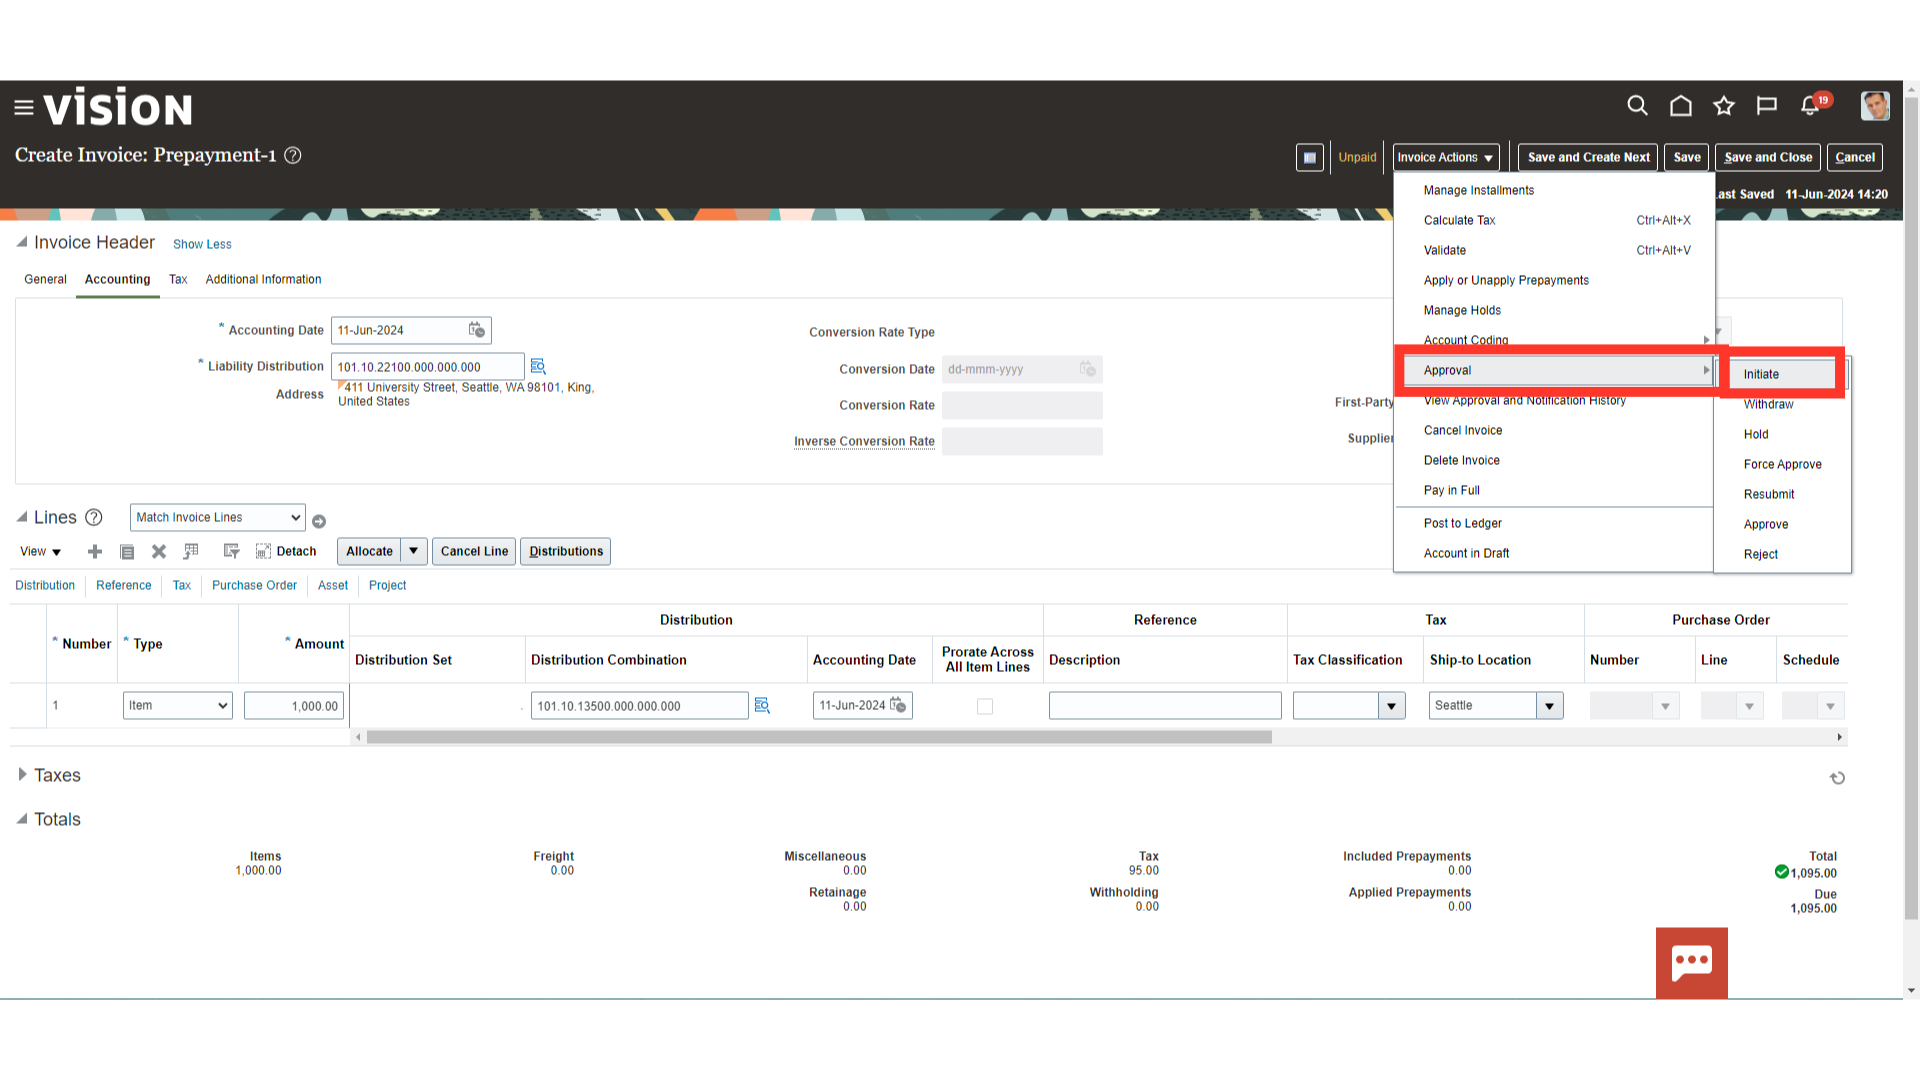
To initiate the invoice approval, select the “Initiate” option from the Approval section under Invoice Actions.
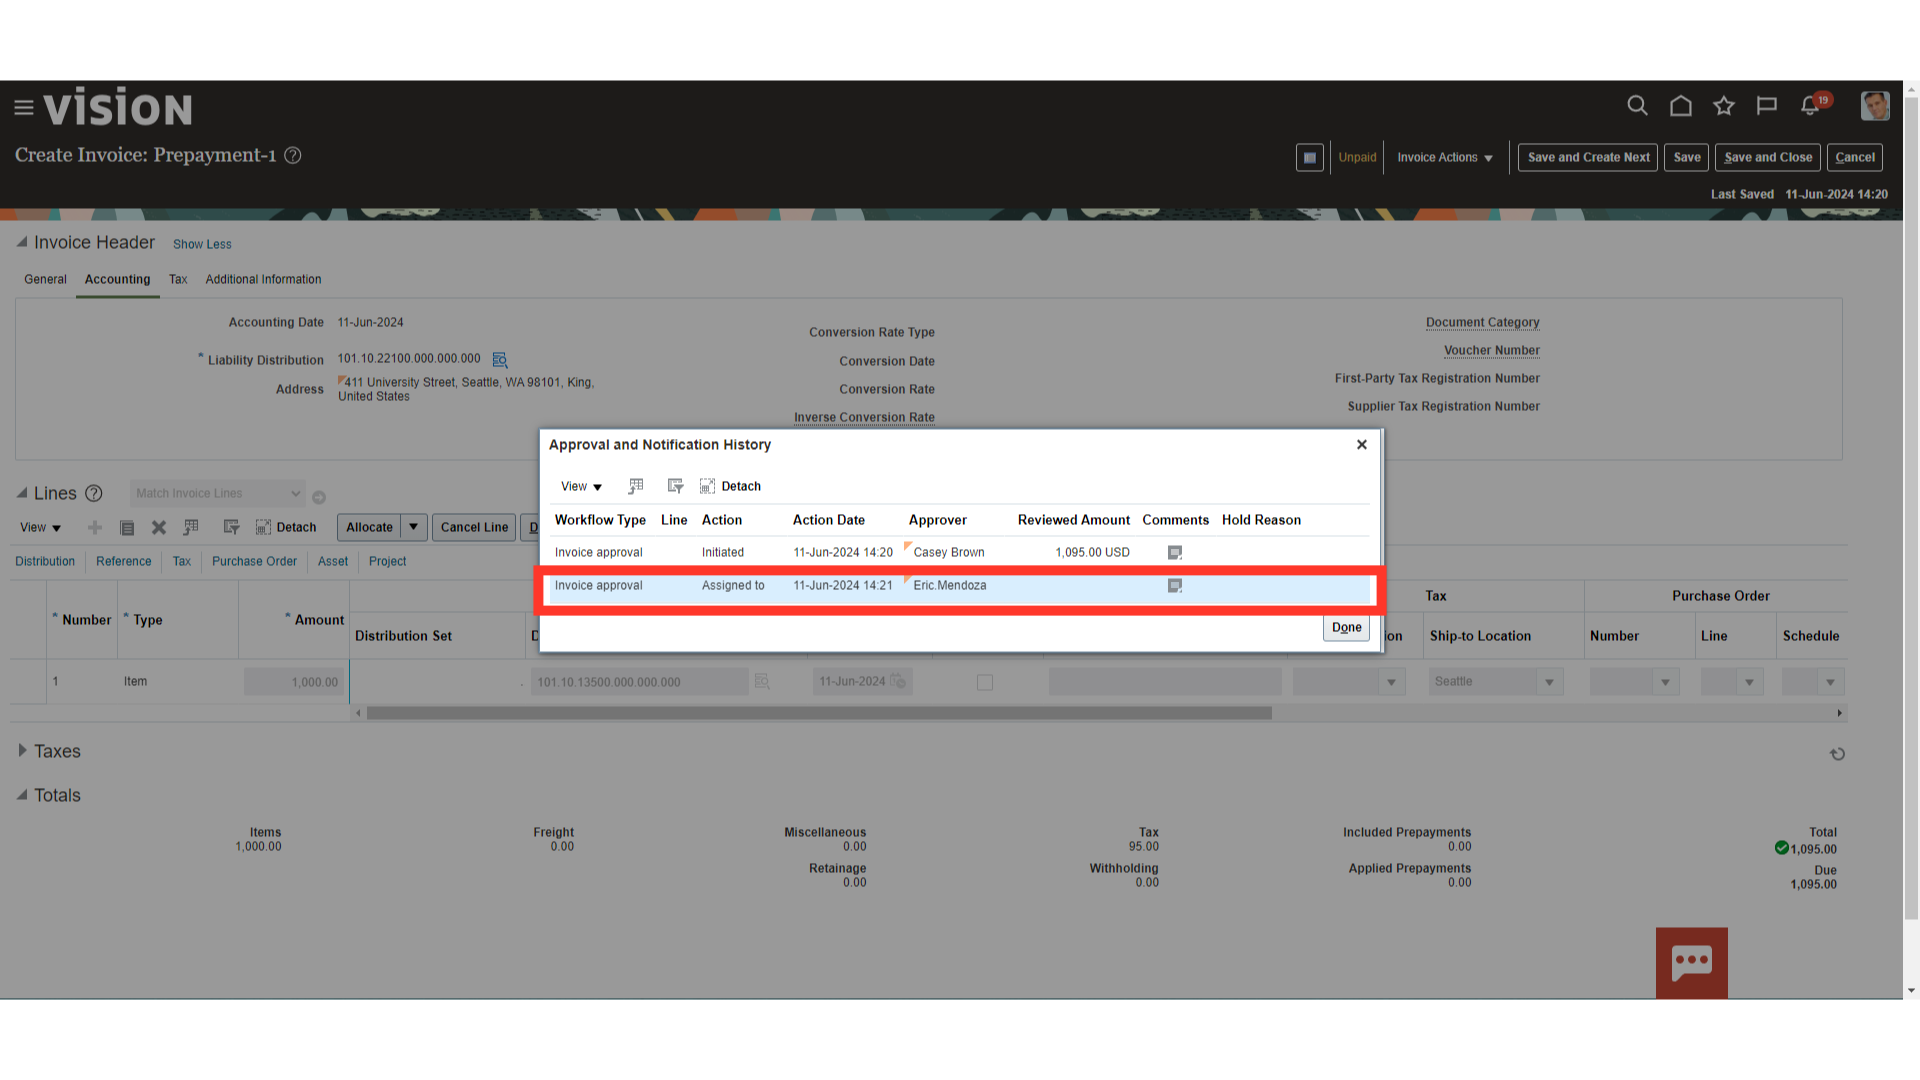
To see to whom invoice is assigned for approval, click on the “View Approval and Notification History” under the Invoice Actions.

The details of who has submitted the invoice for approval, and to whom it is assigned for approval etc. are available on this screen.
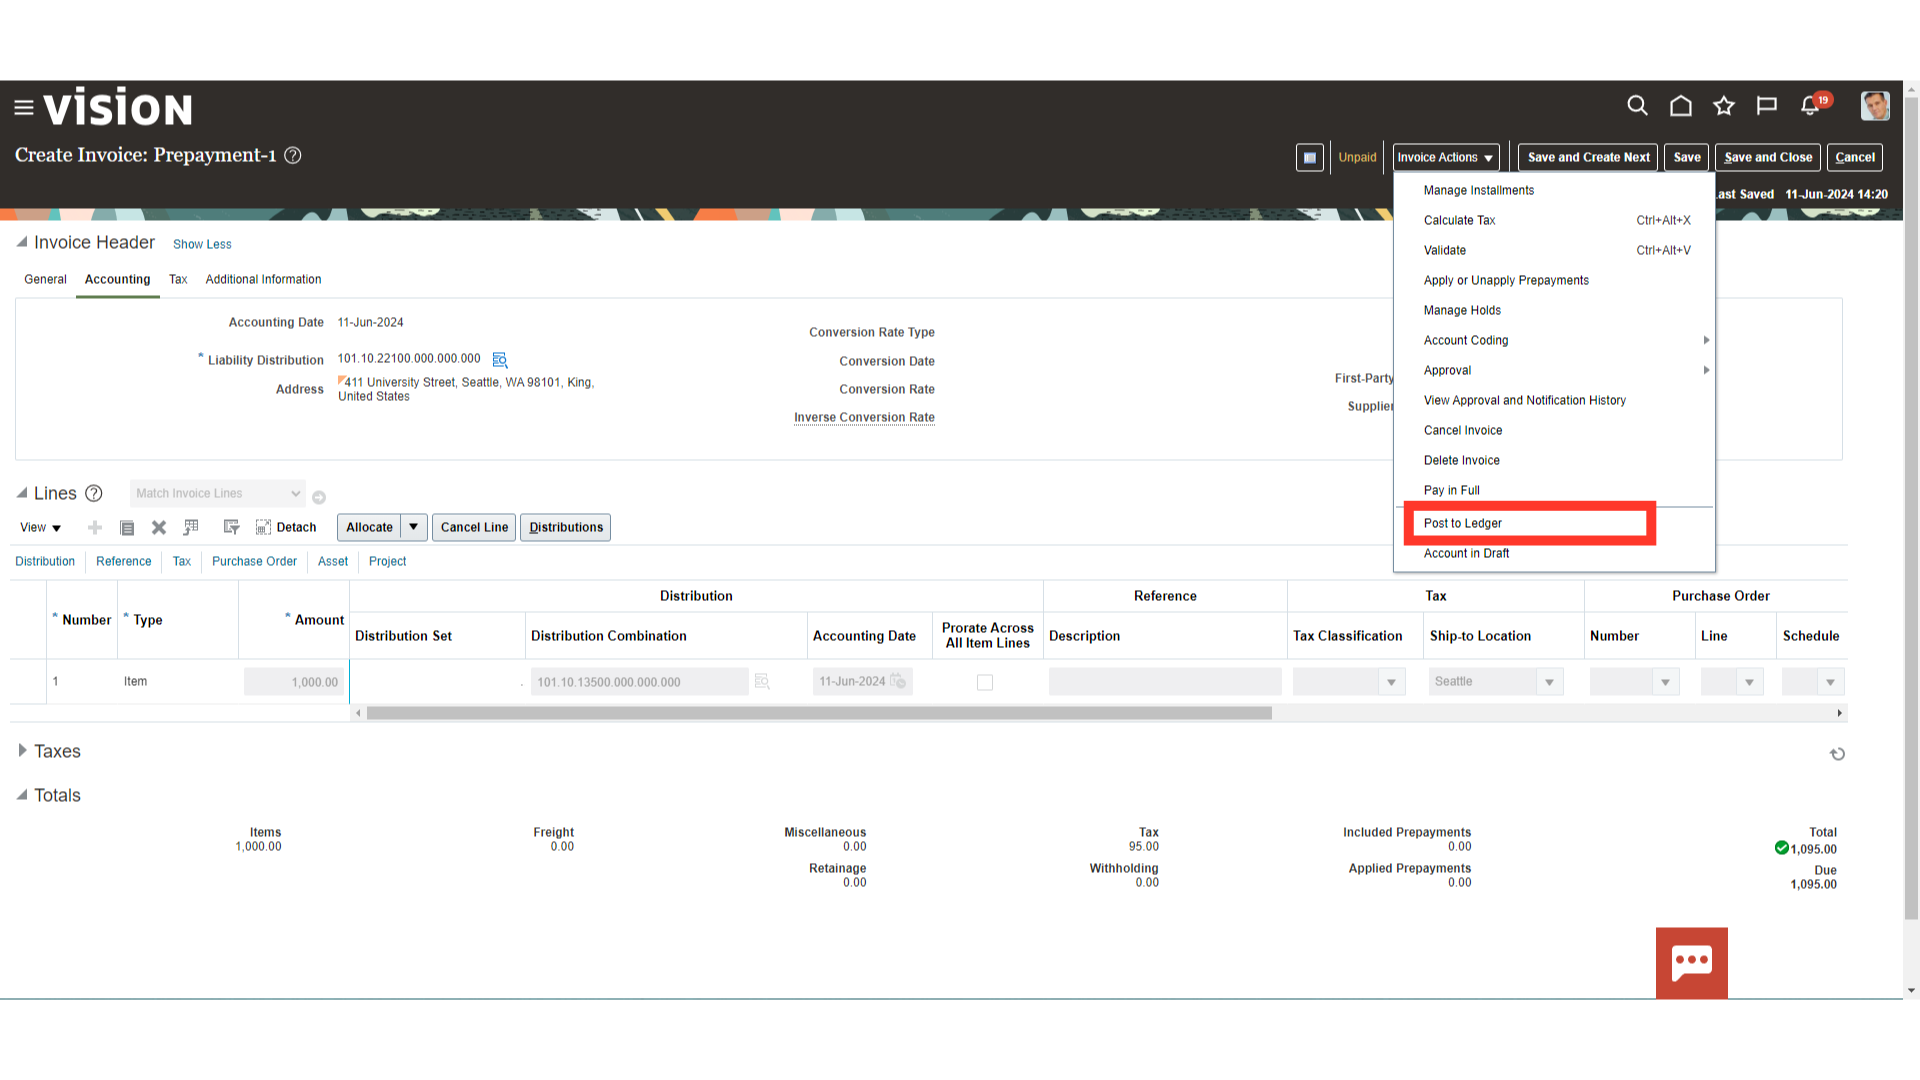
To generate accounting for the invoice, click on the “Post to ledger” option after clicking on the Invoice Actions.
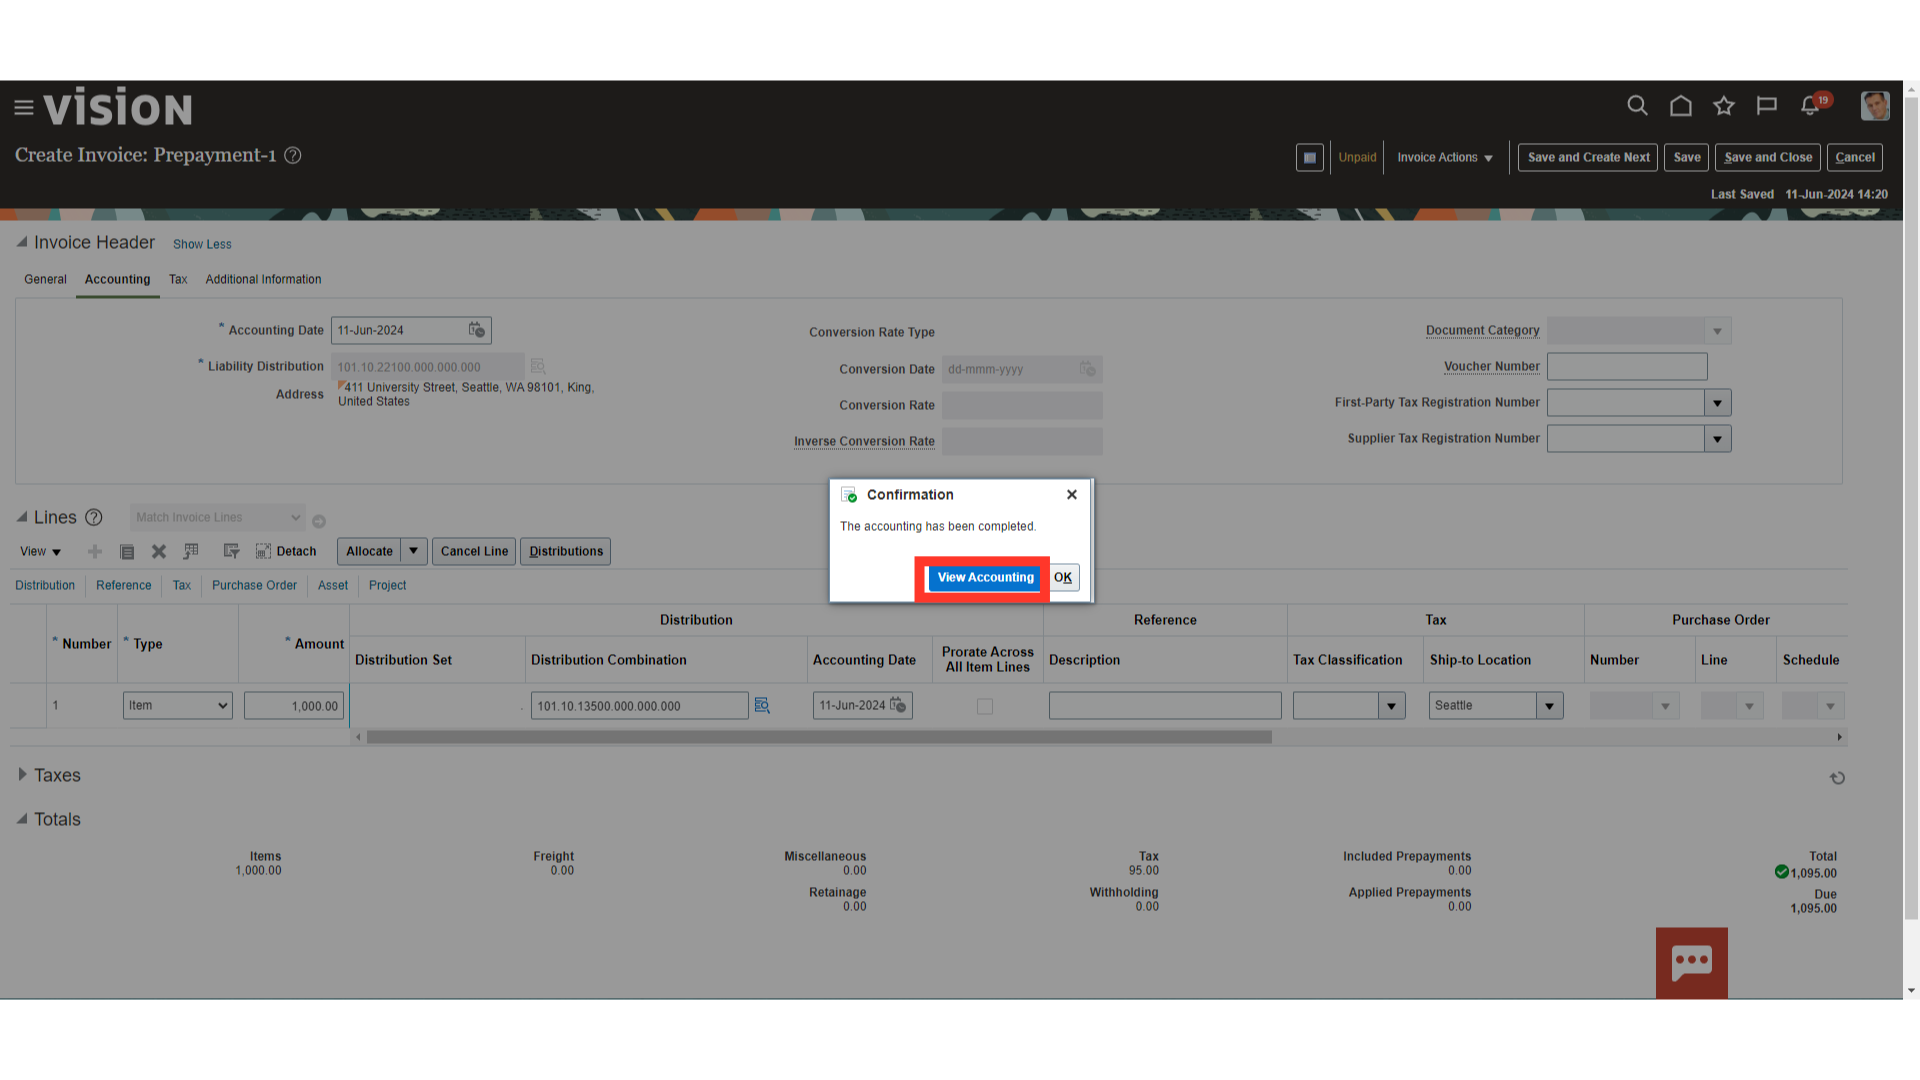
Select the “View Accounting” button to see the details of the accounting entry generated.
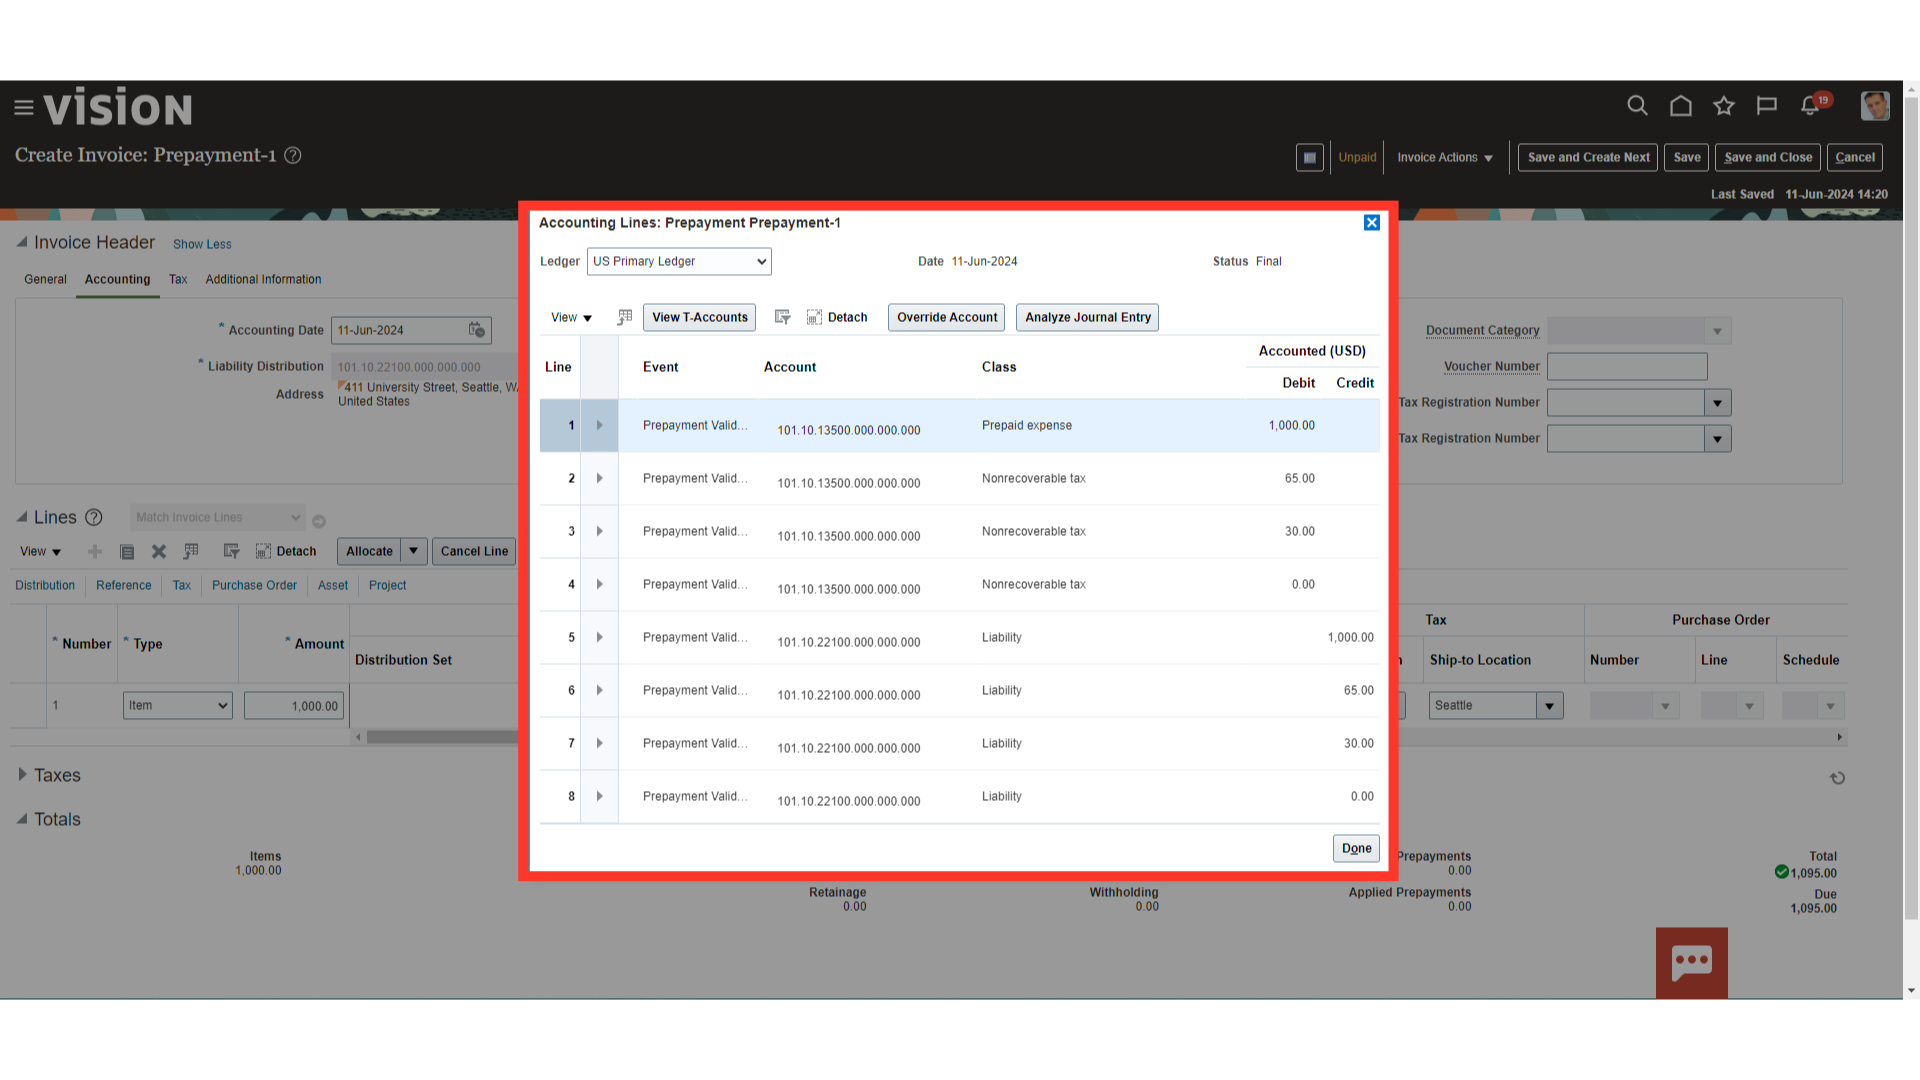
This is the demo journal entry generated and transferred to the general ledger for the prepayment invoice booked.
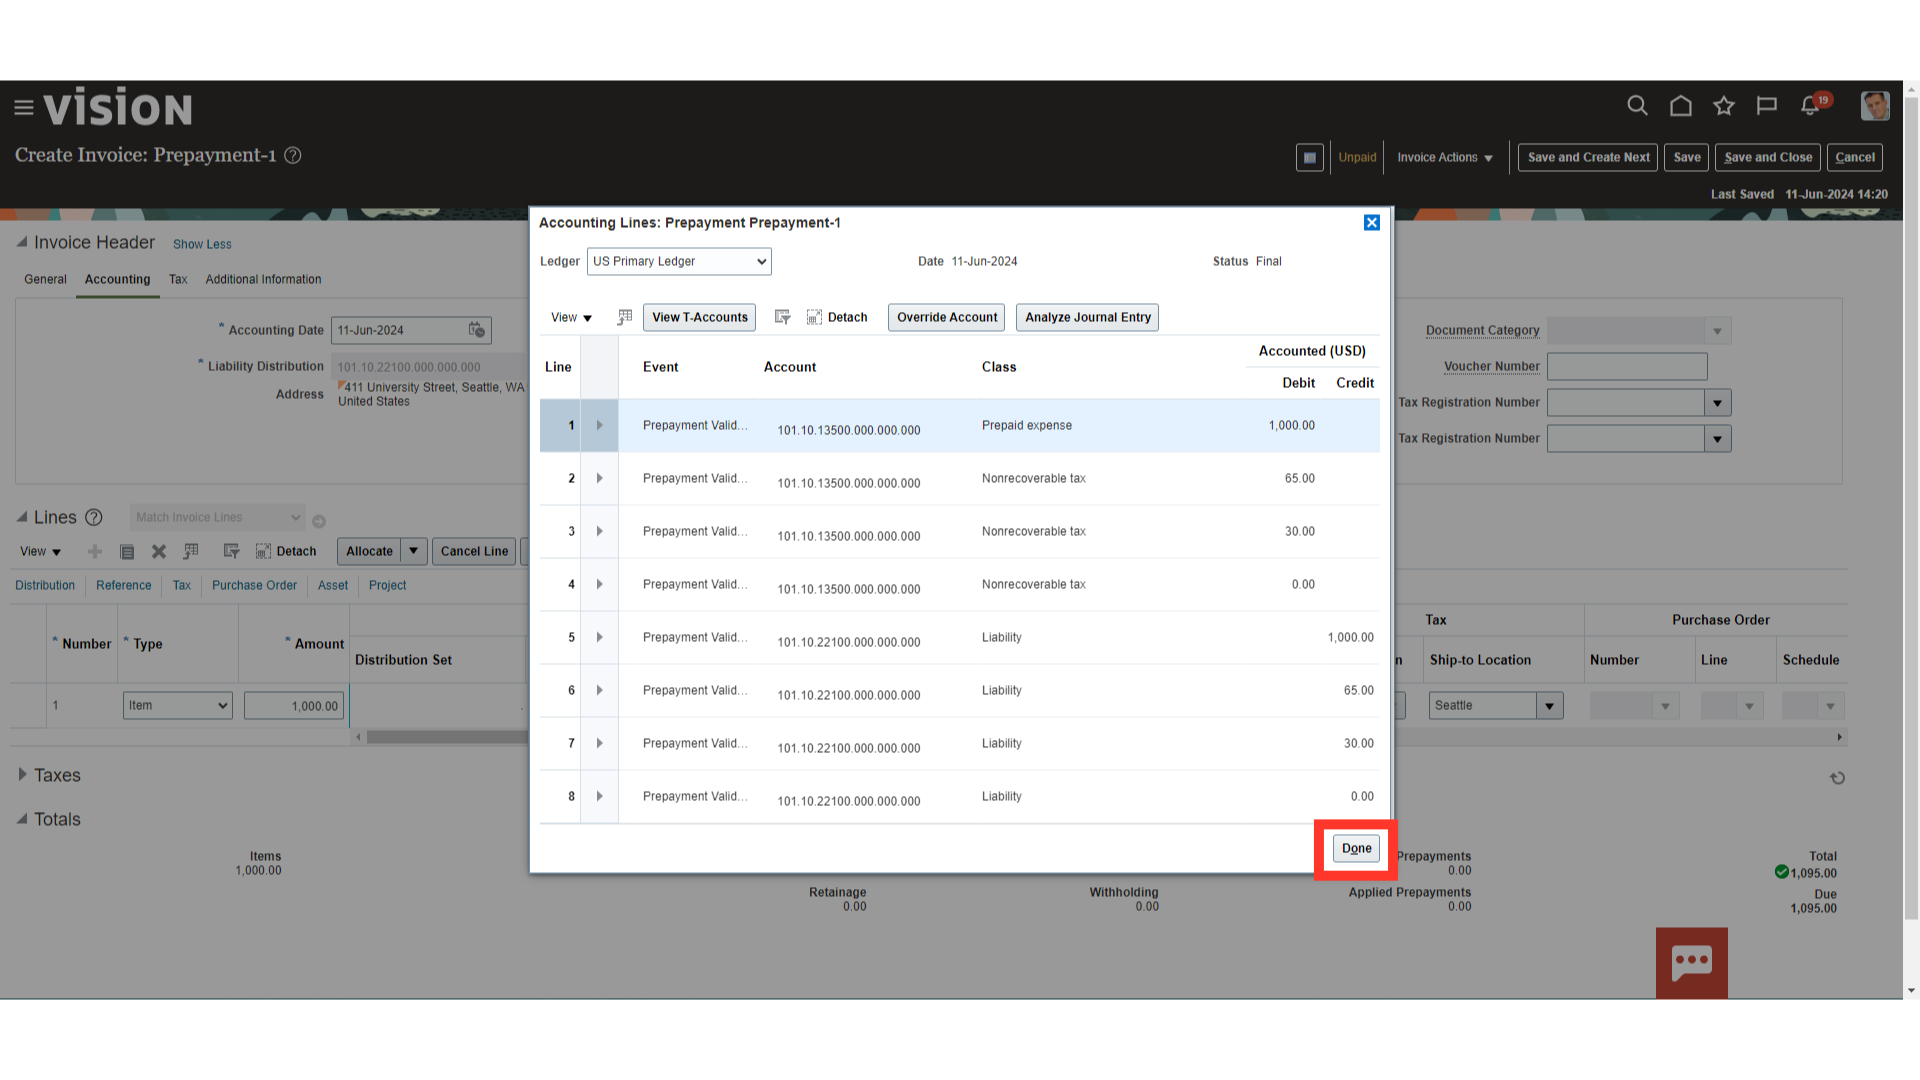
Click on the Done button to close the accounting window.
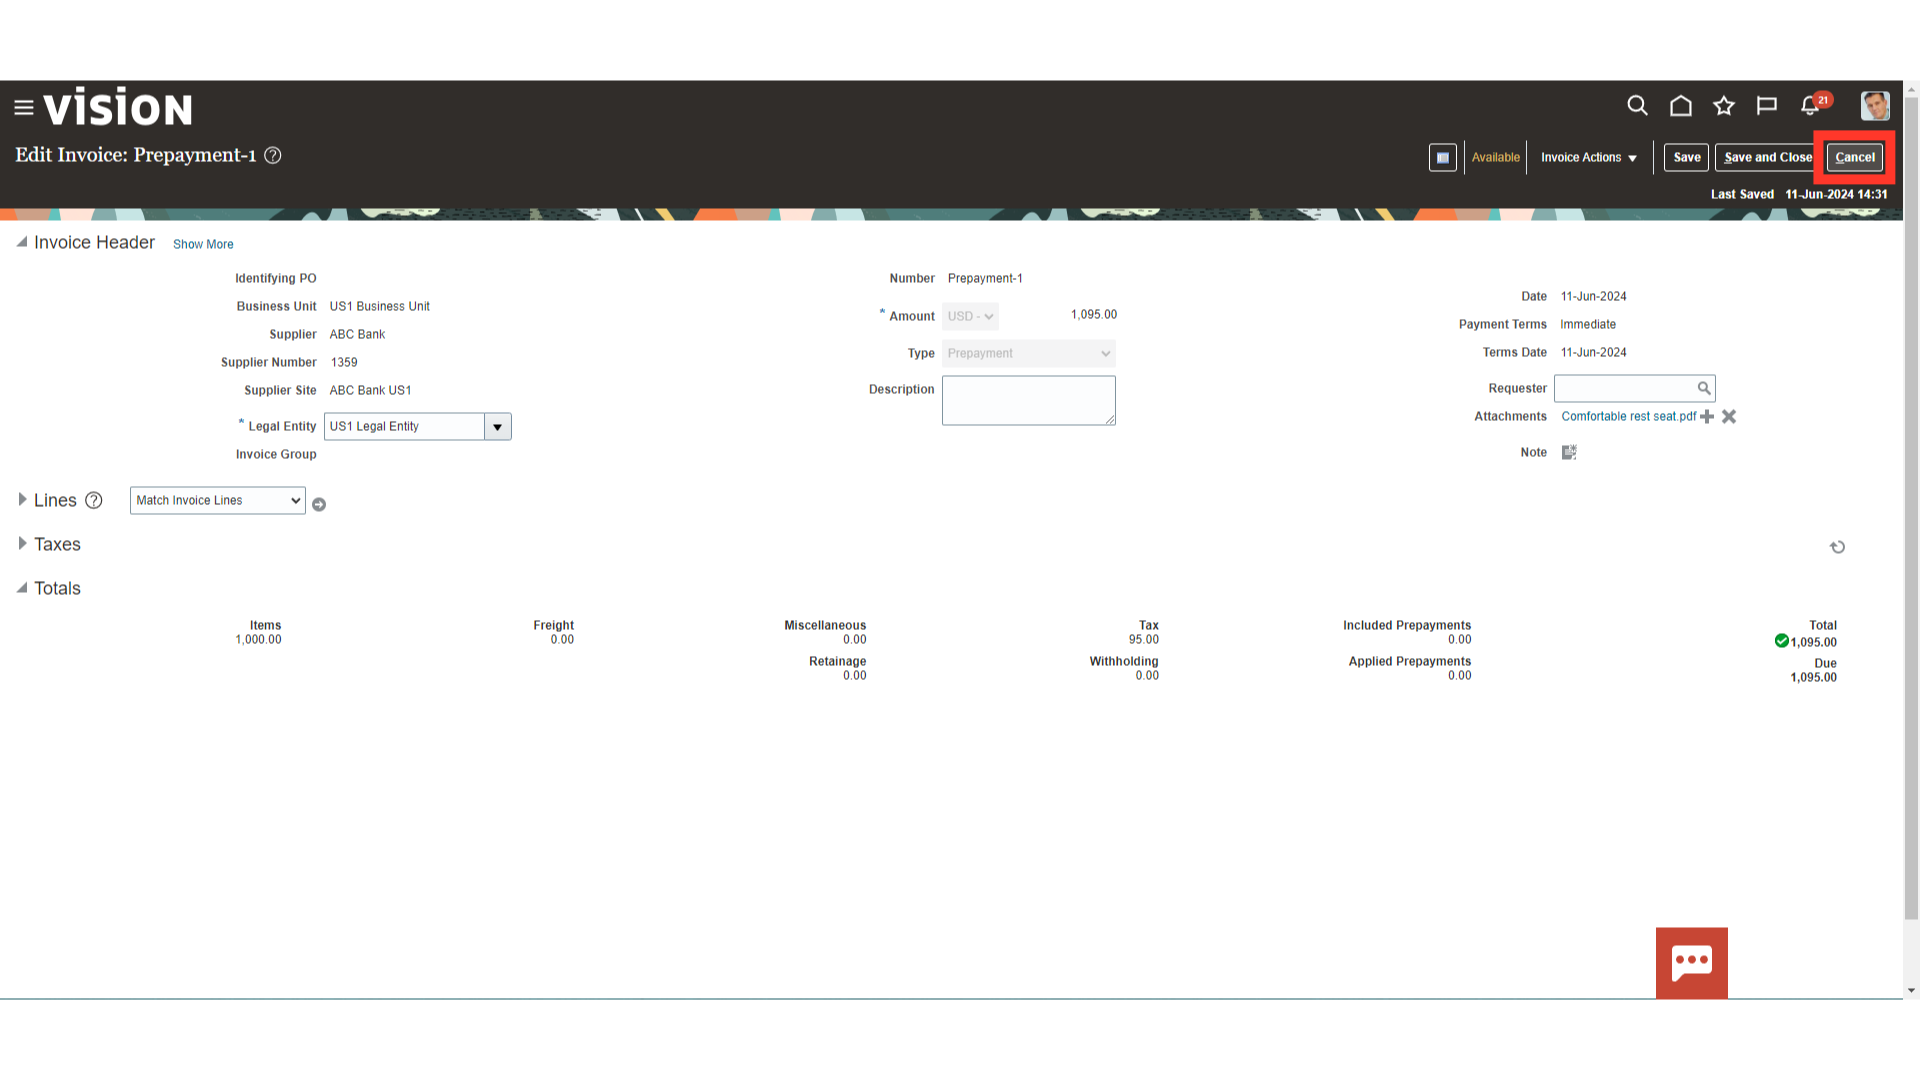
Once, the prepayment invoice is paid the status would be changed to Available status.
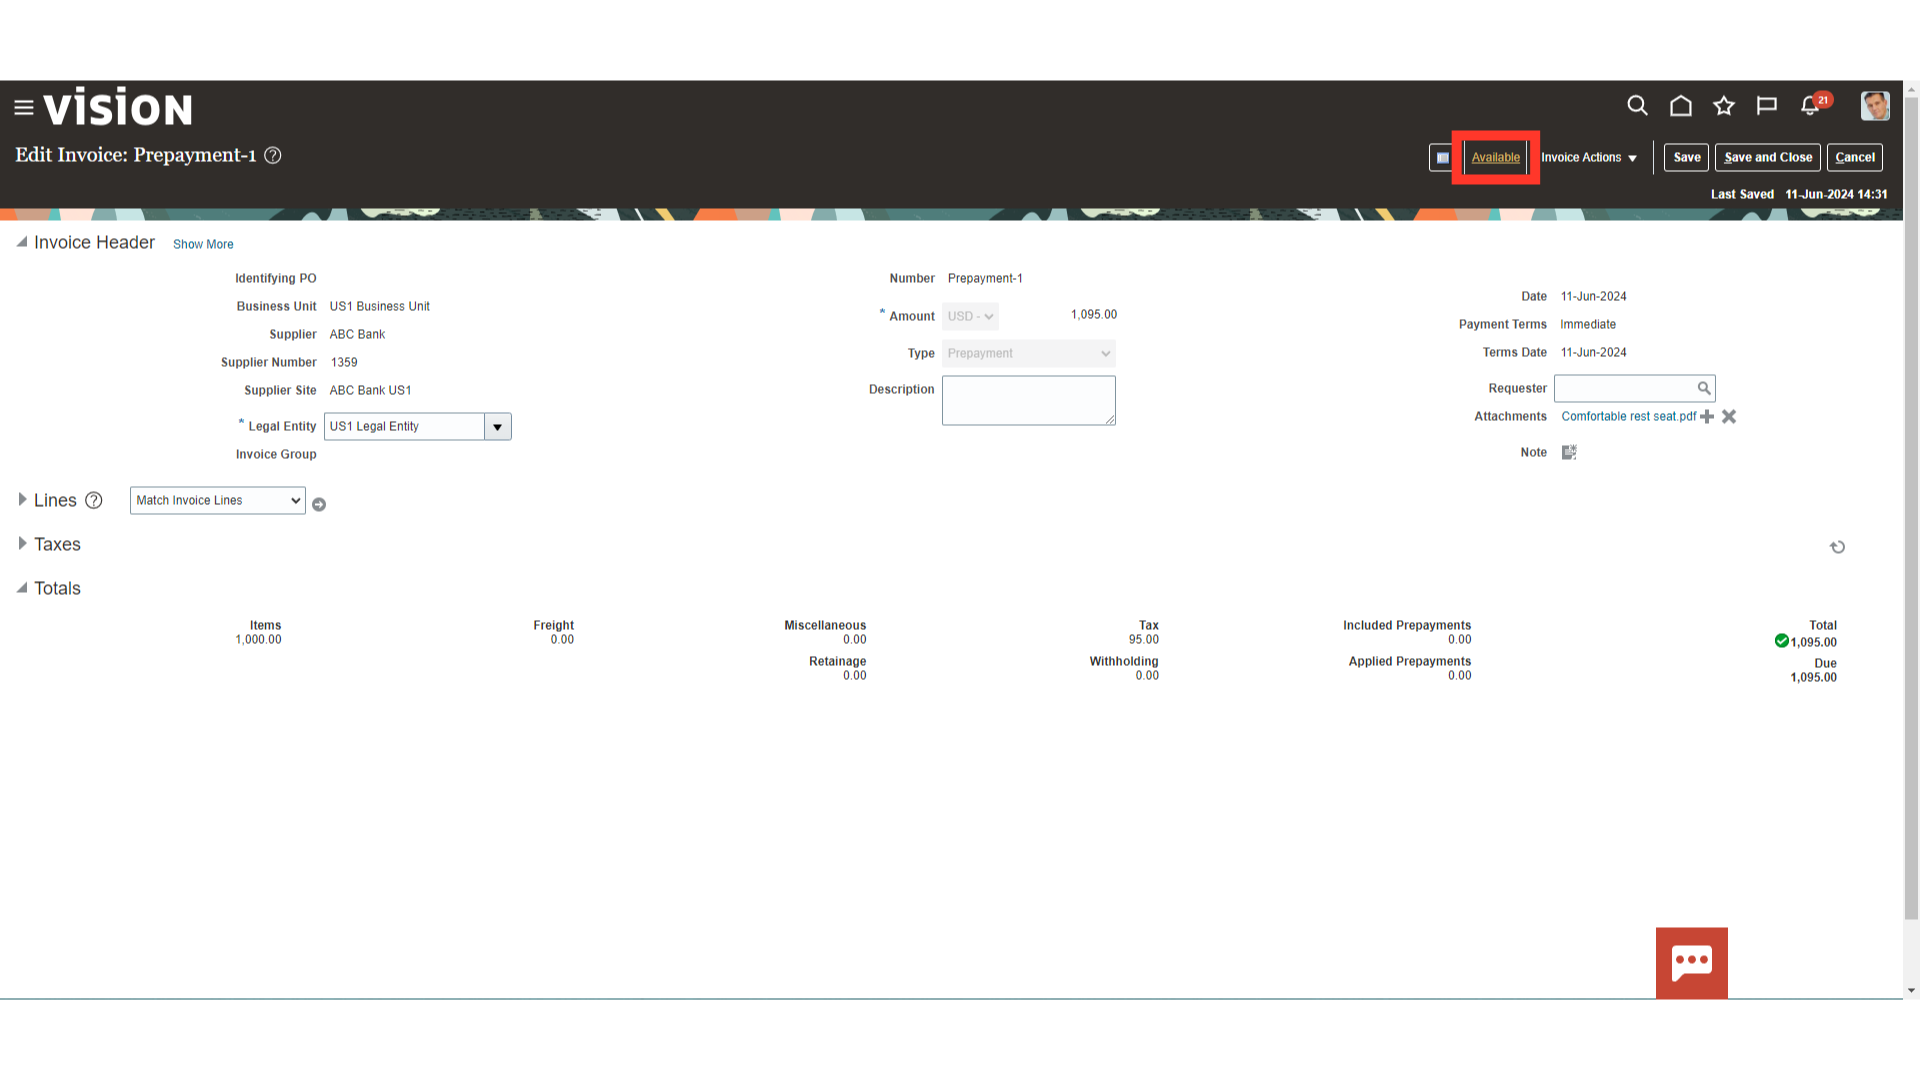
Click on “Cancel” button to close this invoice.
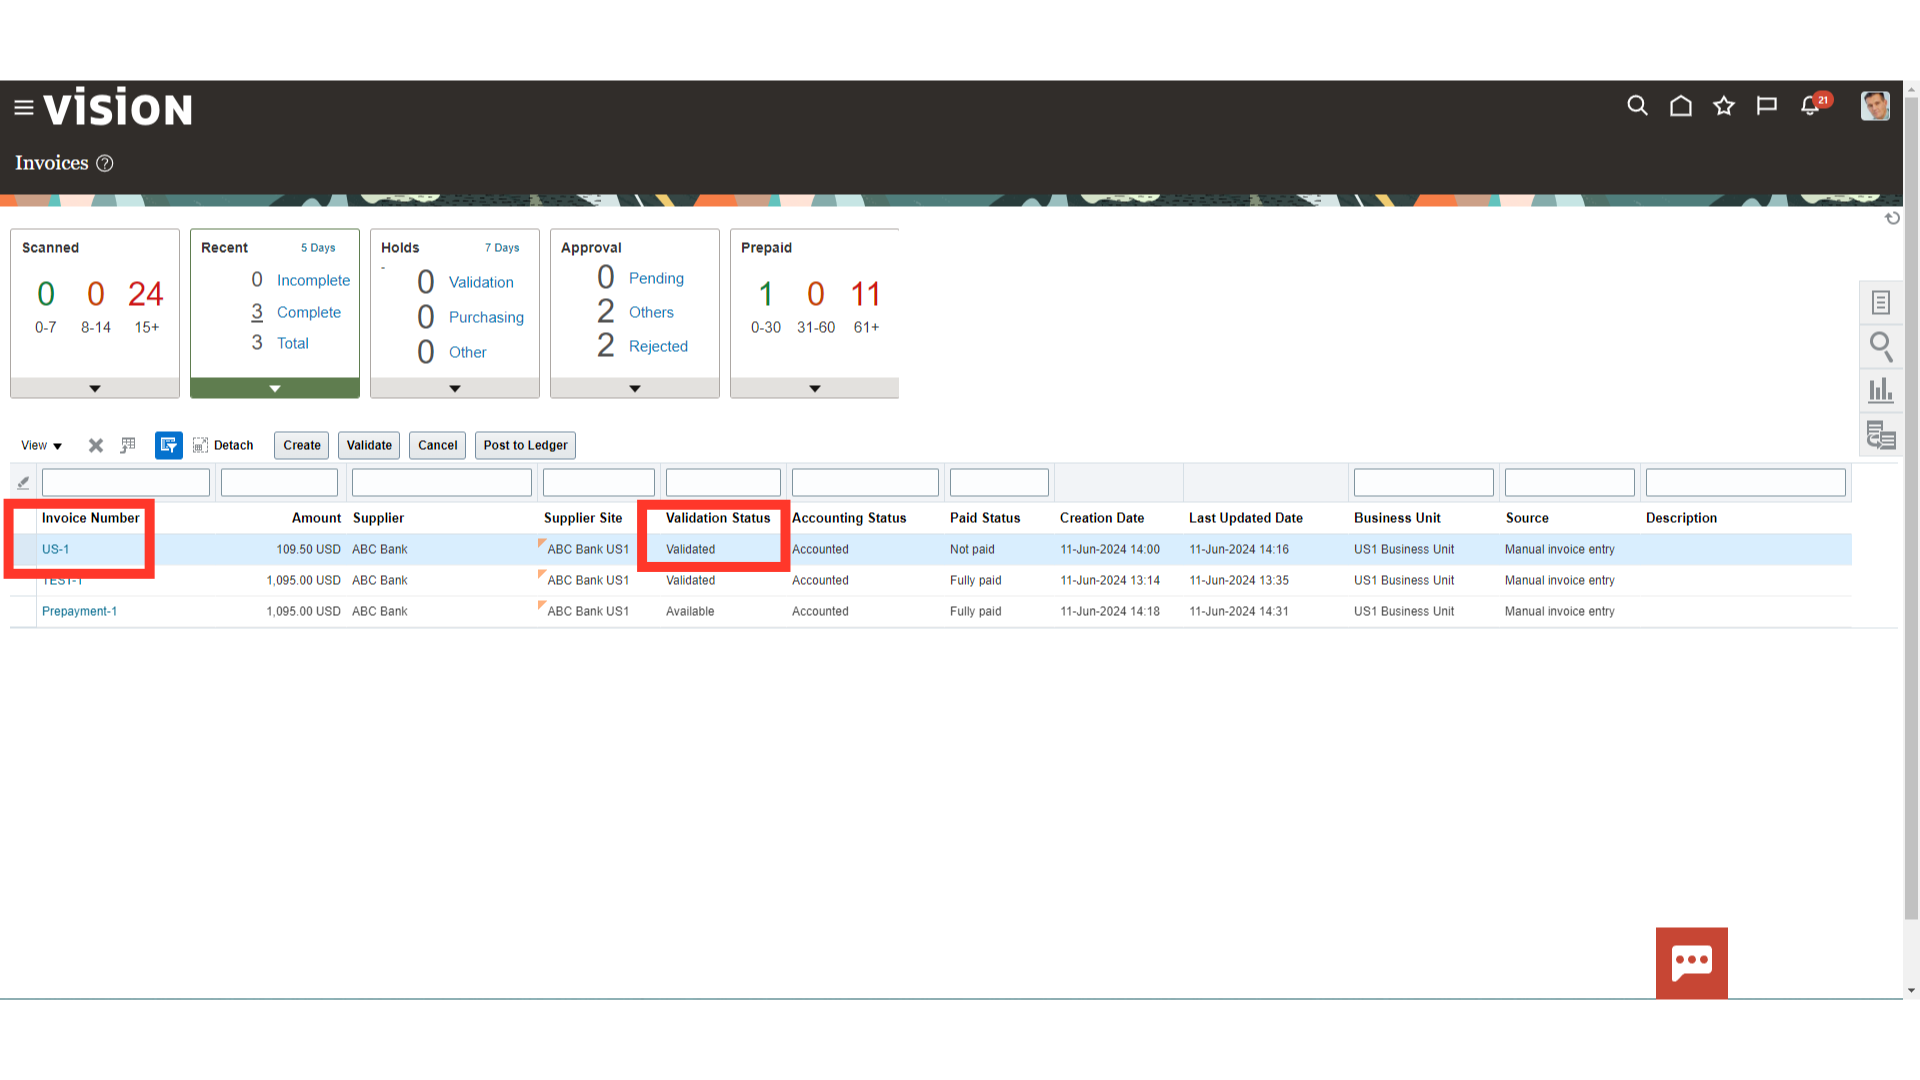
The Prepayment Invoice can be applied to Standard Invoice which is in validated status. Here for demo purpose, we will open the Invoice number “US 1” by clicking on the invoice number hyperlink.
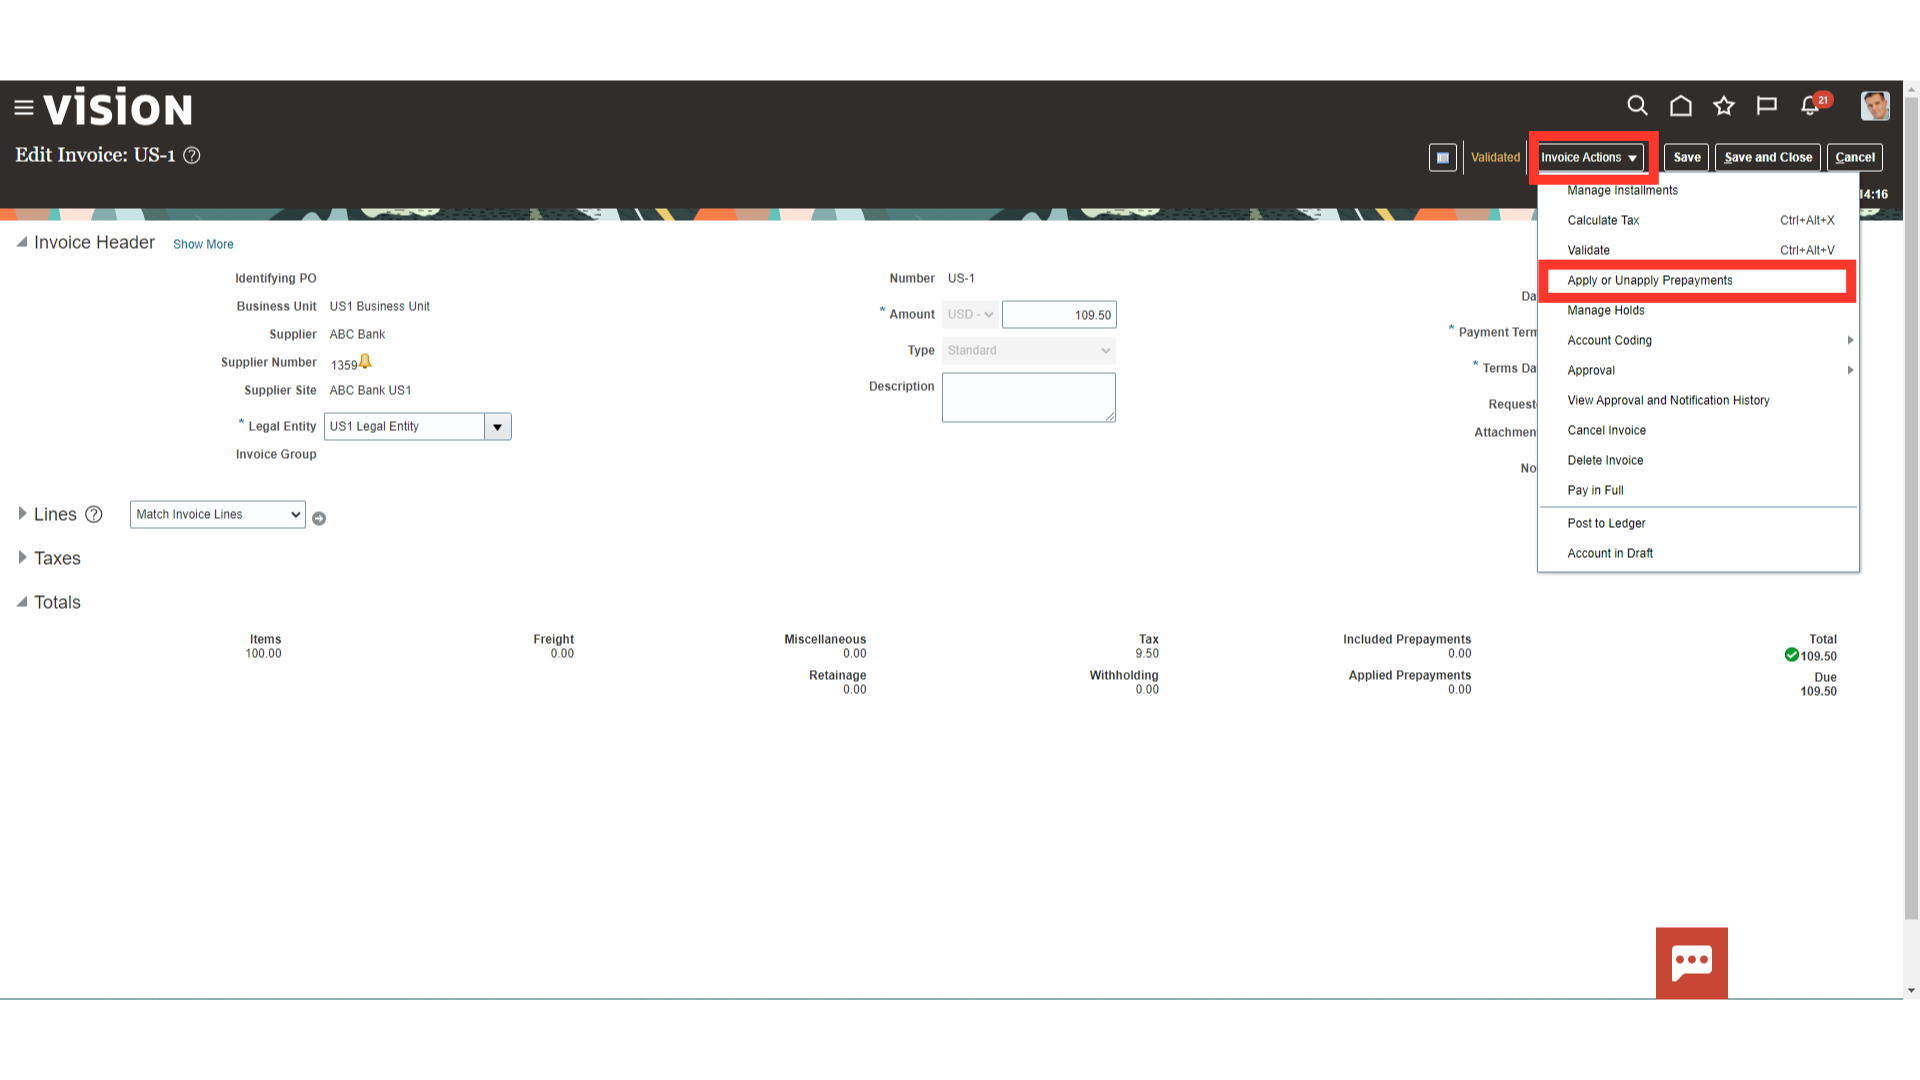
The Supplier for whom the prepayment invoices are available for application, system would show the bell icon against the supplier number.
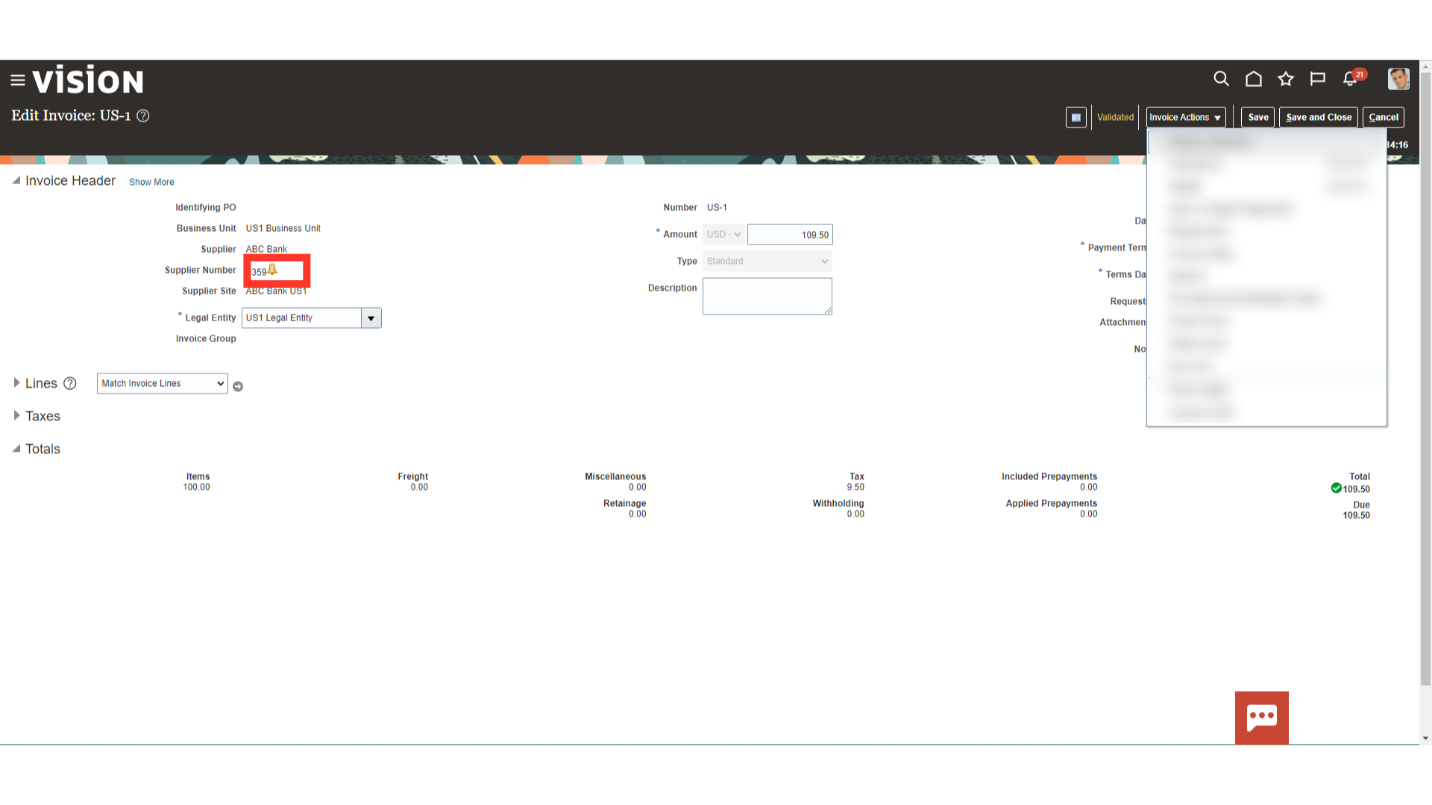
Click on the “Apply or Unapply Prepayments” option under the Invoice actions tab.
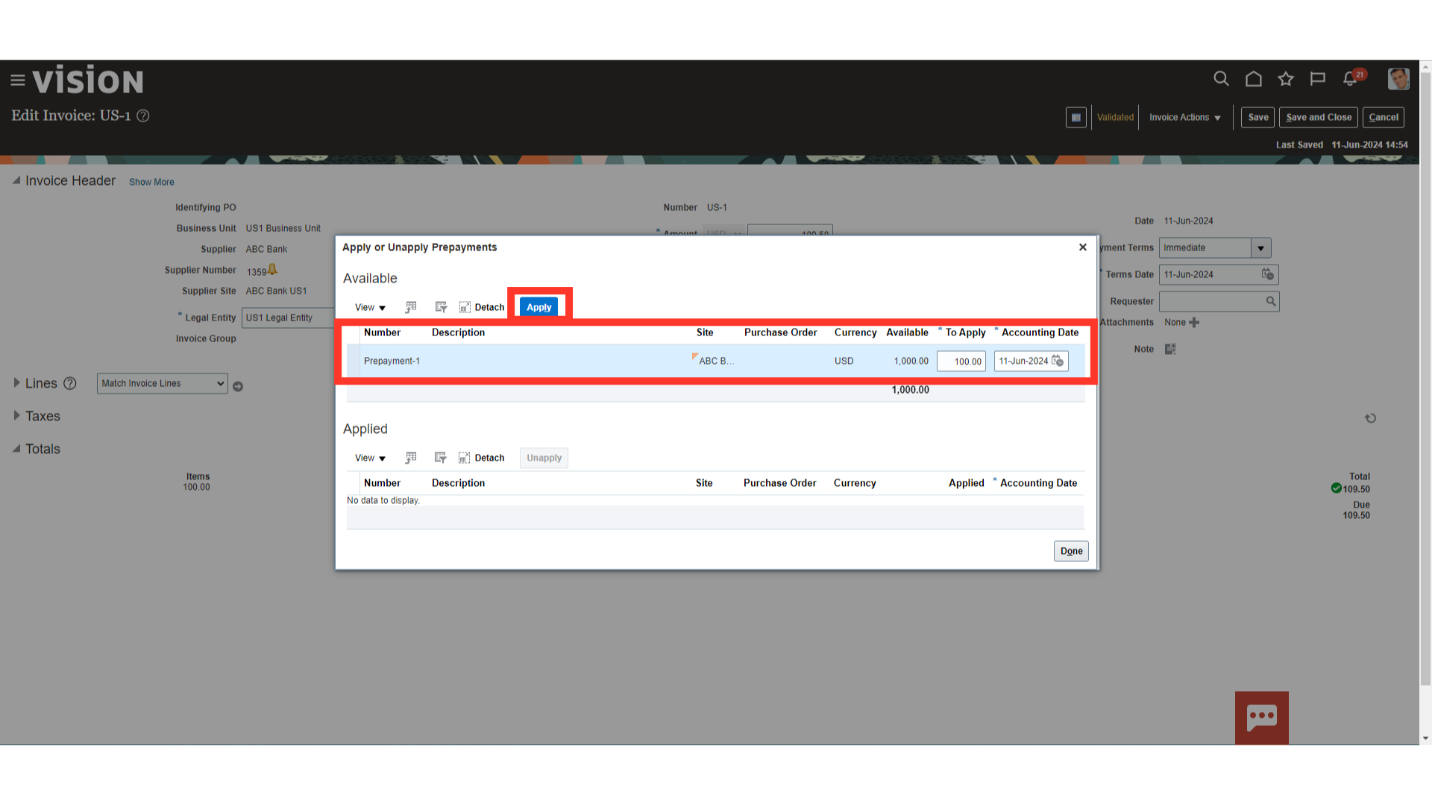
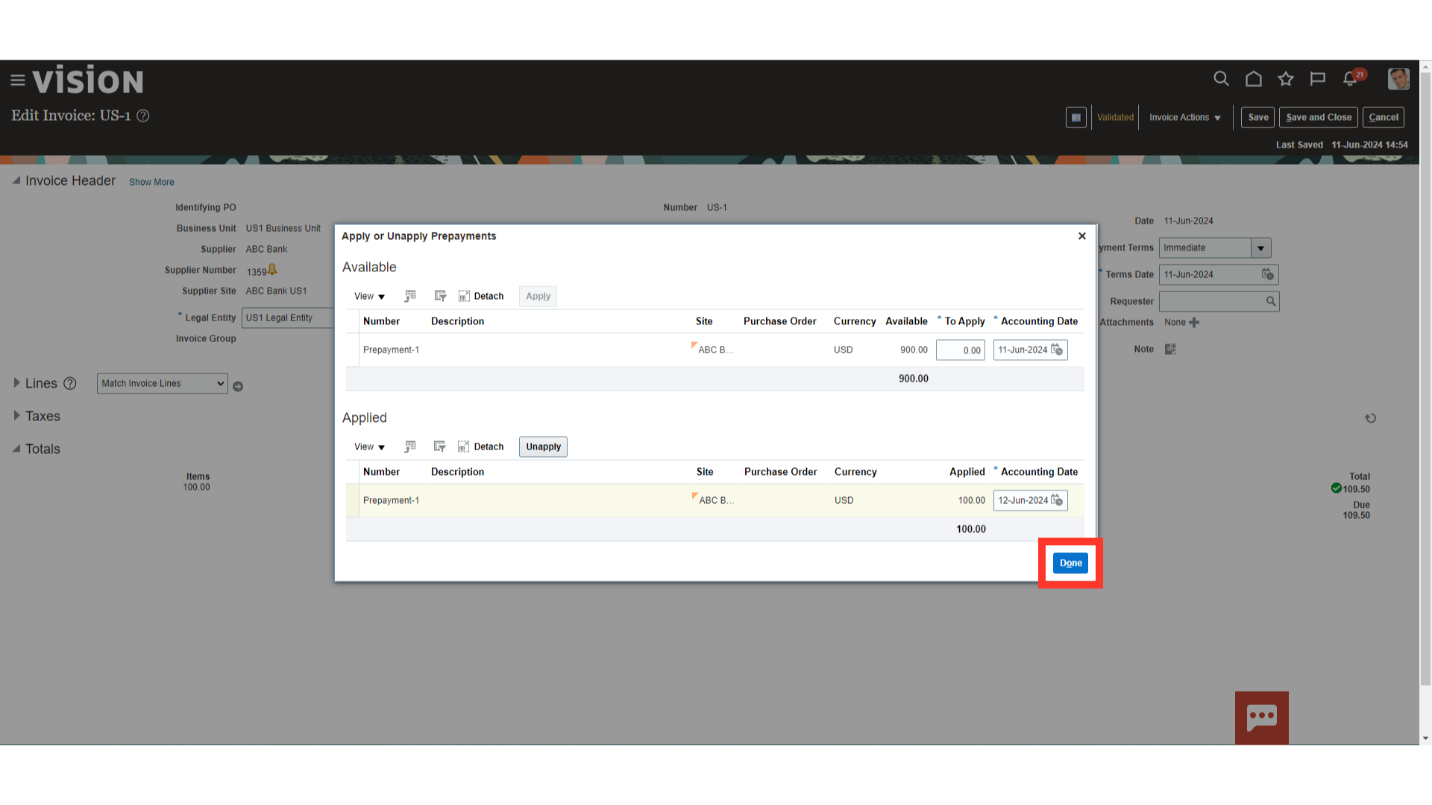
Available prepayments for this supplier would be visible under the Available section.
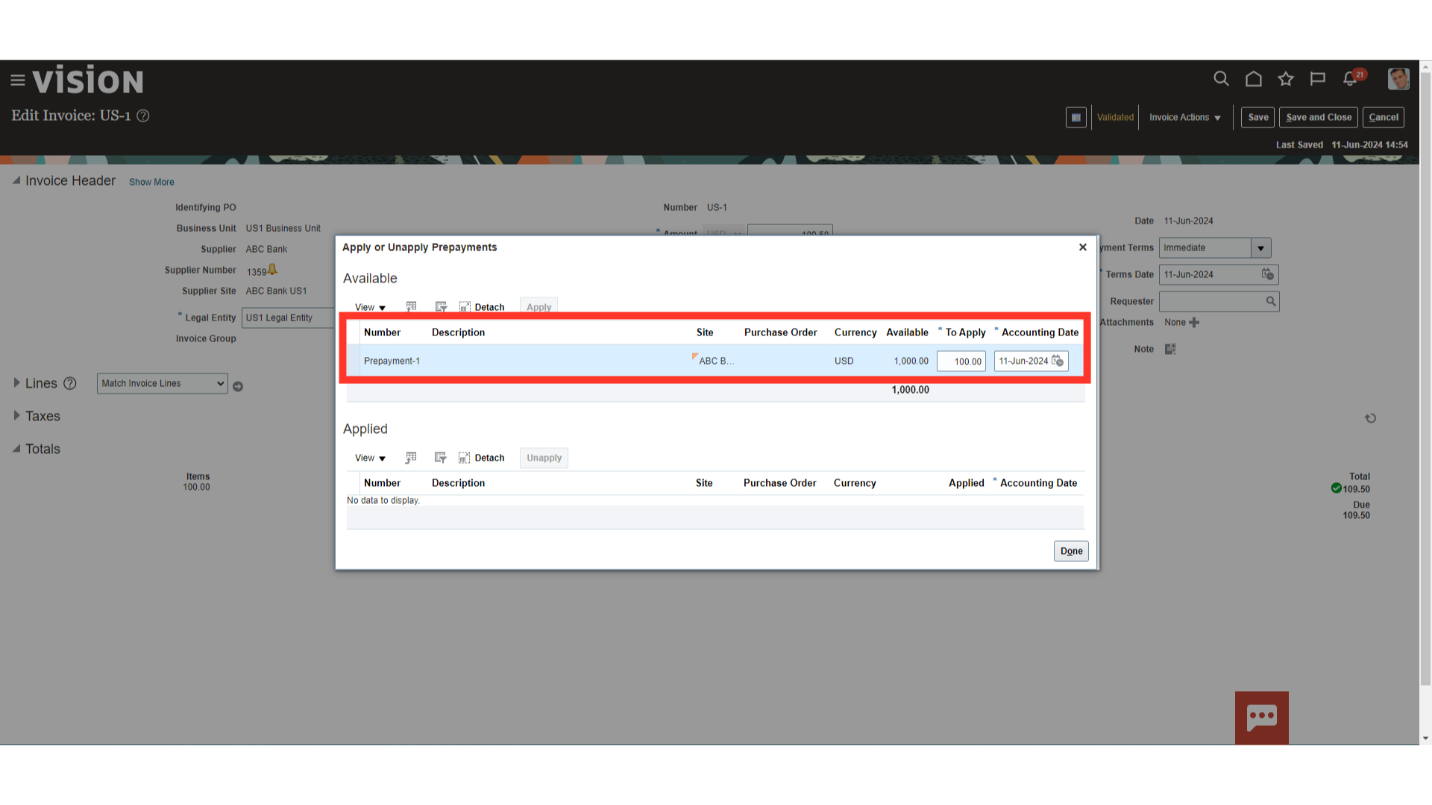
You can change the application amount and accounting date if required. To apply the prepayment invoice, select the same and click on the Apply button.
Once the prepayment invoice is applied, it would be visible under the Applied section. In case we want to unapply the prepayment, click on the Unapply button.
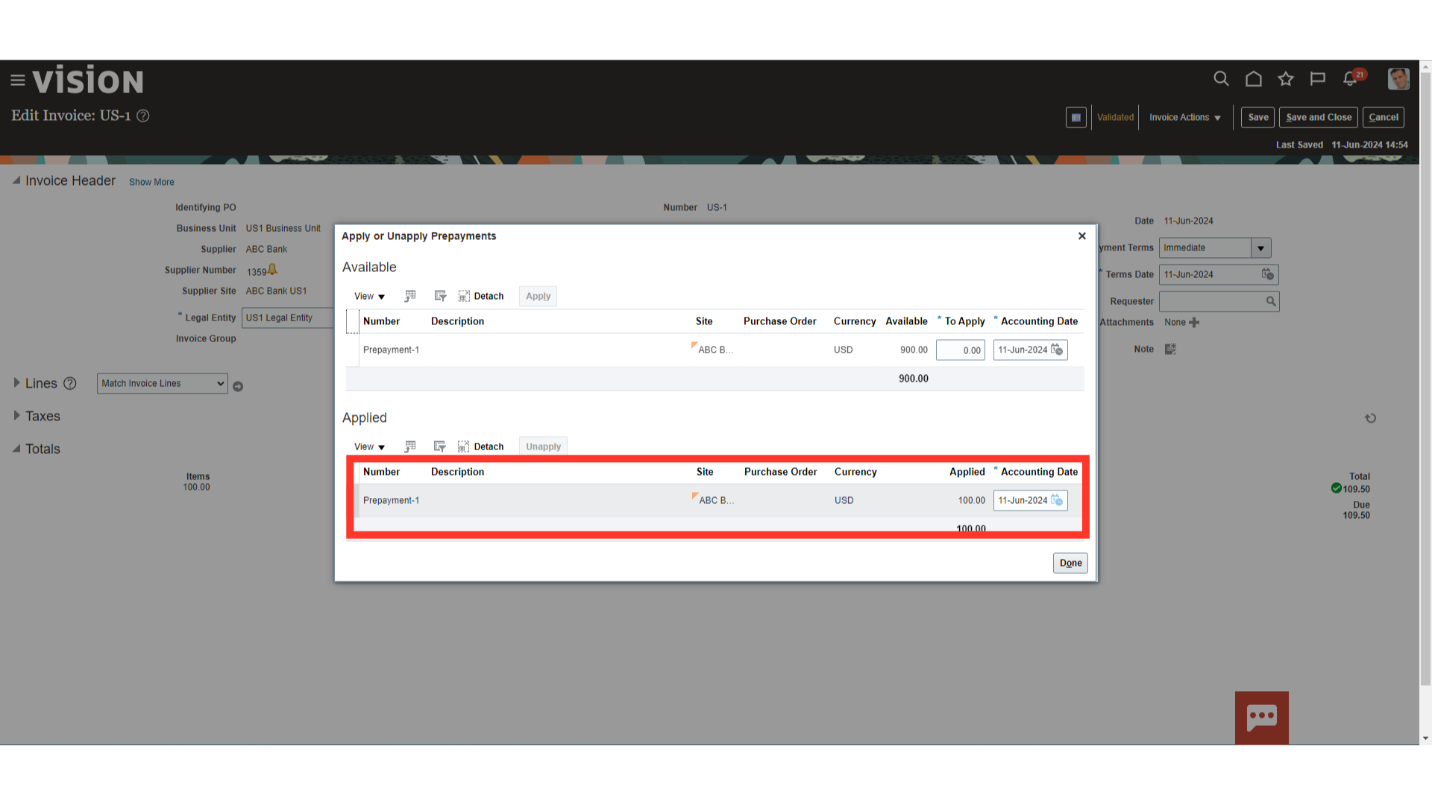
Click on the Done button to close this window.
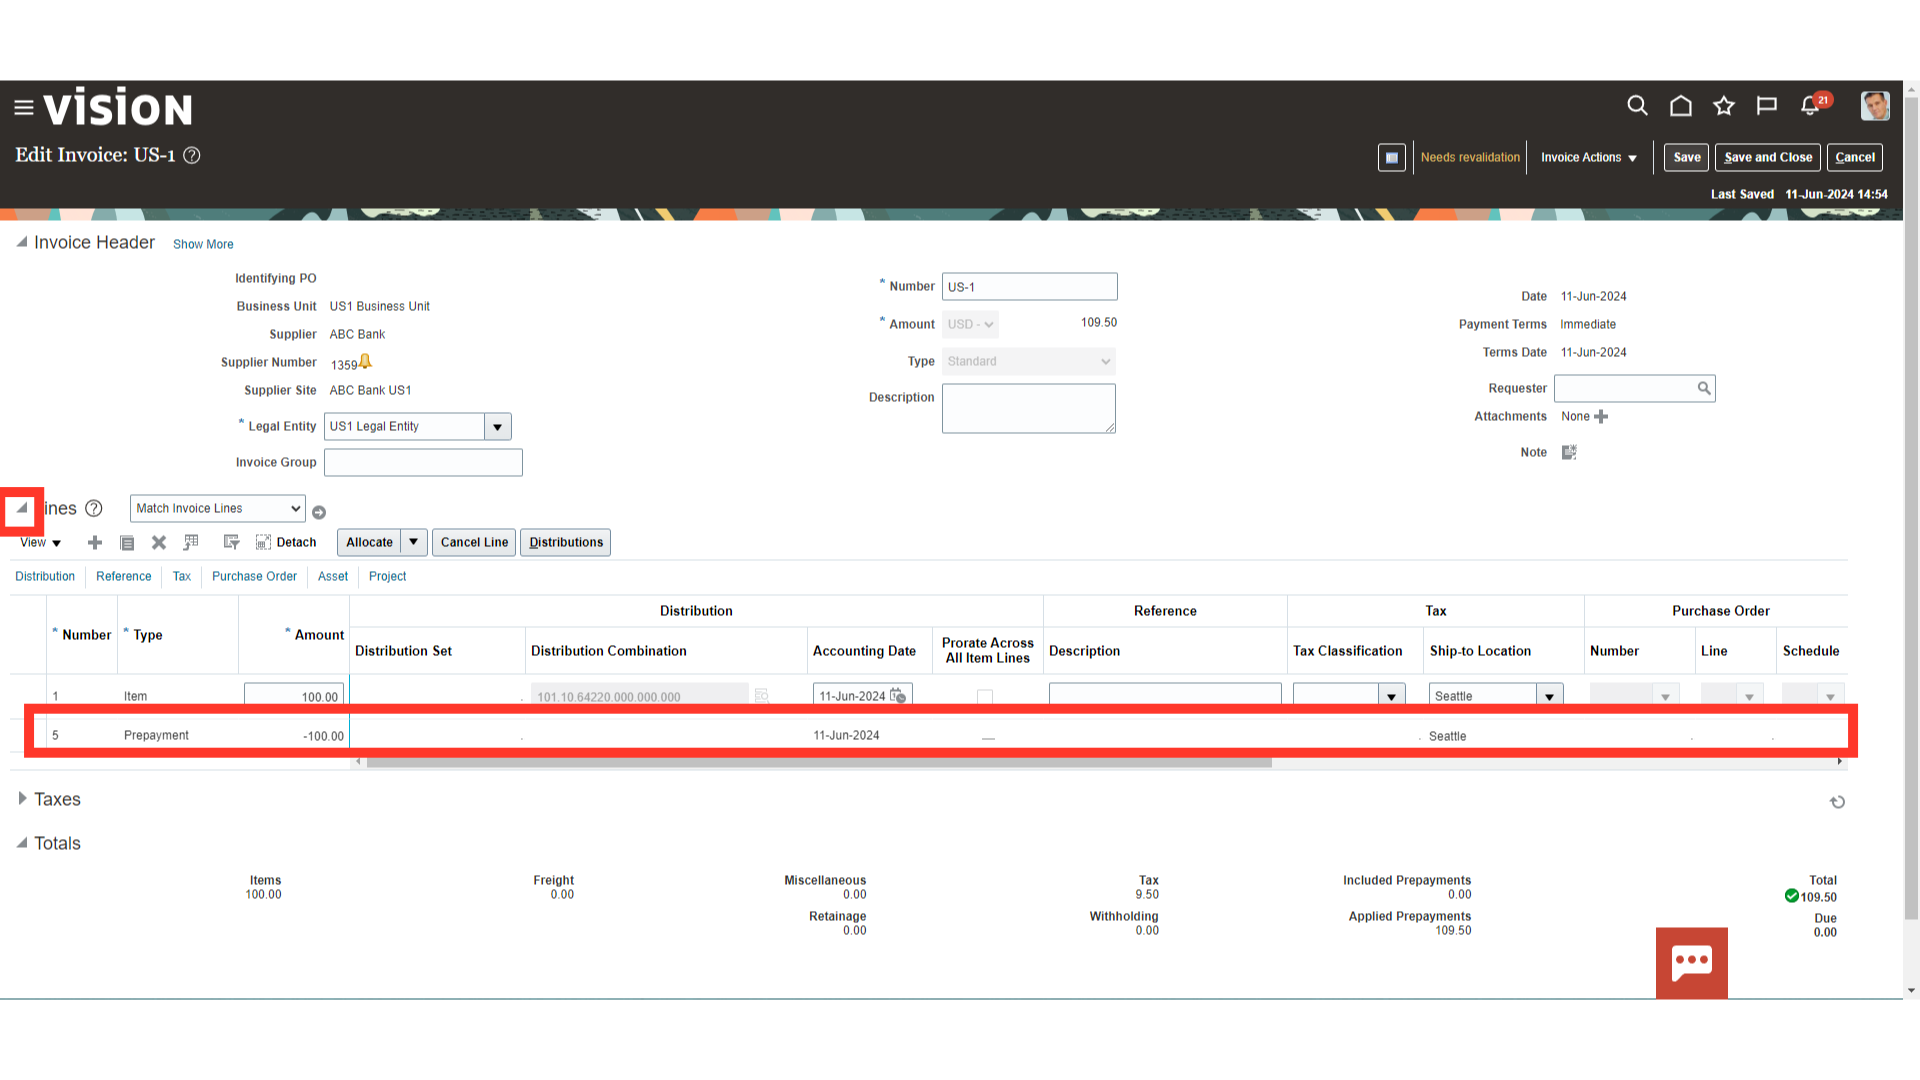
You can see the prepayment application line details by expanding the Invoice line section.
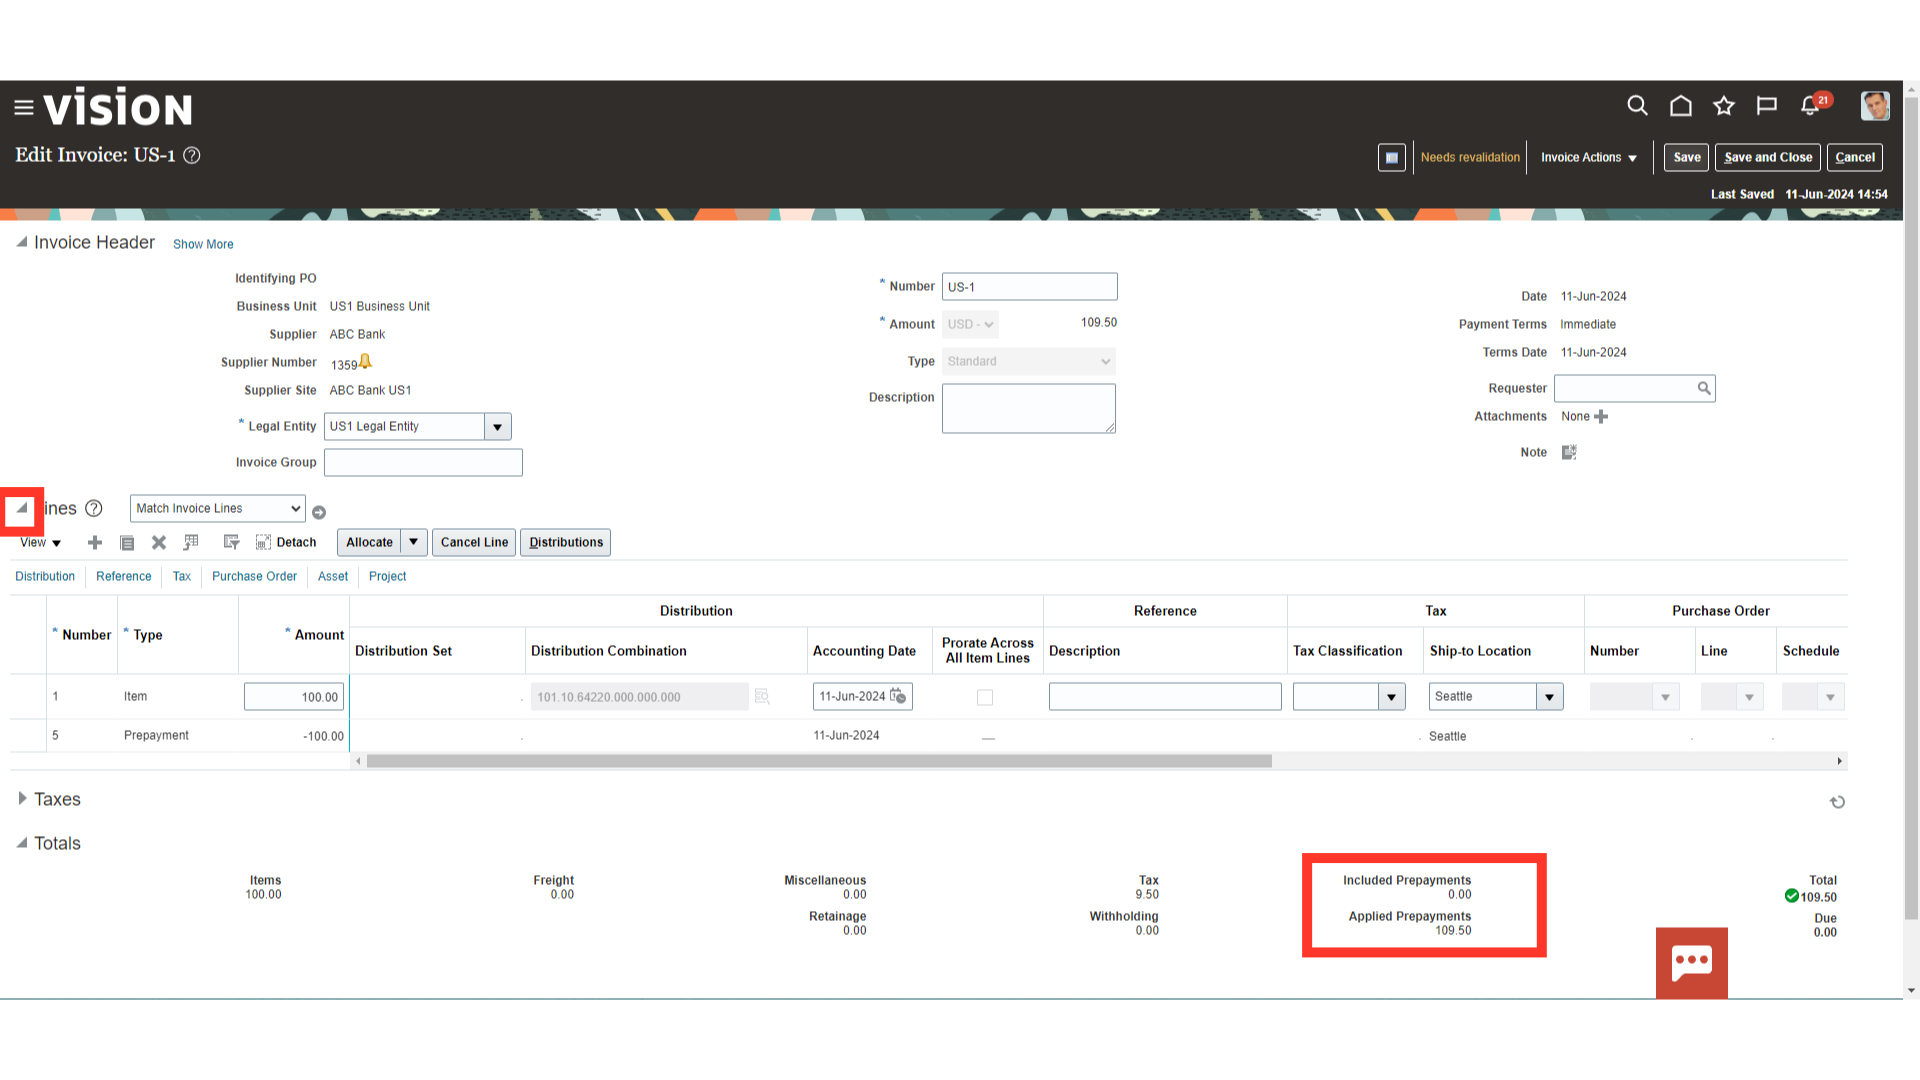
Applied prepayments can be either inclusive or exclusive. A supplier might send you an invoice that references a prepayment. If the supplier reduces the invoice amount by the prepayment and associated tax, the prepayment is inclusive. You can designate a prepayment as inclusive by selecting the Included-on Invoice option when applying the prepayment. When you apply an exclusive prepayment to an invoice, the unpaid invoice amount is reduced by the amount of the prepayment application. Here, for Demo purpose, we have taken exclusive prepayment application.
Once, prepayment invoice is applied the Invoice status would be changed to Needs Revalidation status. Again, to validate the invoice click on the Validate option under the Invoice Actions tab.

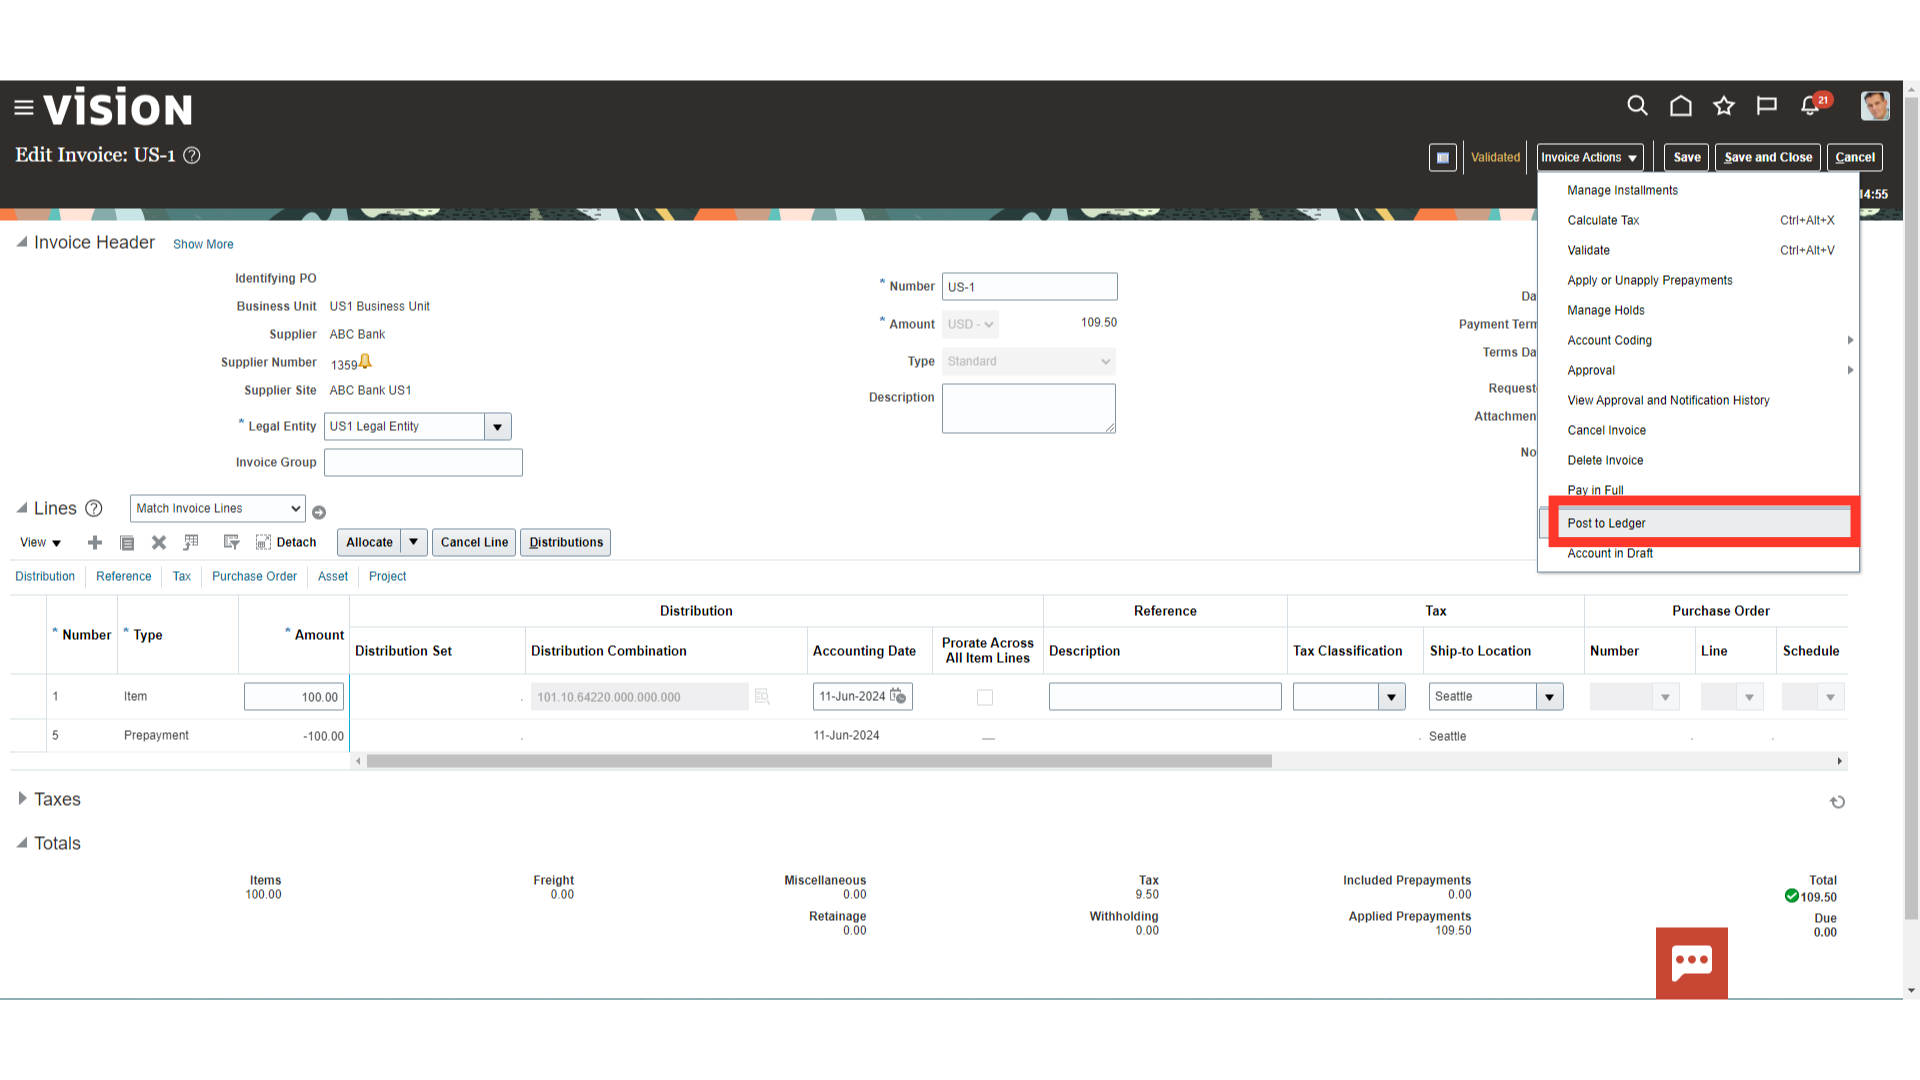
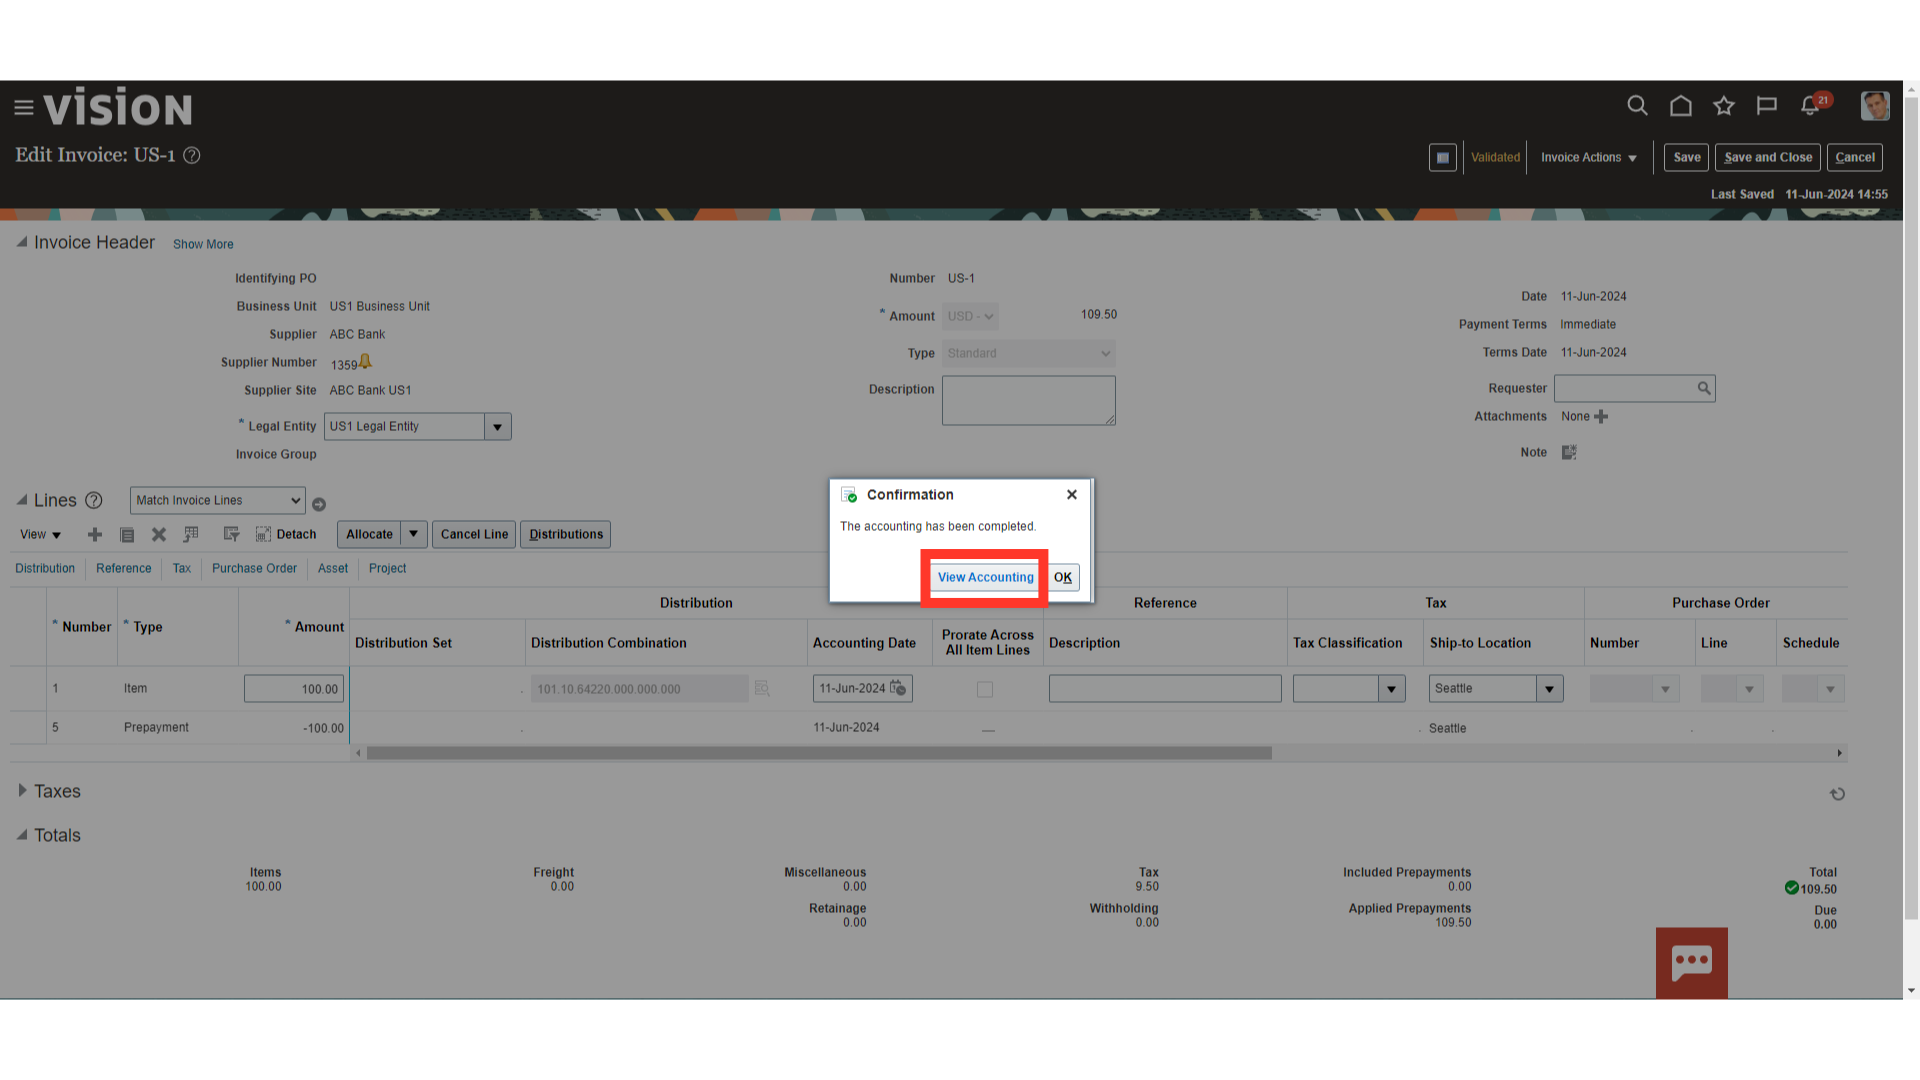
To generate accounting for the invoice, click on the “Post to ledger” after clicking on the Invoice Actions menu.
Select the “View Accounting” button to see the details of accounting entries.
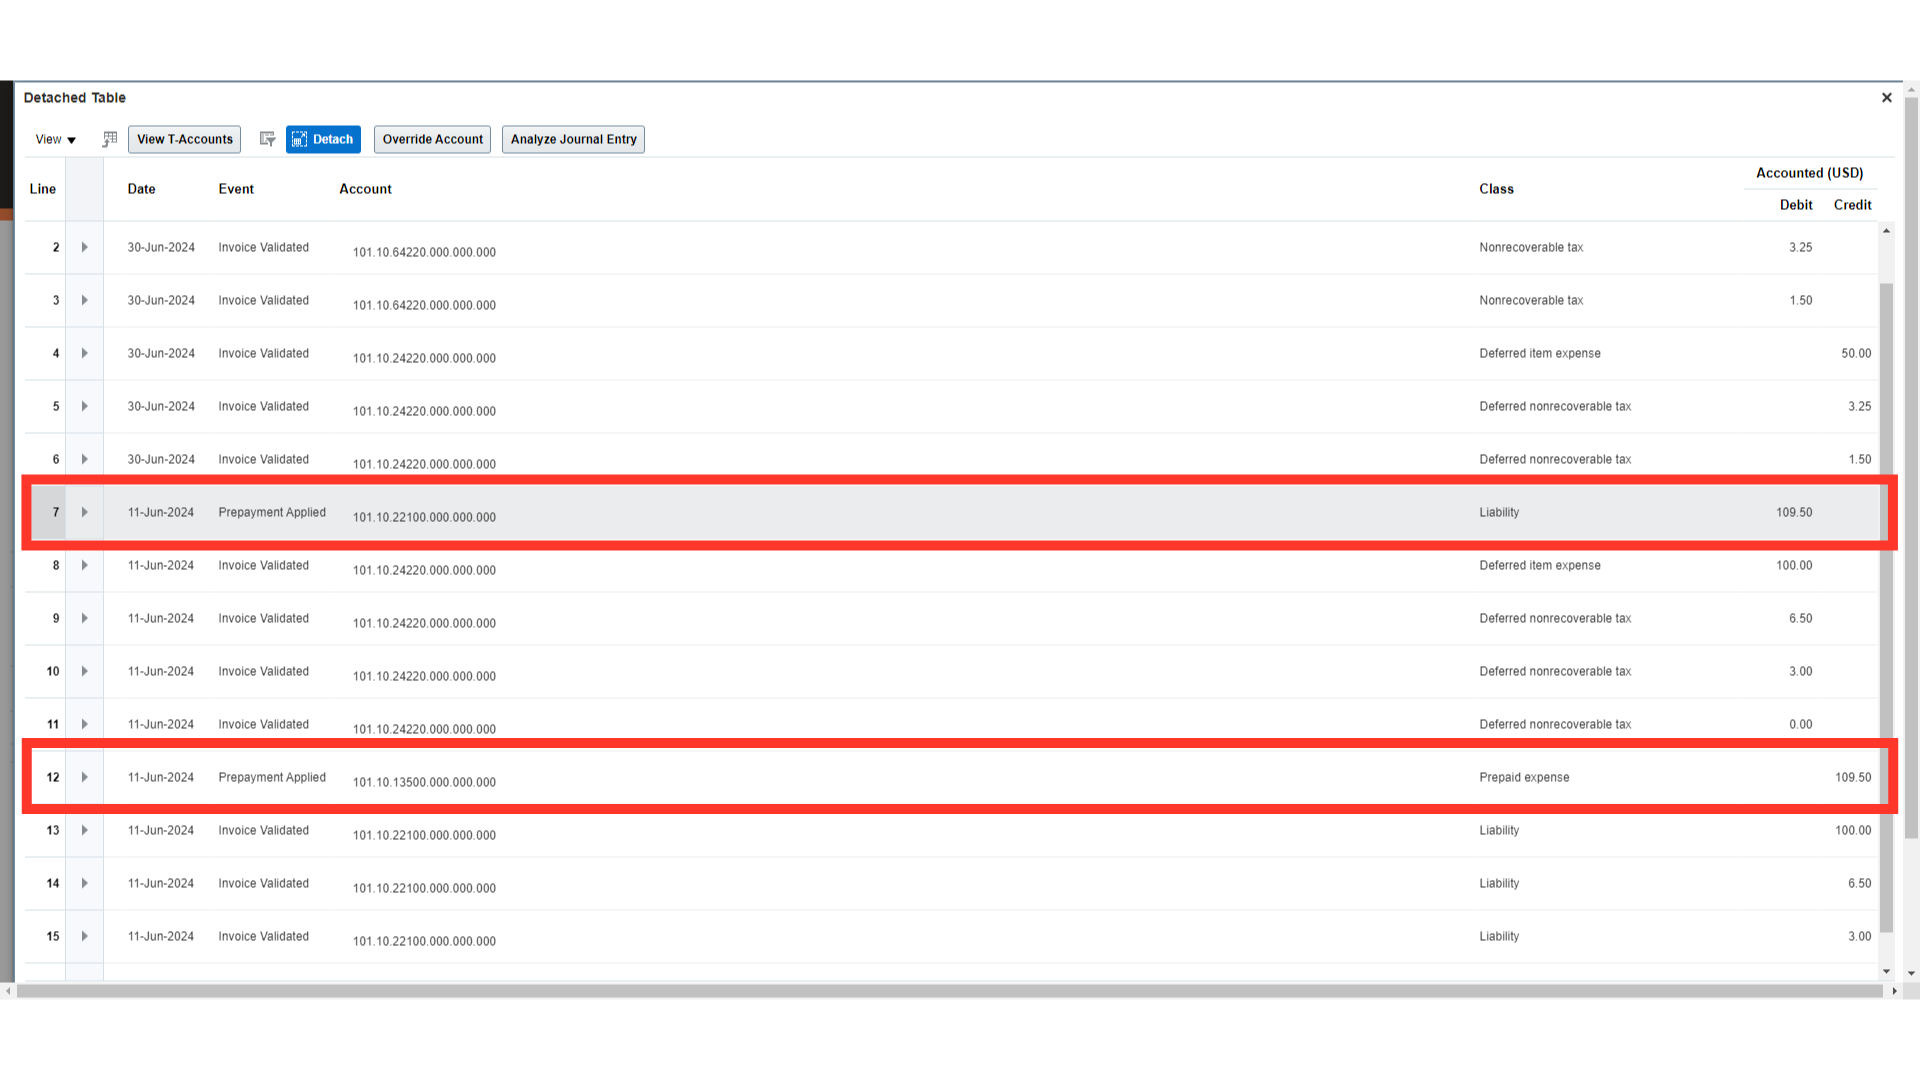
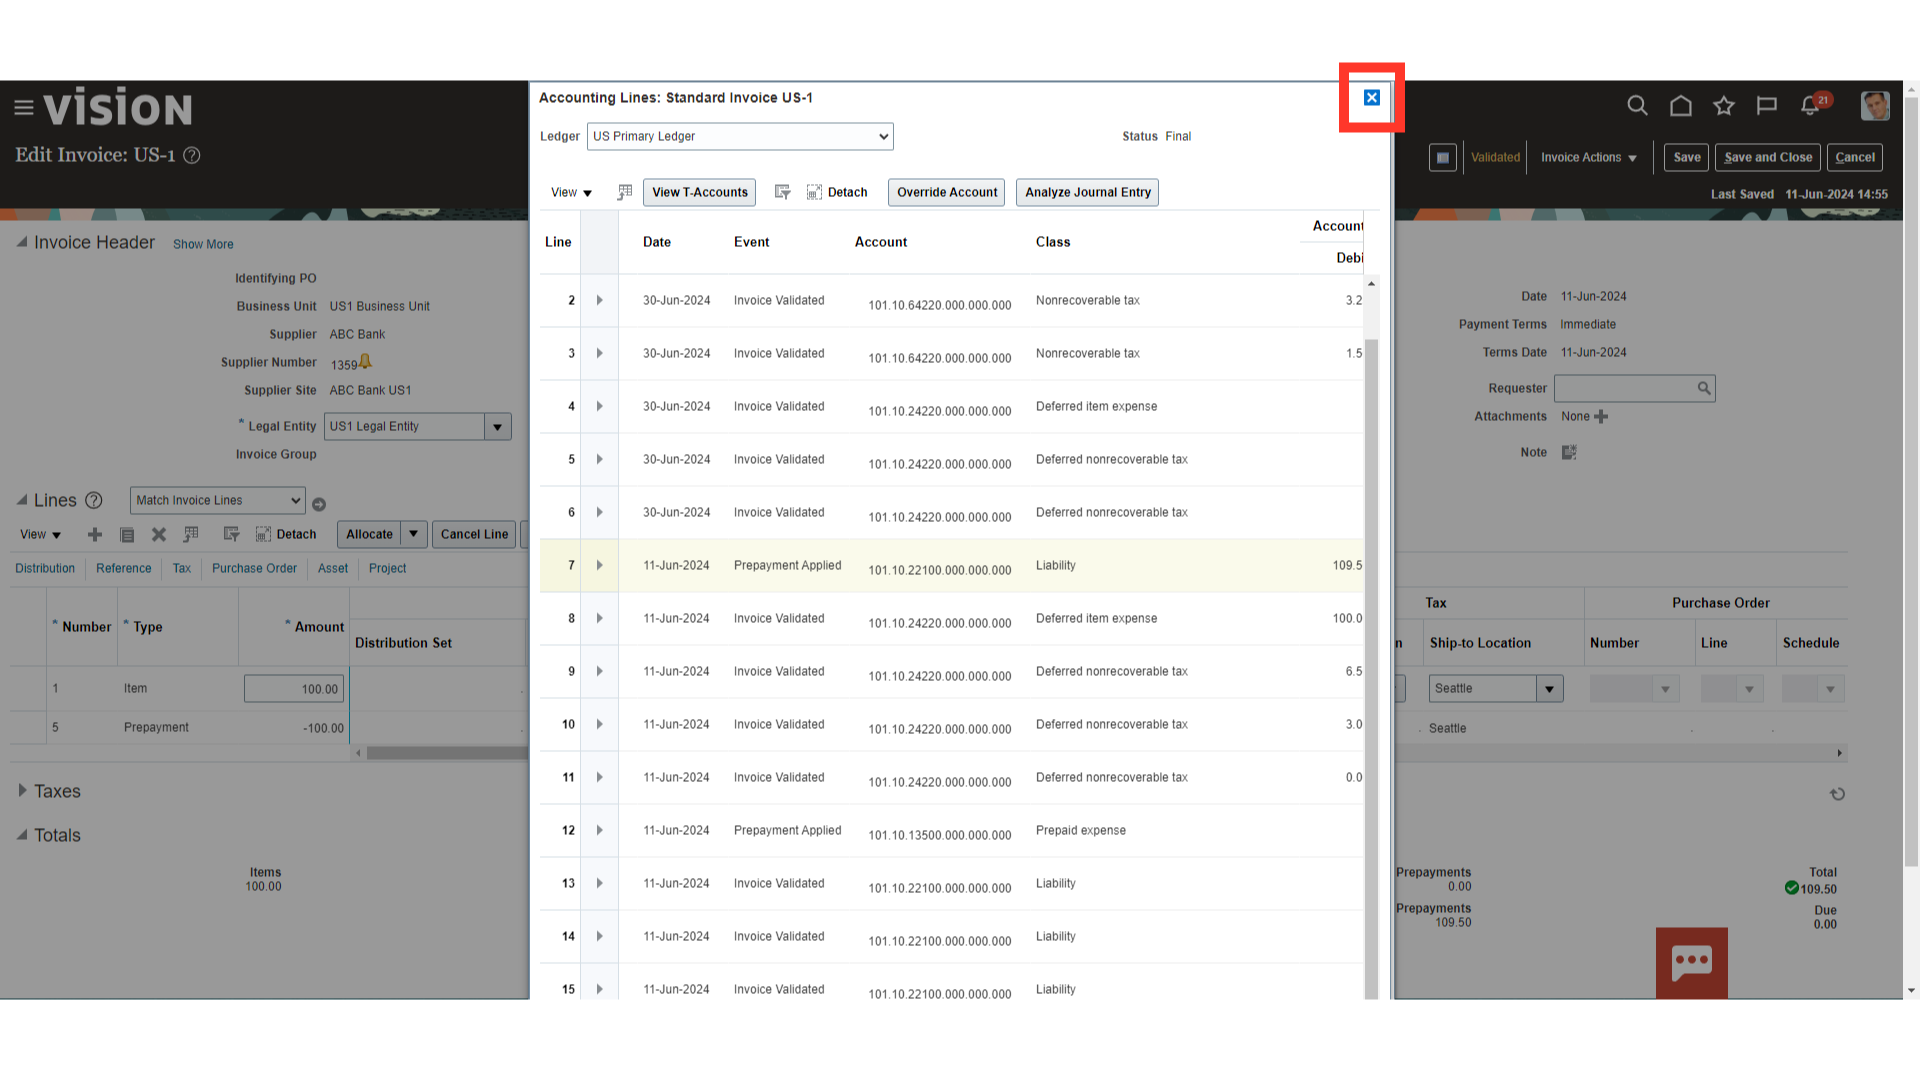
This is the journal entry generated and transferred to the general ledger for the prepayment application event.
Click on the cross icon to close the accounting window.
You have completed this guide by following the steps for creating a prepayment invoice, applying it, and learning about the different kinds of prepayments that Oracle Fusion offers. You should feel confident creating and using the prepayment invoice after reading this guide.