Recurring Invoices
This tutorial will walk you through the process of using the ADFDI spreadsheet to create and upload the recurring type of invoices in Oracle Fusion. This feature helps to create Recurring Invoices across multiple periods for regular expenses like rent or lease expenses. Invoices that need to be created and paid on a regular basis, can be created using the recurring invoices functionality available in Oracle Fusion Payables.
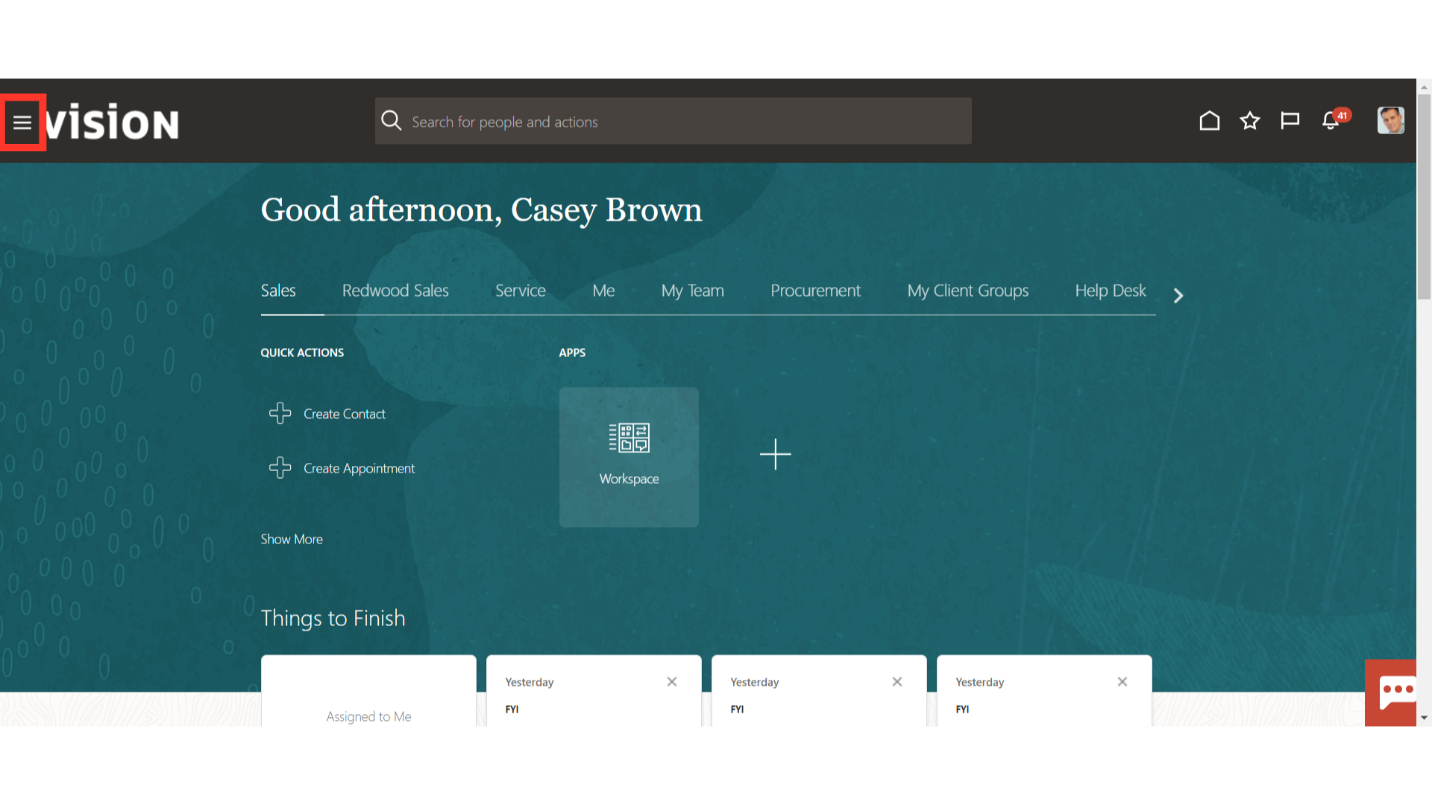
Click on the Navigator Icon to access the Payables module.
Expand the Payables menu to select the Invoices submenu.
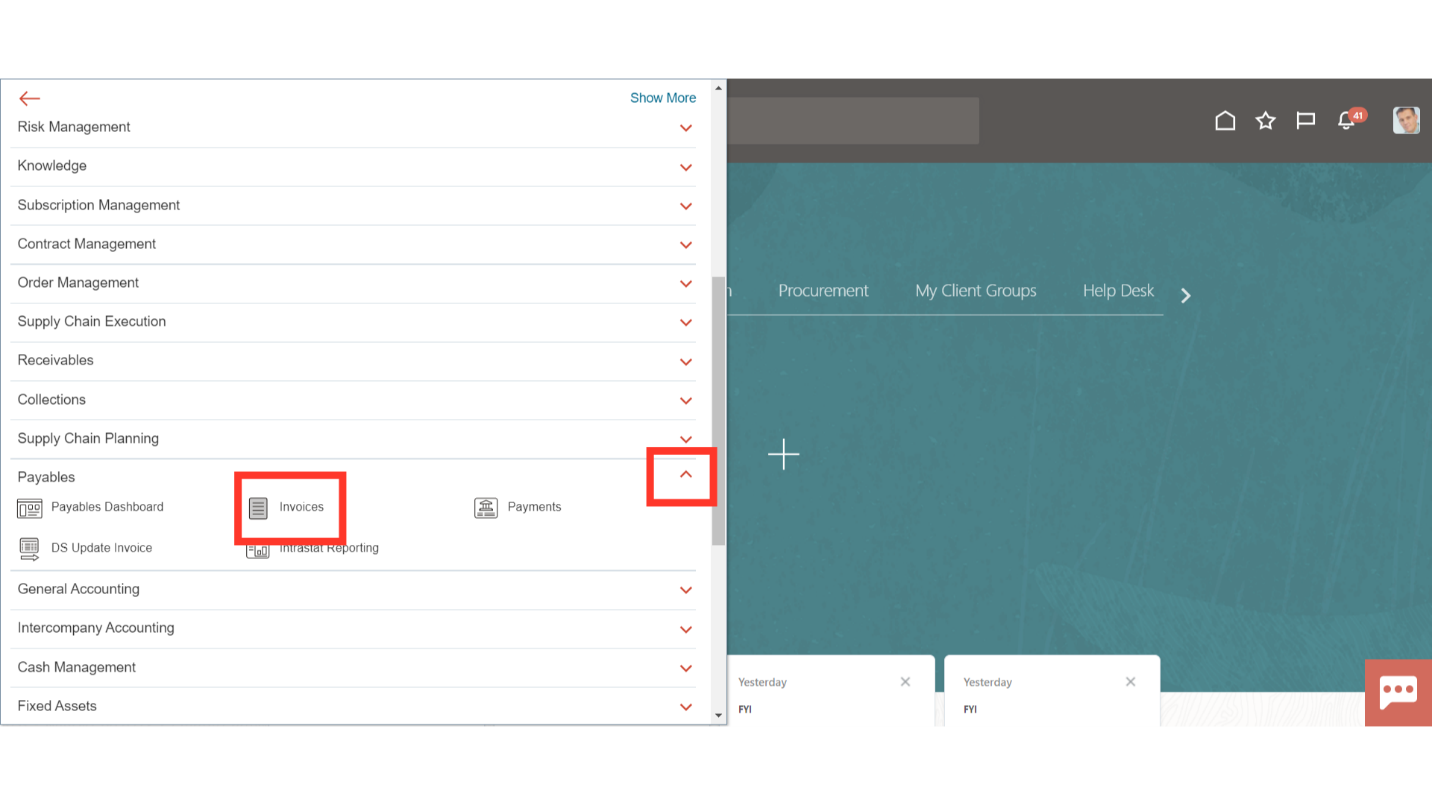
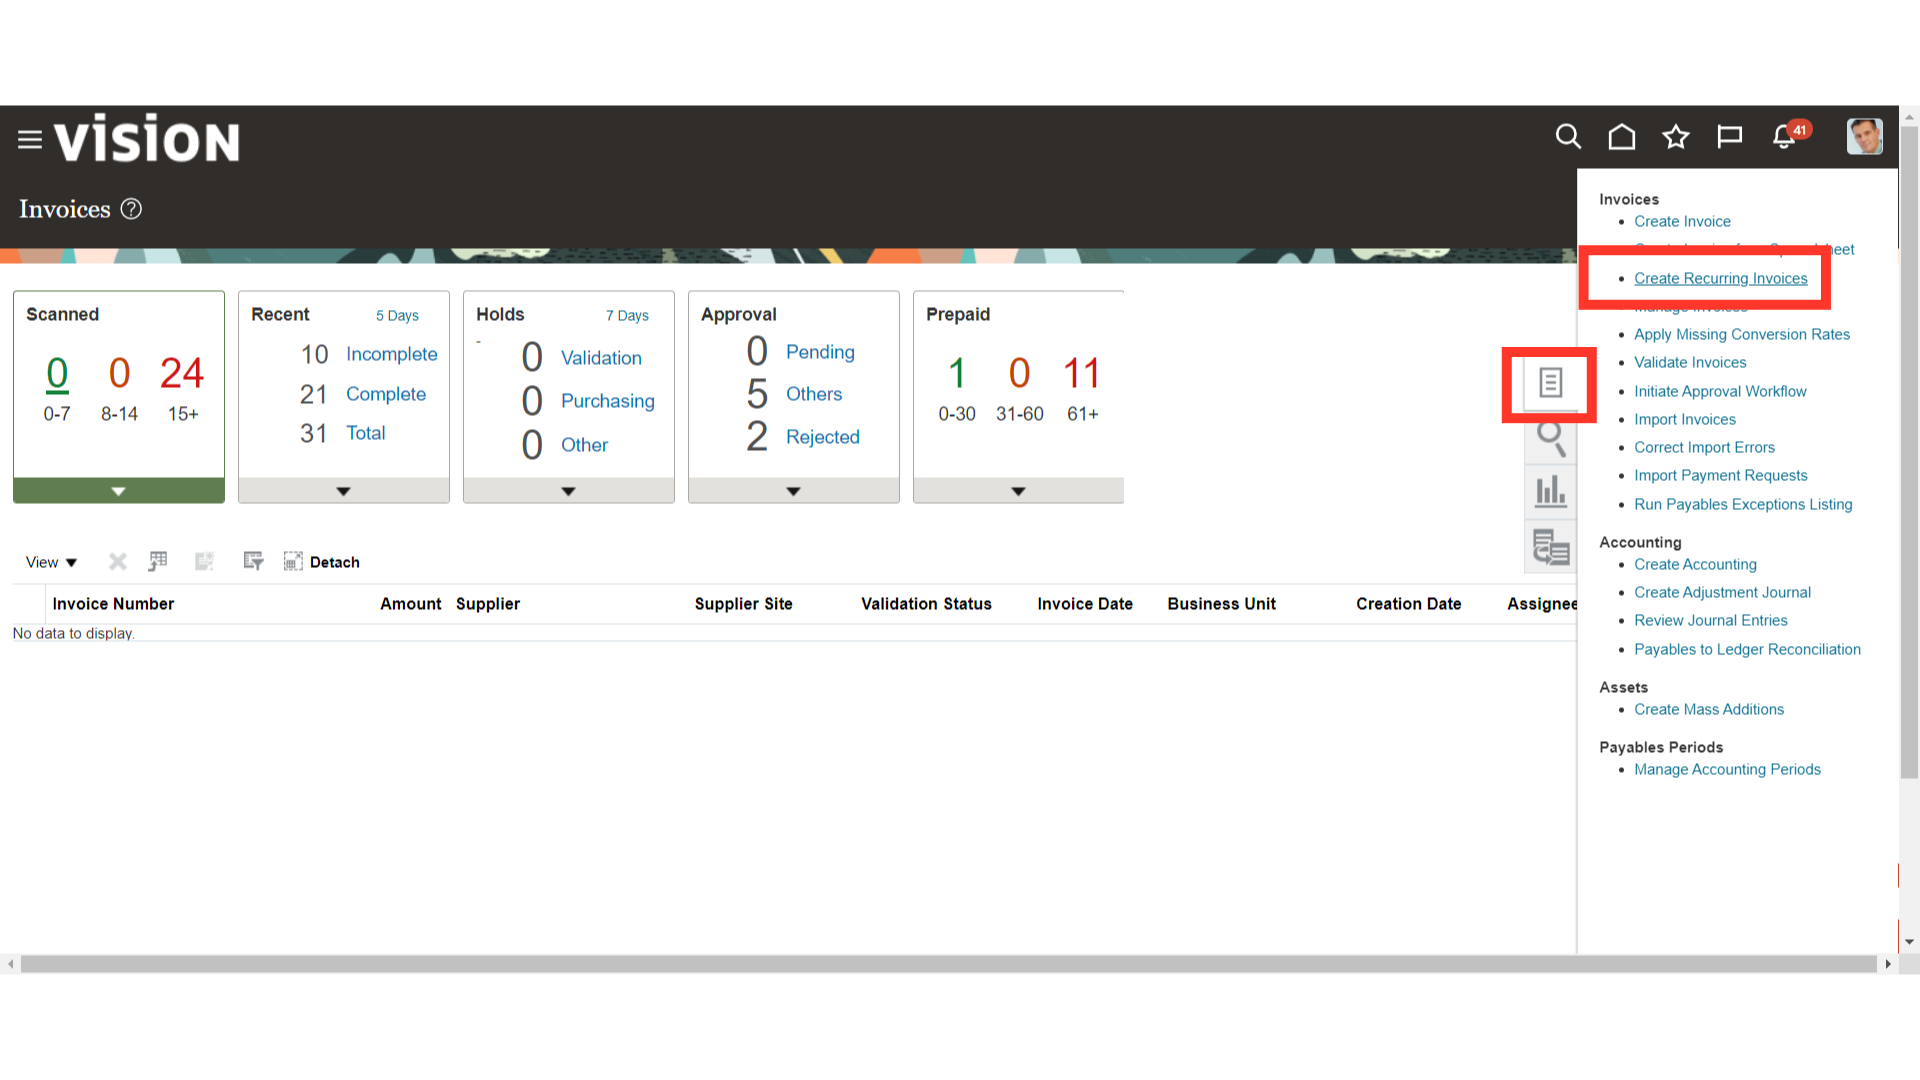
To download the ADFDI spreadsheet for creating recurring types of Invoices, click on the “Create Recurring Invoices” from the task list.
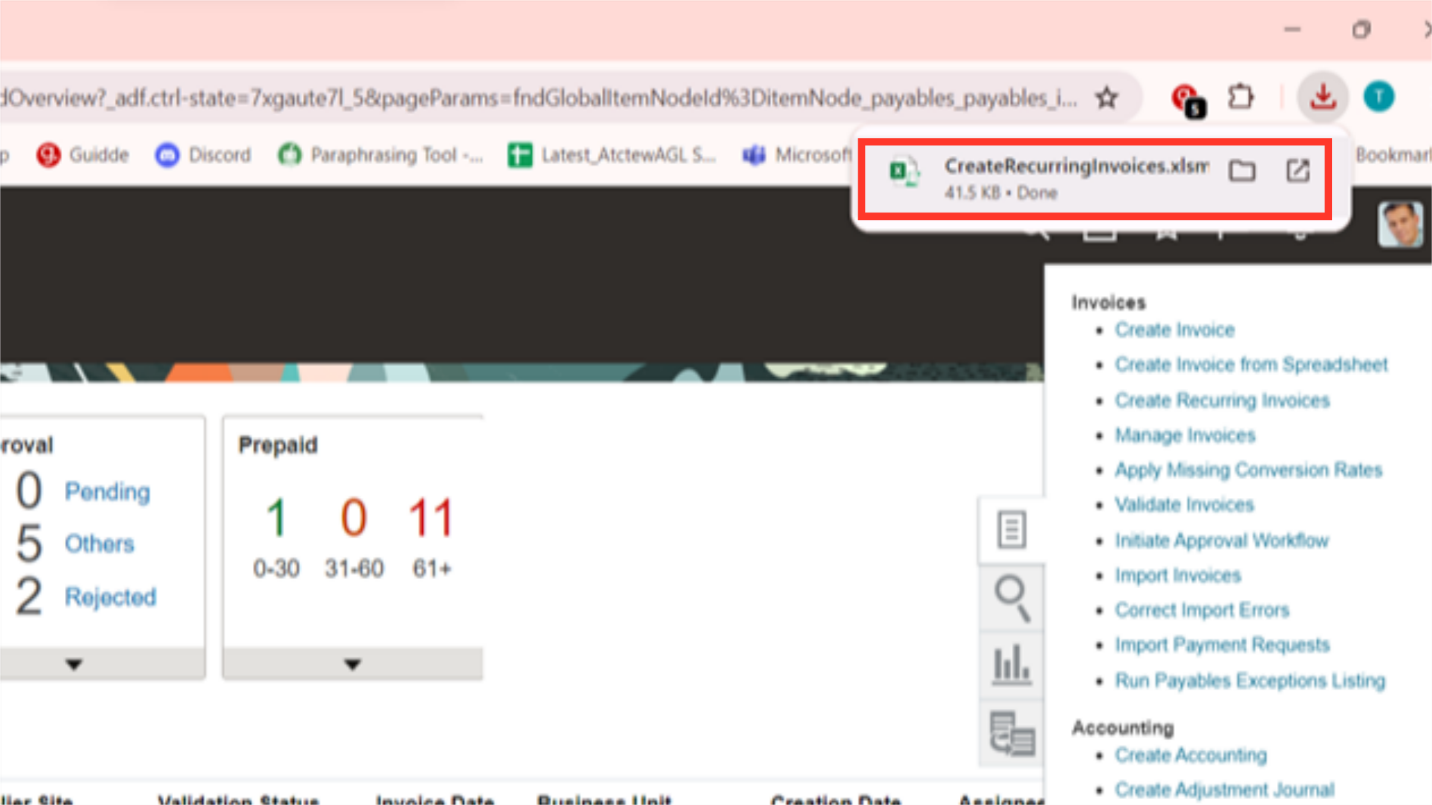
Open the downloaded ADFDI spreadsheet from your local desktop to enter the Invoice details.
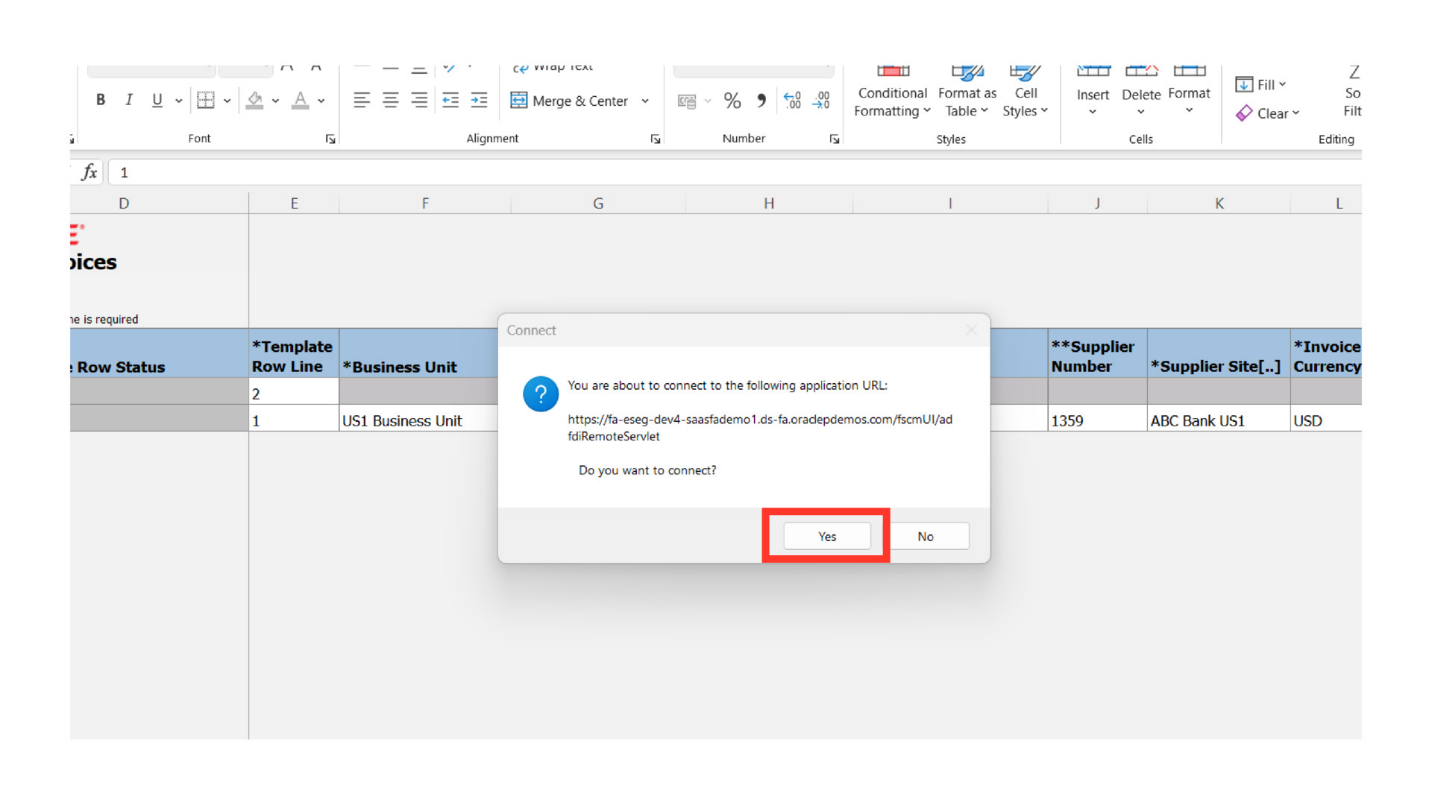
Click on the “Yes” button to log into the ADFDI spreadsheet.
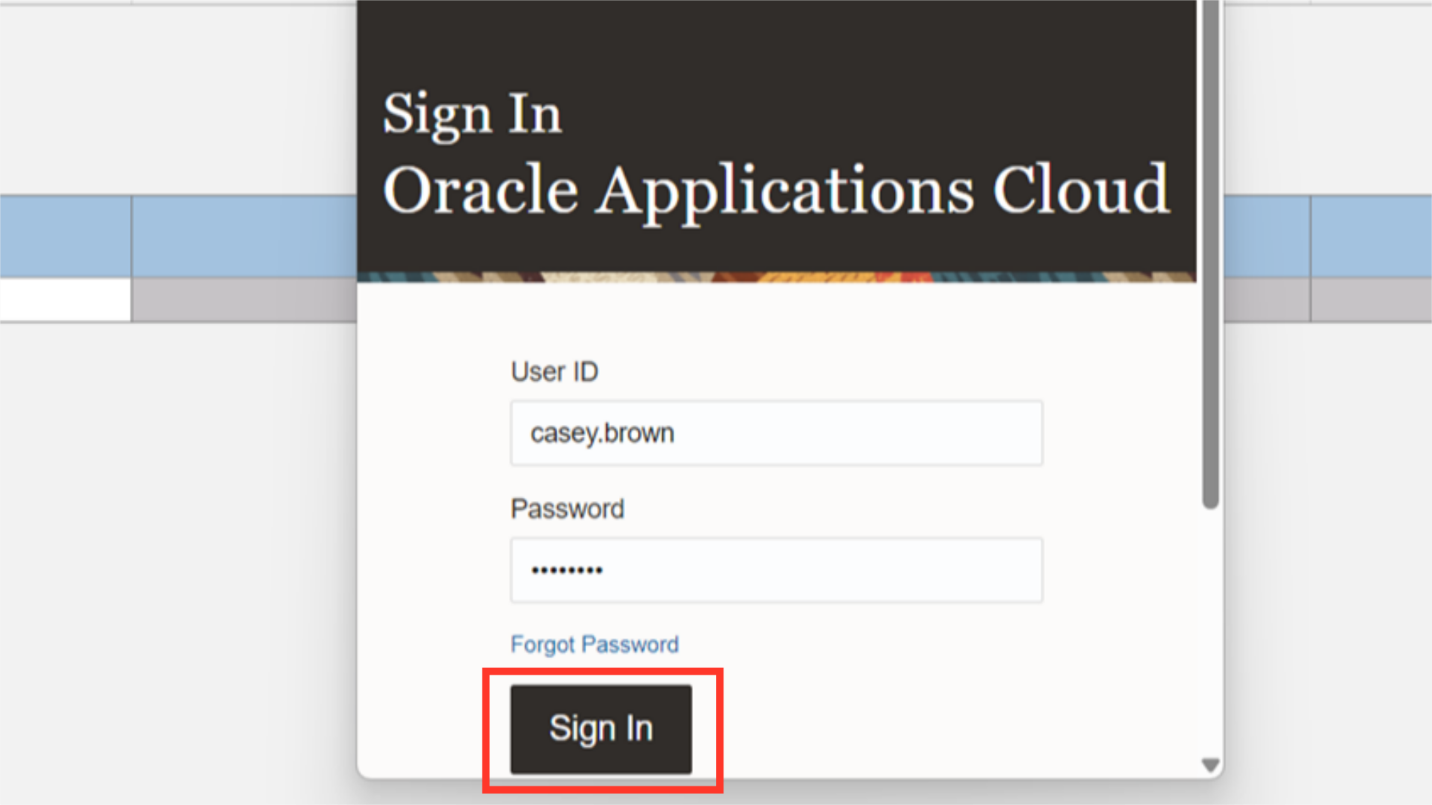
After entering the user credentials same as Oracle Fusion, click on the Sign in button.
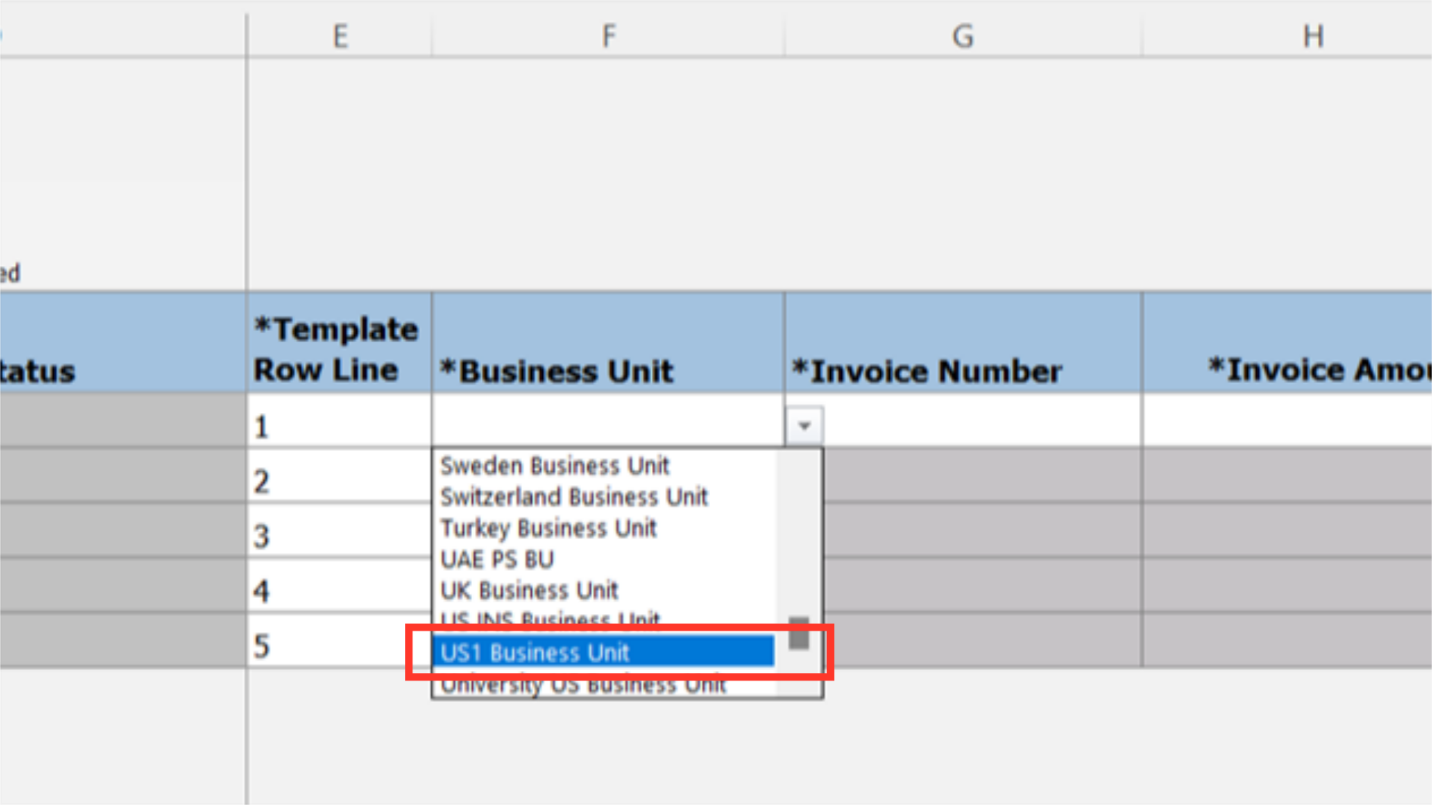
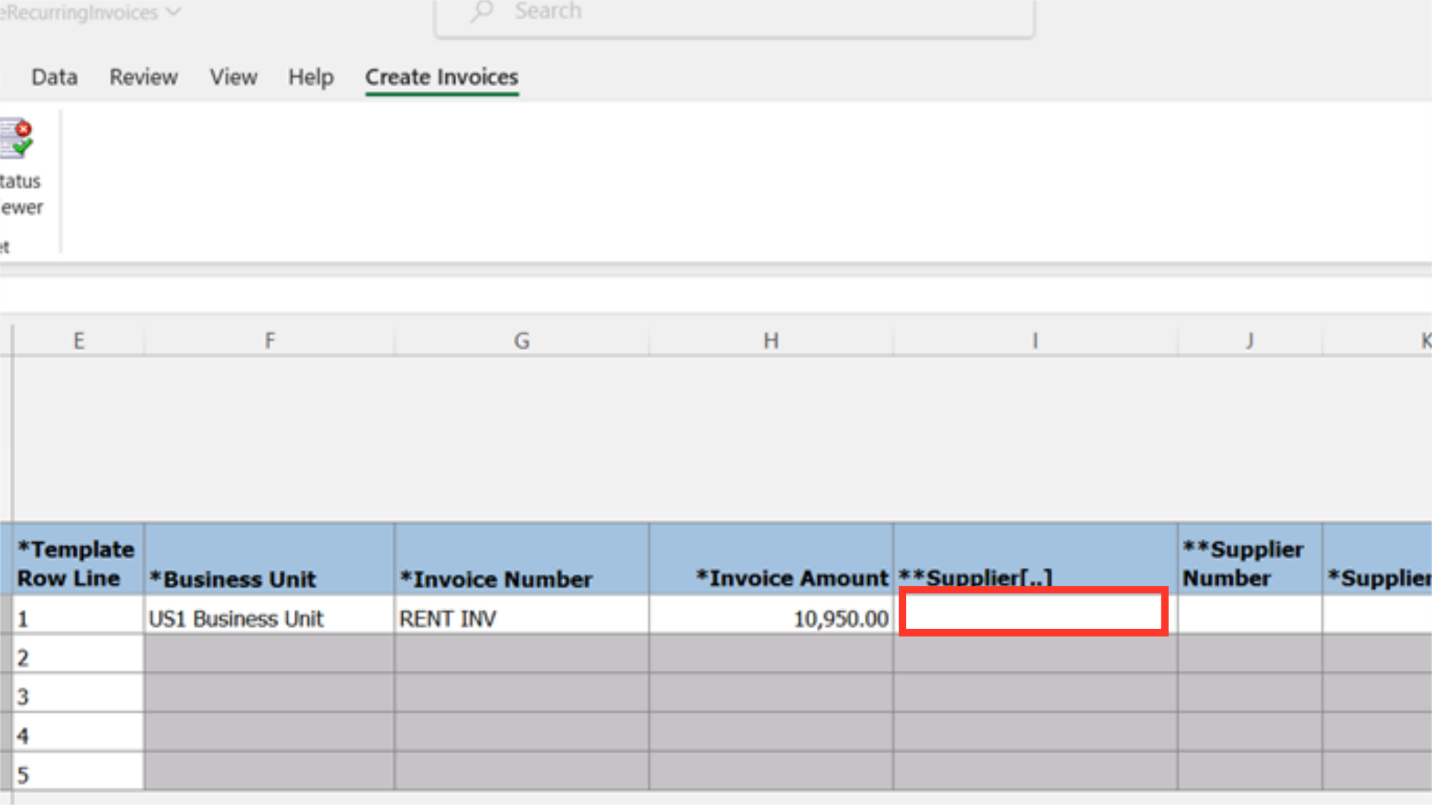
Select the business unit under which invoices will be created from the list of values or manually enter the business unit name. For Demo purpose, US1 Business unit is selected.
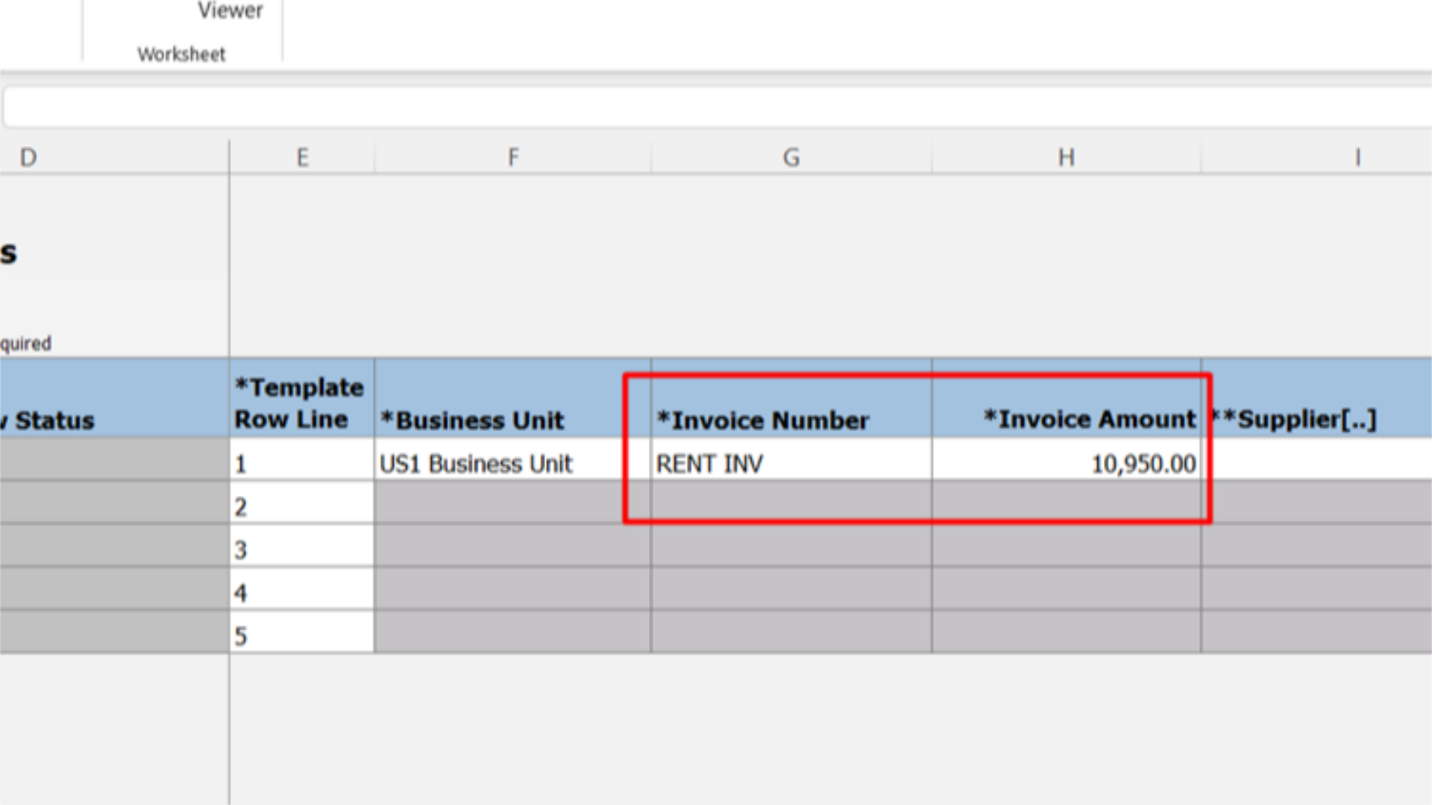
Enter the invoice number that will be prefixed; by default, the system uses Underscore for the sequence number. For instance, the system will automatically assign the invoice numbers “RENT INV_1”, “RENT INV_2” and “RENT INV_3 if the invoice number is entered as RENT INV for three periods. In the Invoice amount column, enter the total amount, including tax.
When you double-click on the row under supplier’s name column, an Oracle Fusion-connected pop-up menu will appear, allowing you to quickly retrieve supplier records.
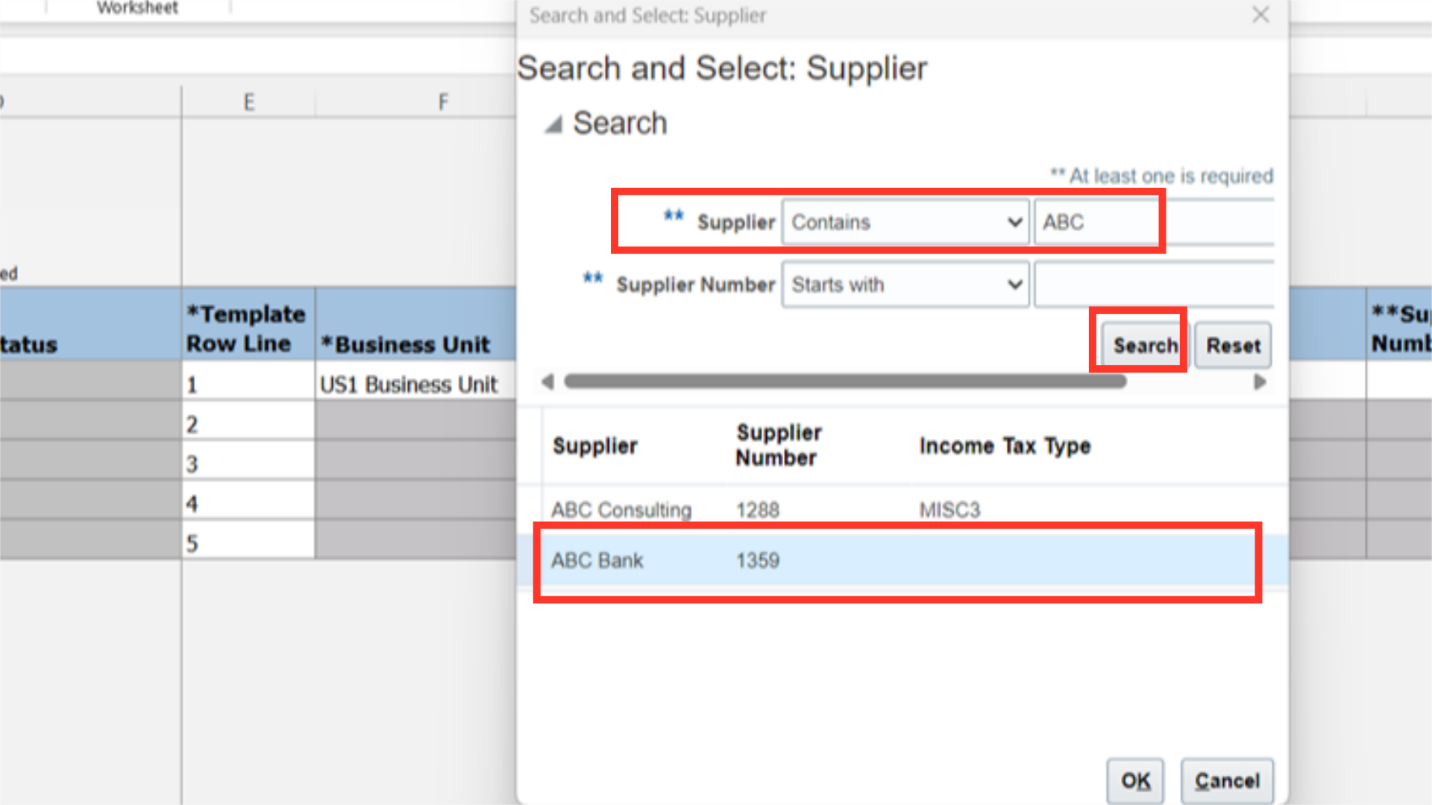
To locate the supplier record, enter the supplier’s name and then click the Search button. Next, select the supplier record that has been searched, then click “OK” to proceed.
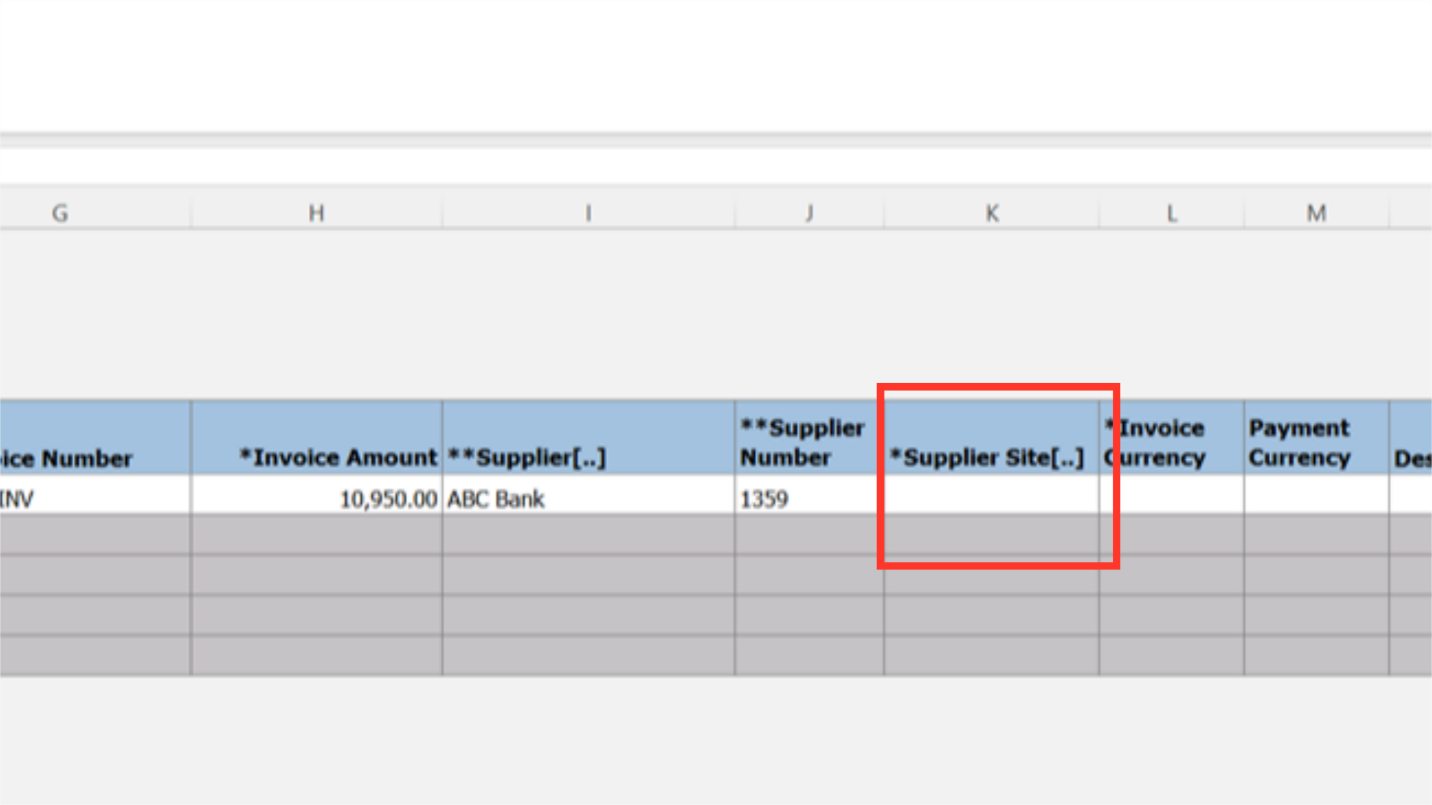
Now, double-click on the row under the Supplier site column in the same way as the supplier was selected.
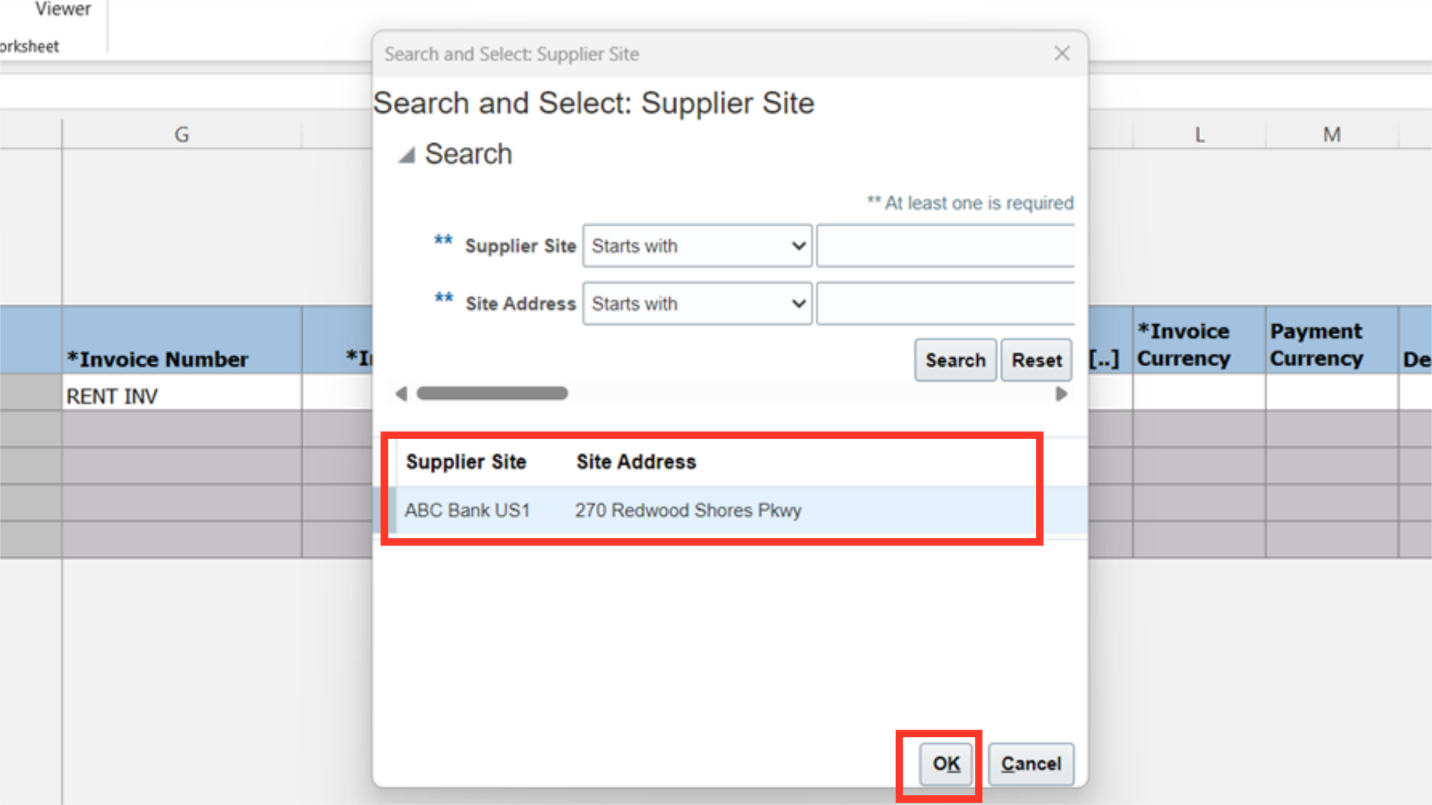
The supplier site that is linked to the supplier is displayed in a pop menu. To proceed, choose the required site and click on the OK button.
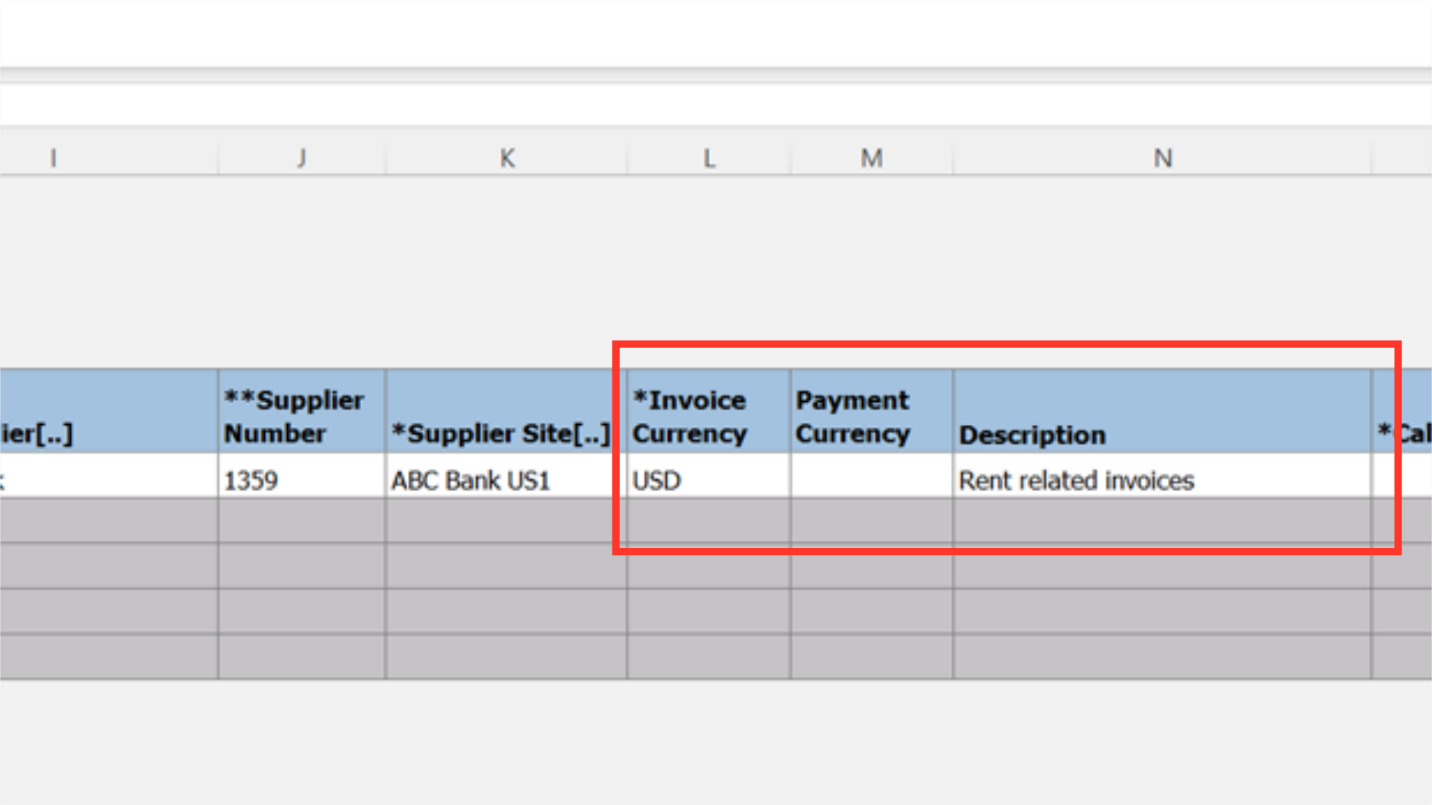
From the list of values, choose the currency that will be used to record invoices and make payments. Subsequently, add relevant and important additional information to the Description field.
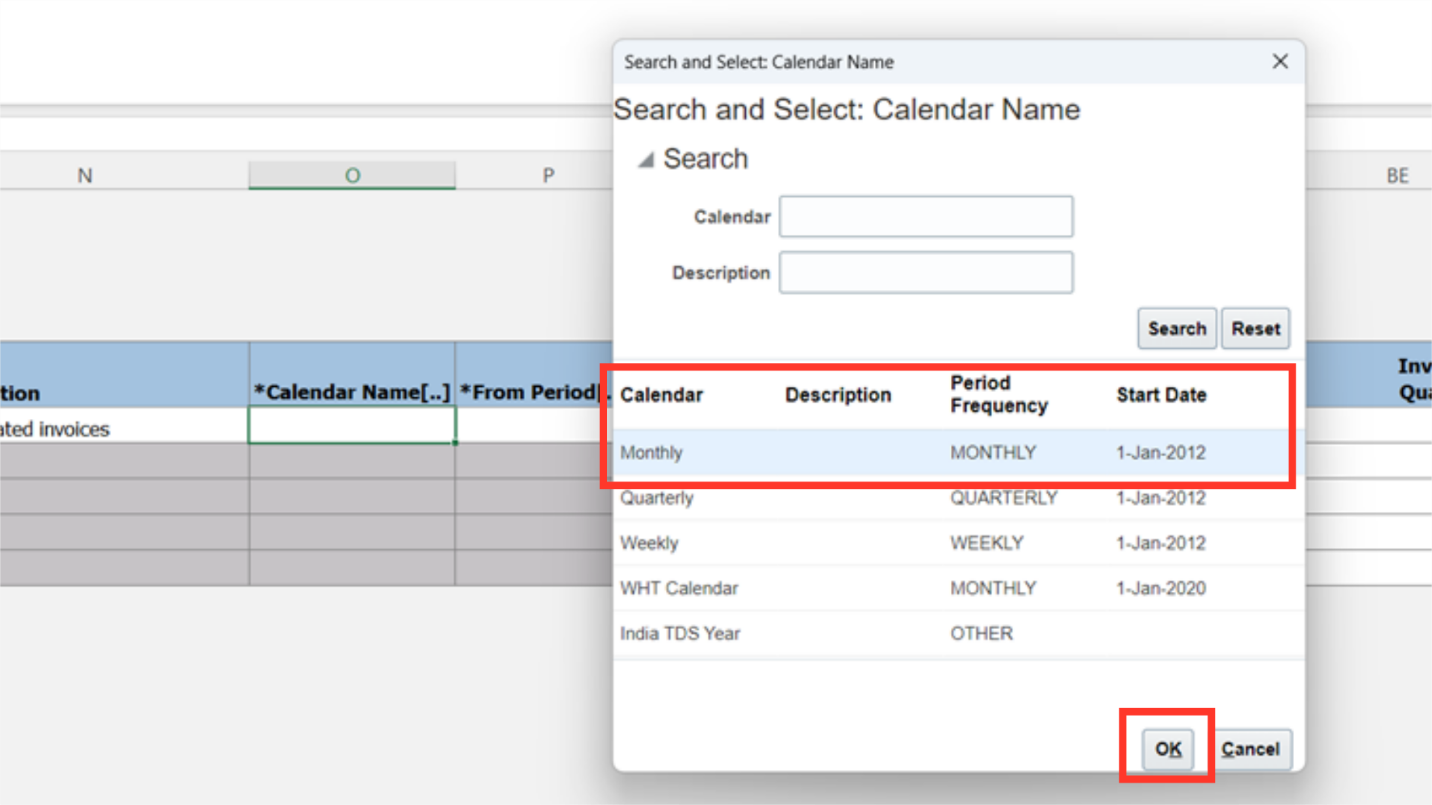
To choose the calendar that will be used to calculate how many recurring invoices should be created over a given period, double-click on the row under the Calendar name column. The Monthly Frequency Calendar is chosen for demonstration purposes. Click on OK to continue.
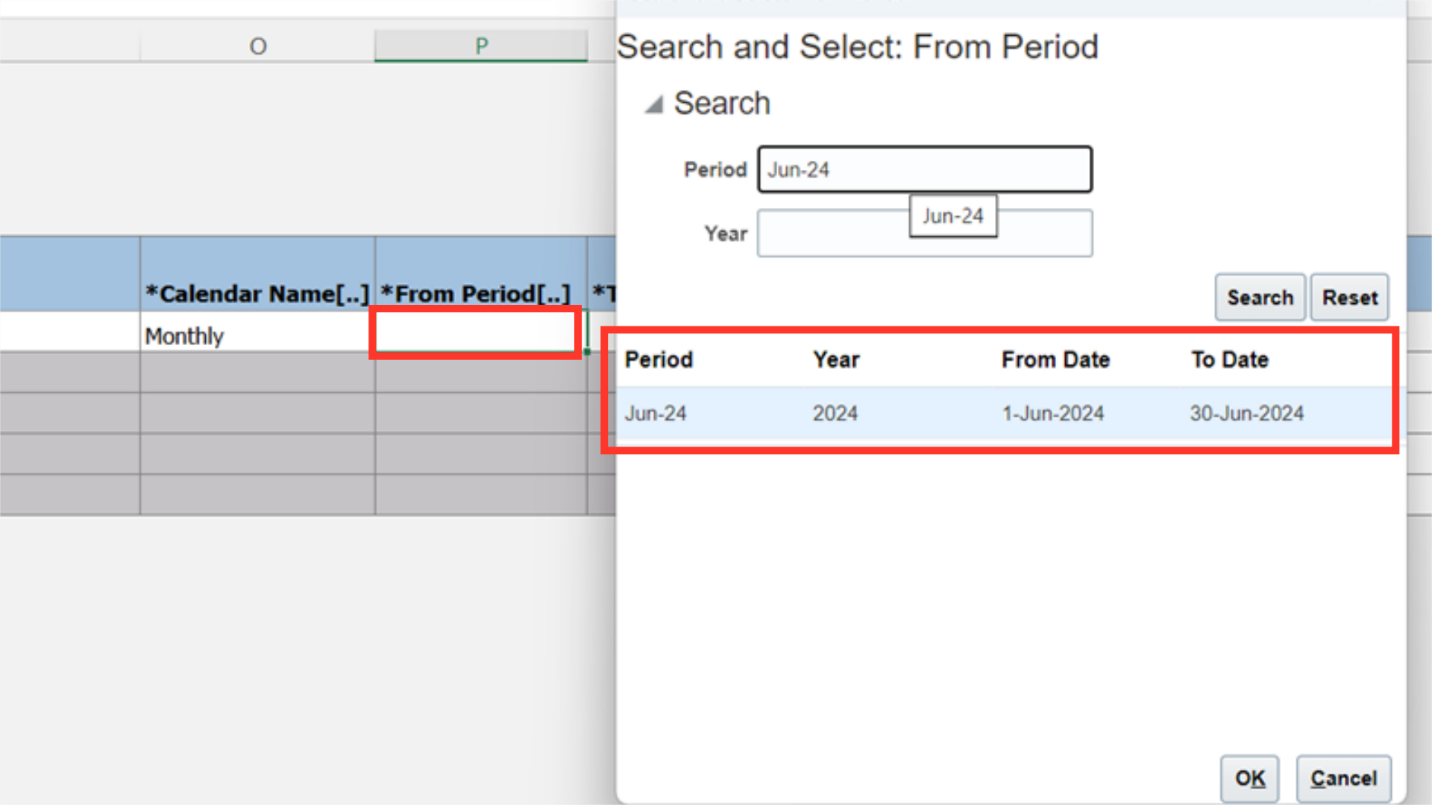
To designate the first period from which an invoice is to be created, double click on the row under the From Period column.
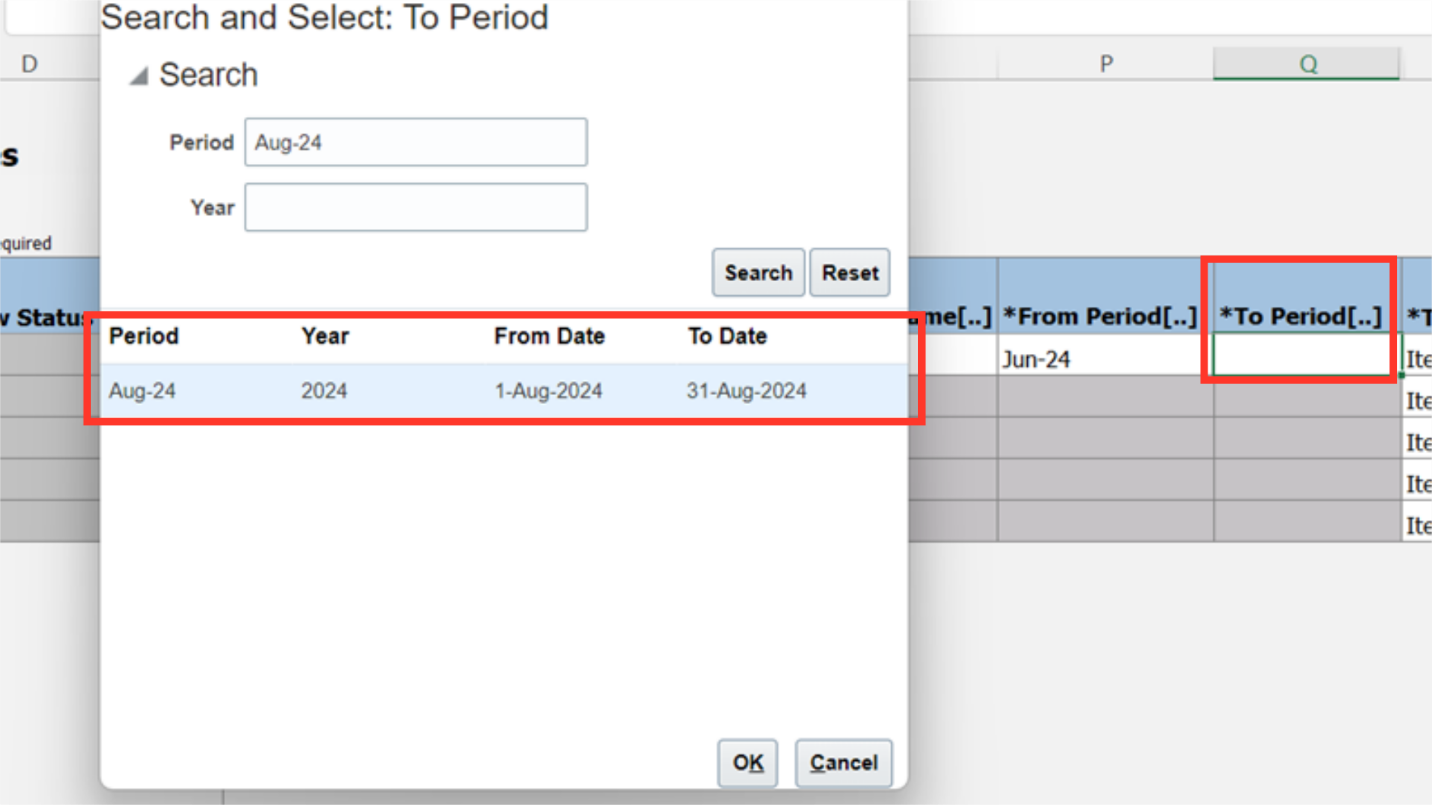
In the same way, select the last period upto which invoices are to be created.
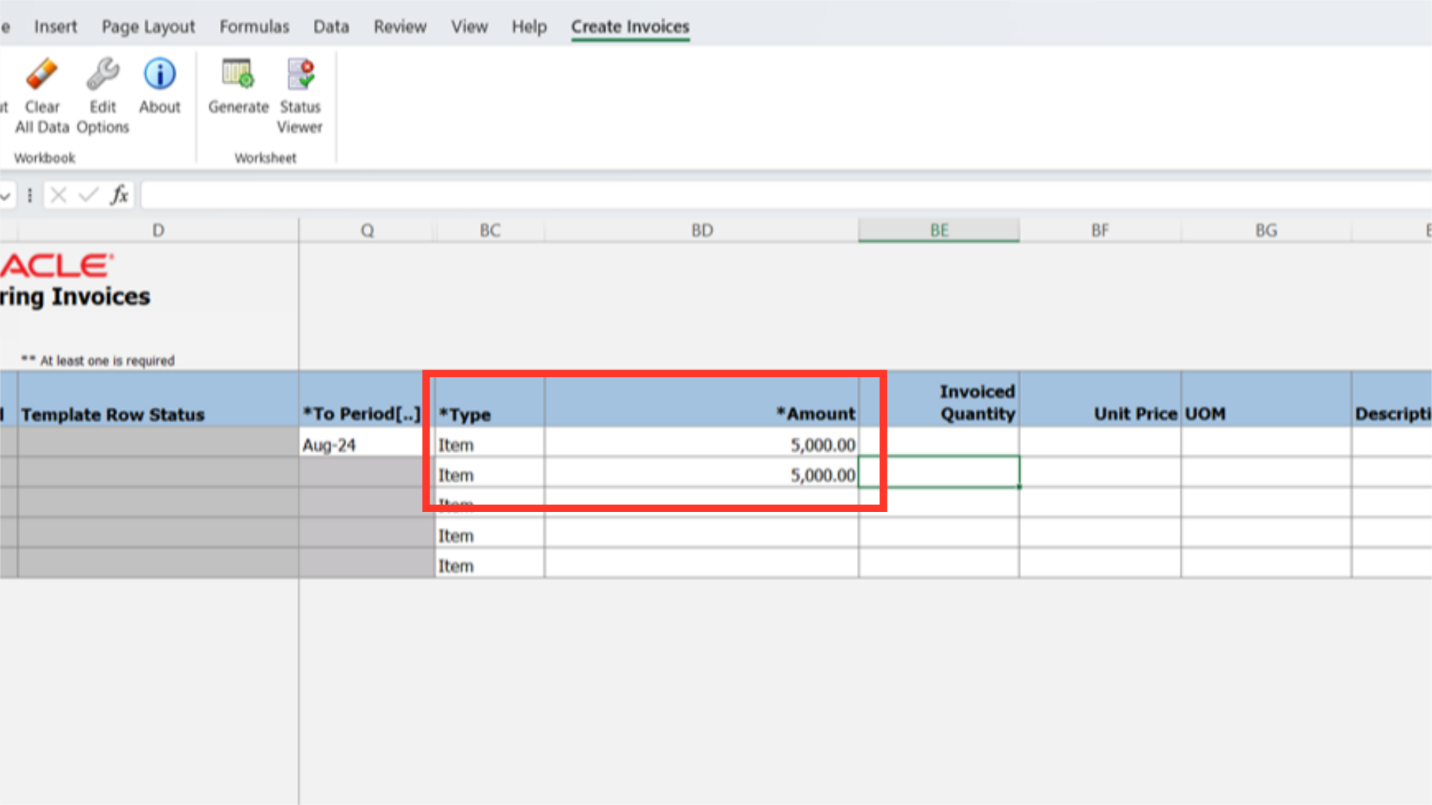
Enter the line type, by default its ITEM line type. Enter the line amount in the amount column.
Double-click the row in the Distribution Combination column, then select the Account combination icon to enter the account combinations.
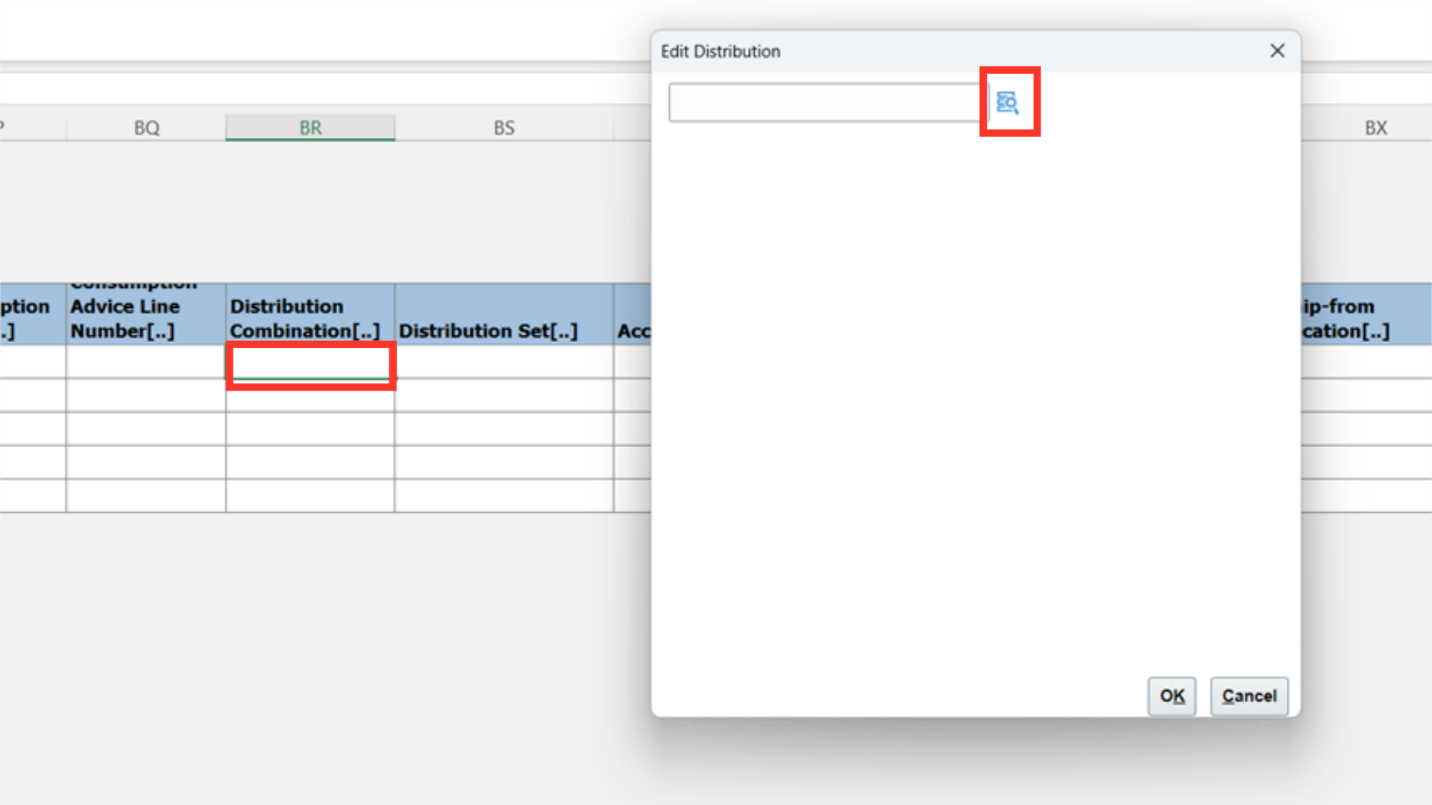
After entering the account segment details manually or by selecting from the list of values. Click on the OK button to continue.

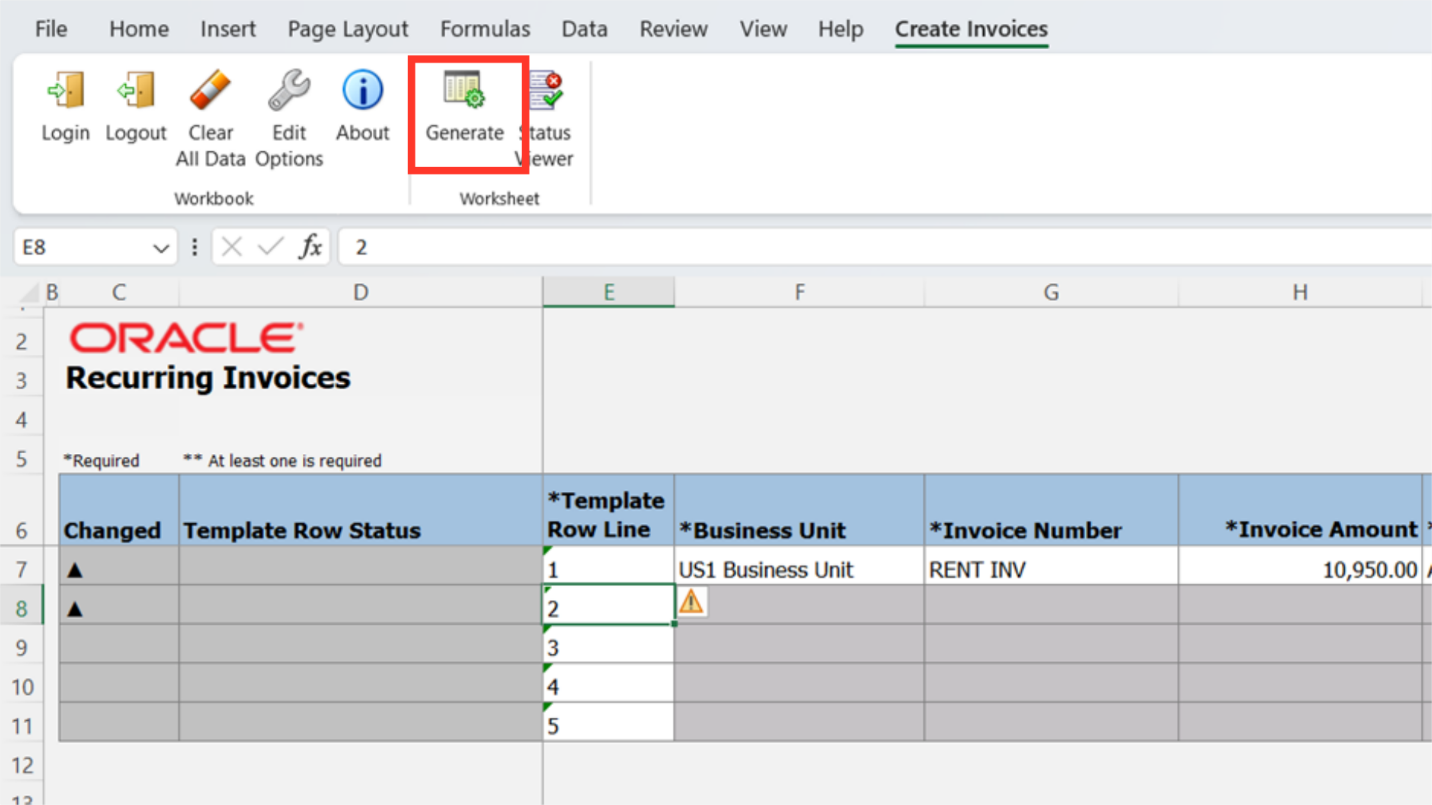
Click on Generate Icon under the Create Invoices tab, to upload the invoice details to the system.
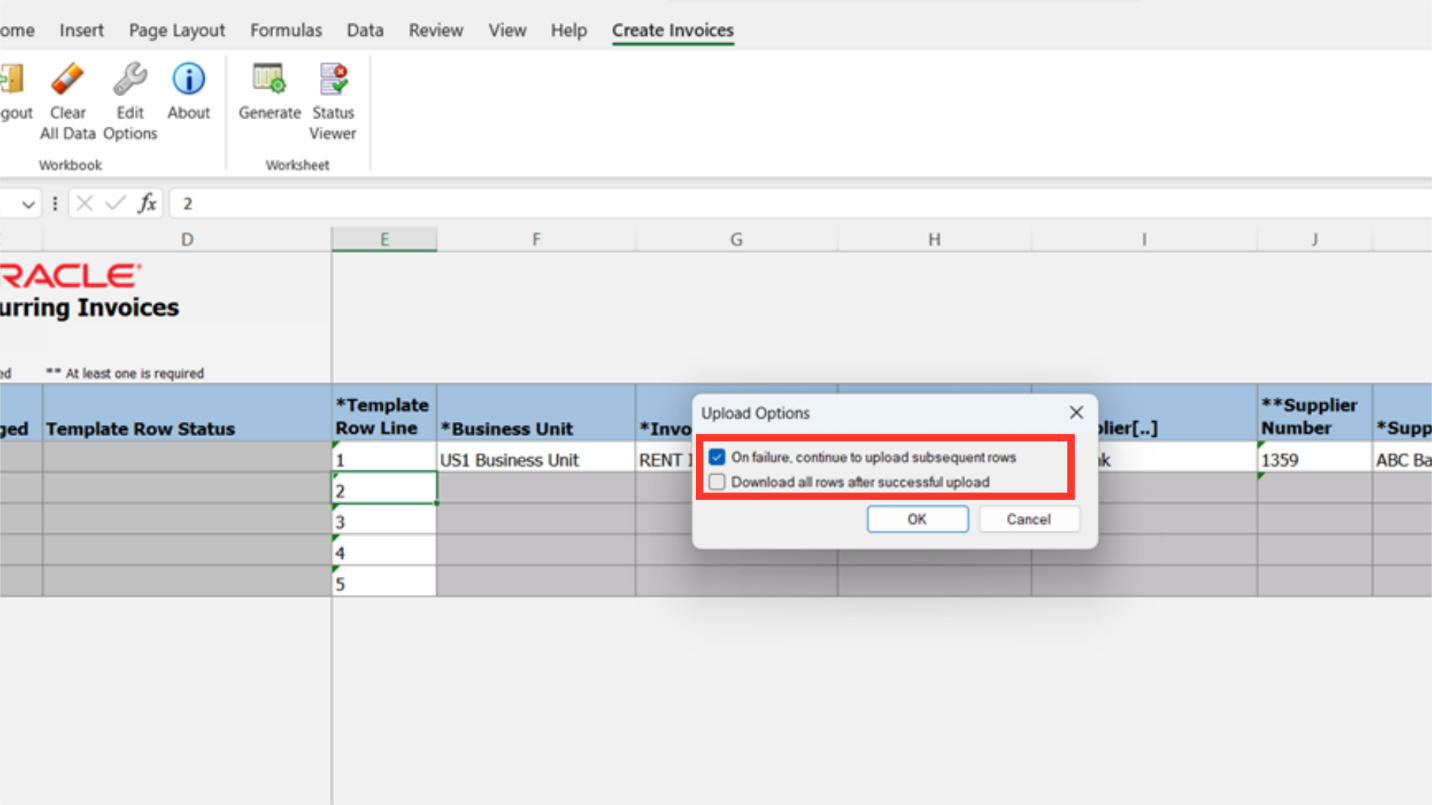
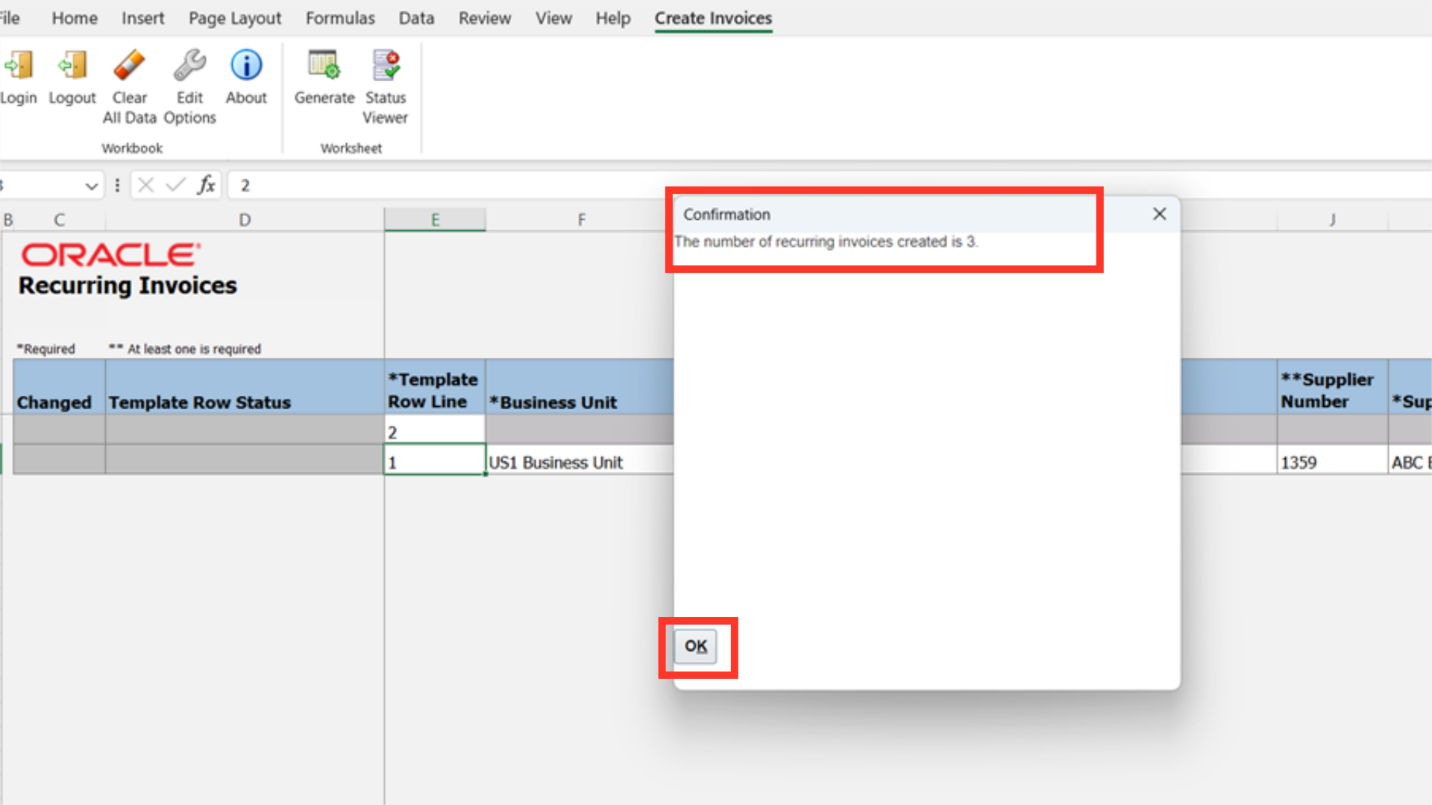
There are two options in the upload options pop-up. If we select the first checkbox, the system will upload the invoice details in all subsequent rows—aside from the one that contains an error. The upload status of each submitted row can be downloaded using the second checkbox.
A confirmation message is displayed containing the number of invoices created. Click on OK to close this window.
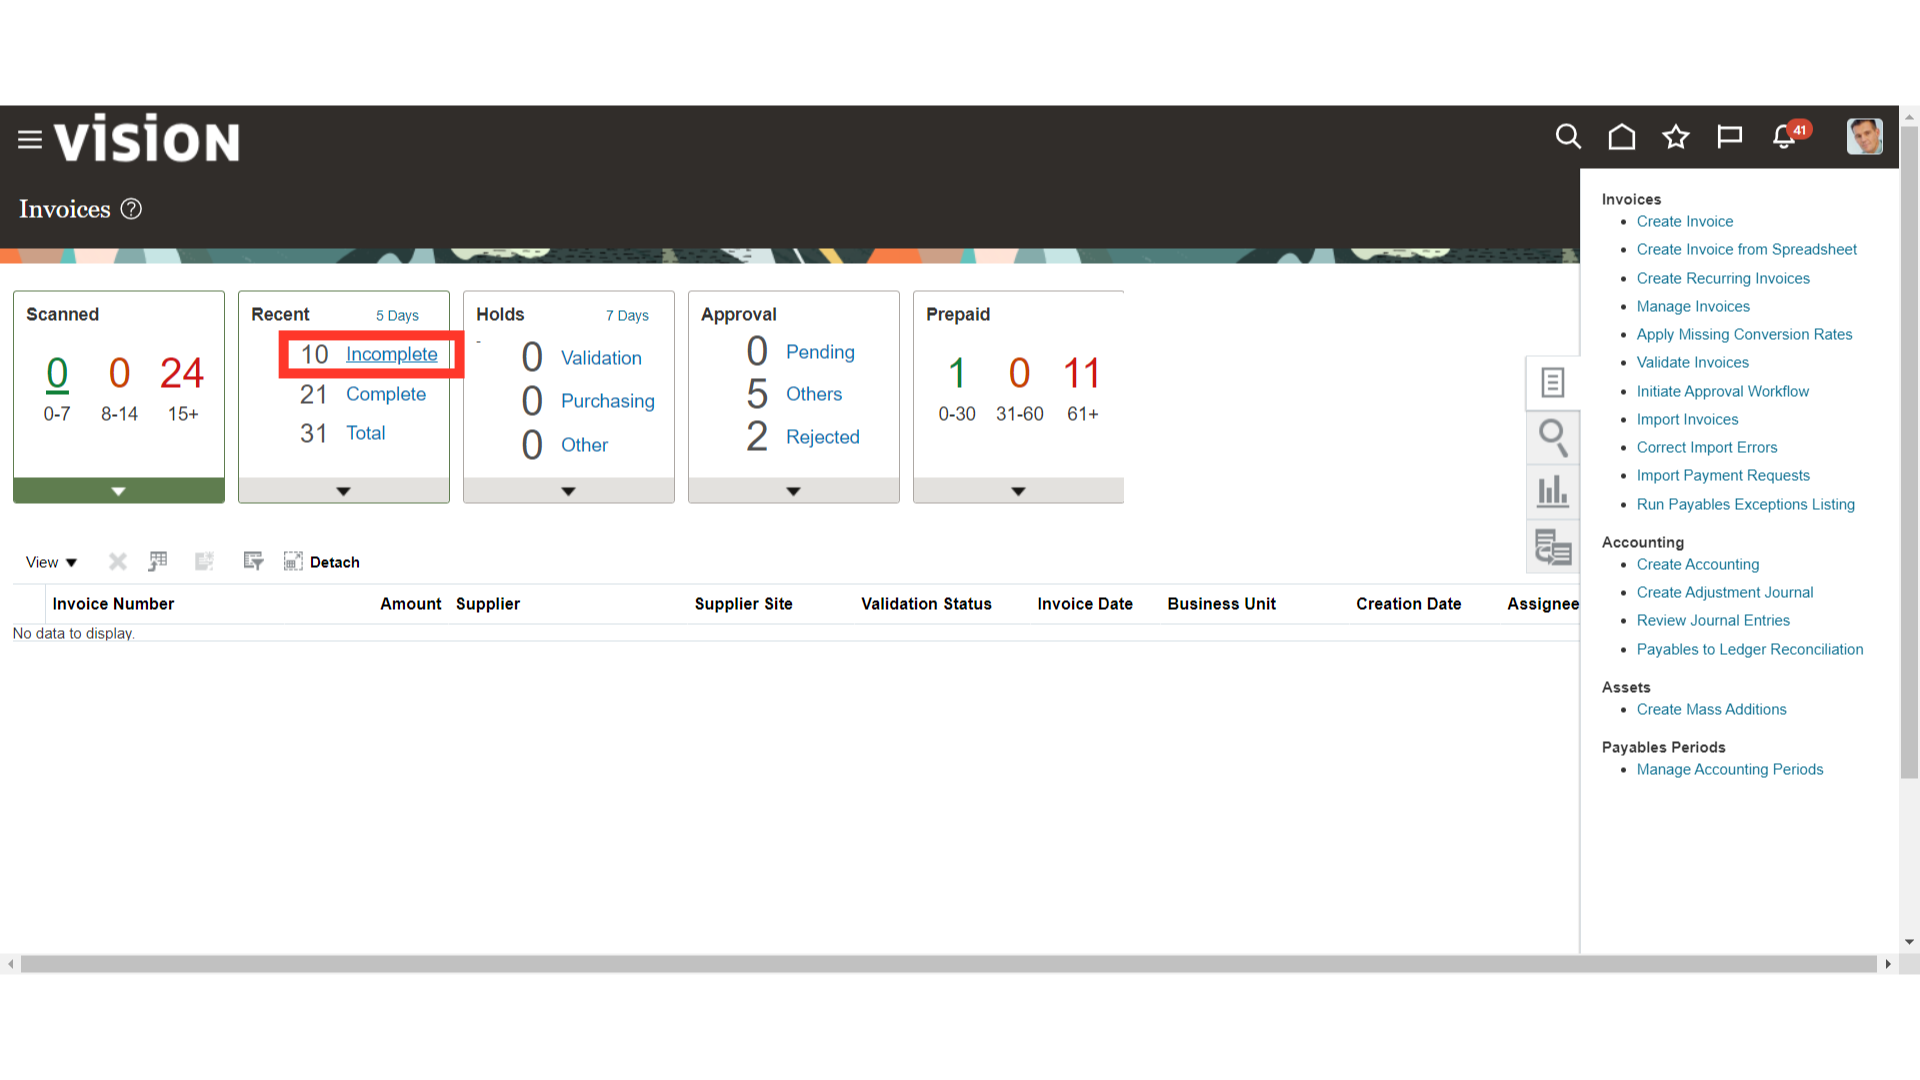
Once the invoices have been uploaded via a spreadsheet, log in to the Oracle Fusion Invoices work bench to view the created invoices. To do so, select the Incomplete link found under the Recent infotile.
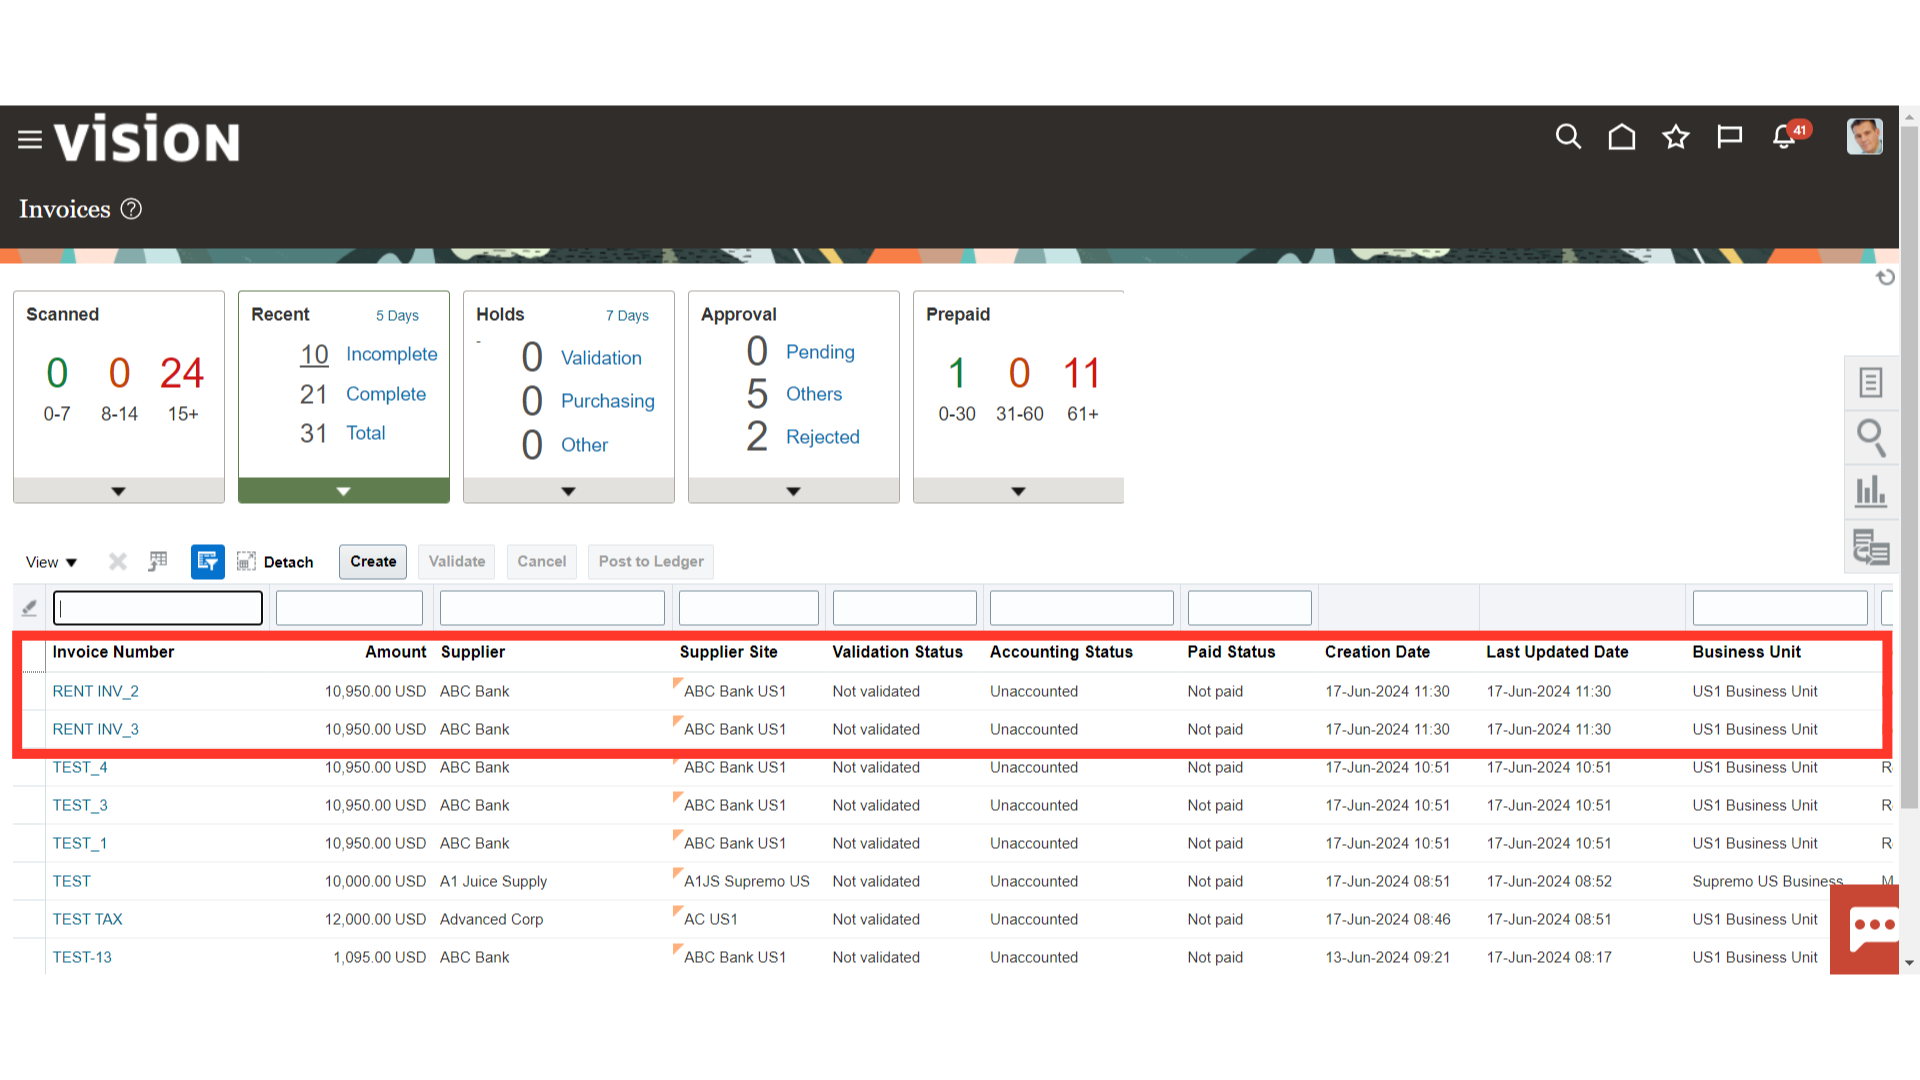
These are the invoices created using spreadsheet, click on the Invoice number hyperlink to see details of the invoices.
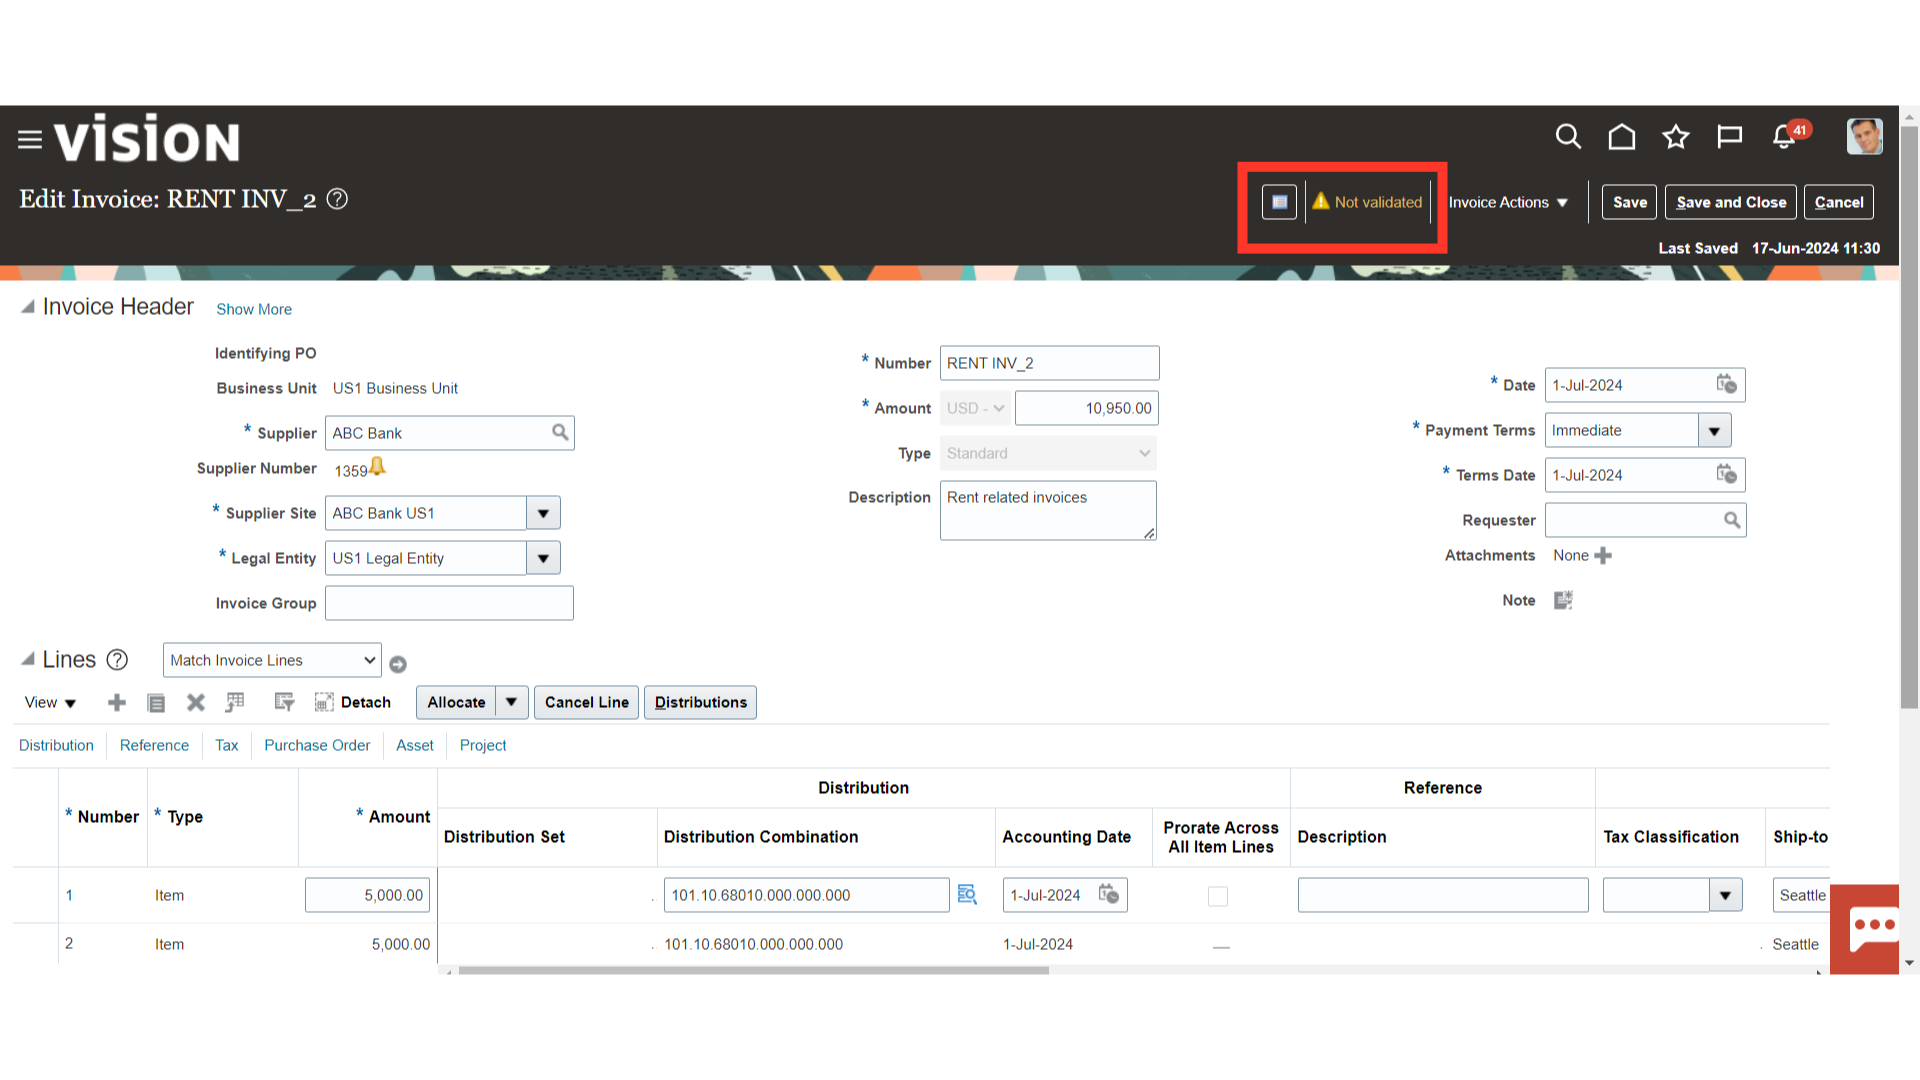
The invoice is in the Not validated status , hence if required changes can be made to the invoice fields.
This guide offers a thorough, step-by-step breakdown of the entire process, beginning with downloading the spreadsheet to create recurring invoices, filling it out, and uploading the data to Oracle Fusion.