Suppliers Refunds
Refund is the amount, which you need to receive back from supplier, for whatever reason and where you have already paid to your supplier against their services or goods This guide will walk you through the step-by-step process of recording the check or any type of payment received from the supplier to close their negative balance, along with the process of creating and inquiring the accounting entry.
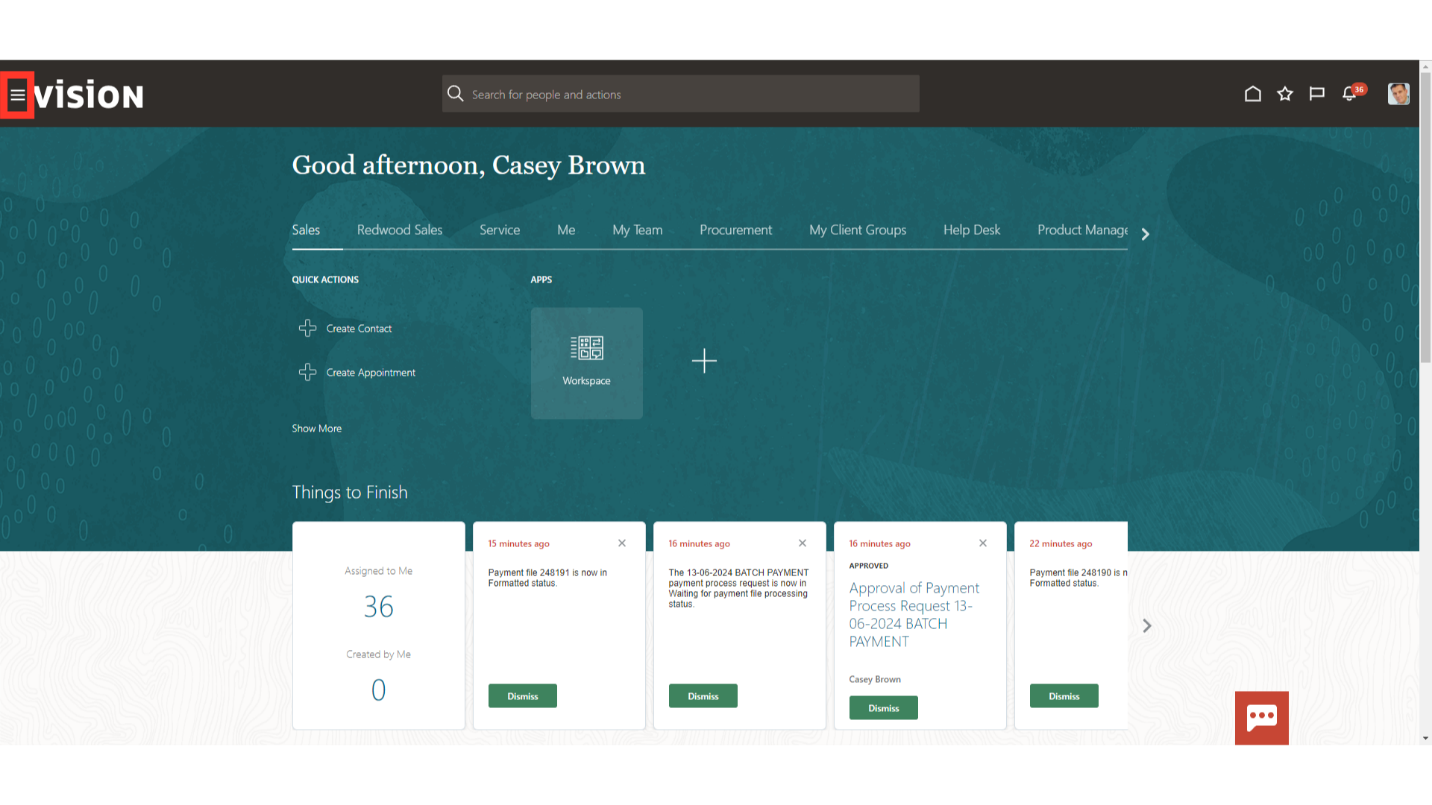
Click on the Navigator icon to access the Payables module.
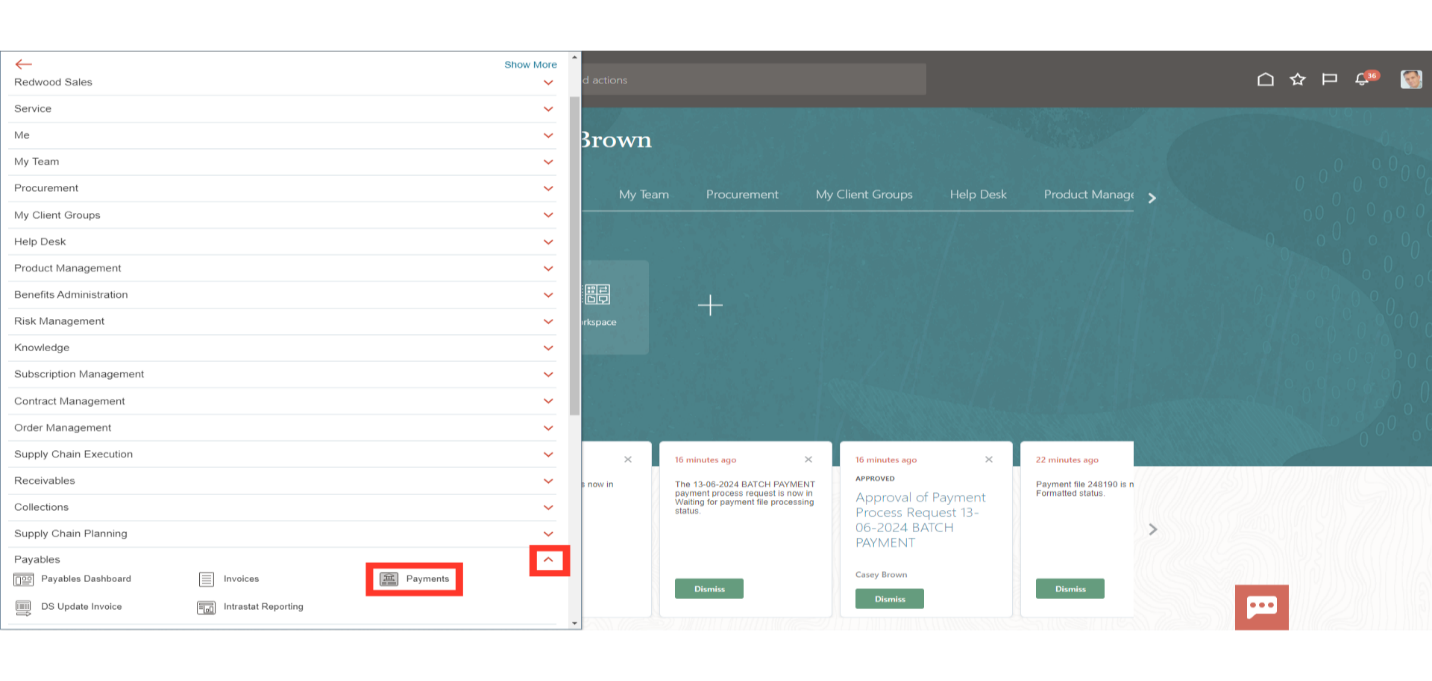
Click on the “Payments” sub module by expanding the “Payables” module.
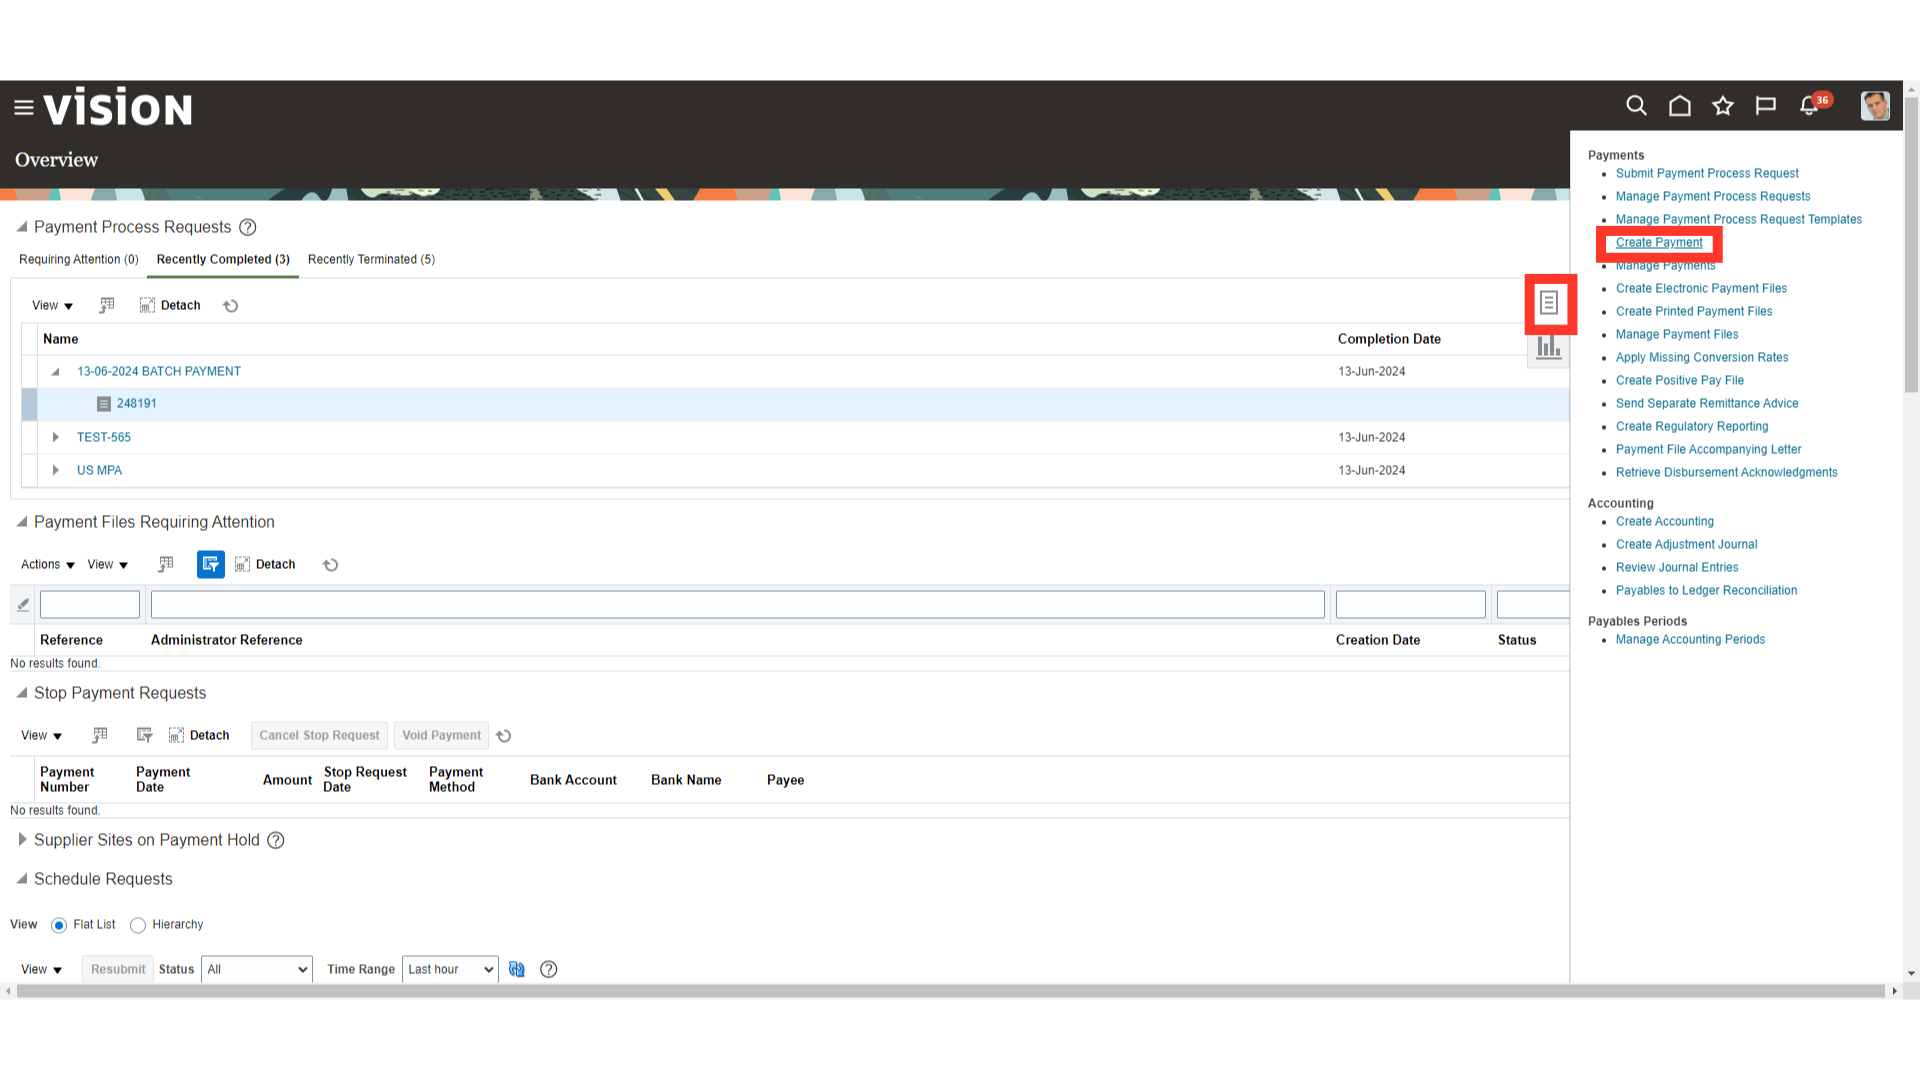
Once you land into the payments work area, select the “Create Payment” option from the Task list to record the payment received from supplier.
Select the Business unit for whose invoice payments to be created. Here for demo purpose, we have selected US1 Business unit.
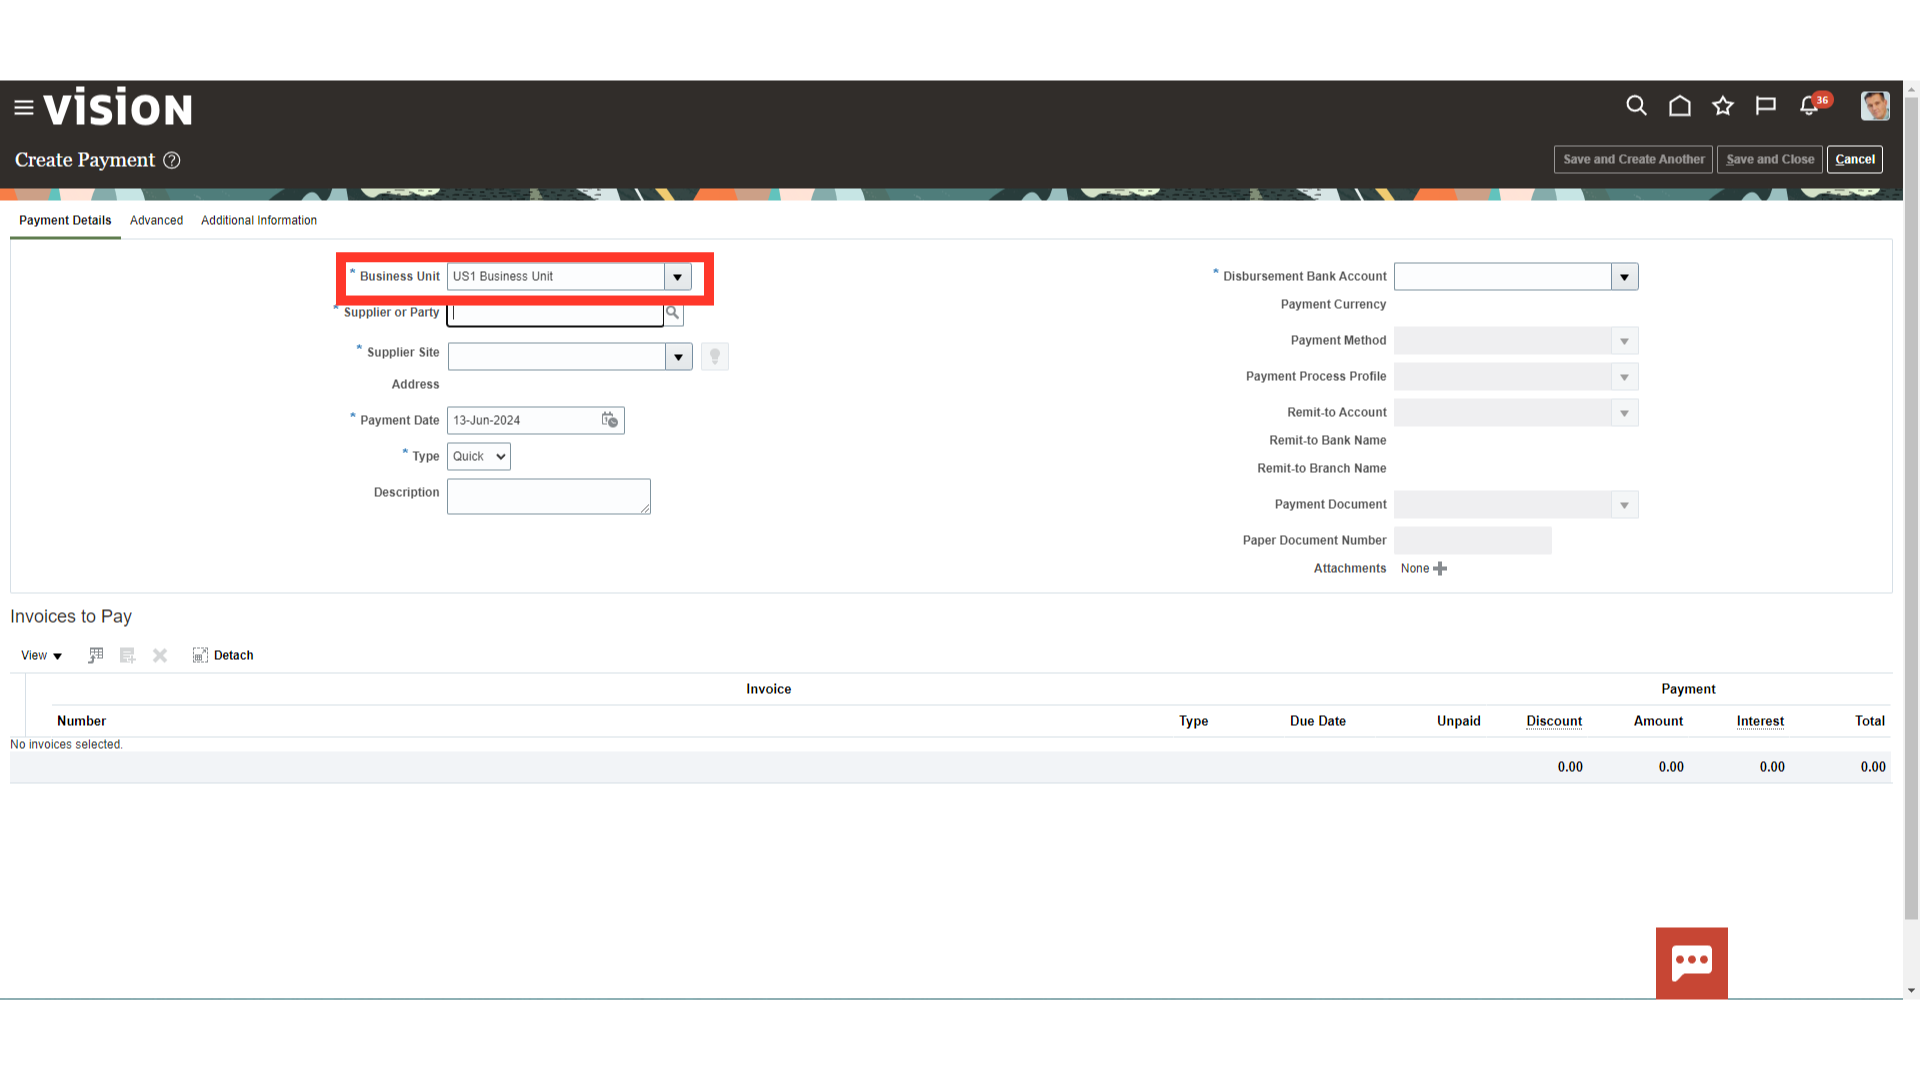
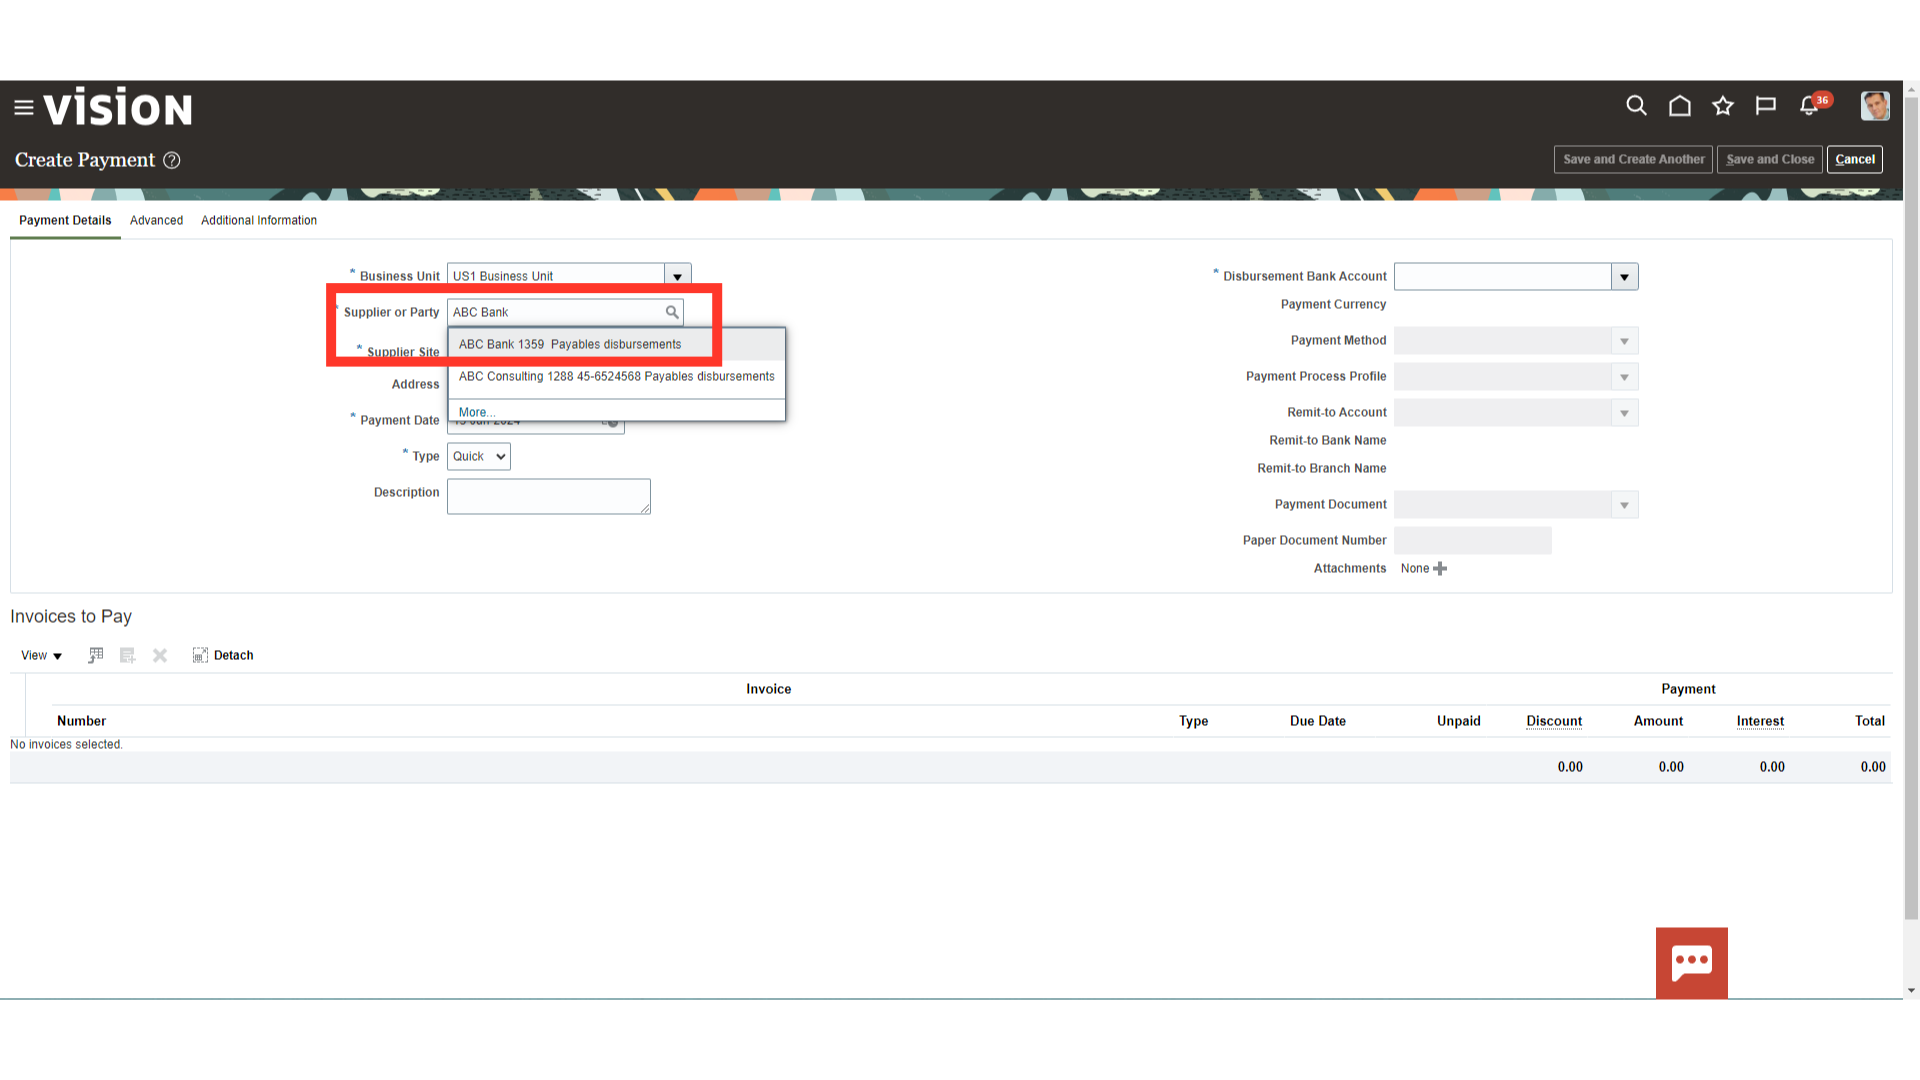
Enter the Supplier for whom payment needs to be made by entering the supplier’s name or by searching and selecting the supplier’s name by clicking on magnifying lens.
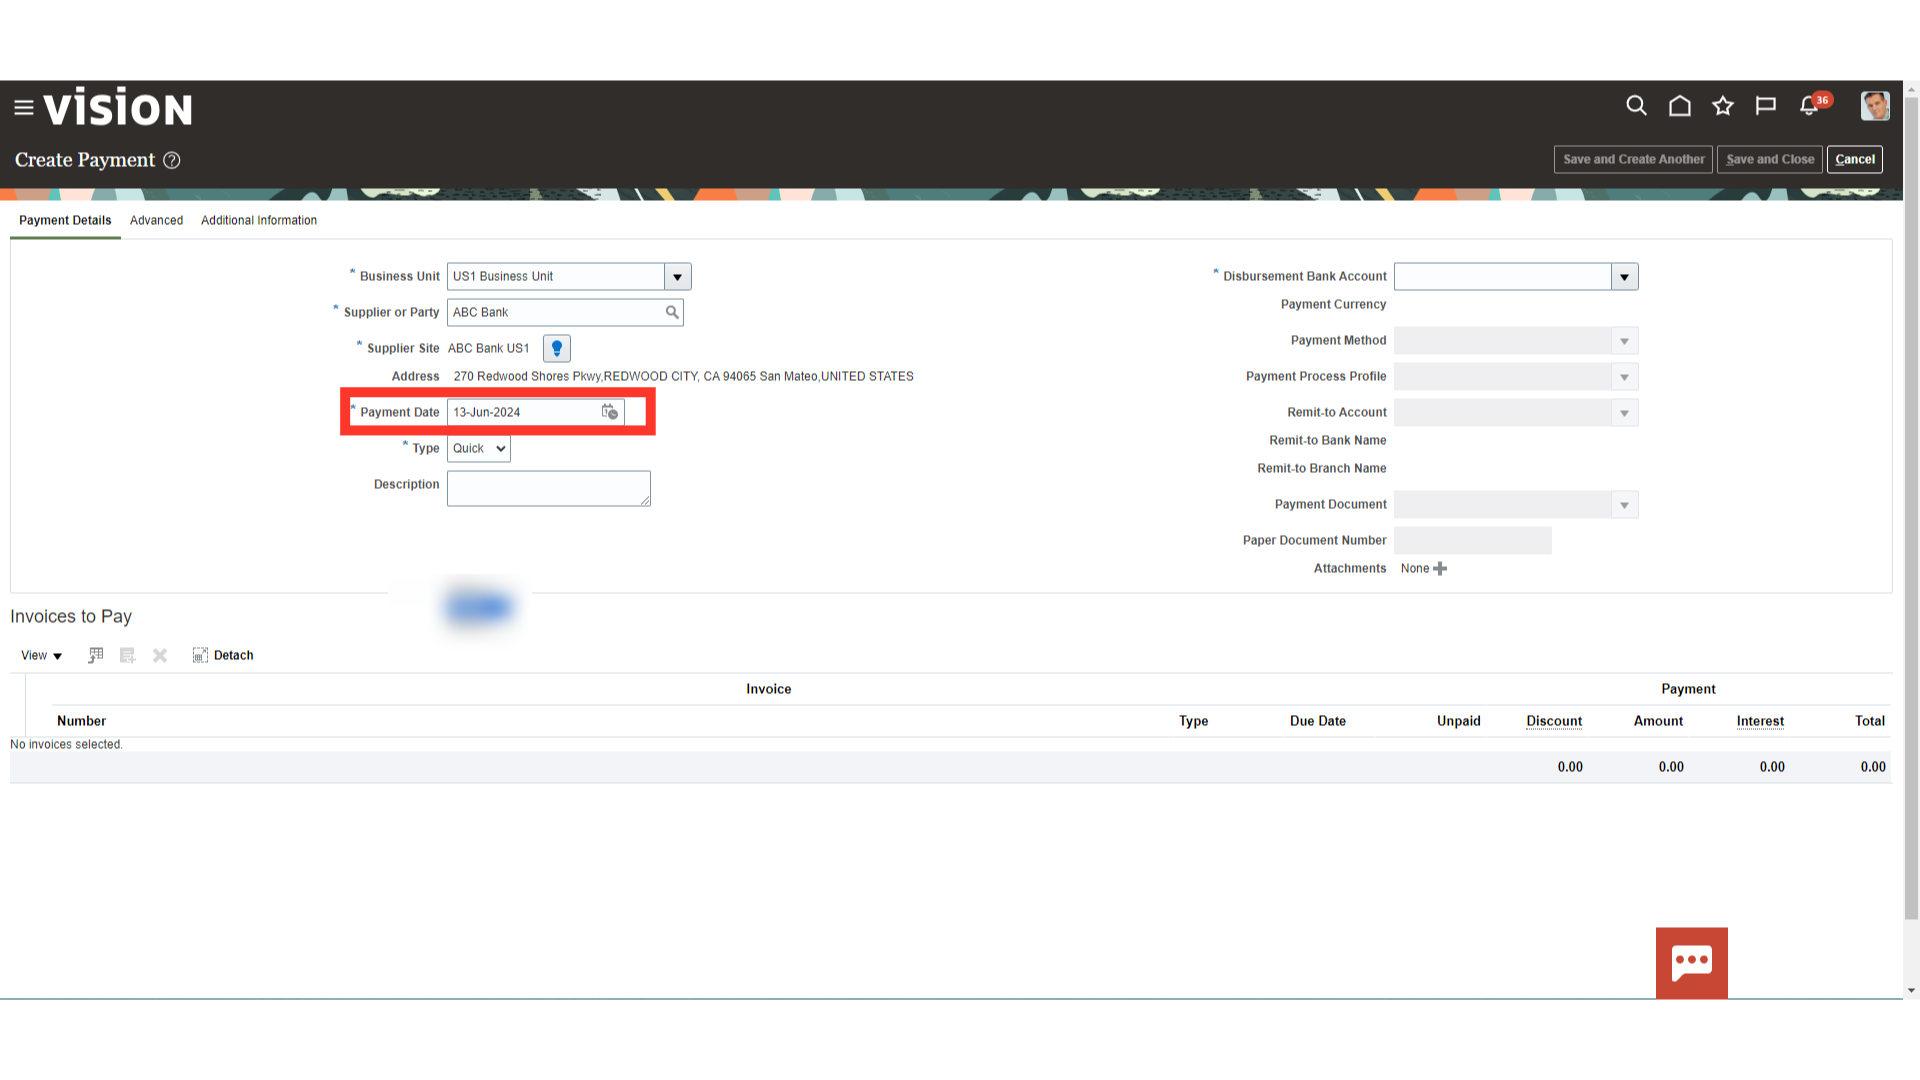
Enter the date of the payment which would be the accounting date of the payment journal entry.
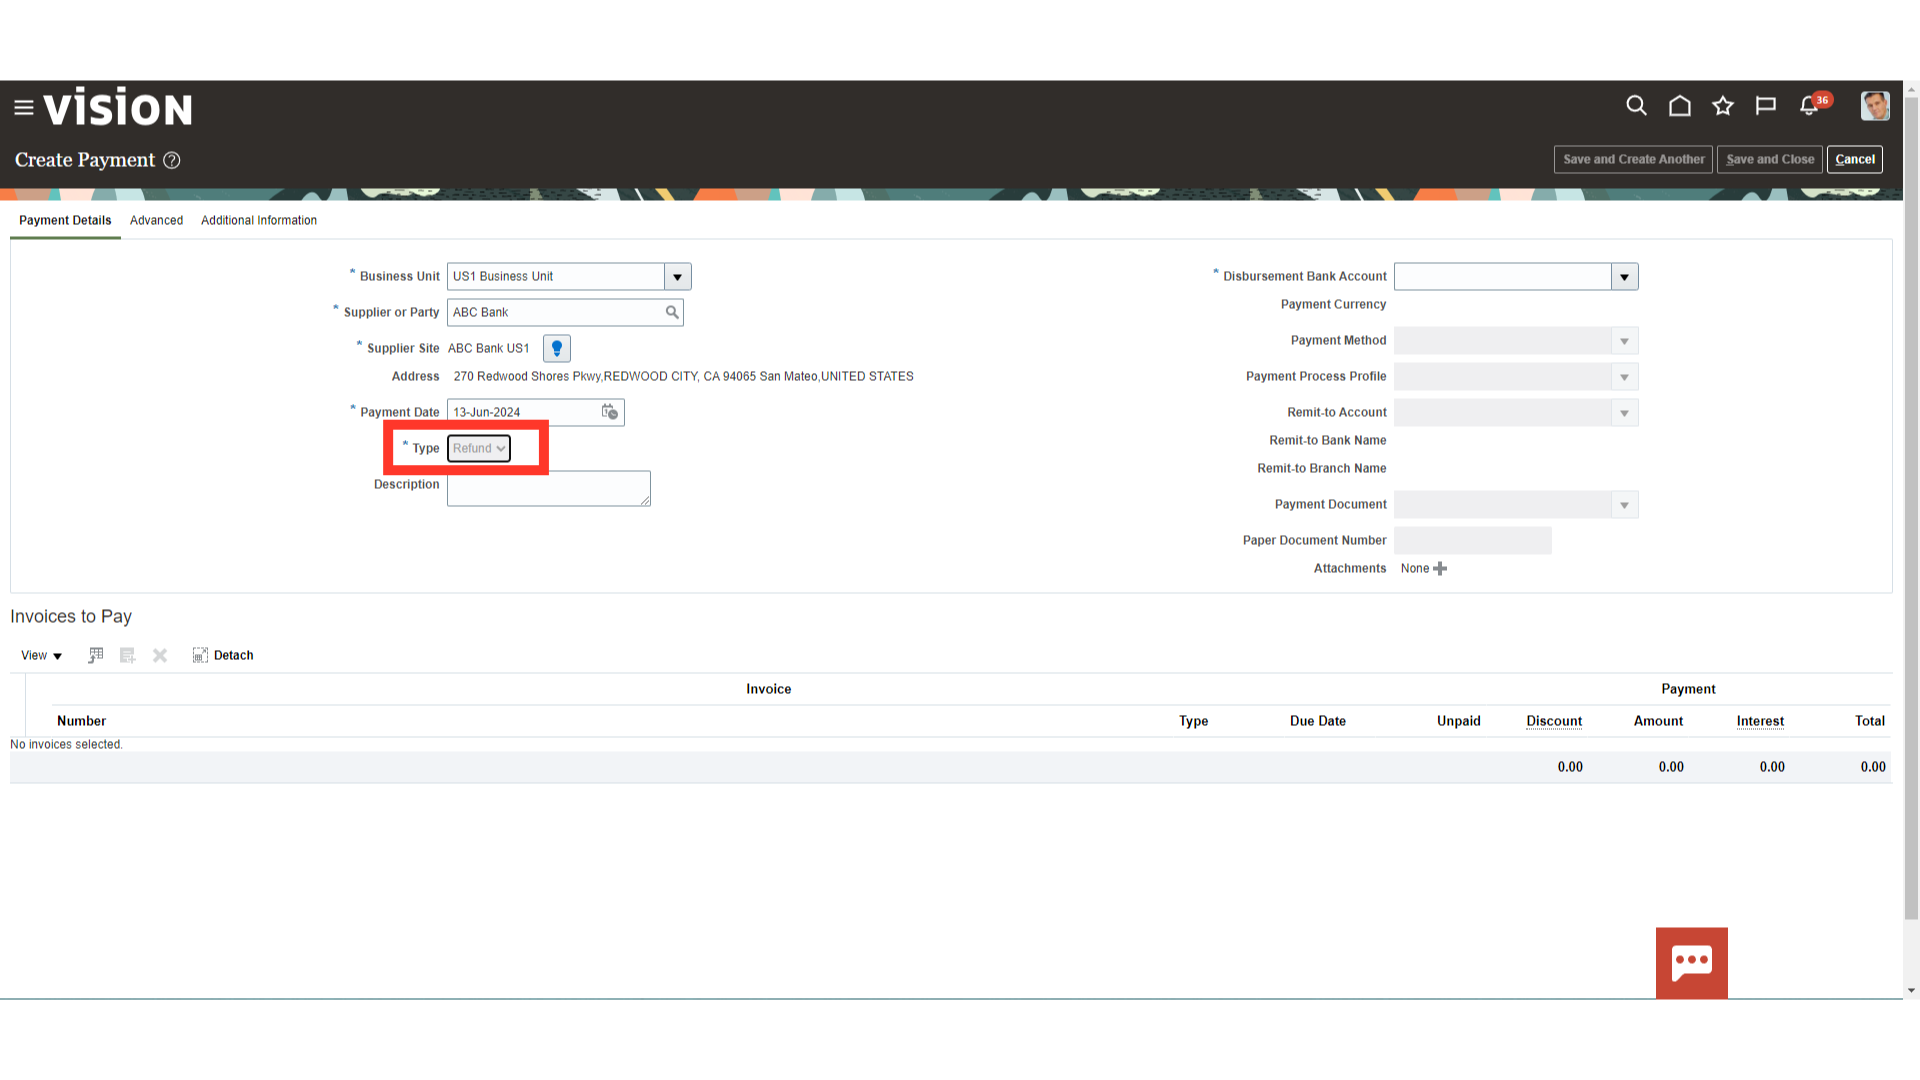
Select the Refund payment type from the list of values. Refund payment type is payment for a negative amount that closes an outstanding credit balance of the supplier.
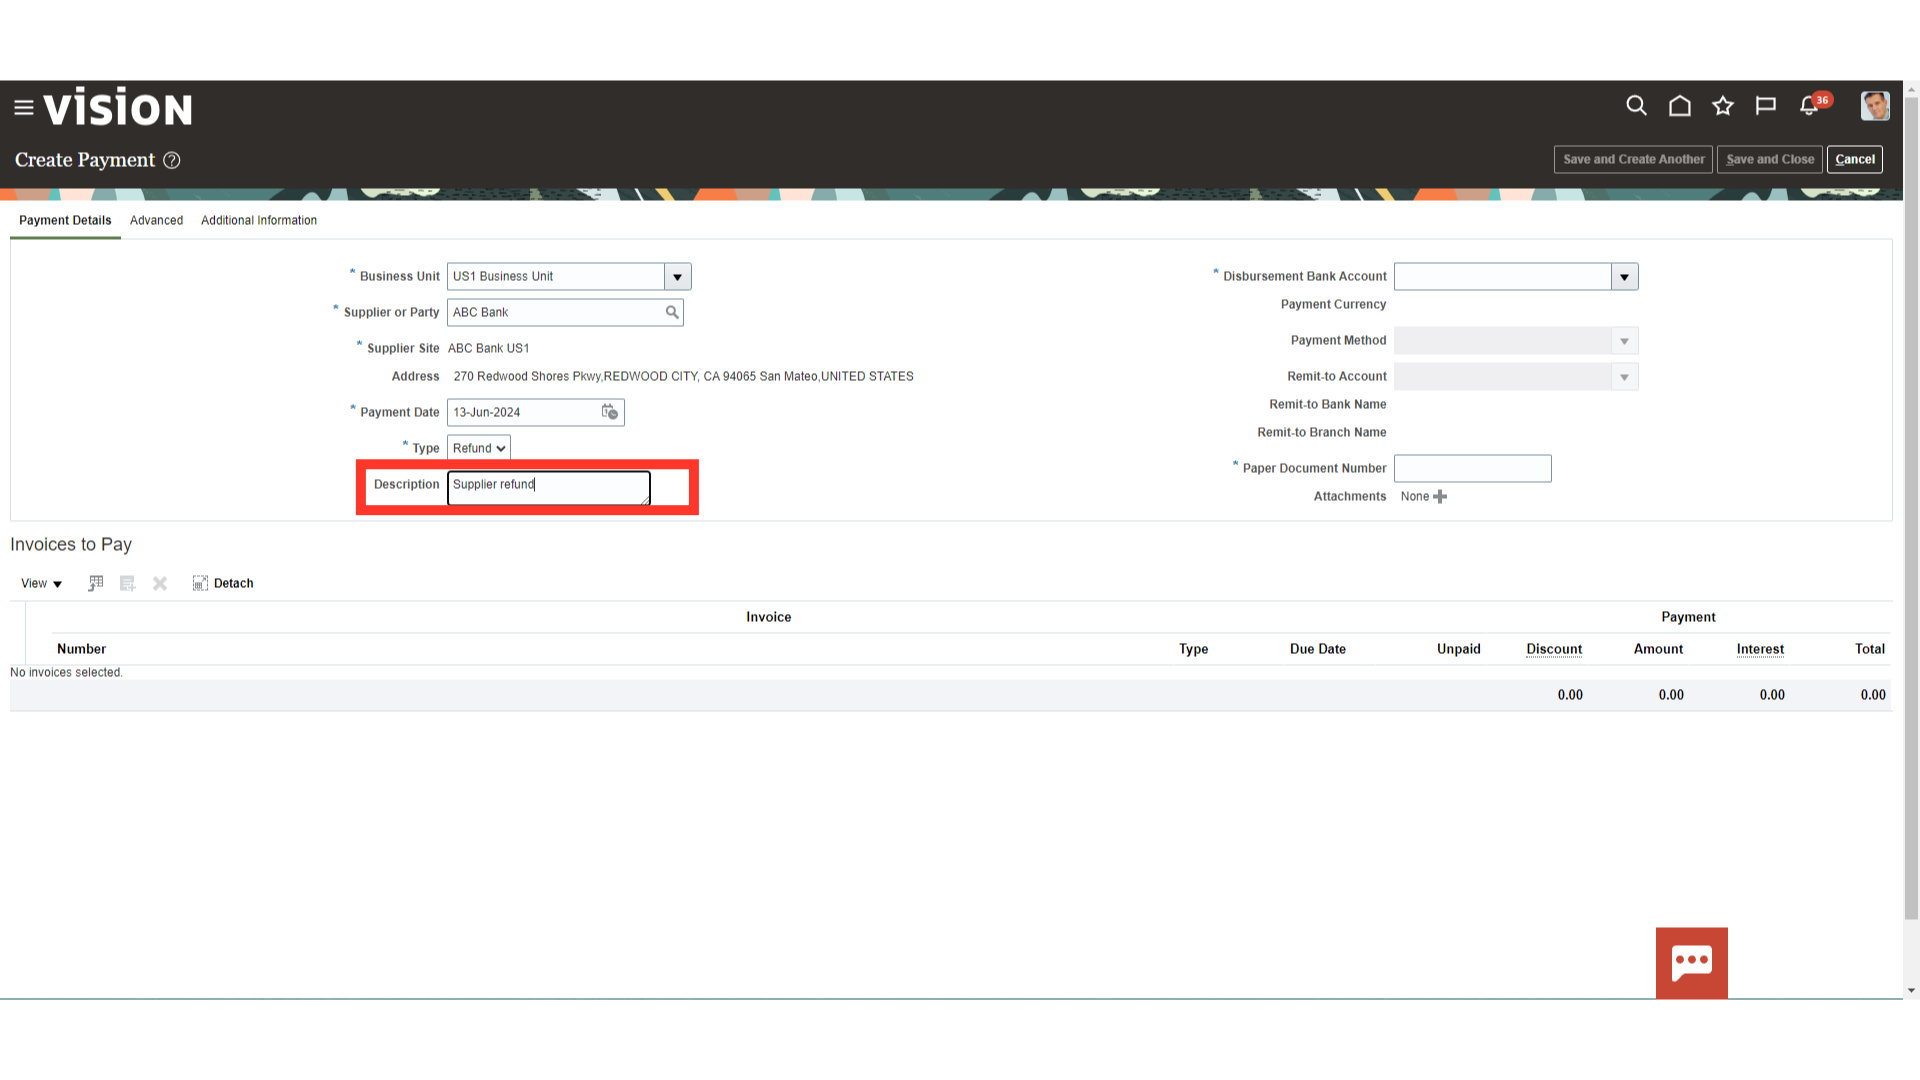
Enter the relevant description in the description field for capturing additional meaningful information.
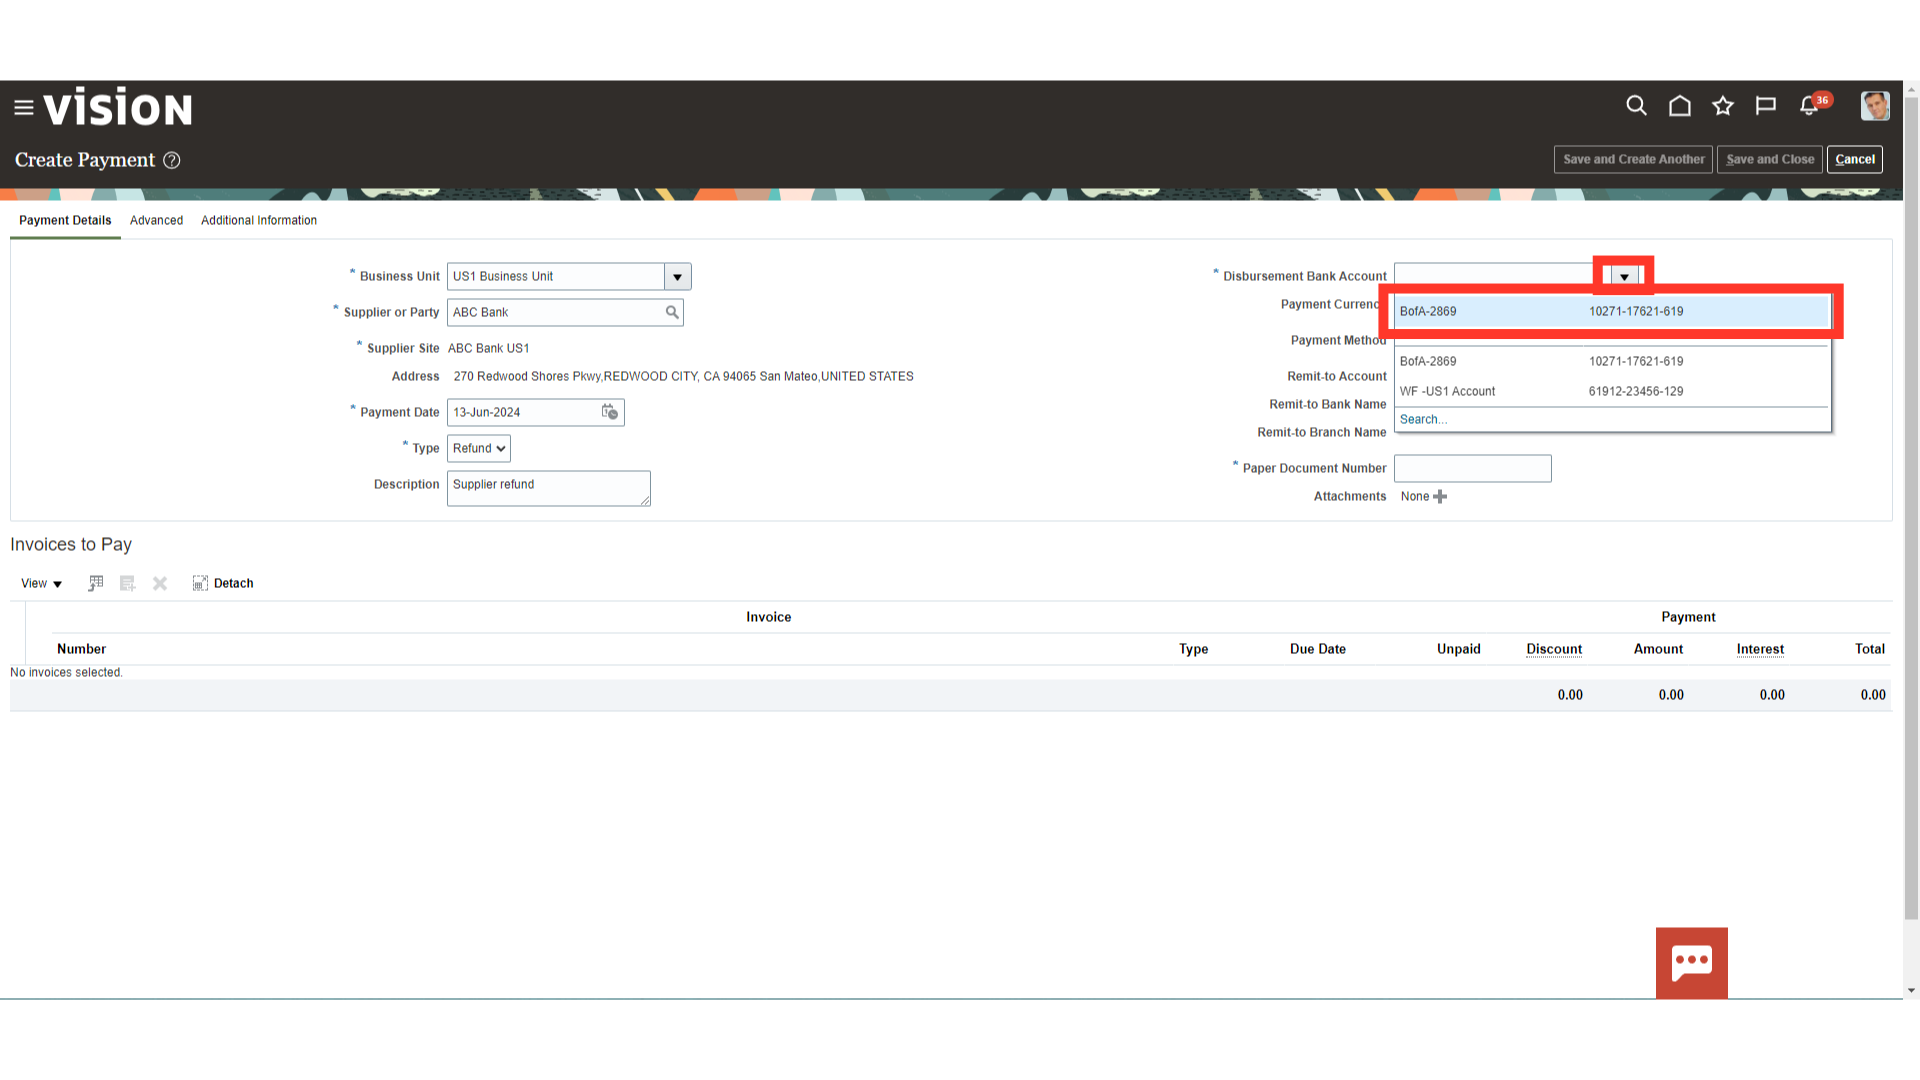
Select the disbursement bank account from the list of values in which amount received from supplier is to be recorded.
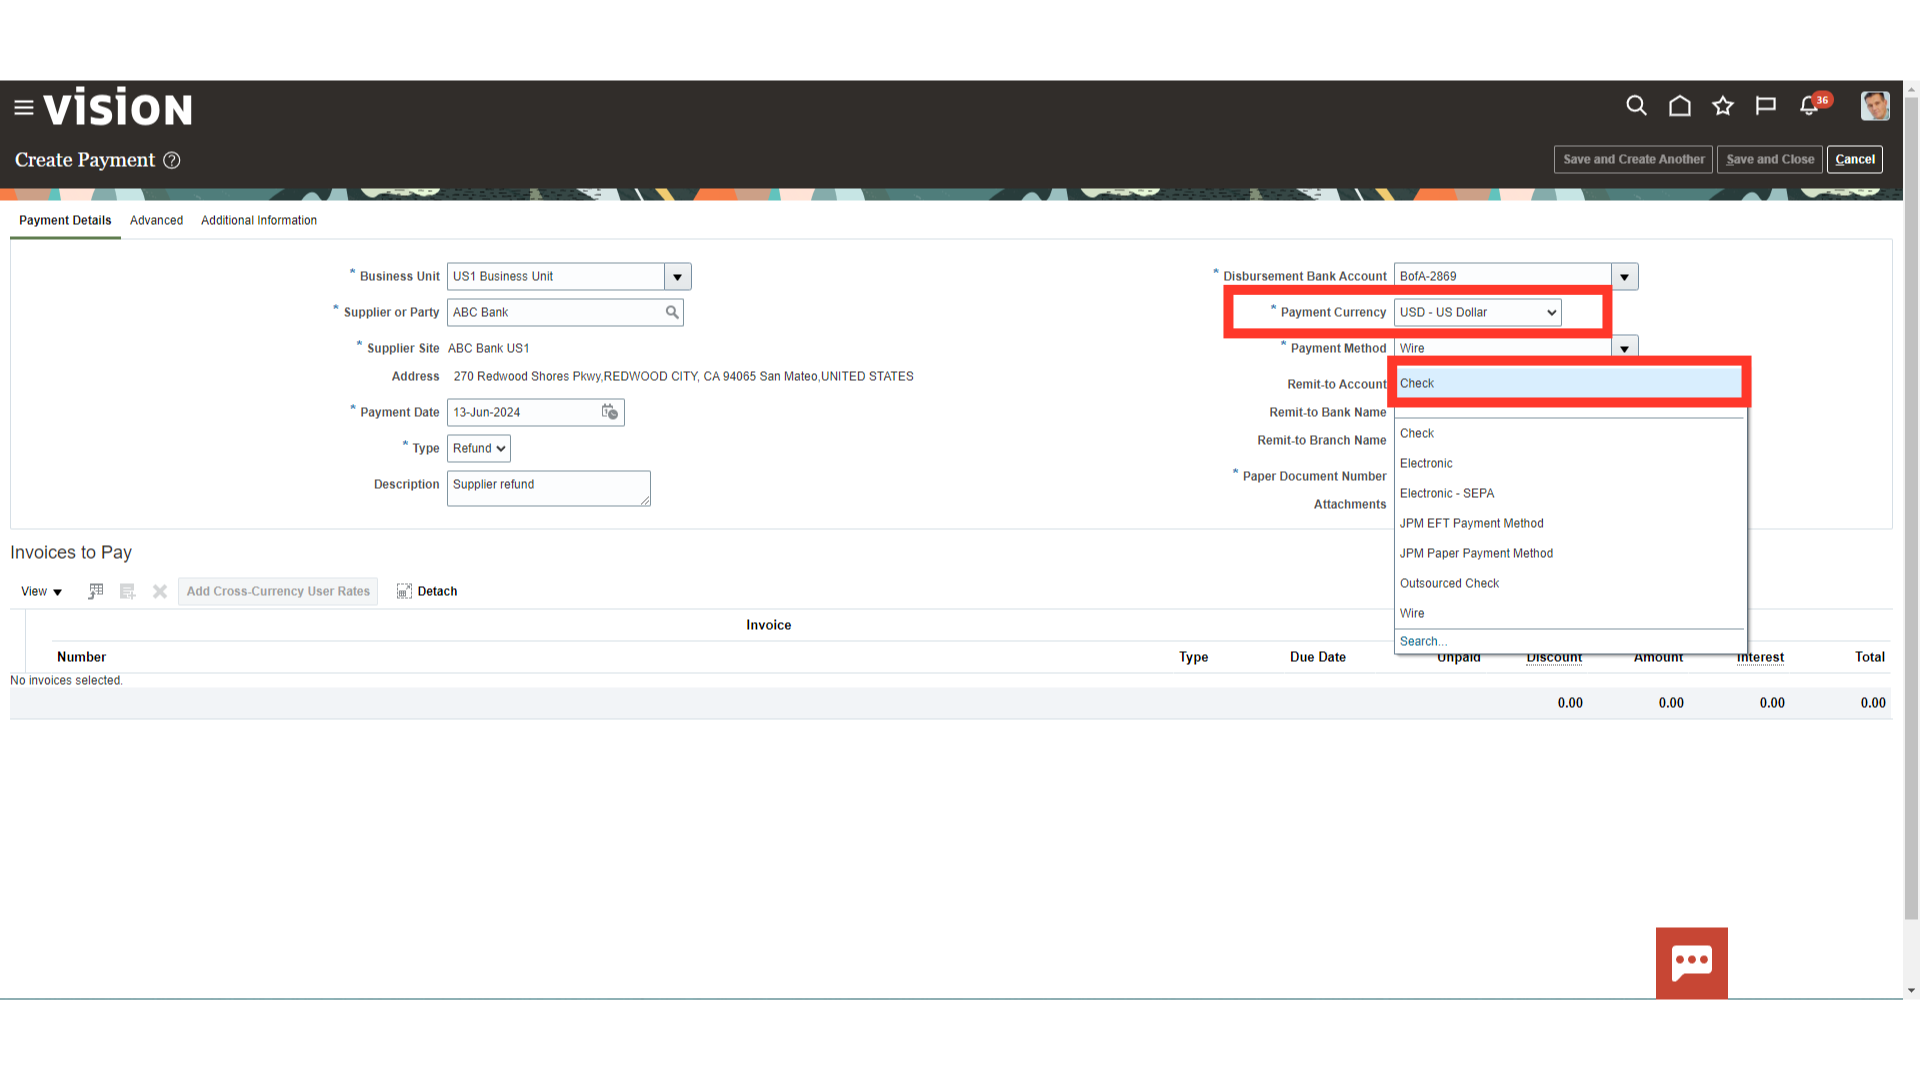
Select the payment currency in which the payment is received. After that, select the type of payment method. Here for demo purpose, we have selected “USD” currency and “Check” payment method.
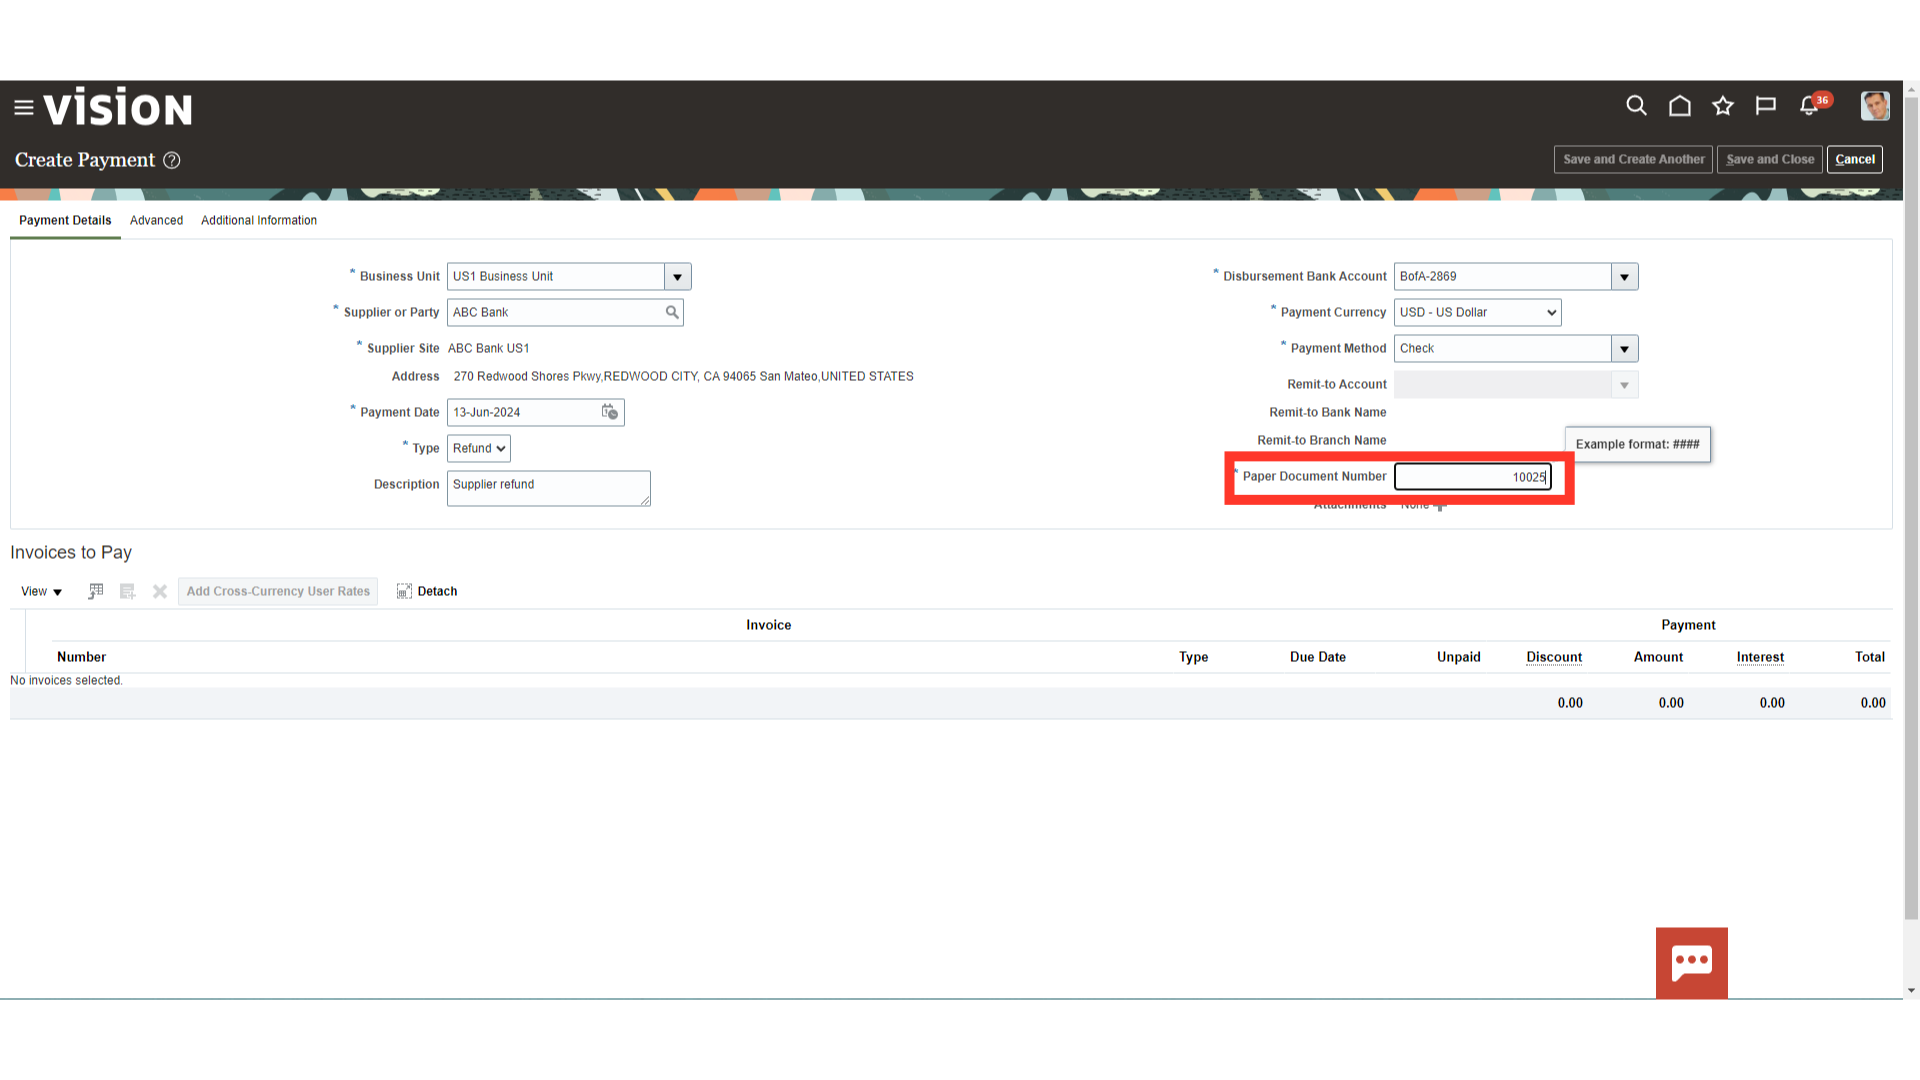
Enter the Check number or any reference number mentioned in the payment received from the supplier for reconciliation purpose.
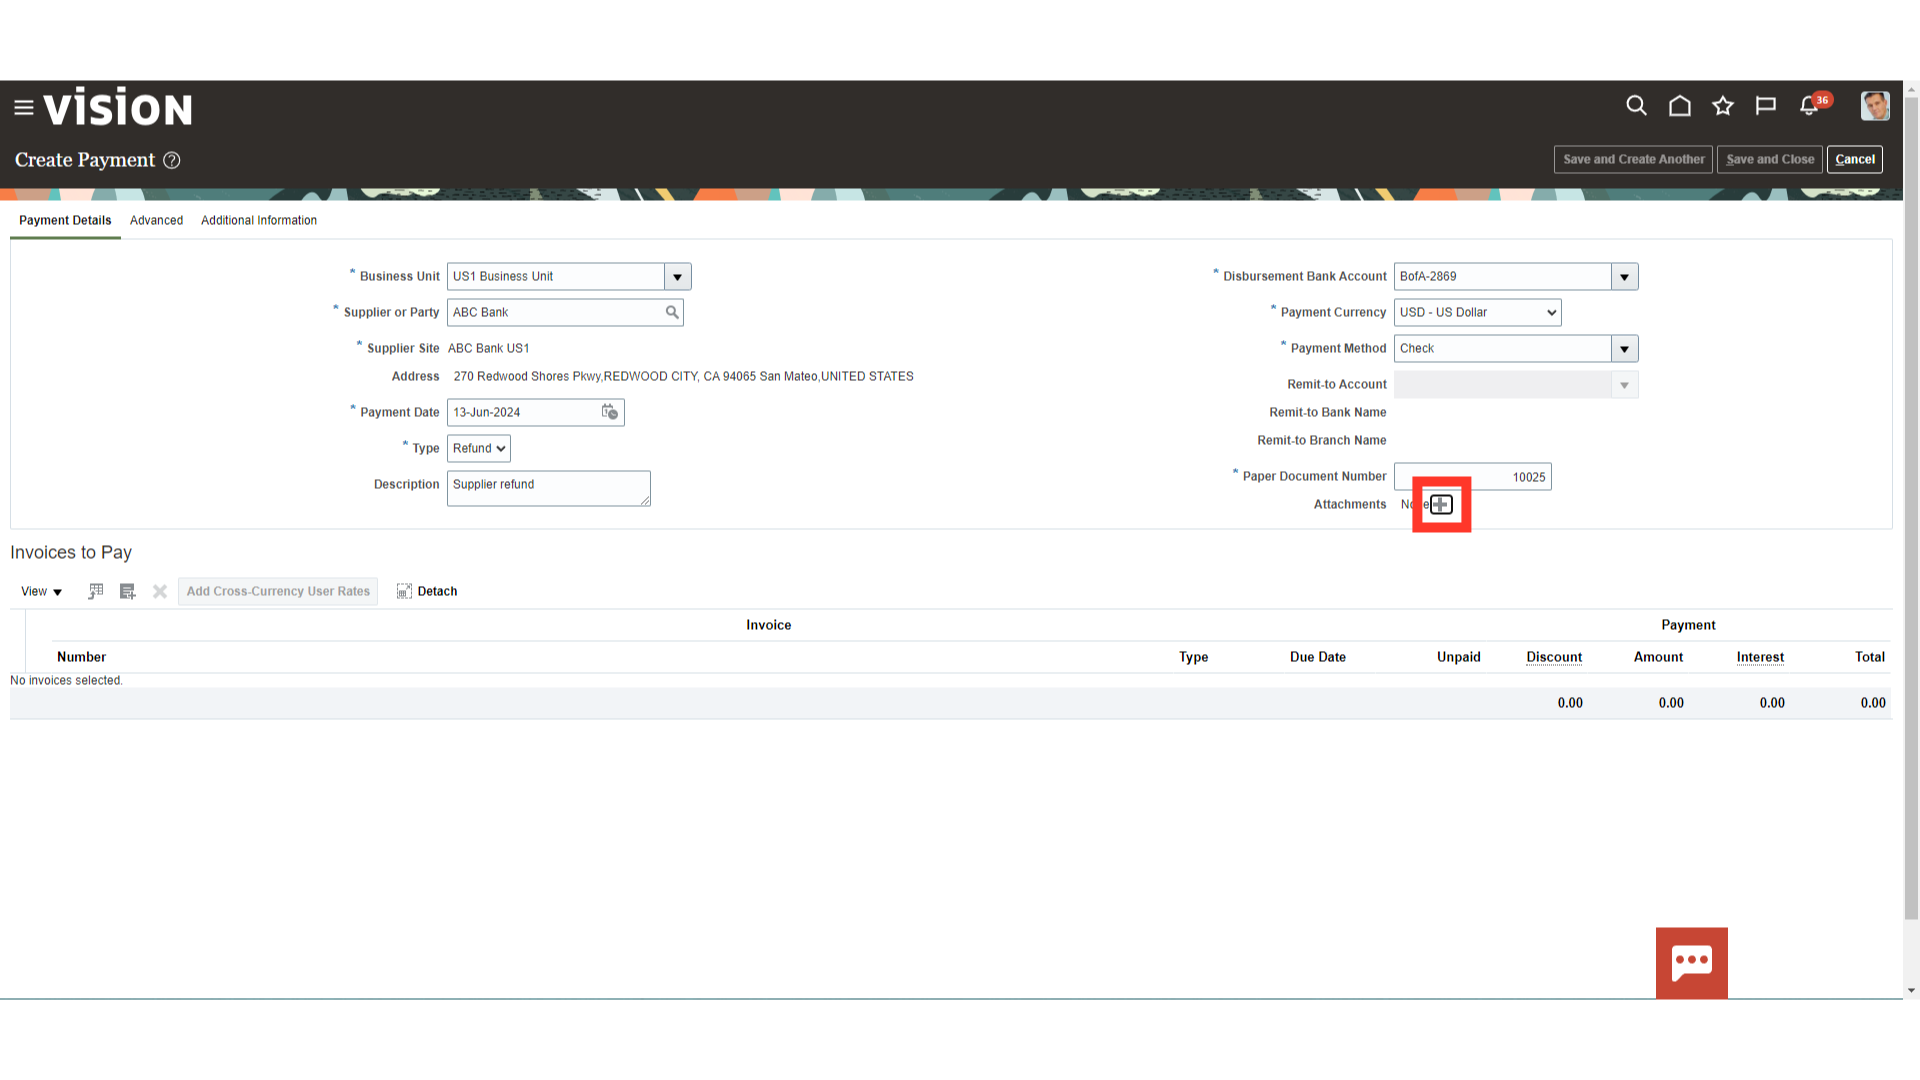
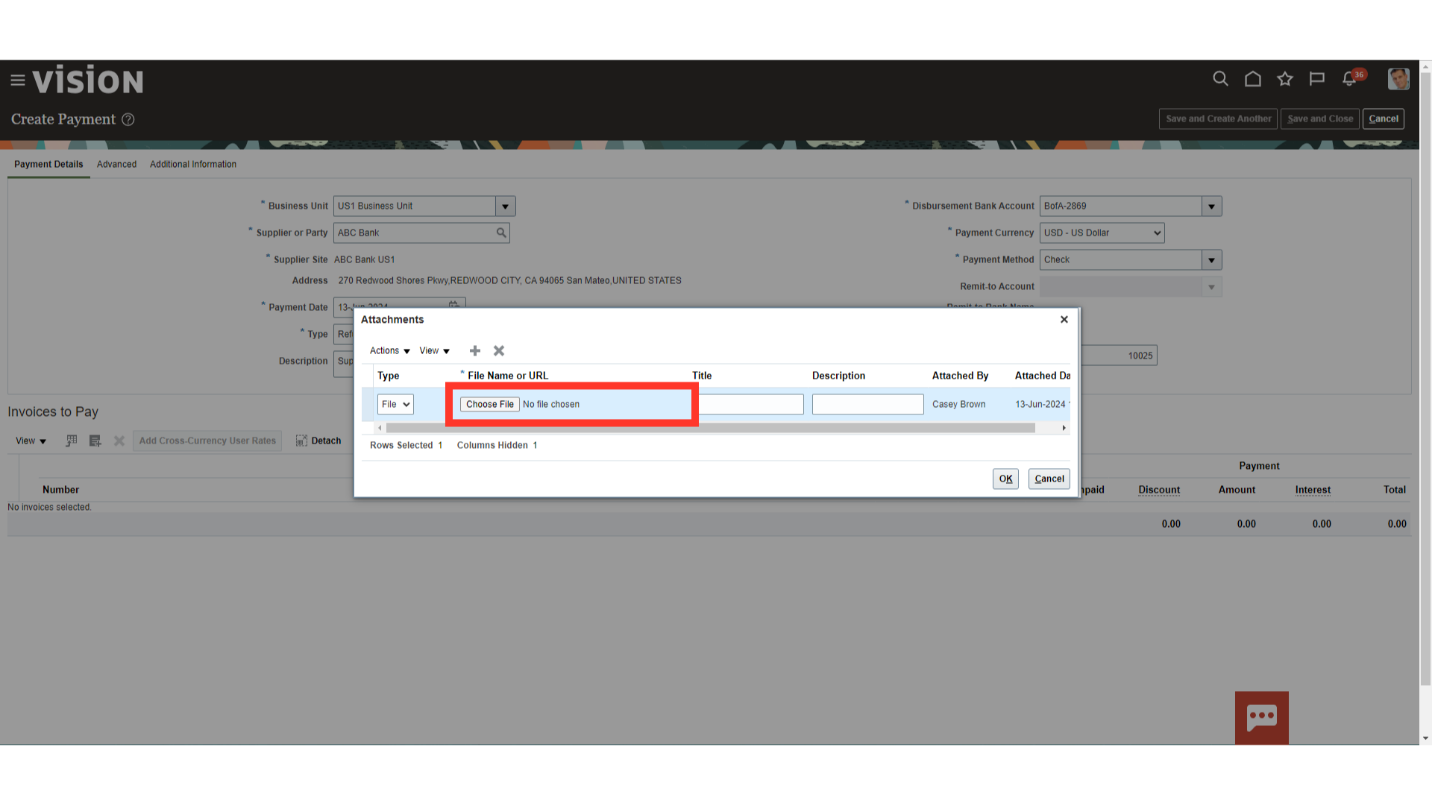
Click on plus icon to upload the attachment related to the payment received. For example, image of the check or remittance advice received from the supplier can be uploaded.
Click on the Choose File button to upload the attachments from your local desktop.
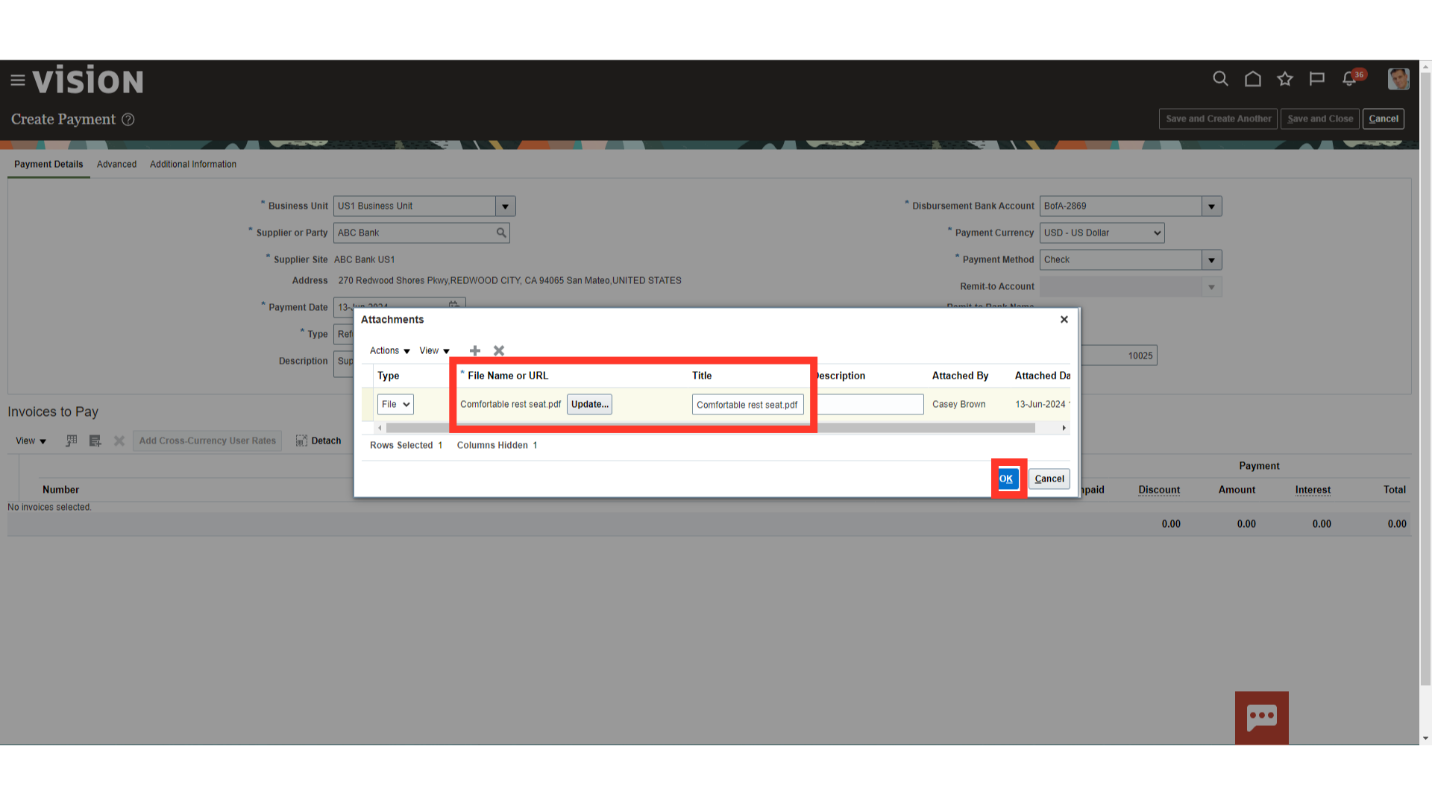
After uploading, file name uploaded will be visible, click on “OK” to continue.
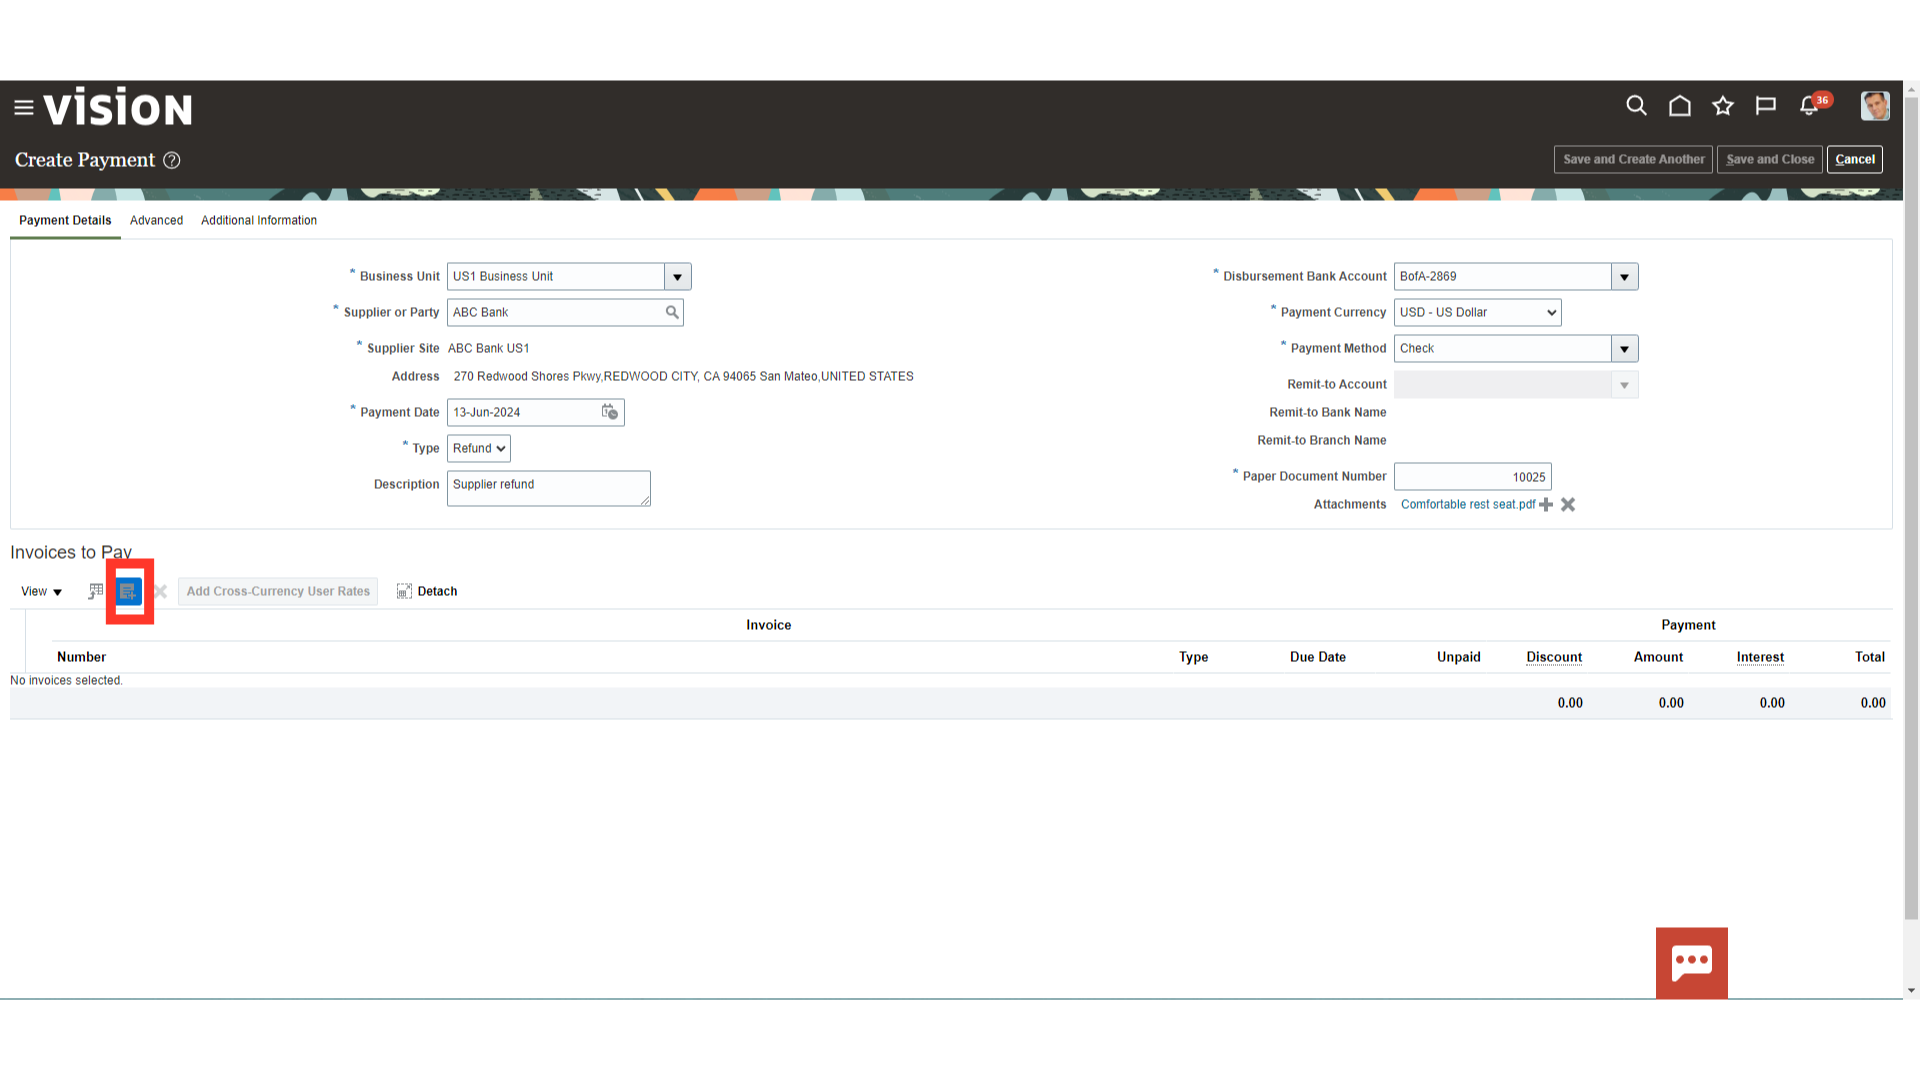
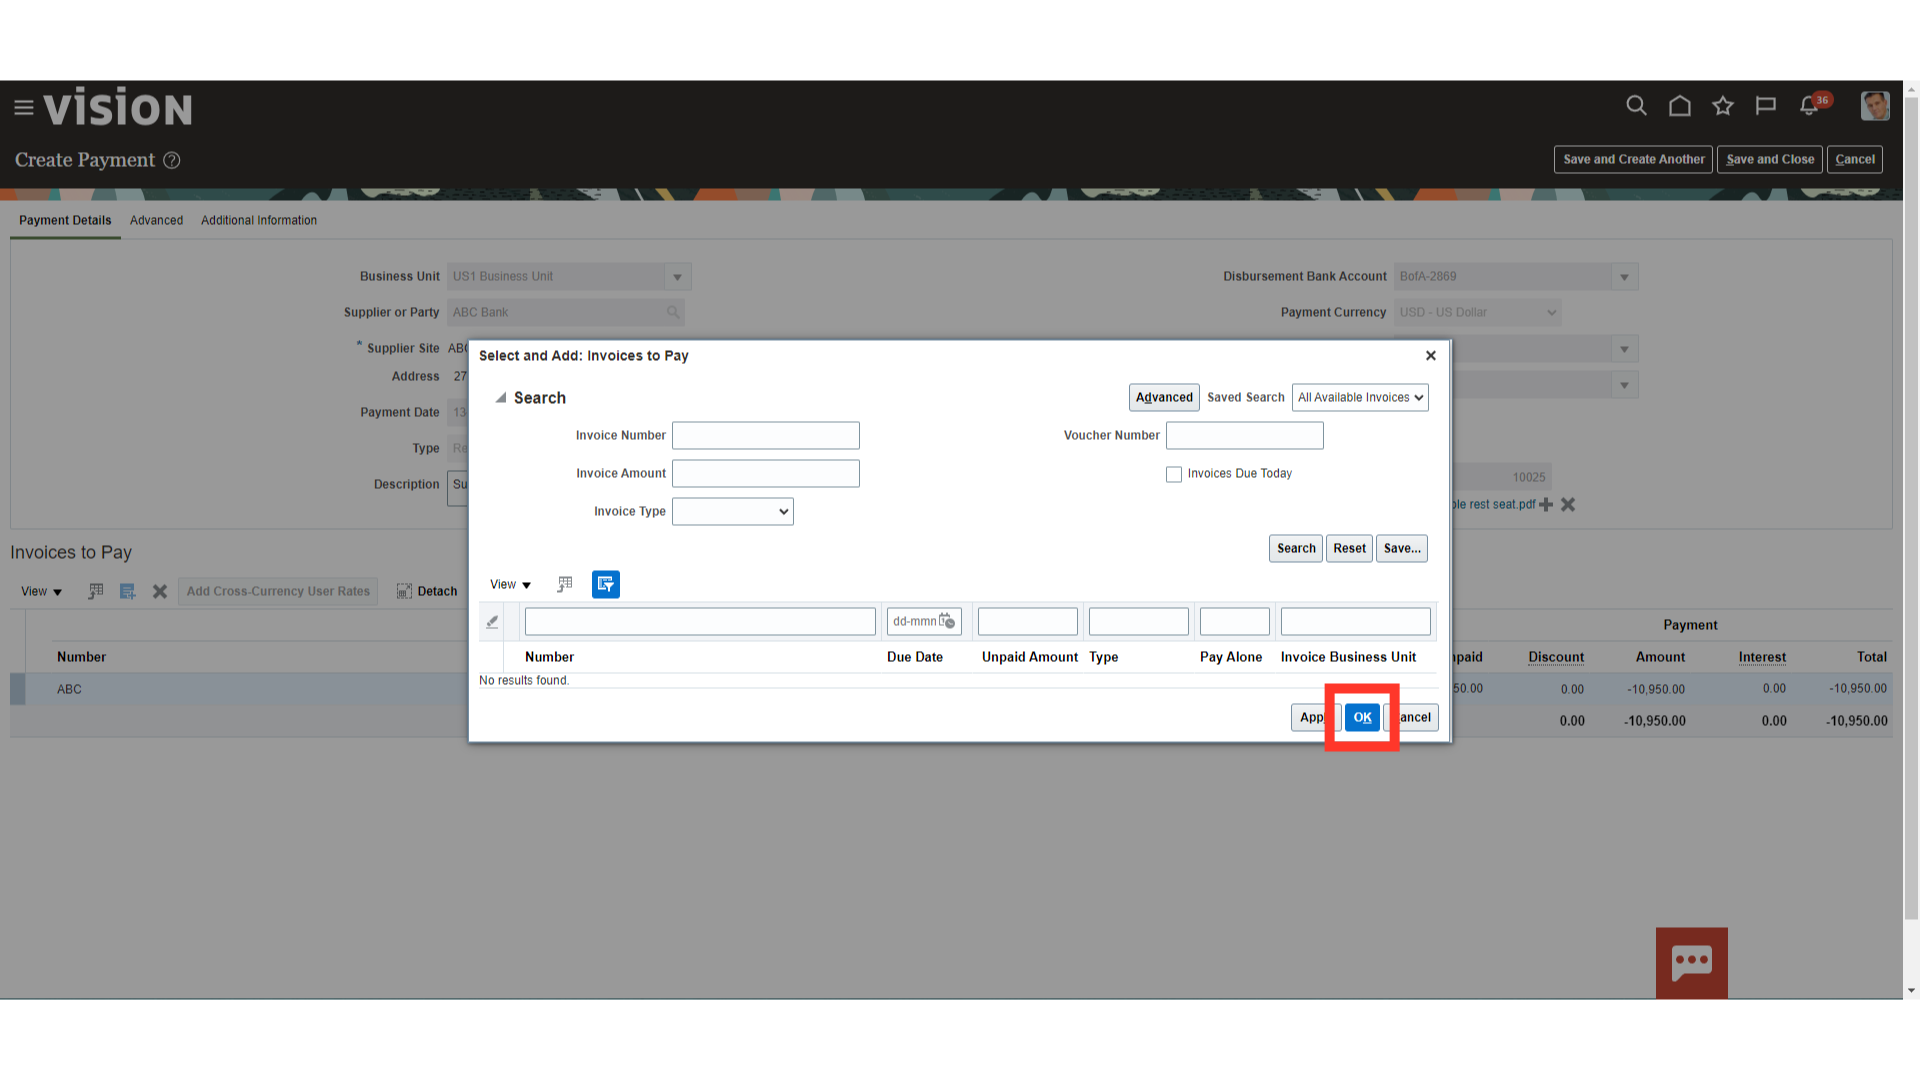
Click on the installment’s selection icon, to add the credit or debit memos.
To add all the invoices, press Control + A to select all the invoices, or add invoices one by one by selecting each invoice and click on the Apply button.
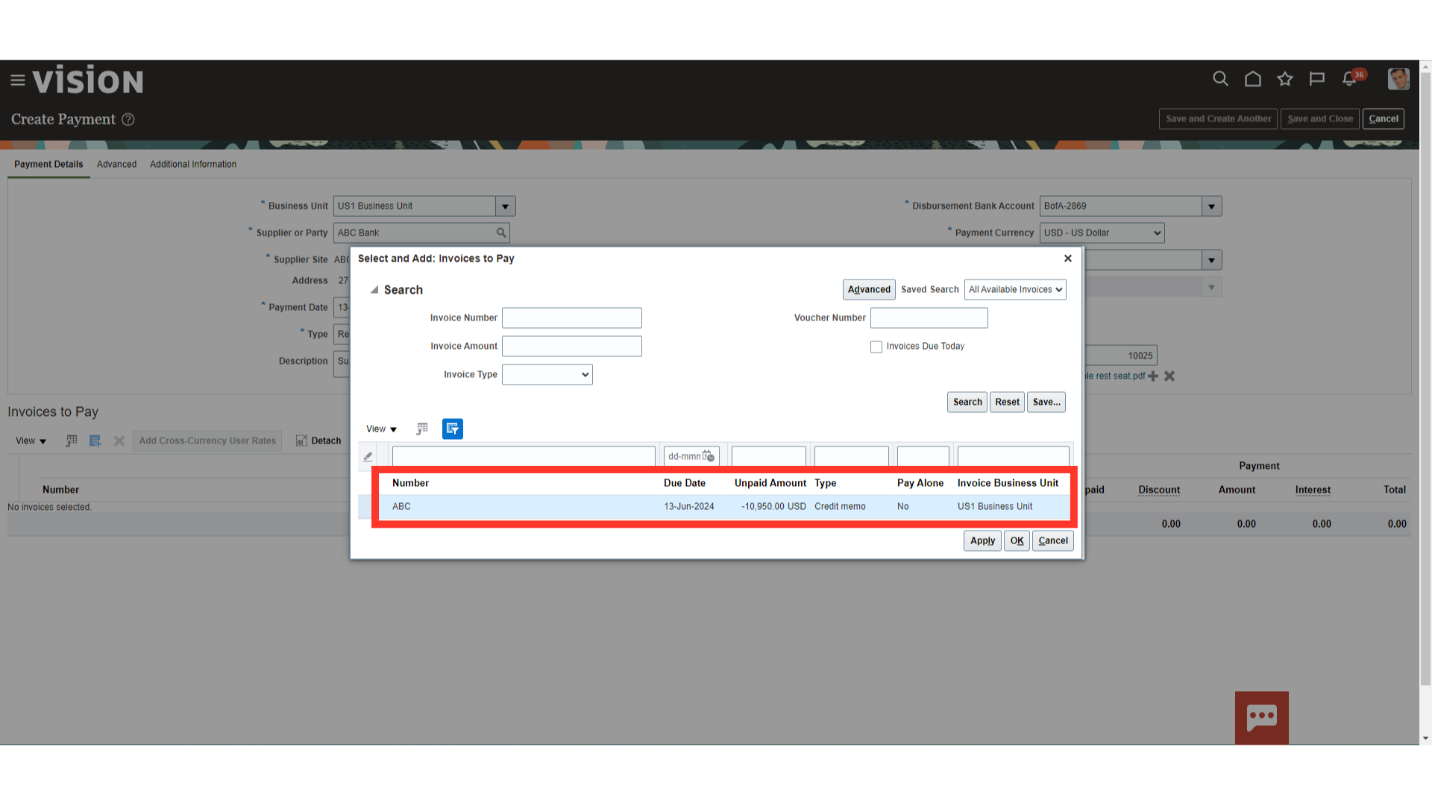
Click on the “OK” button to close the Invoices to Pay window.
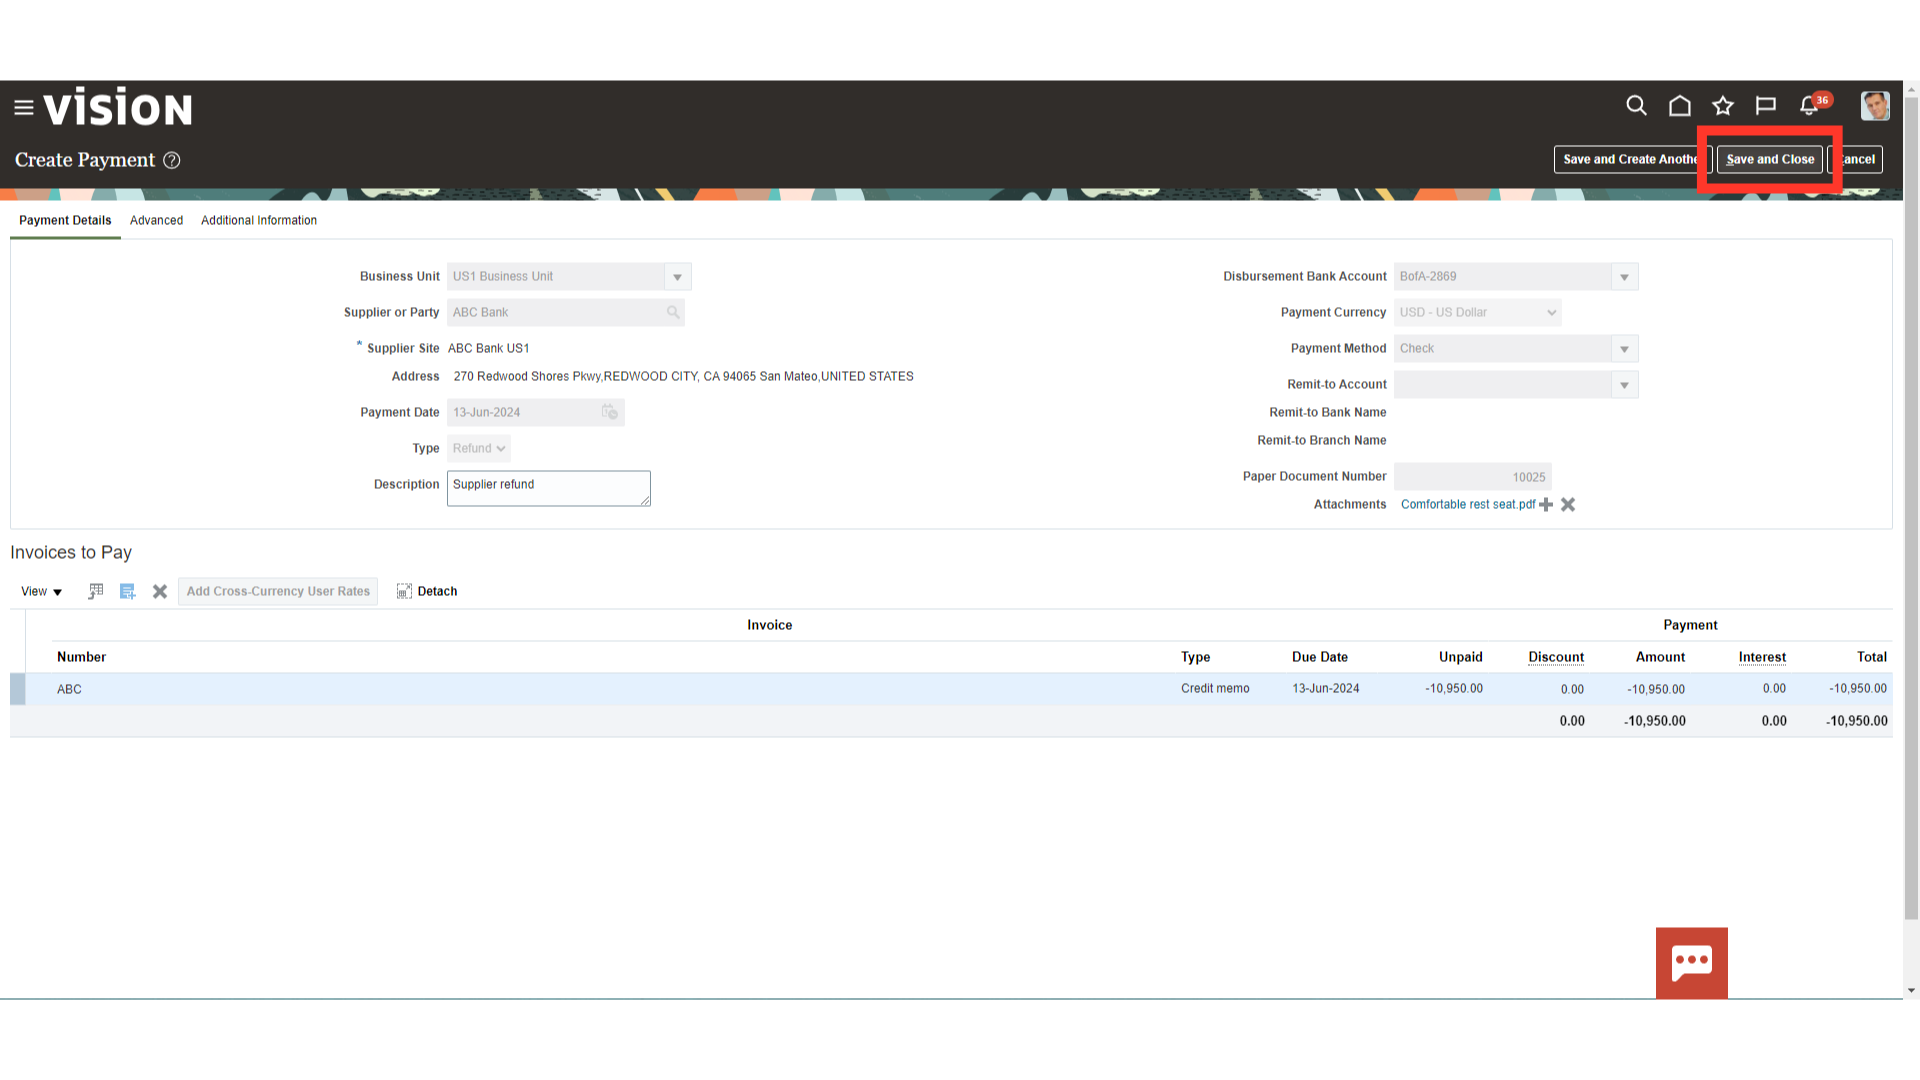
Click on the Save and close button to submit the payment and close this page.
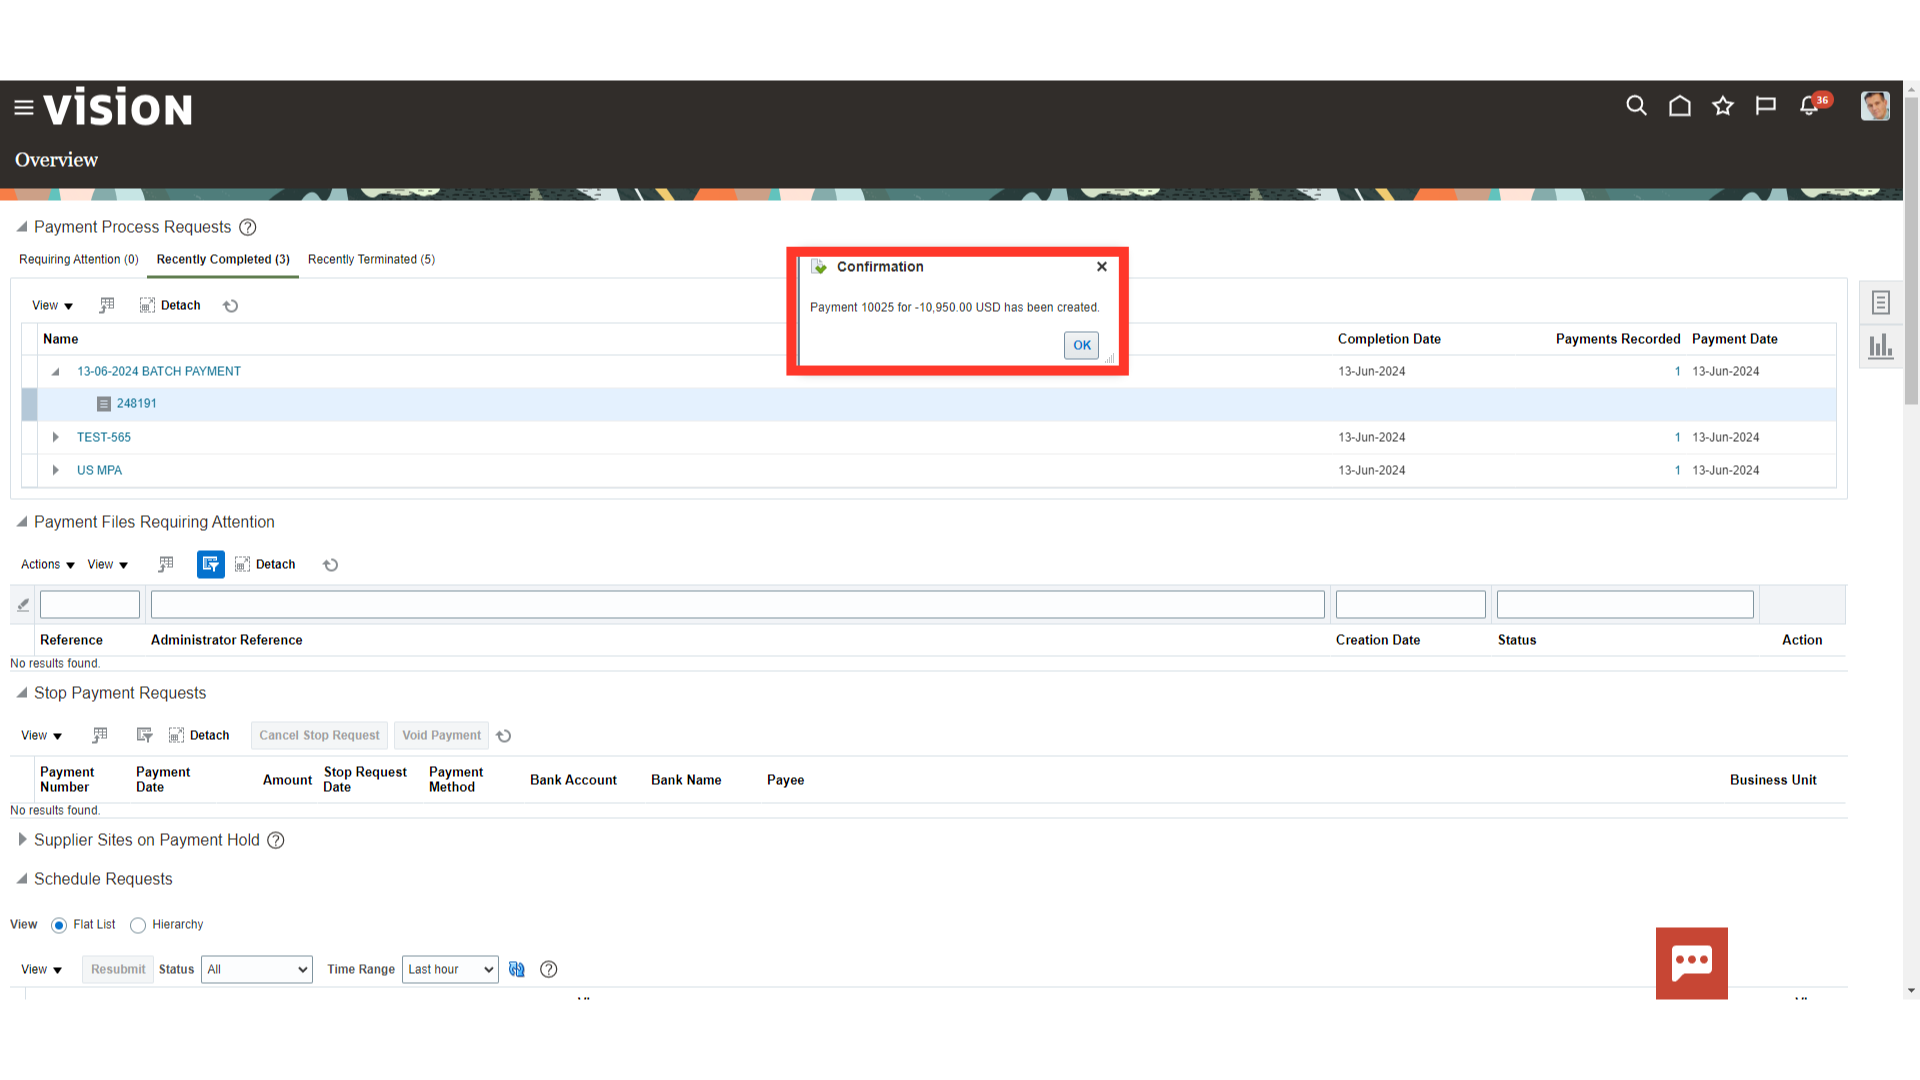
Confirmation message of payment created along with check number and amount would be displayed. Click on “OK” to close the confirmation window.
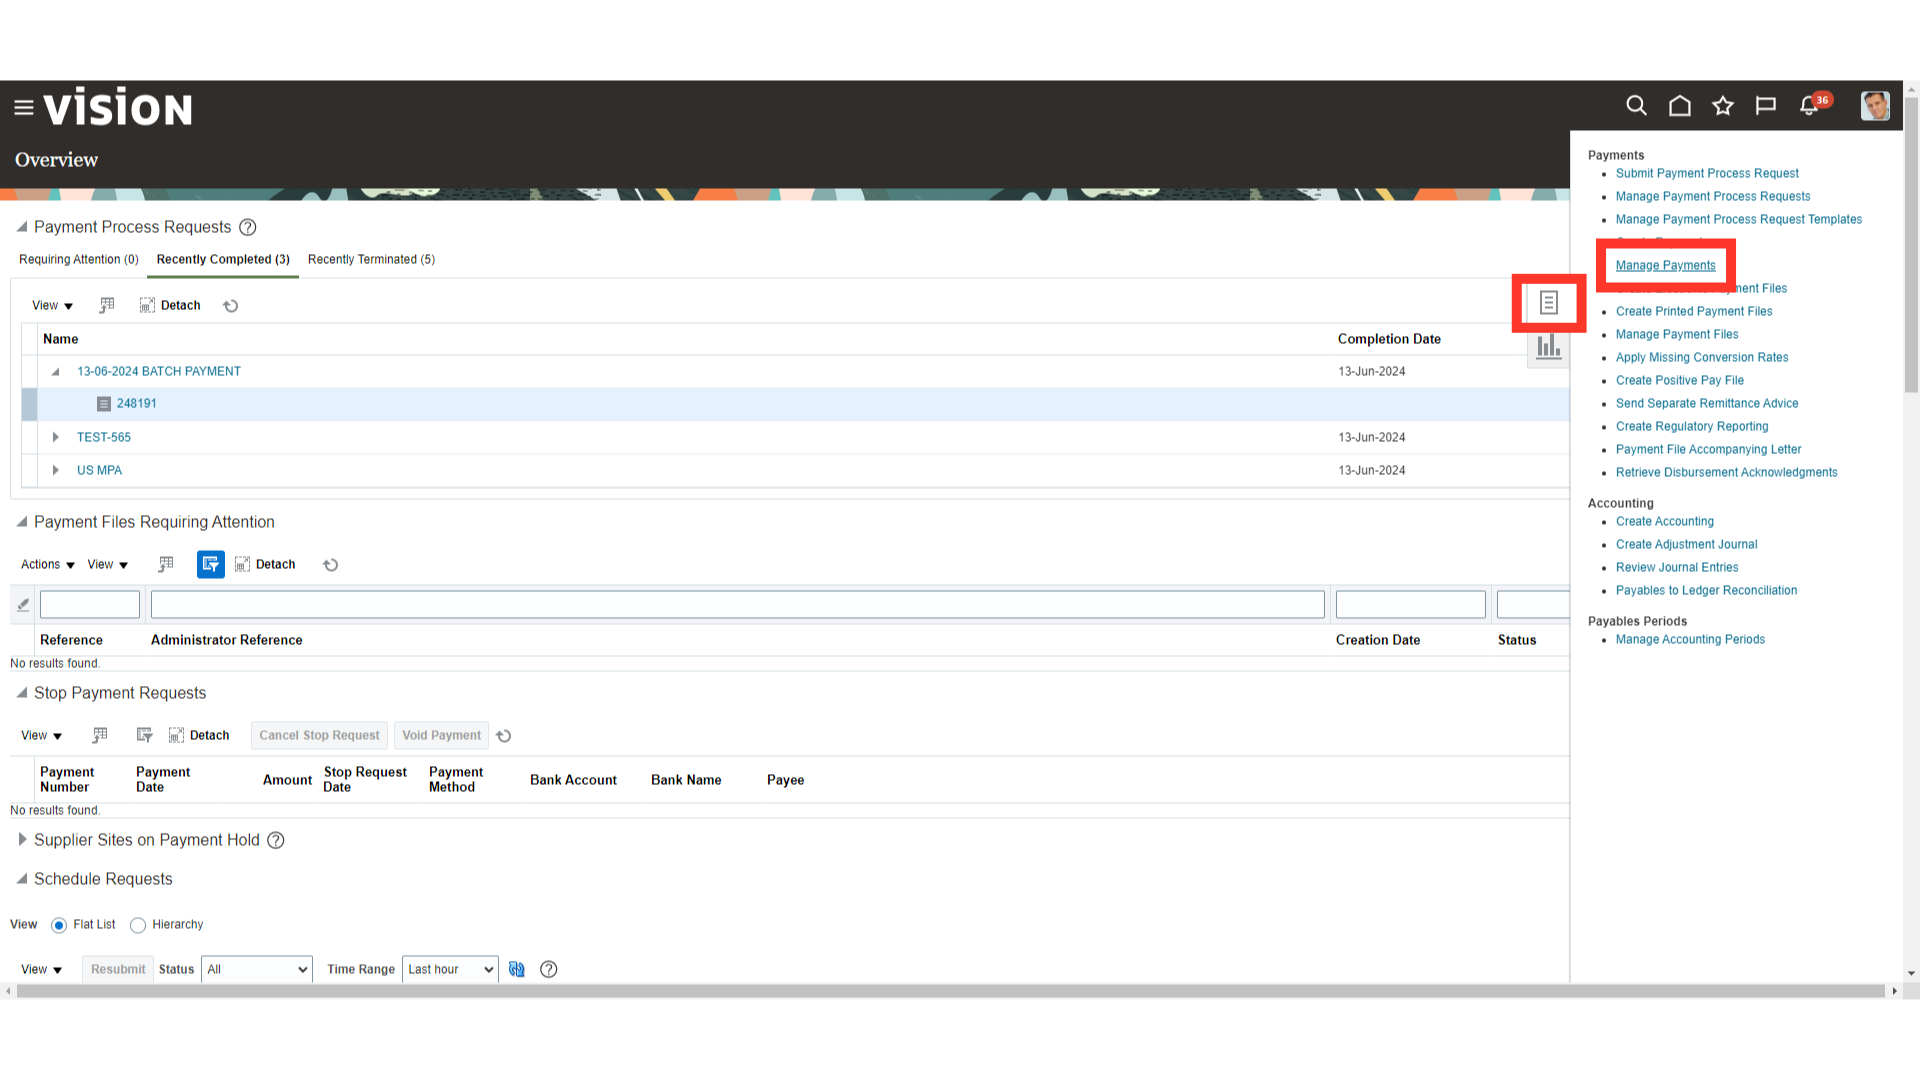
Click on the “Manage Payments” option from the task list to search for the payments created.
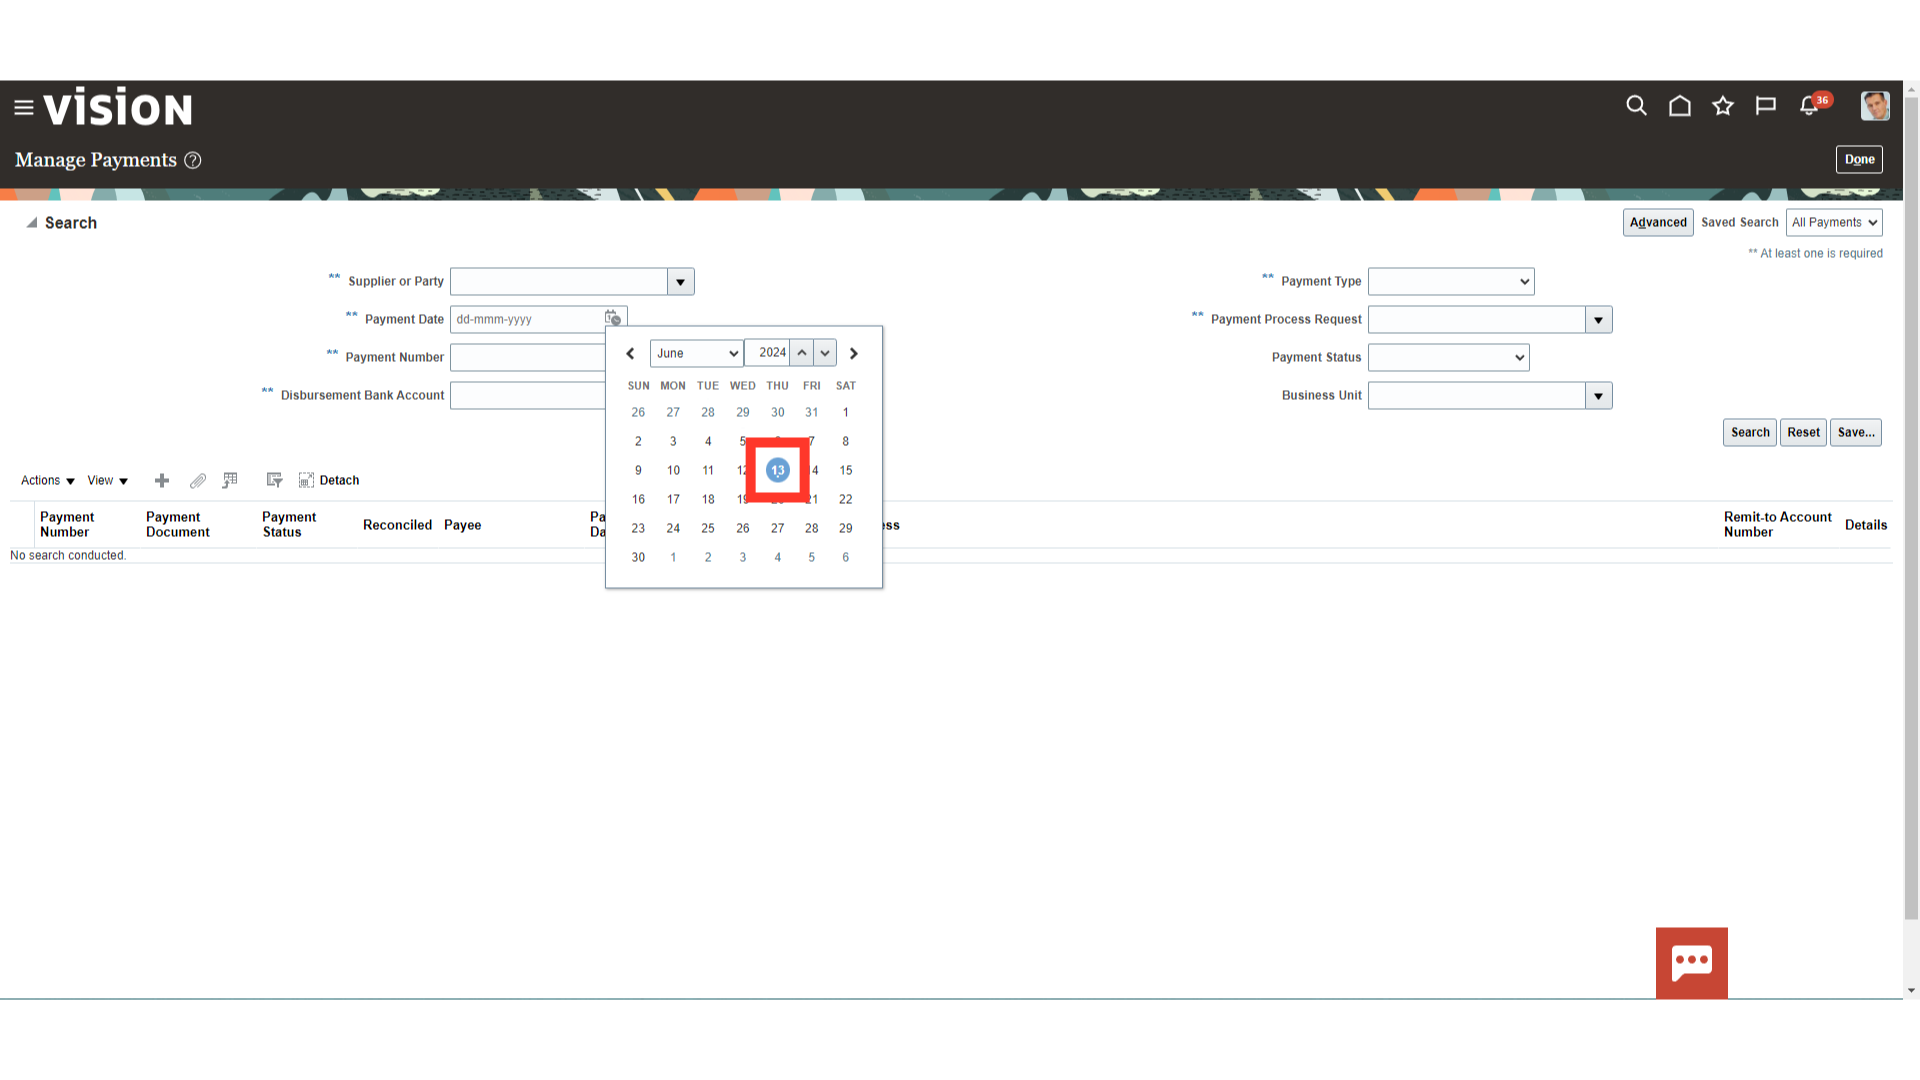
Enter the search parameters to search the payments created. Here, for demo purpose, we will select the payment date manually from the calendar.
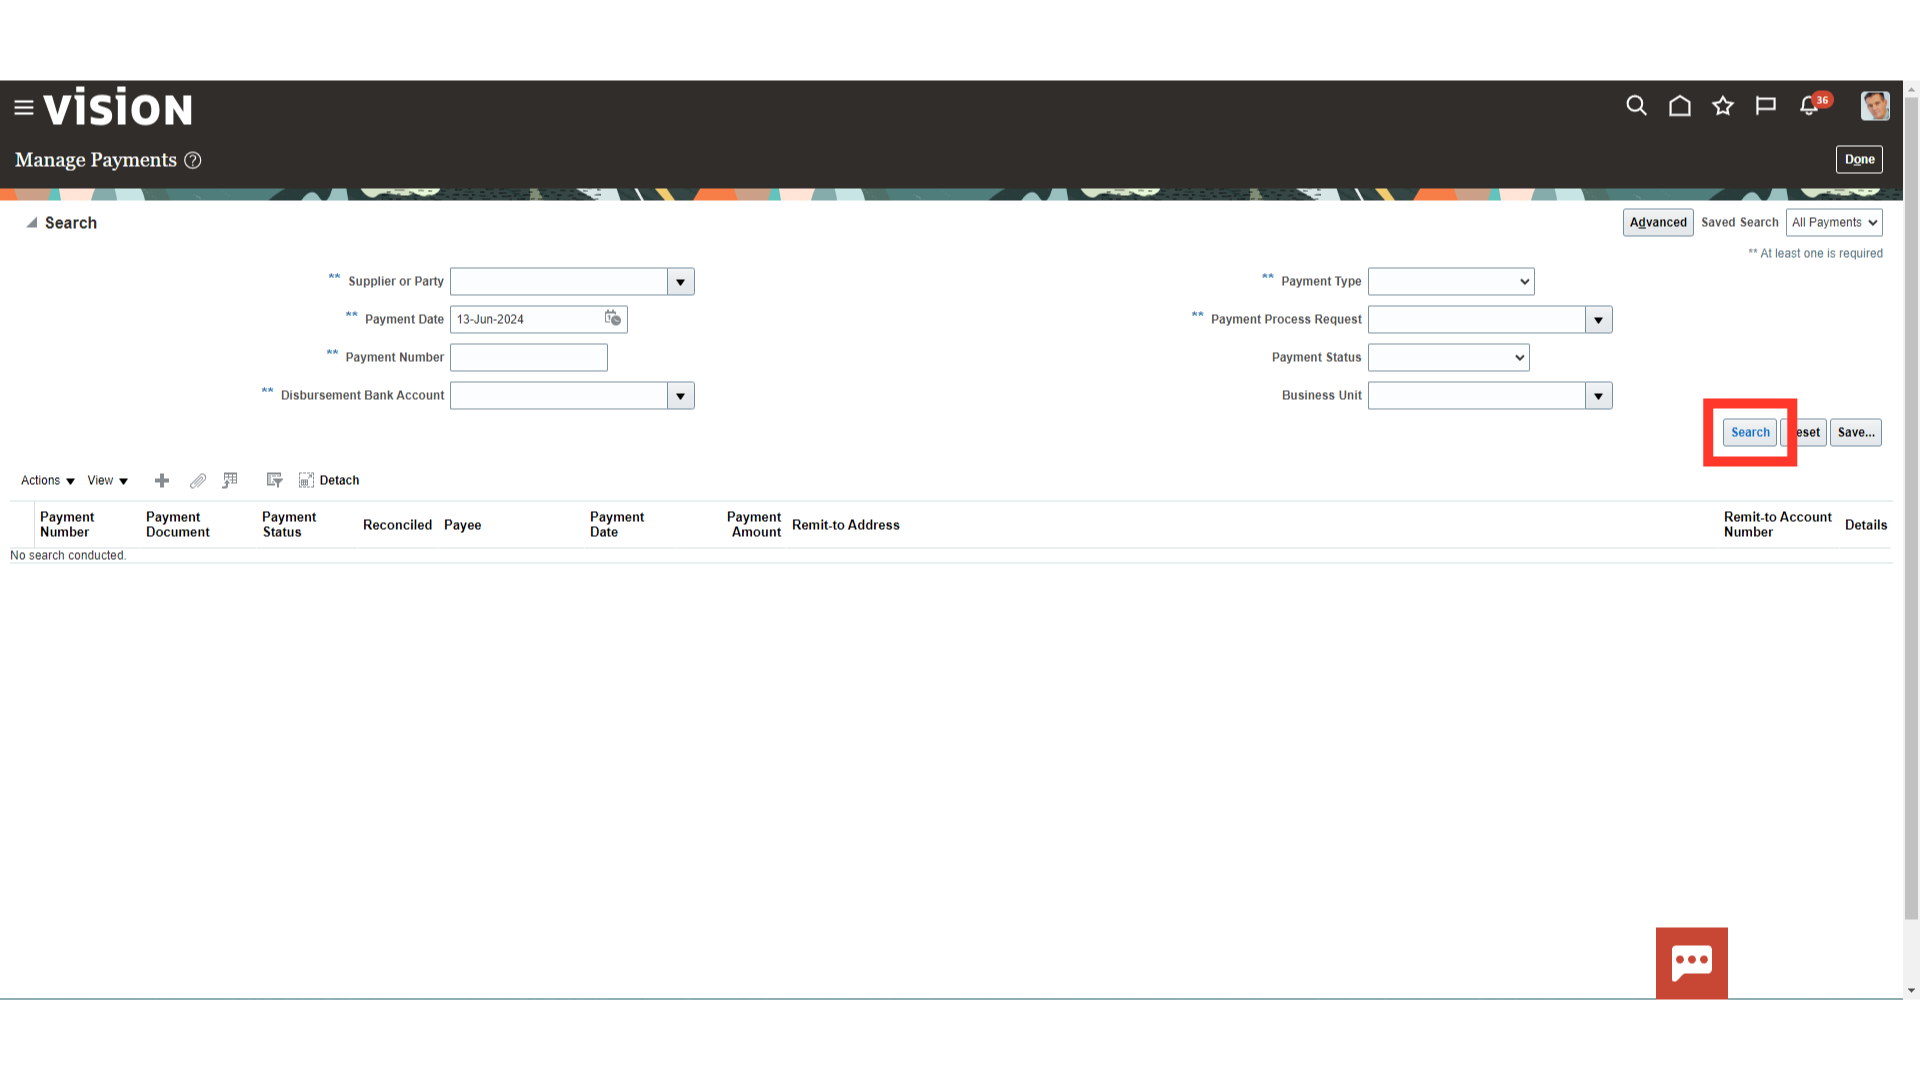
Click on the “Search” button to search for the payments as per entered parameters.
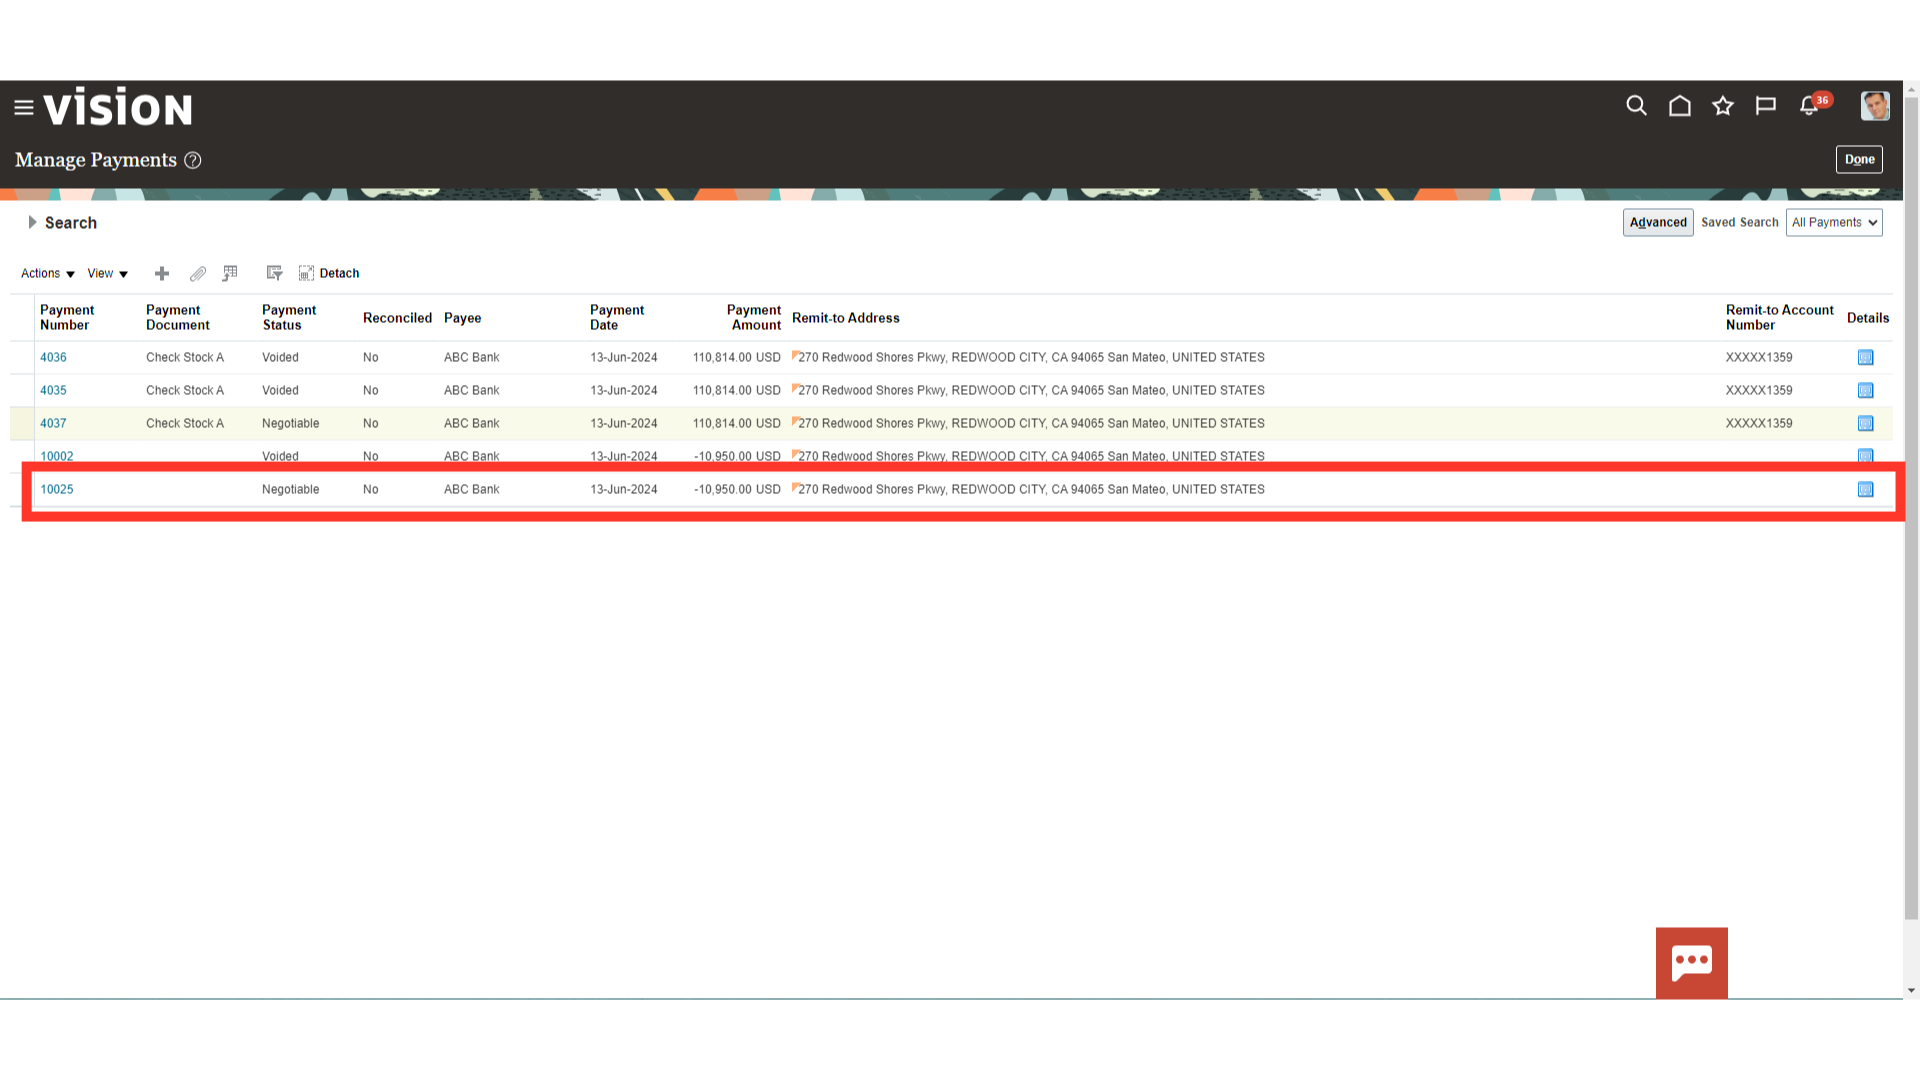
Select the payment number for which you want to generate the accounting entry.
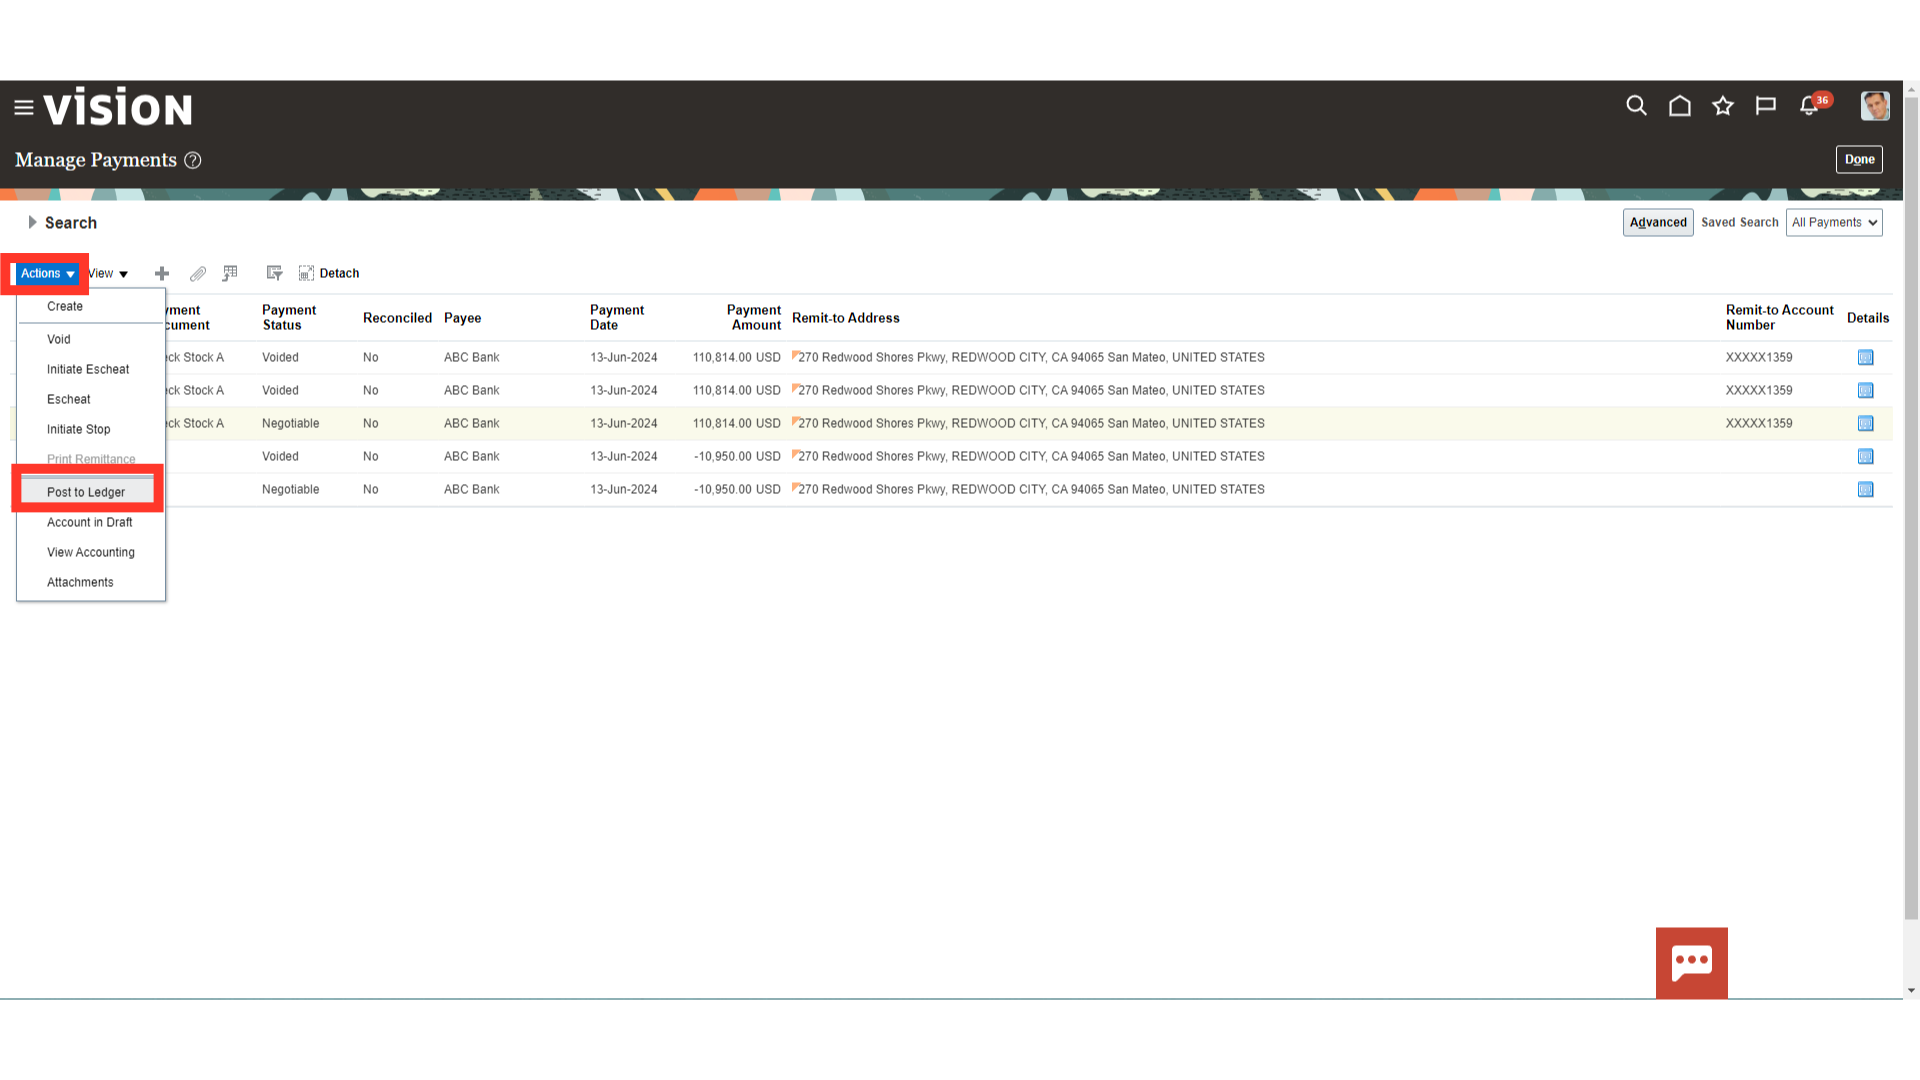
Click on the “Post to Ledger” option under Actions menu for creating journal entries and transferring to the general ledger.
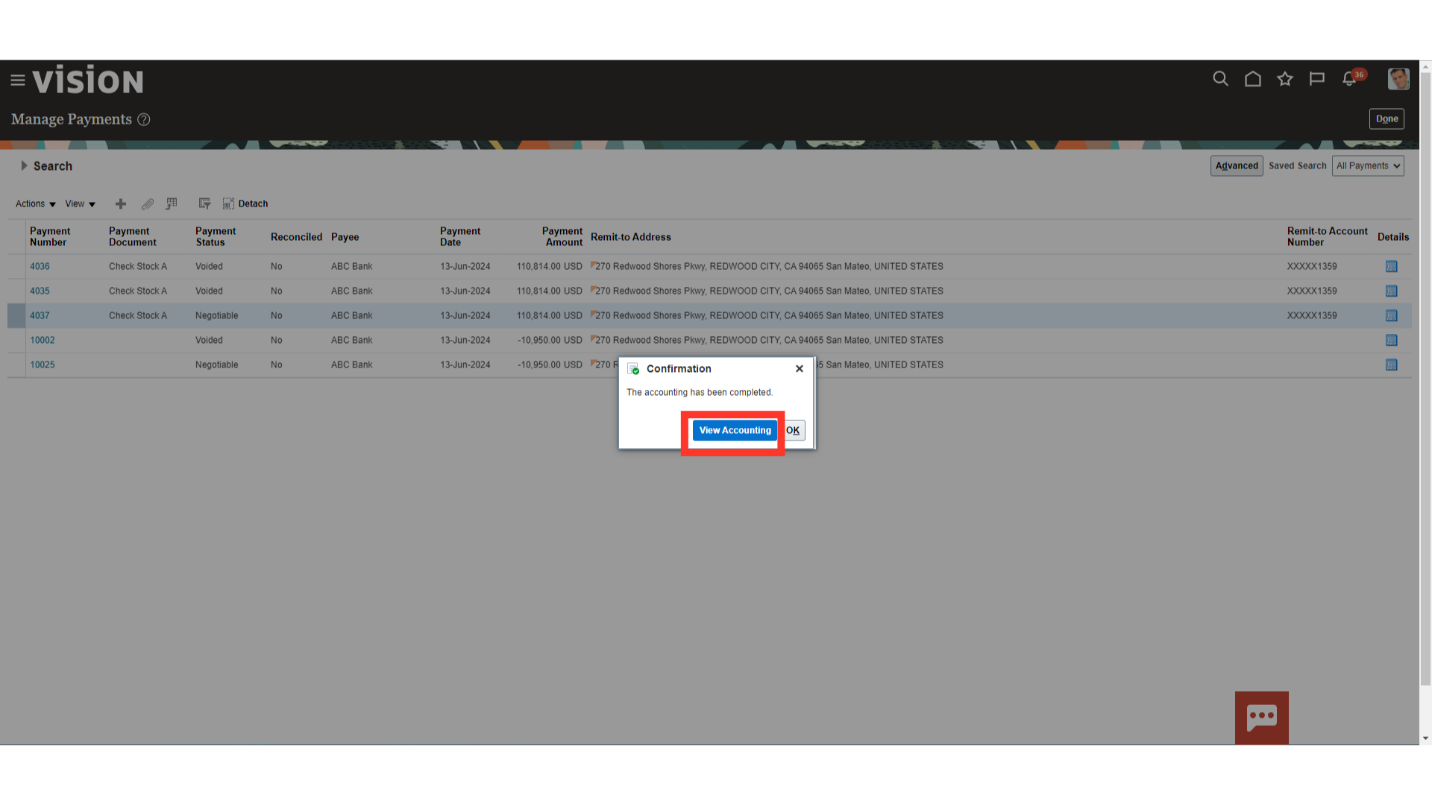
Click on the “View Accounting” button to see the details of the journal entry generated.
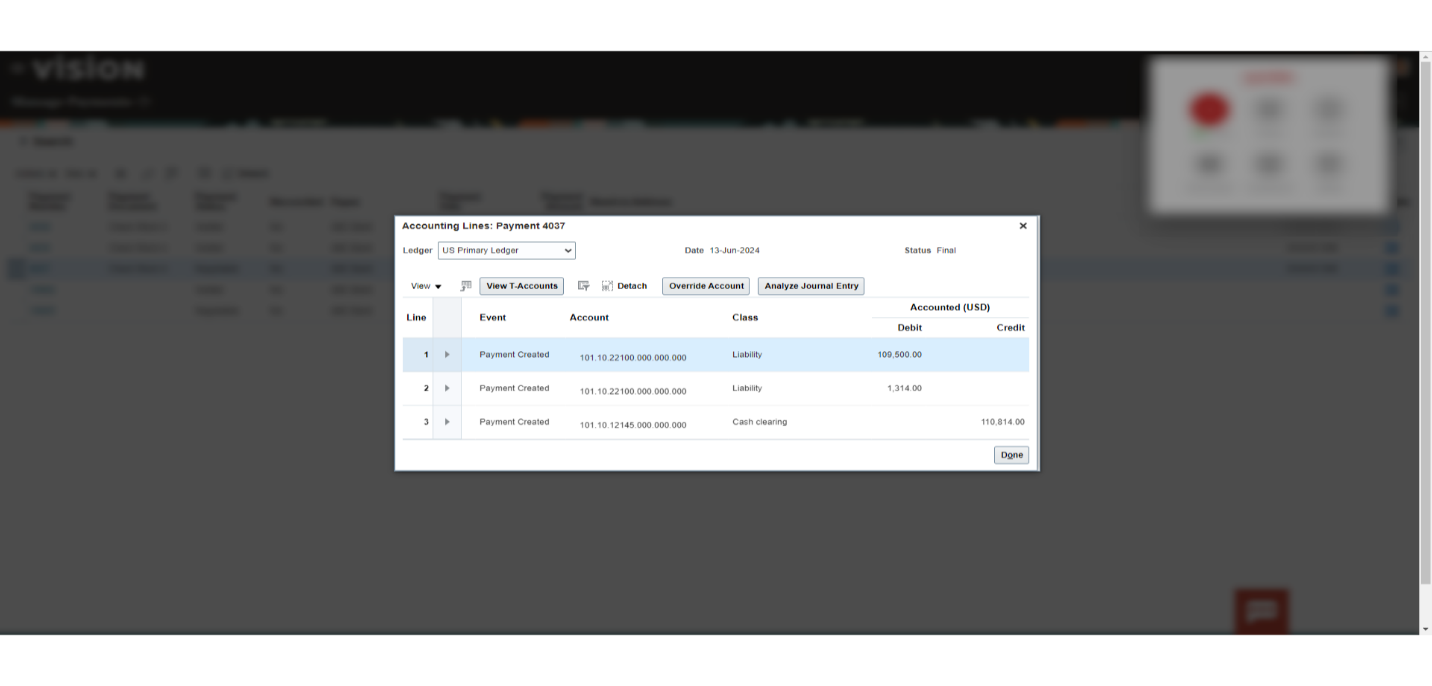
This is the journal entry generated for the payments made in which cash clearing is debited to record the receipt of payment from the supplier, and cash account would be debited by closing clearing after reconciliation with the bank statement. Click on the Done button to close this window.
This guide provided detailed explanation of closing the supplier’s negative balance by recording the payment received, and process of generating the accounting entry.