Create Customer Manually
In Oracle, customer details are divided into 3 sections which are the Party, Account, and Site sections.
A party is an entity that can enter into a business relationship with another party, such as buying and selling goods or offering services. A customer is a party, either an organization or a person, with whom you have a selling relationship.
A customer account represents the attributes of the business relationship that a party can enter into with another party. The customer account has information about the terms and conditions of doing business with the party.
While, a customer address is a site that’s used for billing, shipping, or other purposes that are part of the selling relationship
This comprehensive guide will explain the process of manually creating customers in Oracle Fusion from the billing workbench.
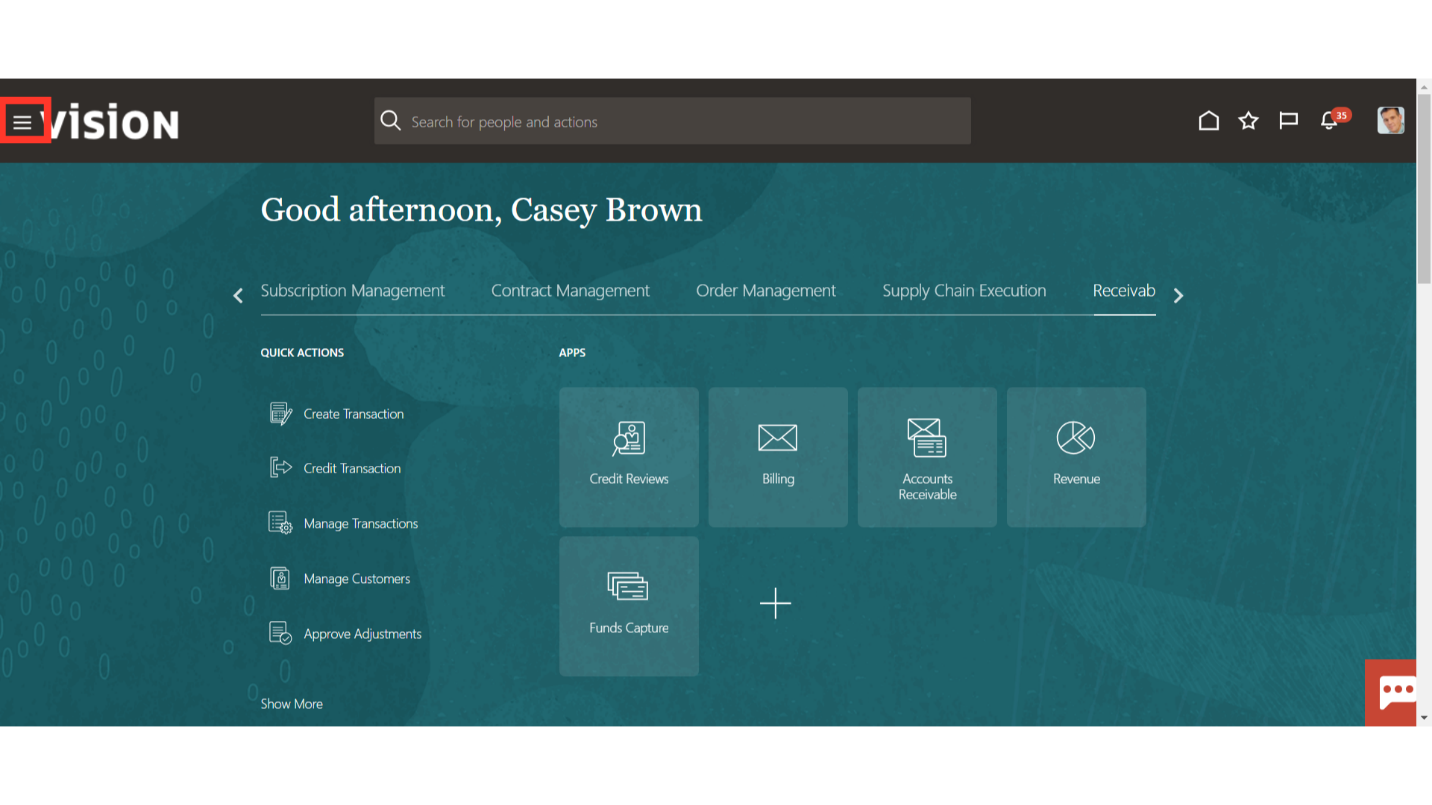
Click on the Navigator icon to access the Receivables menu.
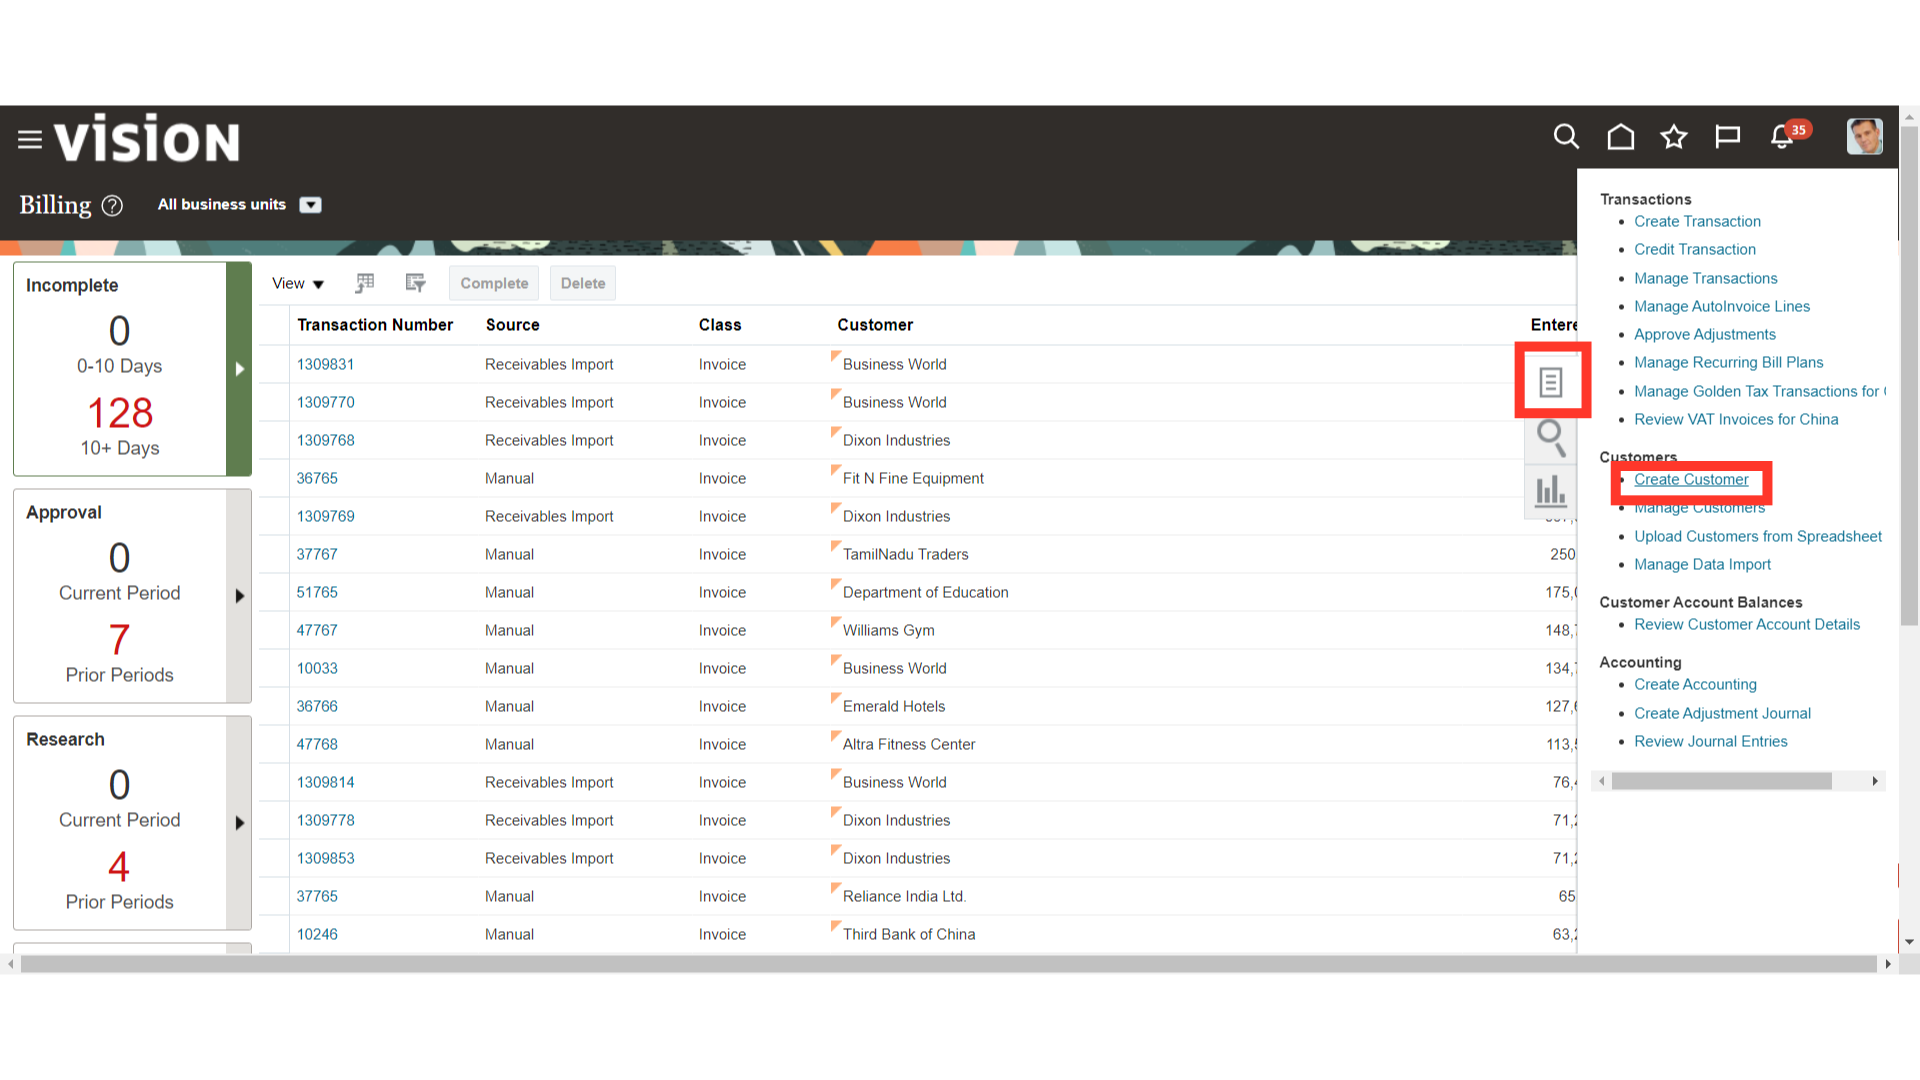
Access the Billing work area by selecting Billing under Receivables from the navigator. Alternatively, on the Home page, you may select the Receivables menu and under that select the Billing submenu.

Click on the “Create Customer” hyperlink under customers from the task list.
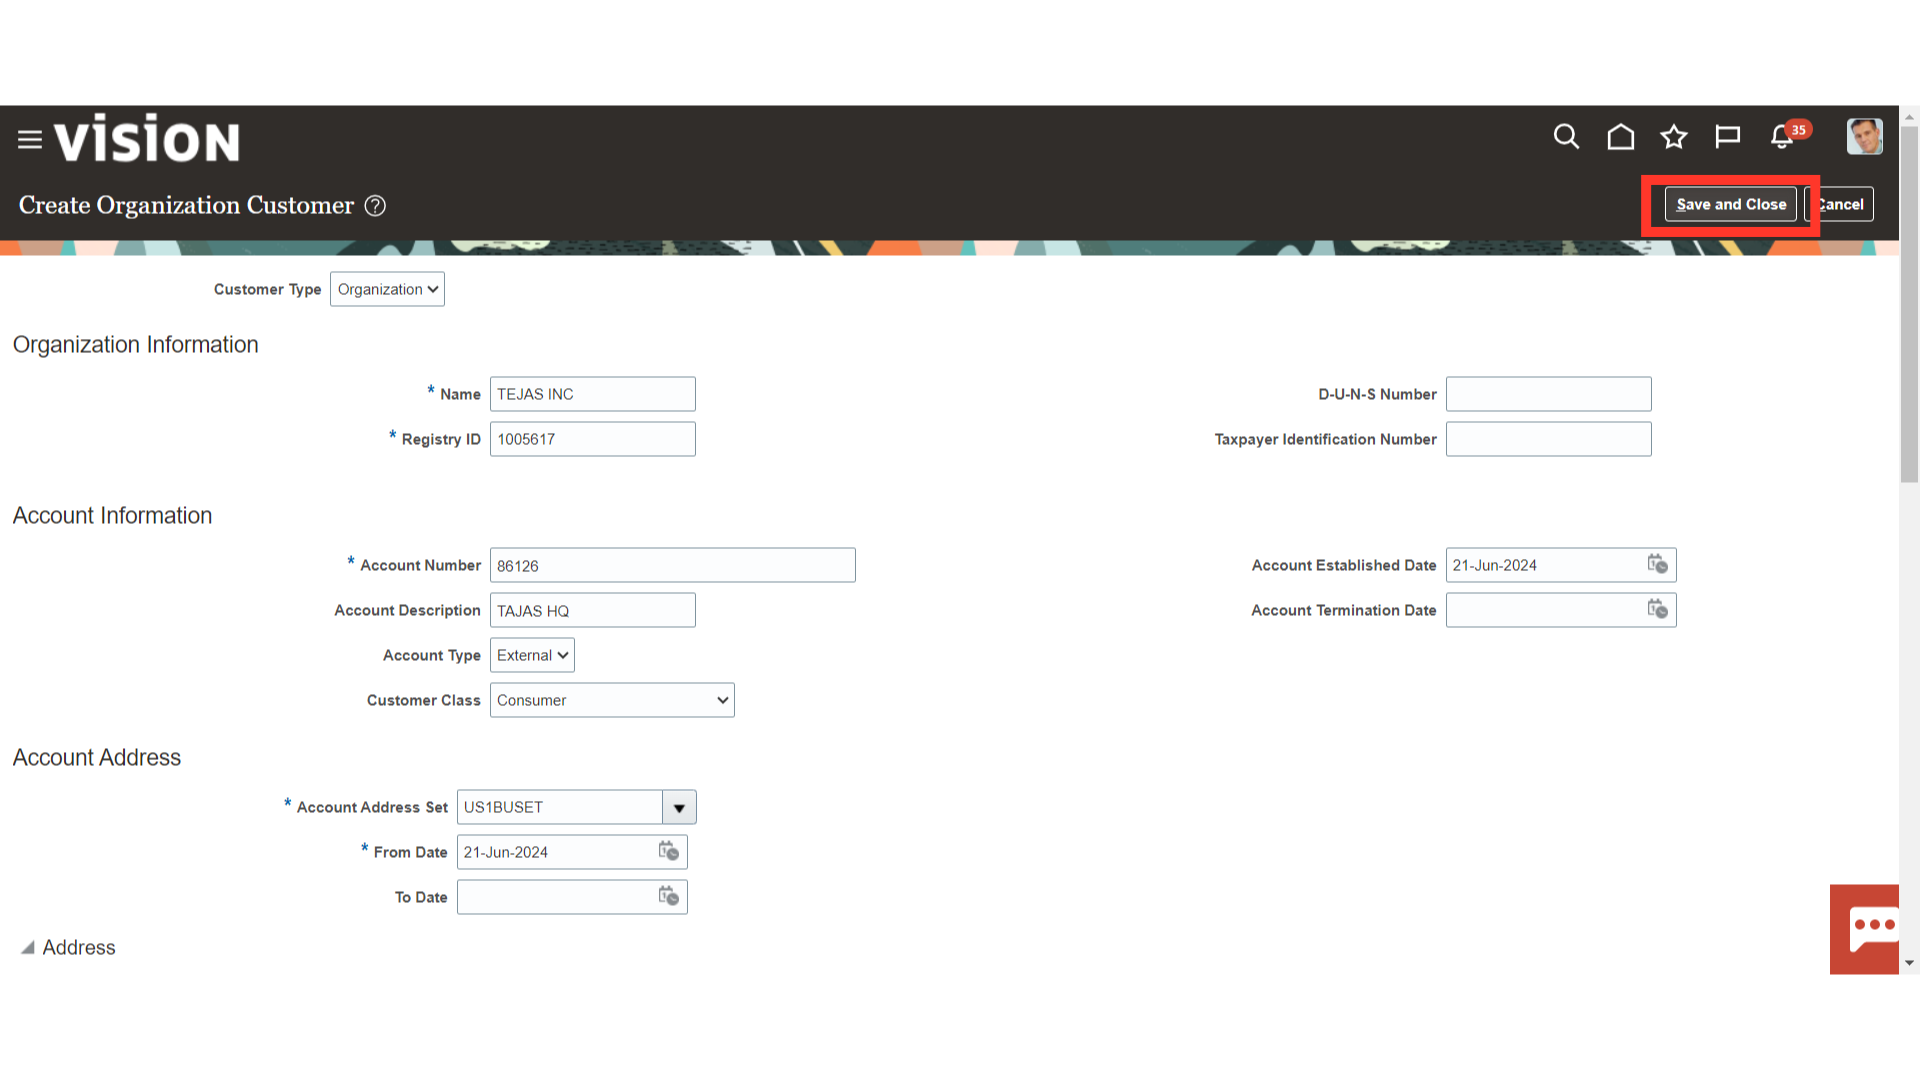
Select the Customer type from the drop-down as Organization or Person as appropriate. Please be aware that fields with a single asterisk (*) are required.
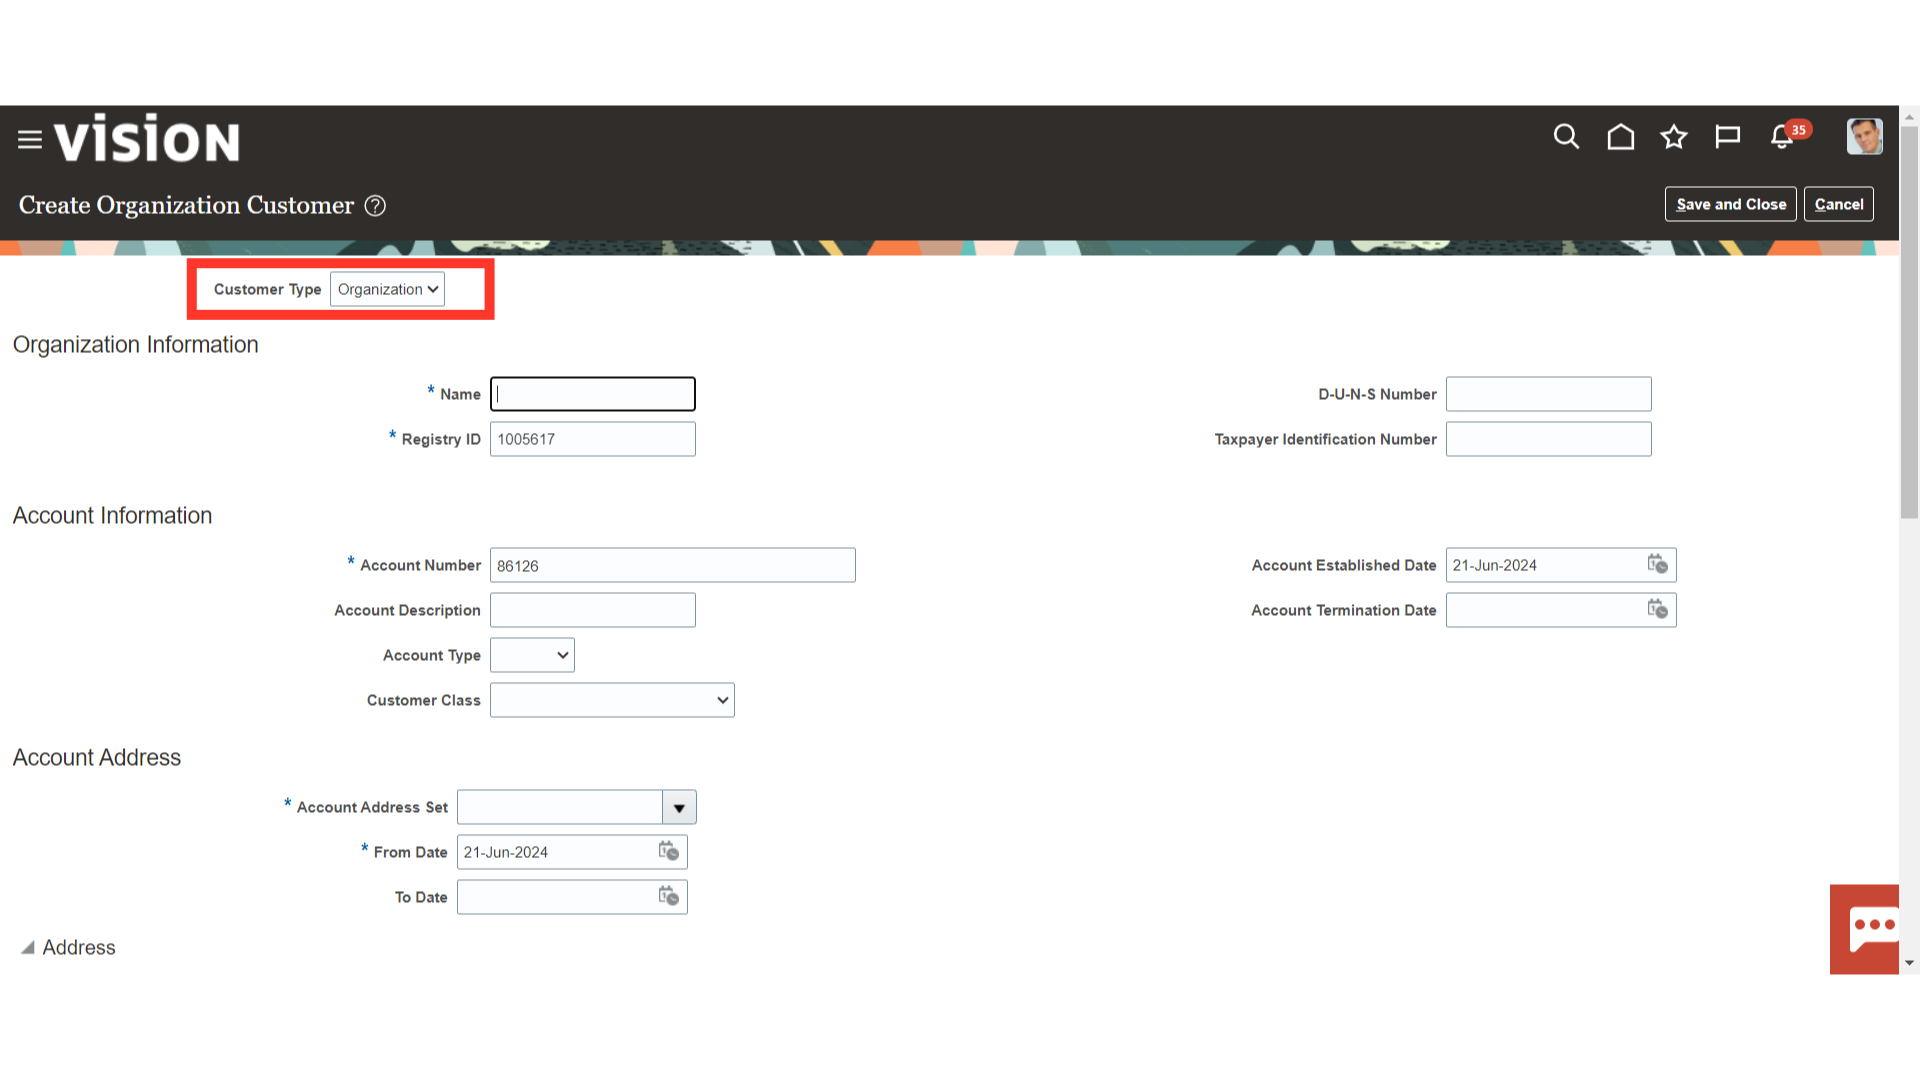
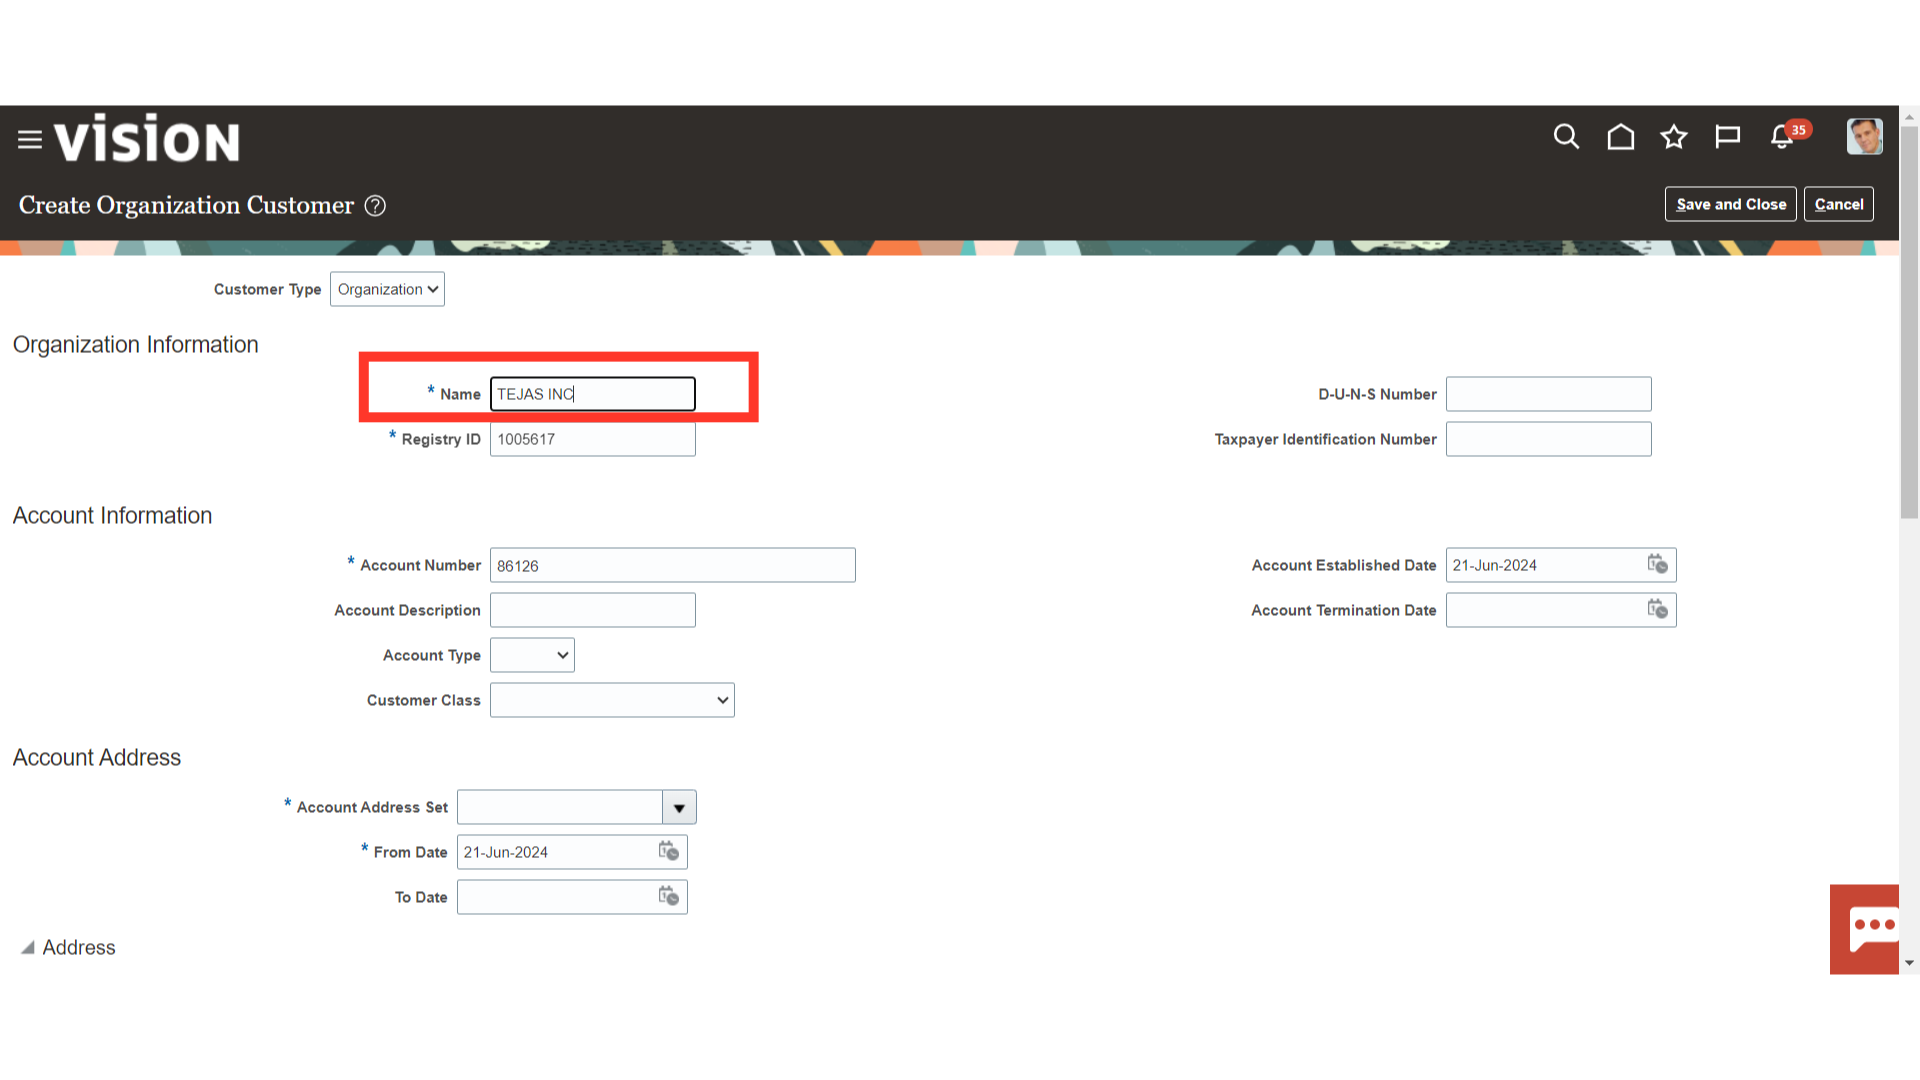
Enter the legal name of the Customer which will be displayed at the time of billing in the Name field.
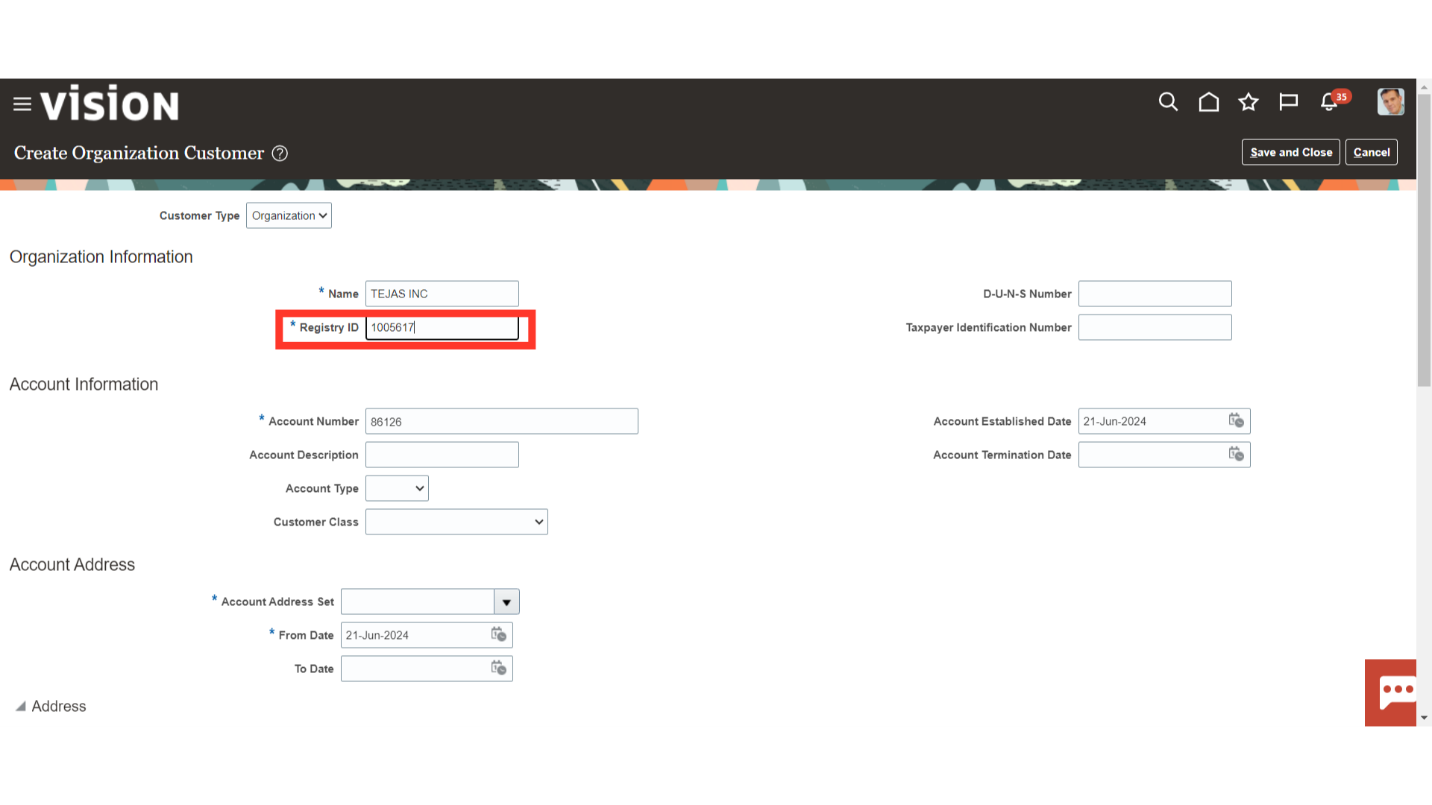
In the Registry ID field, the customer number is defaulted automatically in sequence, if required you can enter it manually depending upon the customer number numbering option defined in the setup. However, duplicate numbering is not allowed, and the system will give an error message.
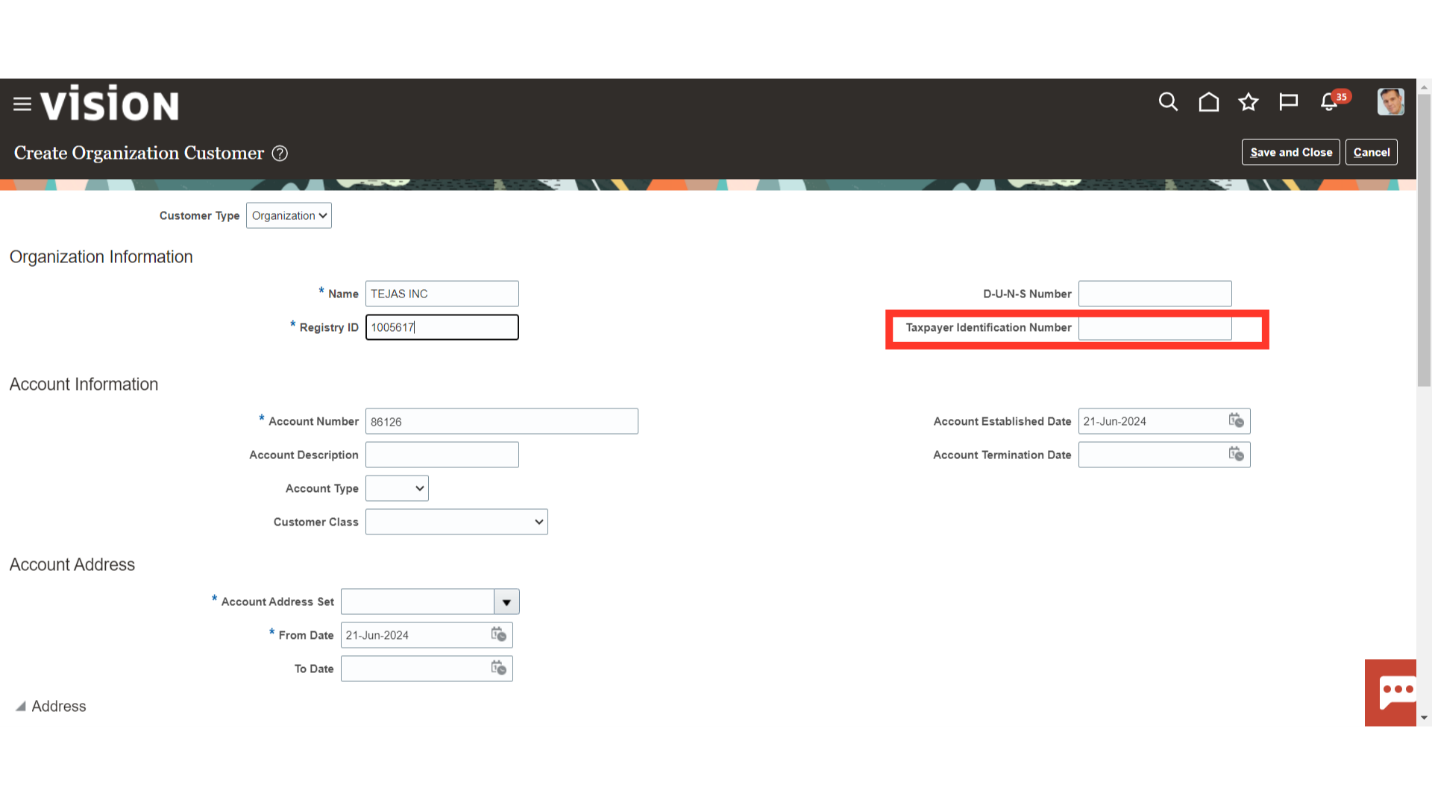
Enter the customer’s tax identification number in the highlighted field.
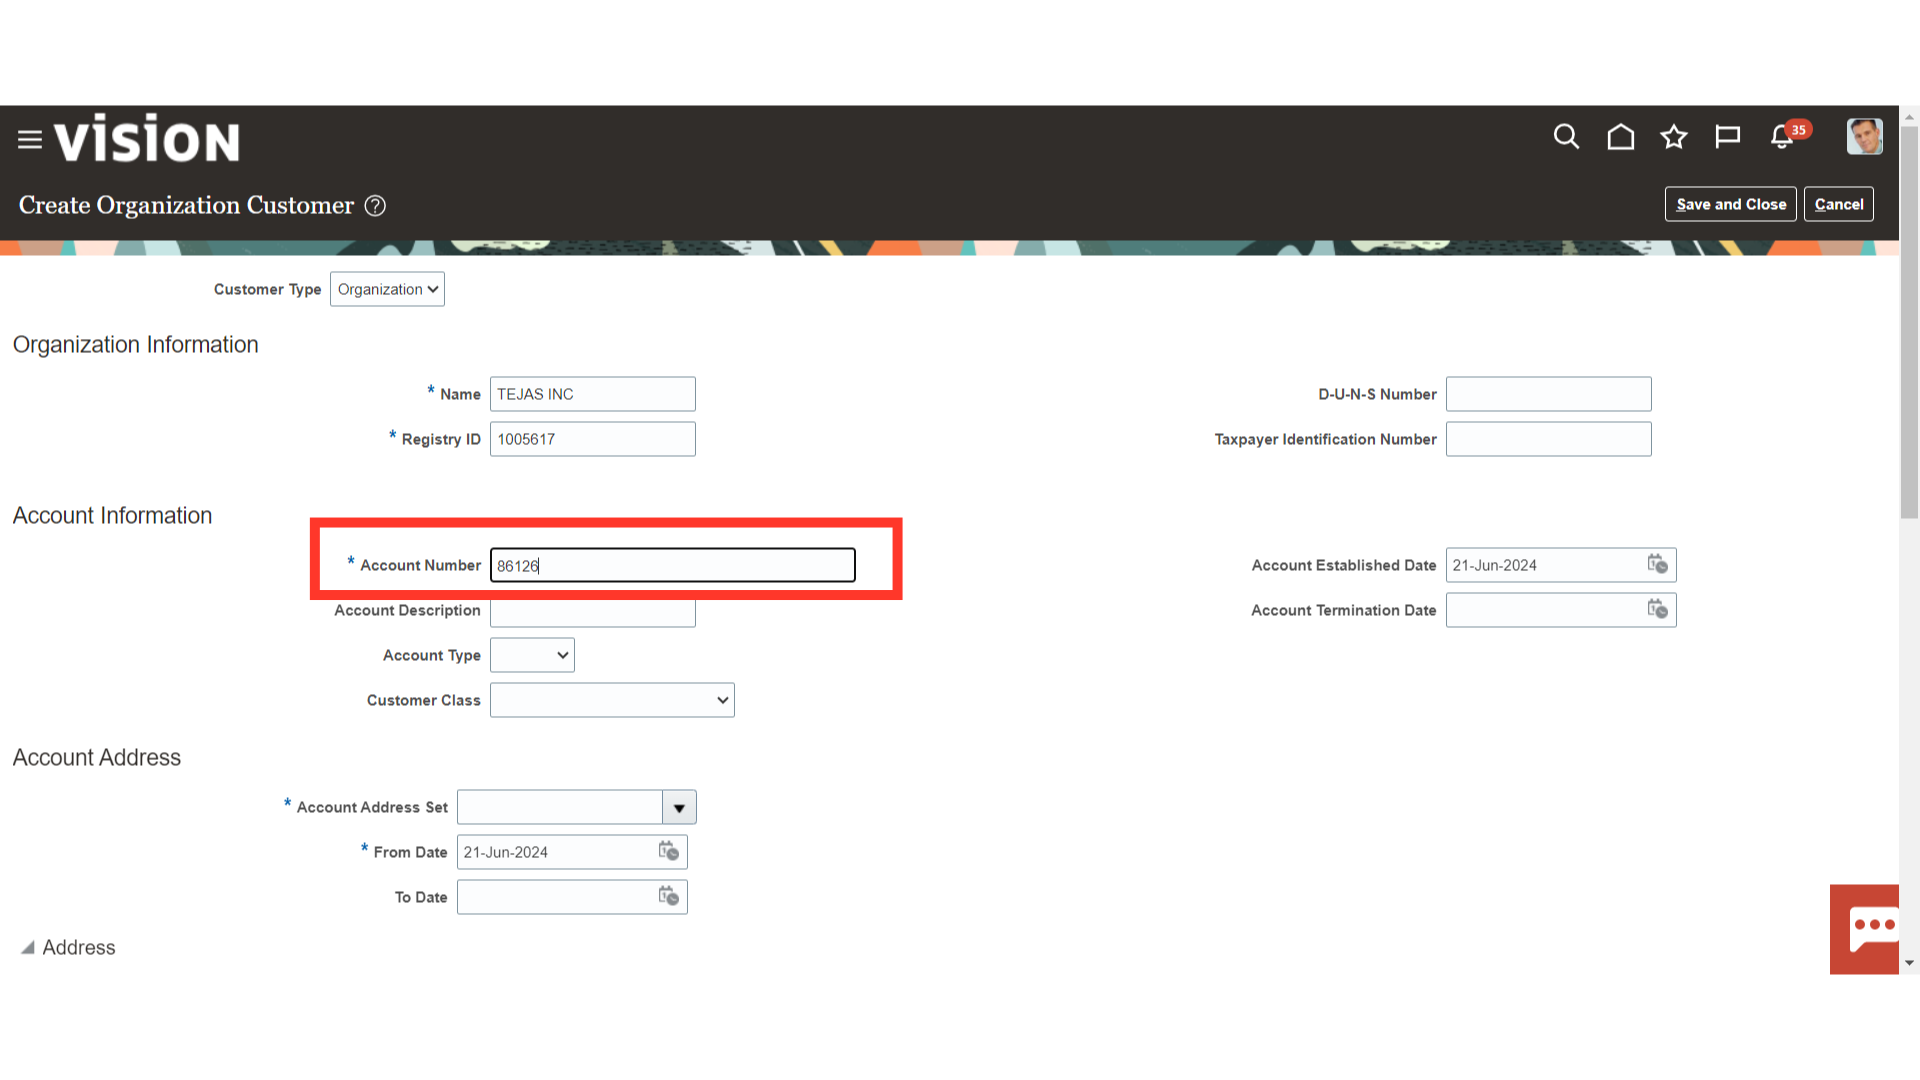
In the Account number field as well the number is defaulted automatically, if required you can enter it manually depending upon the customer number numbering option defined in the setup. However, duplicate numbering is not allowed, and the system will give an error message.
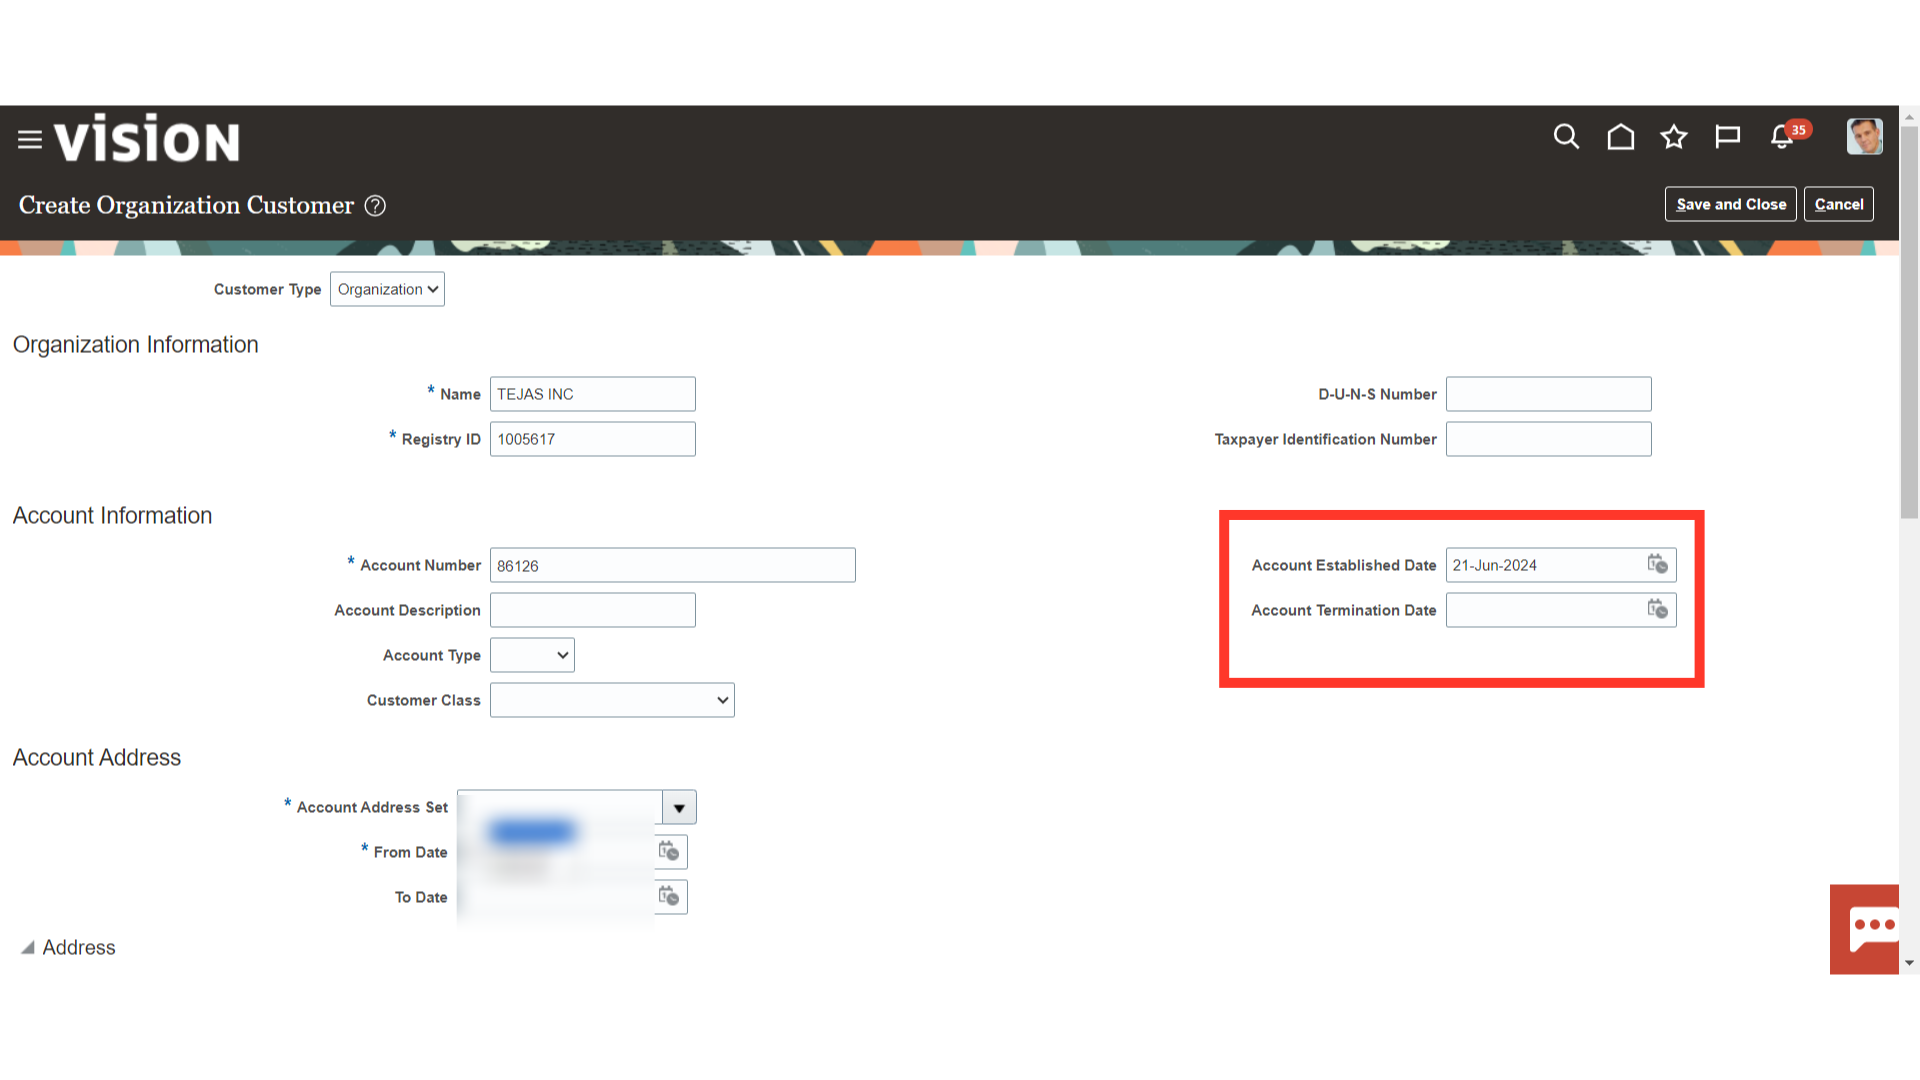
In the Account Established Date field, enter the date that transactions can be recorded in the customer’s name. If there is going to be no further business with the customer after a specific amount of time, then please enter that date in the Account Termination Date field.
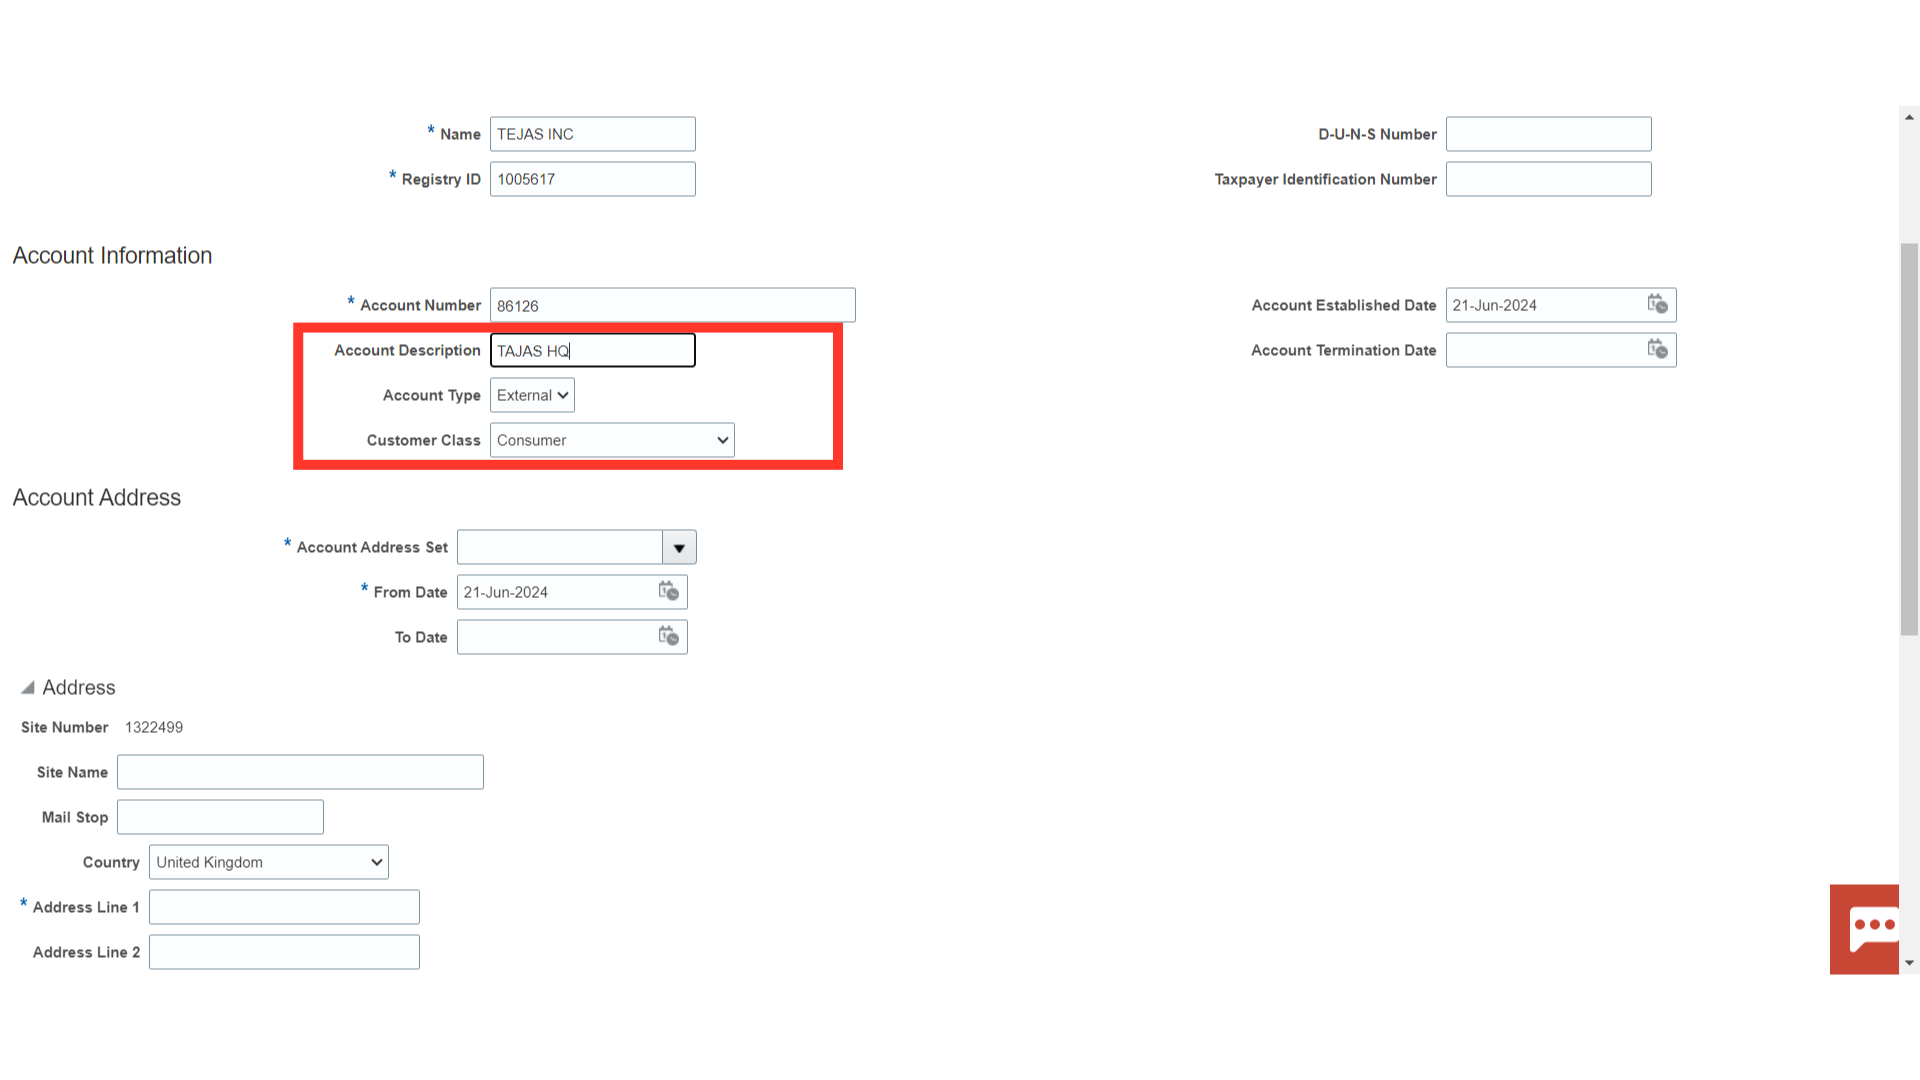
In the Account description field, describe the customer’s account. To track customer accounts inside your organization, choose the Internal Account type; to track customer accounts outside your organization, choose the External Account type. Select the appropriate customer classification in the Customer class based on the relevant business scenario.
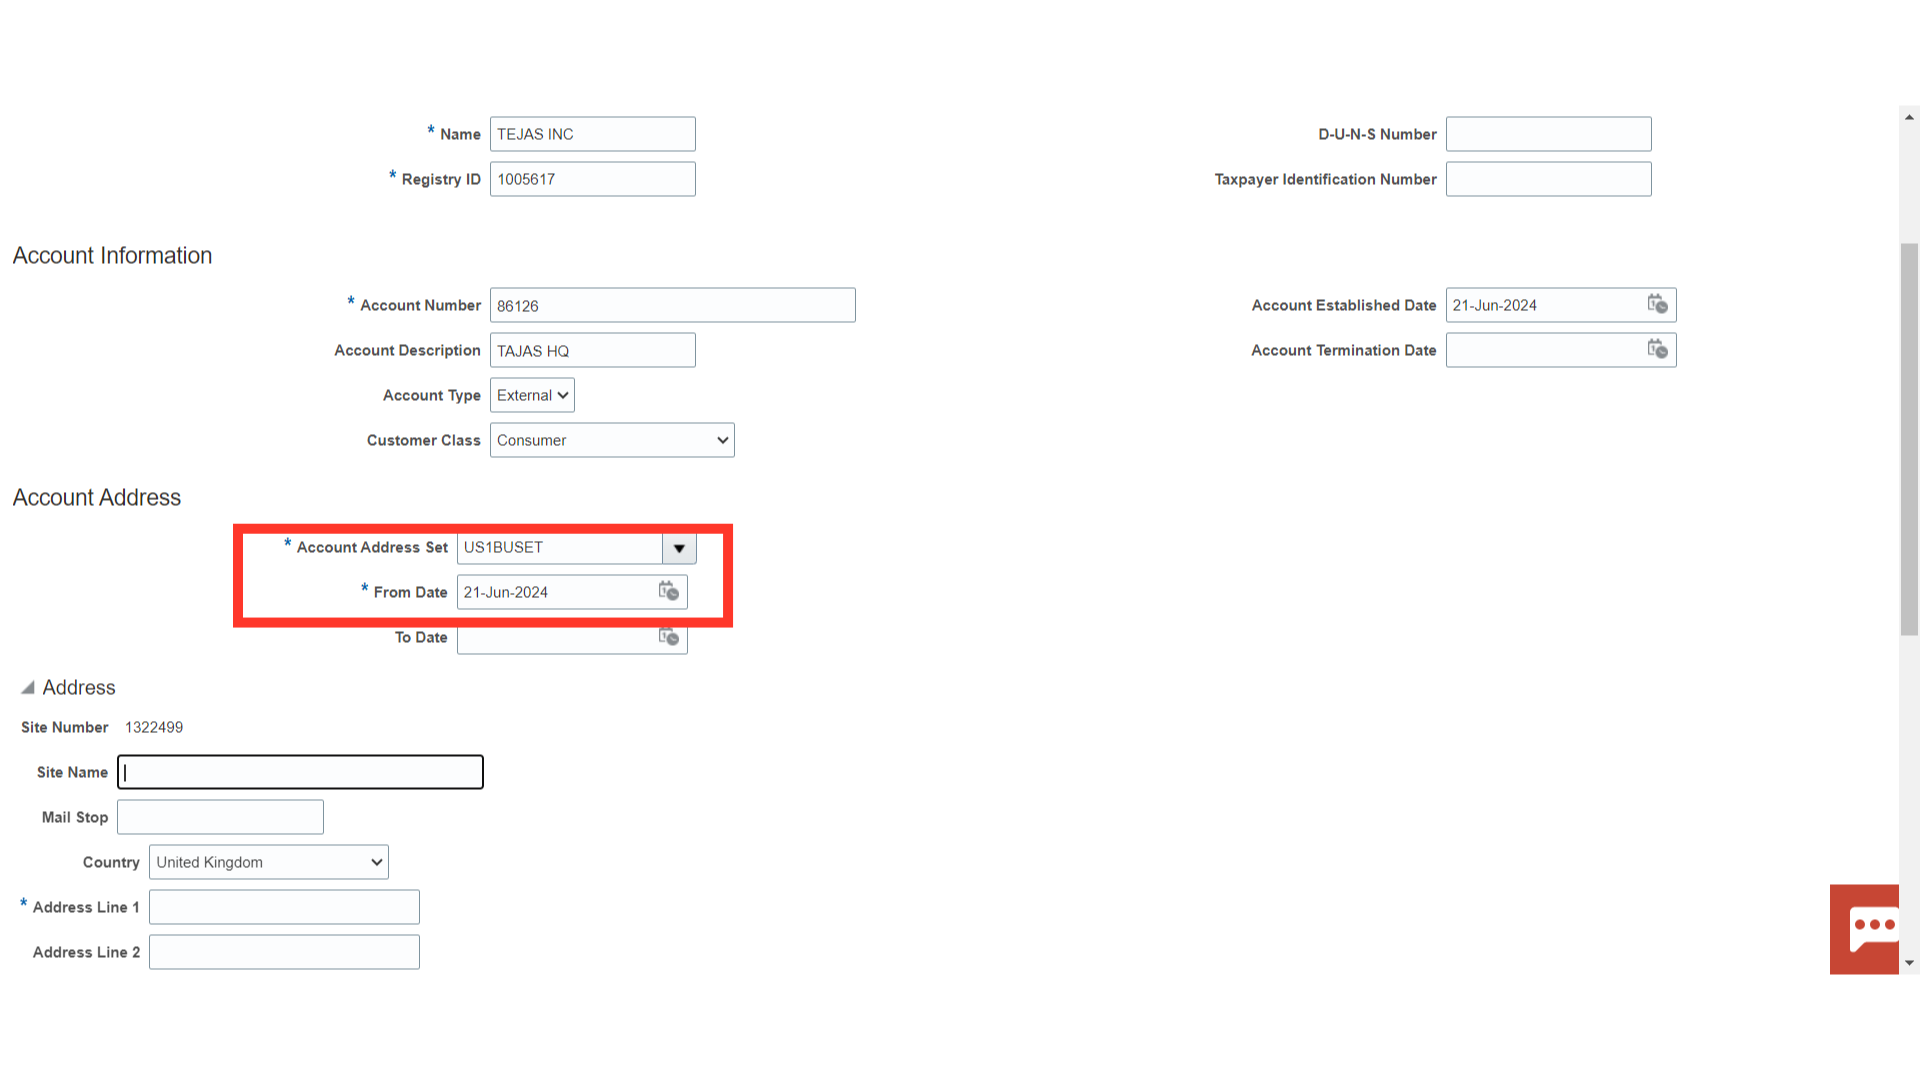
Select the relevant Account Address set from the drop down which is assigned to the business unit. Enter the date from which transactions can be entered which cannot be earlier than the Account-established date in the From date field.
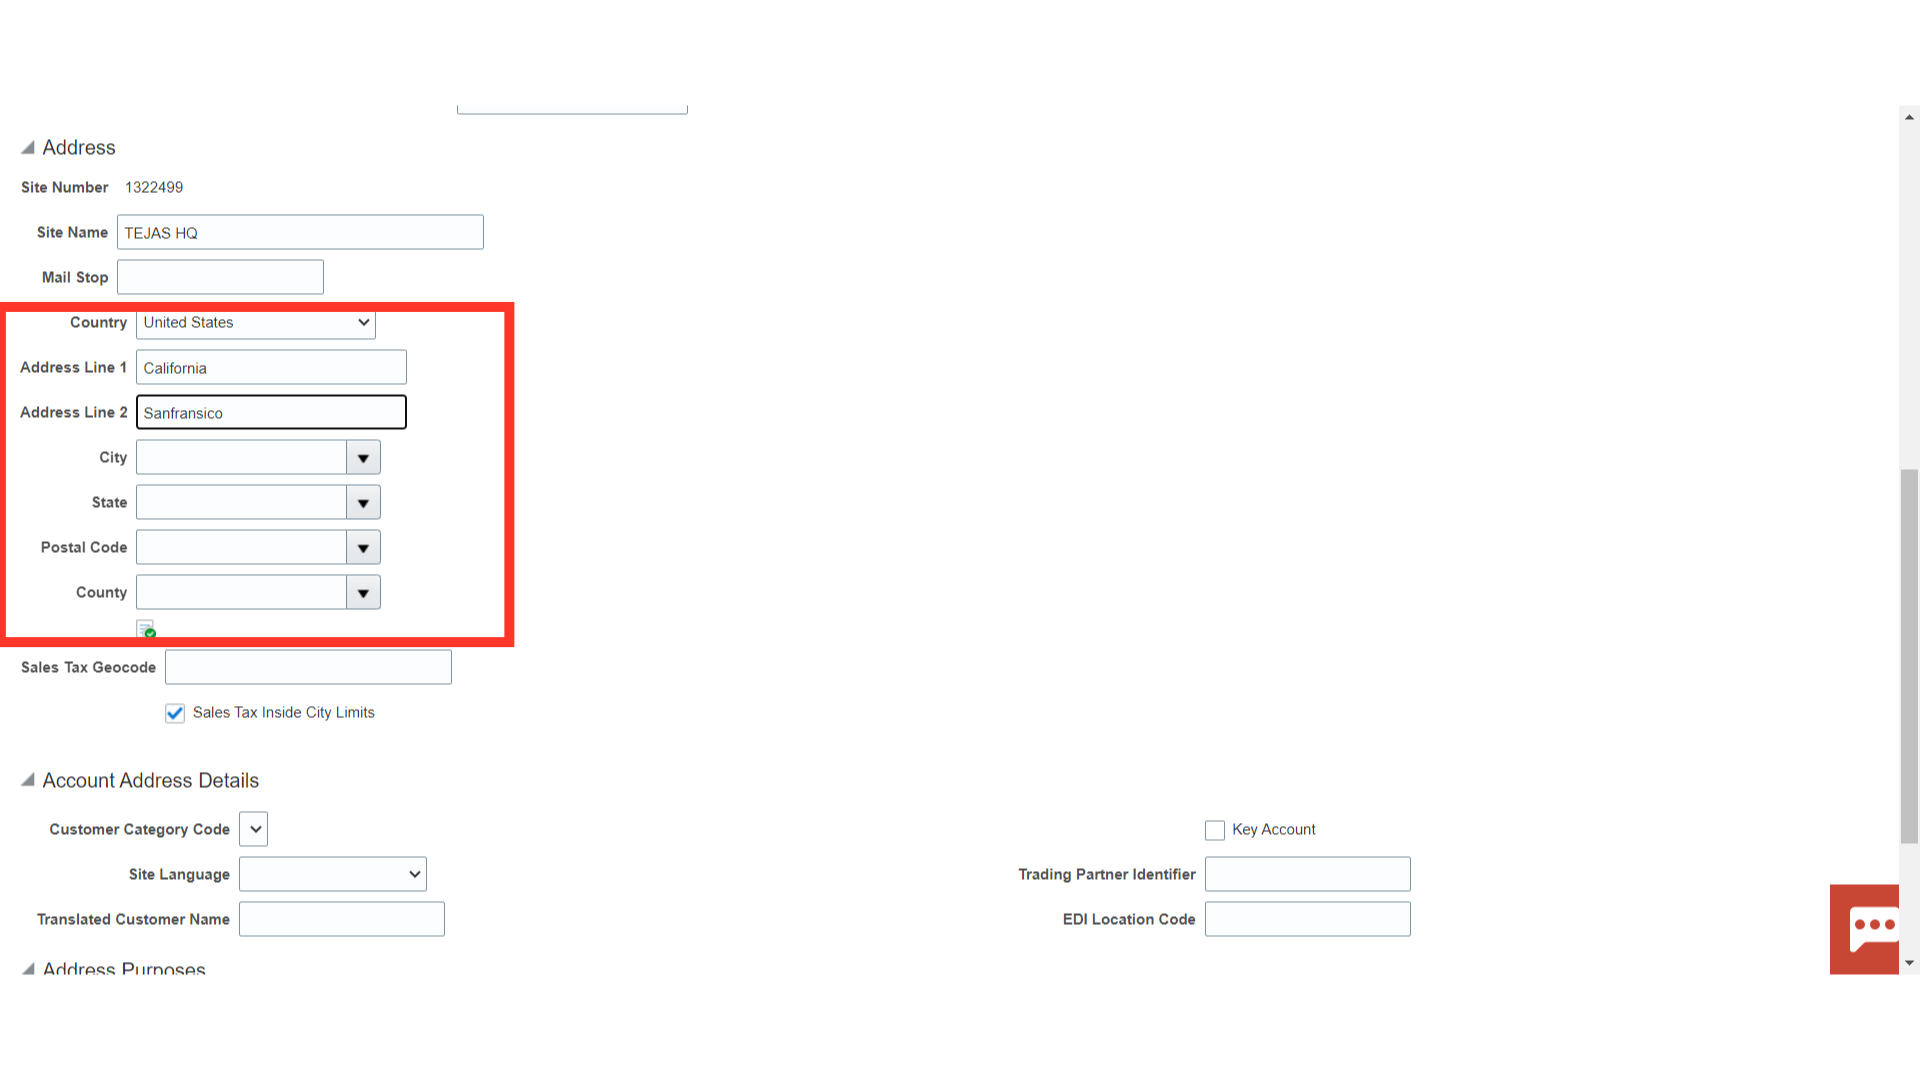
Scroll down to the enter address and site details of the customer
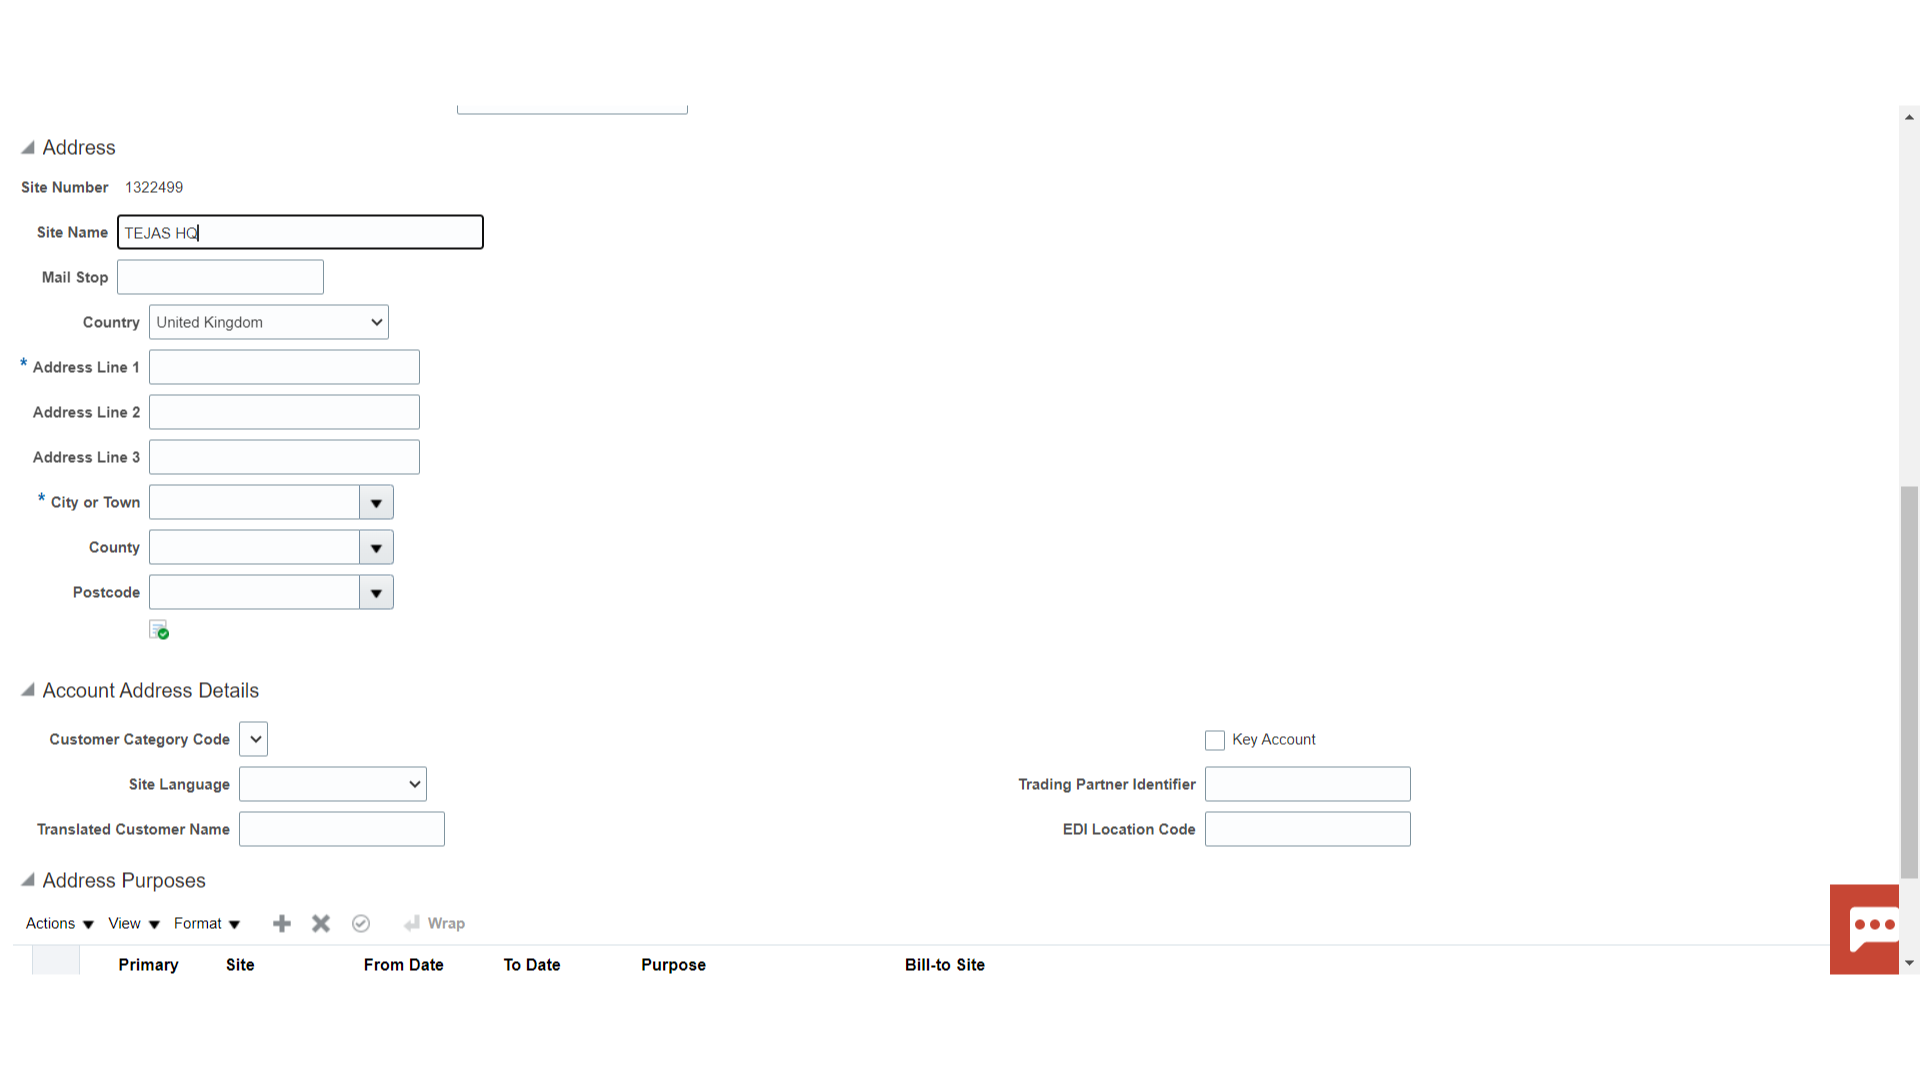
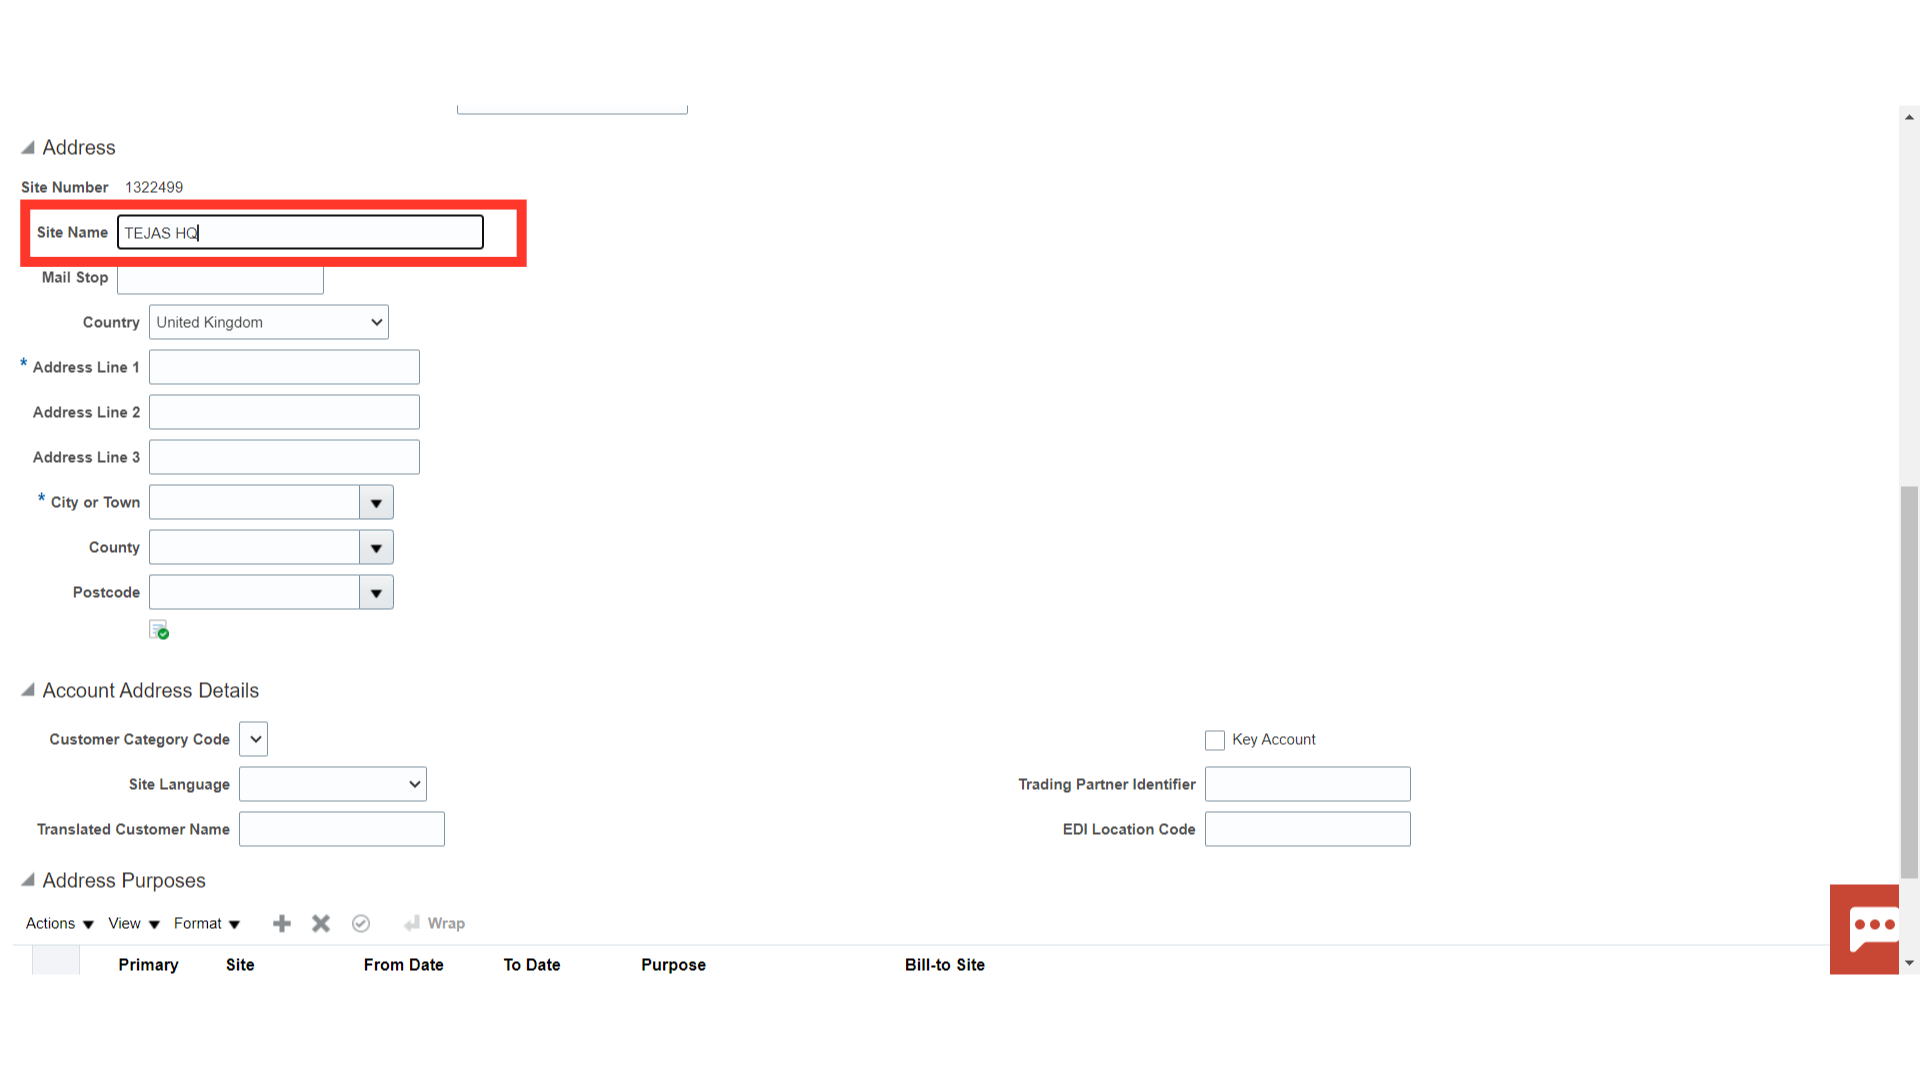
Enter the relevant Site name of the customer in the Site name field.
Enter the address details of the customer site in the highlighted sections such as country, Address line 1, Address line 2, City, State, Postal Code, and Country.
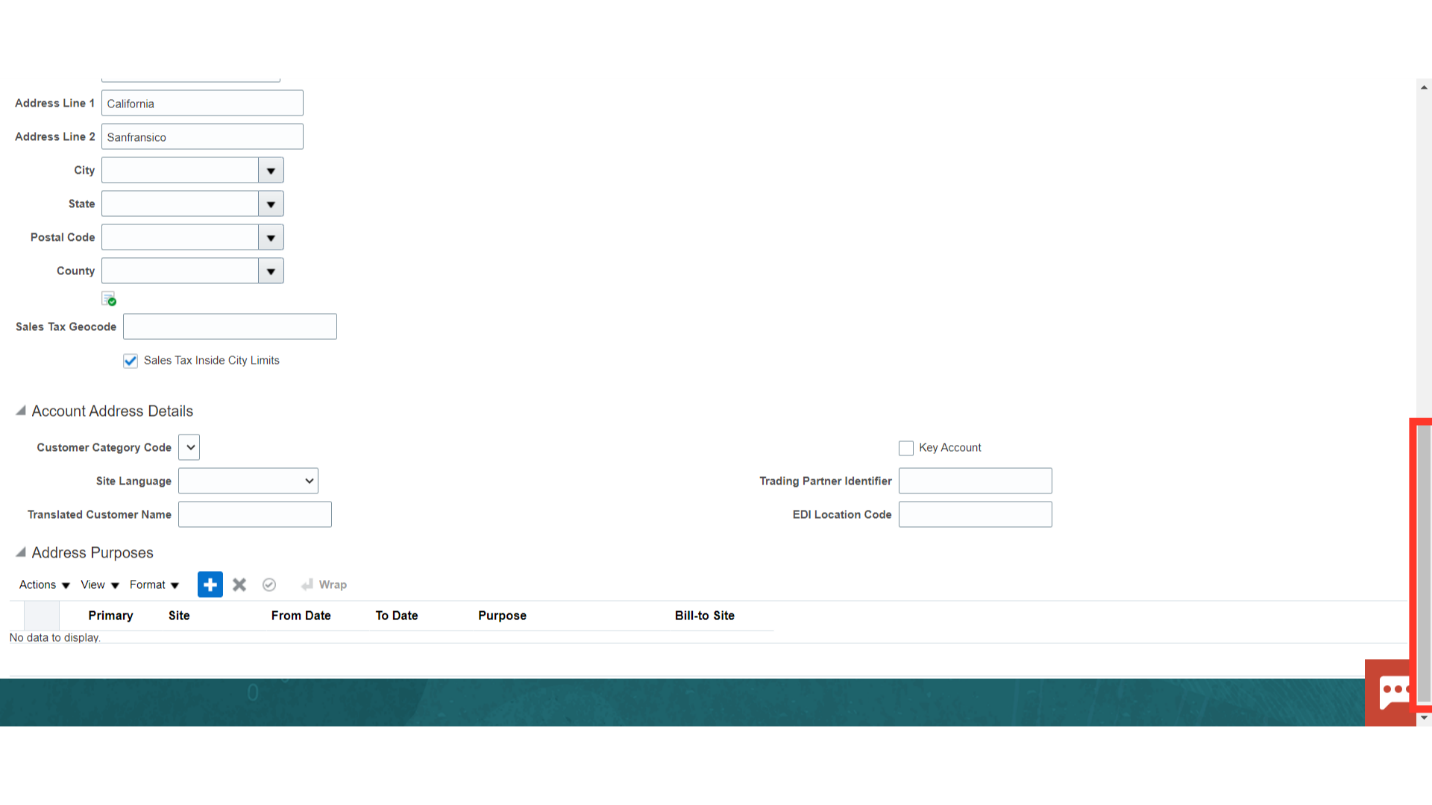
Further, scroll down to enter the details of Address purposes.
After clicking on the Plus icon, add the Bill to address the purpose and enter the final starting date from which transactions can be entered in the system.
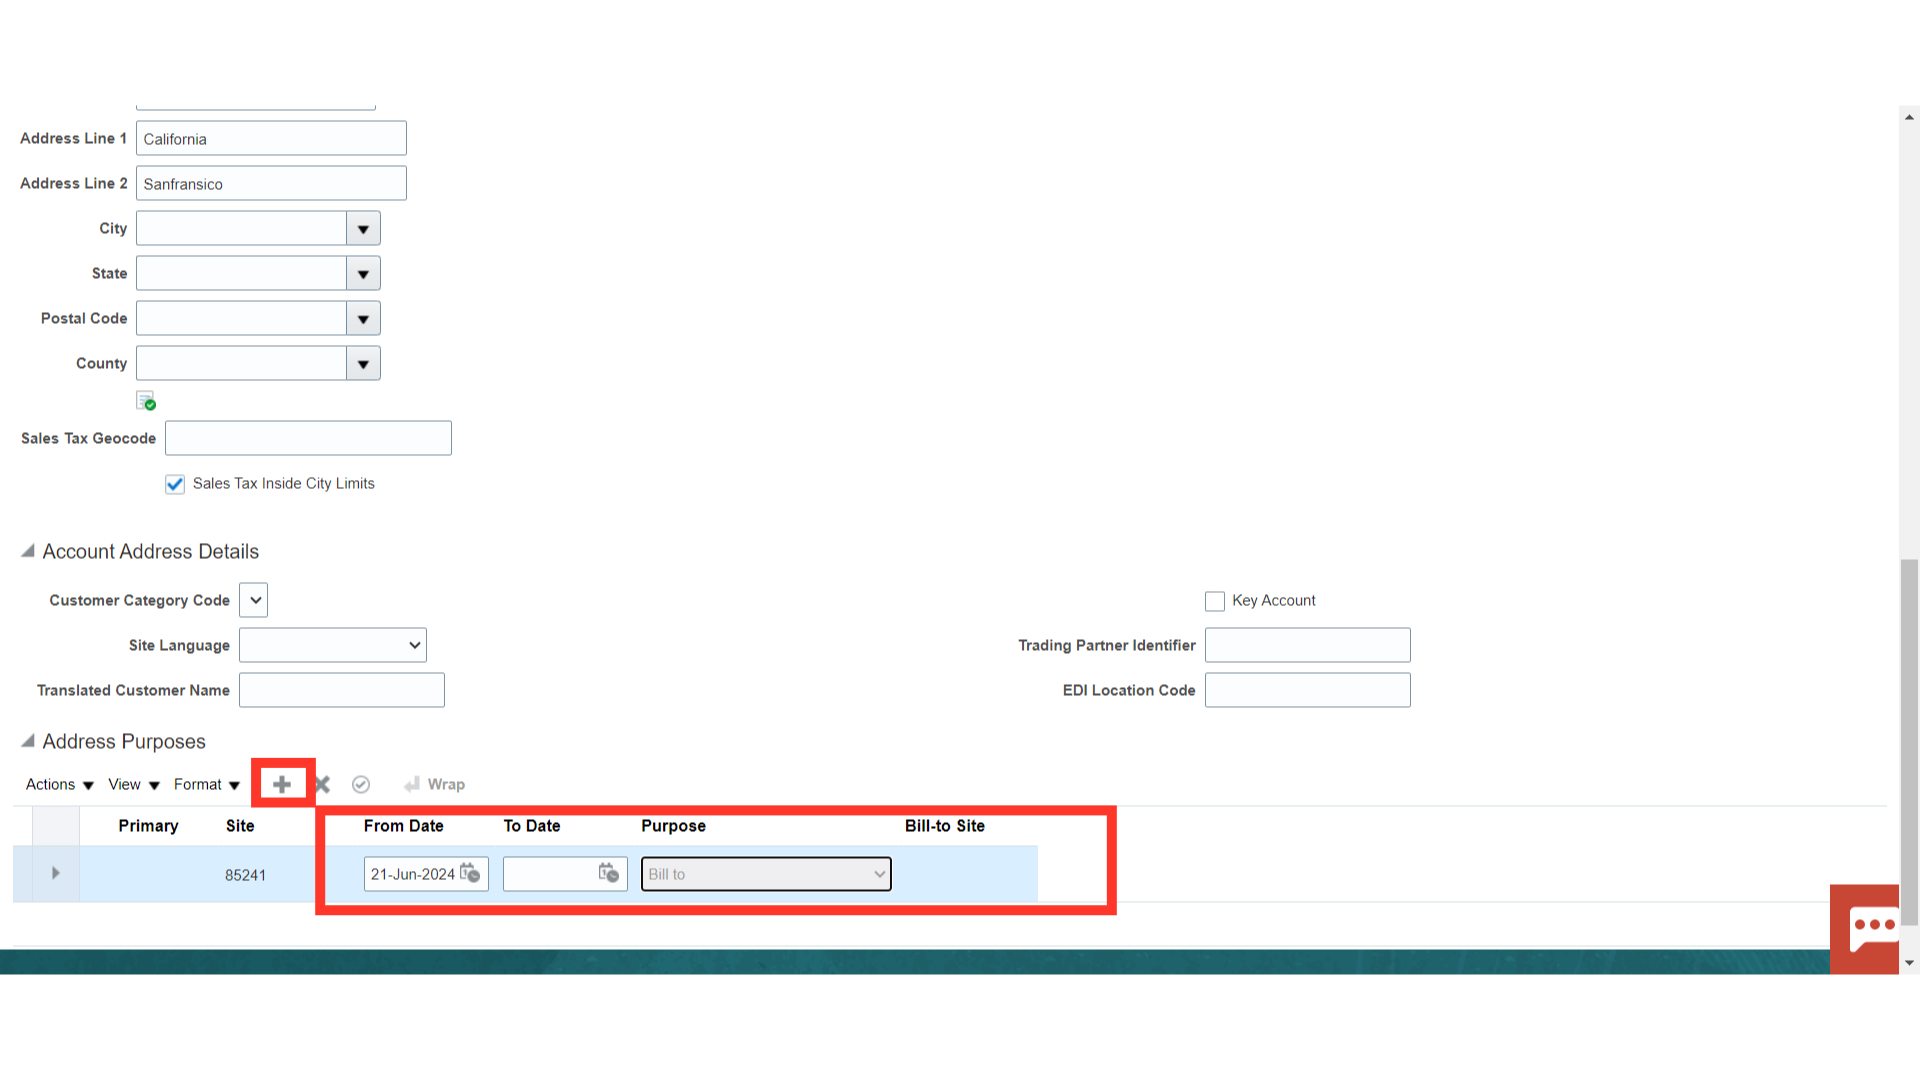
Again, click on Plus icon, to add the Ship to site purpose details.

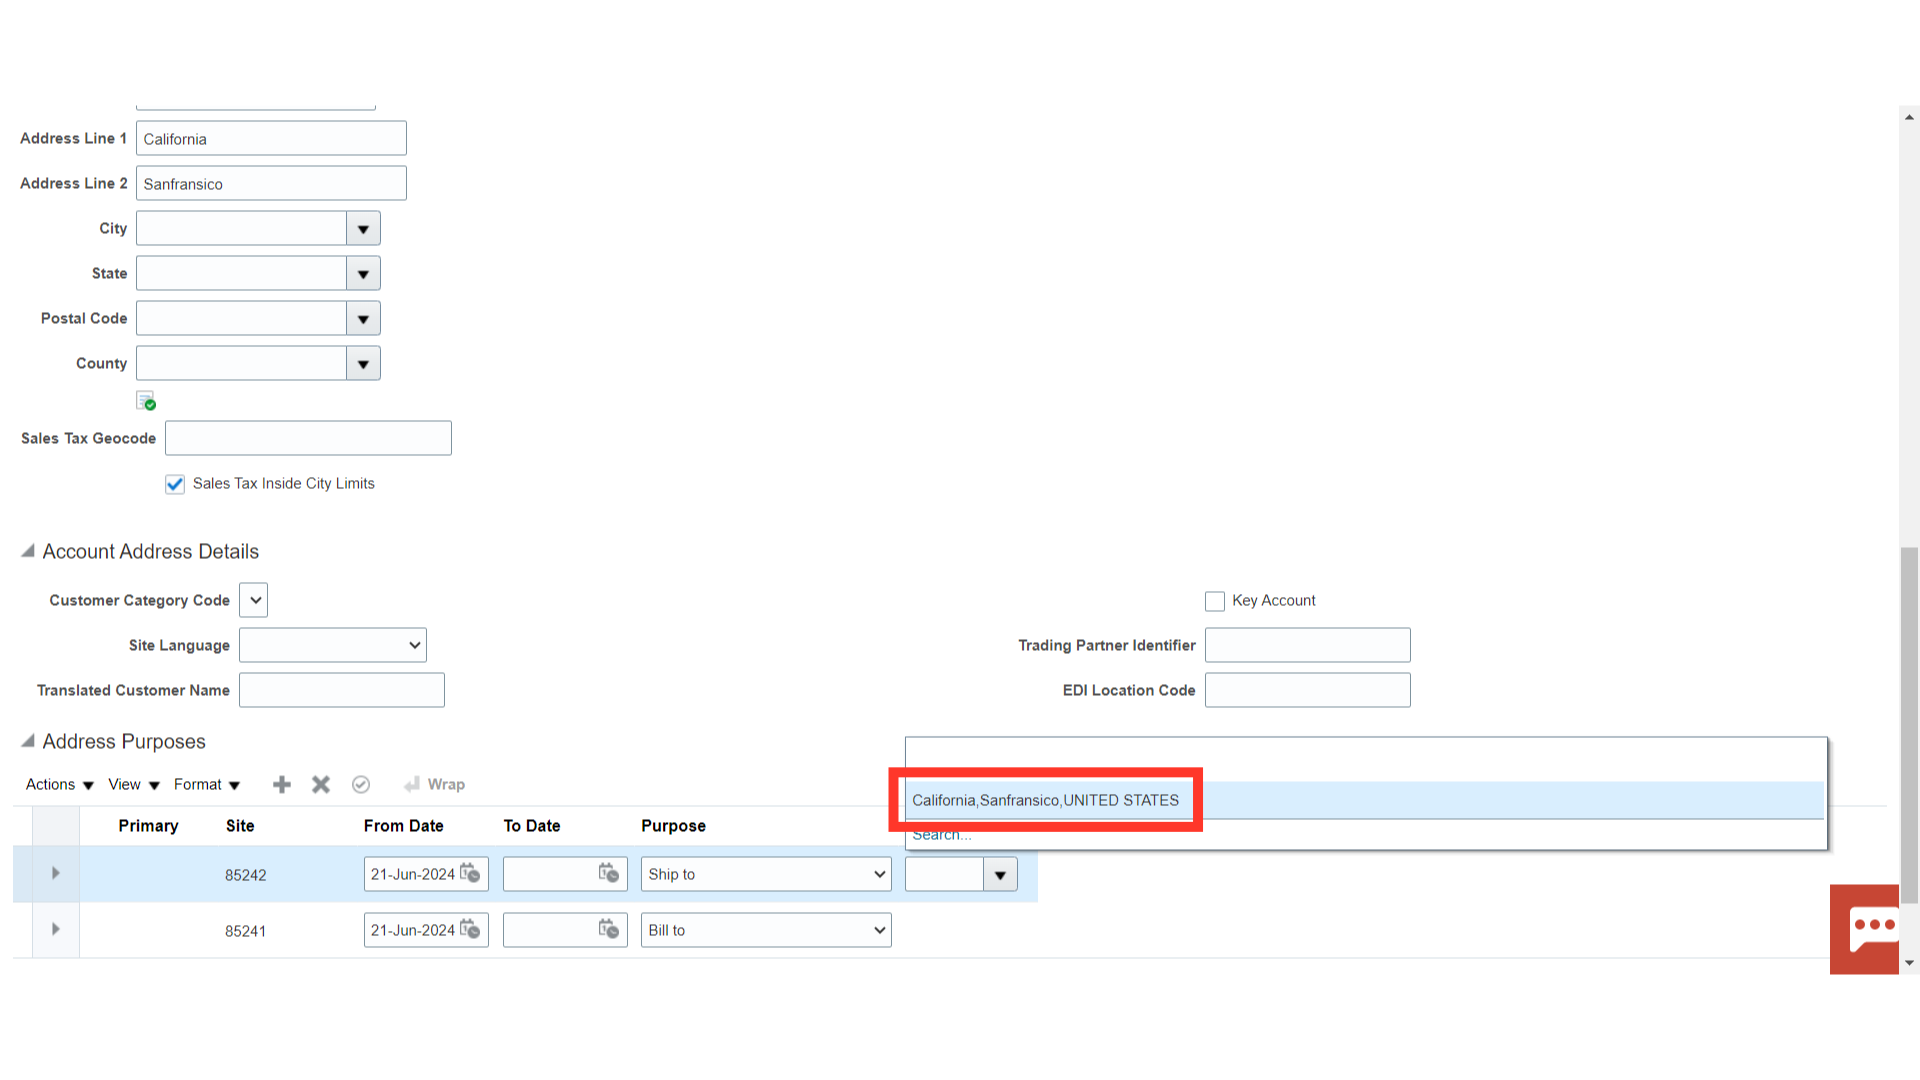
Choose the Bill to site address from the drop-down menu after choosing the Ship to purpose. Make sure that at least one site has Bill to or Bill to and Ship to selected as the purpose.
To save the customer details, click the Save and Close button after you have double-checked all the entered information.
The Manage Customer page appears with the newly created customer details in Oracle Fusion after the customer details have been saved. You can enter additional customer information on this page, including contact information and account combinations. To update the customer details at a later time, click the Done button.

This guide outlined the entire process for manually creating customers in Oracle Fusion, from explaining the different parts of the customer to entering the required information and providing a explanation for each field.