Miscellaneous Receipt Processing
Enter Miscellaneous Receipts to record cash received that isn’t related to receivables. This includes non-invoiced items, such as investments, interest, refunds, and stock sales. The process of entering miscellaneous receipts into accounts receivable and creating an accounting entry for them will be thoroughly explained in this guide, step-by-step.
Click on the Navigator icon to access the Receivables menu.
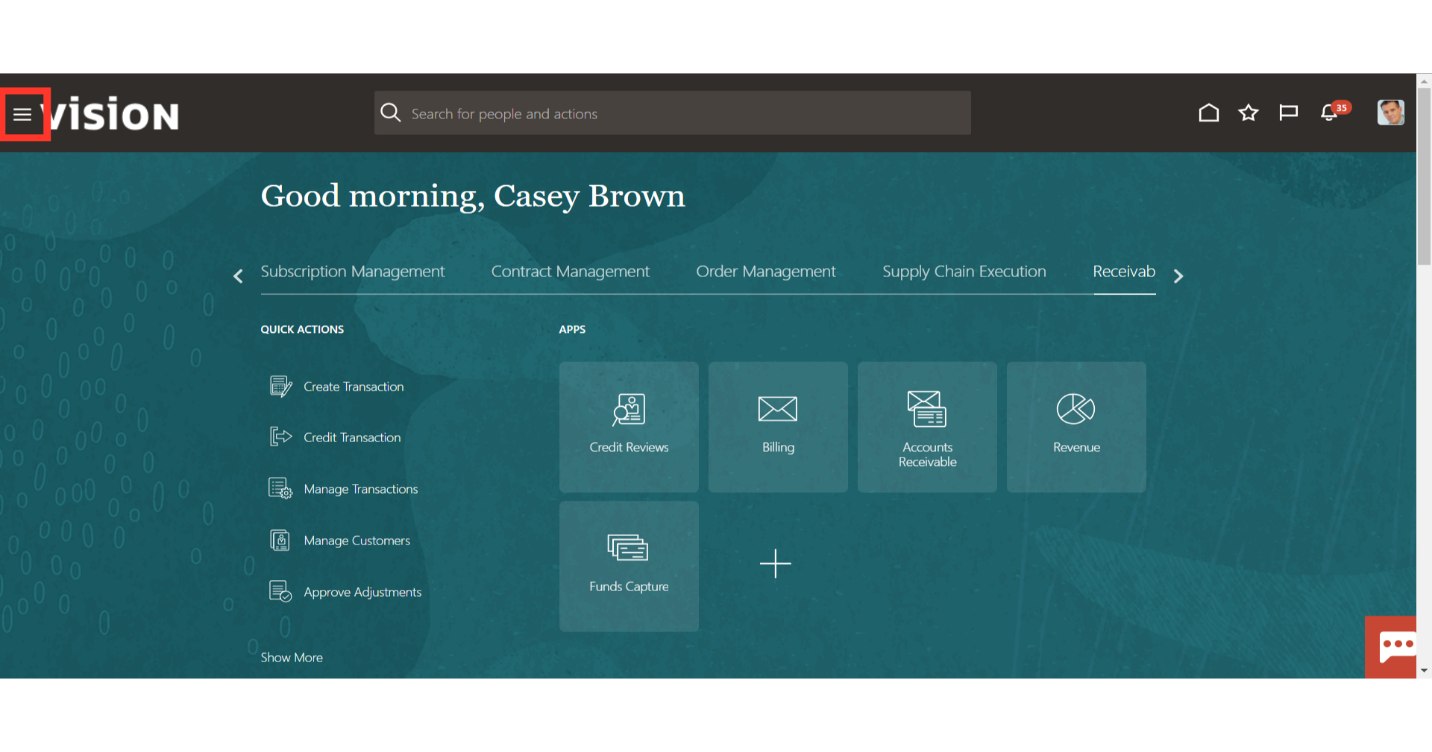
Access the Accounts Receivable work area by selecting Accounts Receivables under Receivables from the navigator. Alternatively, on the Home page, you may select the Receivables menu and under that select the Accounts Receivable submenu.

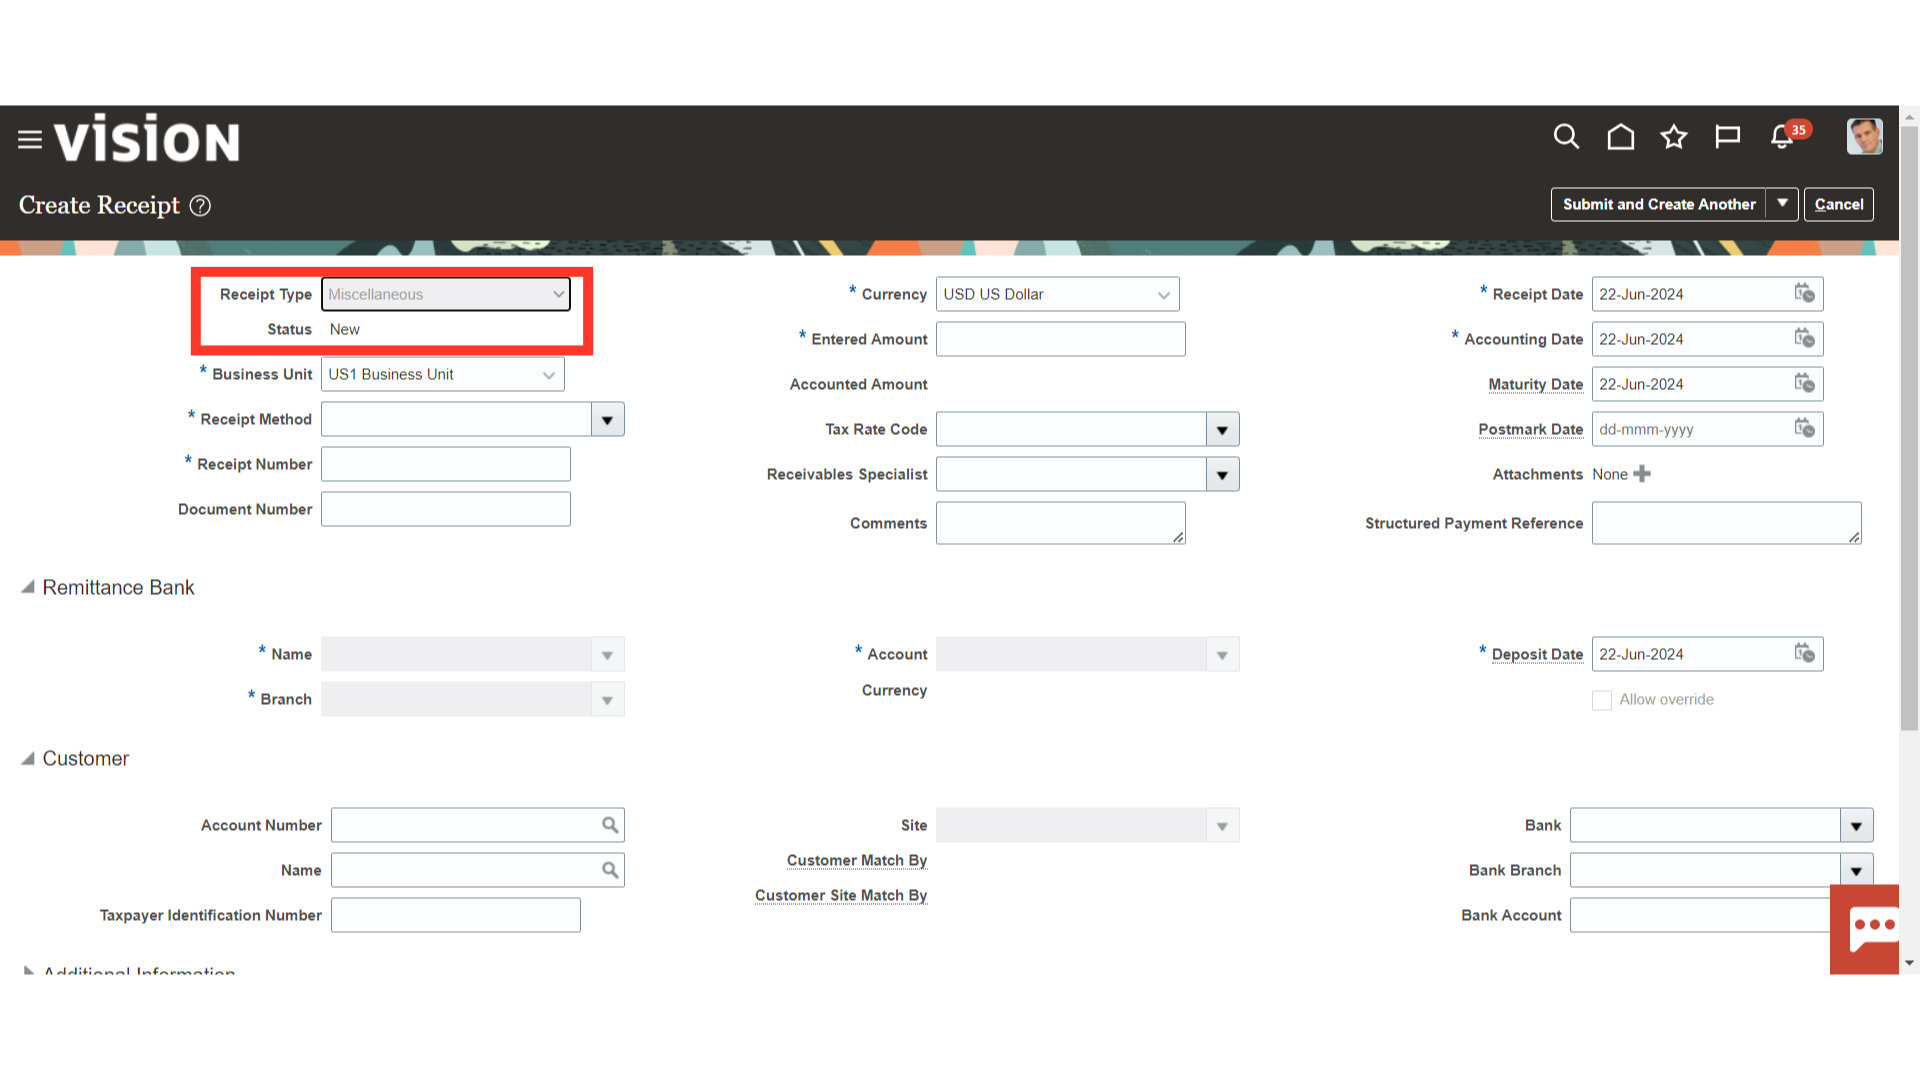
To document the receipts that you do not receive from the customer, choose “Miscellaneous” as the type of receipt. Also, the status of the receipt would be “New”.
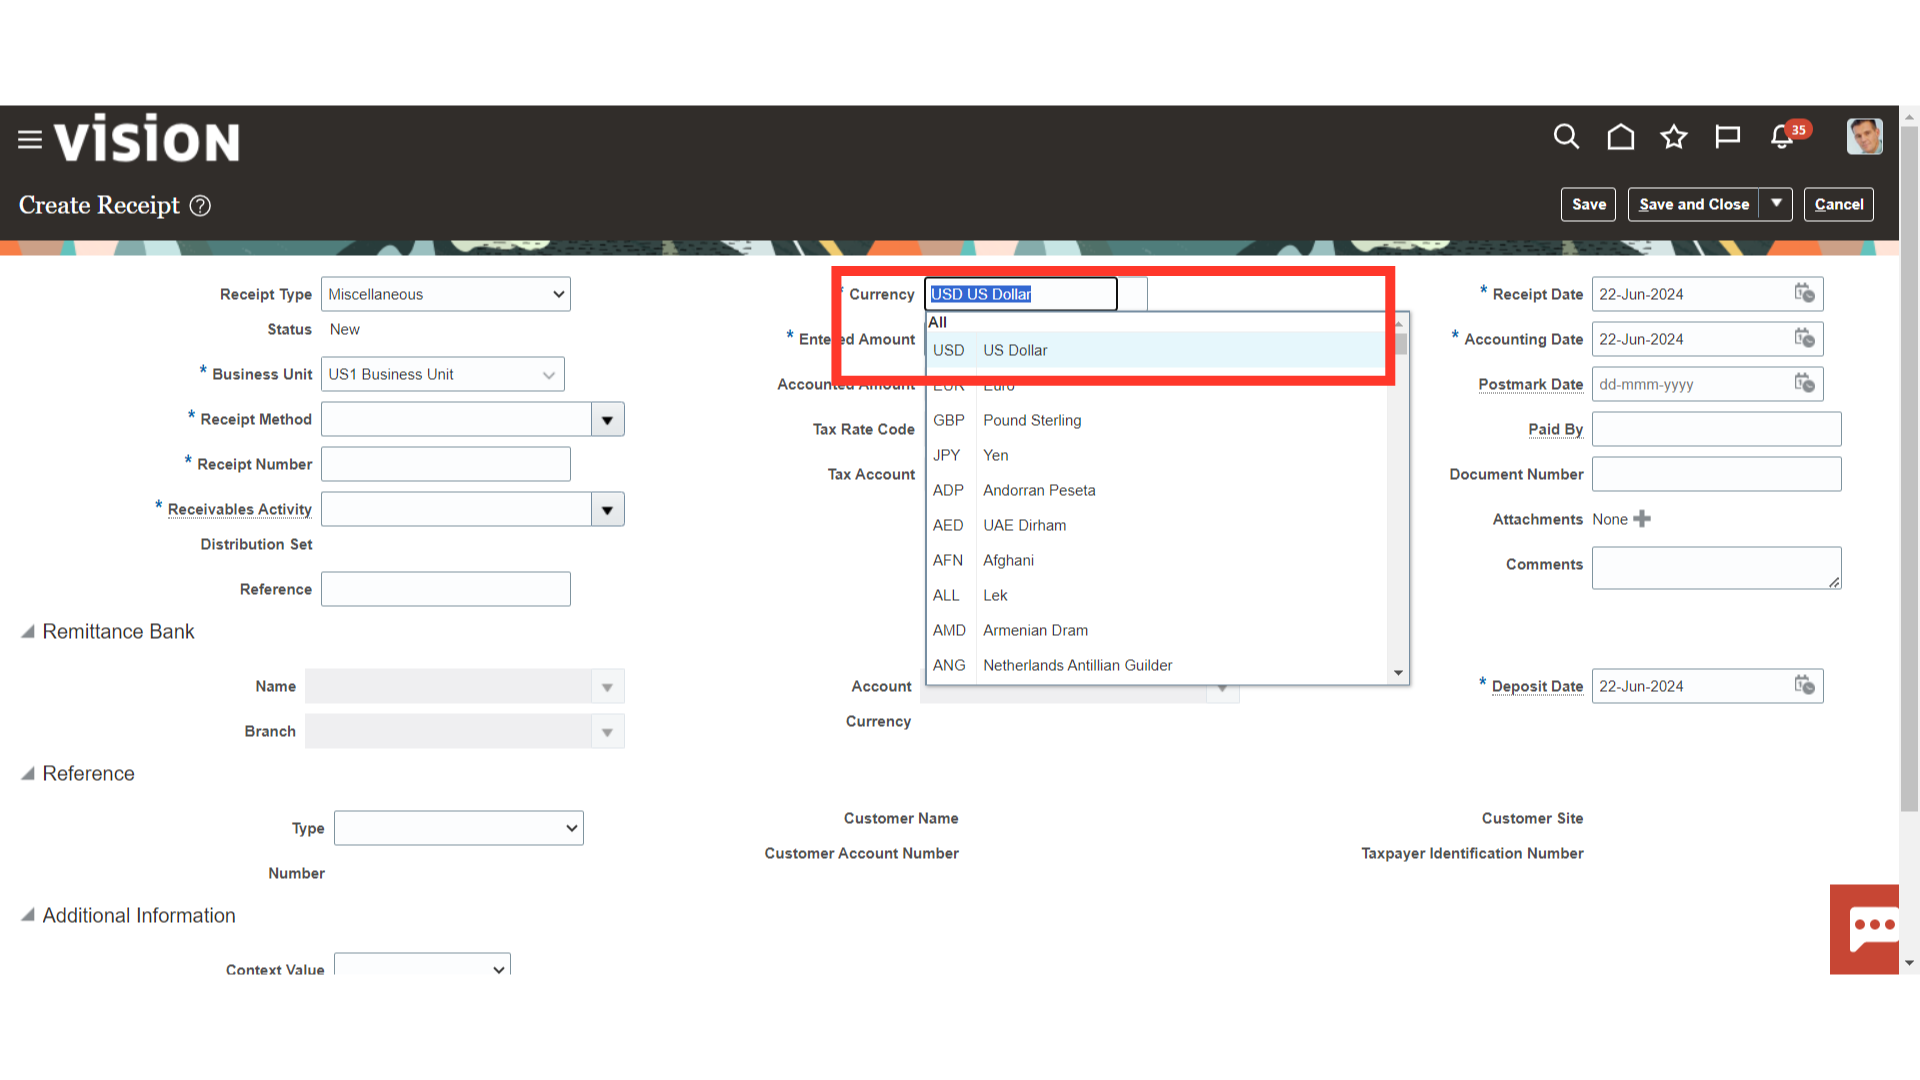
Select the currency in which collections are made from the list of values.
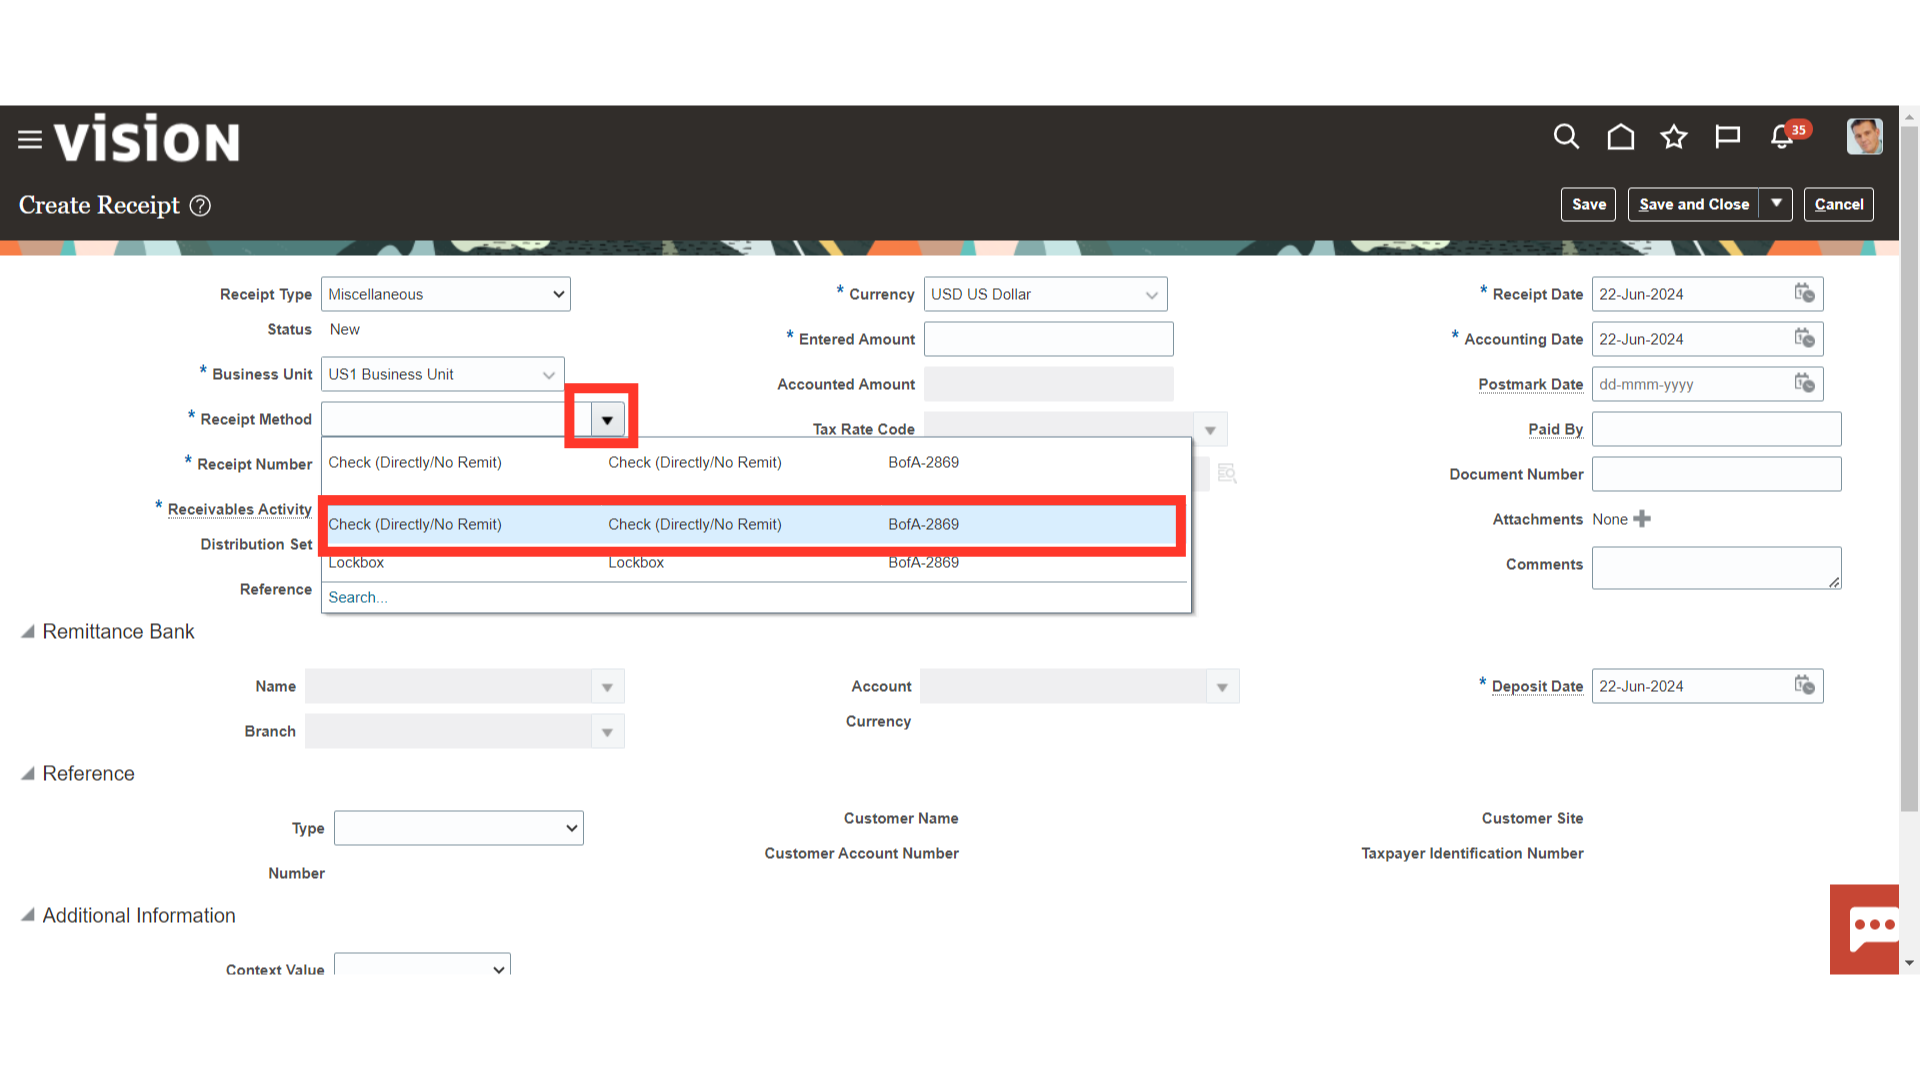
Choose the appropriate method from the drop-down menu in the receipt method field, such as check, electronic fund transfer, or automatic checking account.
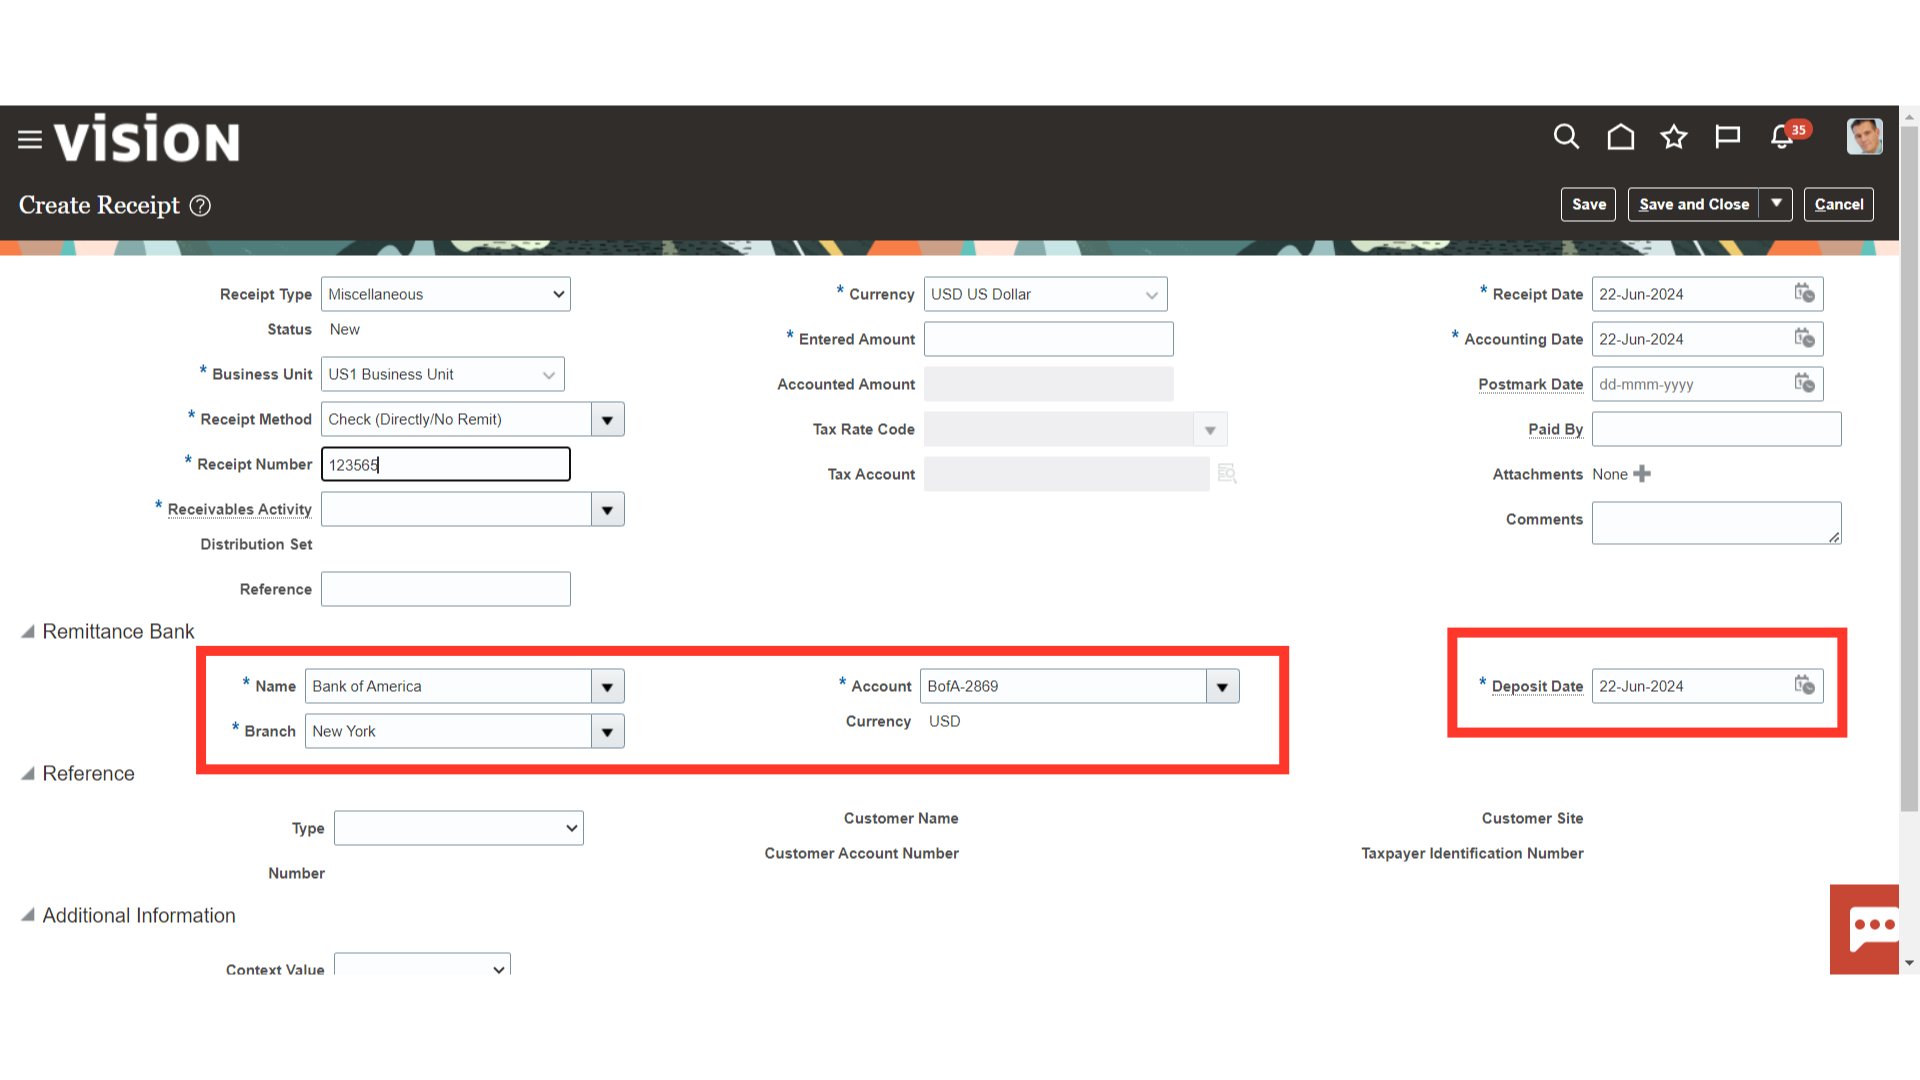
The bank information for the remittance would default based on the receipt method that was chosen. Choose from the list of values if you want to select a different bank account that is attached with the same receipt method. The Deposit date is the date on which receipts are deposited to the bank.
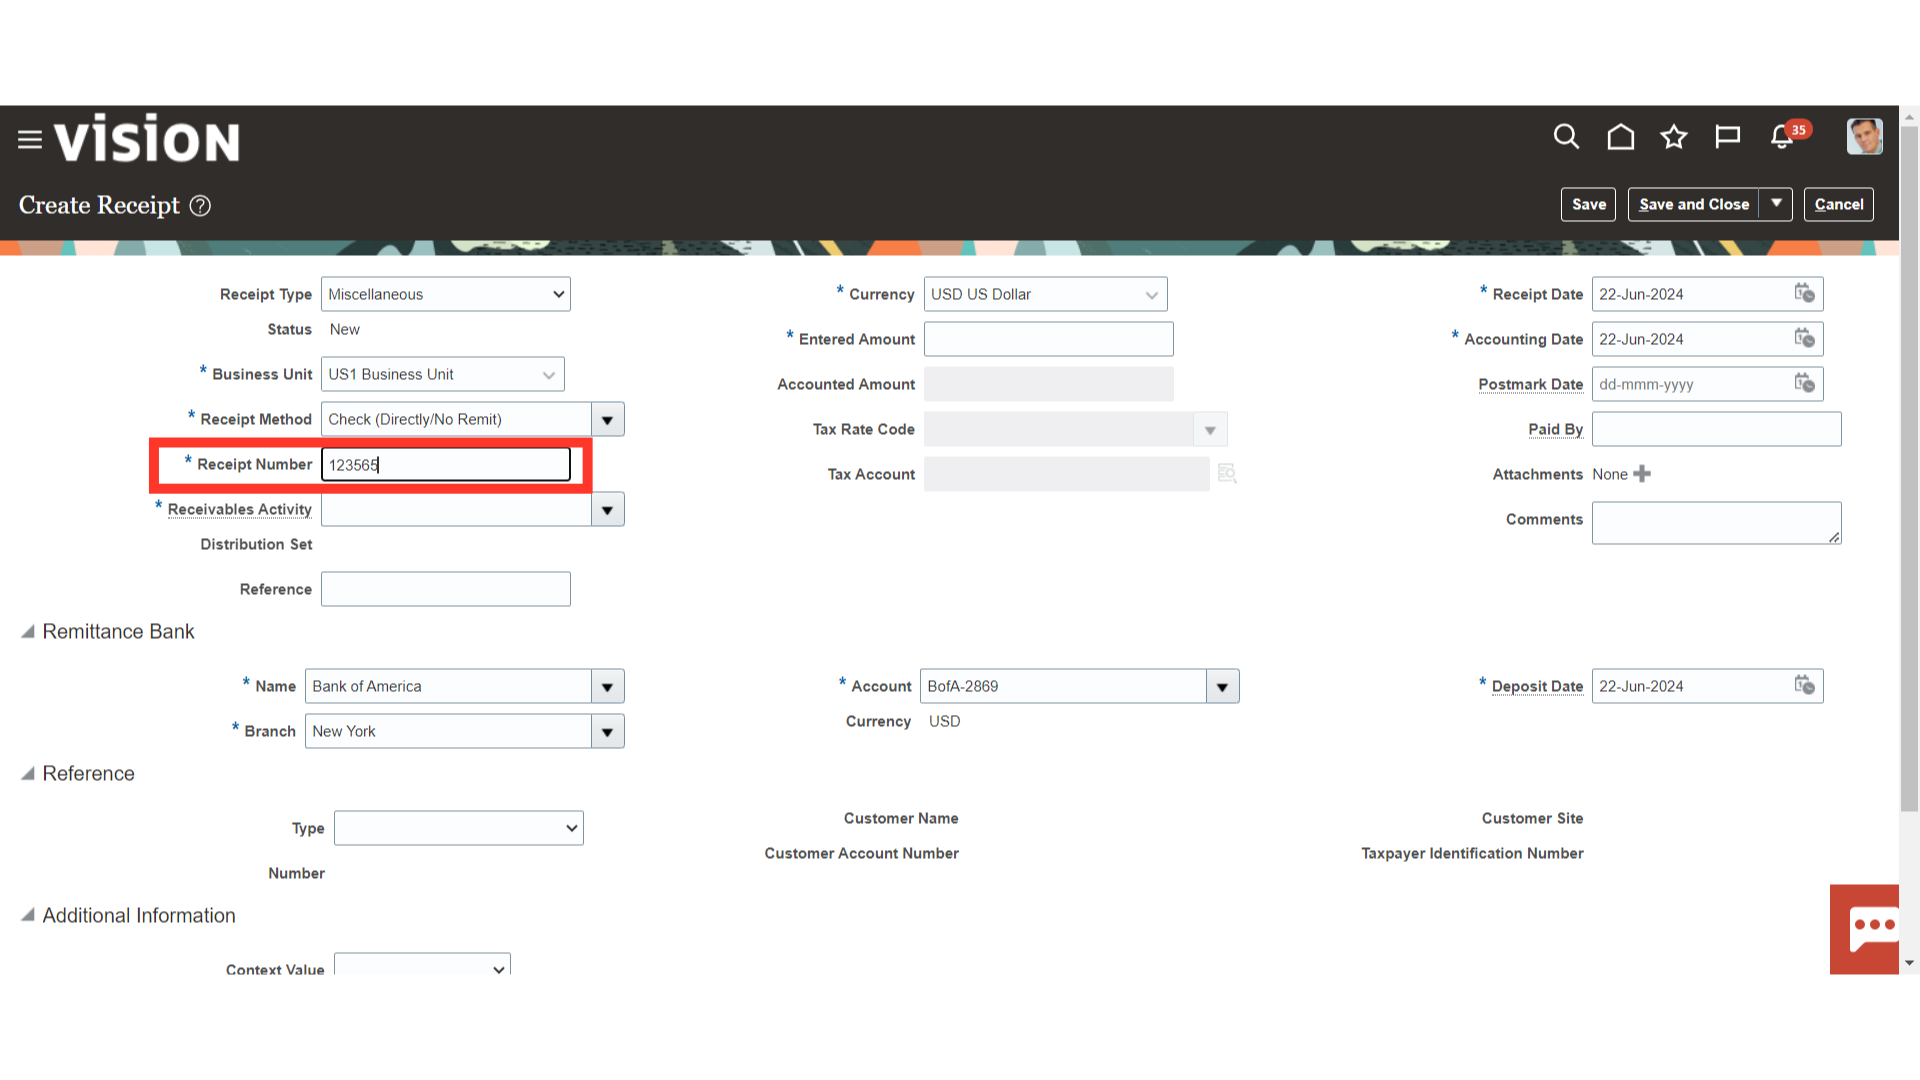
Enter the receipt number. This could be the number from the check you received or any other reference that the cash management department uses for reconciliation.
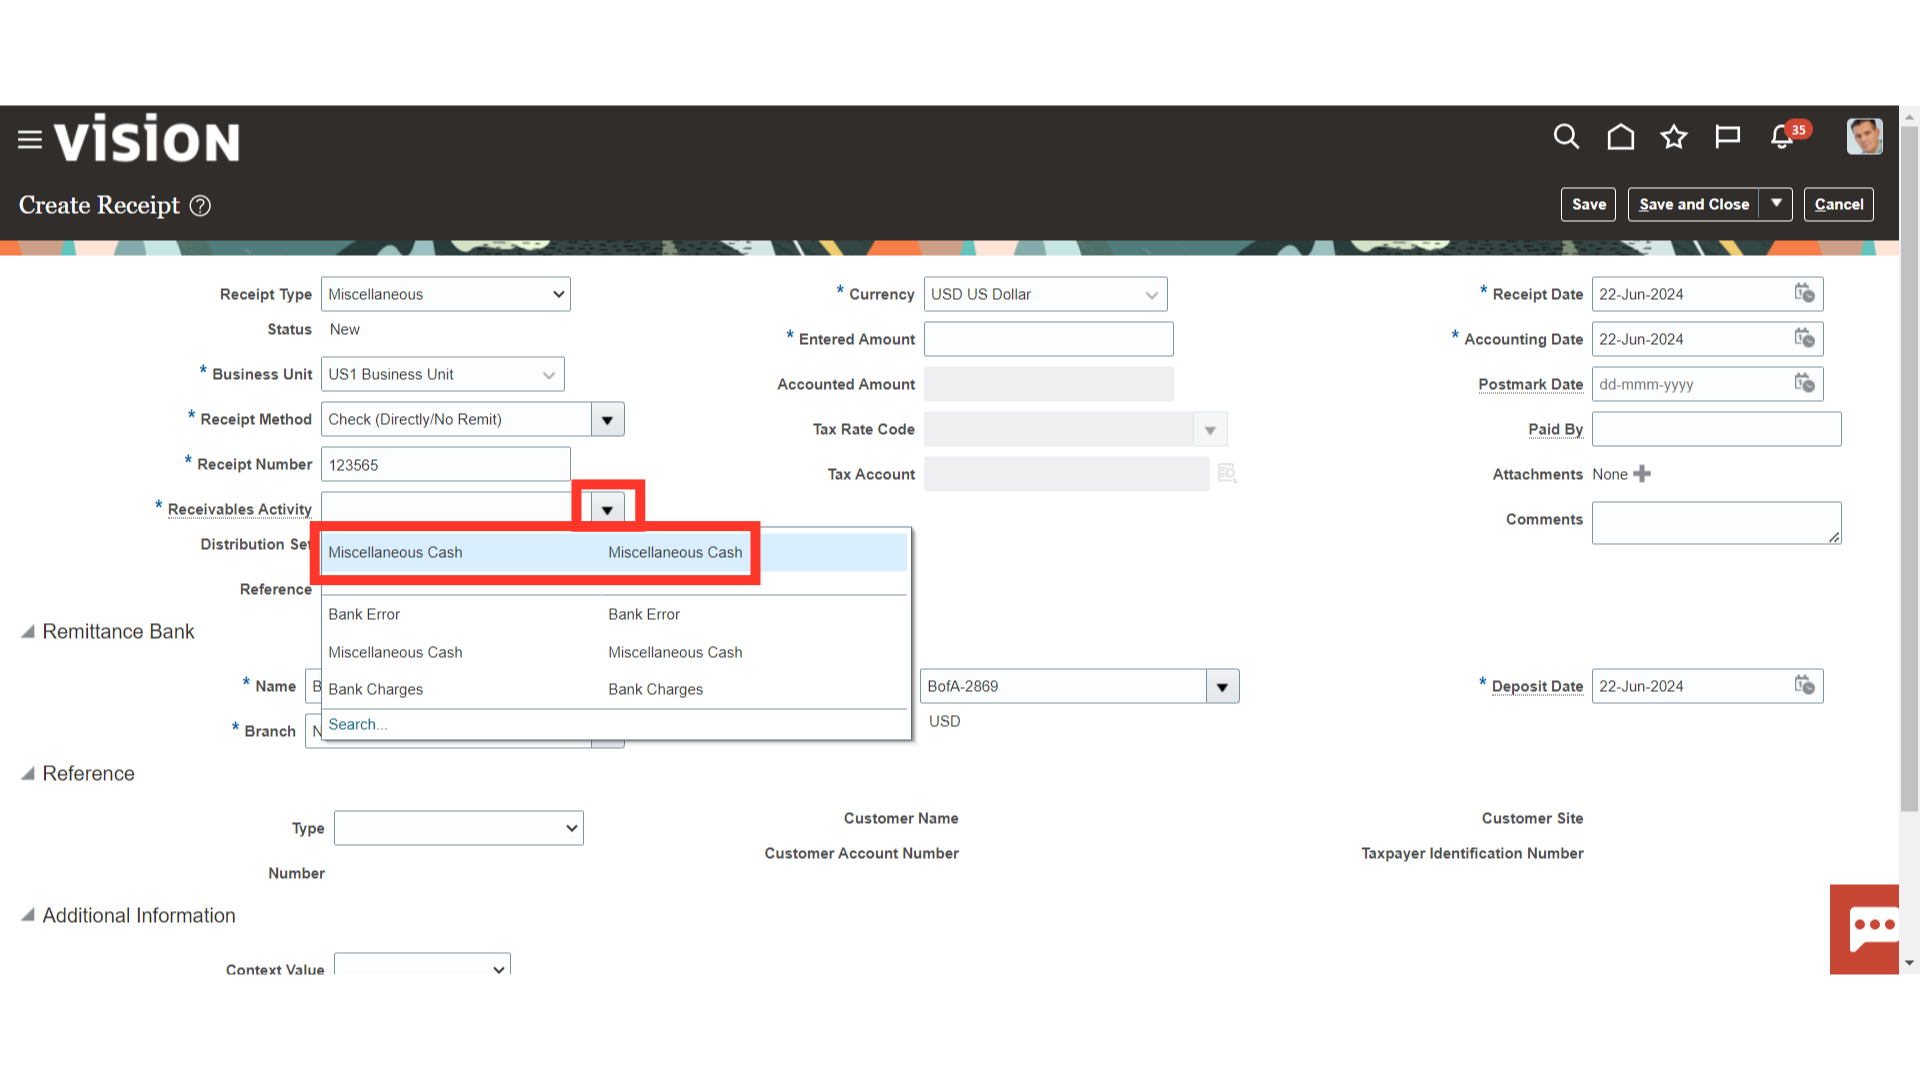
Choose the Receivable activity option from the menu. Please get in touch with the Administrator to define a new Receivable activity if it is not available.
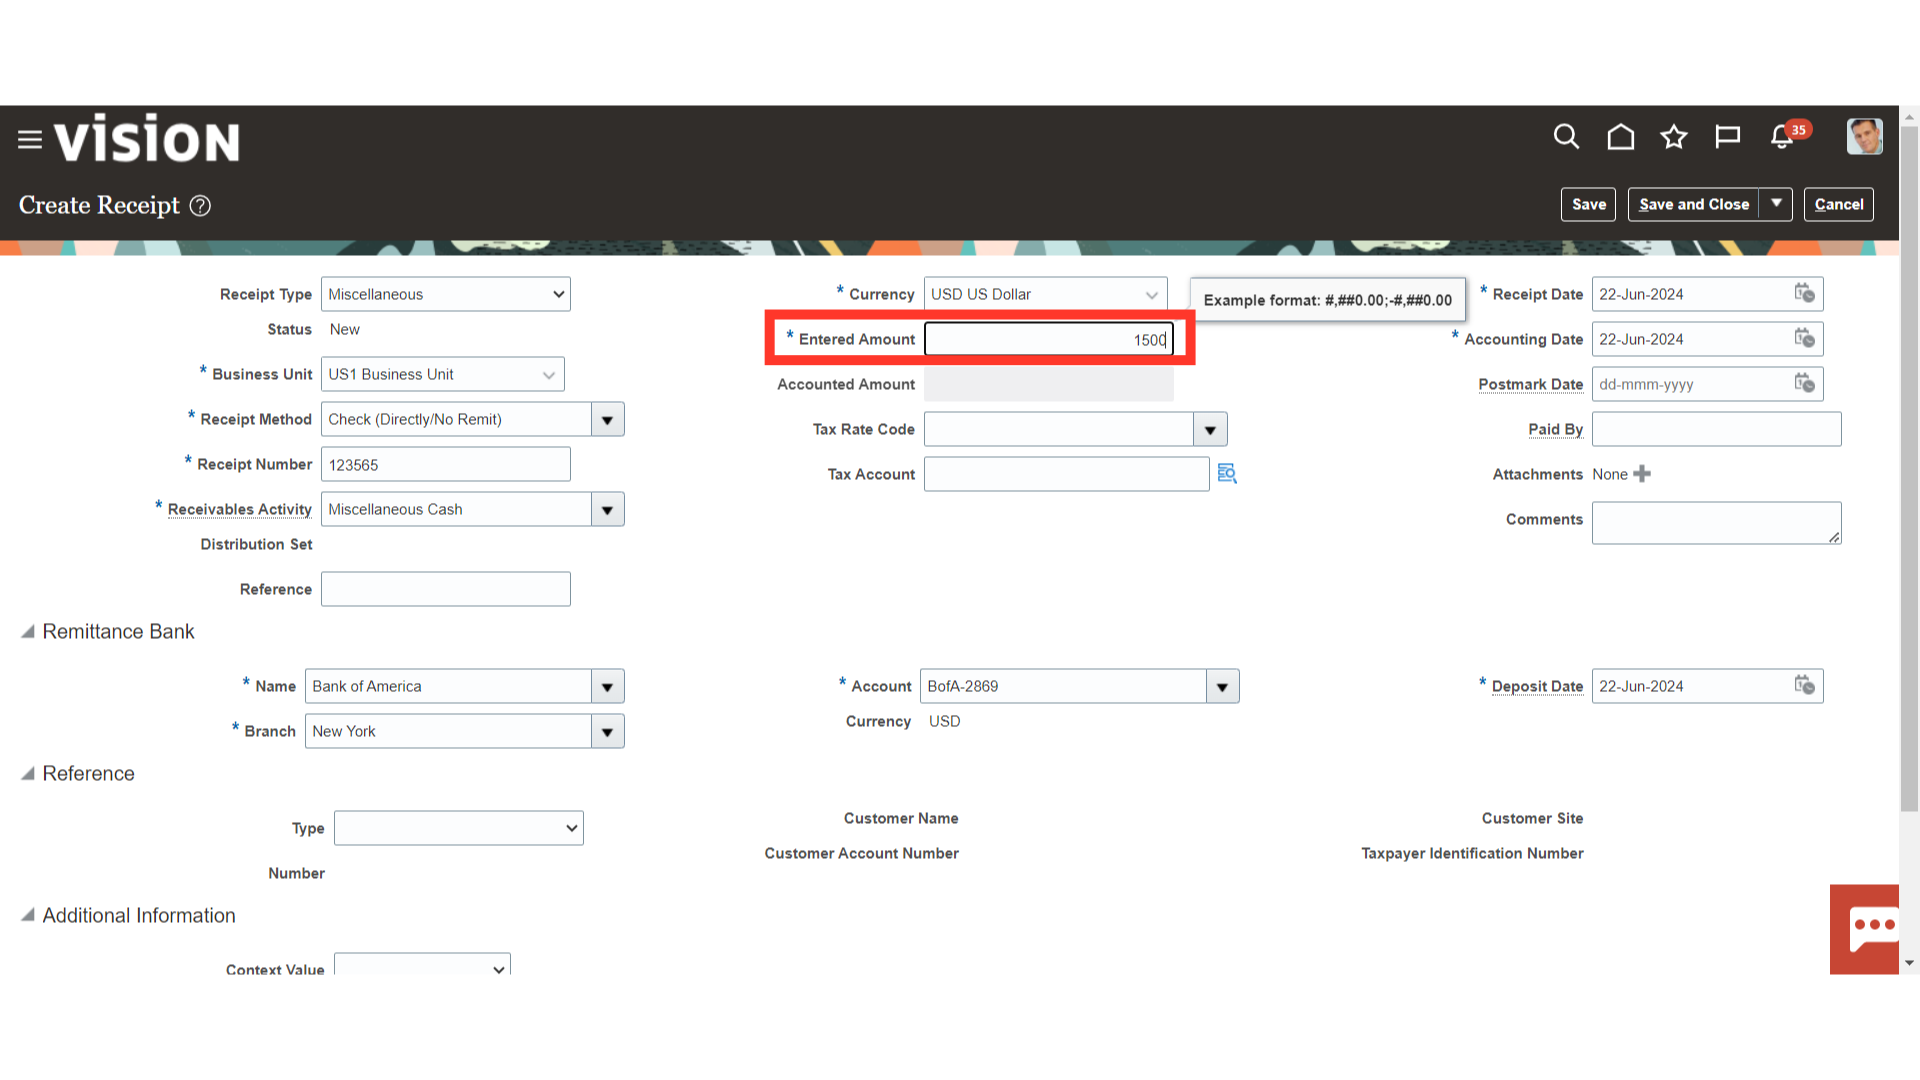
Enter the total amount received in the Receipt amount field.
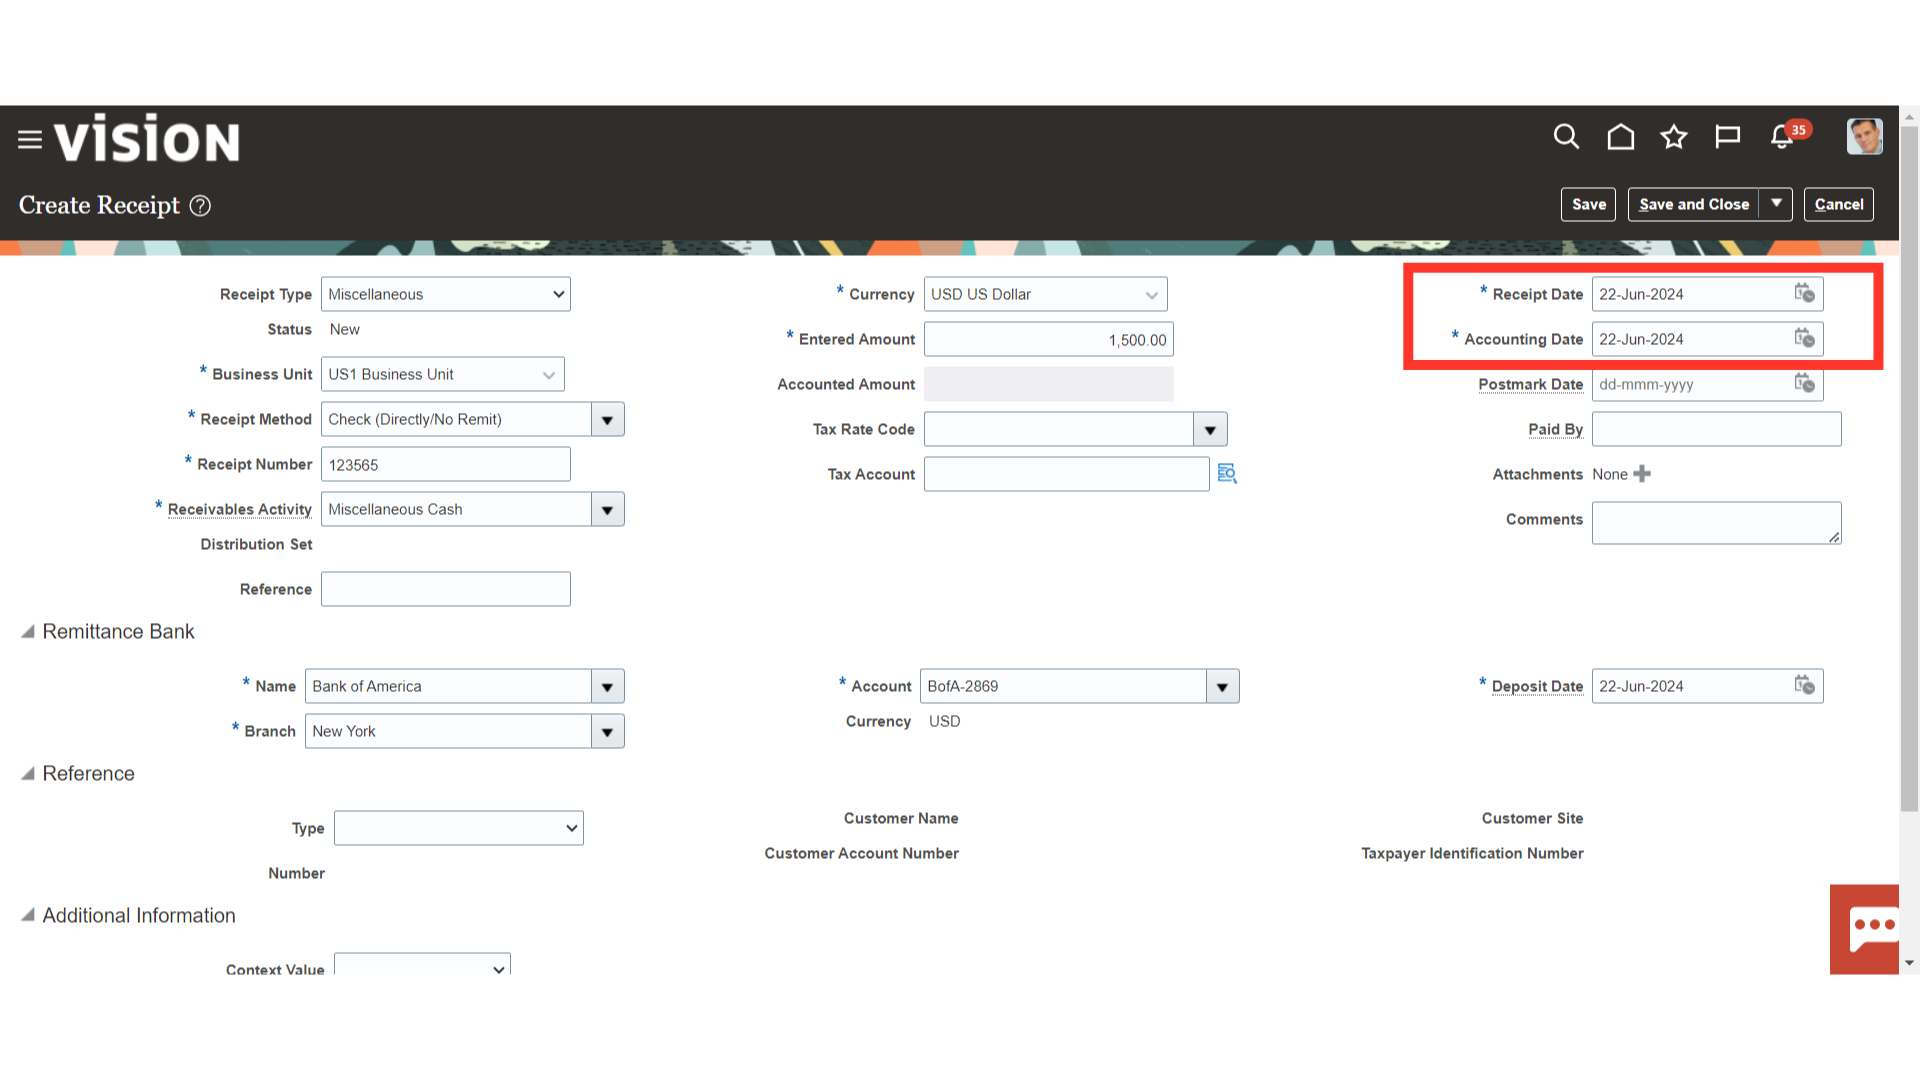
In the Receipt date field, enter the date on which the collection is made either manually or by selecting the date from the calendar. The Accounting date of the receipt depends on the date mentioned in the accounting date field.
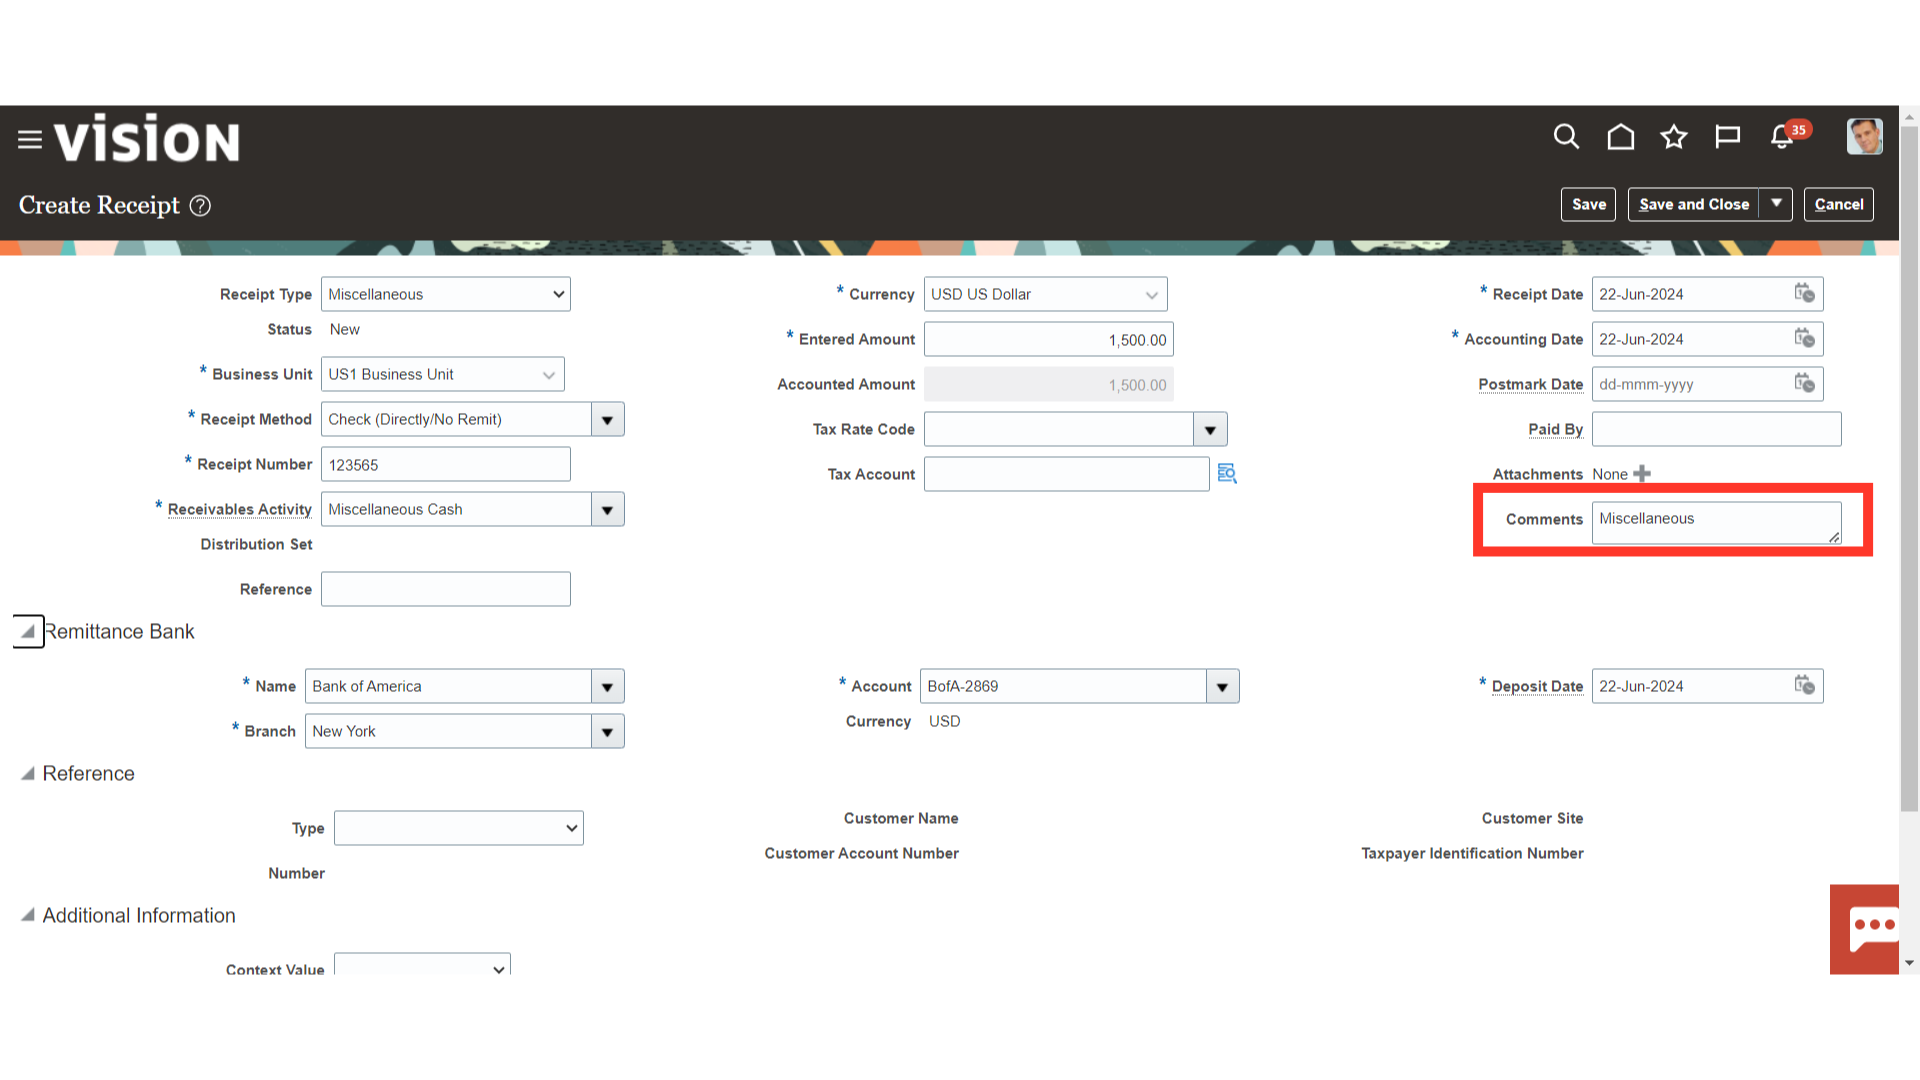
Enter the additional relevant information in the Comments section.
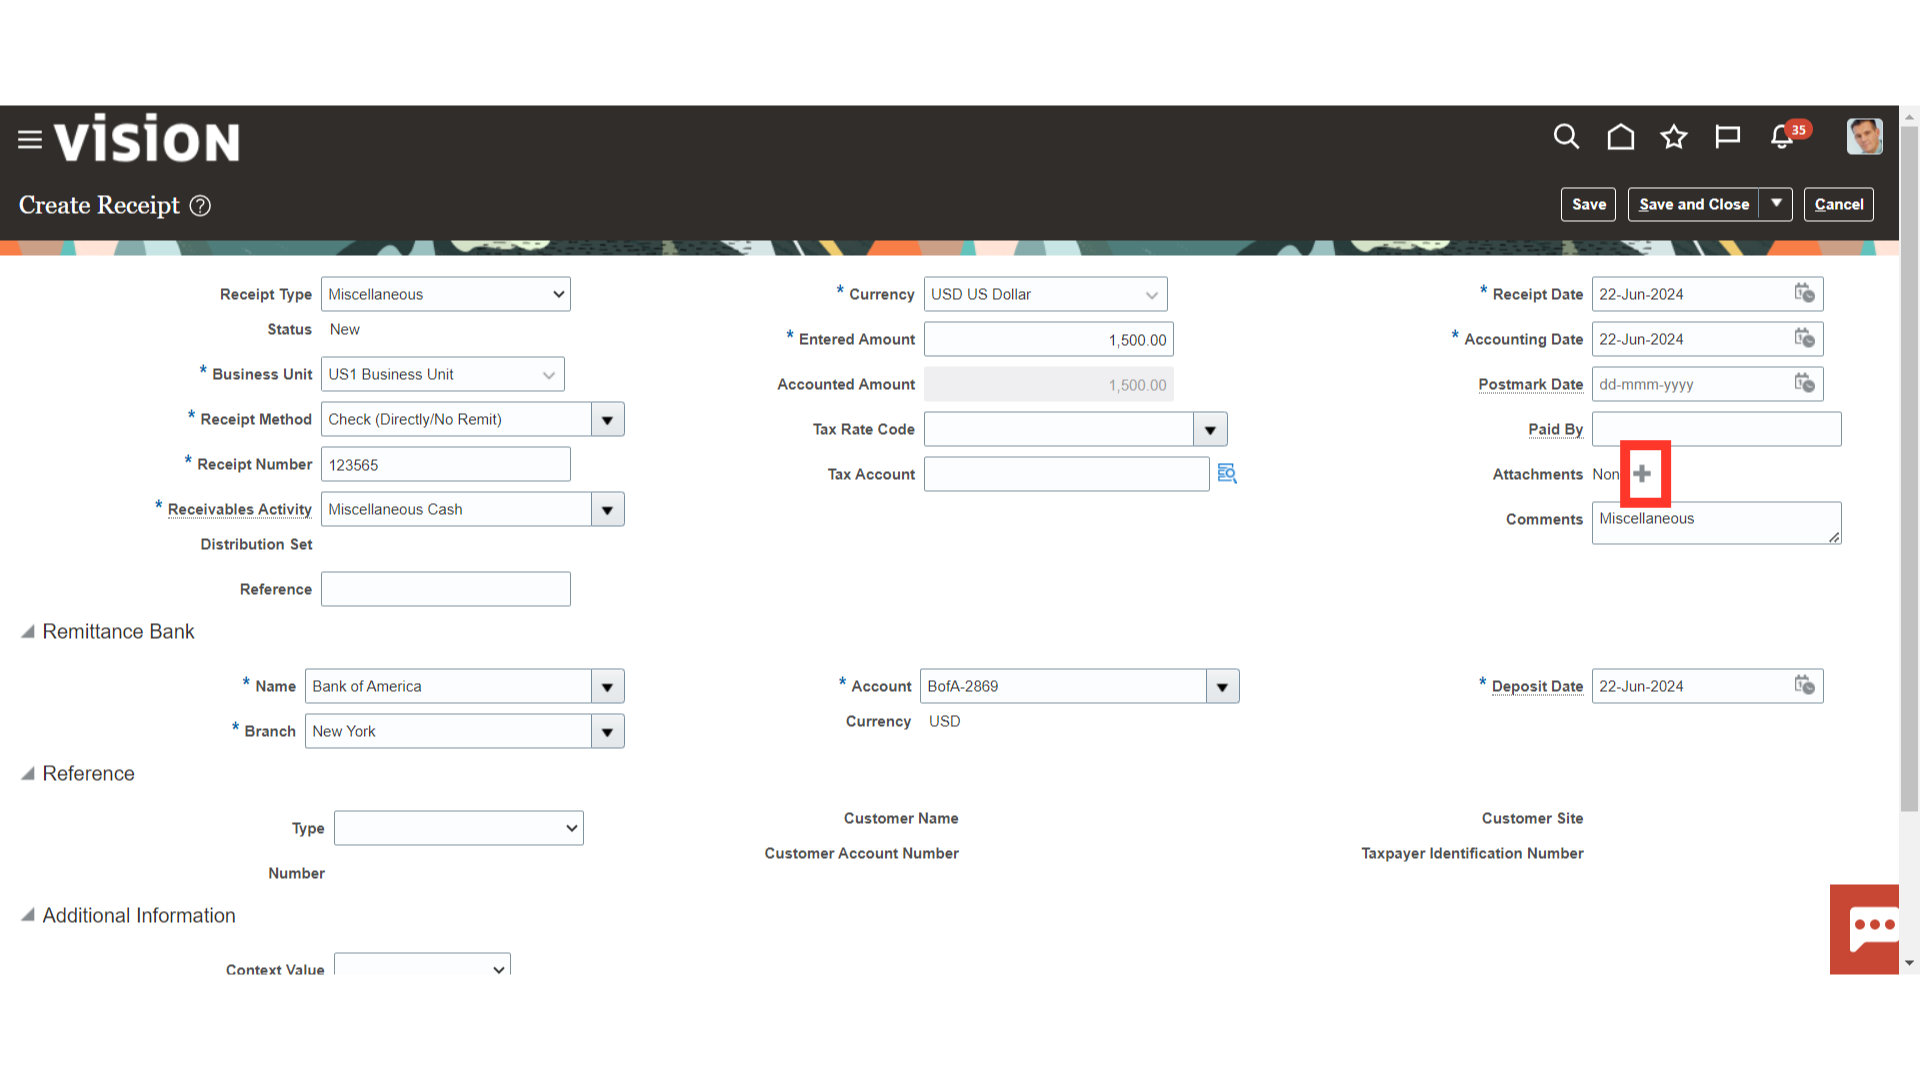
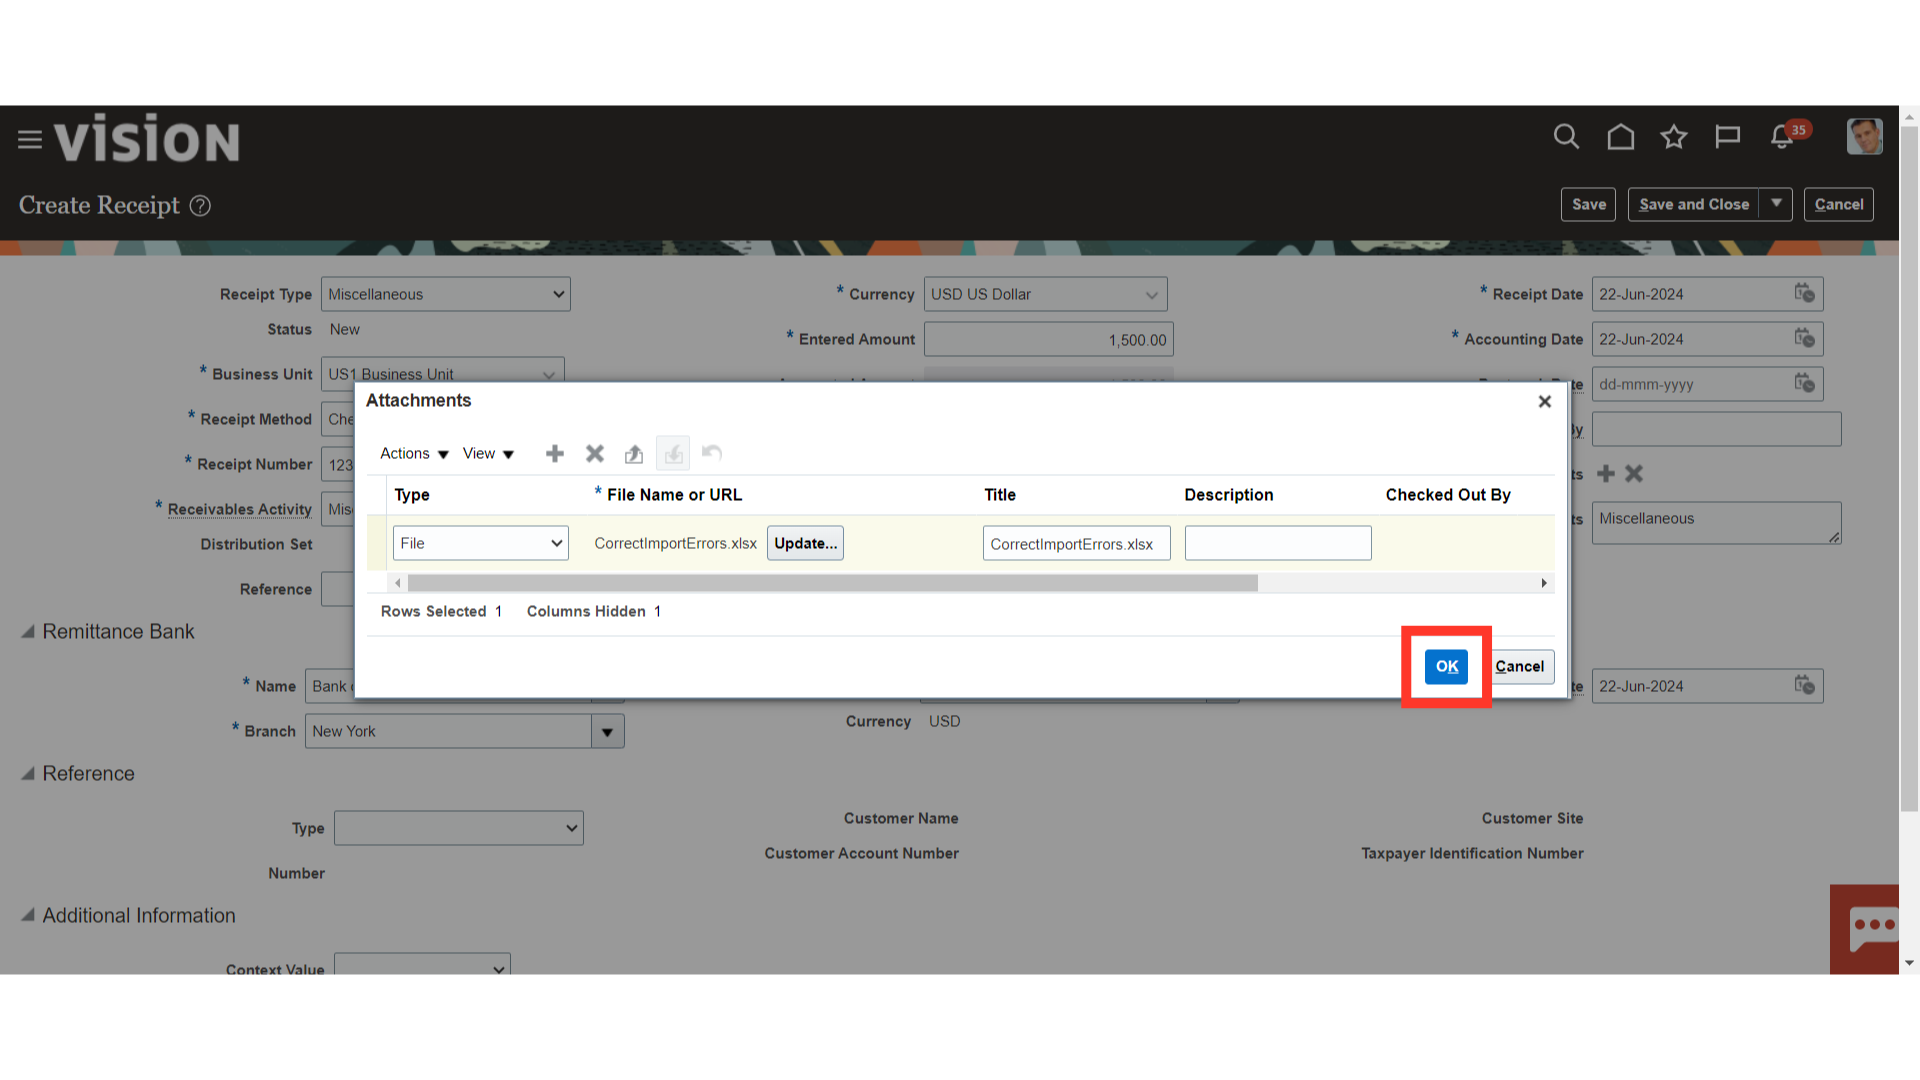
Click on the Plus icon to upload the attachment such as a check copy or scan copy of the payment details.
Click on Choose File to upload the attachments from our local desktop.
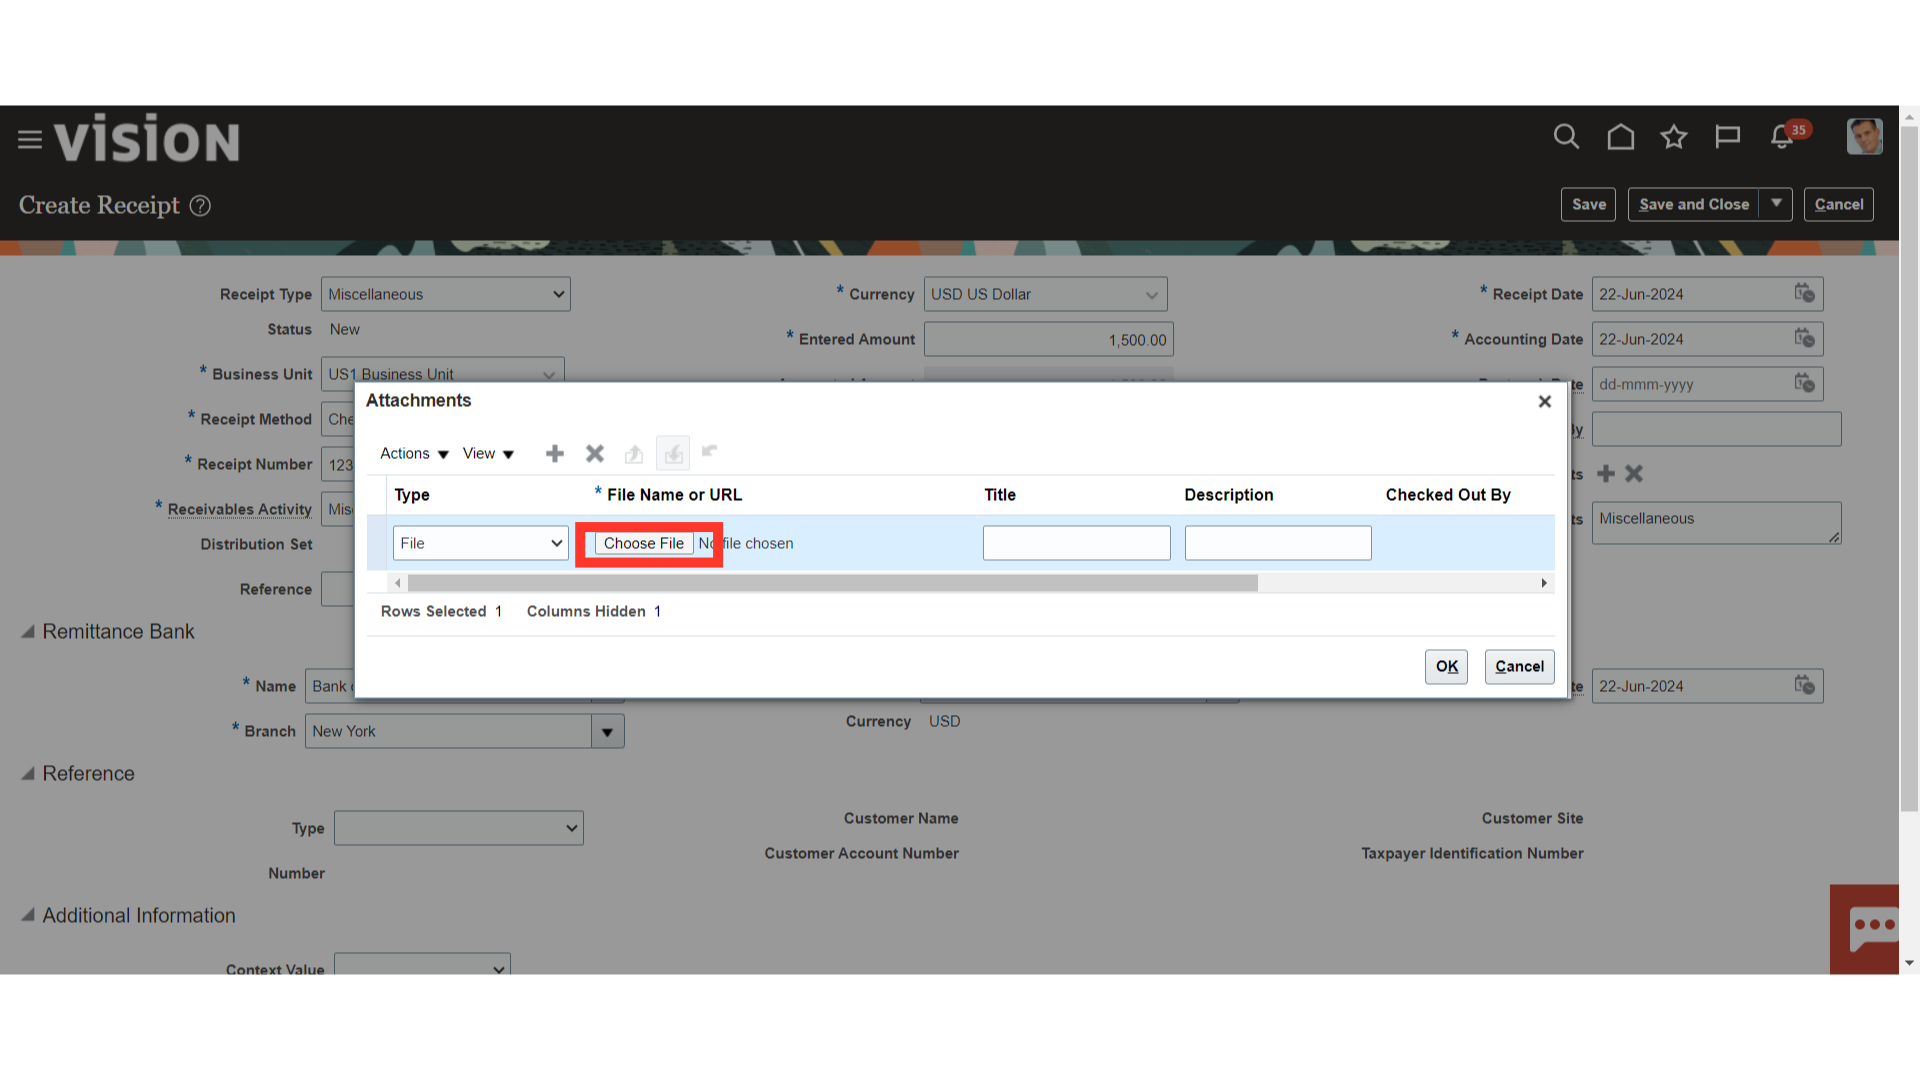
After uploading, Click on OK to continue.
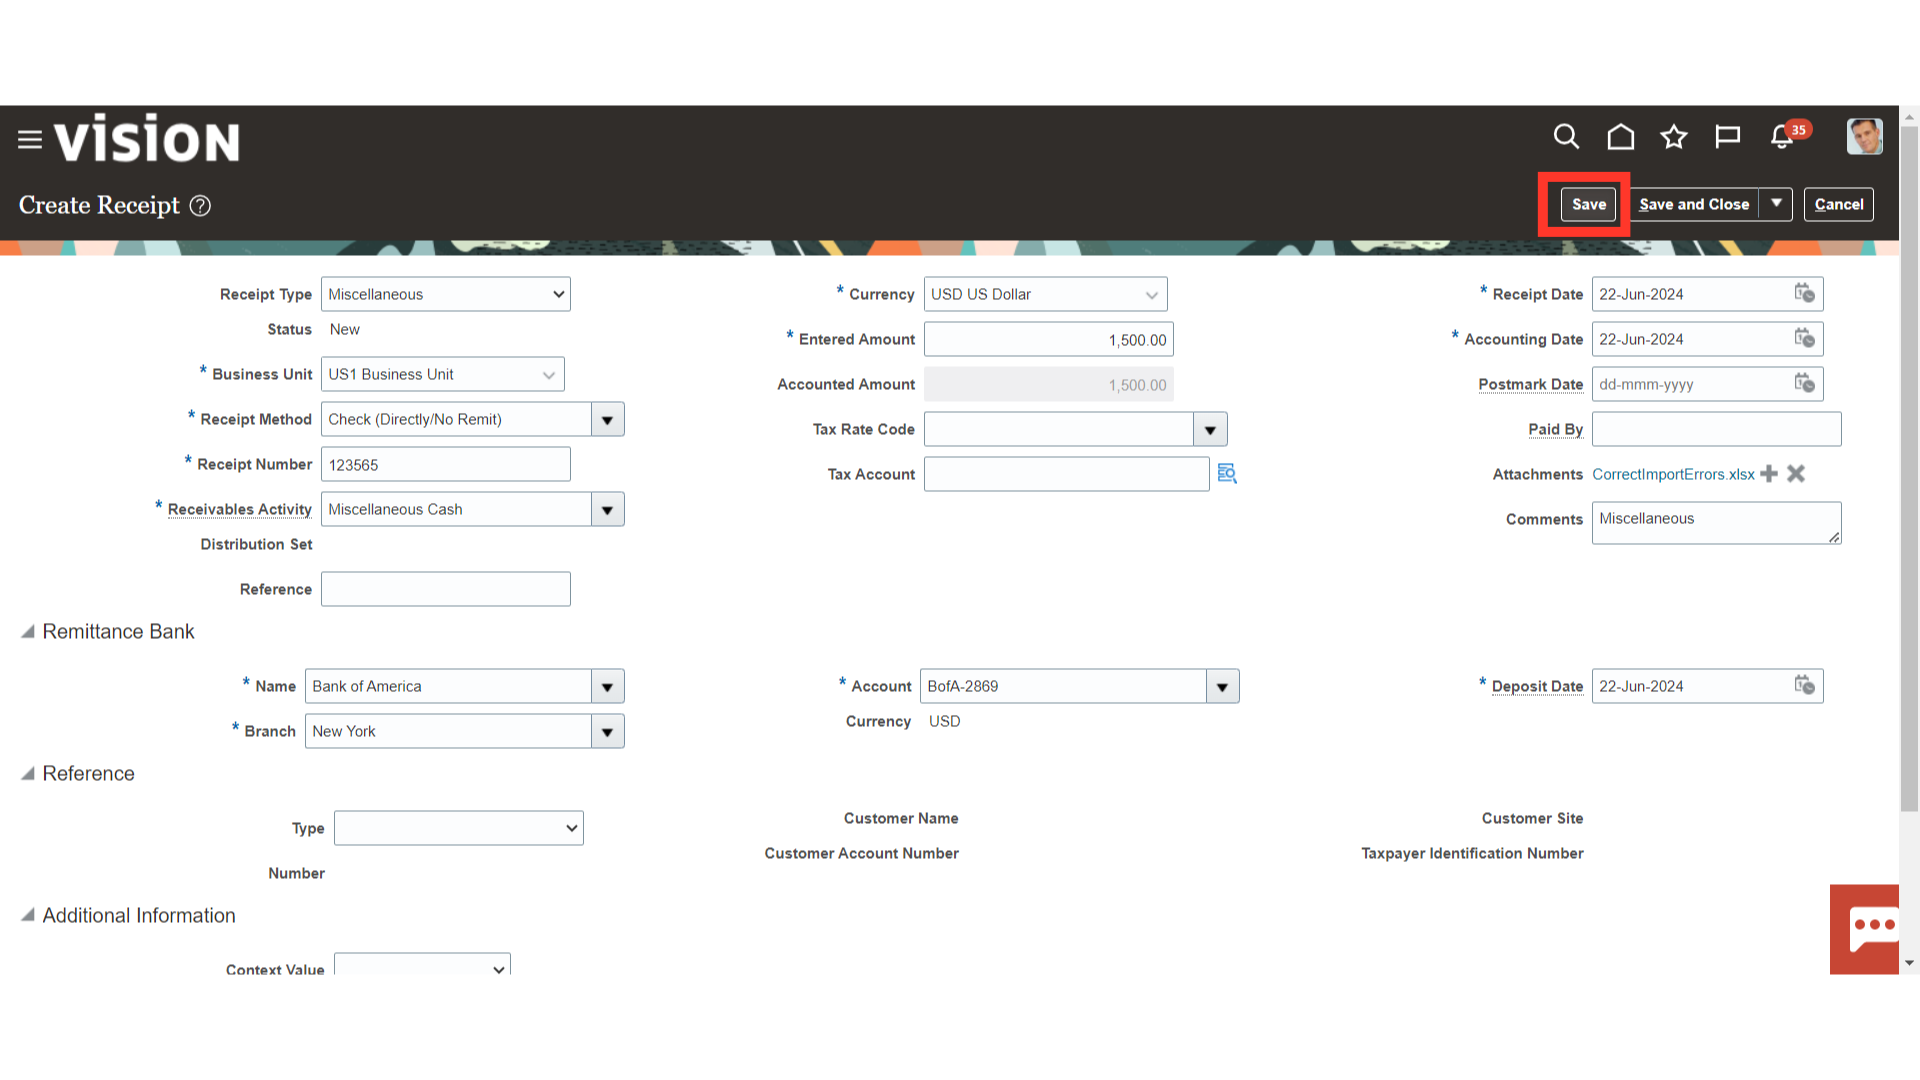
Once you verified the details, click on the Save button.
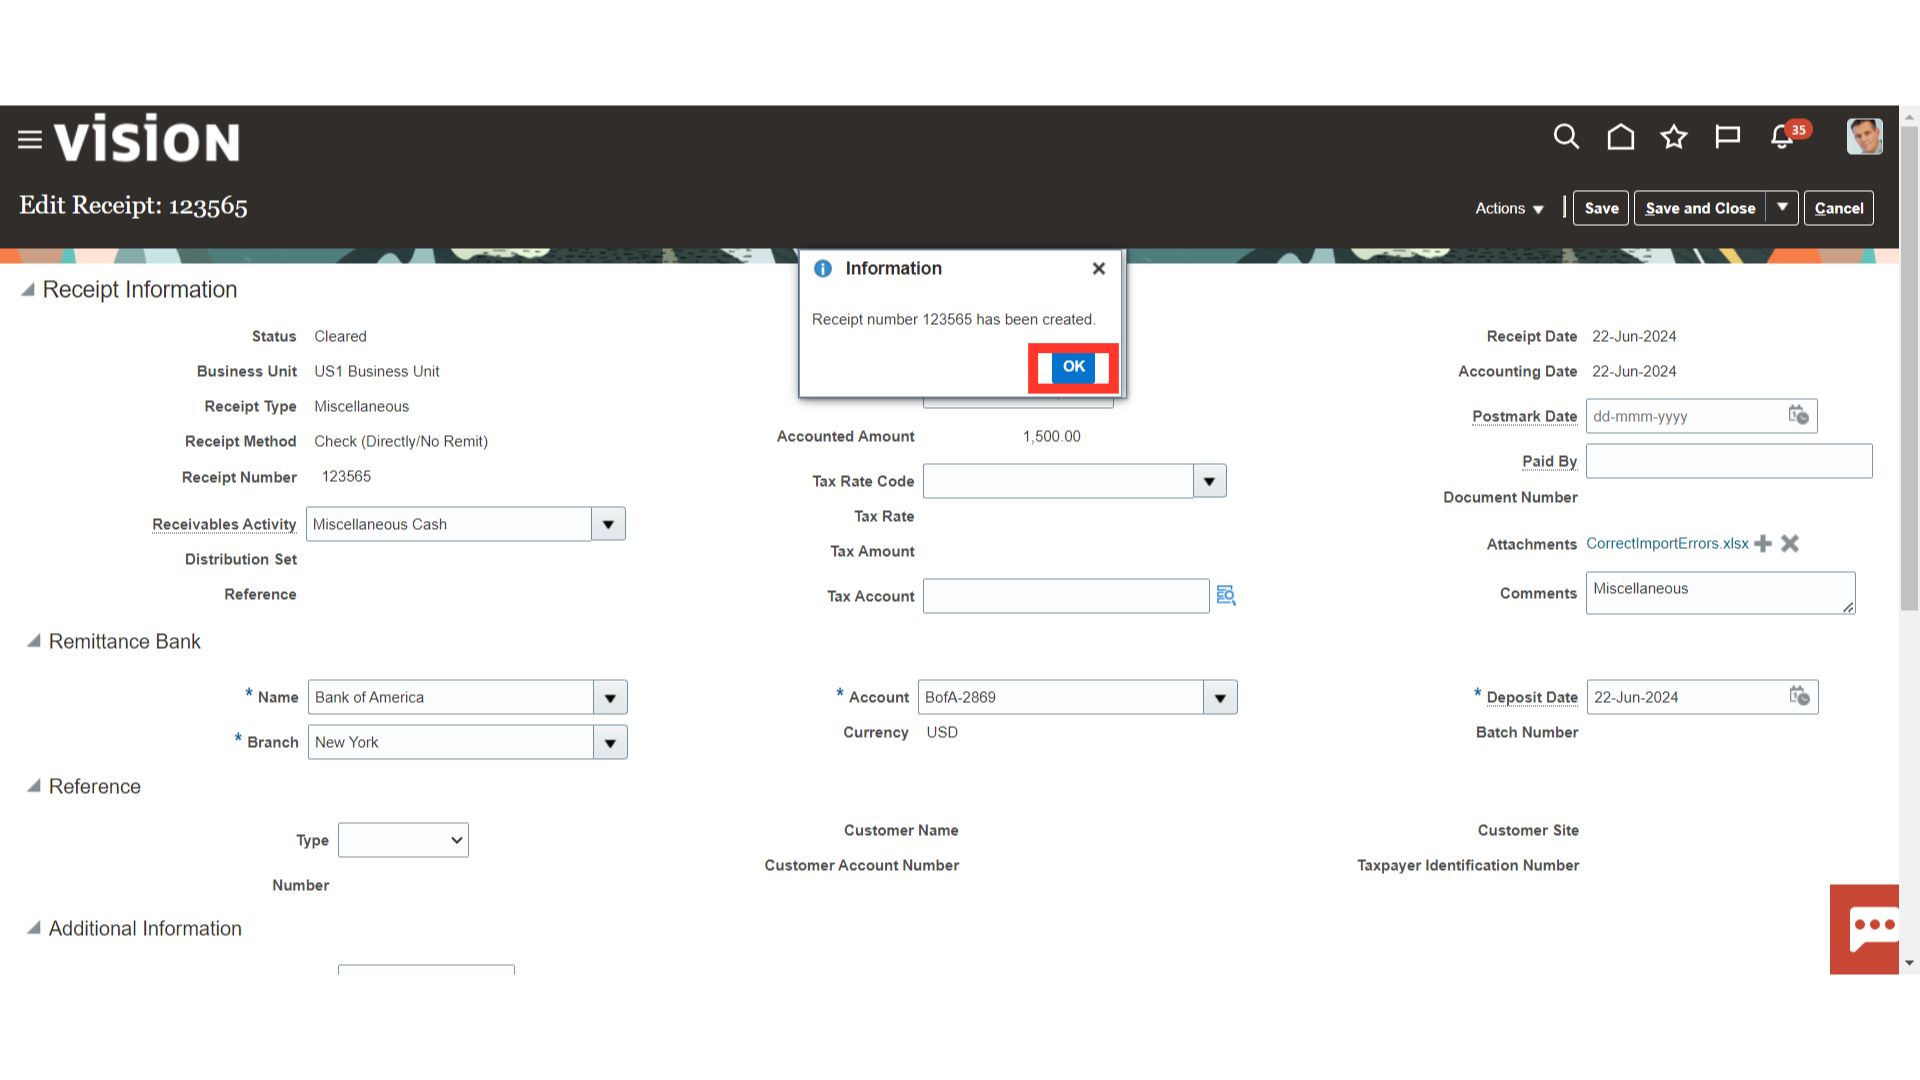
The receipt number and a confirmation message are shown for the created receipt. Press the OK button to proceed.
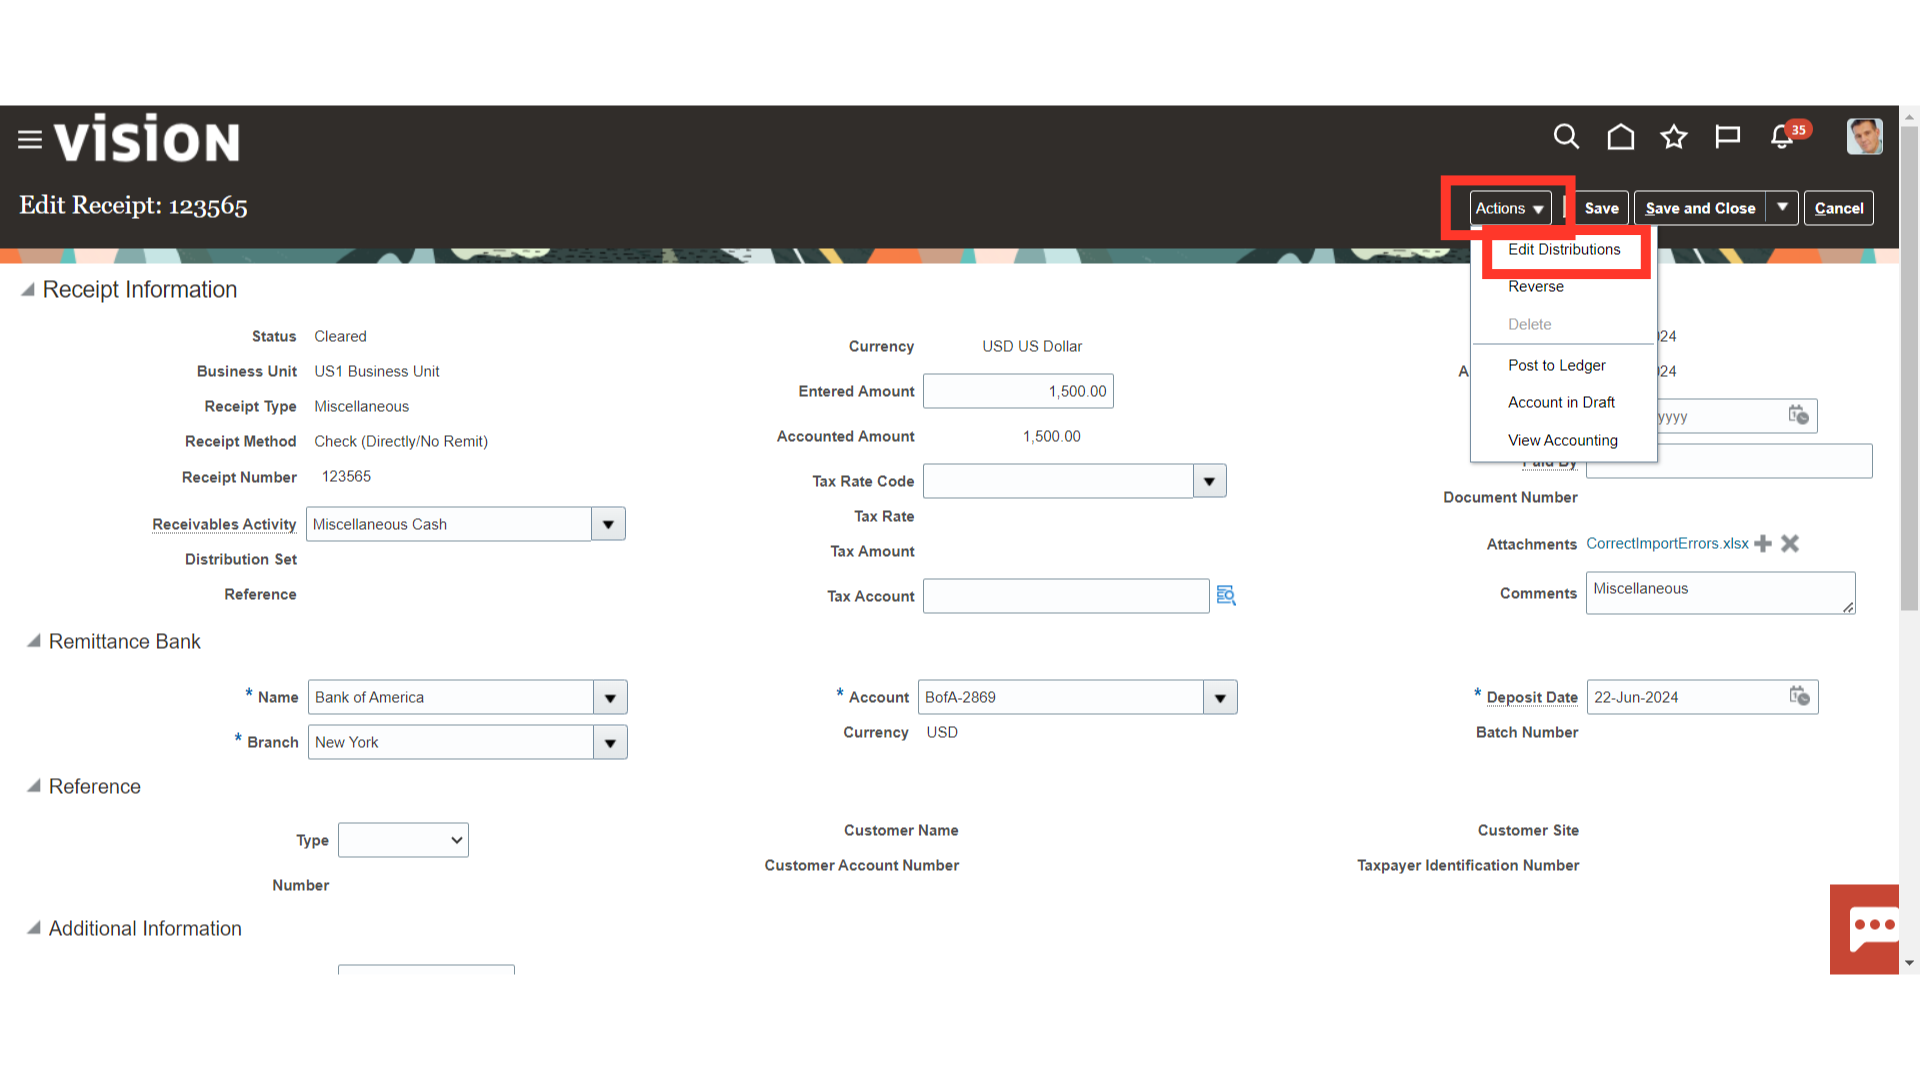
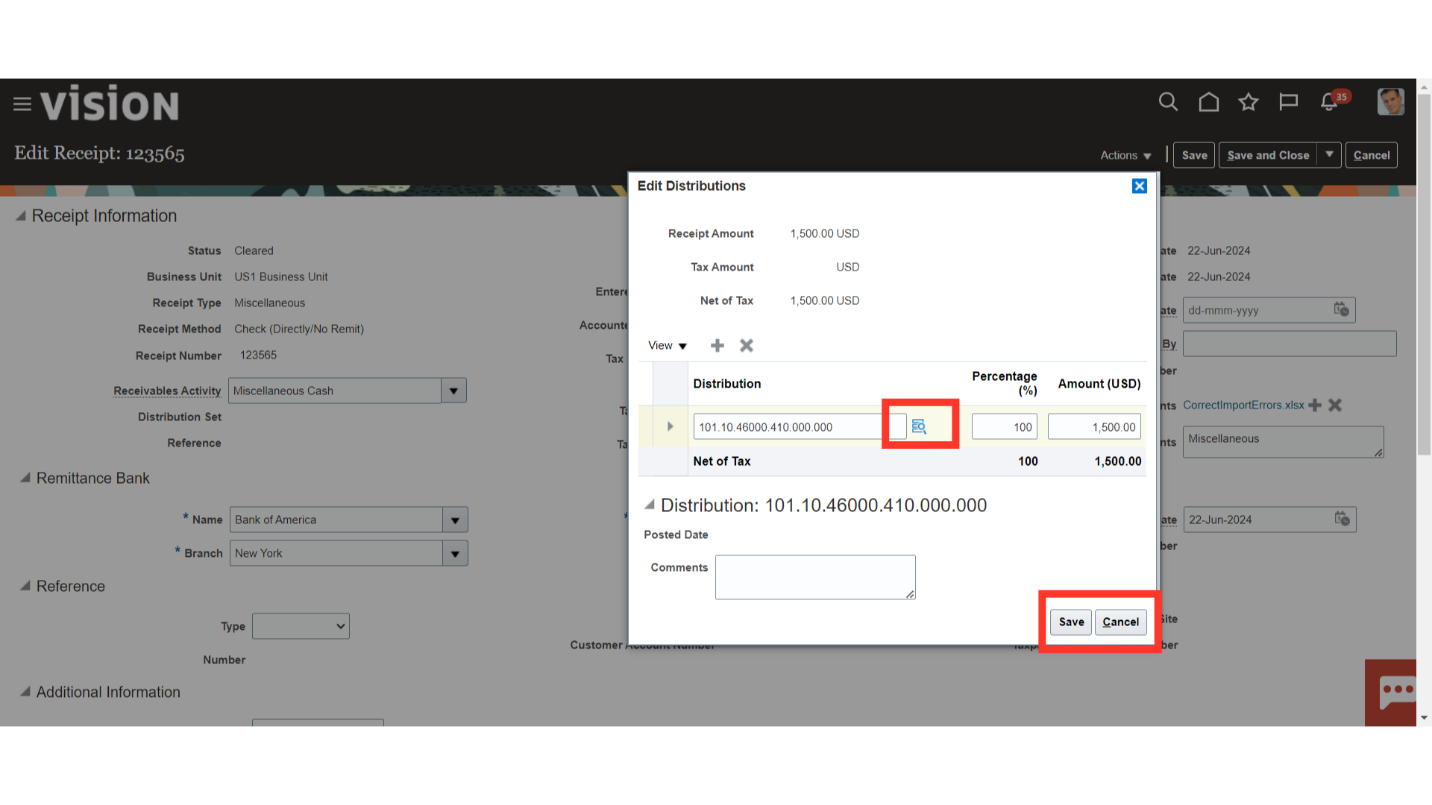
To see the account combination details, select Edit Distributions under the Actions.
Receivable activity determines defaulted revenue distributions. Click the distribution combination icon if changing account combinations is necessary. To save the modifications, click the Save button; to cancel, click the Cancel button.
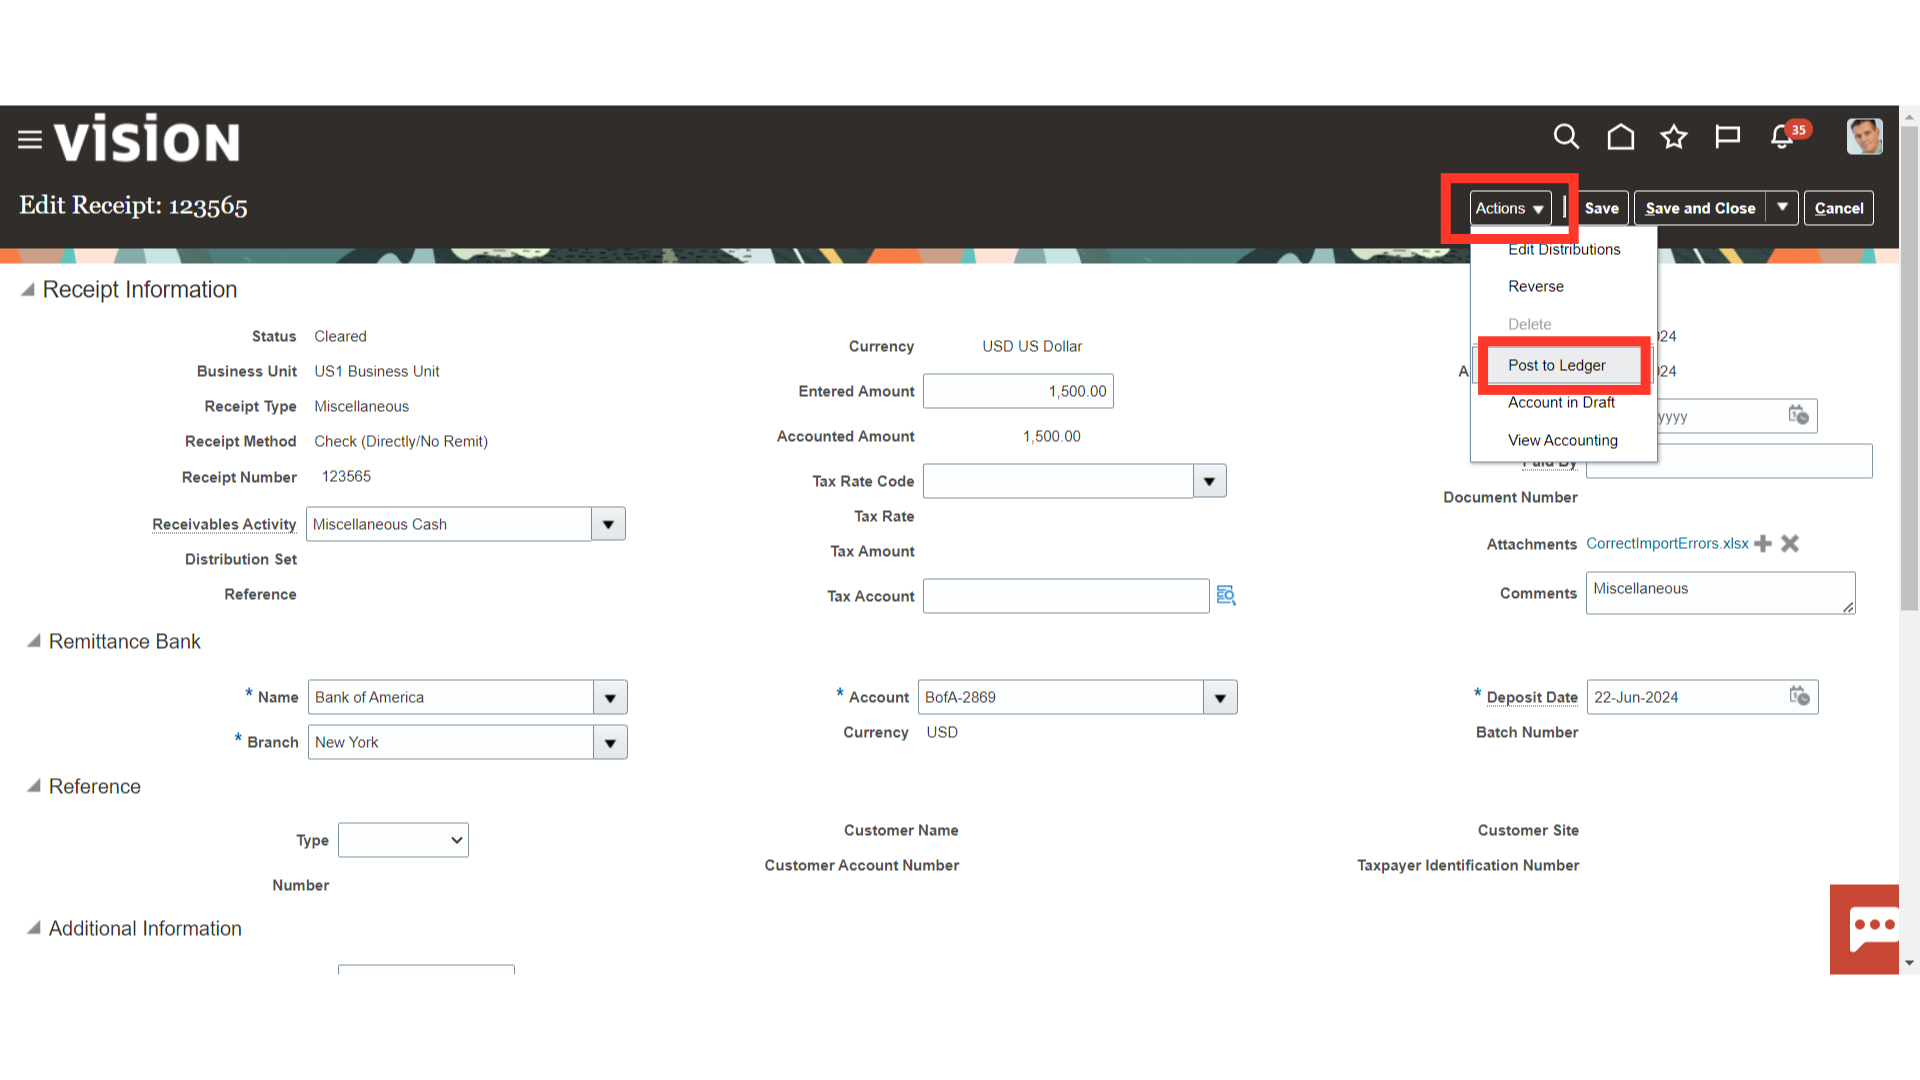
For generating accounting entries, select the Post to ledger under the Actions.
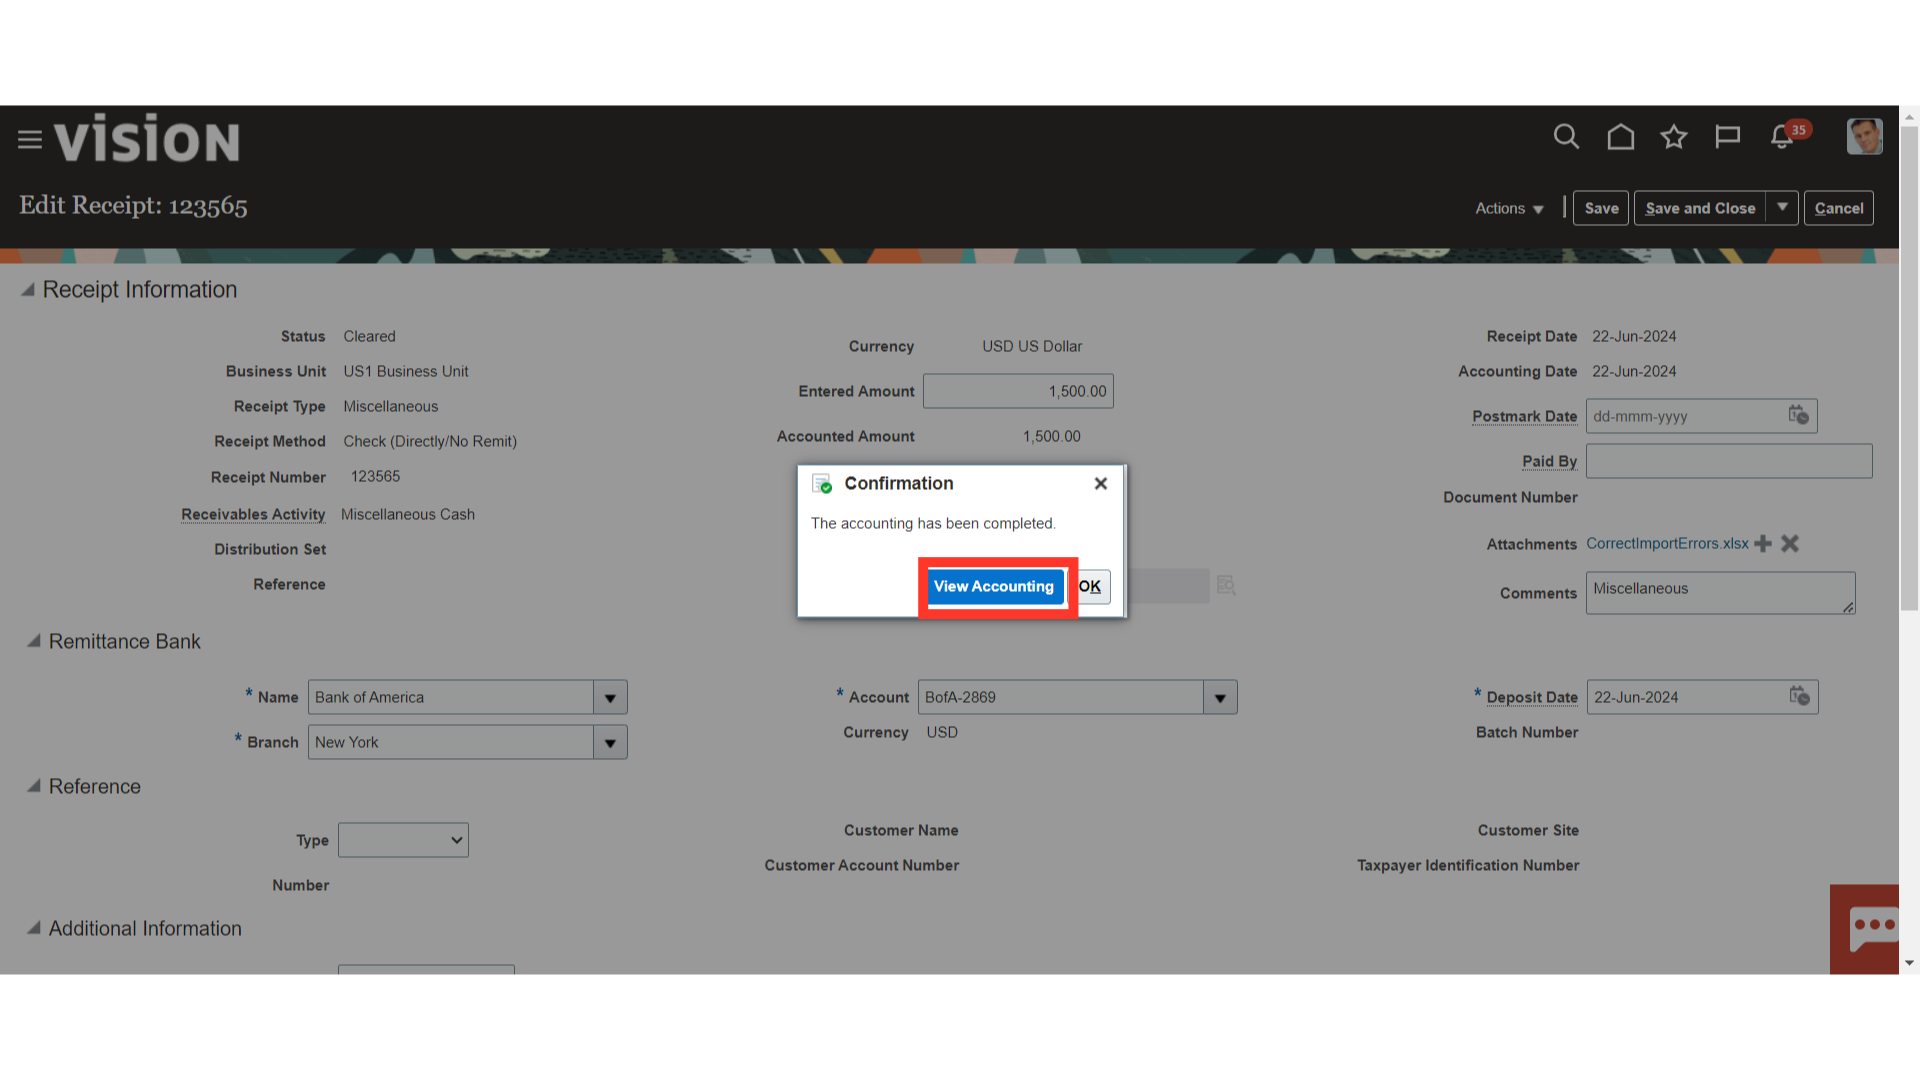
Click on the “View Accounting” button to see more details of the accounting entry.
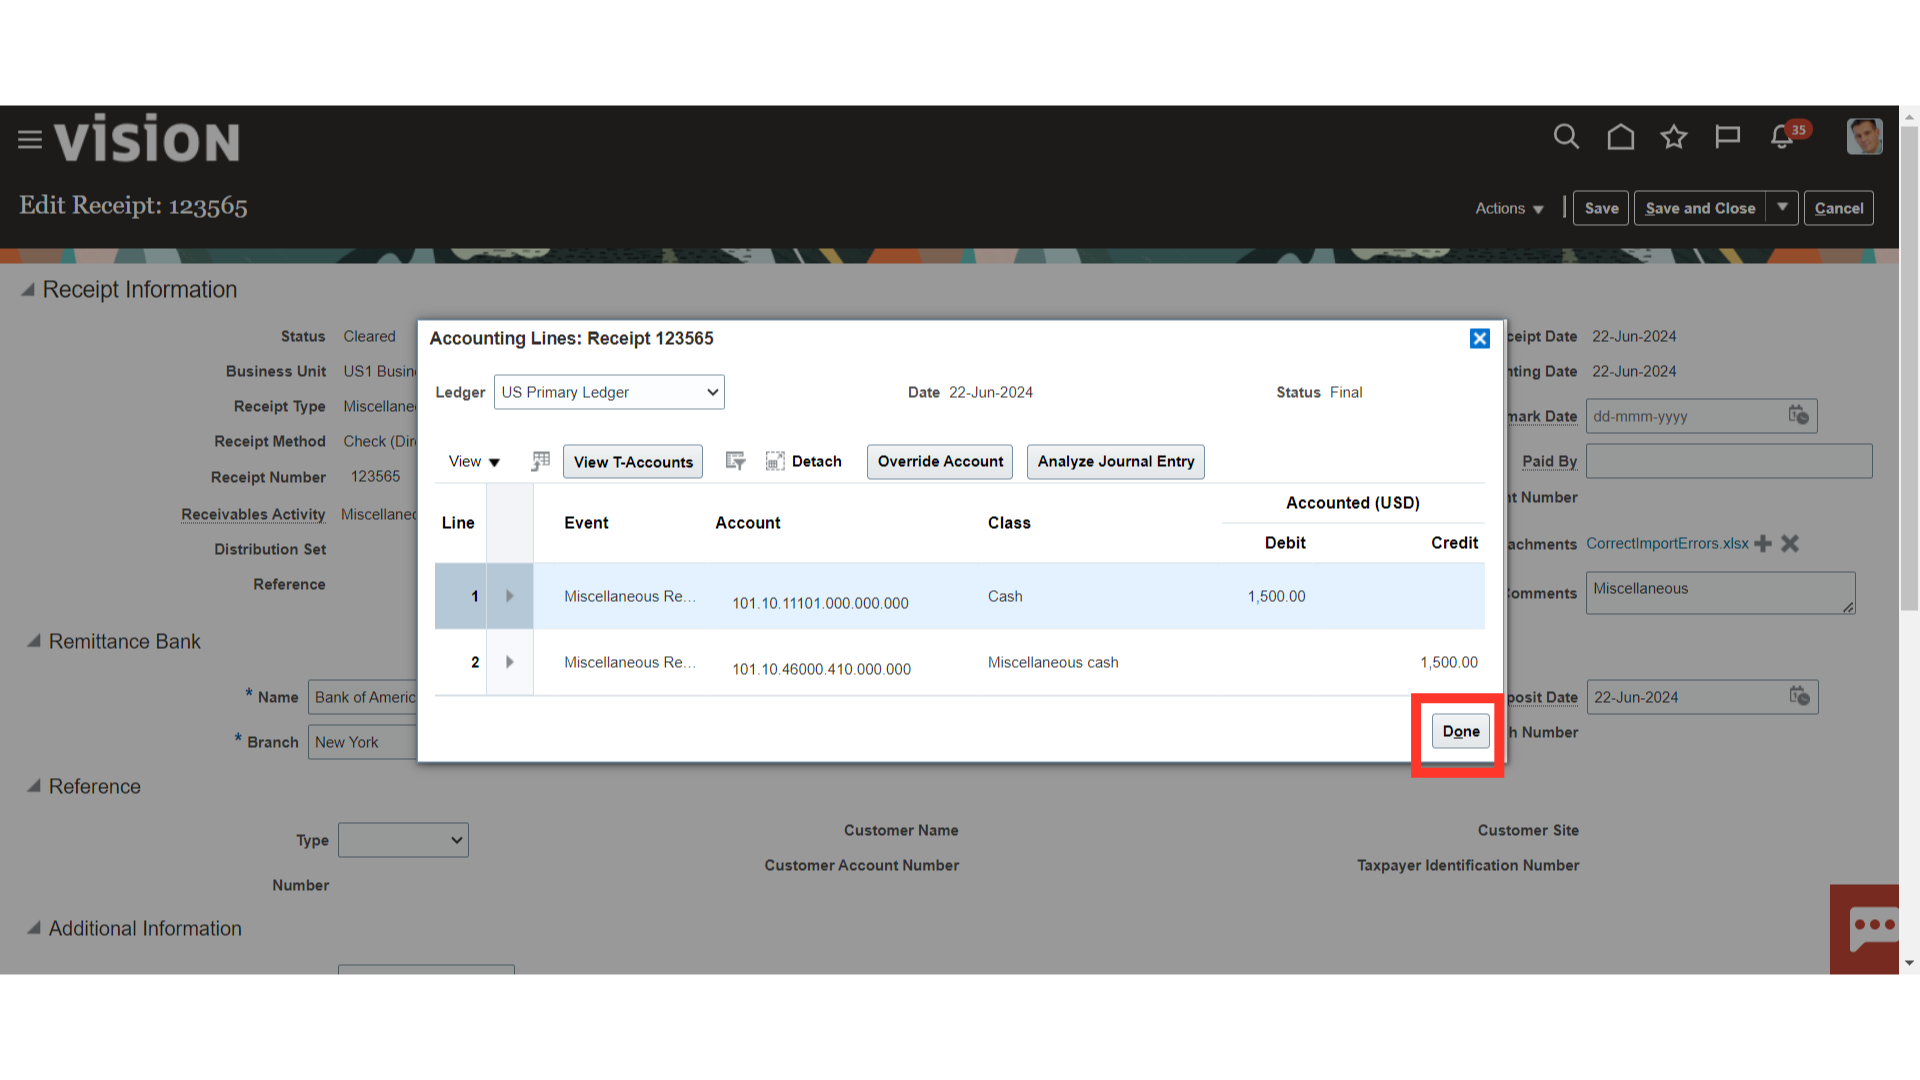
This is the accounting entry generated for the miscellaneous receipt. Click on the Done button to continue.
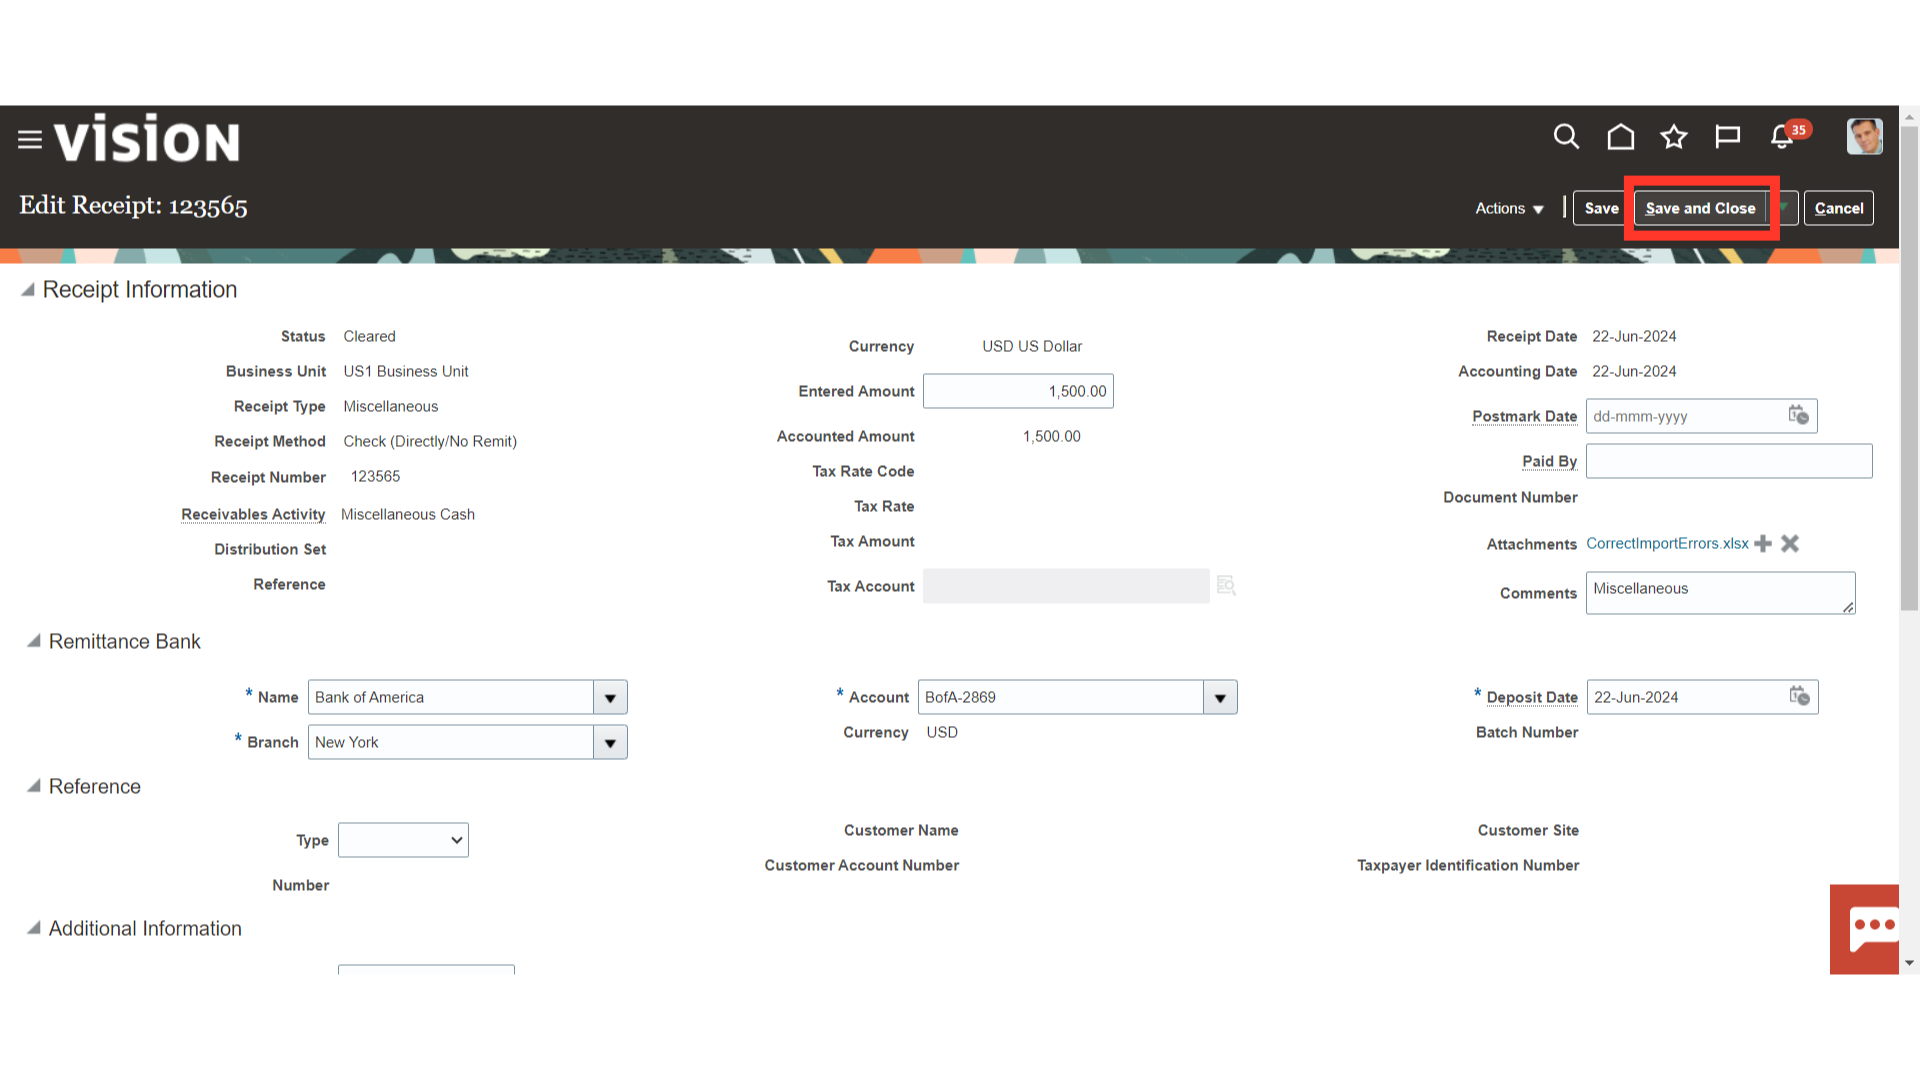
 Click on the Save and Close button to return back to the Accounts Receivable work area.
With a description of every field, this guide offered a thorough walkthrough for creating miscellaneous receipts and creating accounting entries for them. You can create miscellaneous receipts more easily and confidently after reading this guide.