How to Create a New Supplier Manually
This guide will provide detailed instructions for the process of Creating a New Supplier Organization and Site in the Procurement Module in Oracle Cloud. Follow these instructions to create a supplier organization and a site in the Supplier work area.
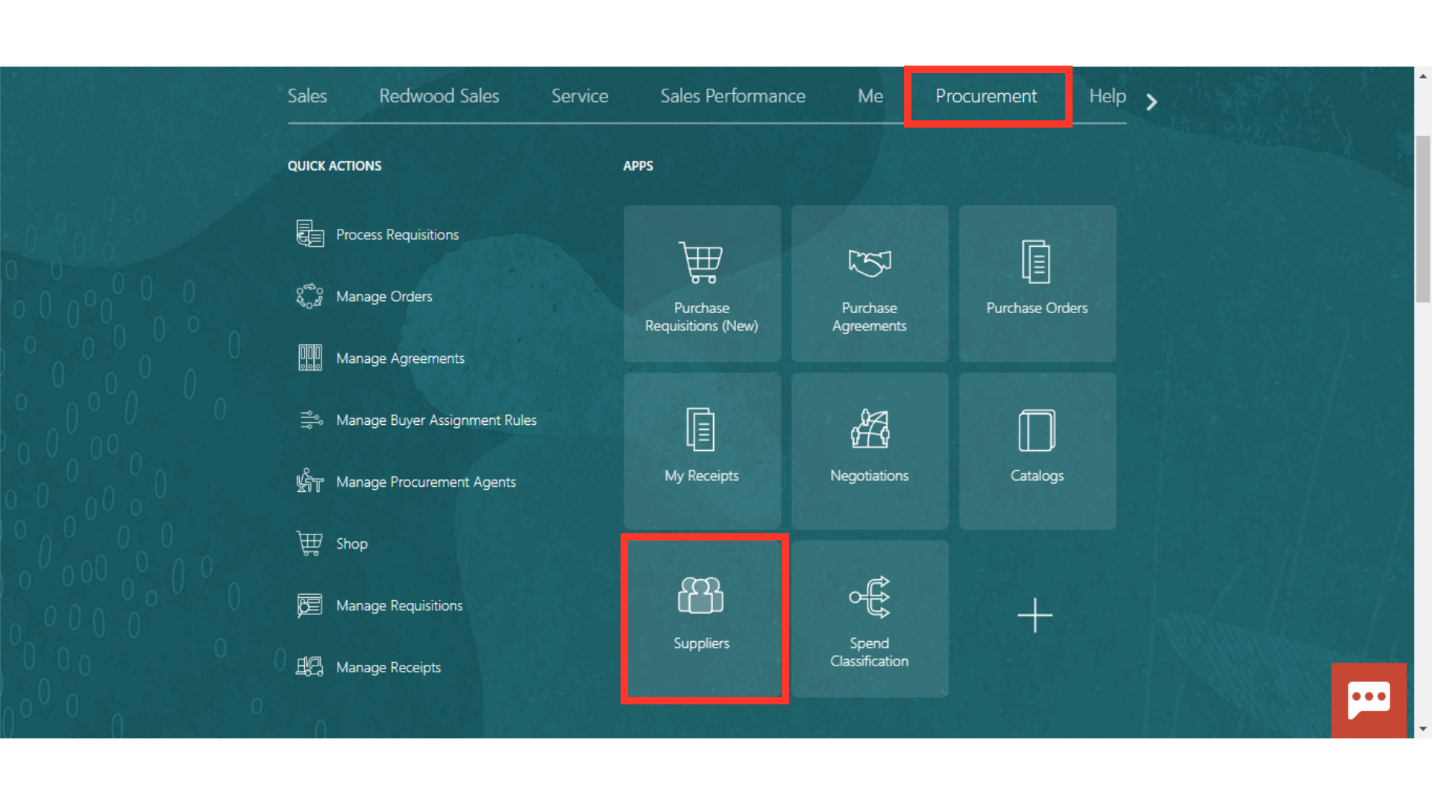
To create Supplier manually, navigate to the Procurement menu and access the Suppliers application.
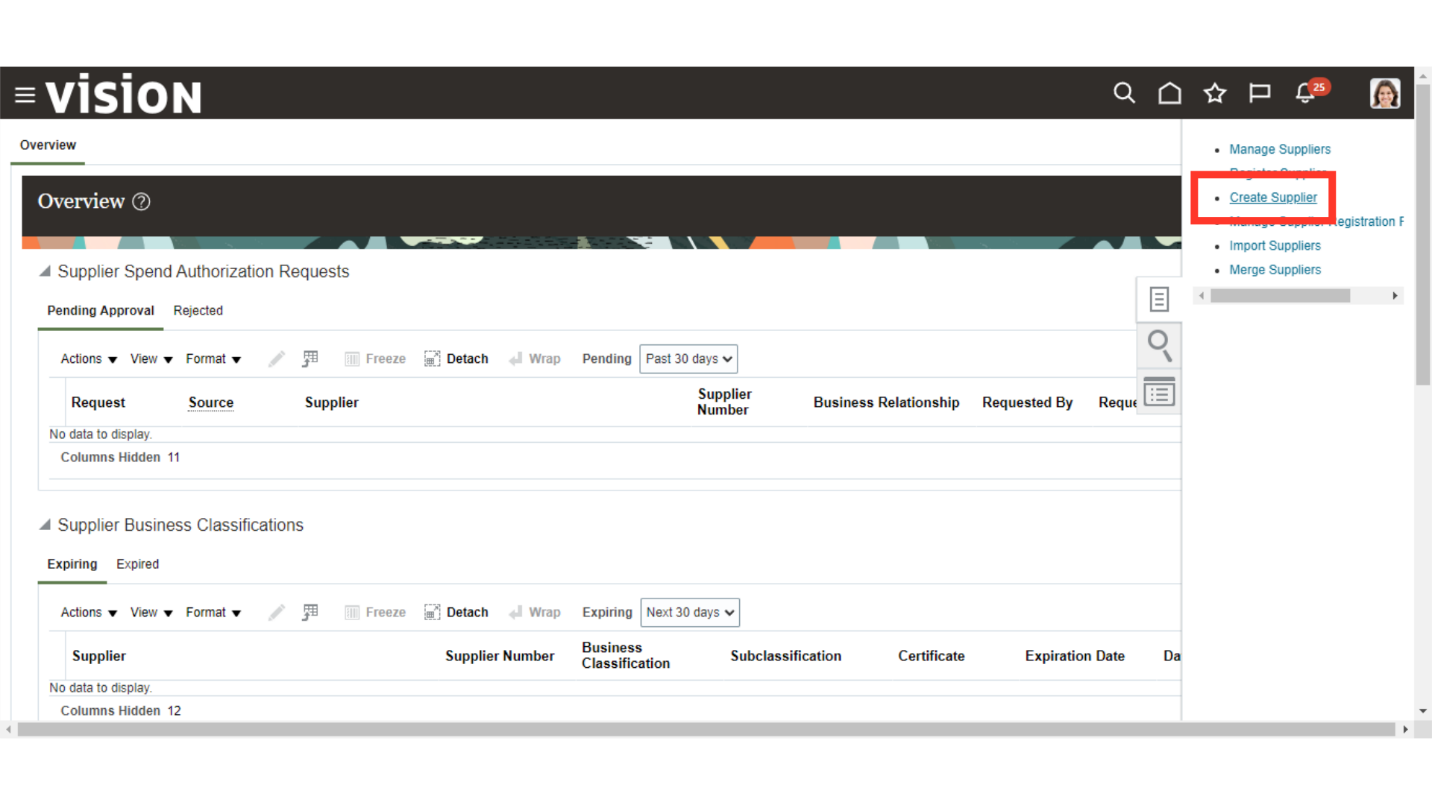
Go to the Task Pane to see the available tasks.

Select the Create Supplier task.
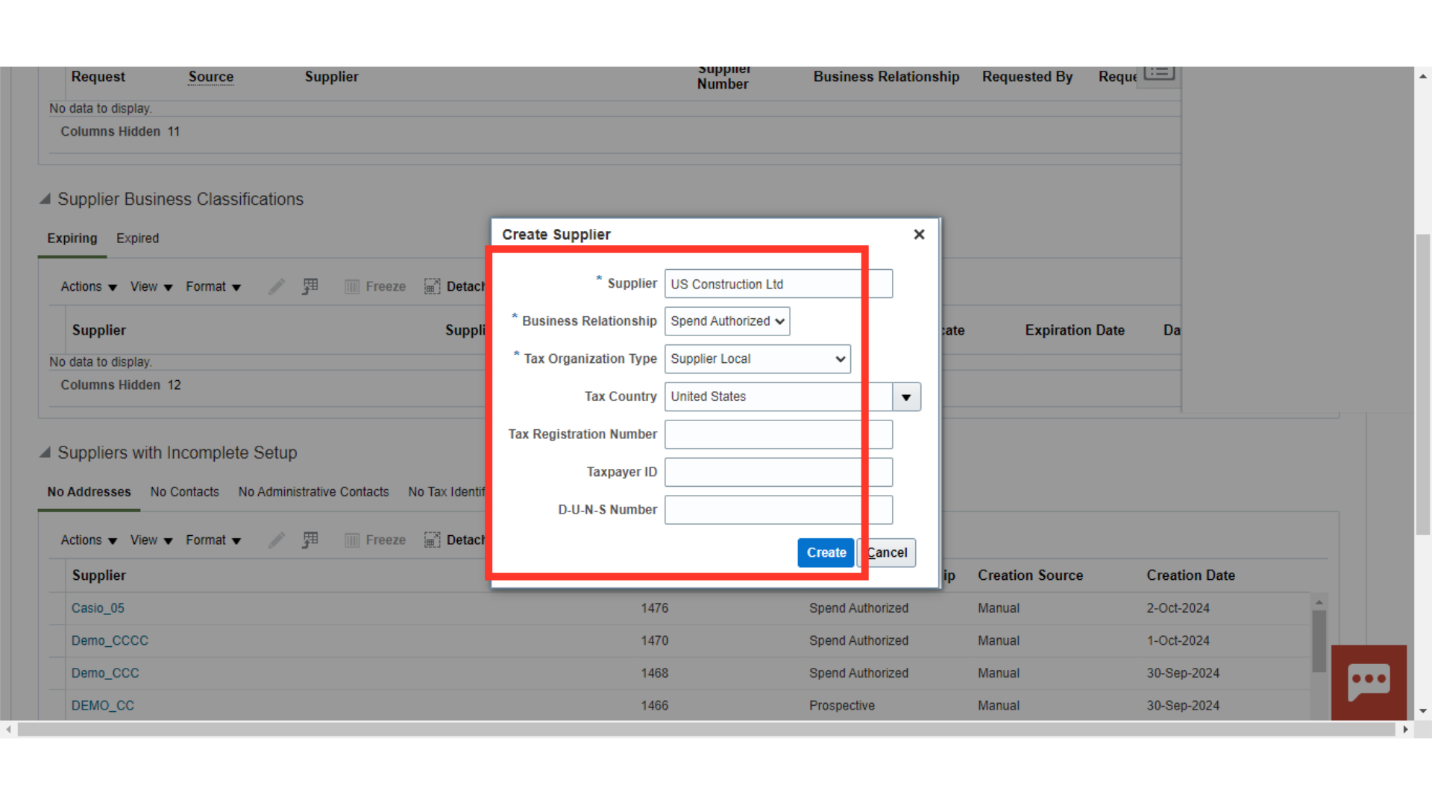
Enter a supplier name and choose the Business Relationship as Spend Authorized. This will ensure that supplier is ready to be used for issuing a PO. Select the Tax Organization Type as Company and input the Tax Country. After filling these details, click on the Create button to create a supplier record.
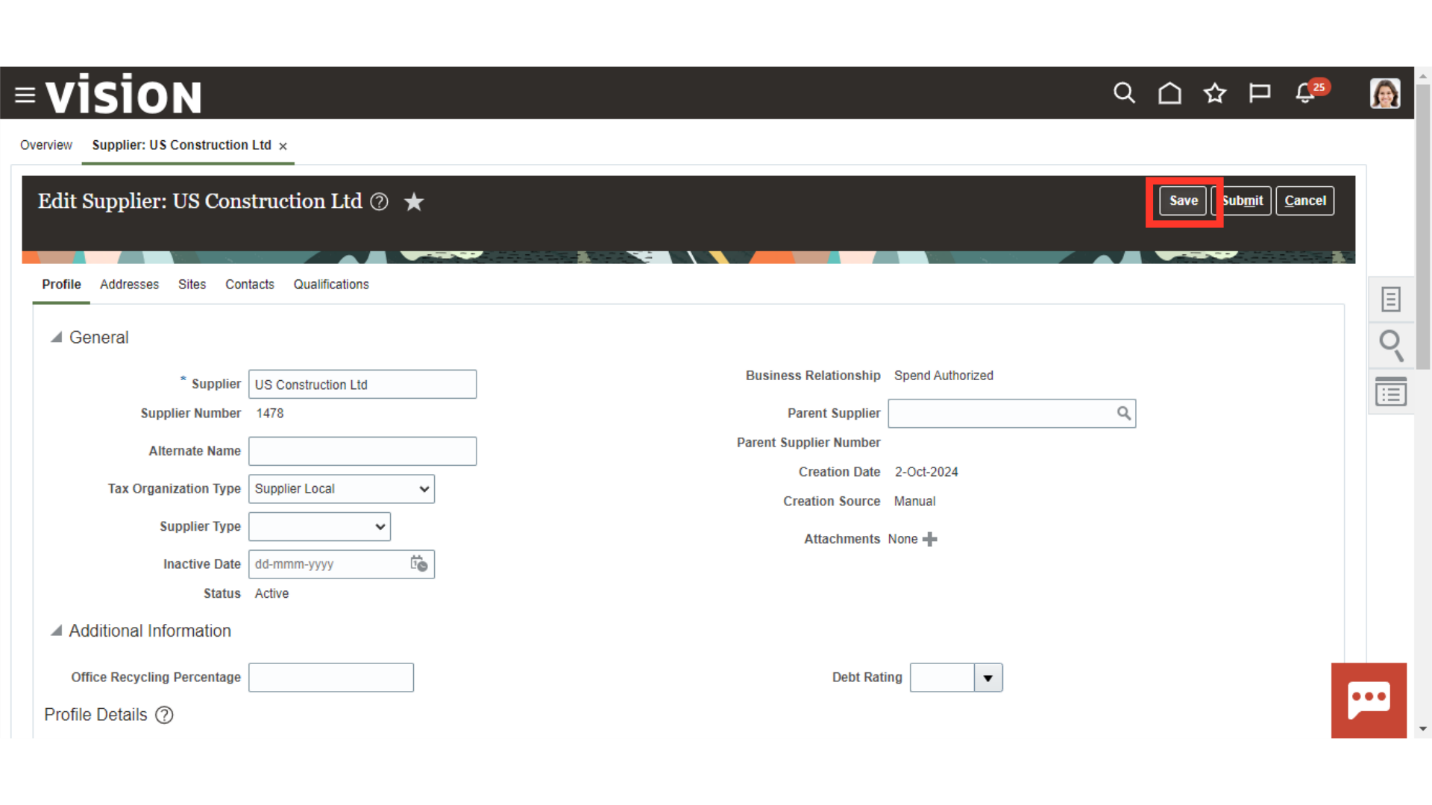
You will be navigated to a page to input further details on a supplier. Enter the appropriate details in the General section if any.
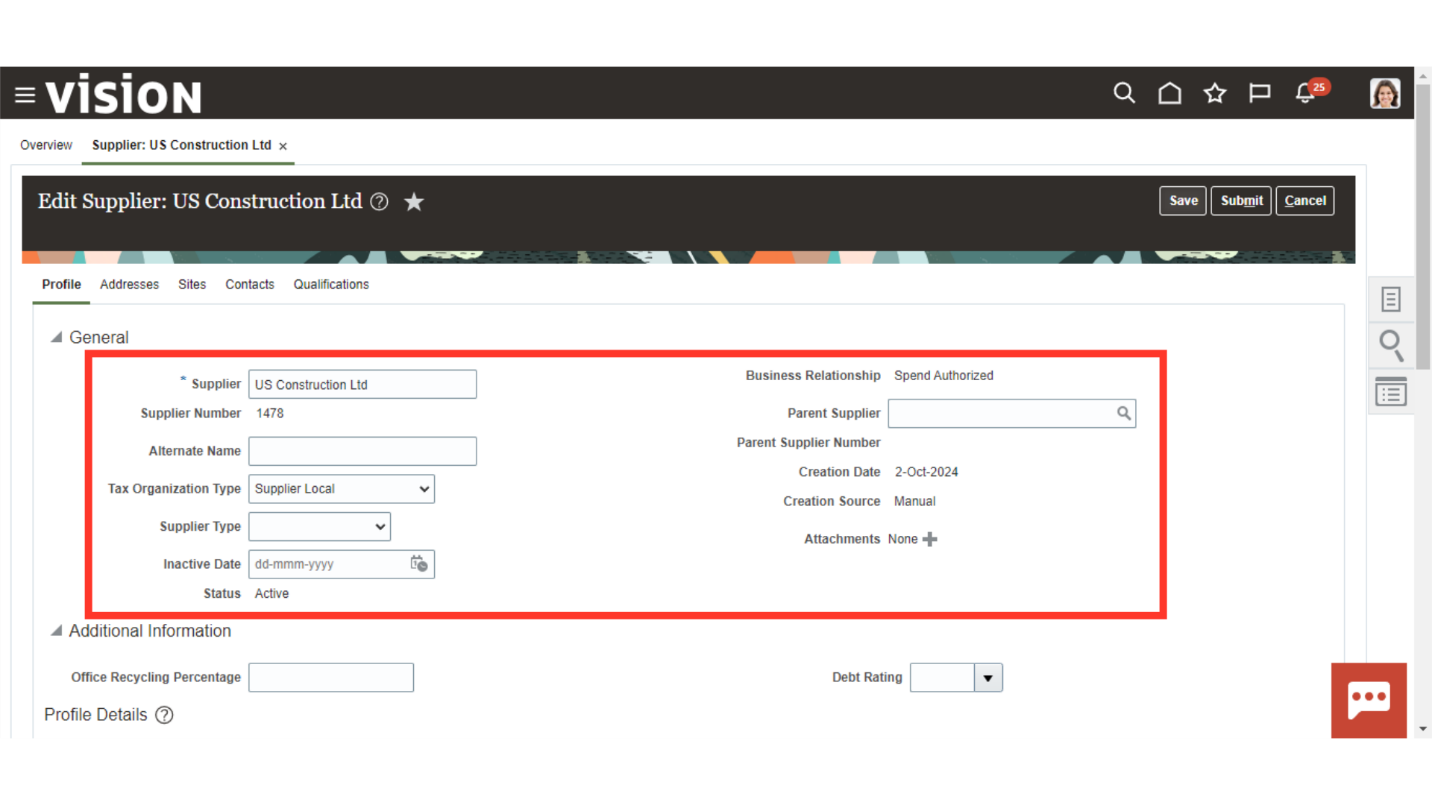
Click on the Save button.
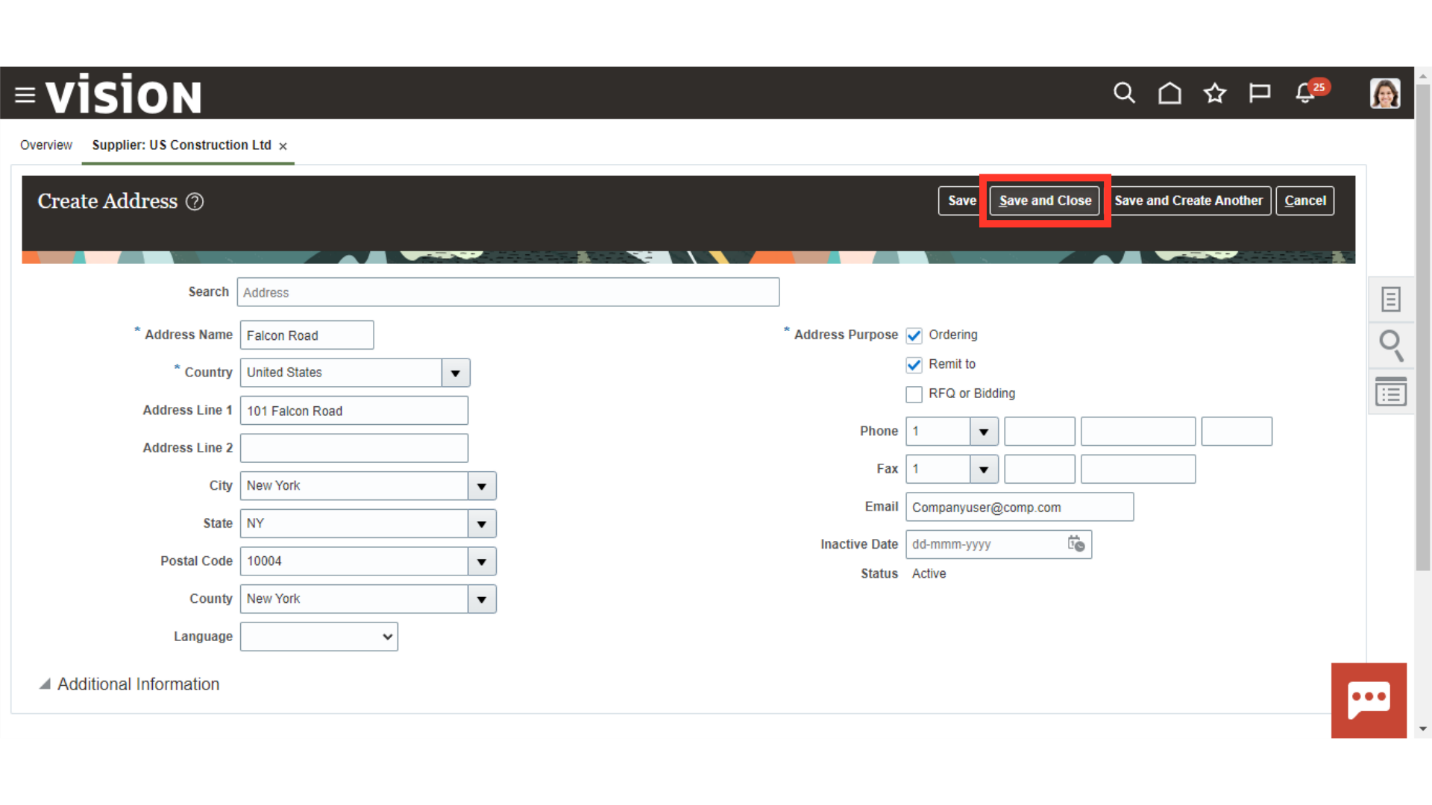
Access the Addresses section to create the supplier’s address.
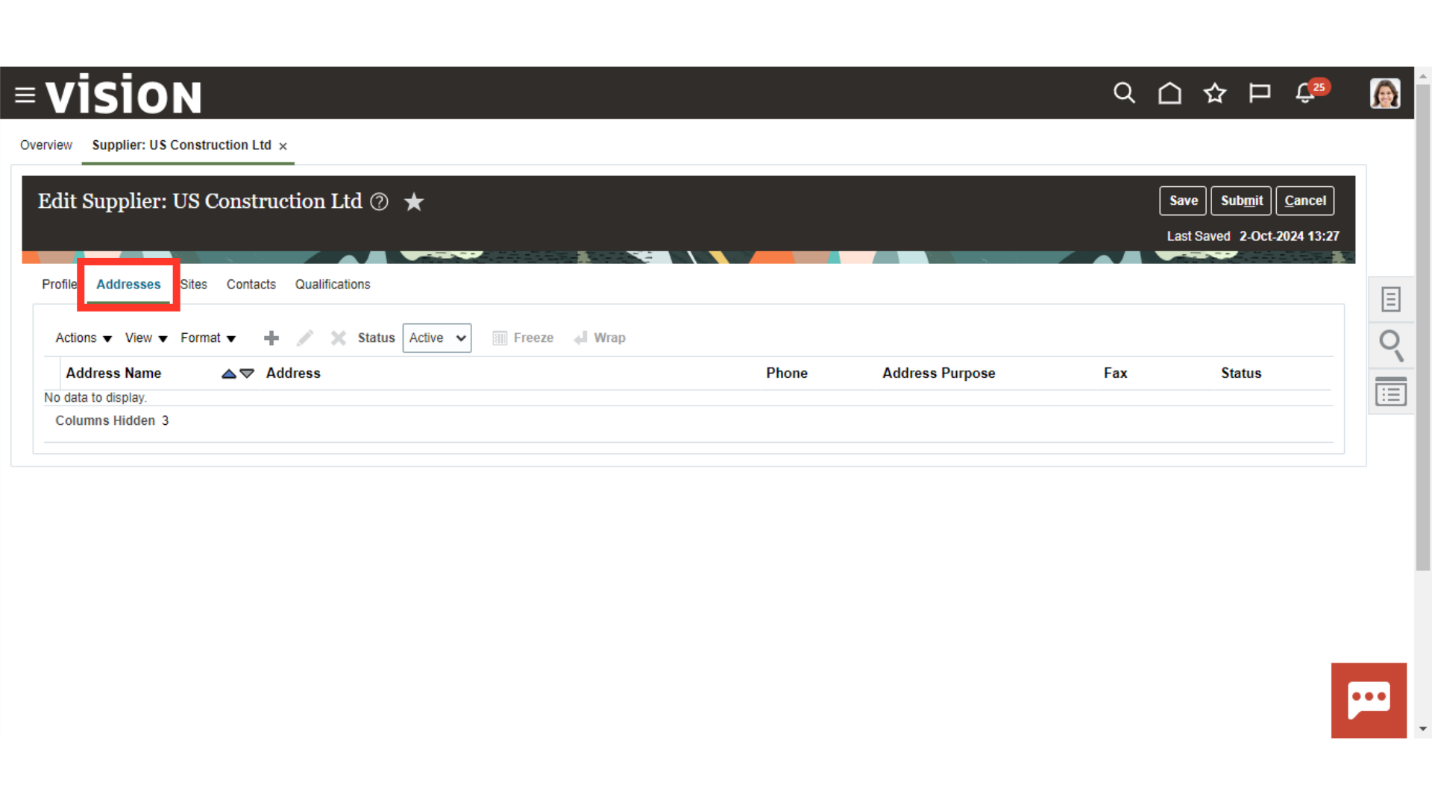
Click on the plus icon.

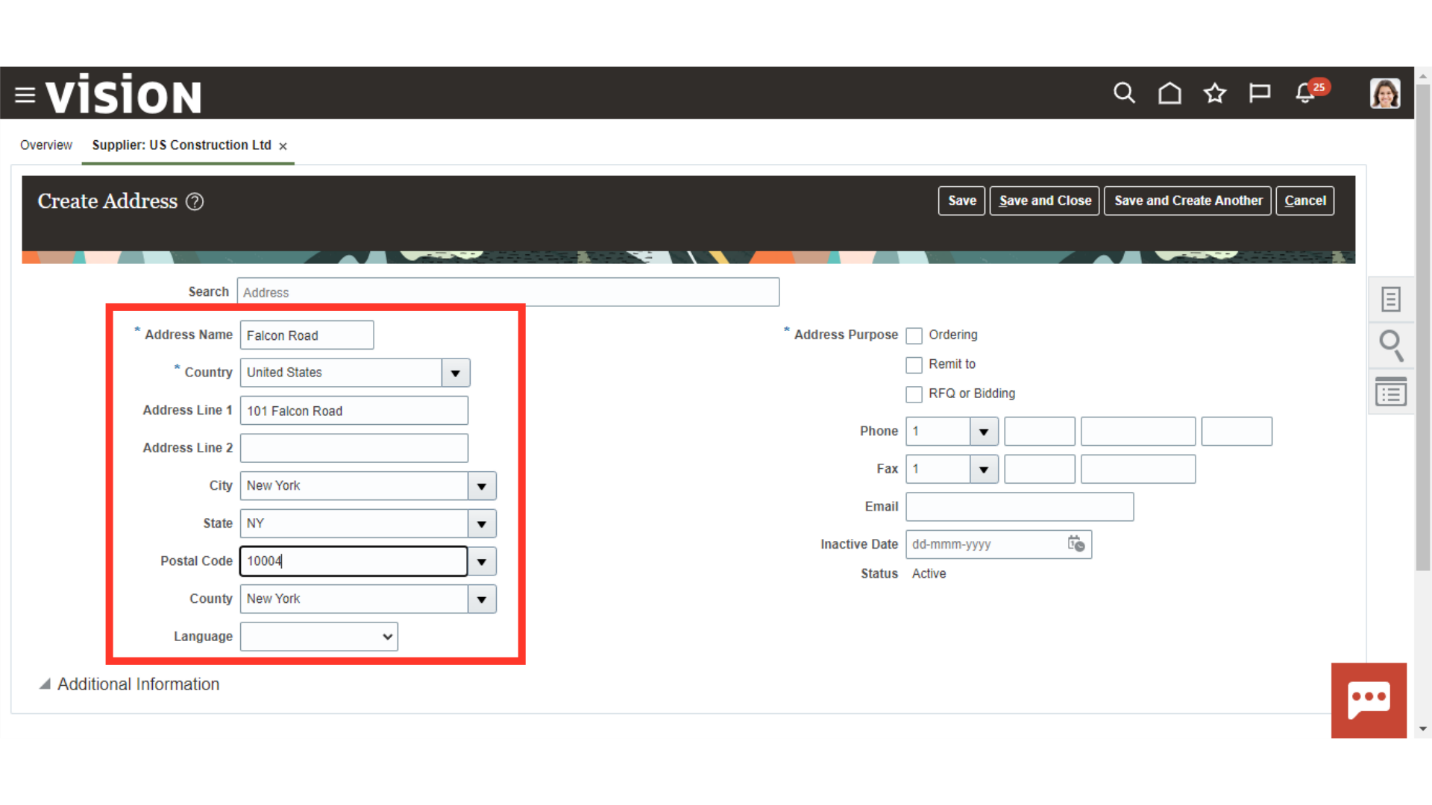
Enter the address details accurately keeping in mind the location of supplier’s office or the organization.
Choose the Address Purpose. Furthermore, add communication details if any.
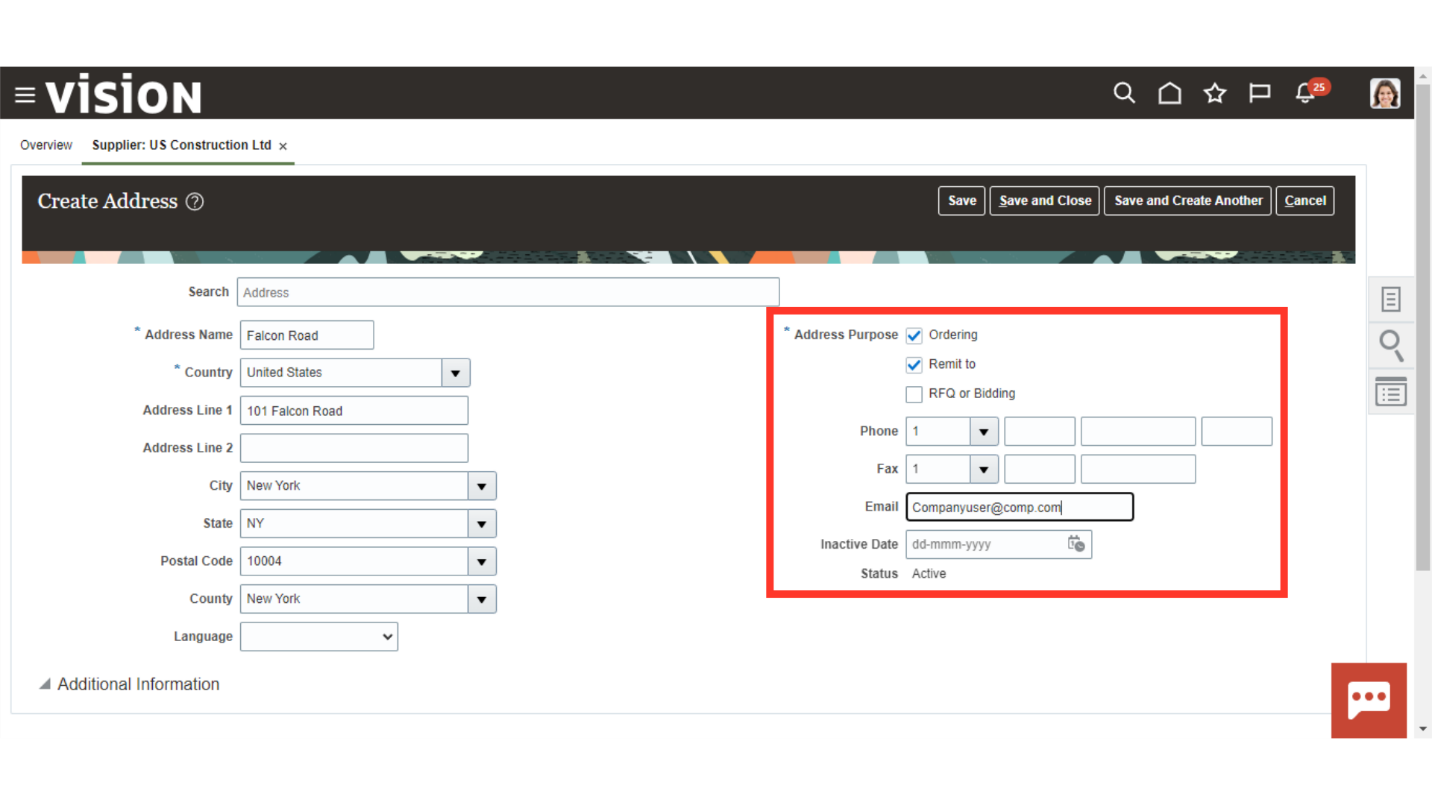
Click on the Save and Close button.
Navigate to the Sites tab to add the site details.
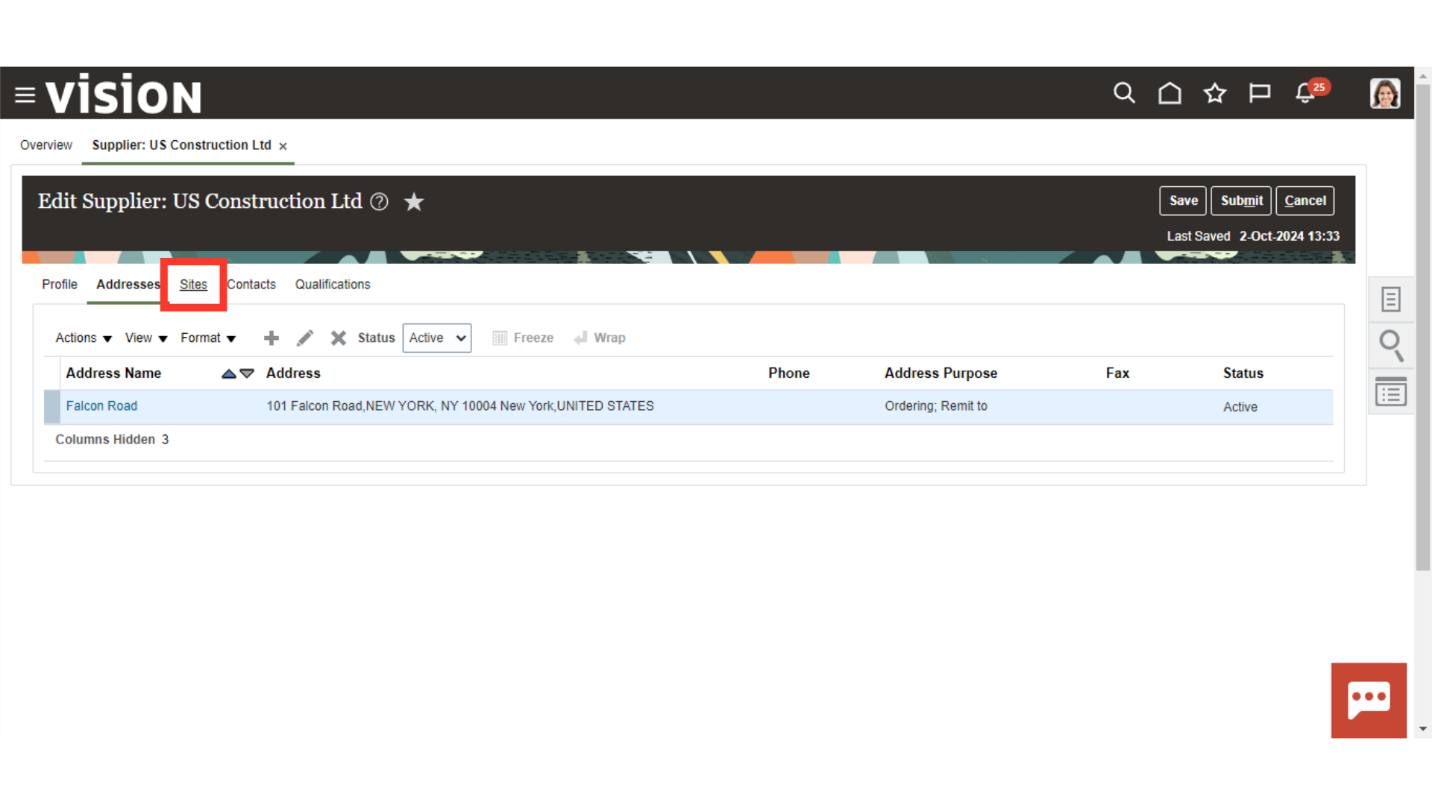
Click on the plus icon to add a site.

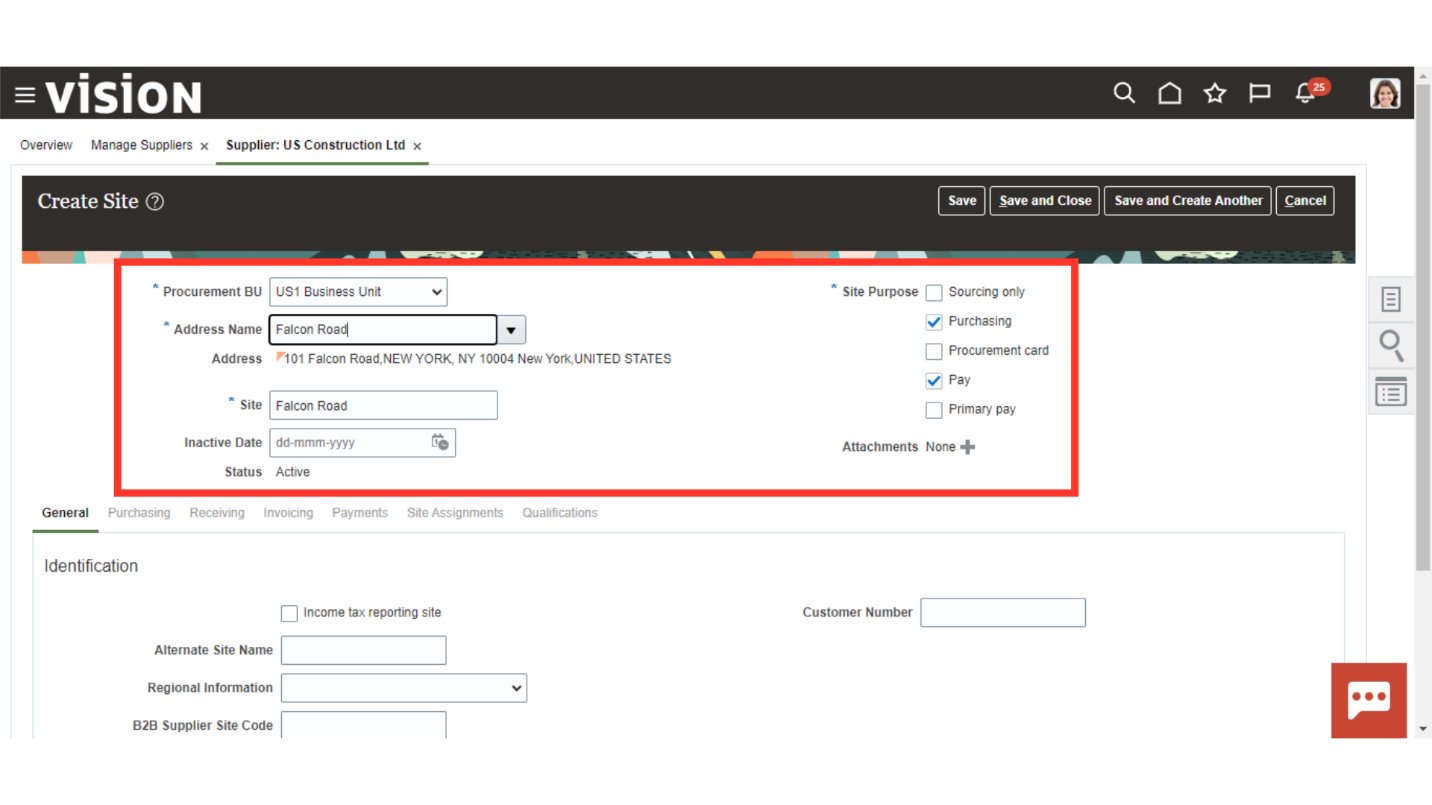
Enter the site level details like Procurement BU, Address, and a Site purpose. Whether or not a supplier will be available for a PO and invoice depends on the Site Purpose.
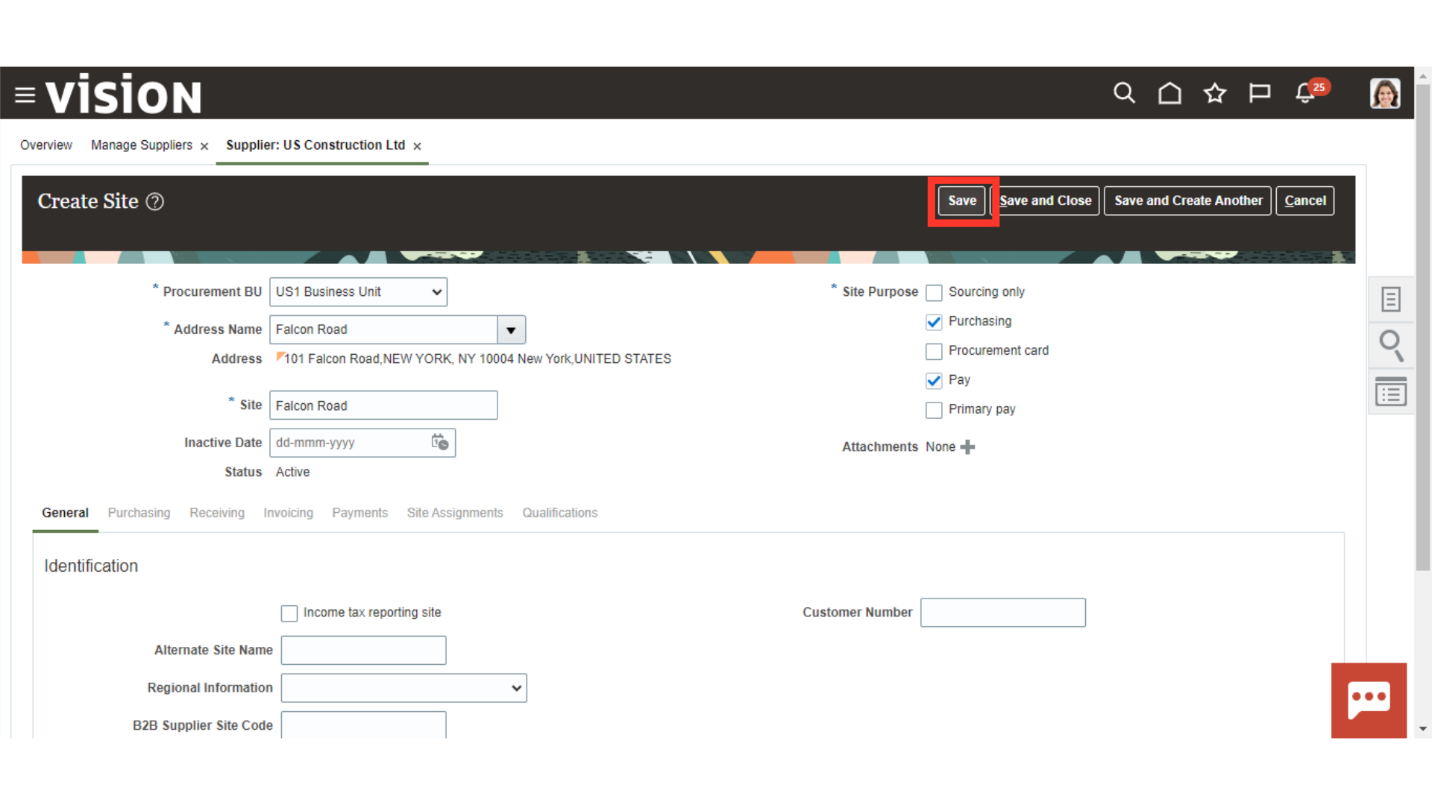
Click on the Save button.
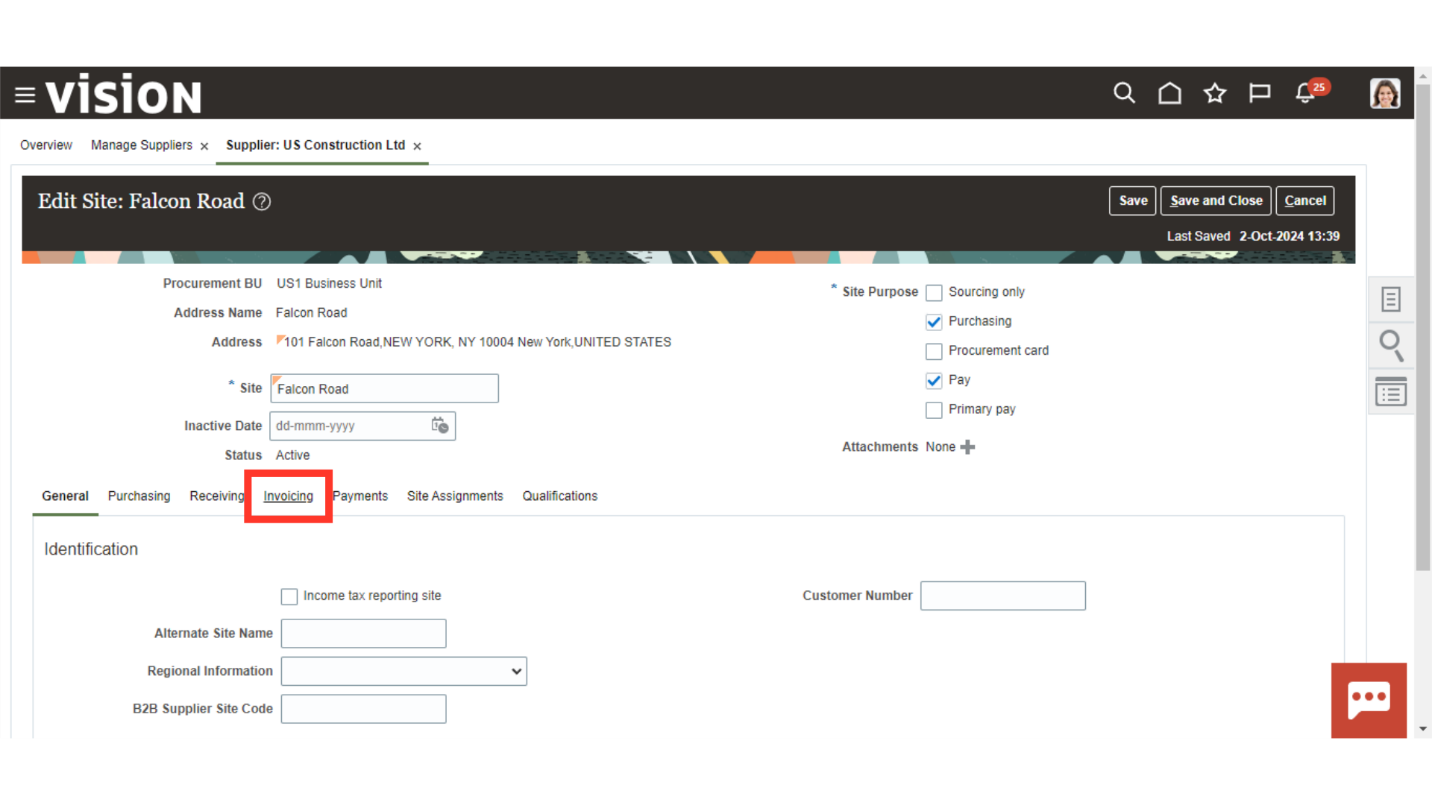
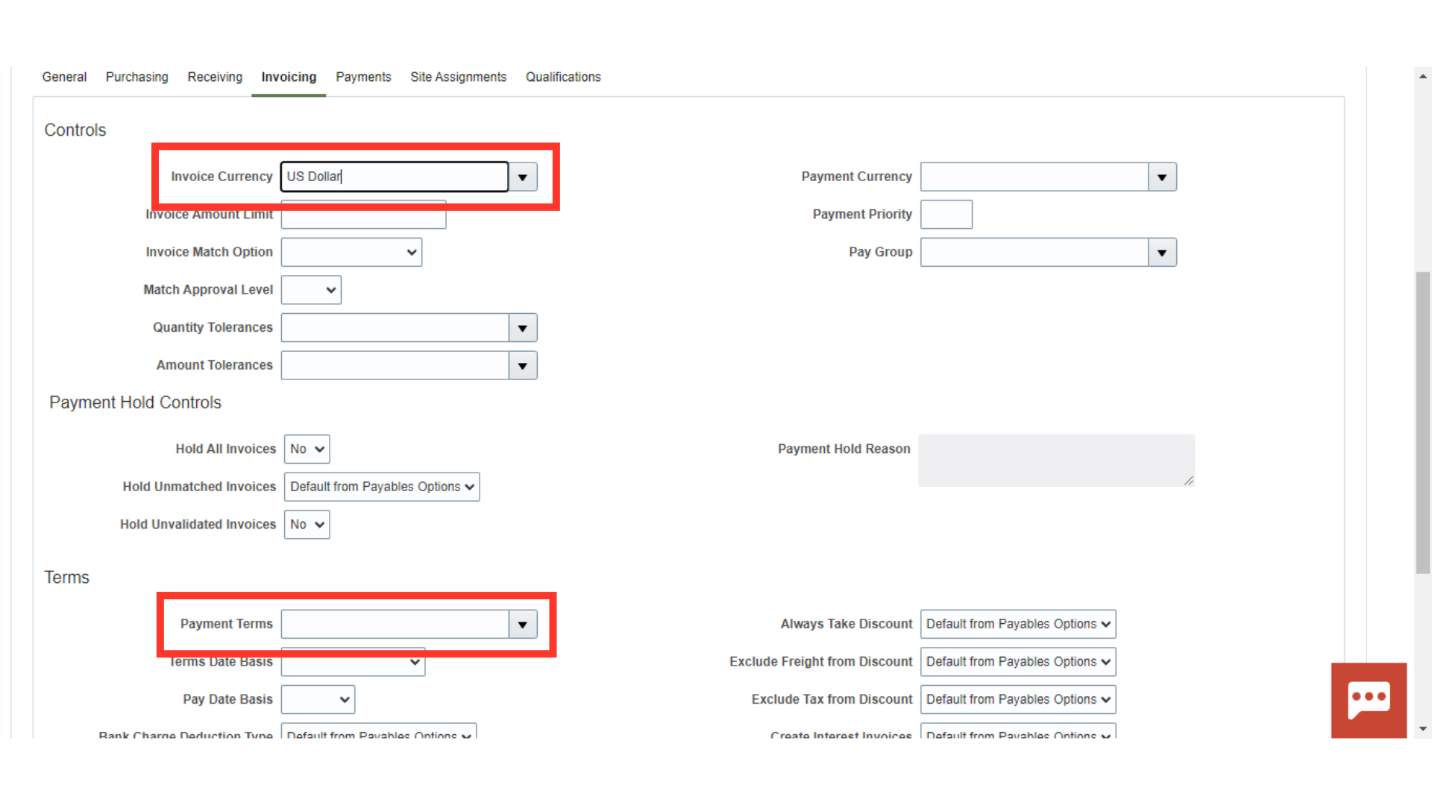
Go to the Invoicing tab.
The options selected in this tab will default on the invoice for this supplier. For an example, select an Invoice Currency or a Payment Term to default the same on the invoice.
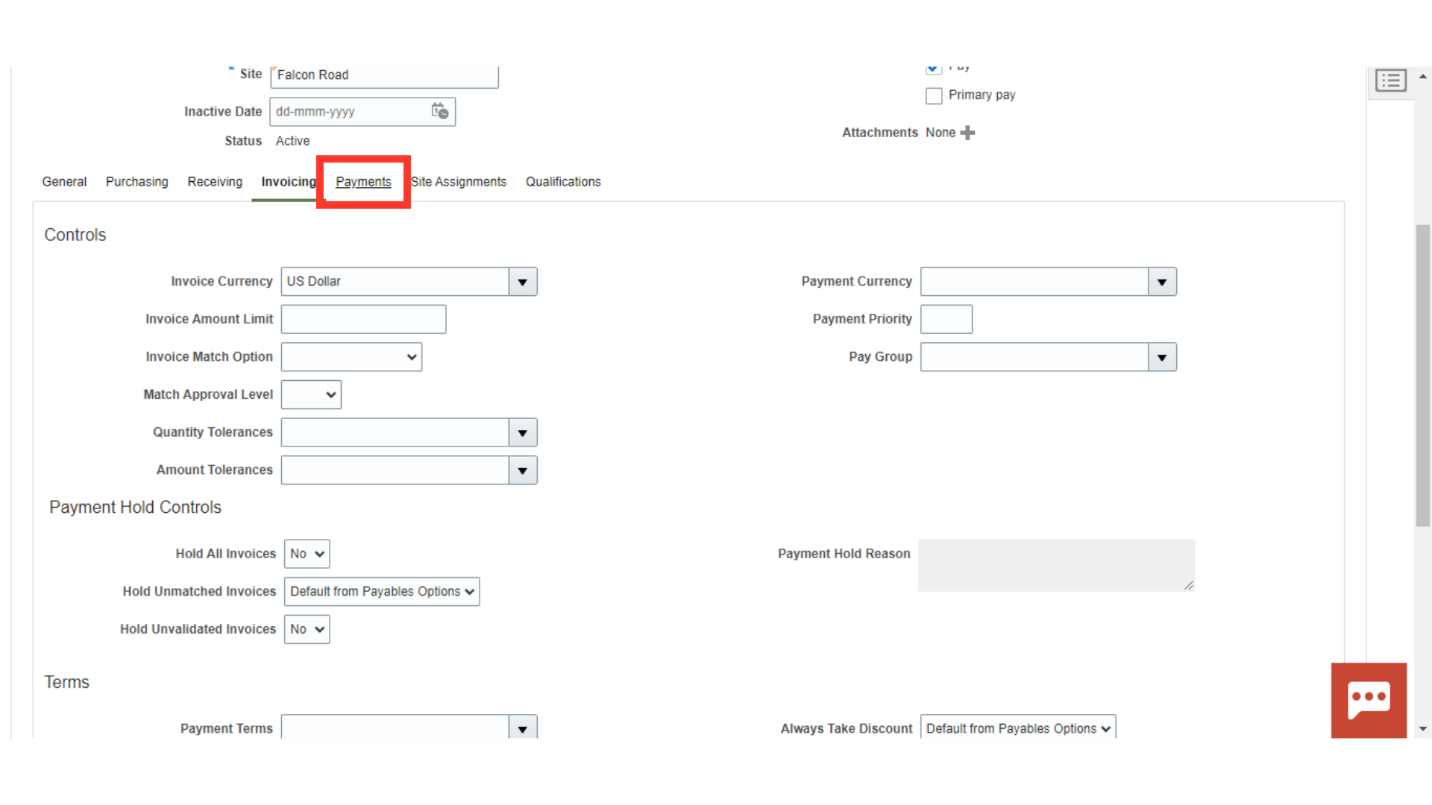
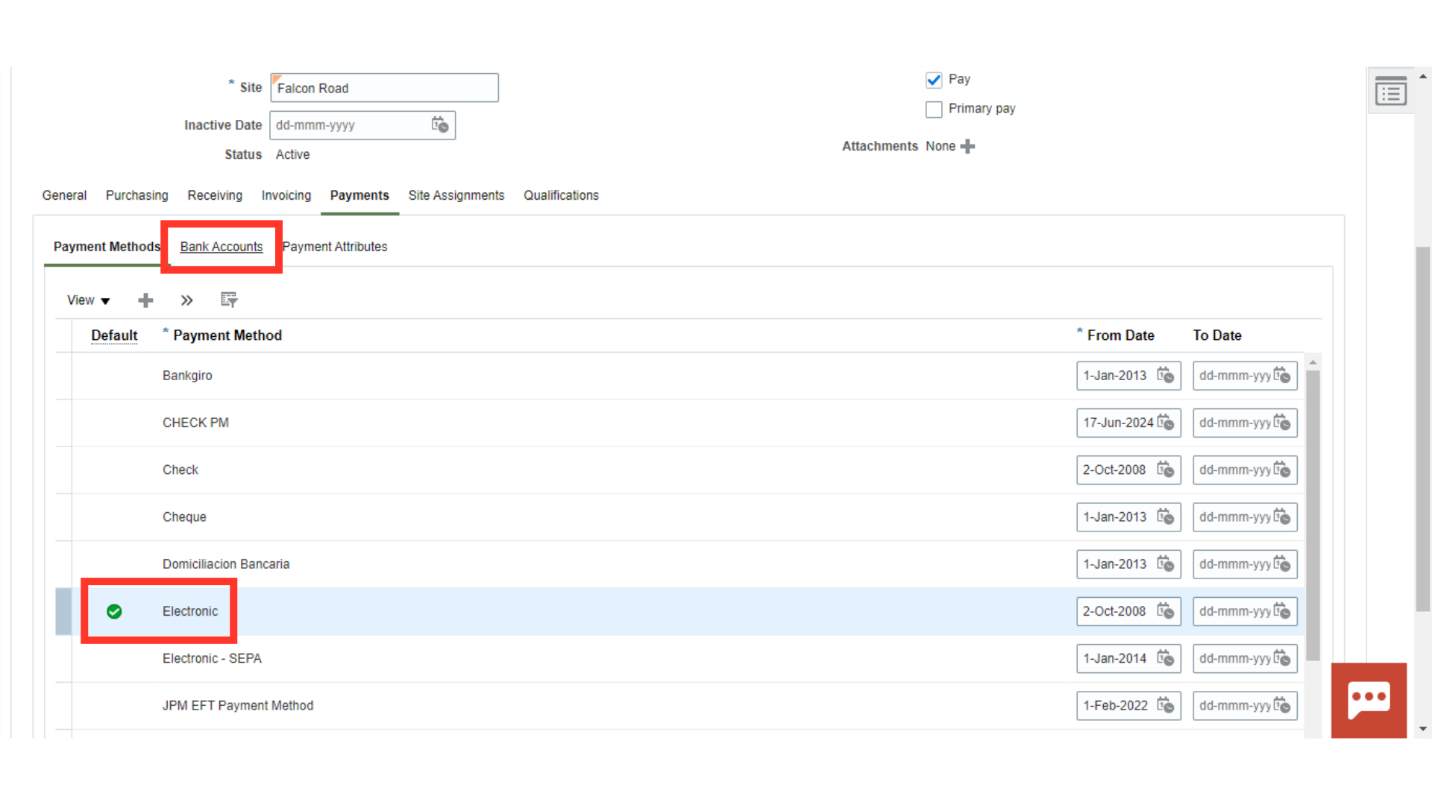
Go to the Payments section.
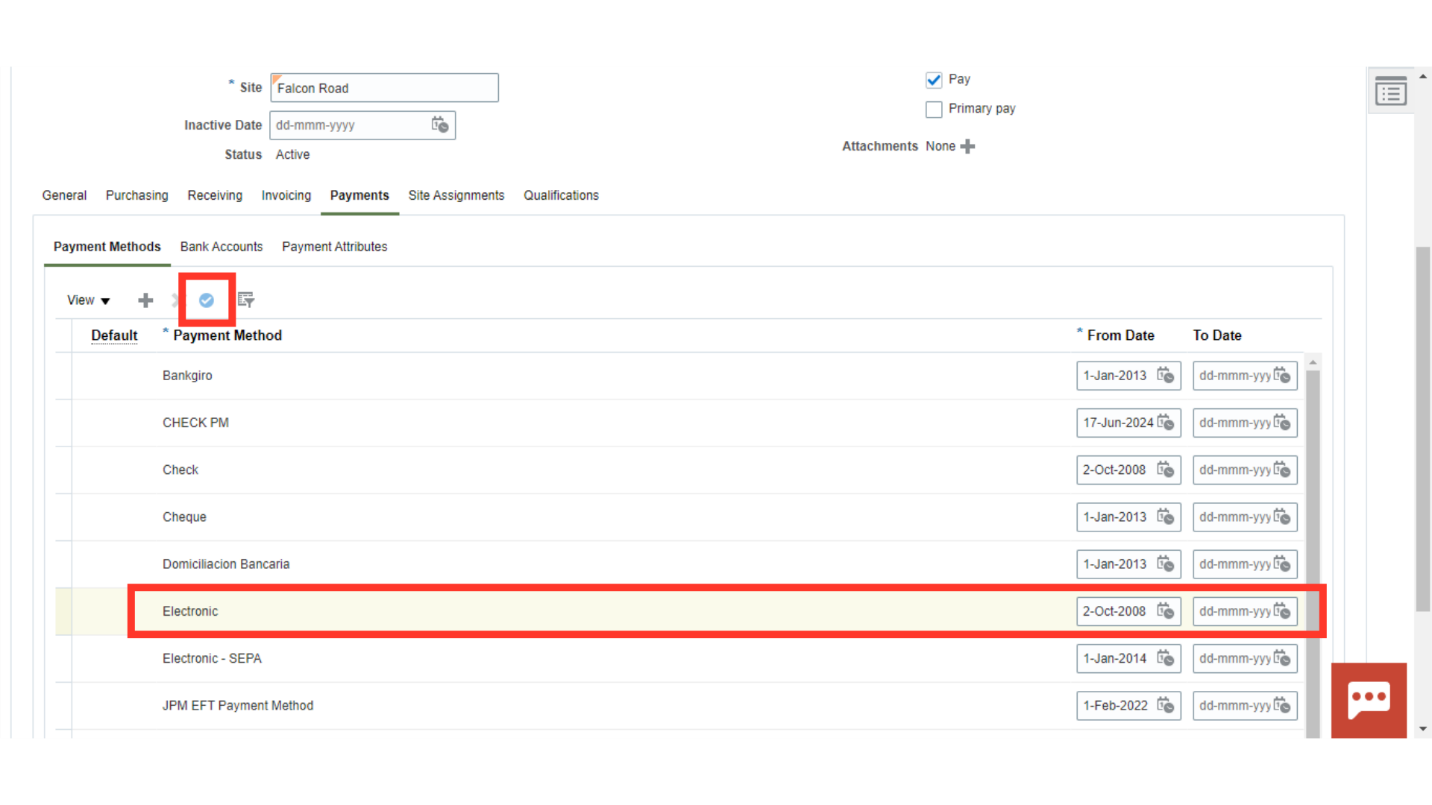
Here, you can set a primary payment method. Select a payment method and tick the Set Primary button.
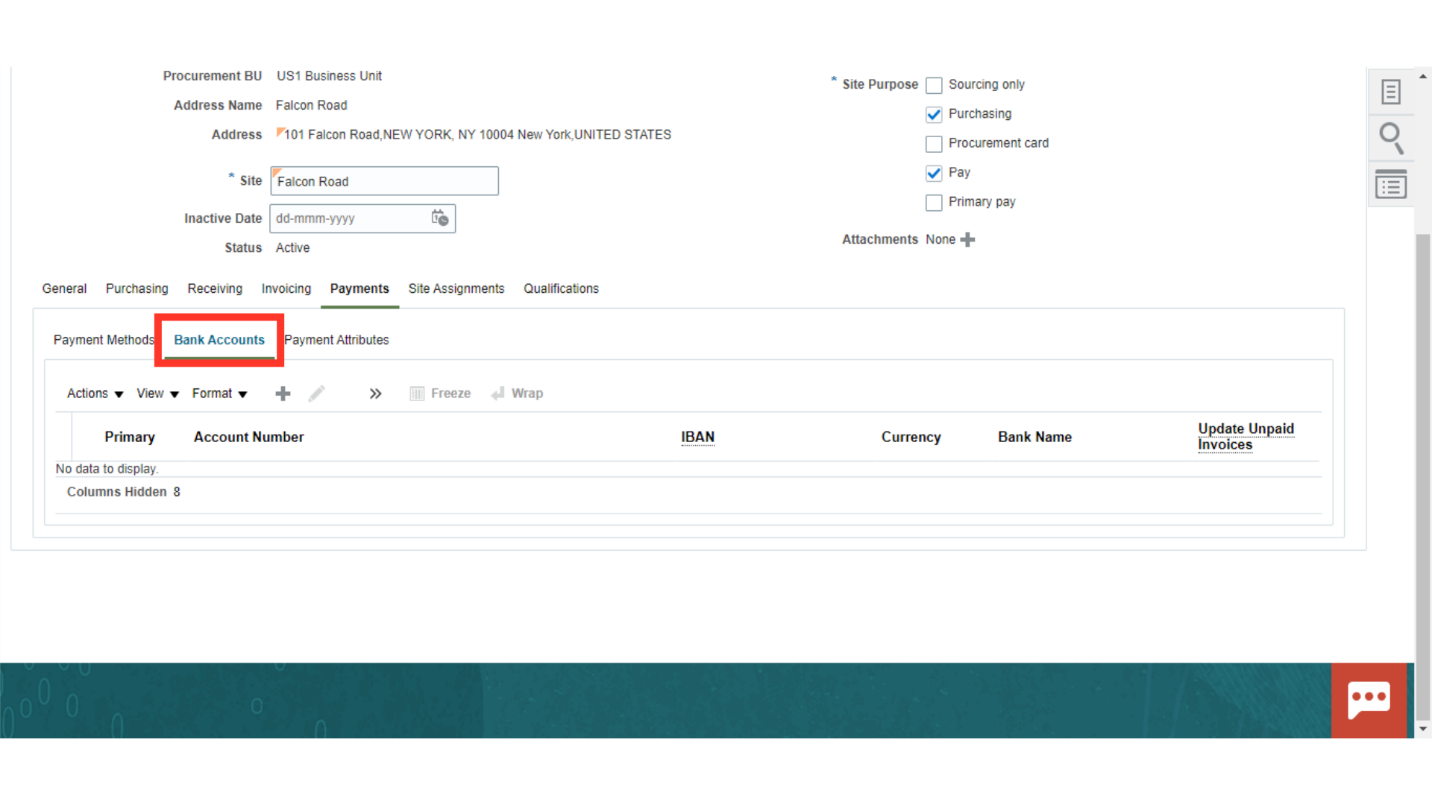
Once the Payment method is defaulted click on the Bank Accounts tab.
At the Bank Accounts tab, you can add or create a new supplier bank account. This bank account will be visible at the supplier invoice for creating a payment.
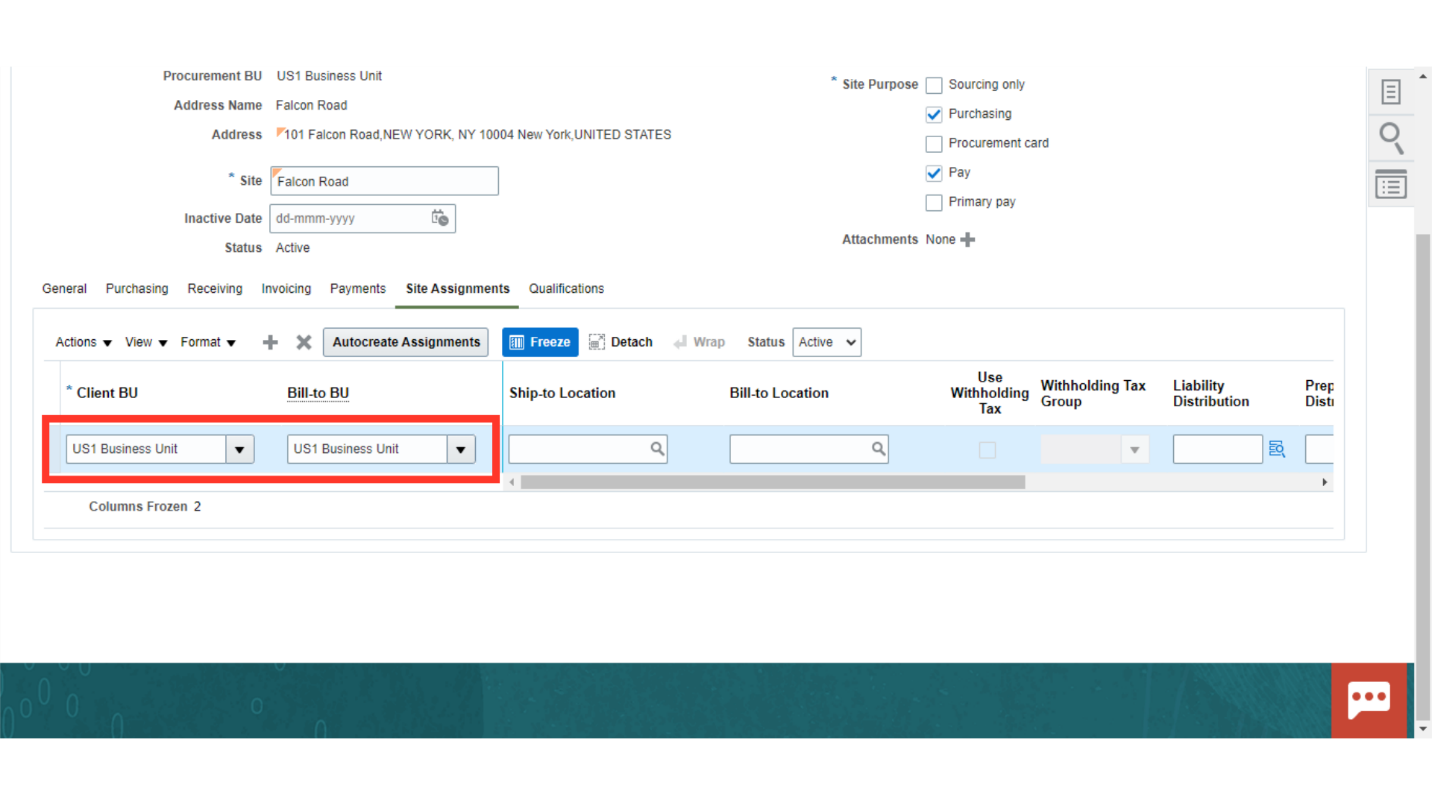
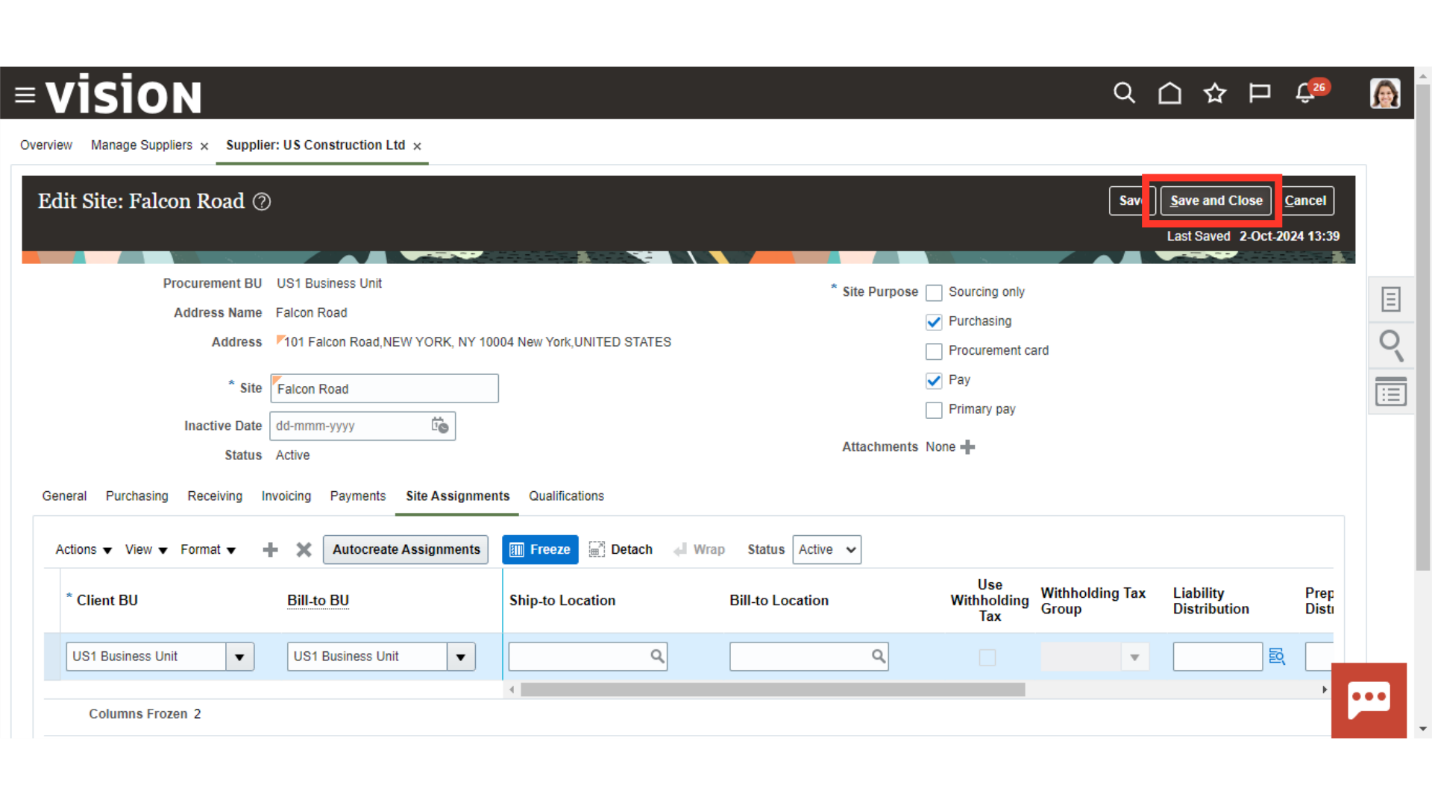
Go to the site assignment tab where you need to assign the Procurement BU. Click on the plus icon.
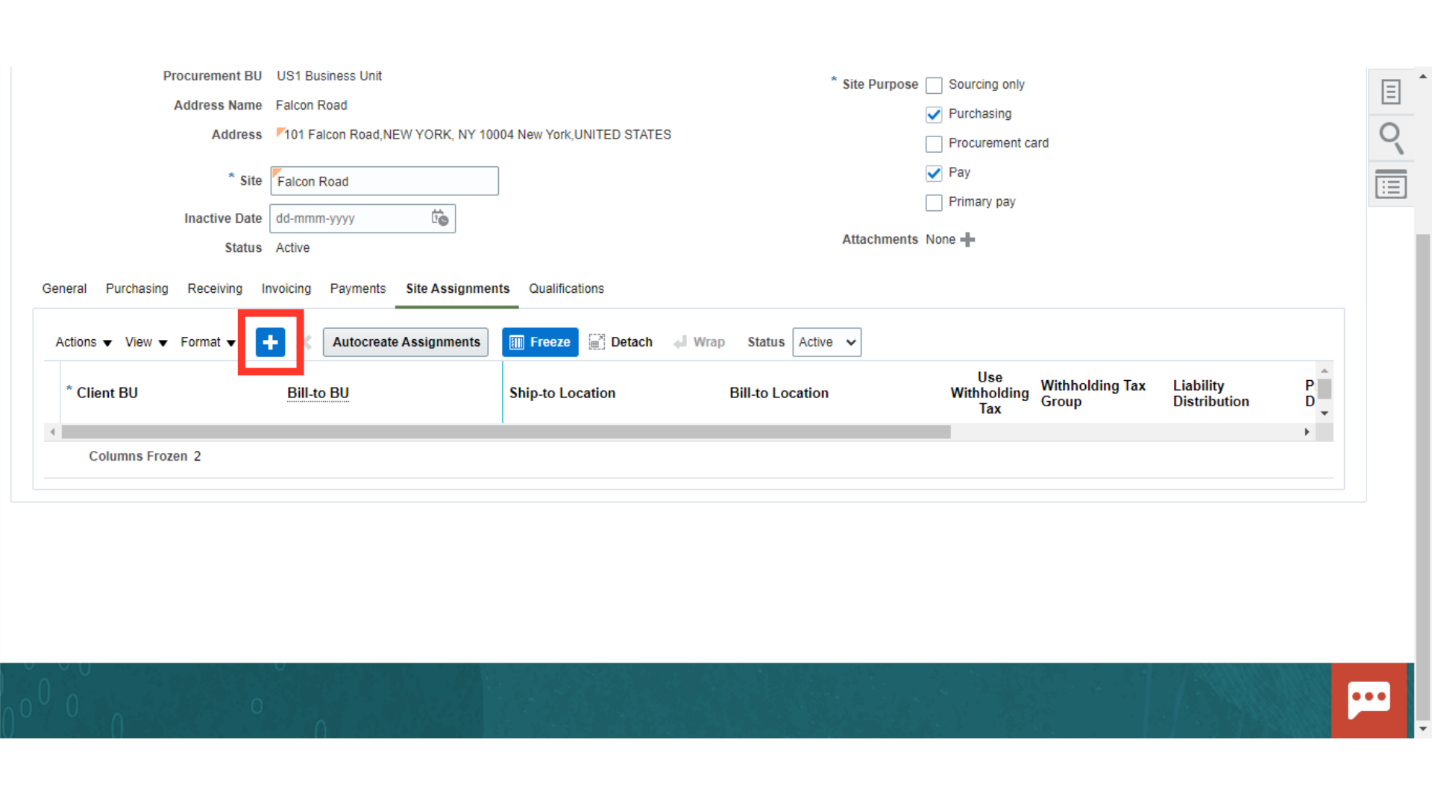
Select a Business Unit.
Save and close the details.
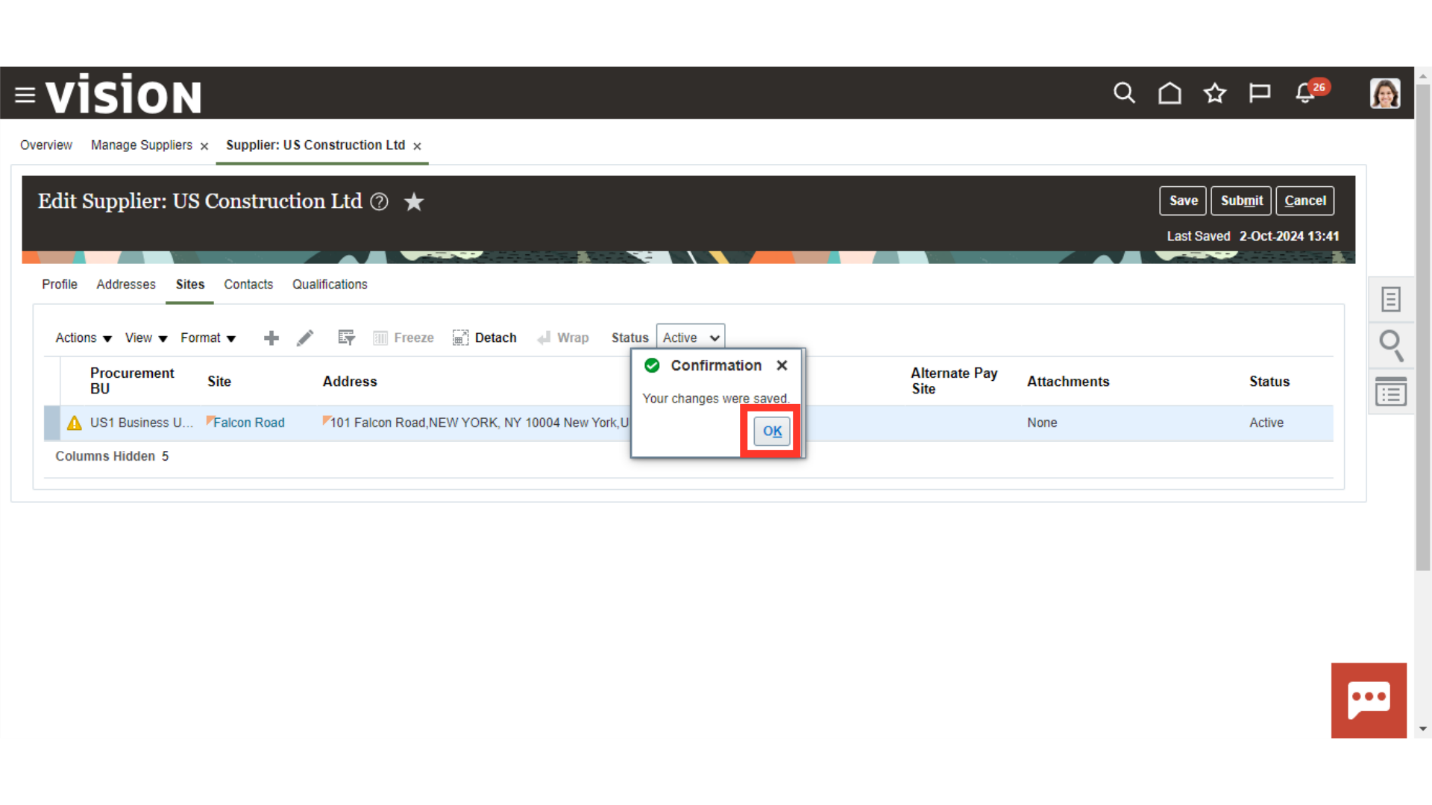
Click on OK in the confirmation dialog box.
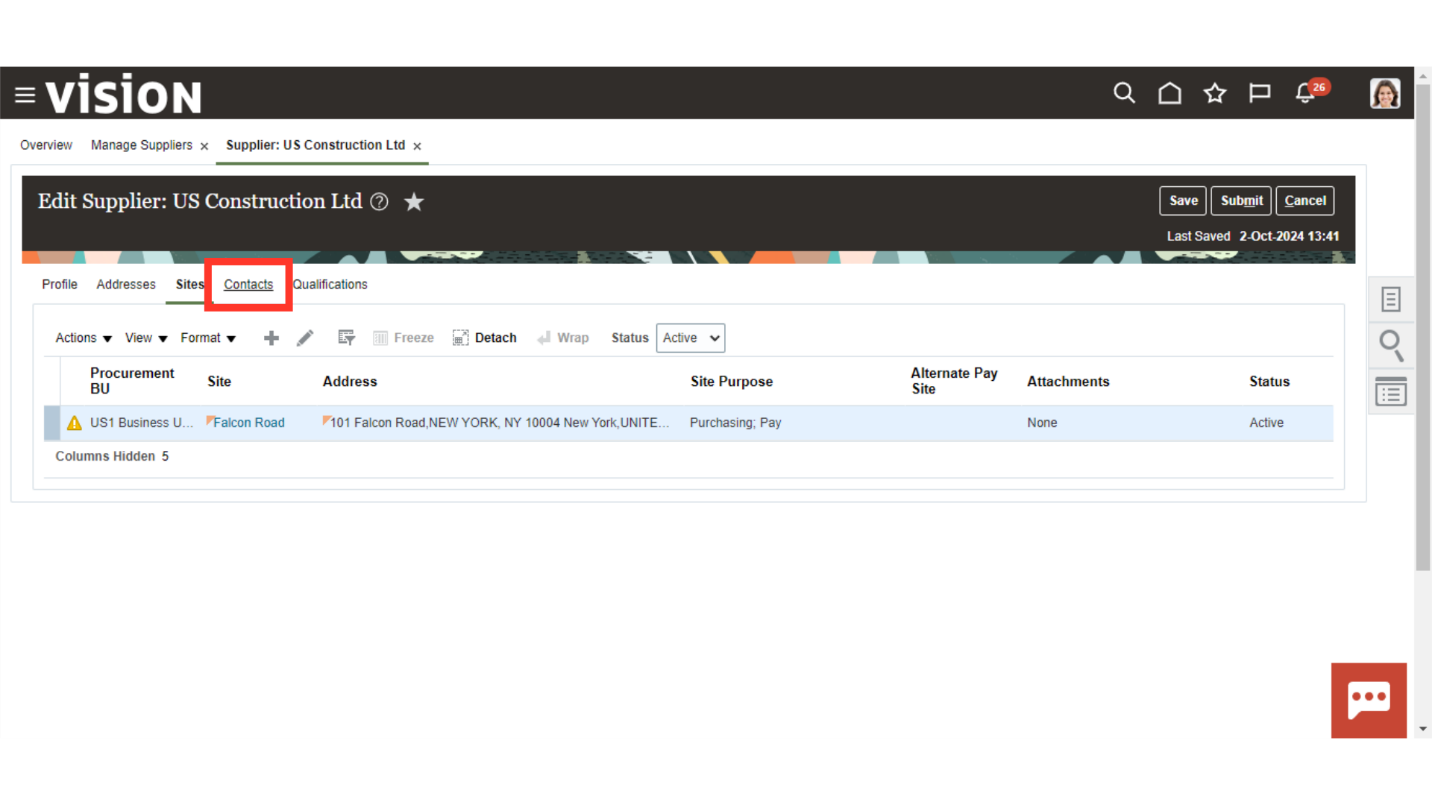
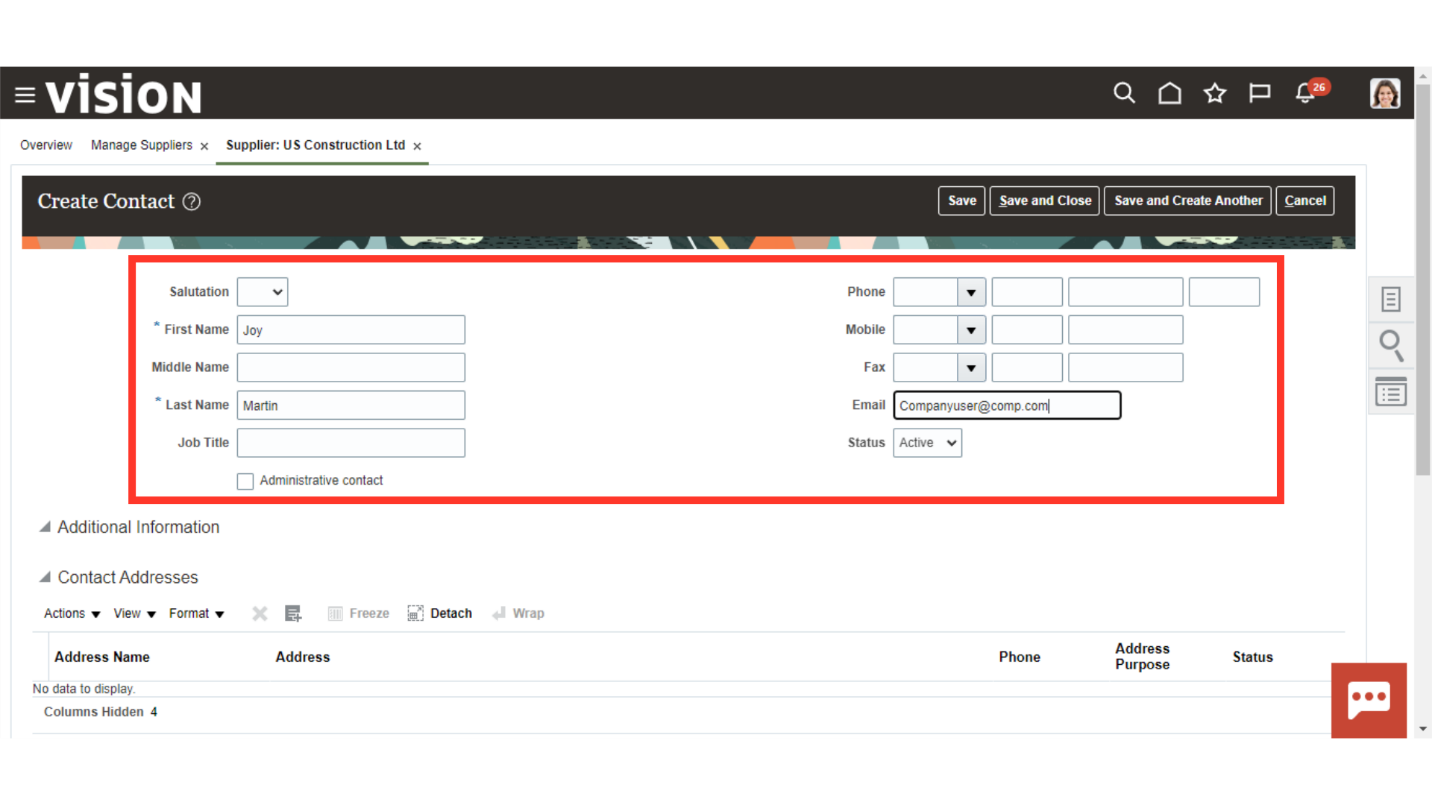
Access the Contacts tab.
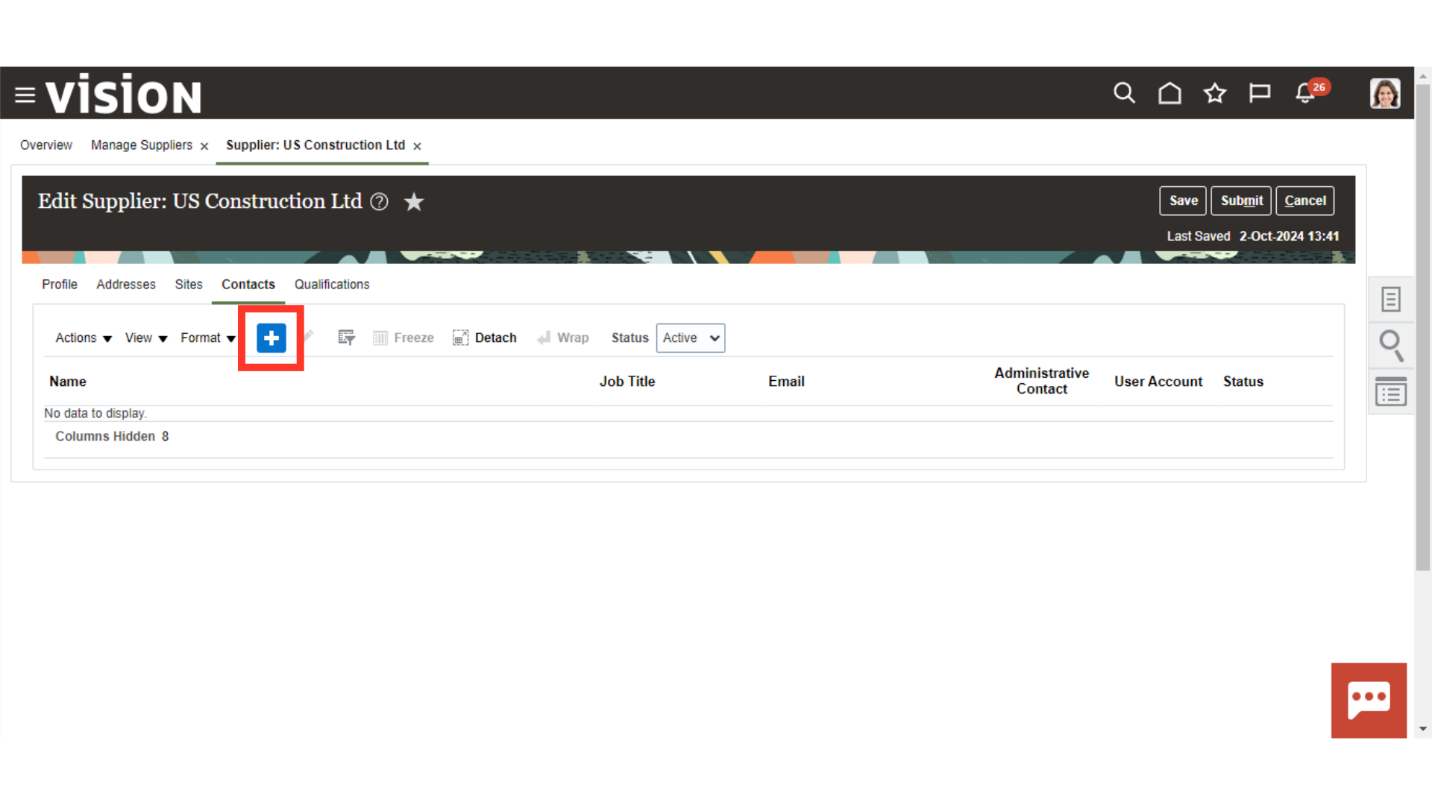
Click on the plus icon to create a new contact for the supplier.
Enter the relevant contact details for the supplier’s Point of Contact.
Save and close the details.
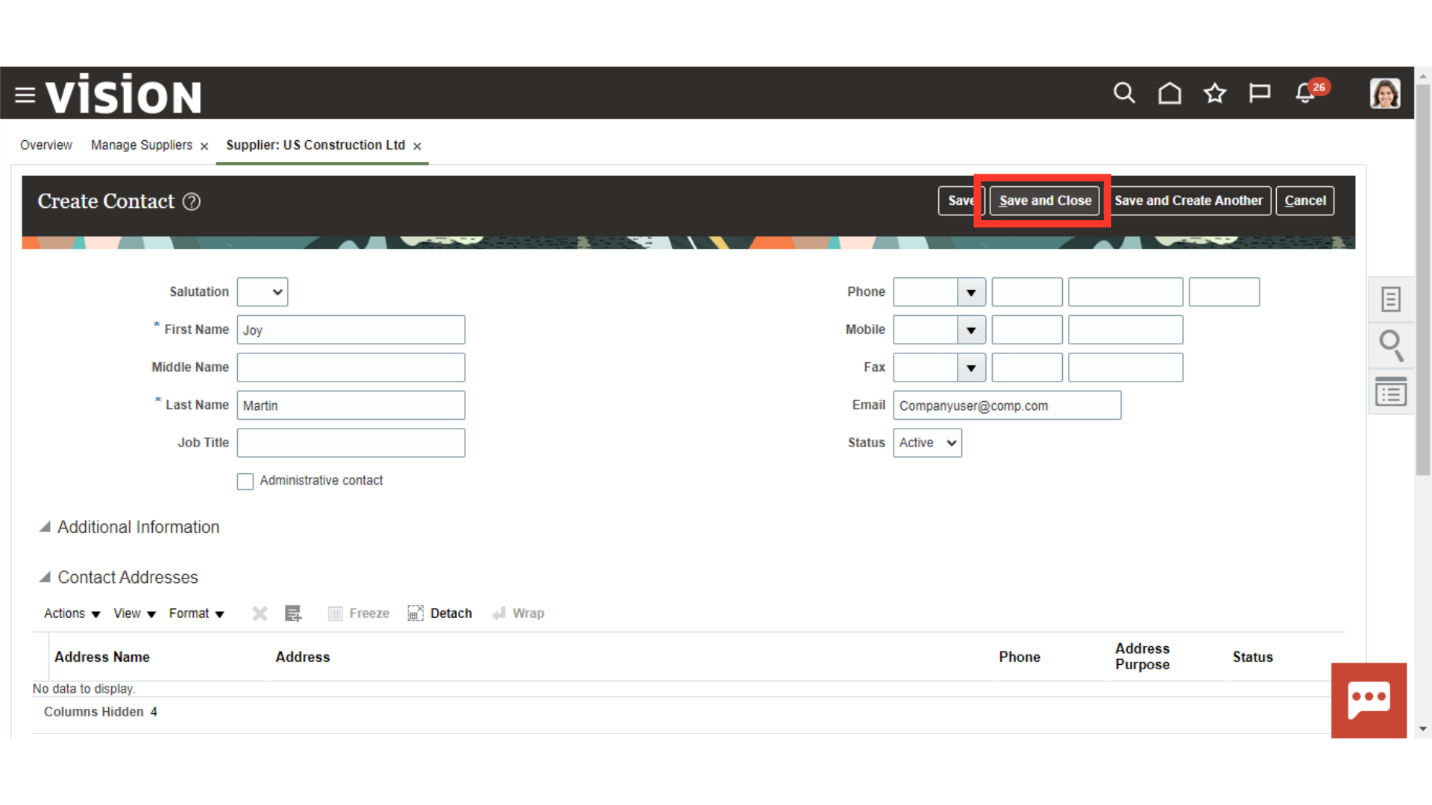
Click on OK in the confirmation dialog box.

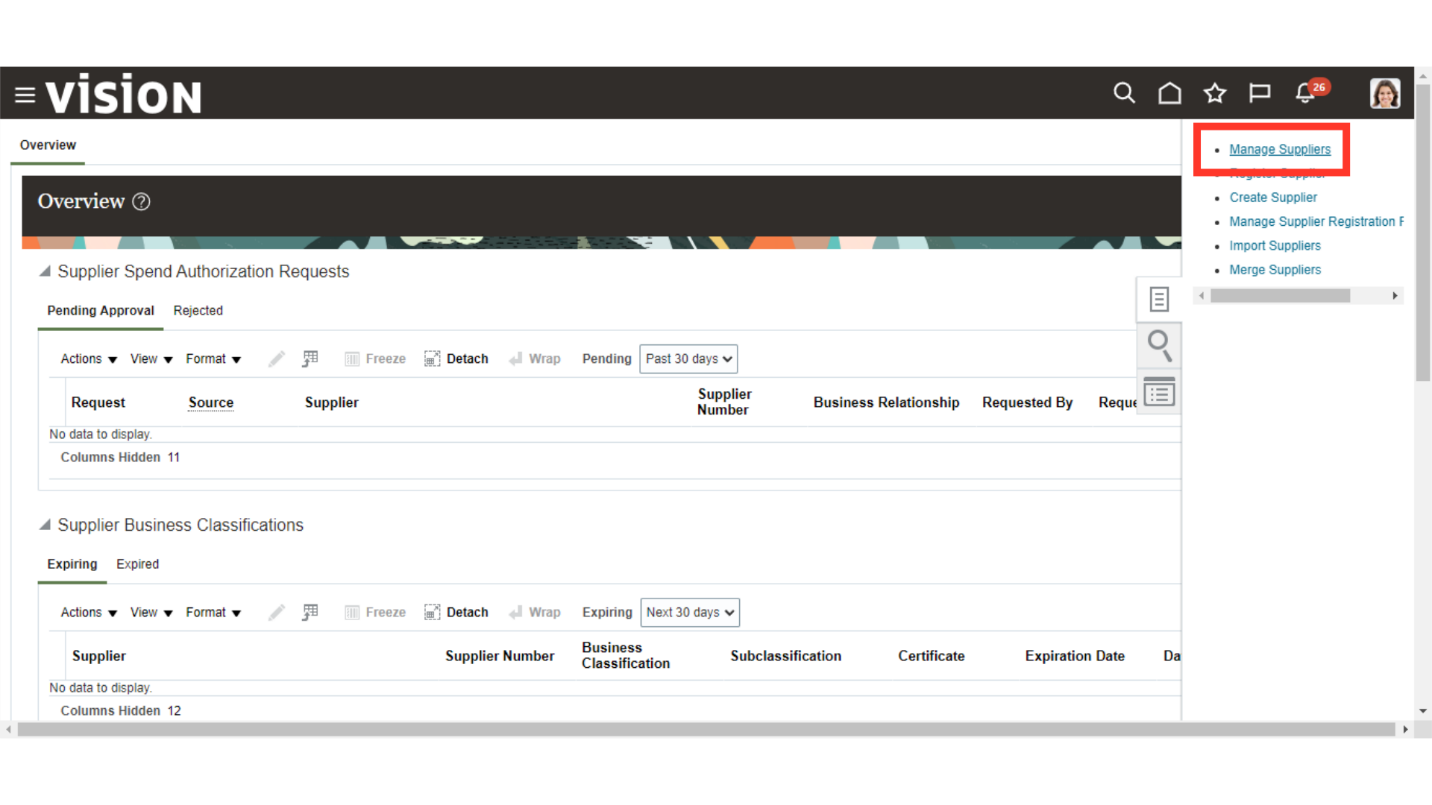
Click on the task pane.
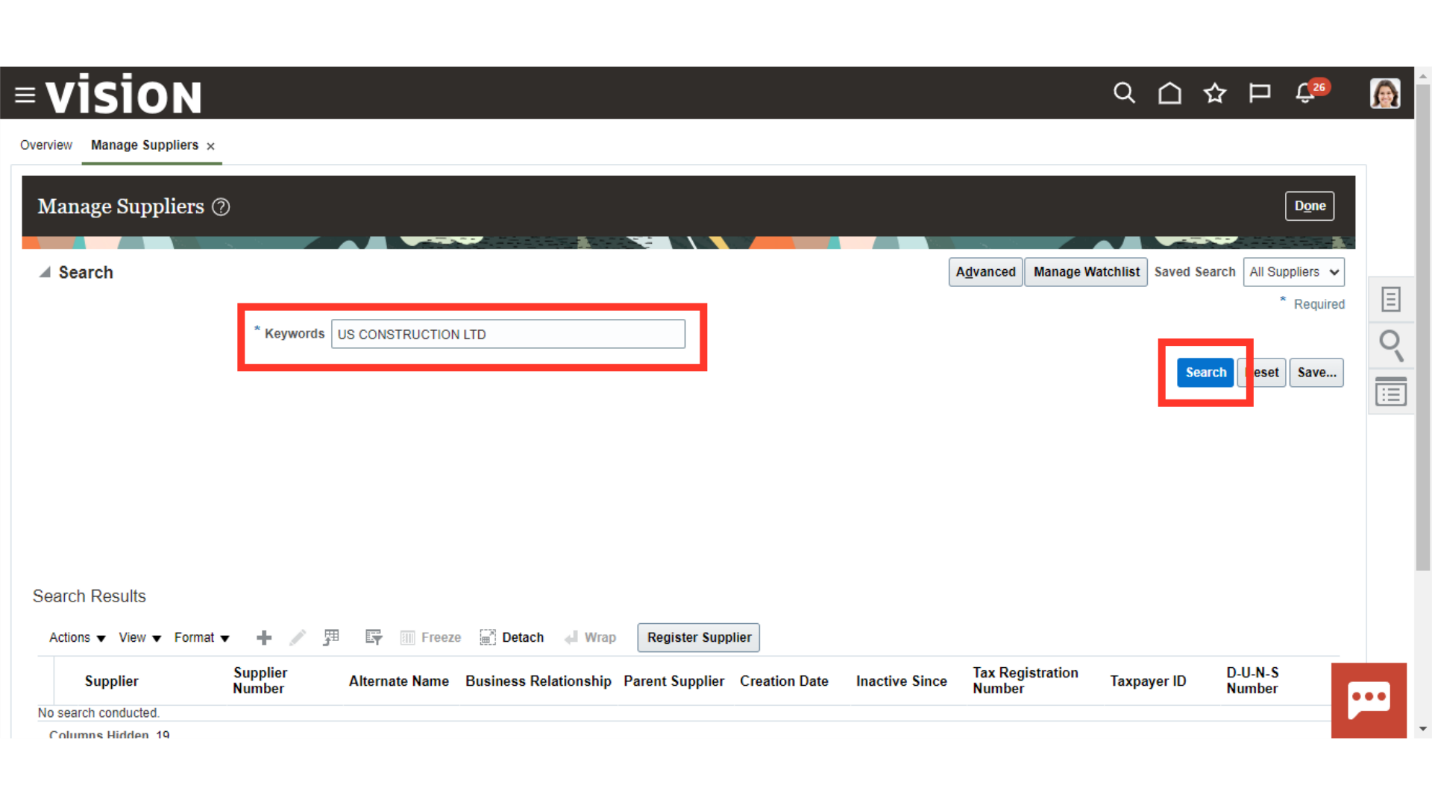
Select the Manage Suppliers task.
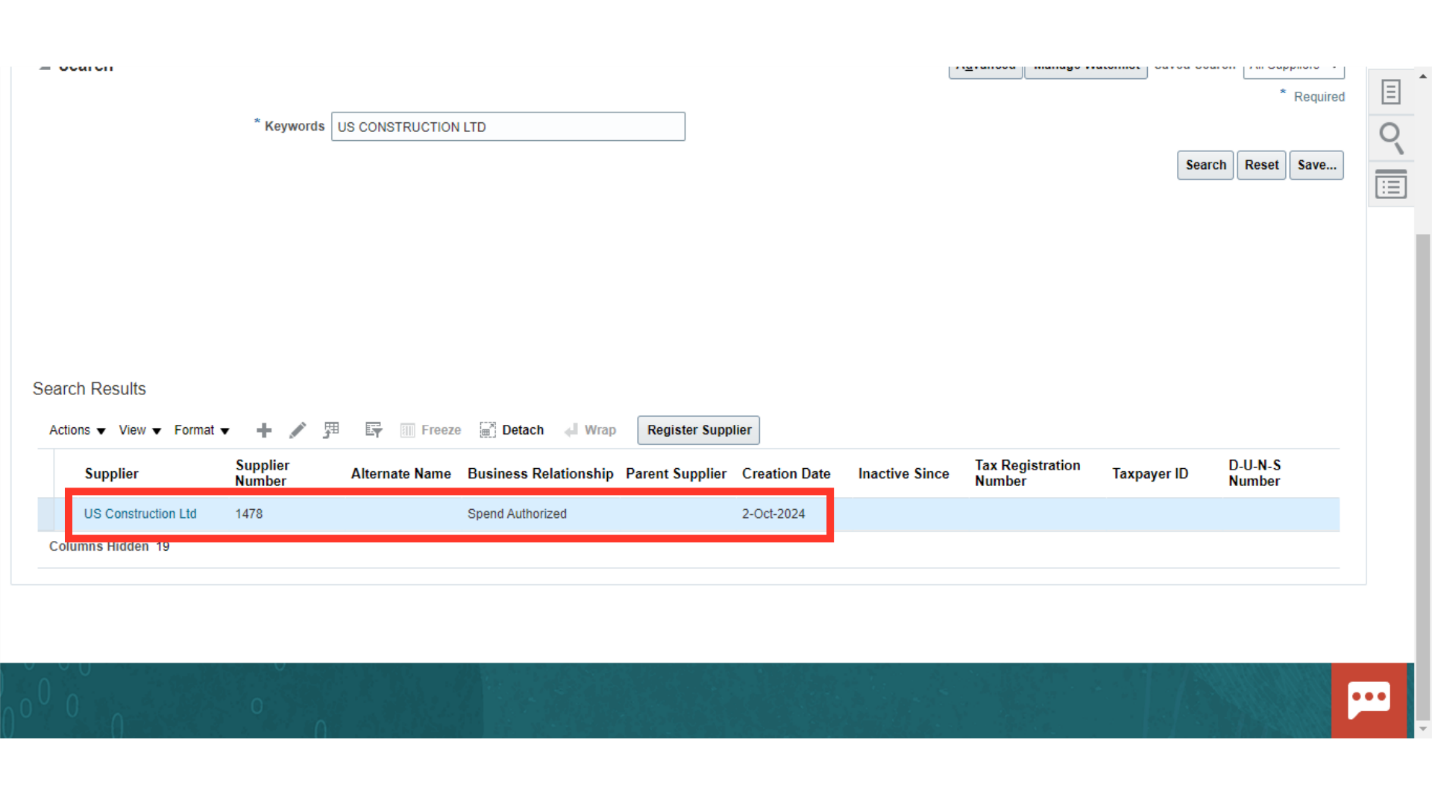
Enter a Supplier Name and Initiate a search.
You can open and verify the supplier details. This supplier is now ready to be used for issuing a P.O and creating an invoice.
This guide navigated you through Oracle Cloud to Create a New Supplier in the Supplier work area in the Procurement module. Thank you.