Create Manual Journal
This guide will provide the detailed step by step process of recording the journal entries directly in the General ledger manually in Oracle Fusion General Ledger.
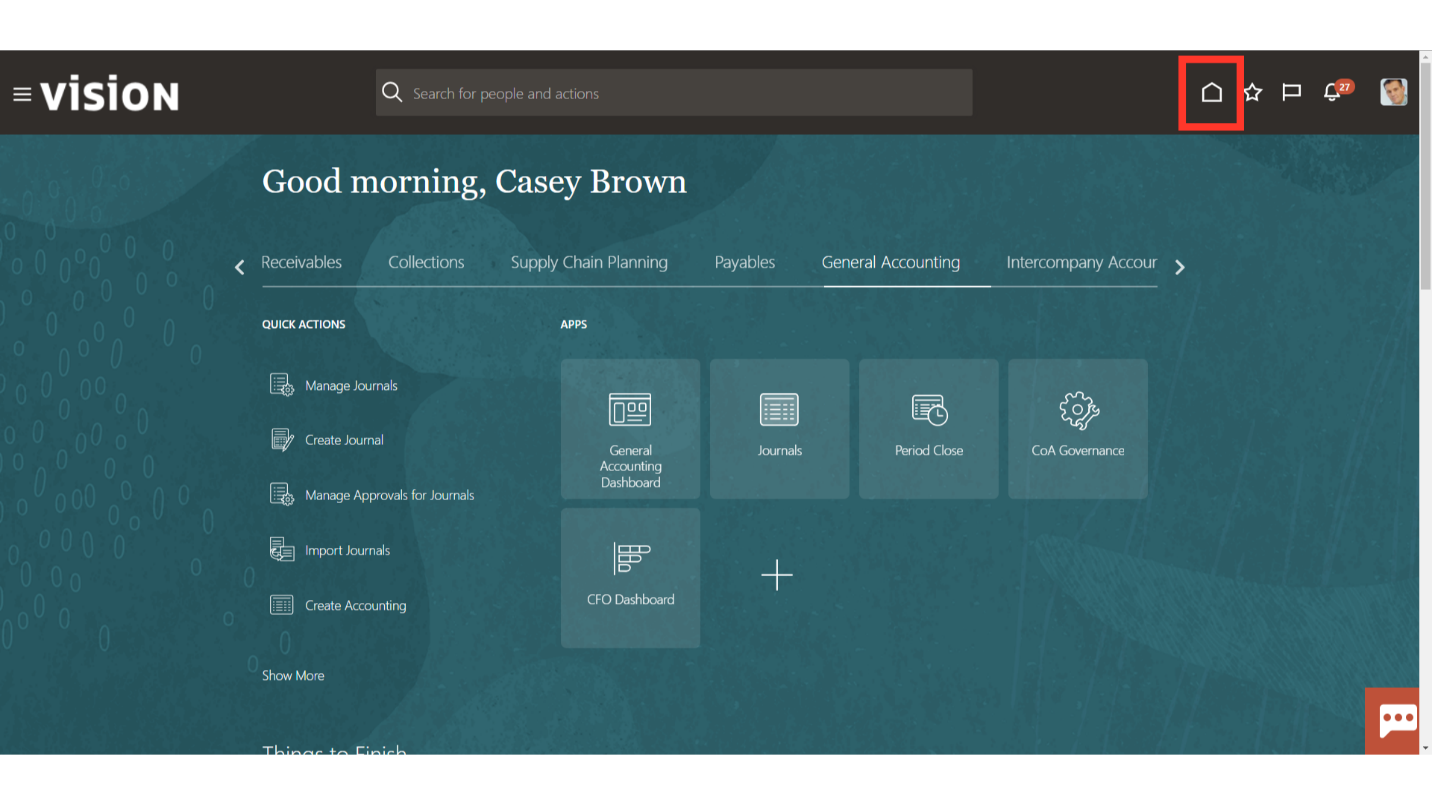
After logging into the cloud applications click on Home icon to land on Home page.
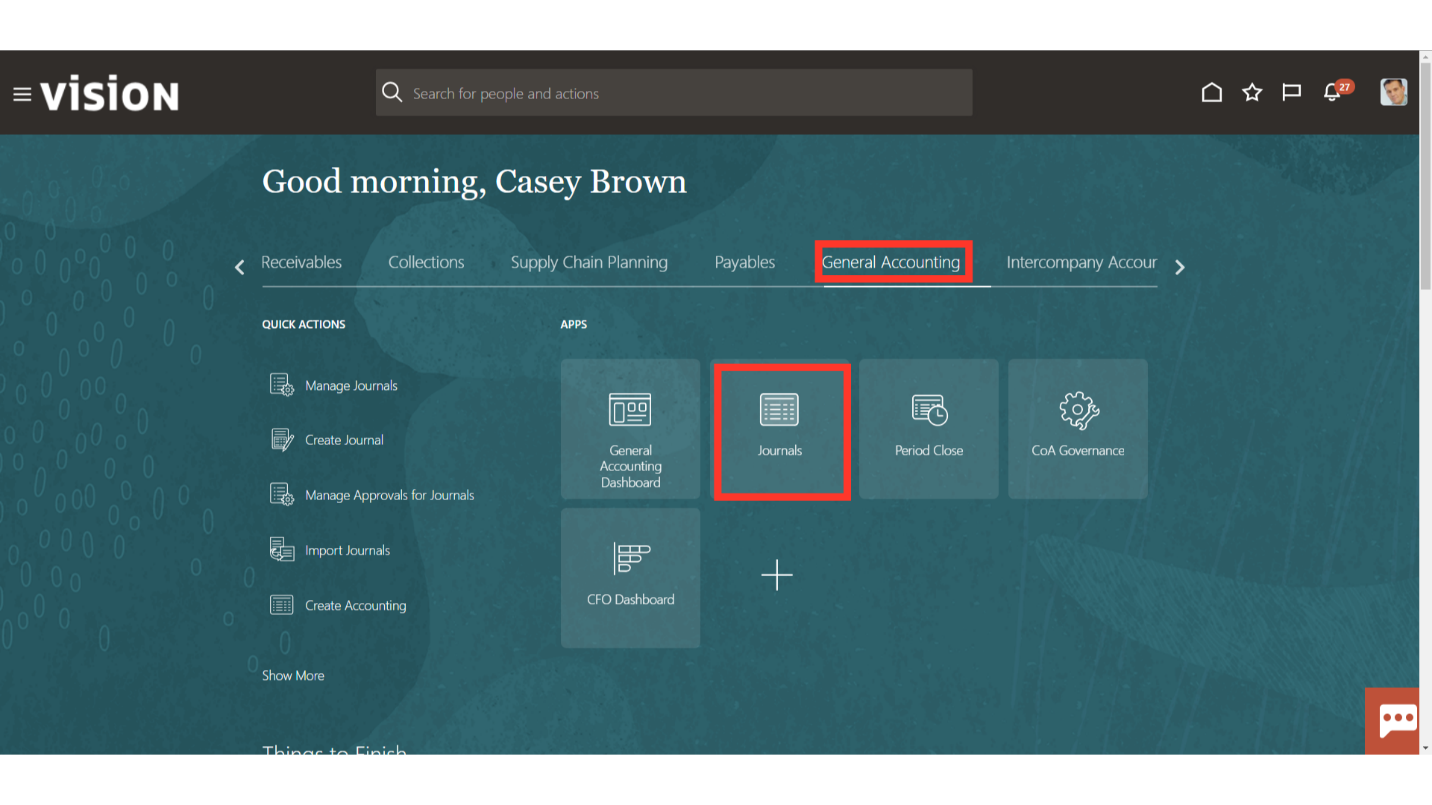
To create a journal navigate to the Journal work area. Click on the General Accounting Menu and select the ‘Journals’ submenu
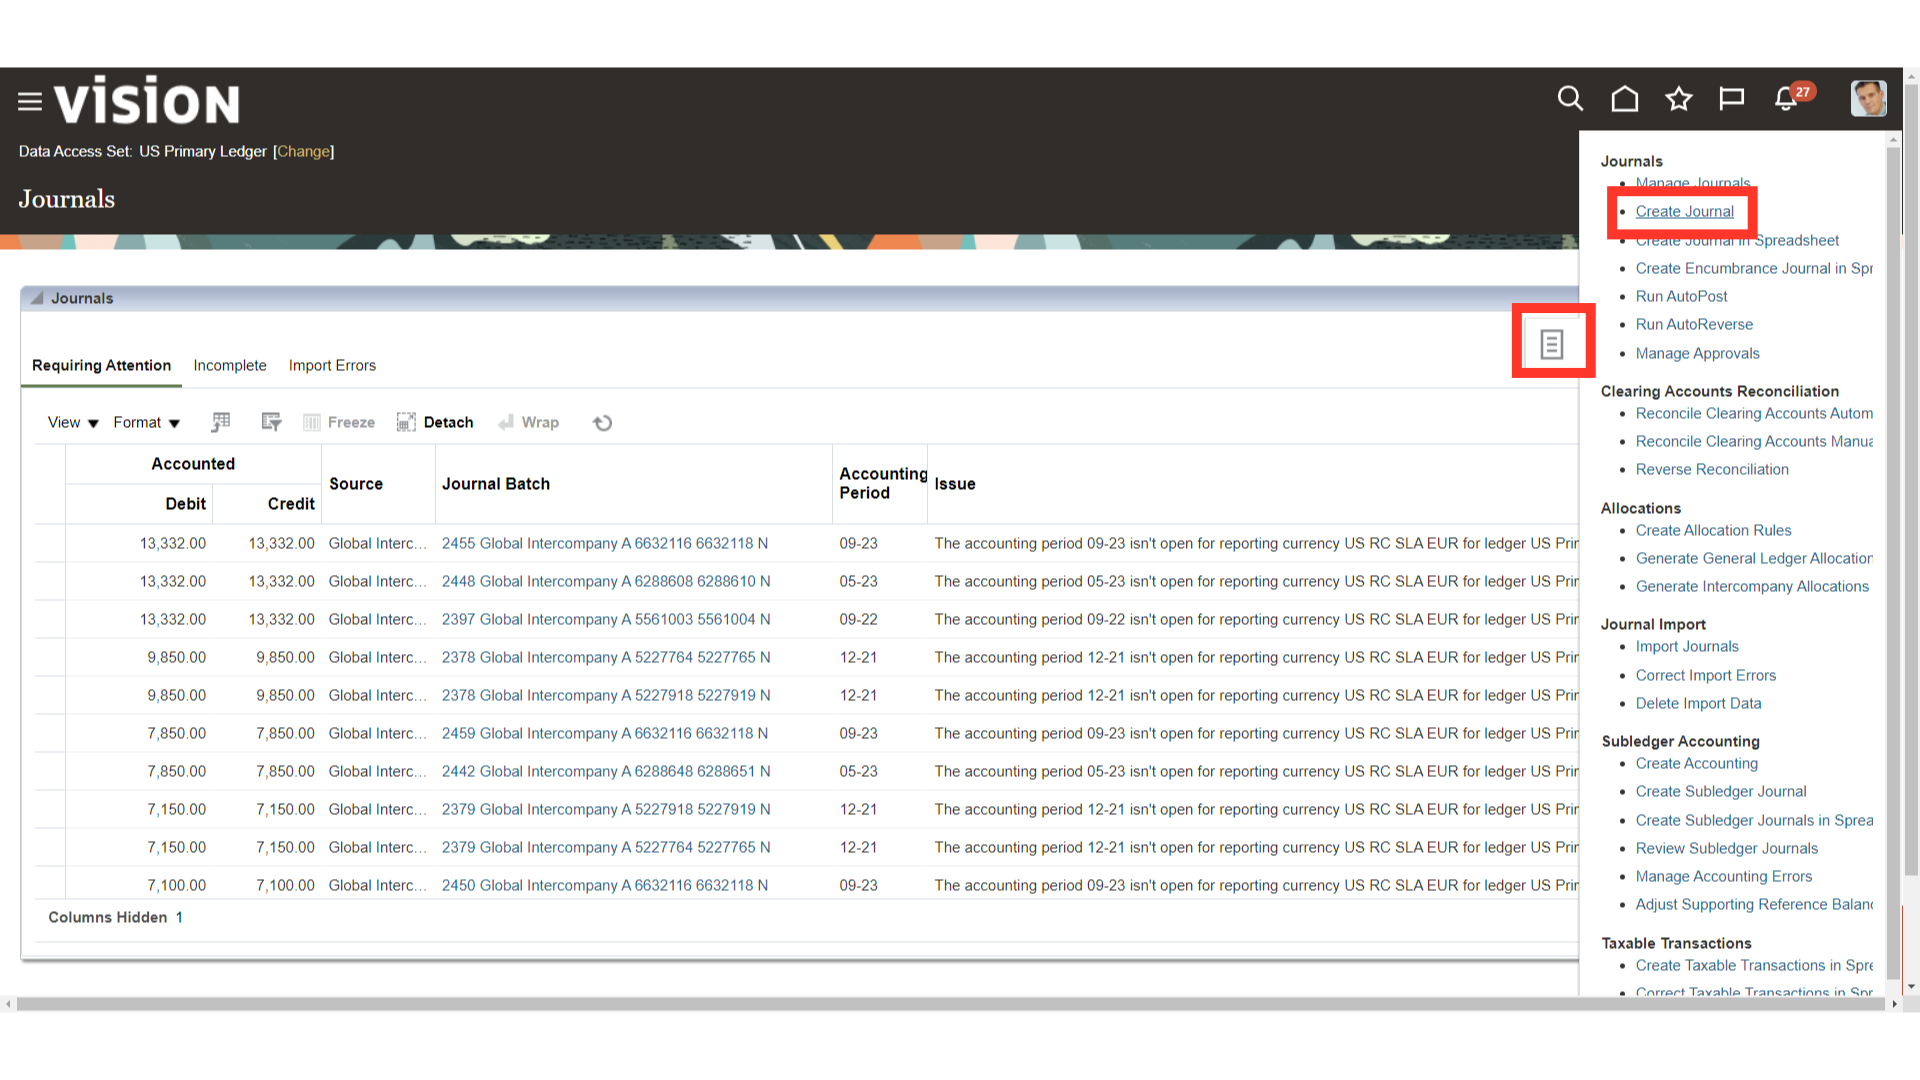
On the Journals work area, expand the tasks and select Create Journal from the list of tasks available.
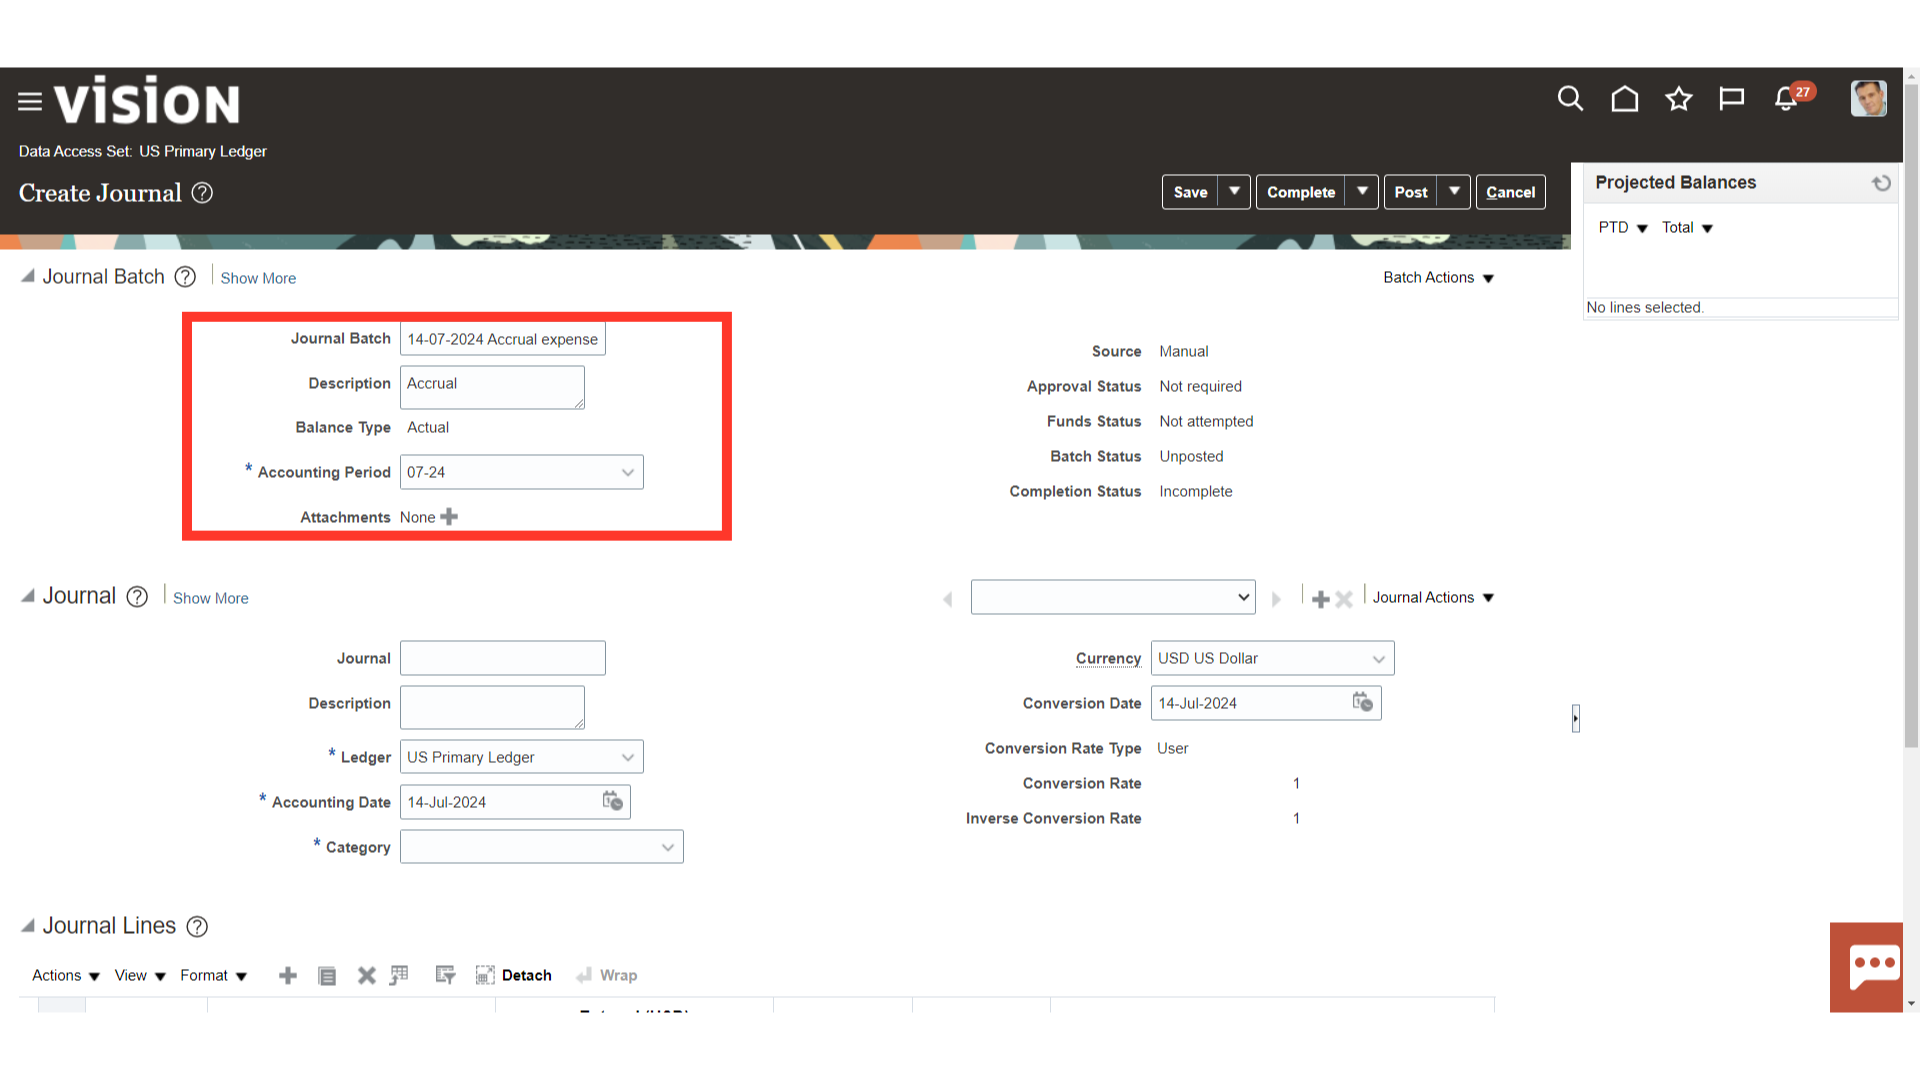
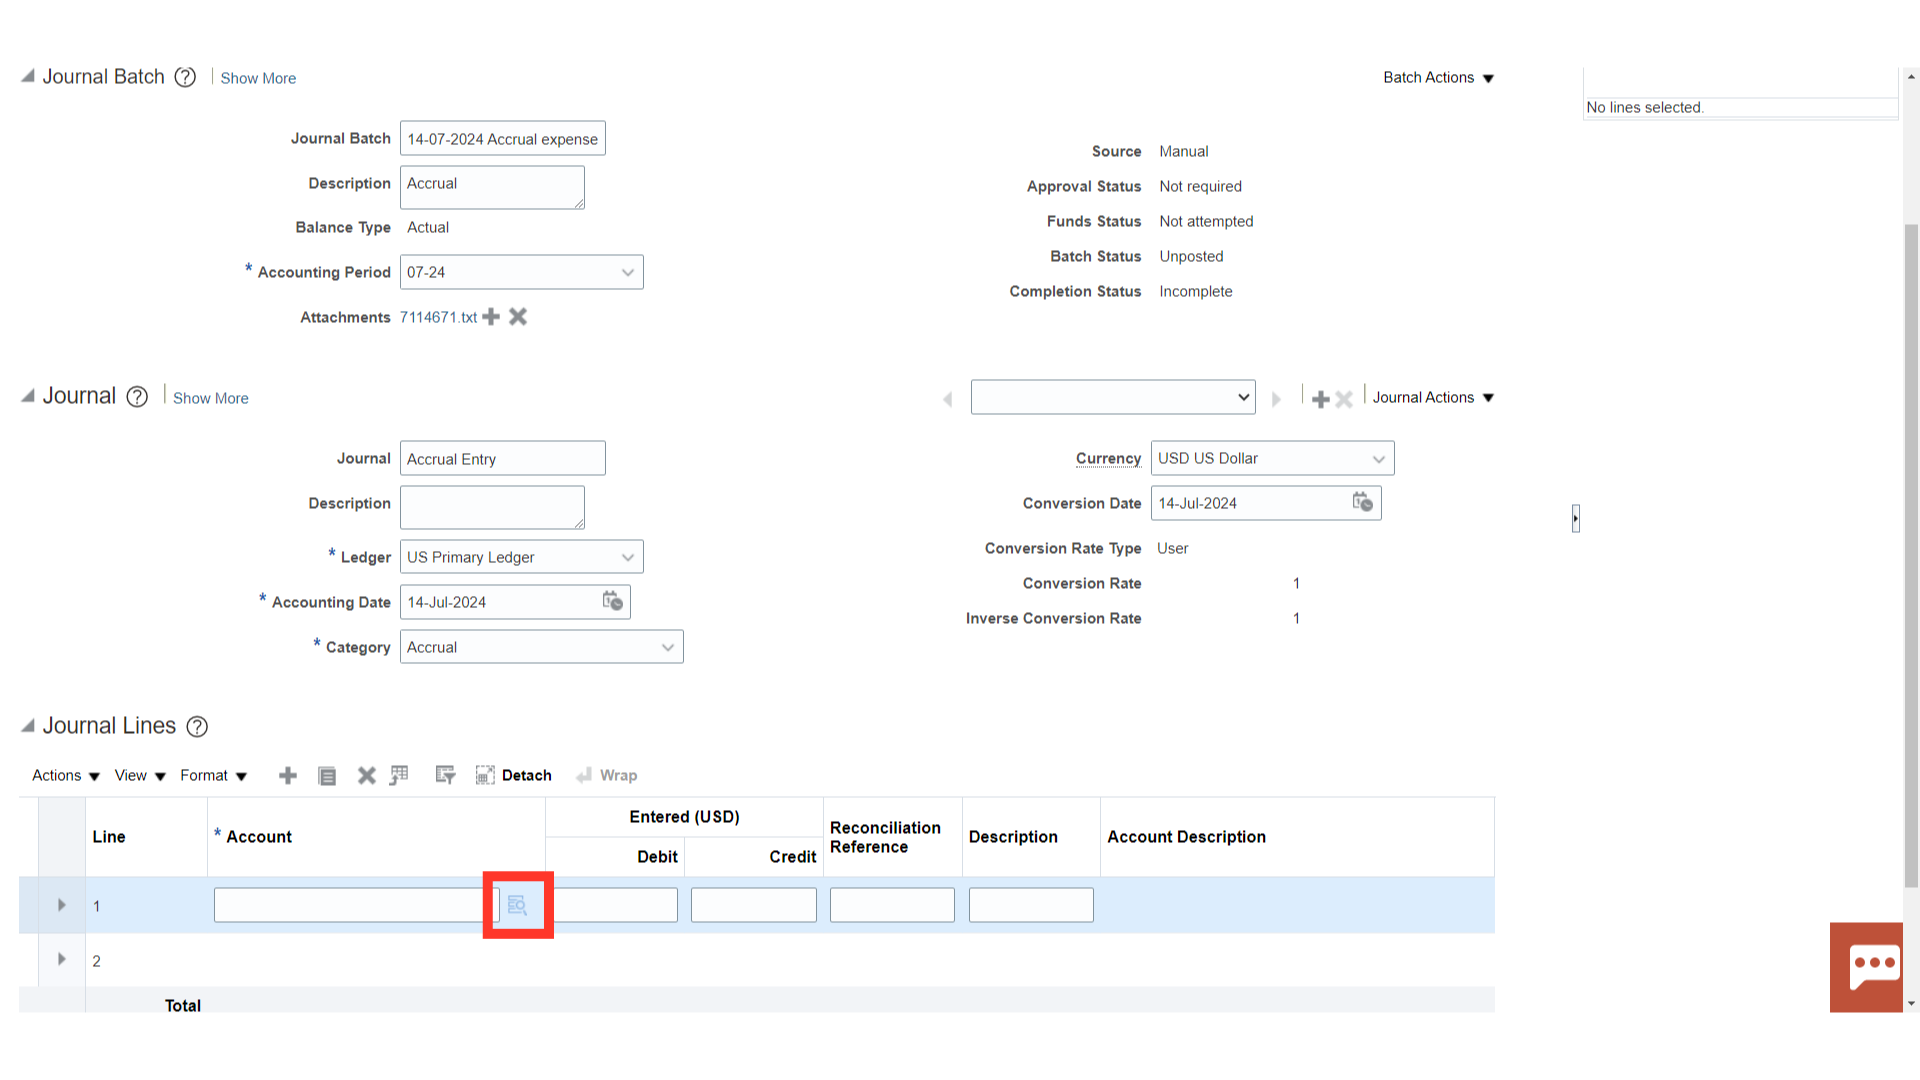
The Create Journal page has three sections Journal Batch, Journal and Journal Lines. a Journal Batch can have multiple journals and A Journal can have multiple lines.
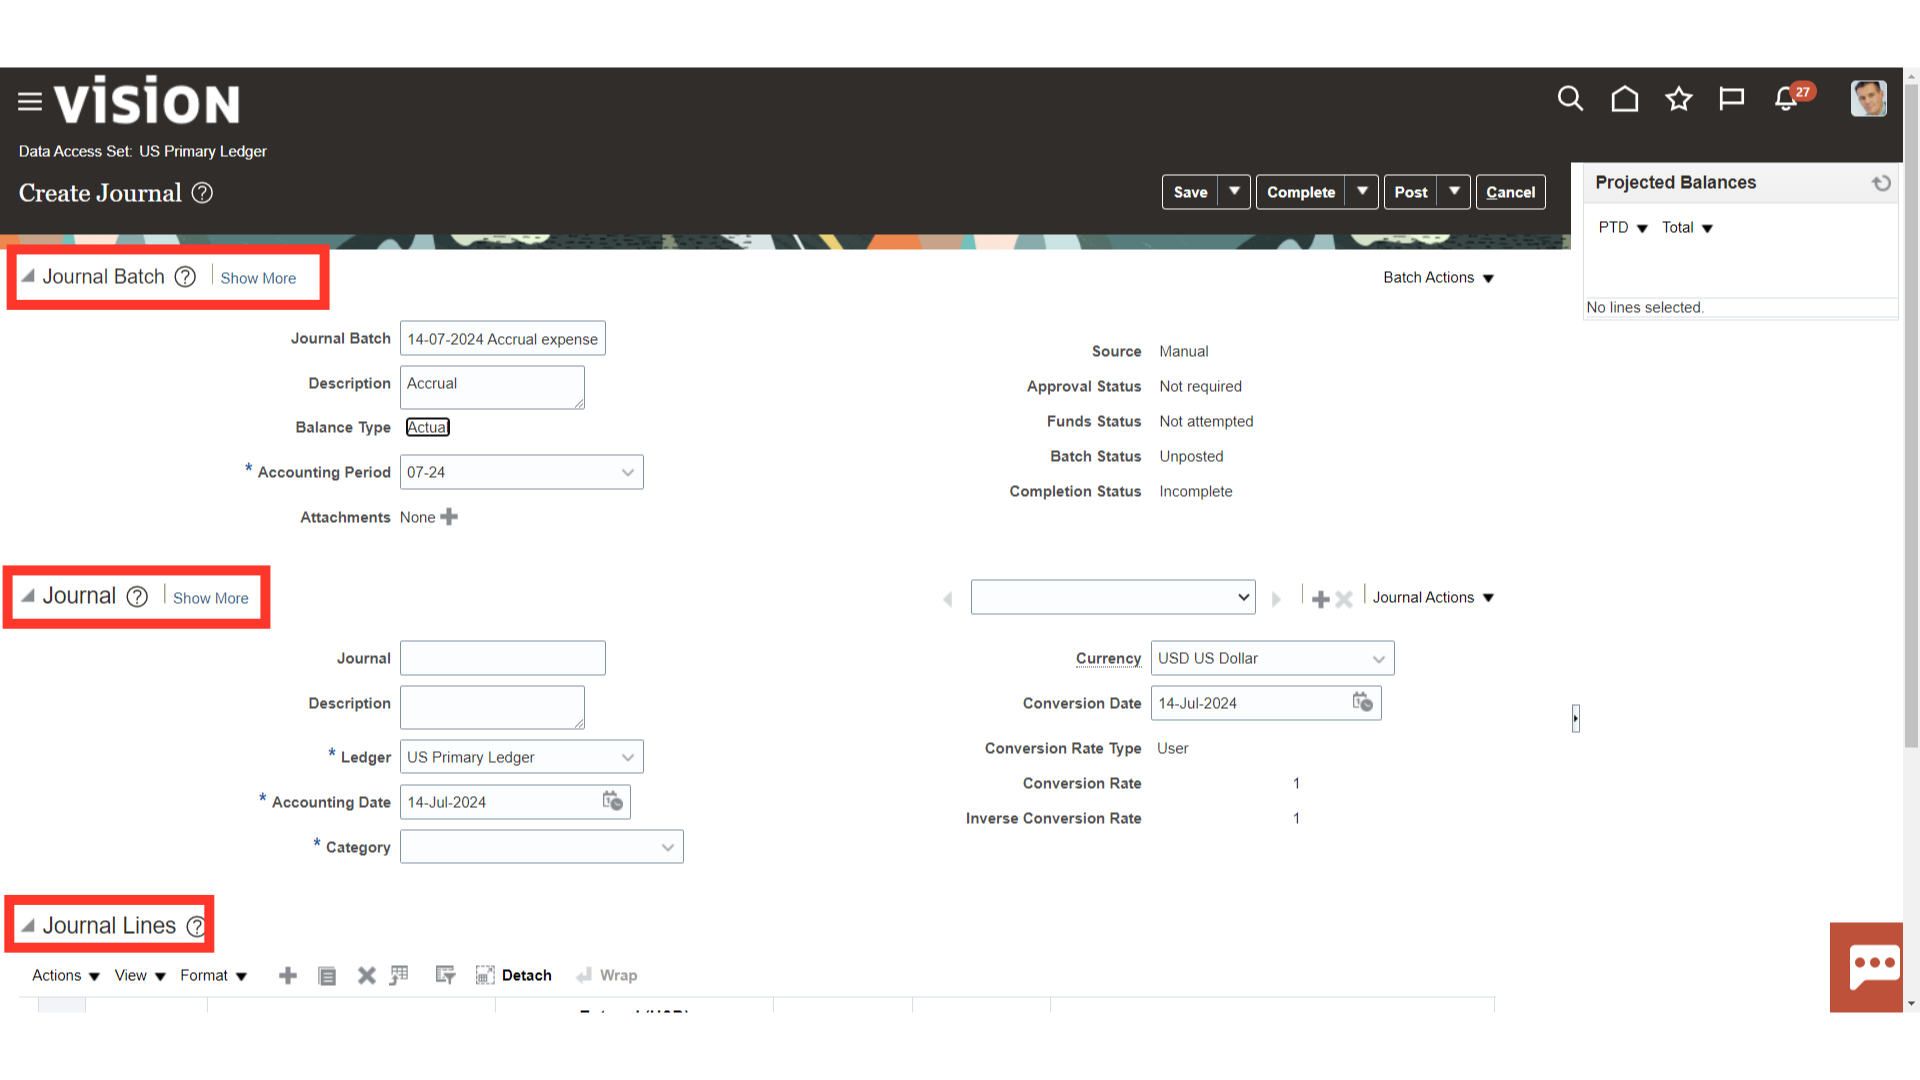
Enter the Journal Batch details. Journal Batch : This is the journal batch name. It has to be unique for every journal batch to be created. Description: Enter the description for the Journal batch Accounting Period : Journal can be created in Open or Future enterable period. However a journal can be posted only in Open period
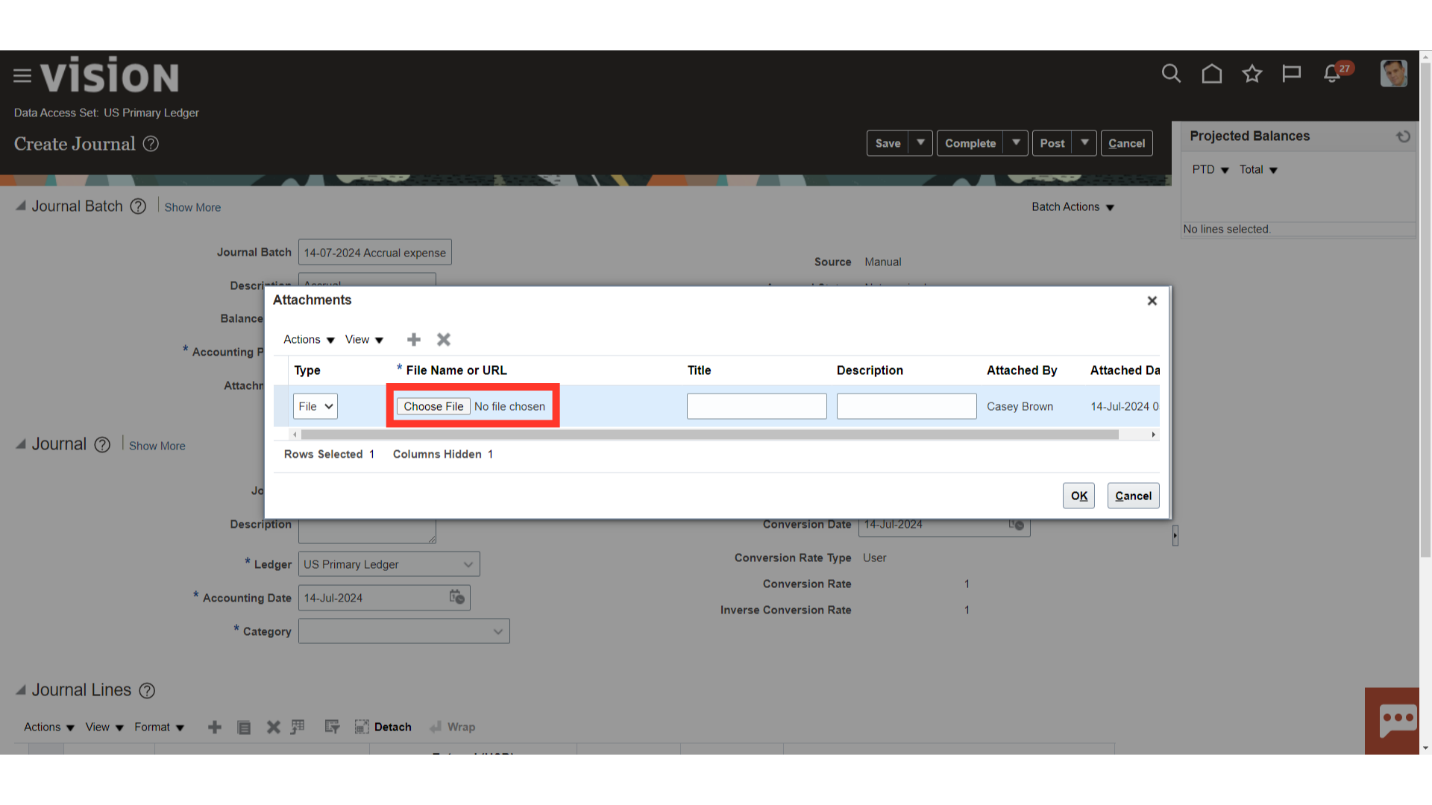
Click on ‘Choose File’ to select the file stored in local system.
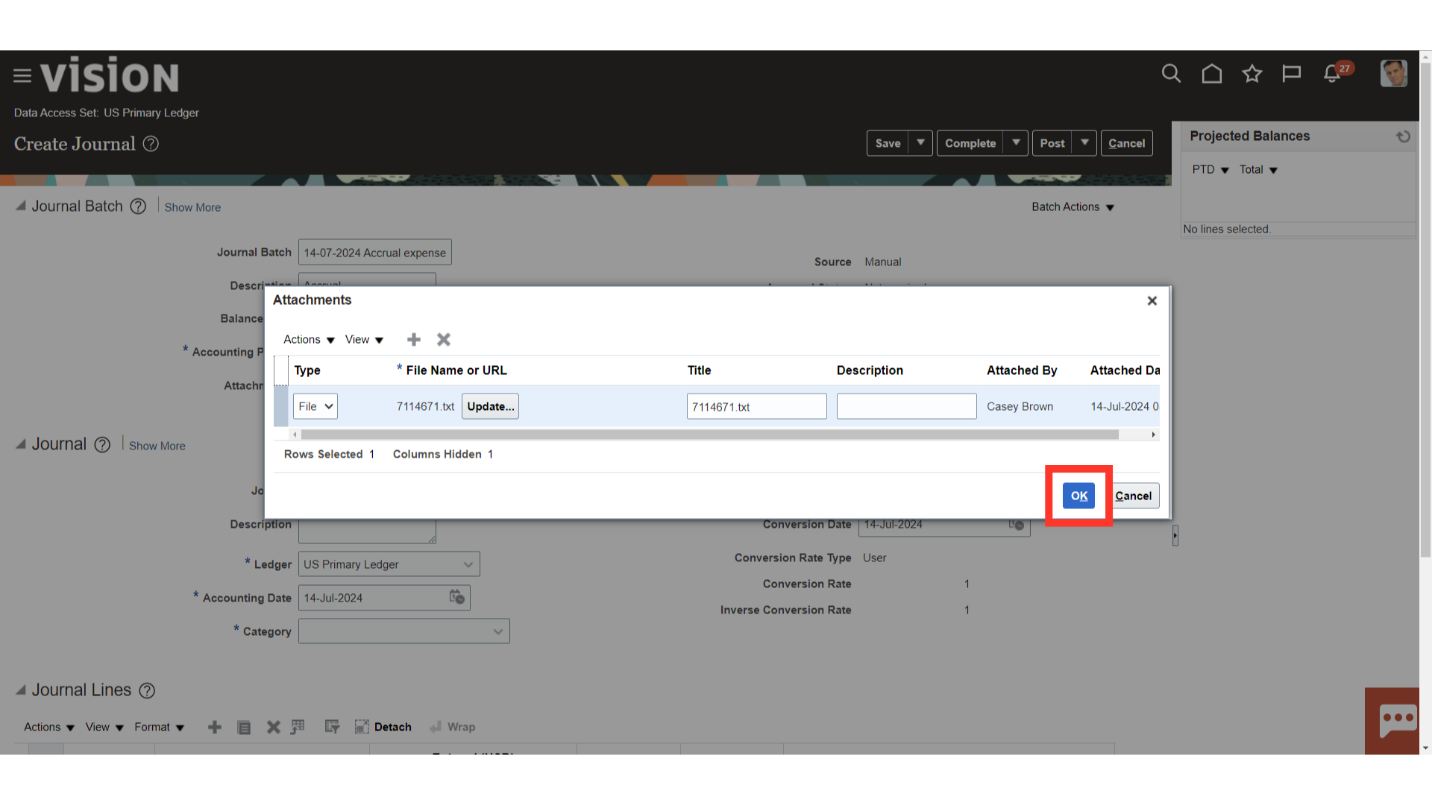
After file is selected click on OK.
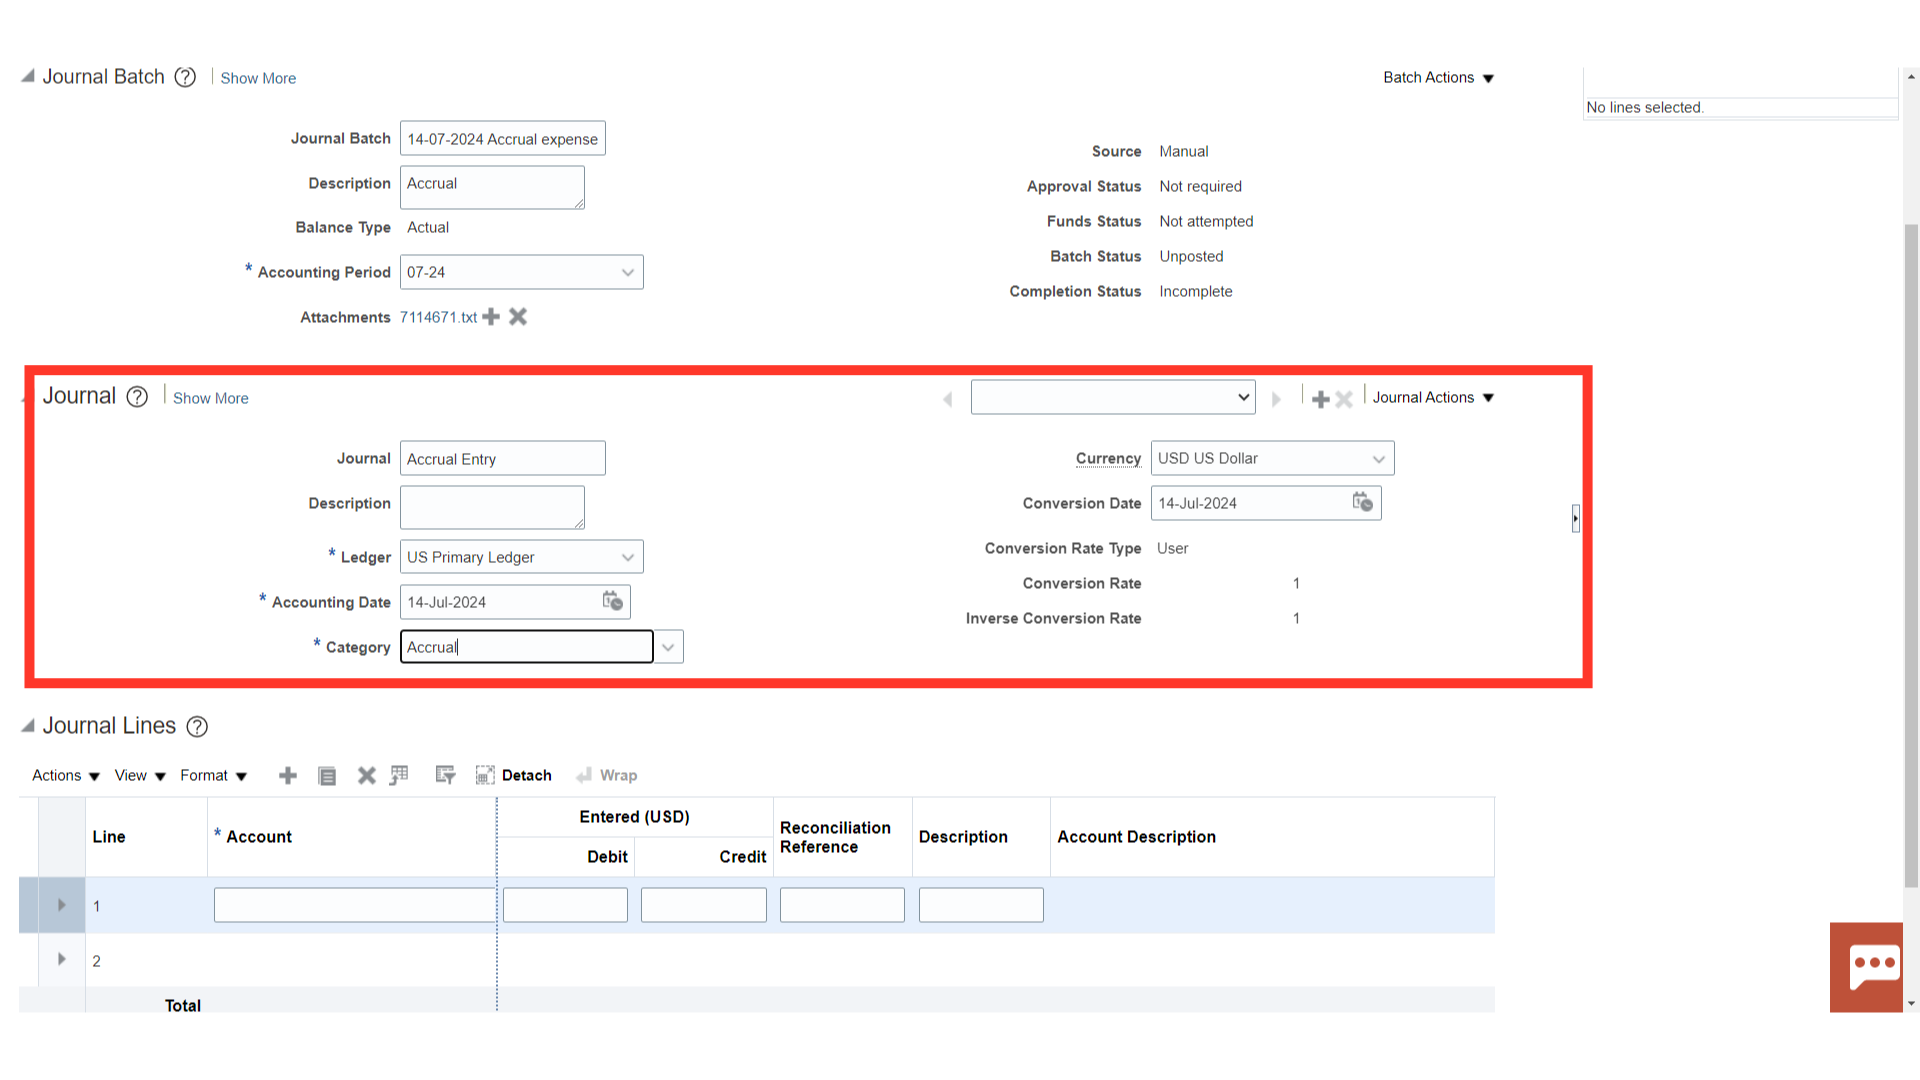
Enter the Journal header details. Journal: This is Journal name. If left blank oracle will create a journal name. The journal name has to be unique within a Journal batch however multiple journal batches can have a journal with a similar name. Description: Enter the description for the Journal Ledger: Select the ledger in which the journal is to be posted. The Accounting Date will default to the current system date. If a past period is open then by default the accounting date will be the last date of that period. and if a journal is being created in a future enterable period then by default the date will be the first day of the month. Journal categories: It helps differentiate journal entries by purpose or type. Enter appropriate journal category.
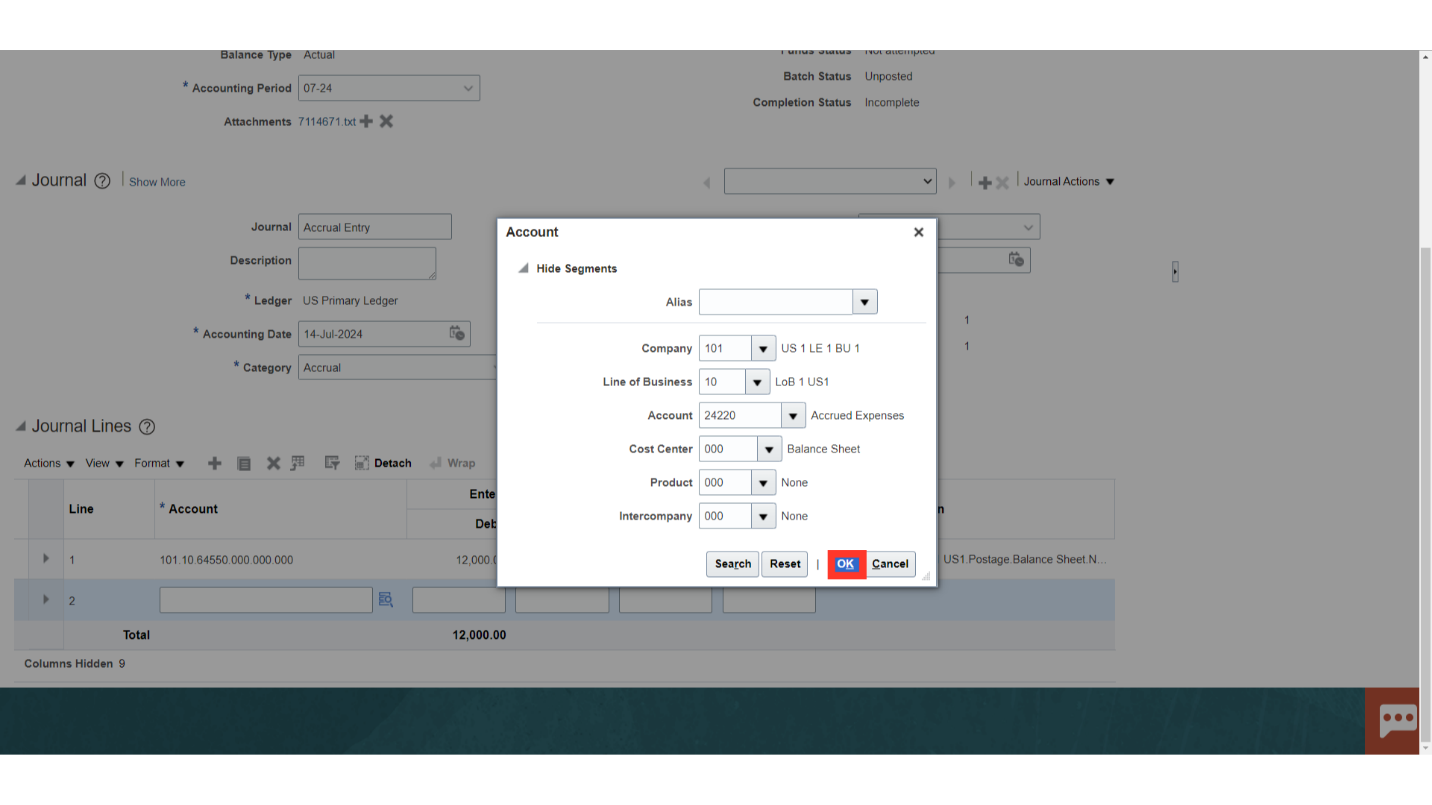
Enter the Journal line details. Enter the account combination. The account combination values can be entered directly or the values can be searched and selected. To search click on the search icon.
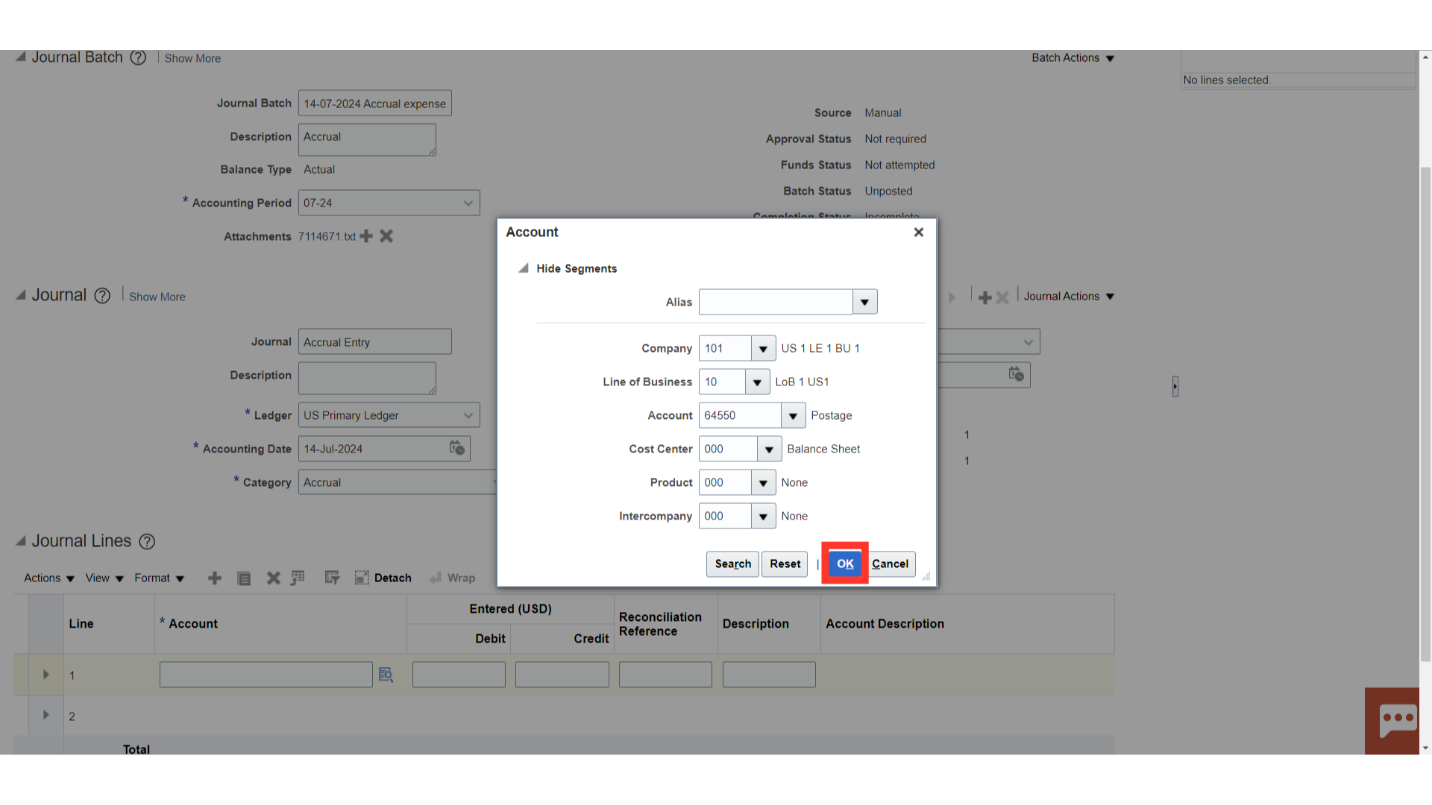
Select the segment values and click on OK
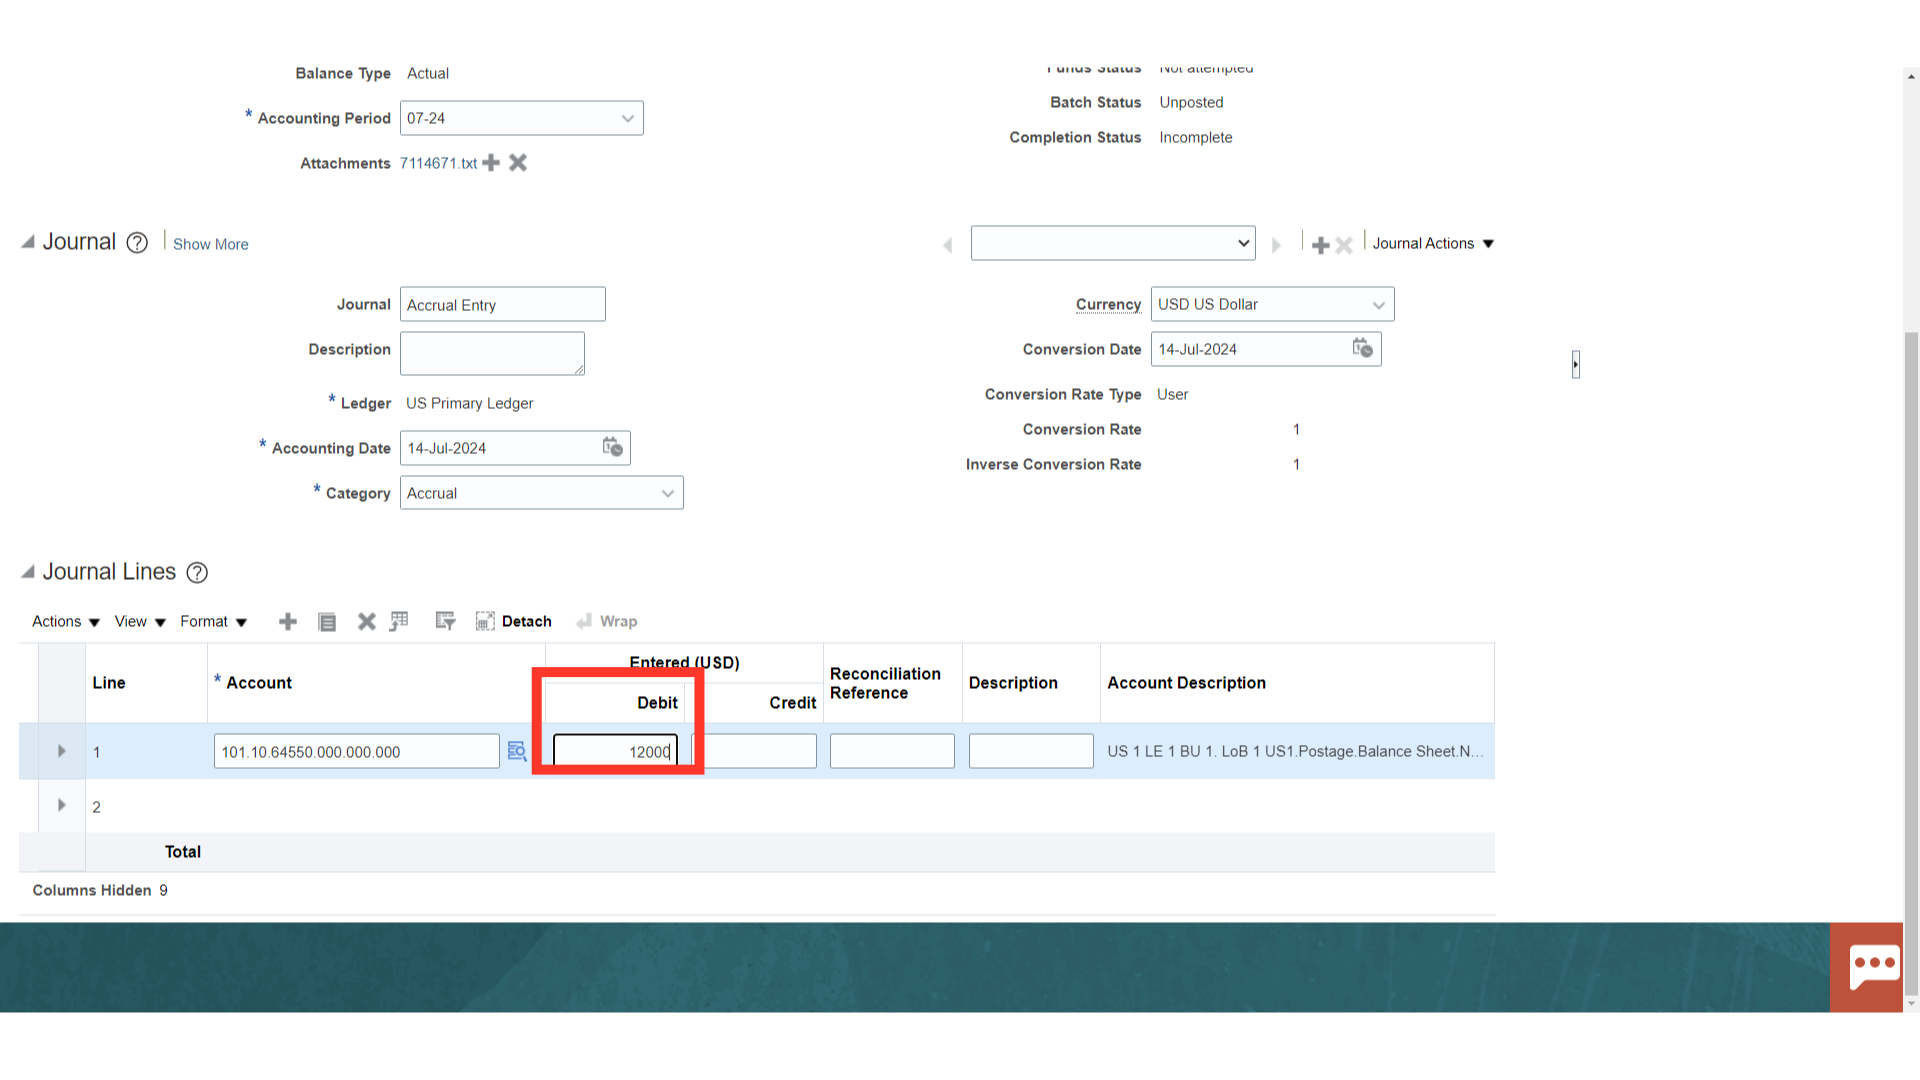
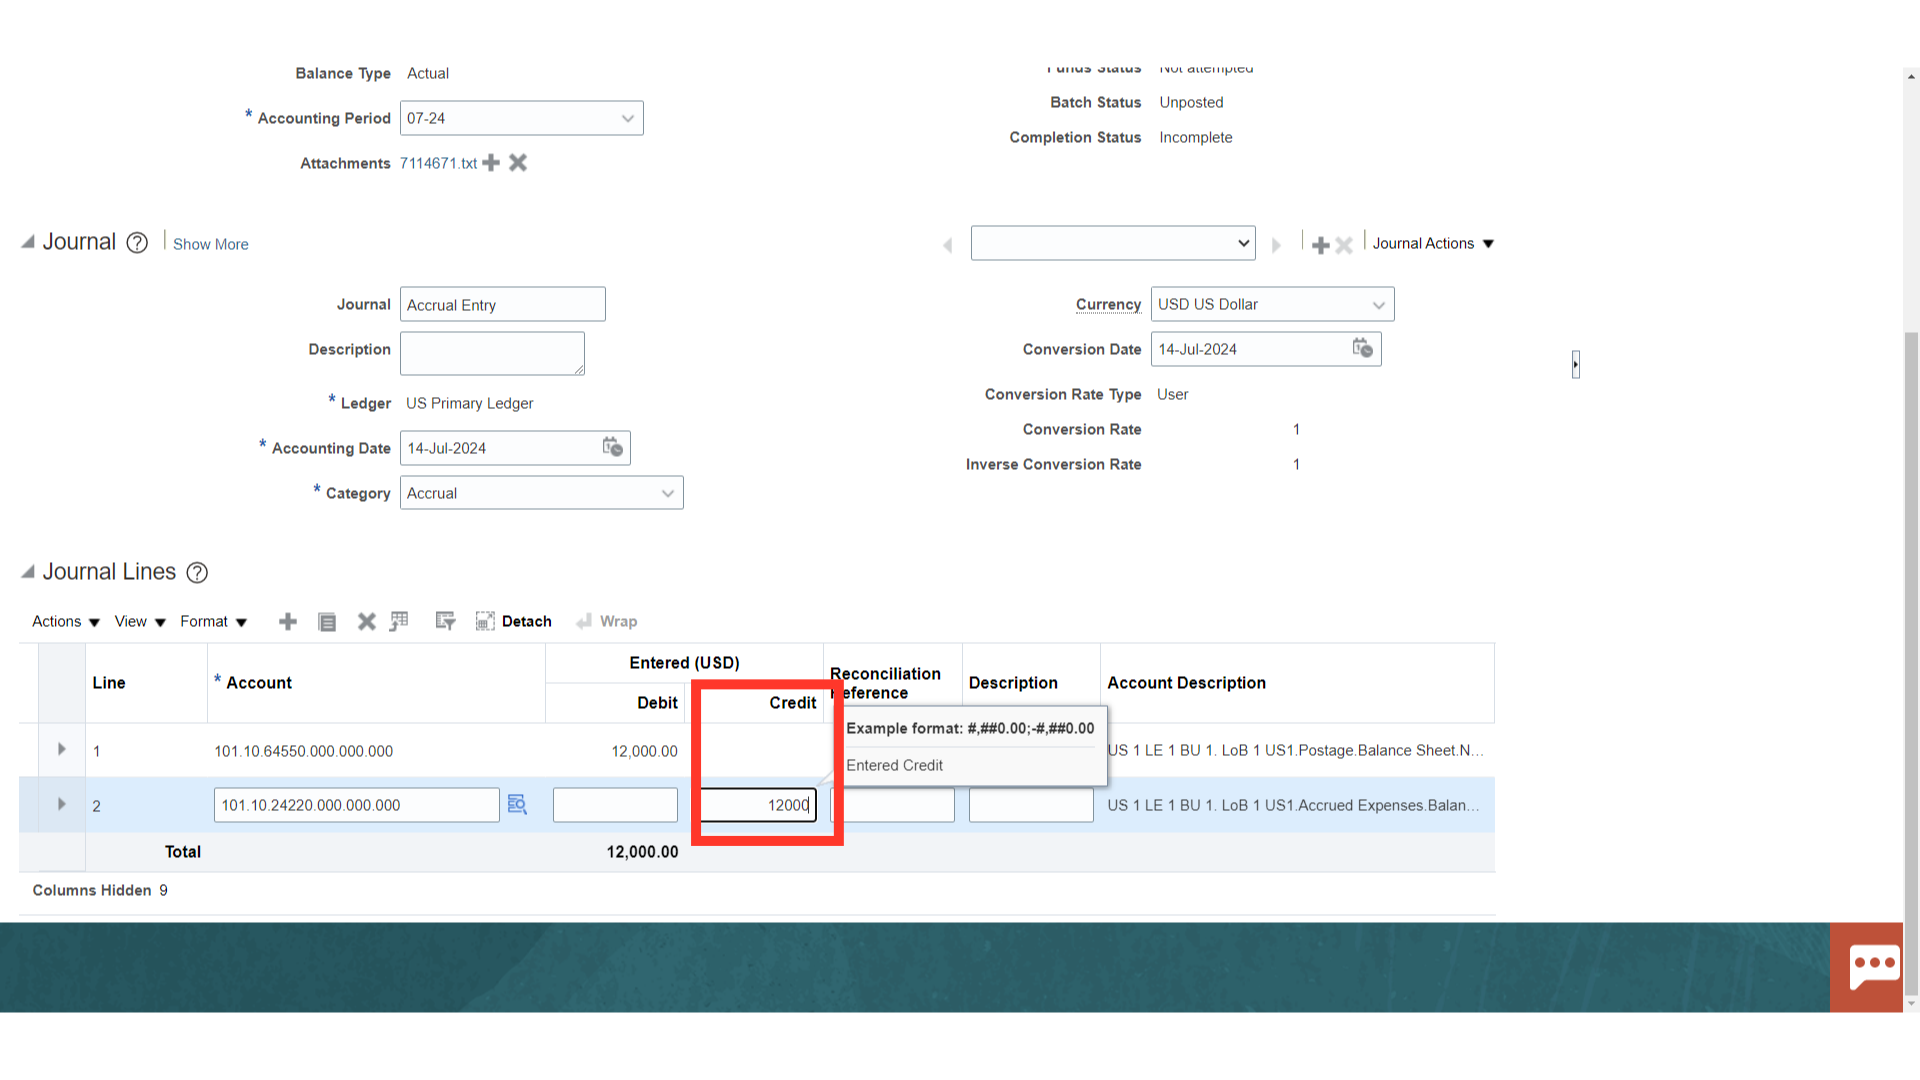
Enter the amount for the journal line.
Select second row to enter the second journal line details.
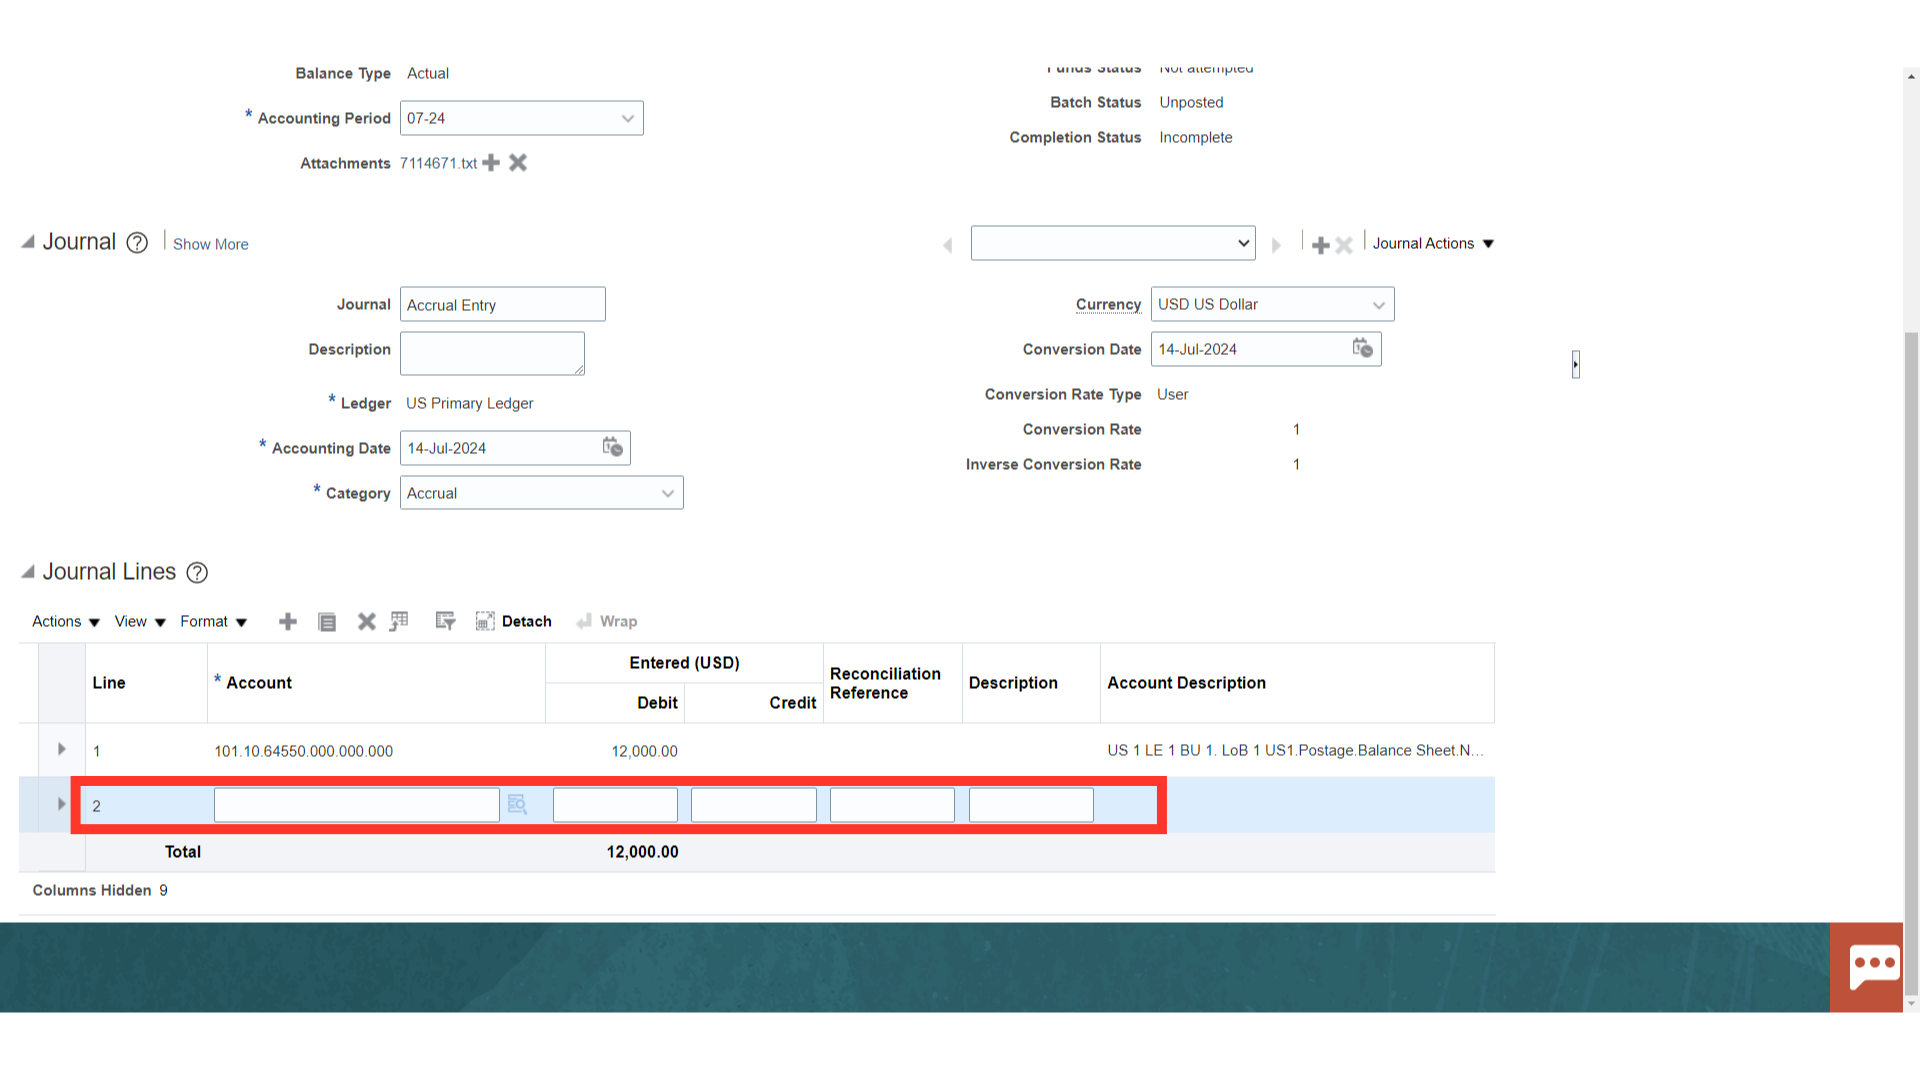
Enter the Account segment values by entering manually or selecting from the list of values. Click on the OK button to continue.
Enter the credit amount under the Credit column.
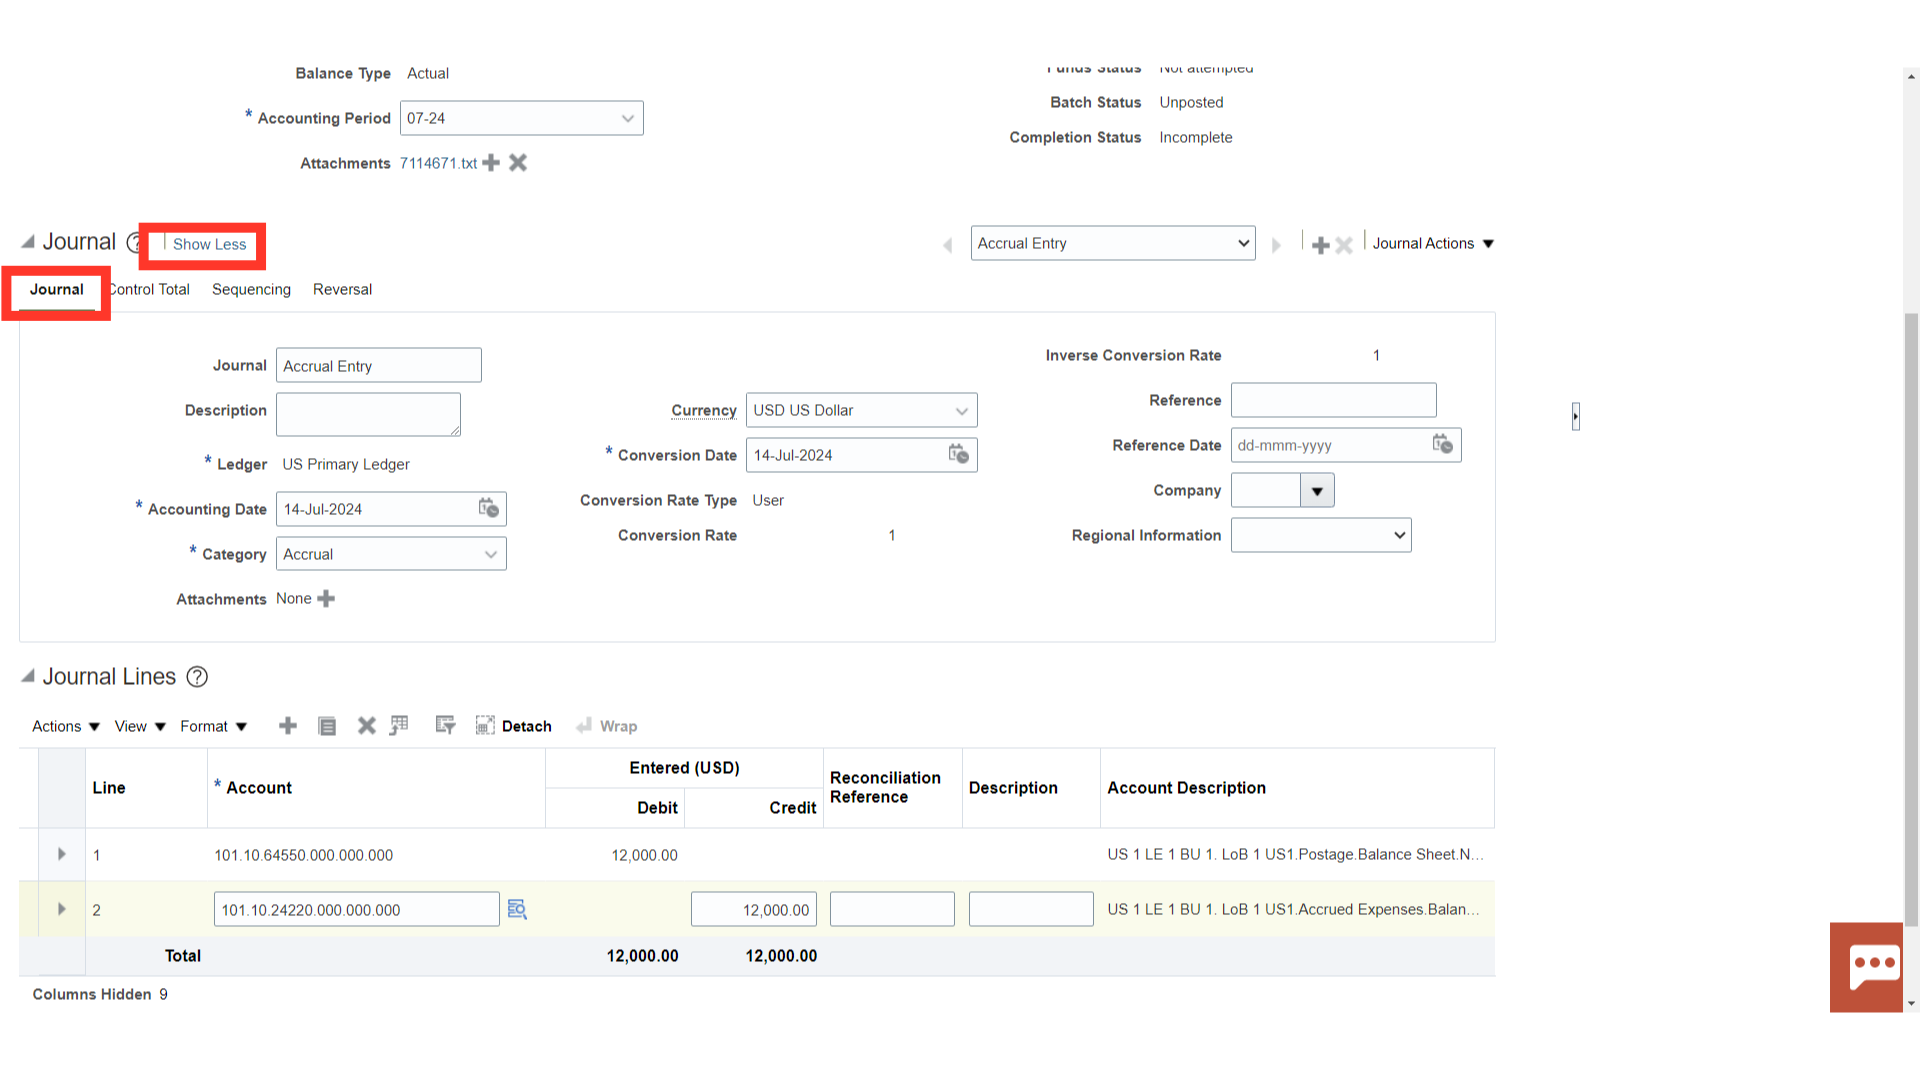
To see additional details under Journal level, click on the Show more at the Journal level. Firstly, Click on the Journals tab to see more journal details such as Journal name, Description etc.
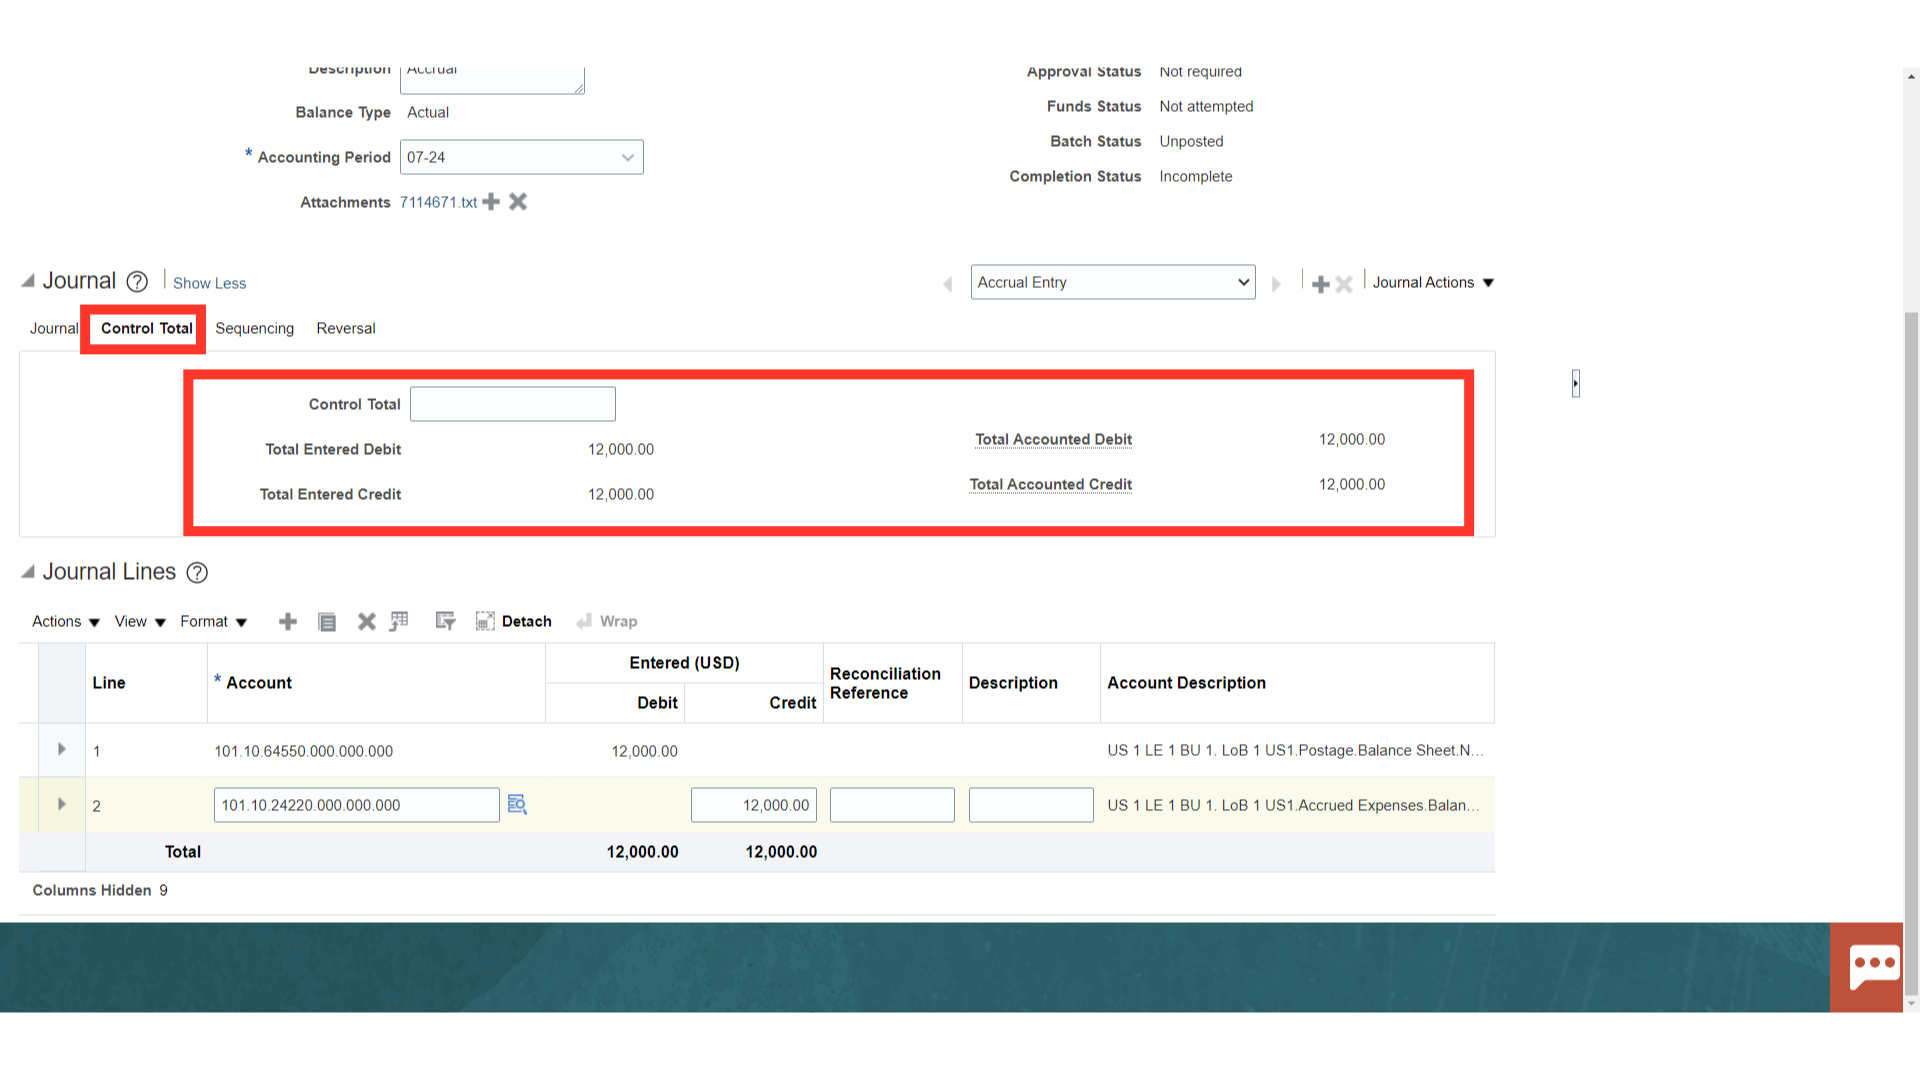
Enter a Control Total if we want to verify the total debits for the journal lines against the journal control total.
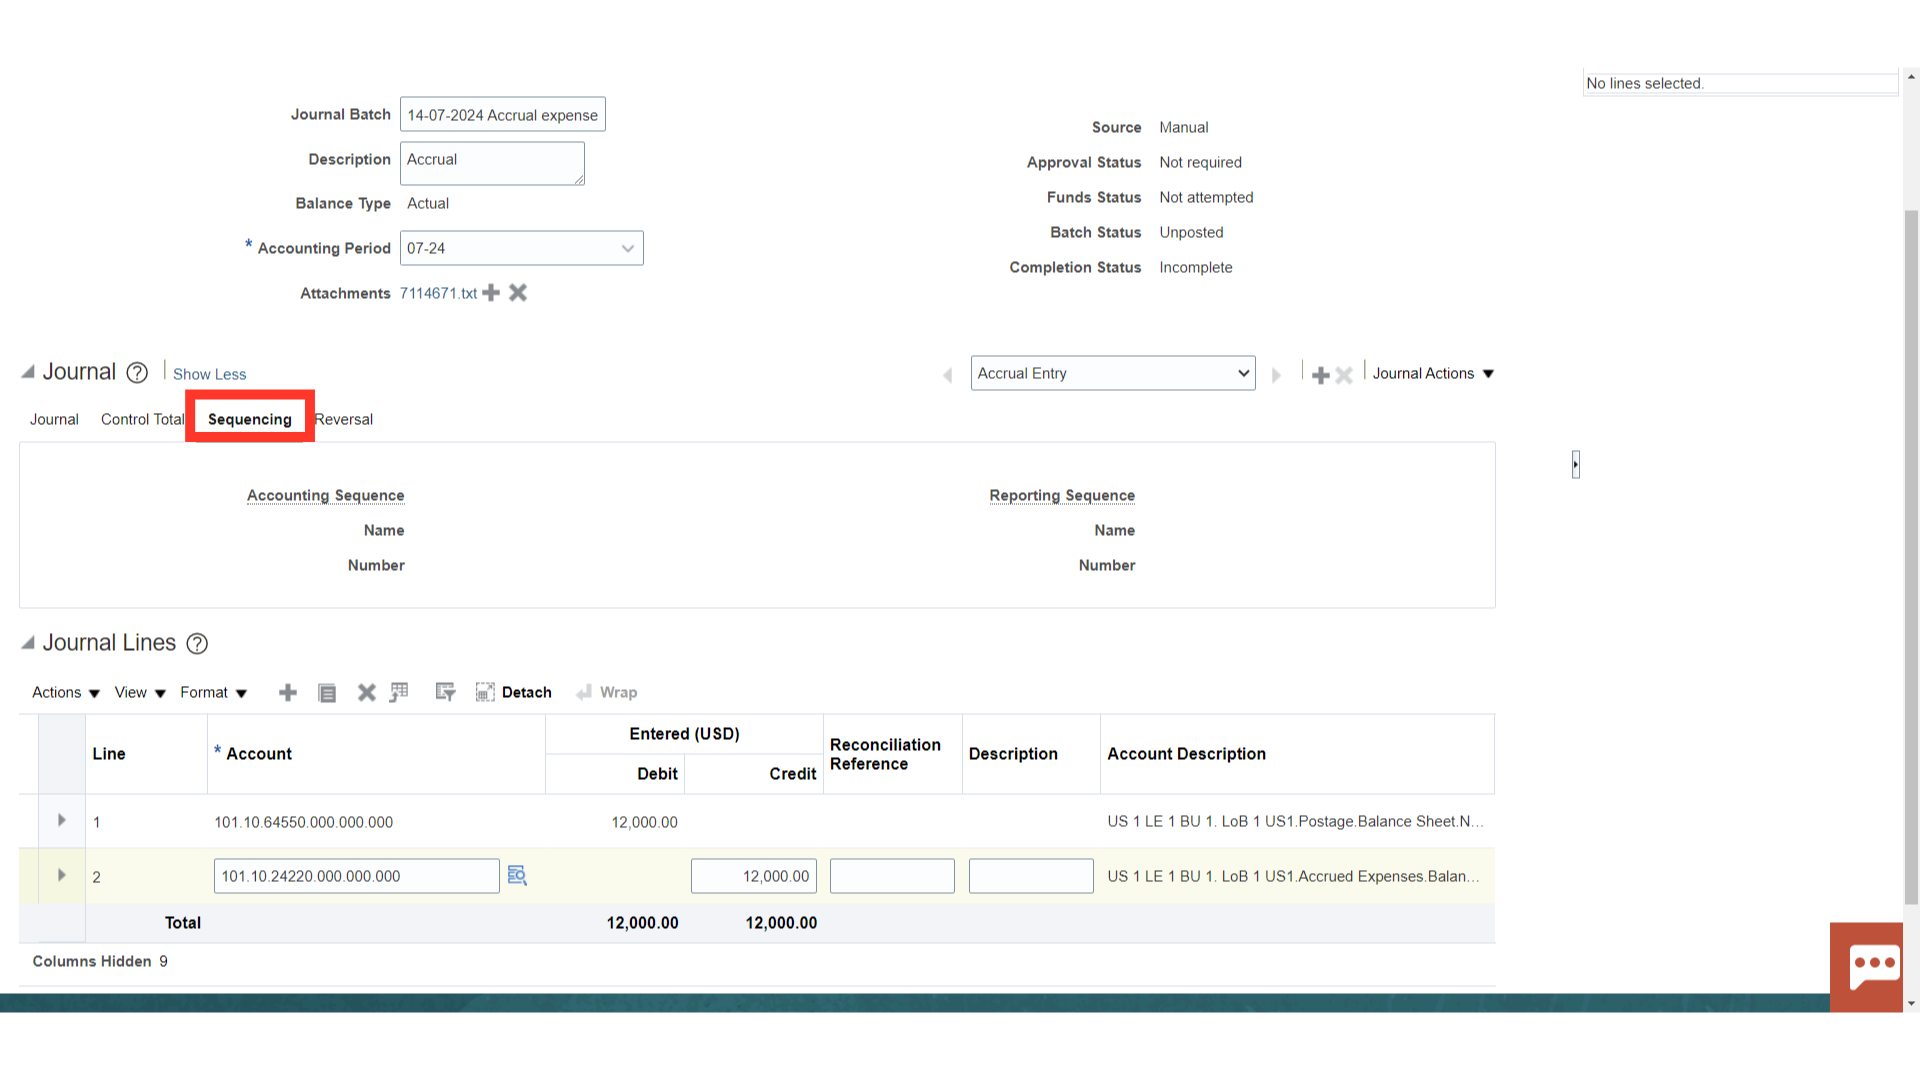
Under the Sequencing tab, Accounting Sequence and Reporting Sequence details are displayed.
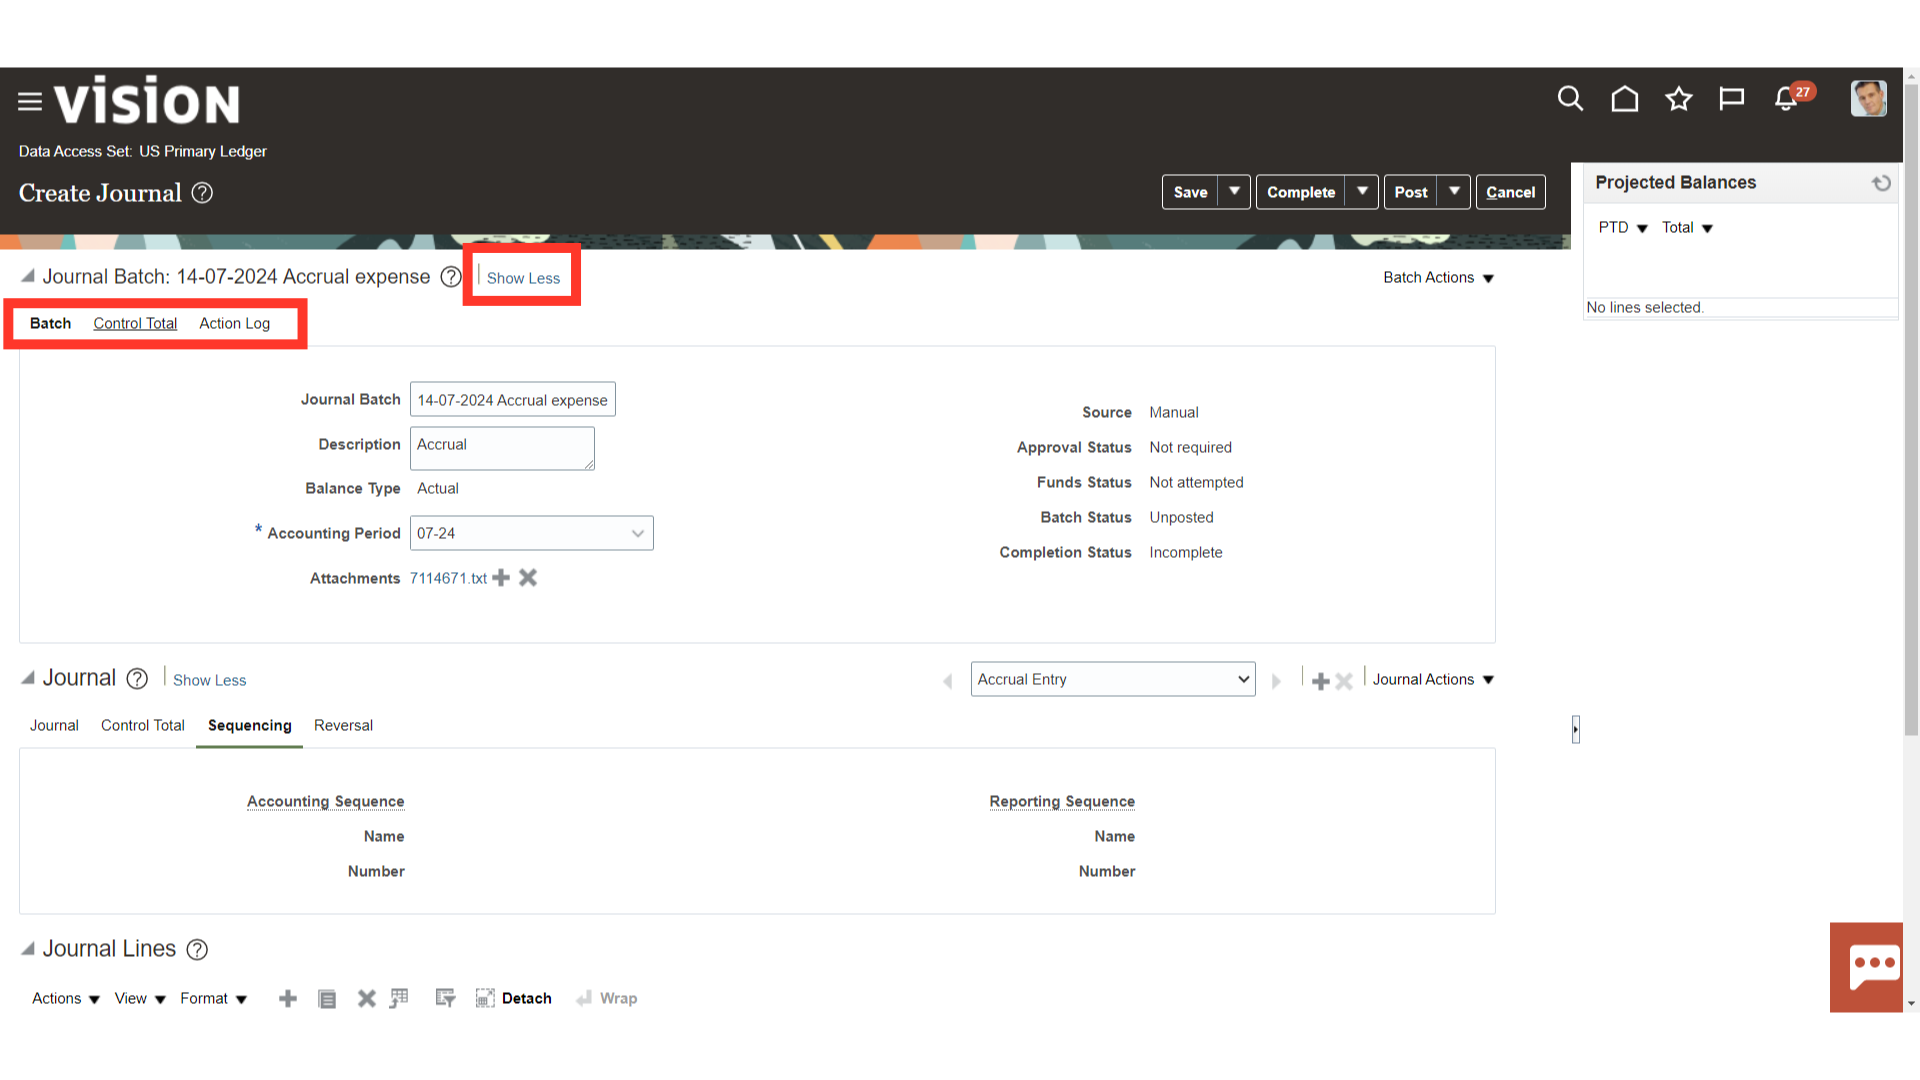
In similar way, under the batch there are 3 tabs Journal Batch, Control Total and Action Log. In the first tab, under Batch all the batch details are displayed. While under the Control total tab, enter a Control Total if we want to verify the total debits for journal batch against the batch control total.
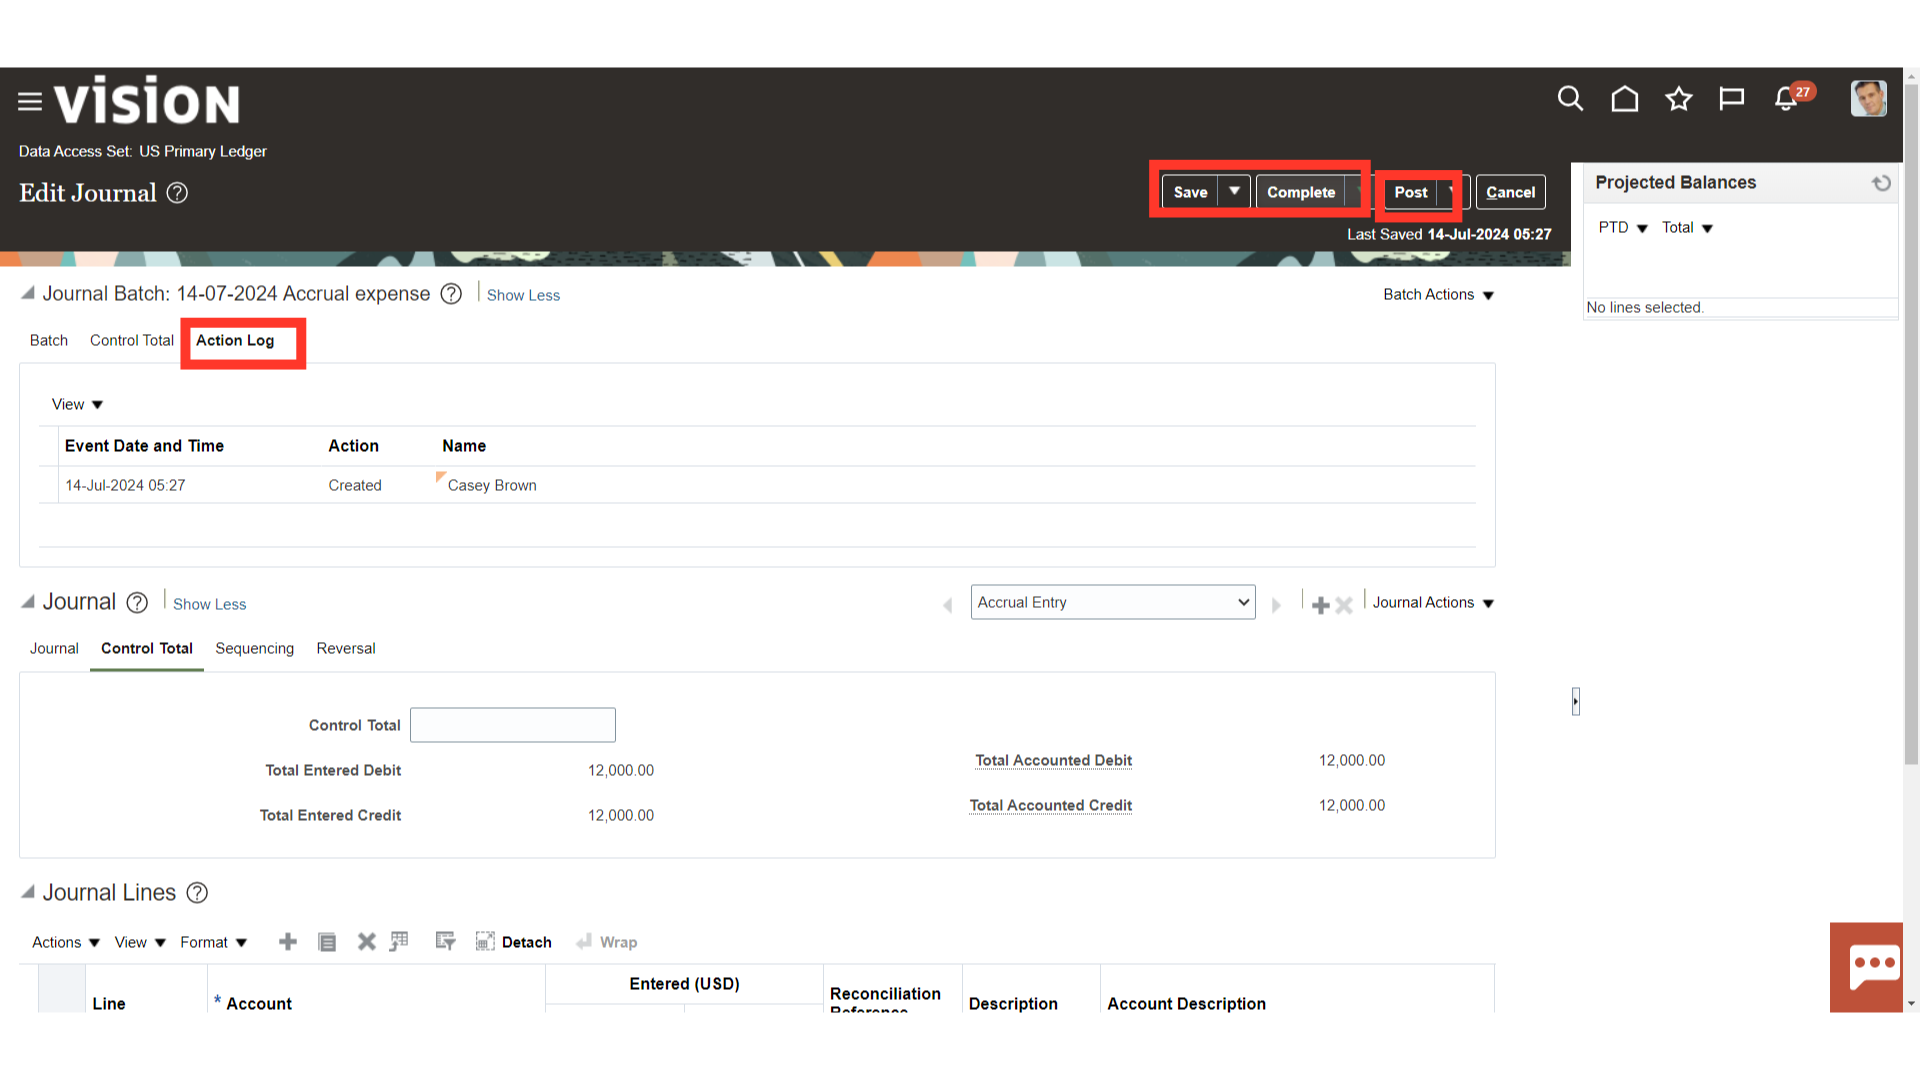
Under Action log tab the details of users such as who as Created ,Approved etc. After entering all the details click on the Save and Complete button. To post the journals click on the Post button.
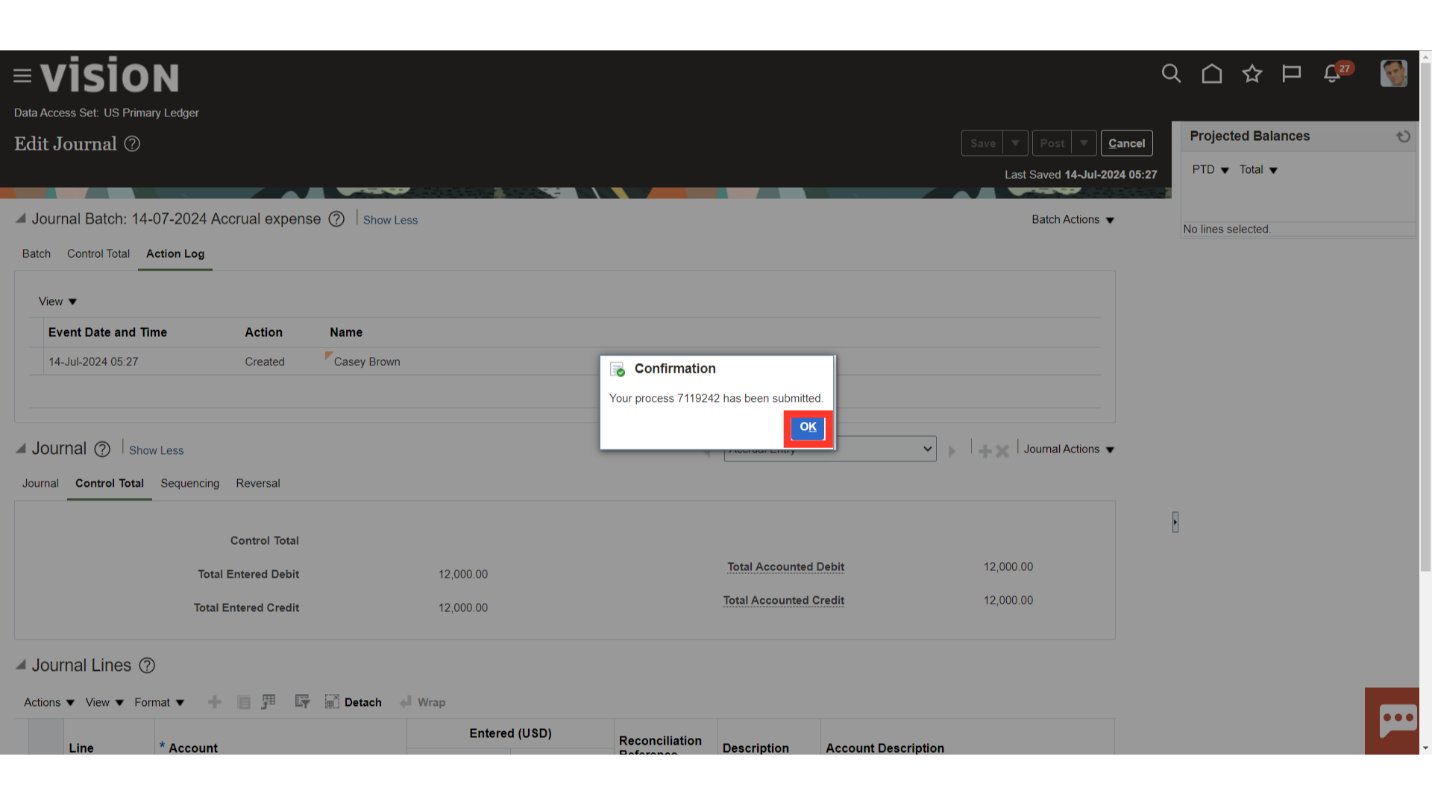
A confirmation message is displayed along with the Process ID. Click on the OK button to continue.
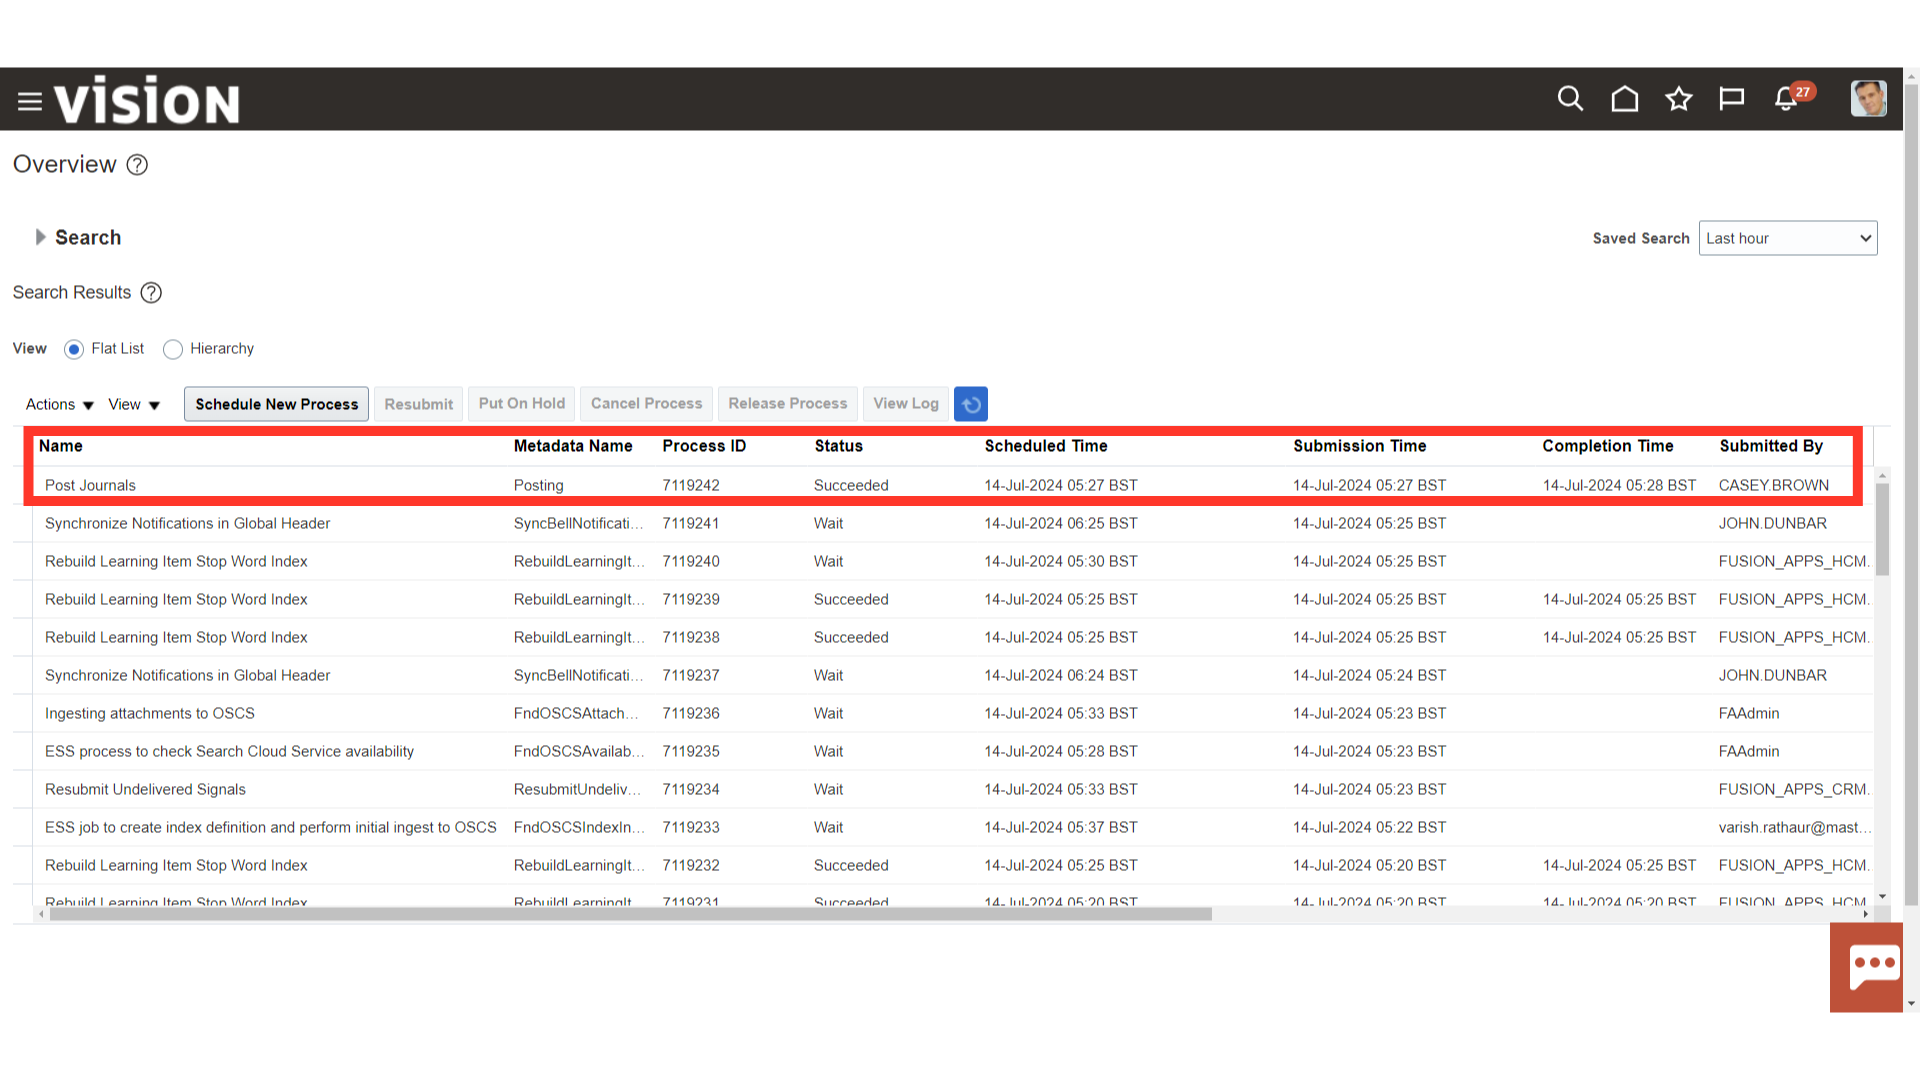
Navigate to Scheduled Process, to verify whether Post Journals process is succeeded.
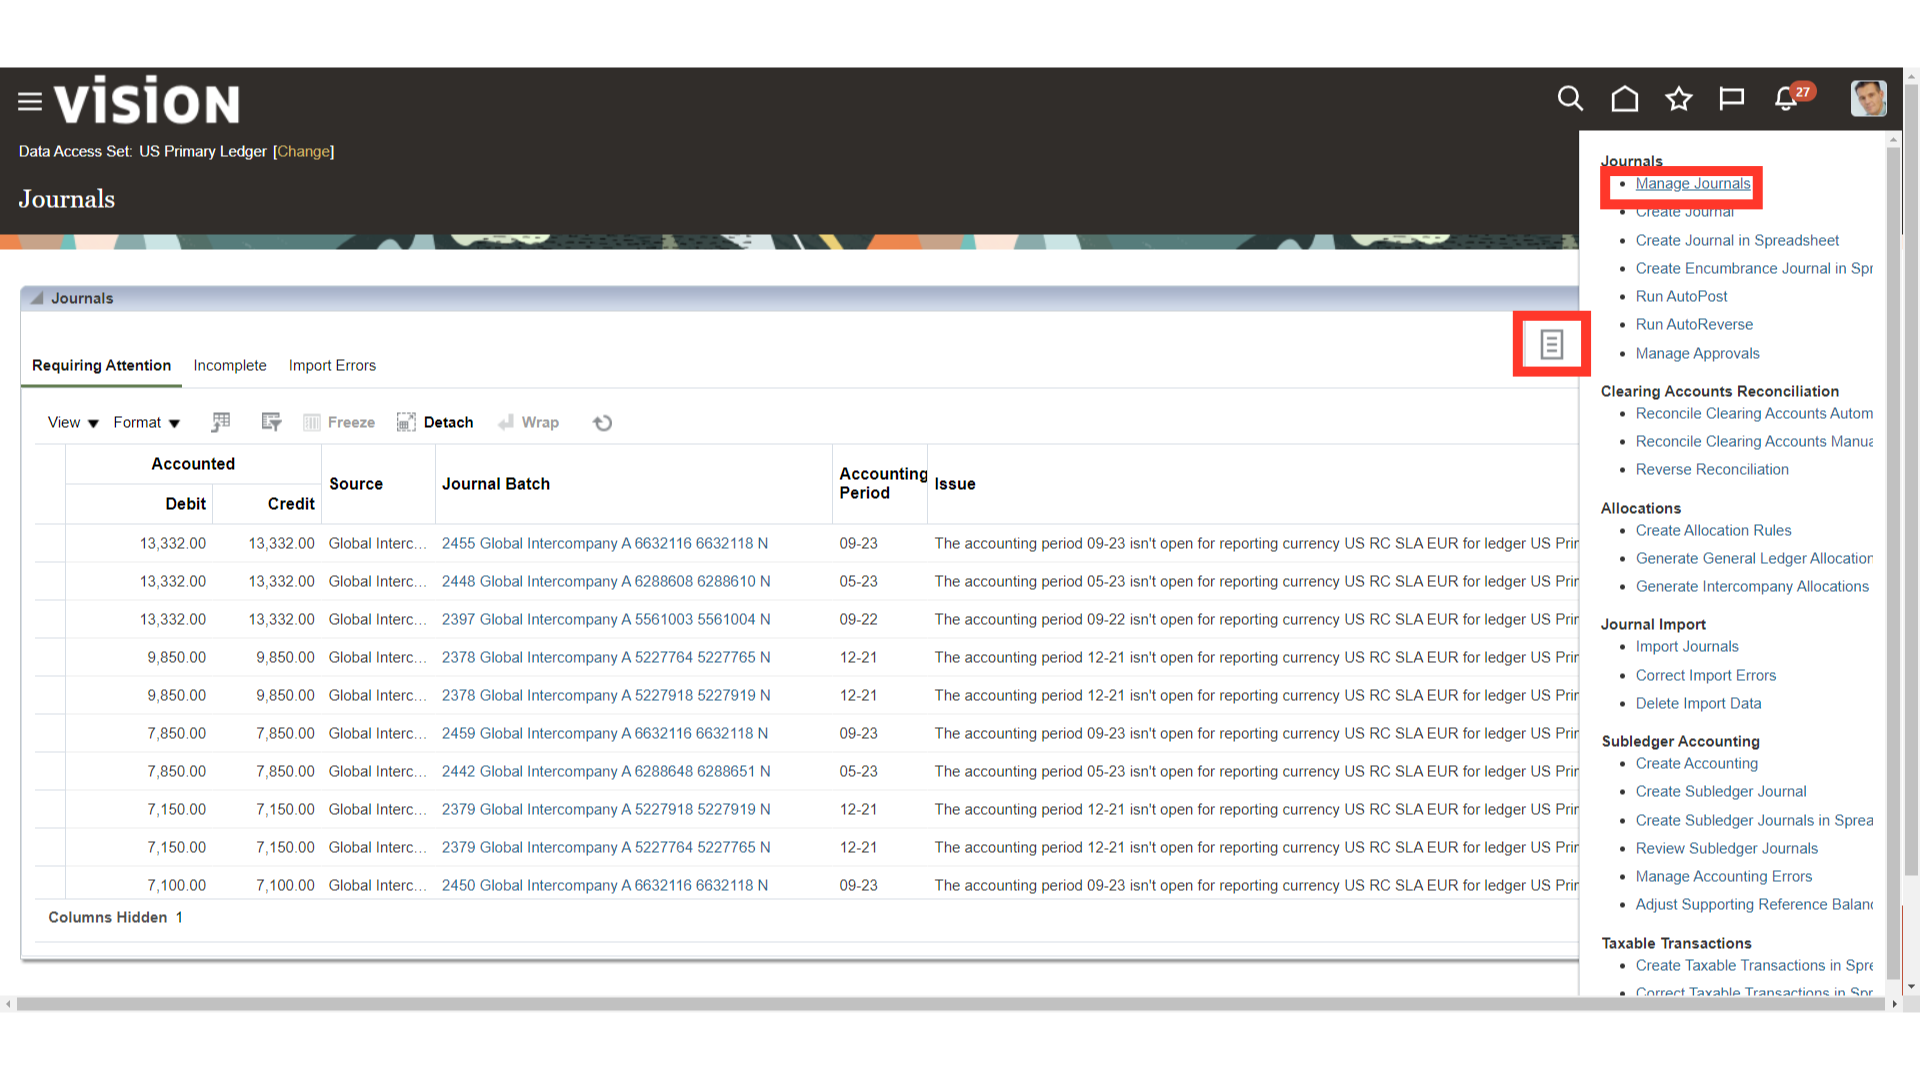
Click on the Manage Journals from the task list to search the Journal Entry.
Click on the Search button after entering all the required Parameters. Click on the Journal name to open the Journal entry.
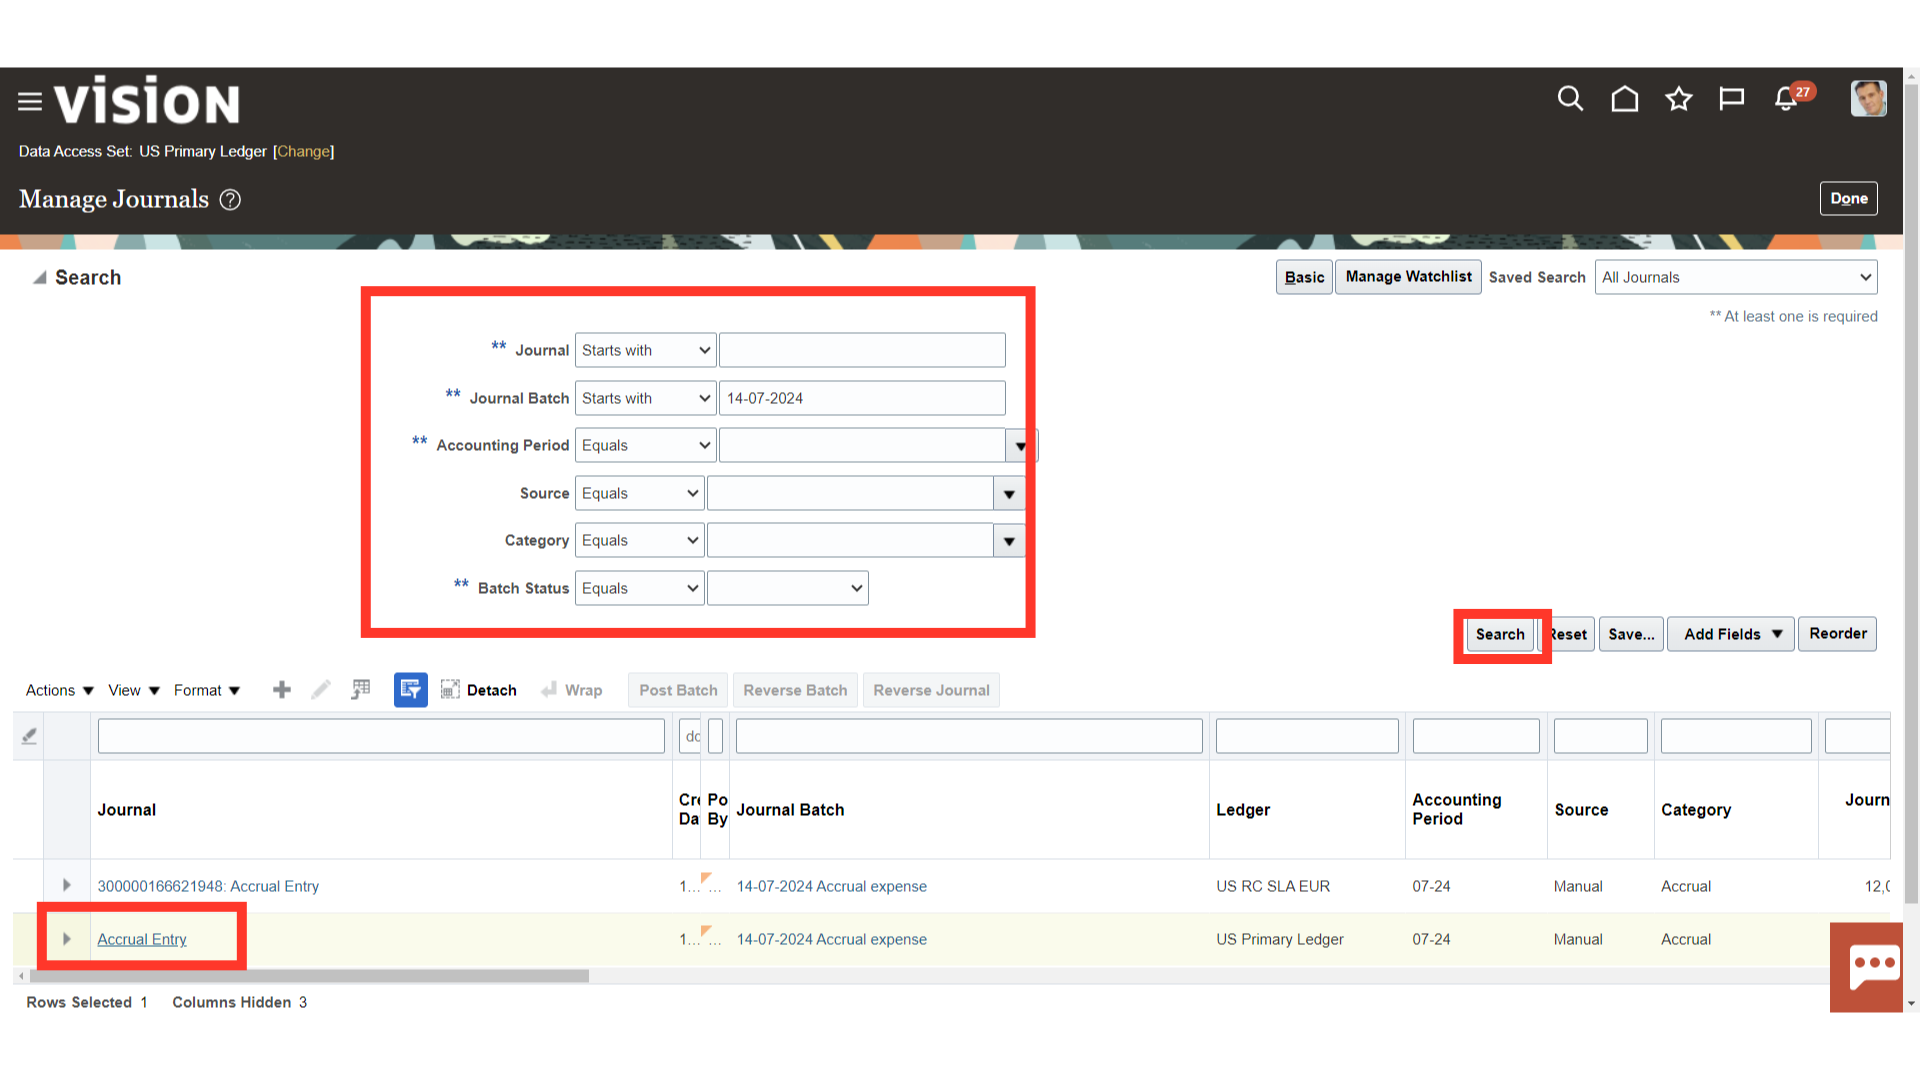
Source of the journal entry created will be Manual. Once all the details verified, click on the Cancel button.
