Internal Contracts – Add Contract Lines and Details
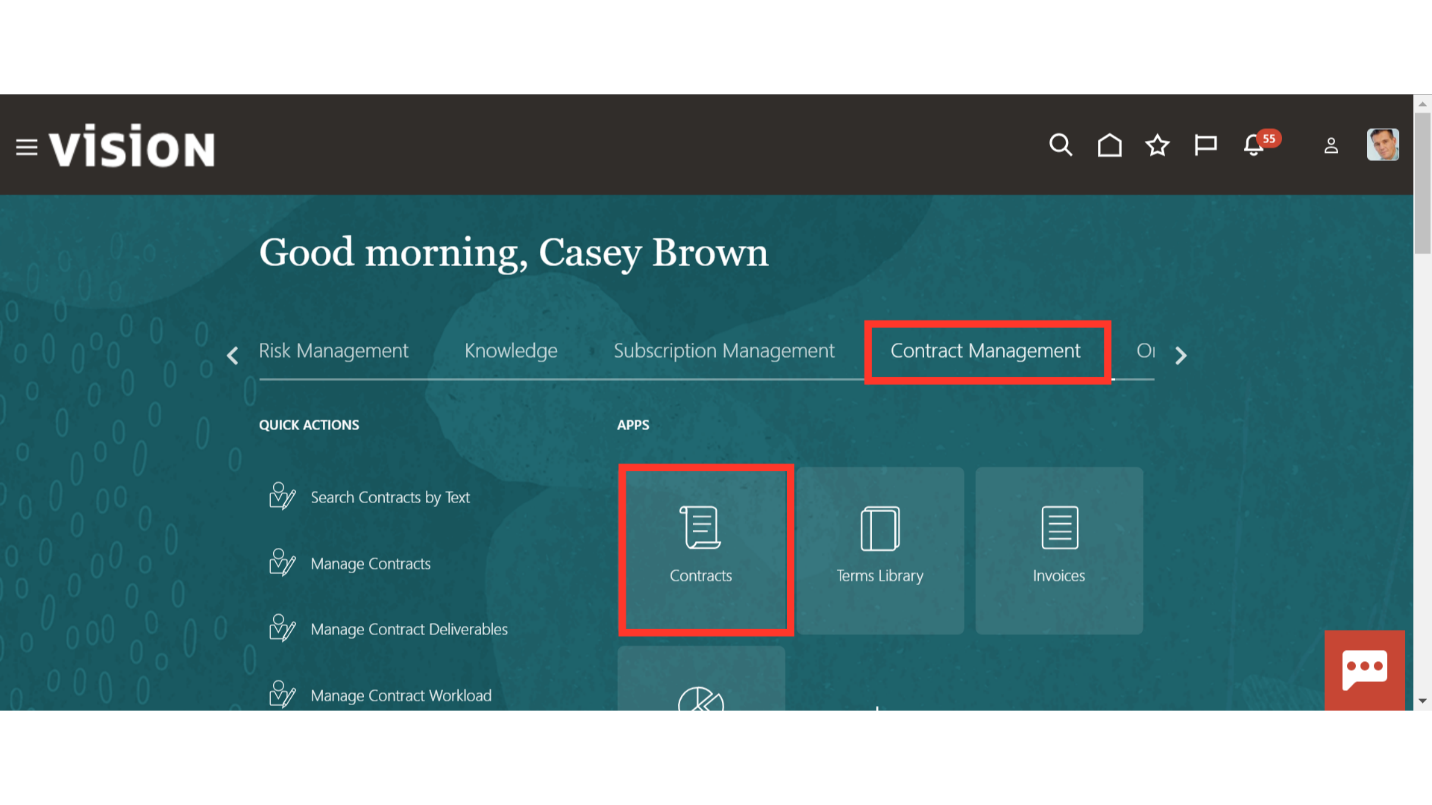
Click on the ‘Contracts’ sub-menu under the ‘Contract Management’ menu from the Oracle home page.
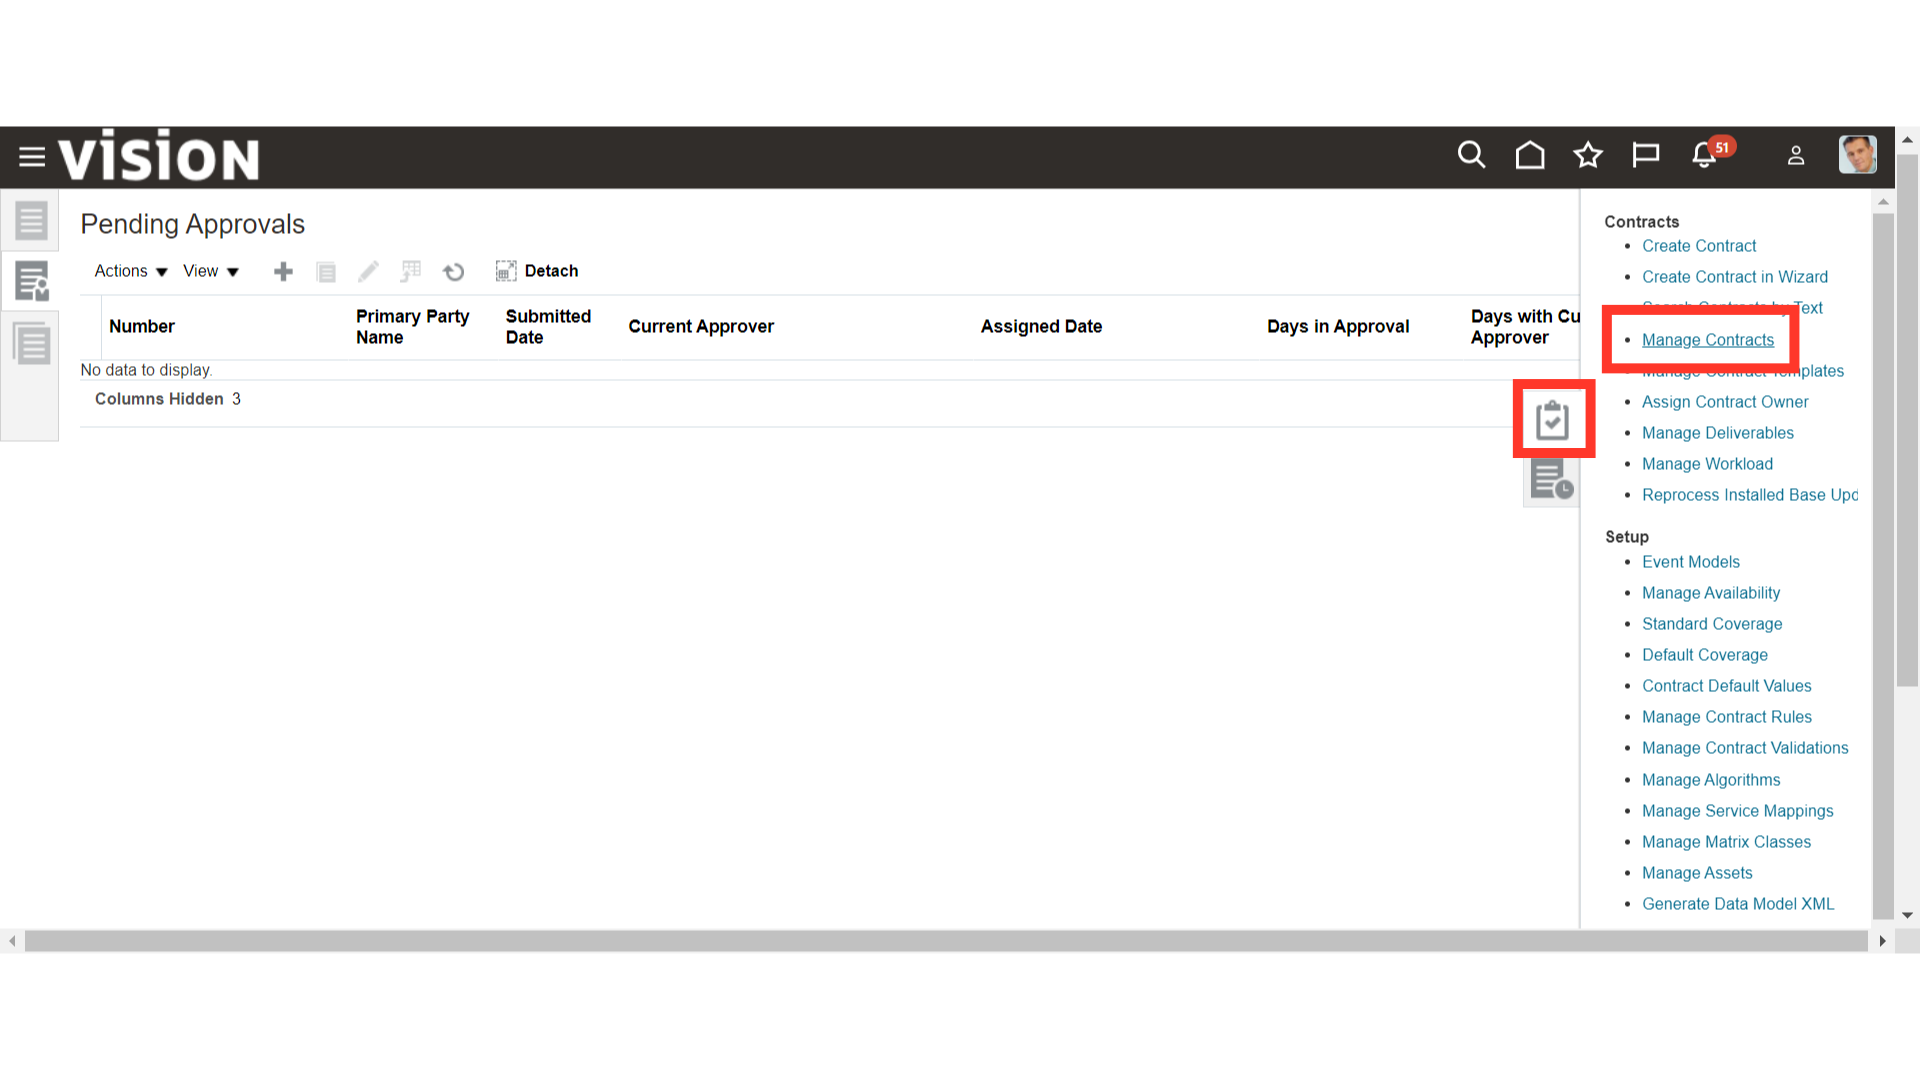
Navigate to ‘Manage Contracts’ from the Task list to enquire about the existing contracts.
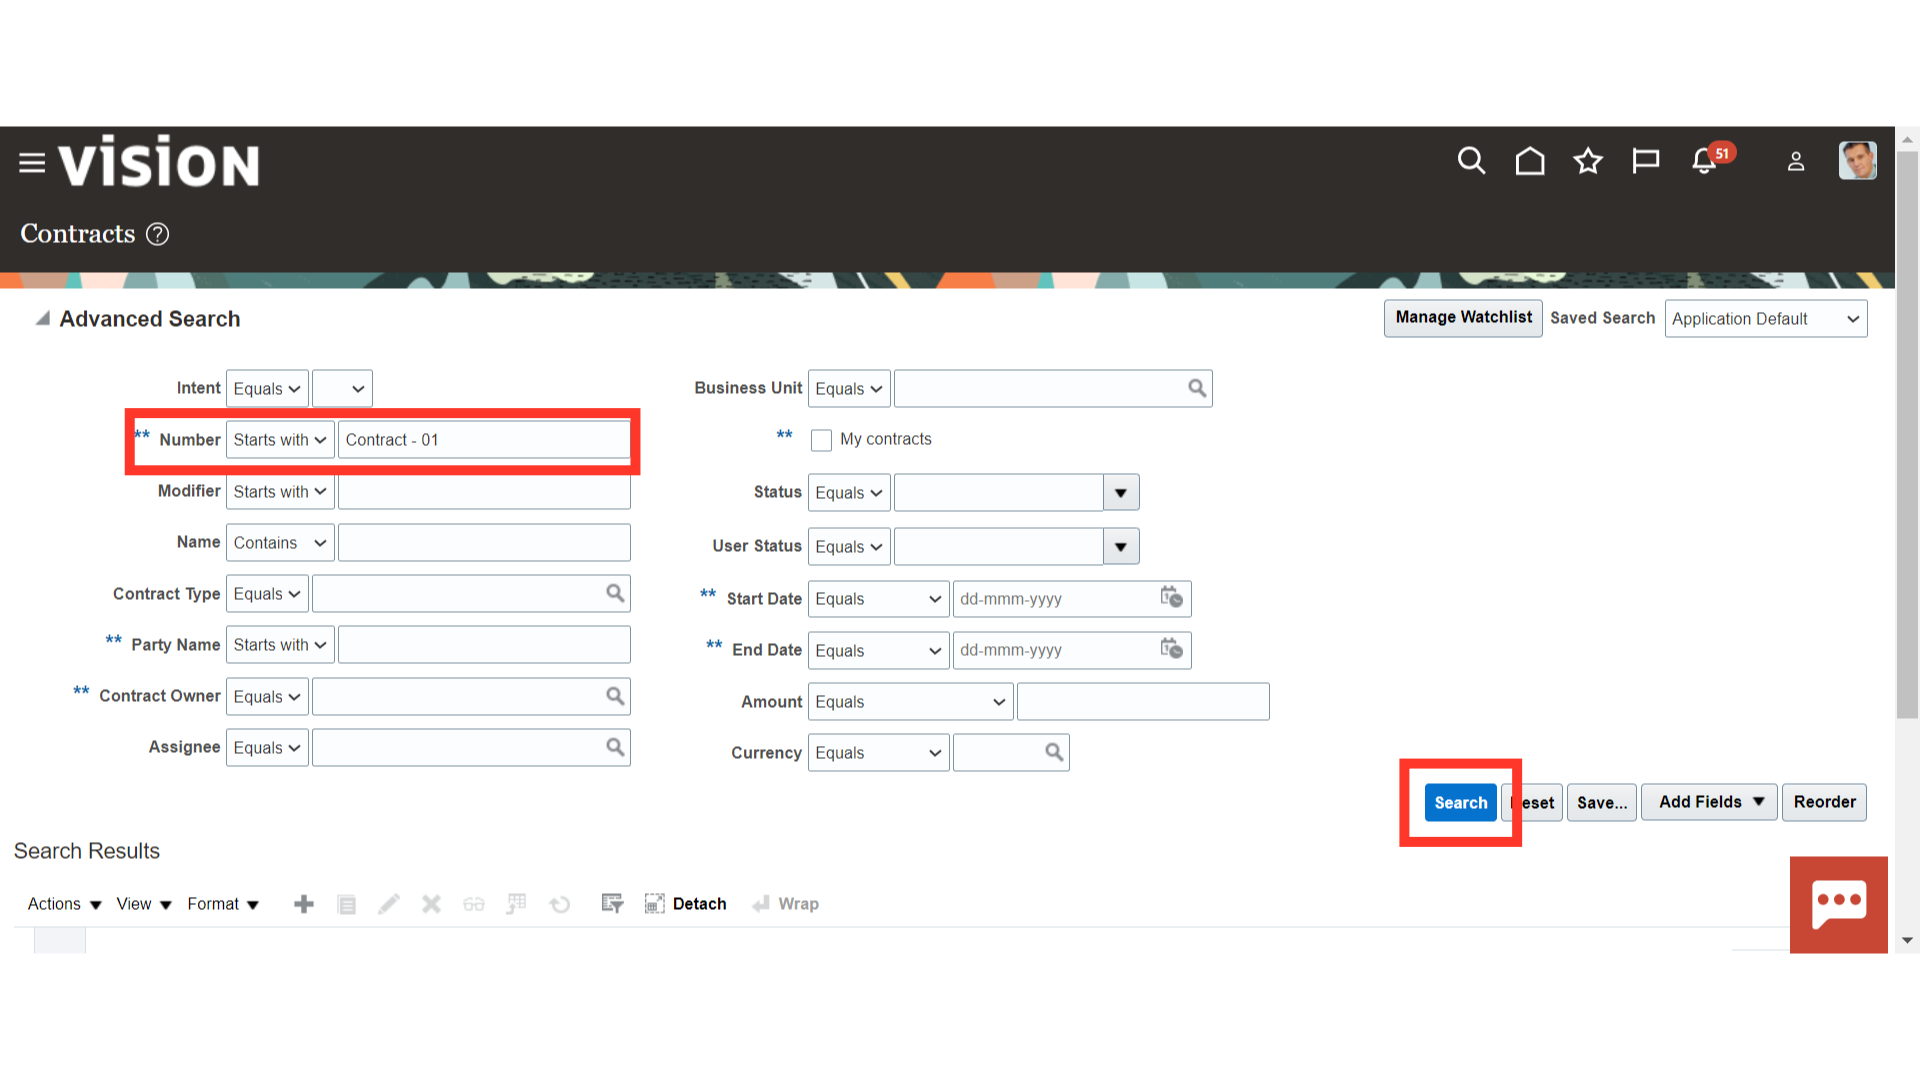
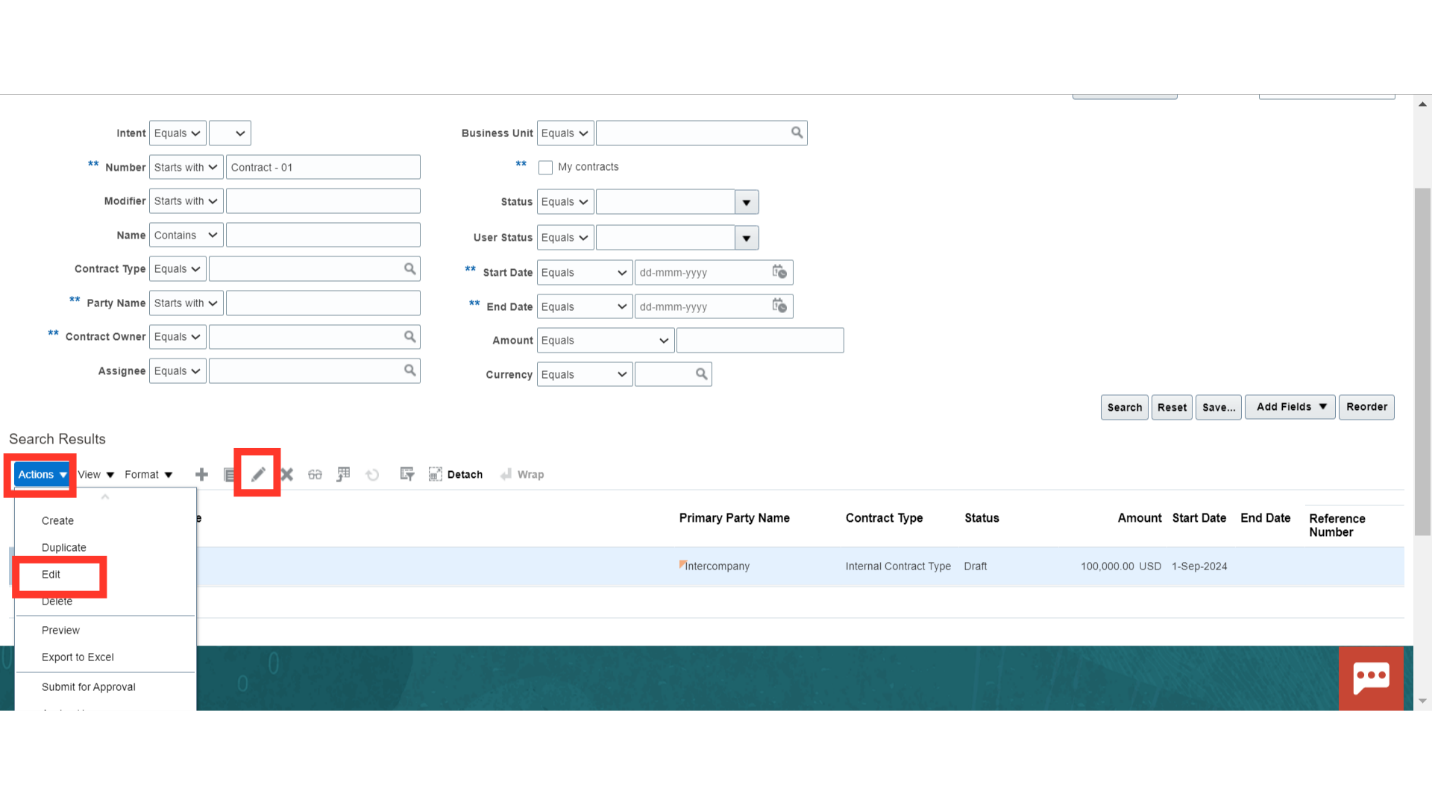
Enter the values like Name, Number, Party Name, Contract Owner, Business Unit, Start Date, End Date etc. in the search parameter and click on ‘Search’.
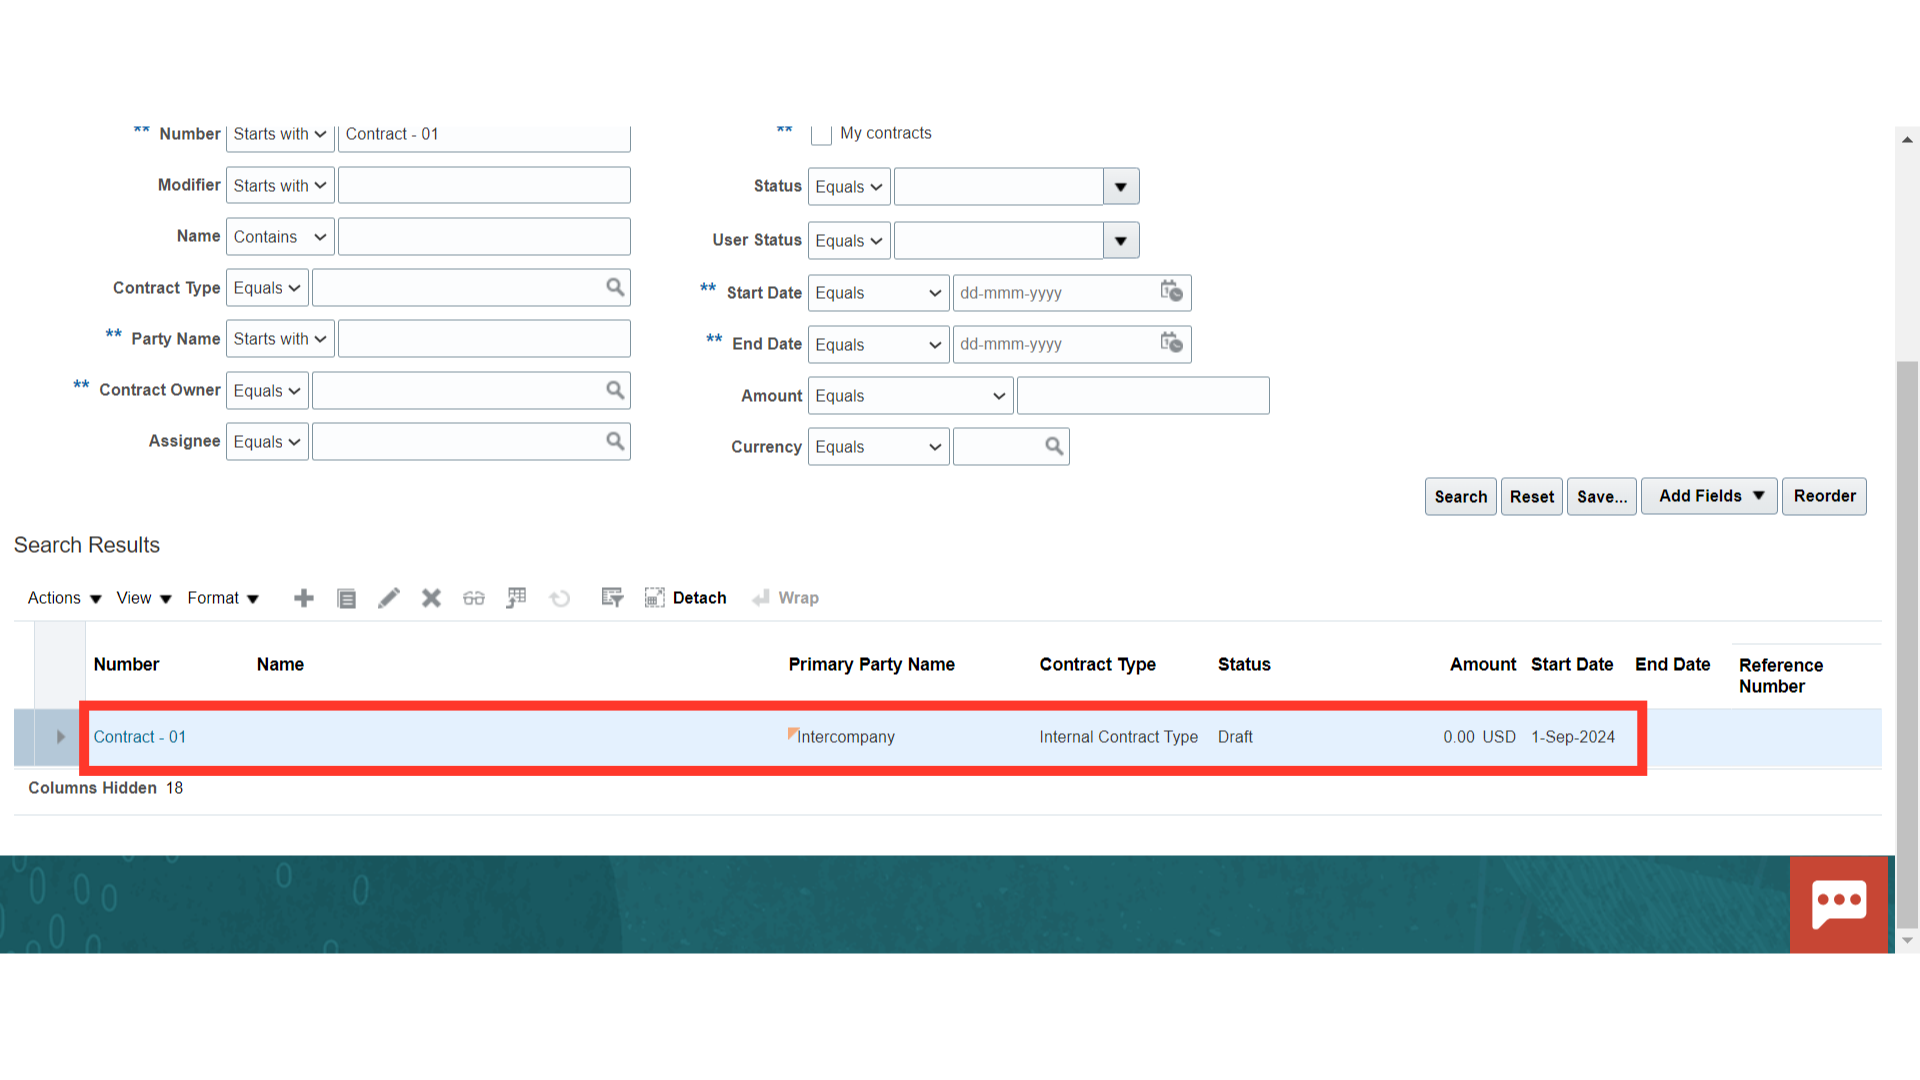
Oracle Cloud will show the result based on the values entered in the search parameters. Select the Contract in which you want to add contract lines and click on the Contract number hyperlink.
Another way to edit the existing contract is to click on the ‘Edit button from the ‘Actions’ button LoV or Click on the pencil icon to edit.
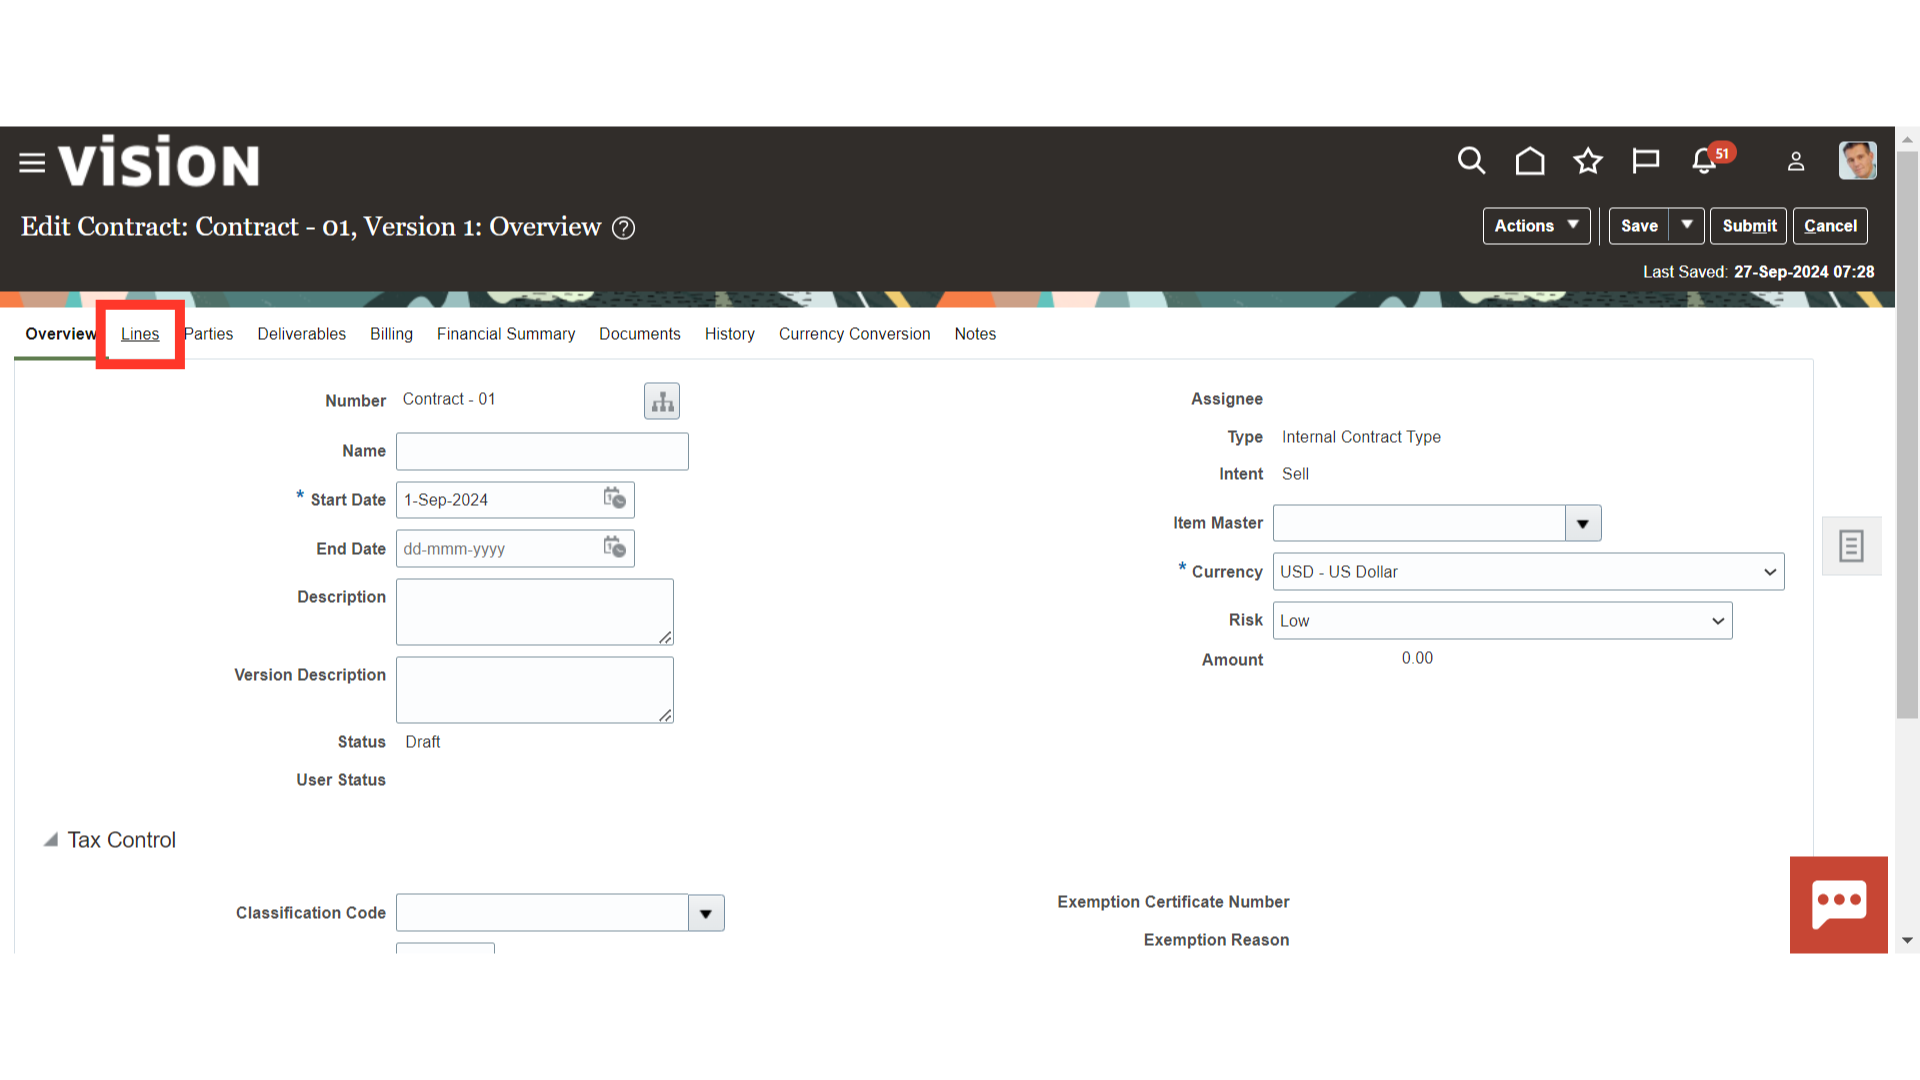
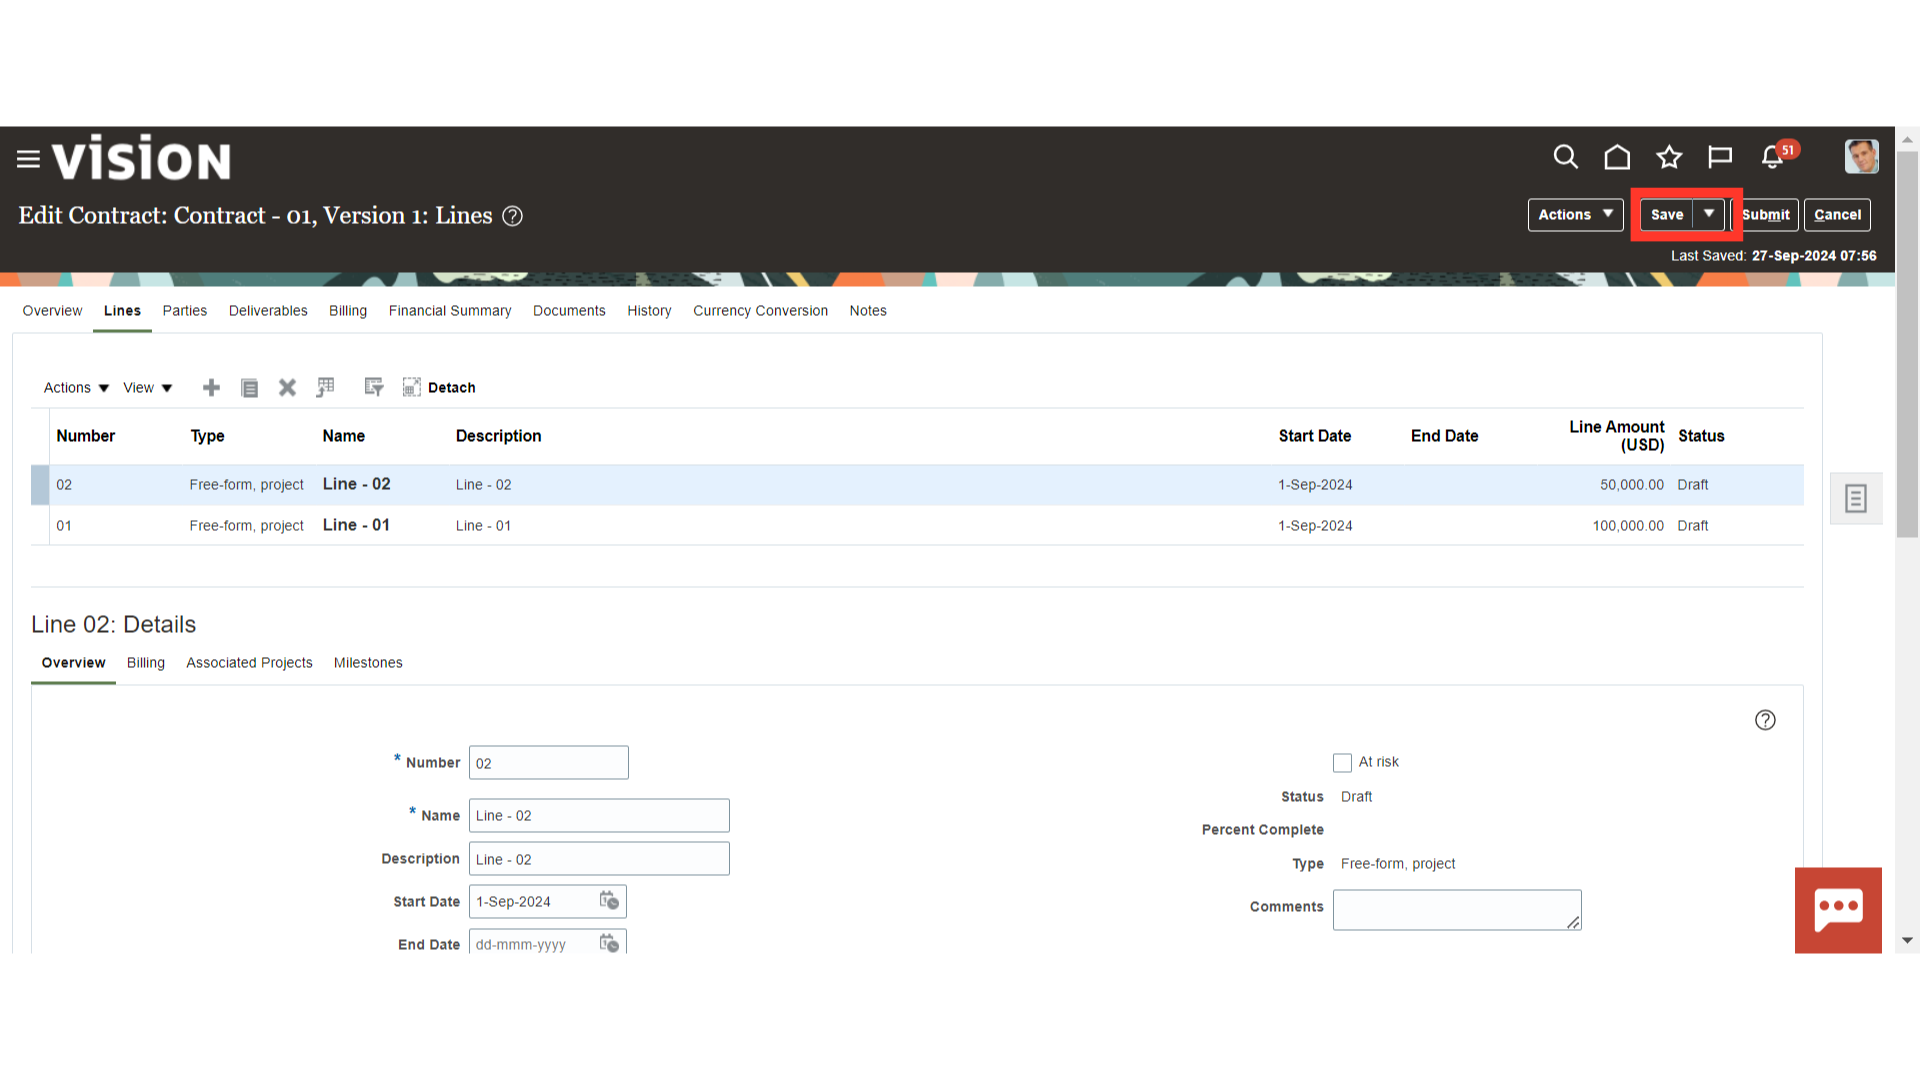
Navigate to the ‘Lines’ tab to add the contract line(s) and its details.
One Contract Line will be defaulted from the Contract Template.
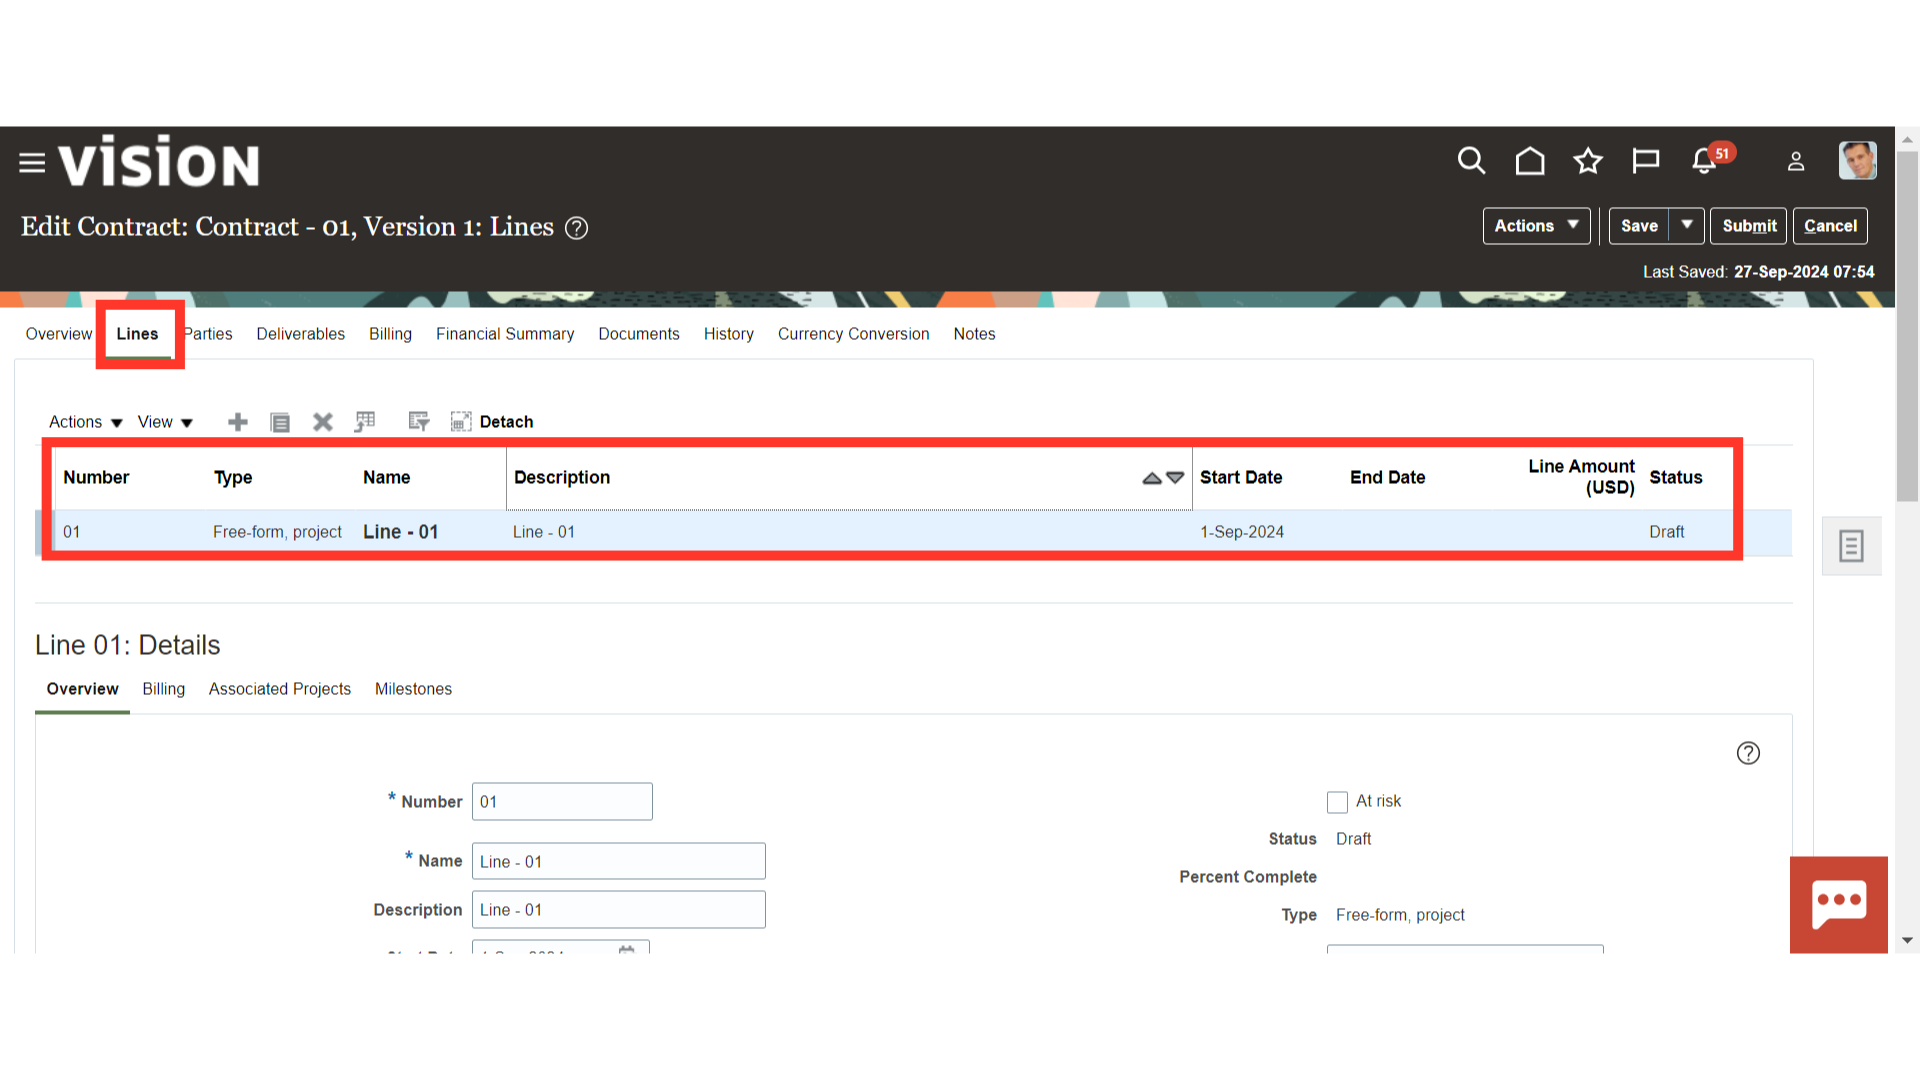
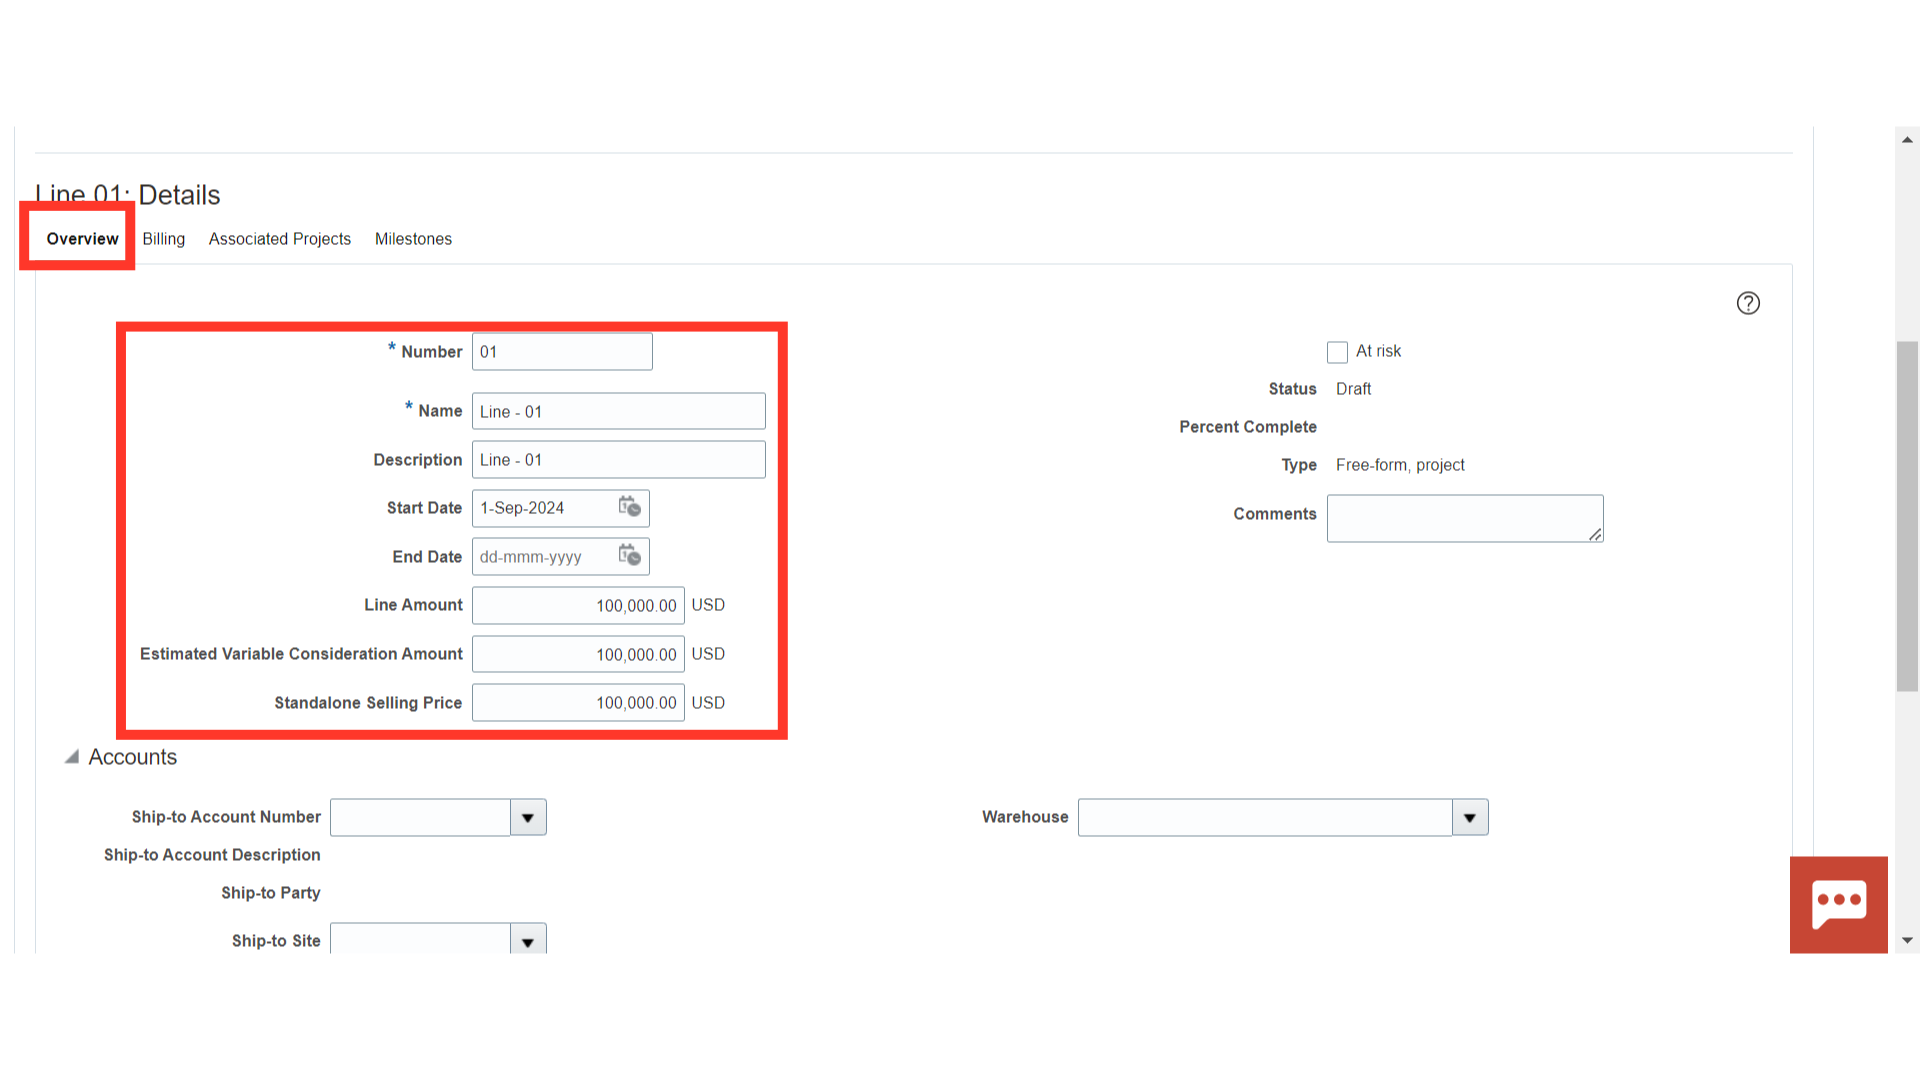
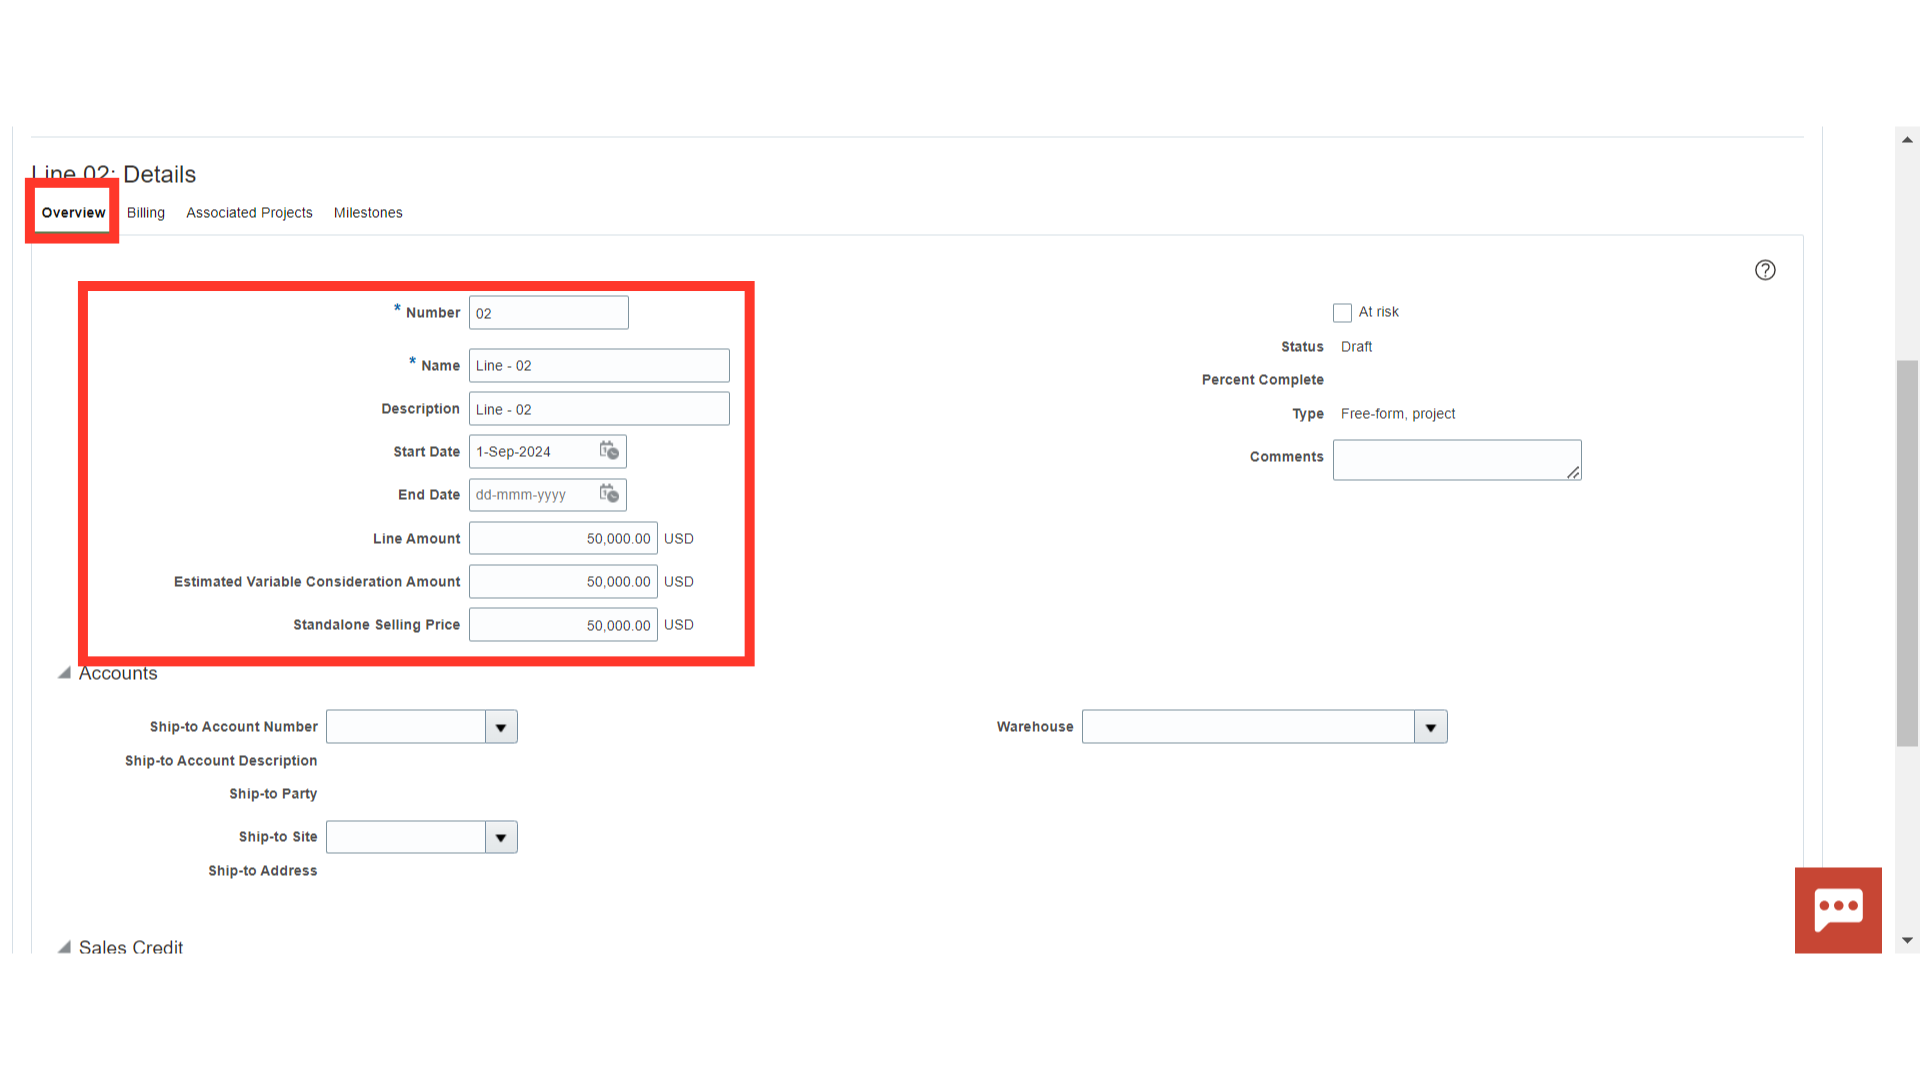
Scroll down and click on the ‘Overview’ tab to update the contract line details such as Line Name, Start Date, End Date, Line Amount, Comments etc.
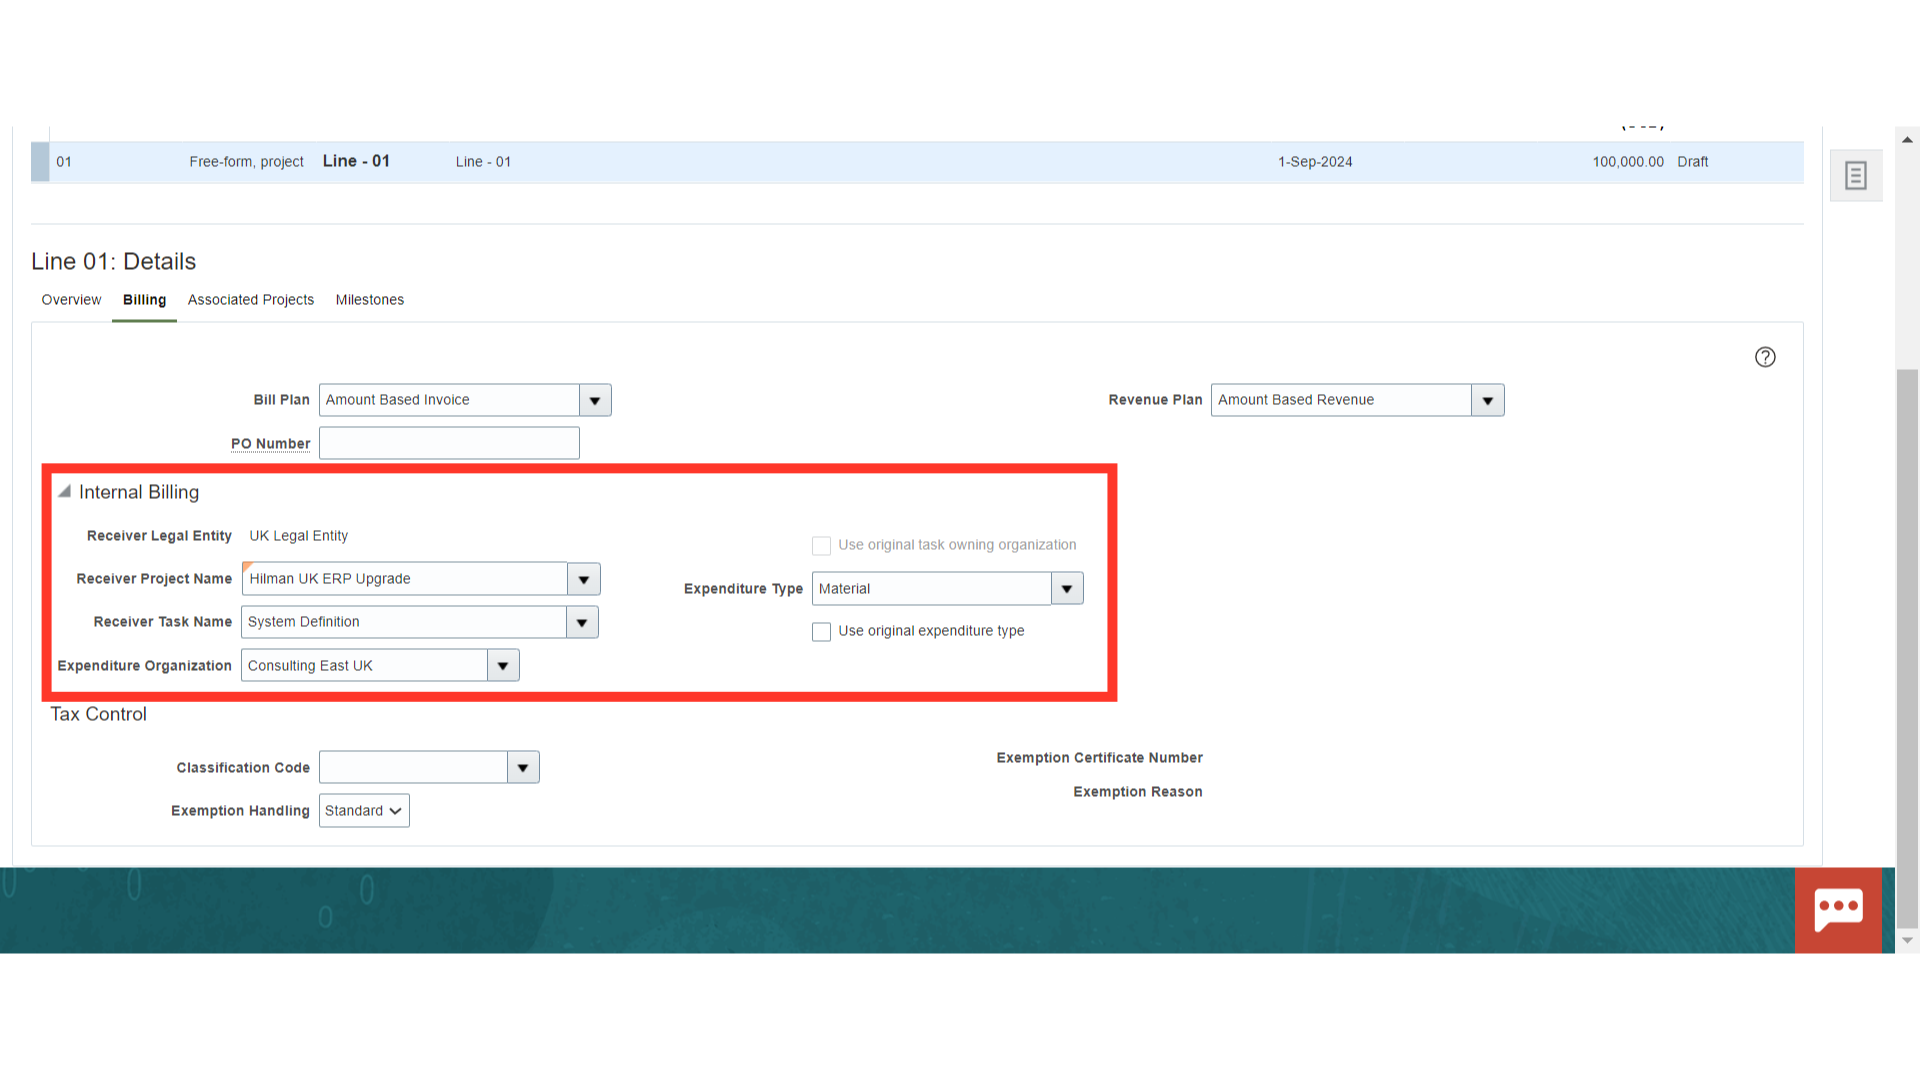
Navigate to the ‘Billing’ section. Here you can see that ‘Bill Plan’ and ‘Revenue Plan’ come by default from the contract template.

In the ‘Billing’ section, enter the Receiver Project details such as Receiver Project Name, Receiver Task Name, Expenditure Organization and Expenditure Type, which are mandatory for internal contracts. Oracle Cloud will use these project details to create an intercompany invoice in the Accounts Payable module in the Receiver BU.
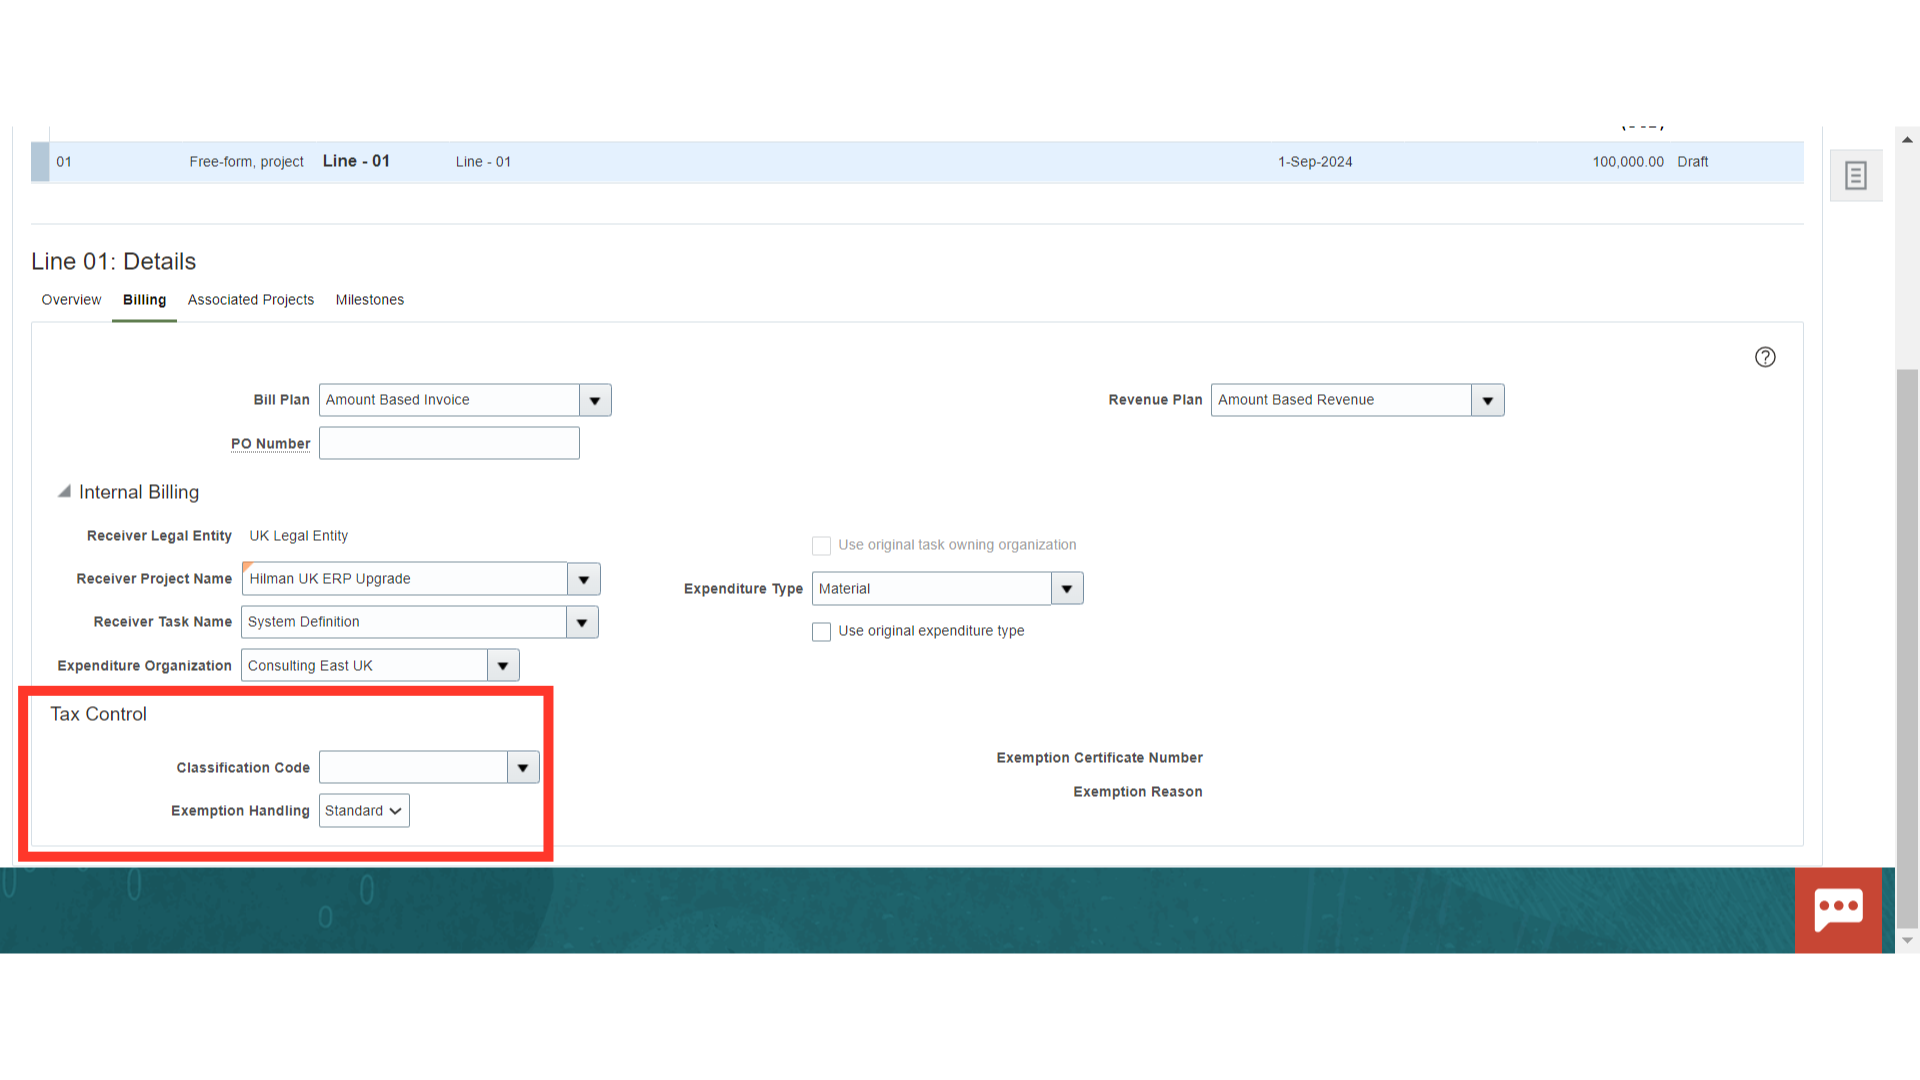
If required, provide the tax details at the contract line level in the ‘Billing’ section. If tax details have been entered at both Contract and Line levels, Oracle Cloud will give preference to the tax setup at the Line level.
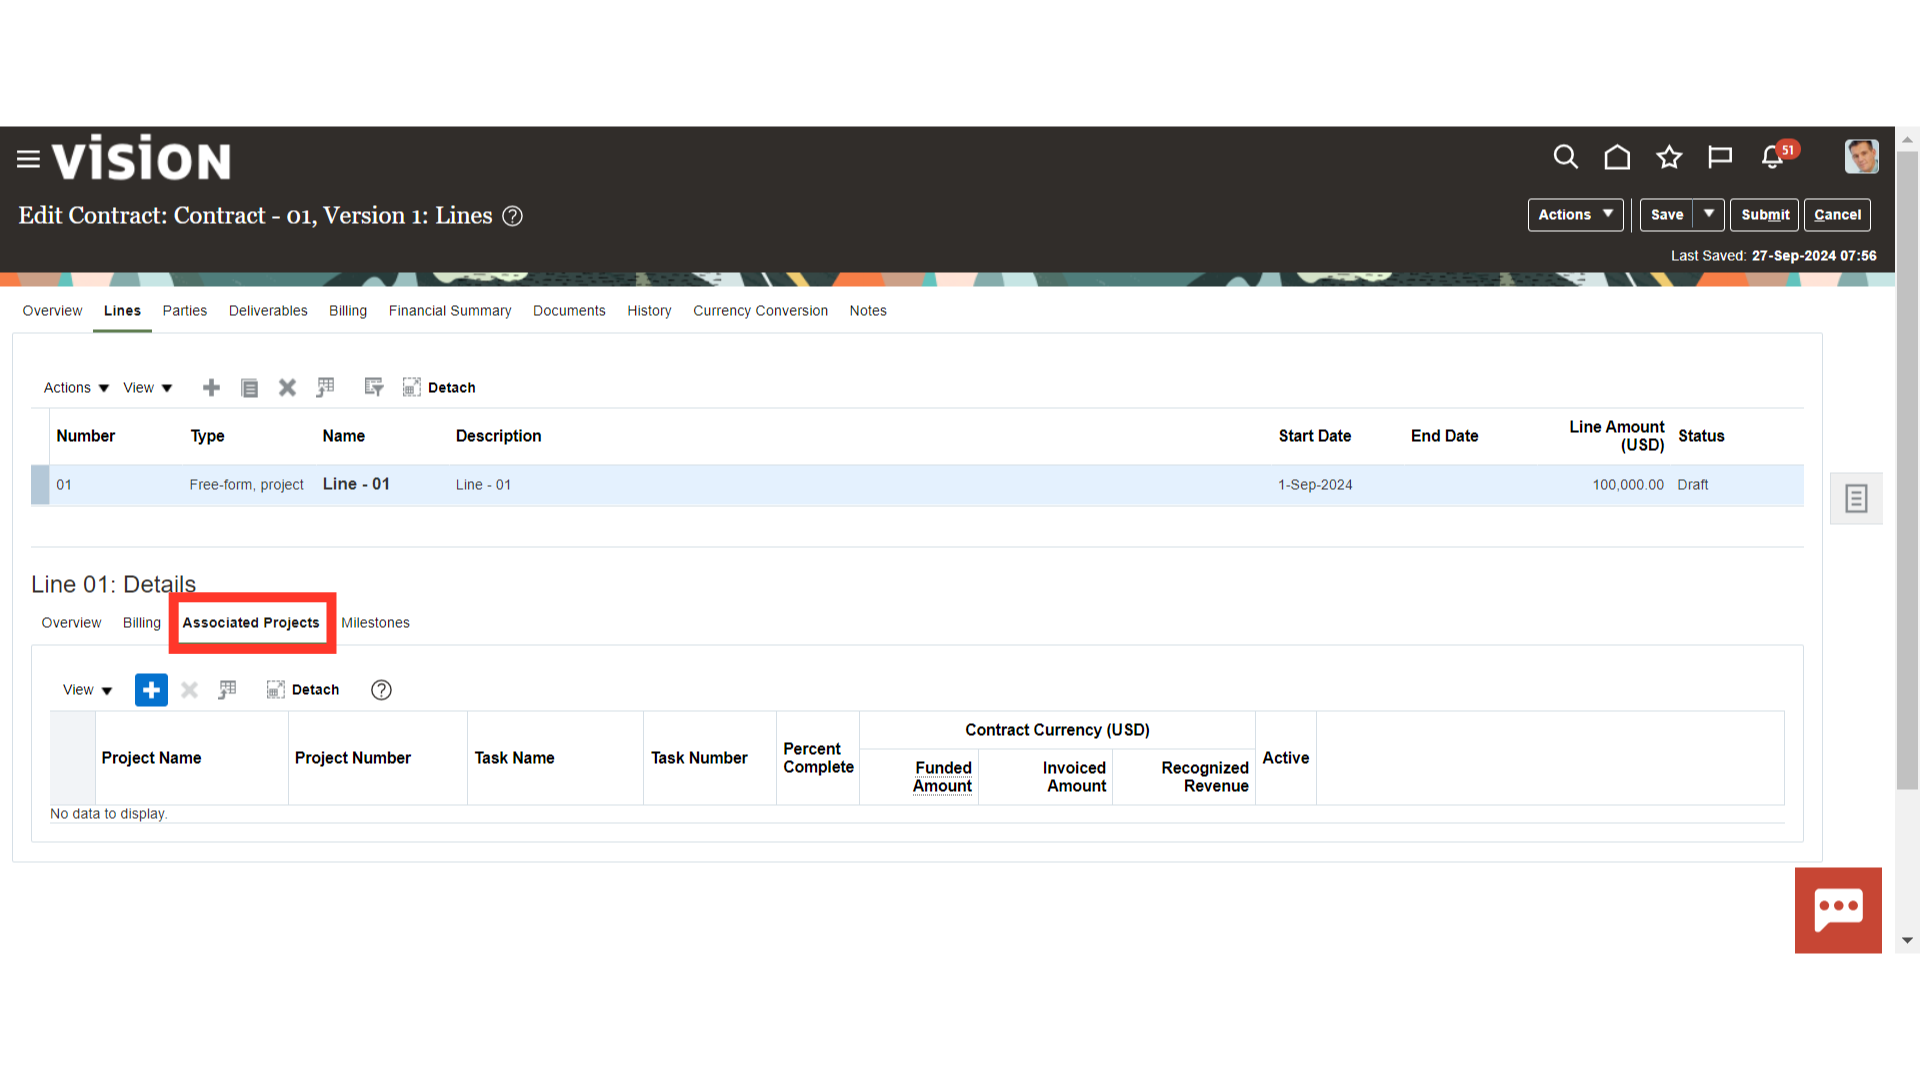
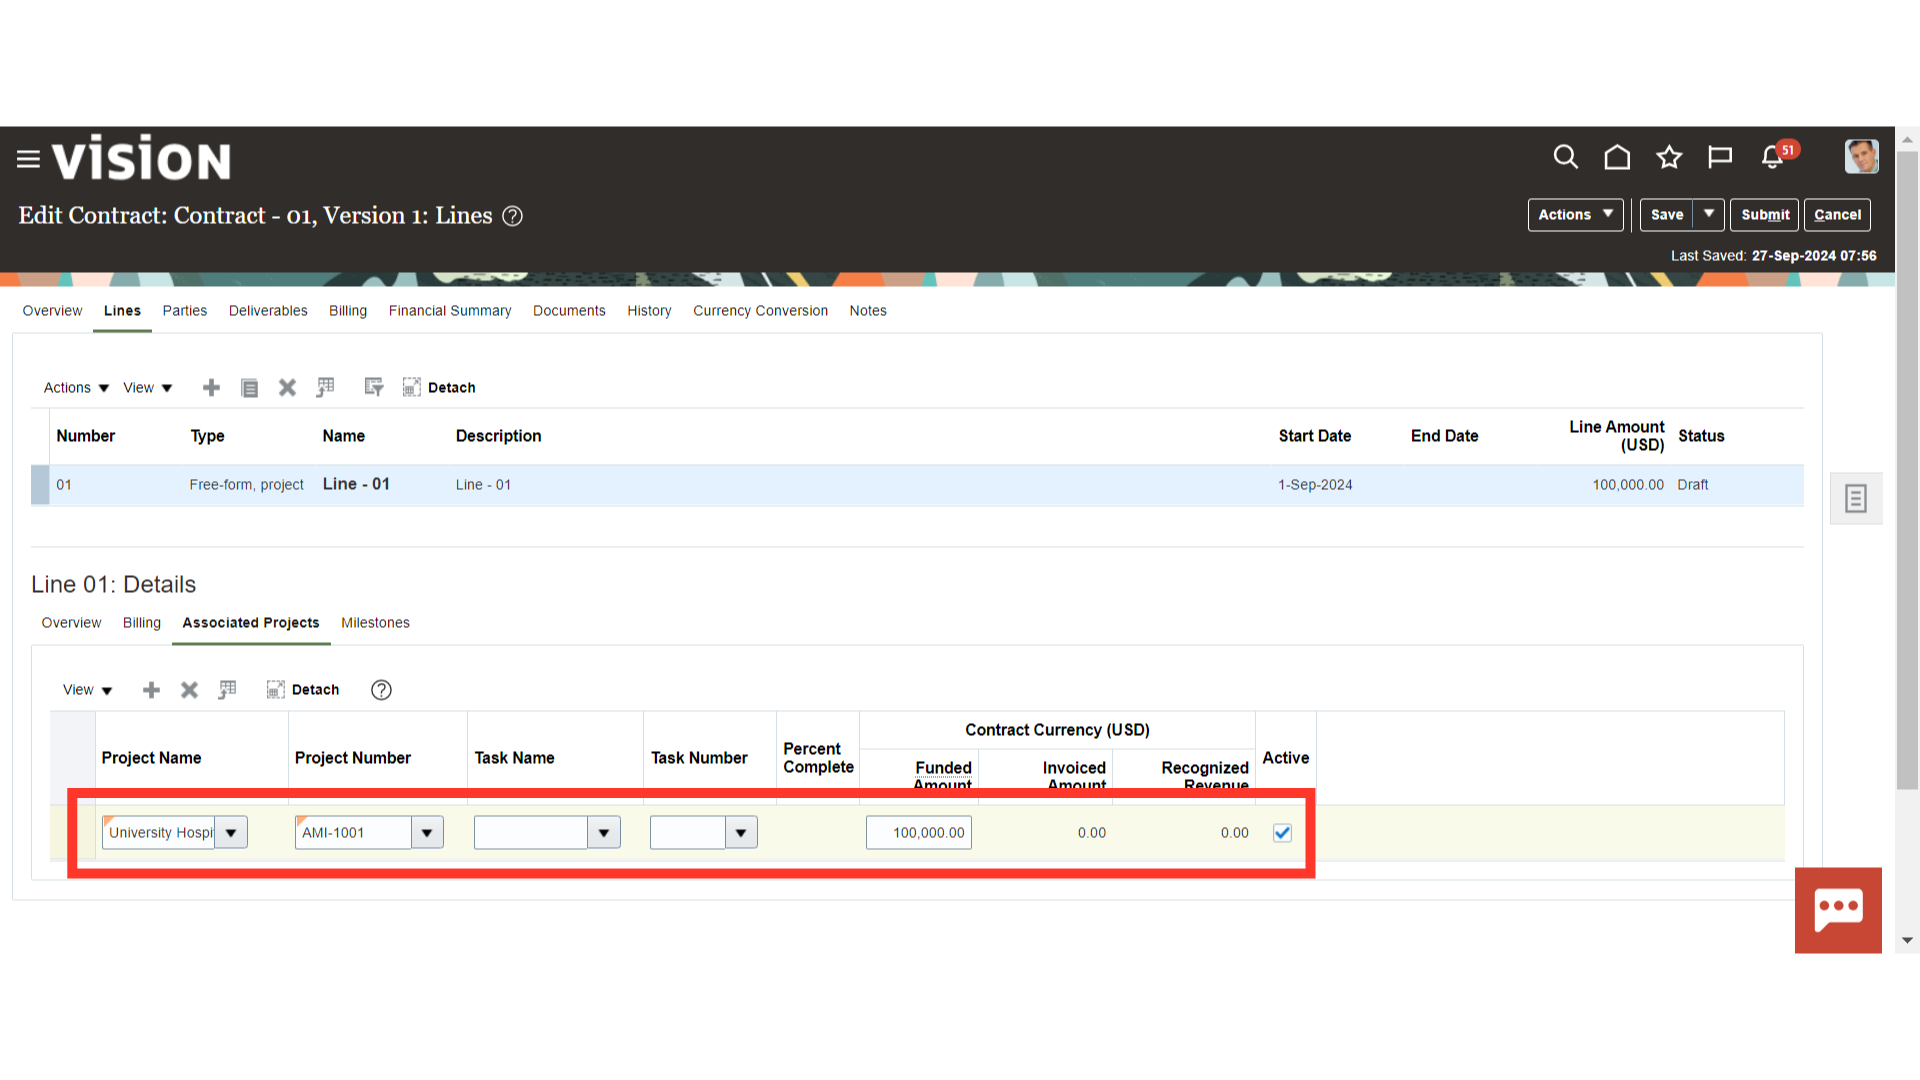
Navigate to the ‘Associate Projects’ tab to link the project to the contract line.
Click the plus (+) button and open the drop-down of either the Project Name or Number field to add the project. Please make sure that project should be in active status.
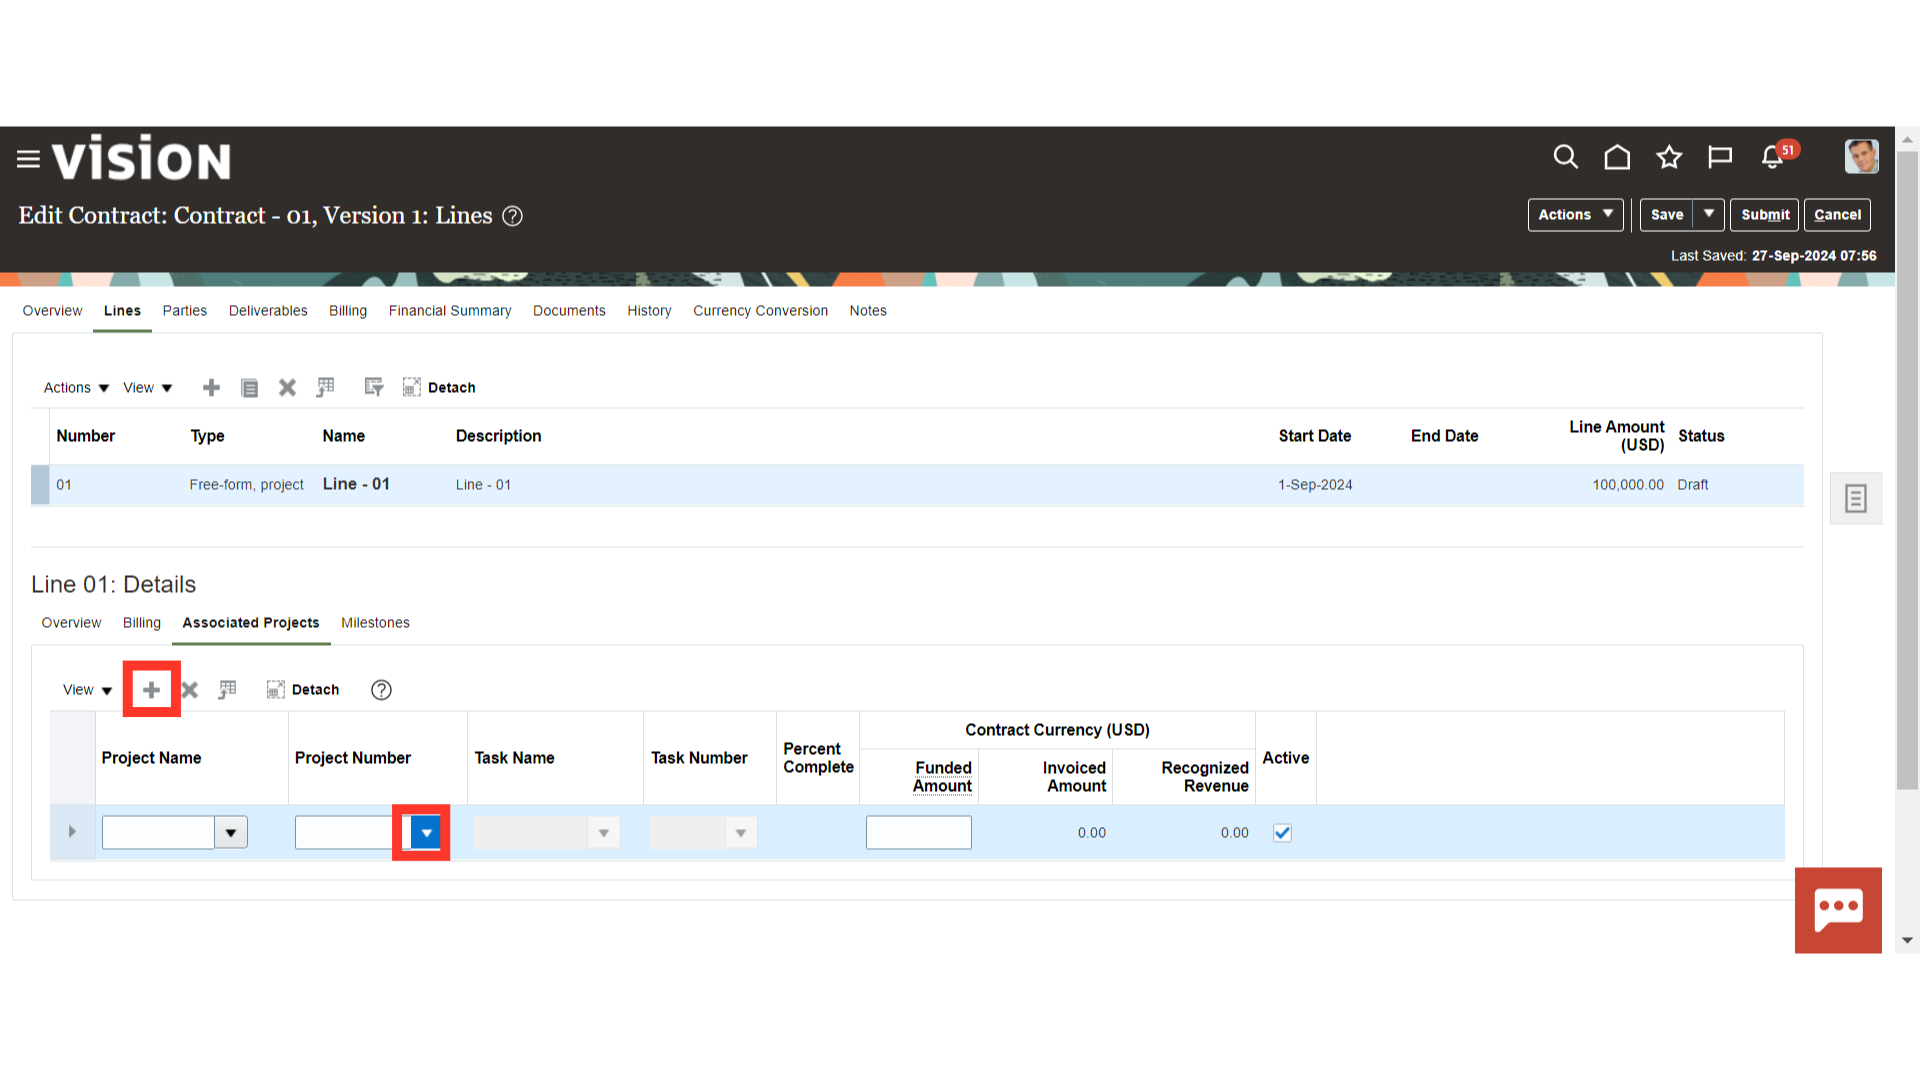
Select the project and provide the funded amount that should be equal to the contract line amount.
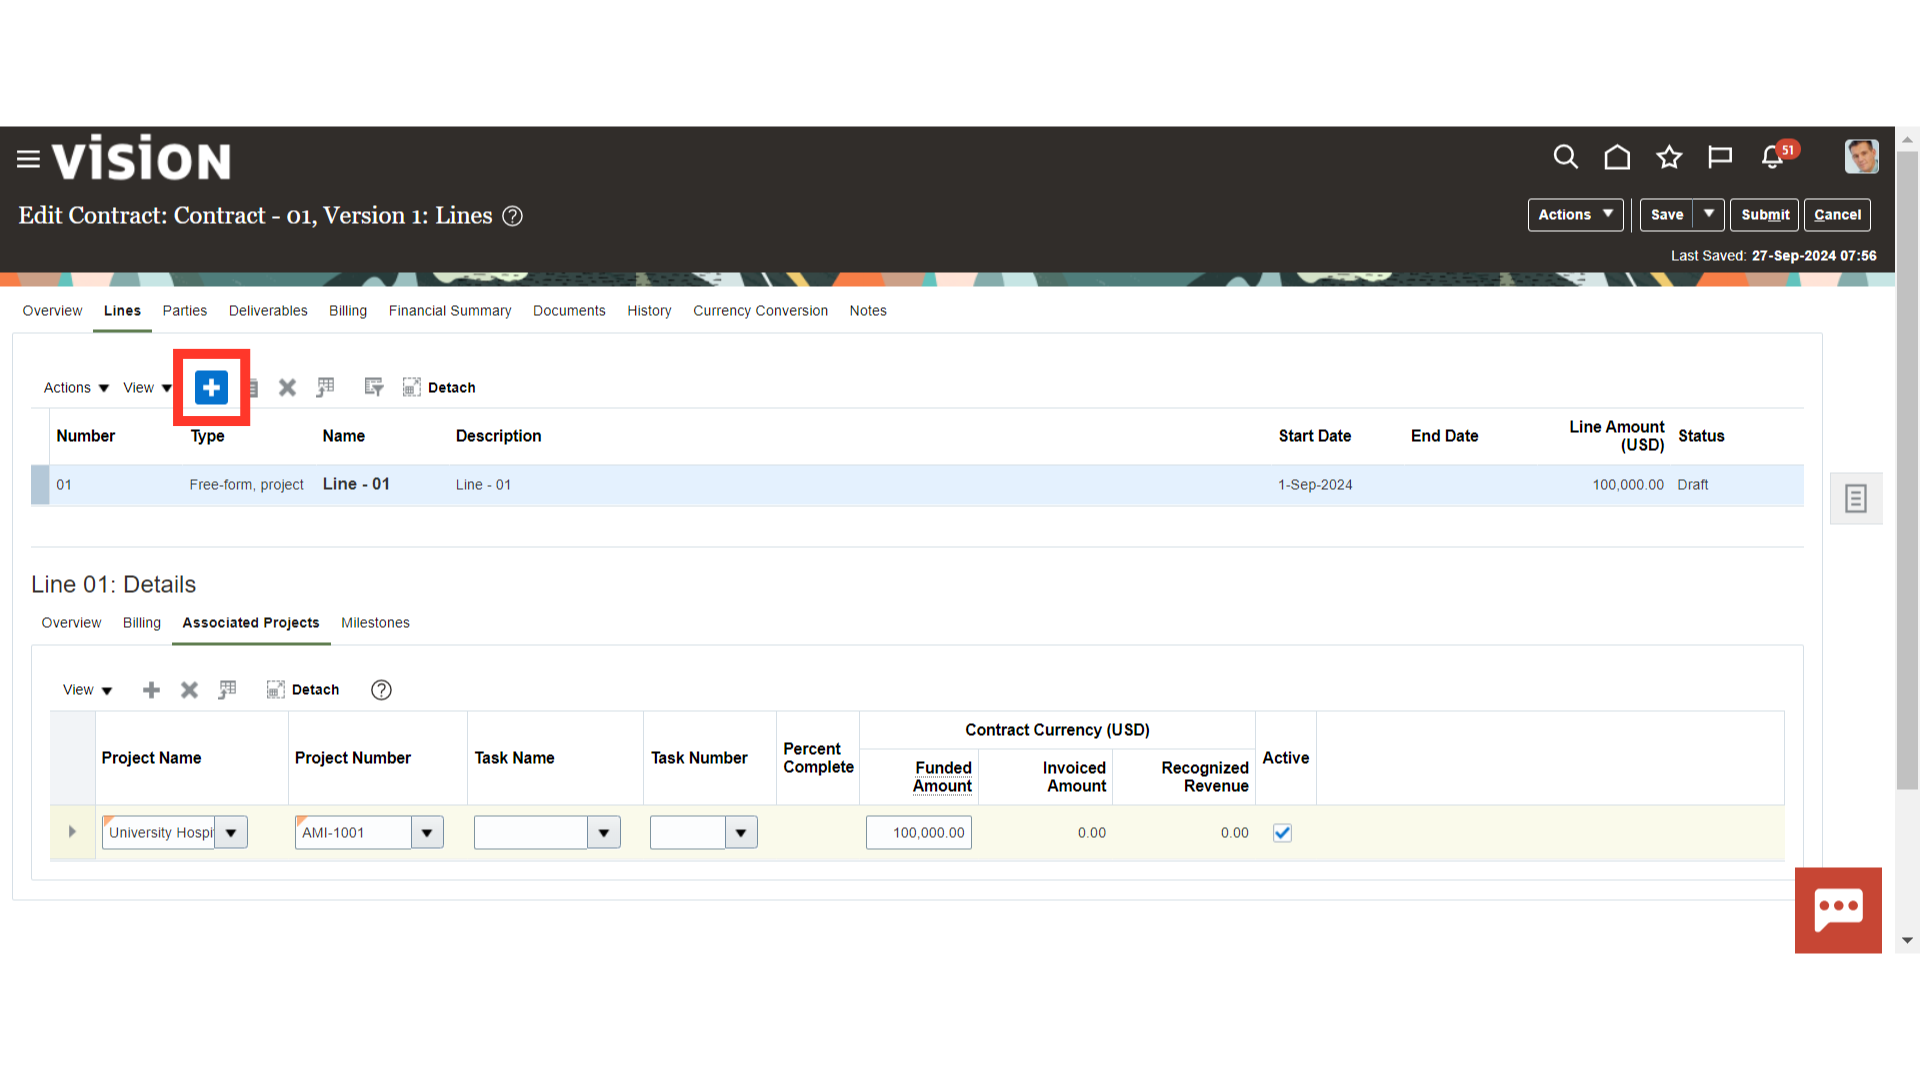
If required, add a new contract line by clicking on the plus (+) icon.
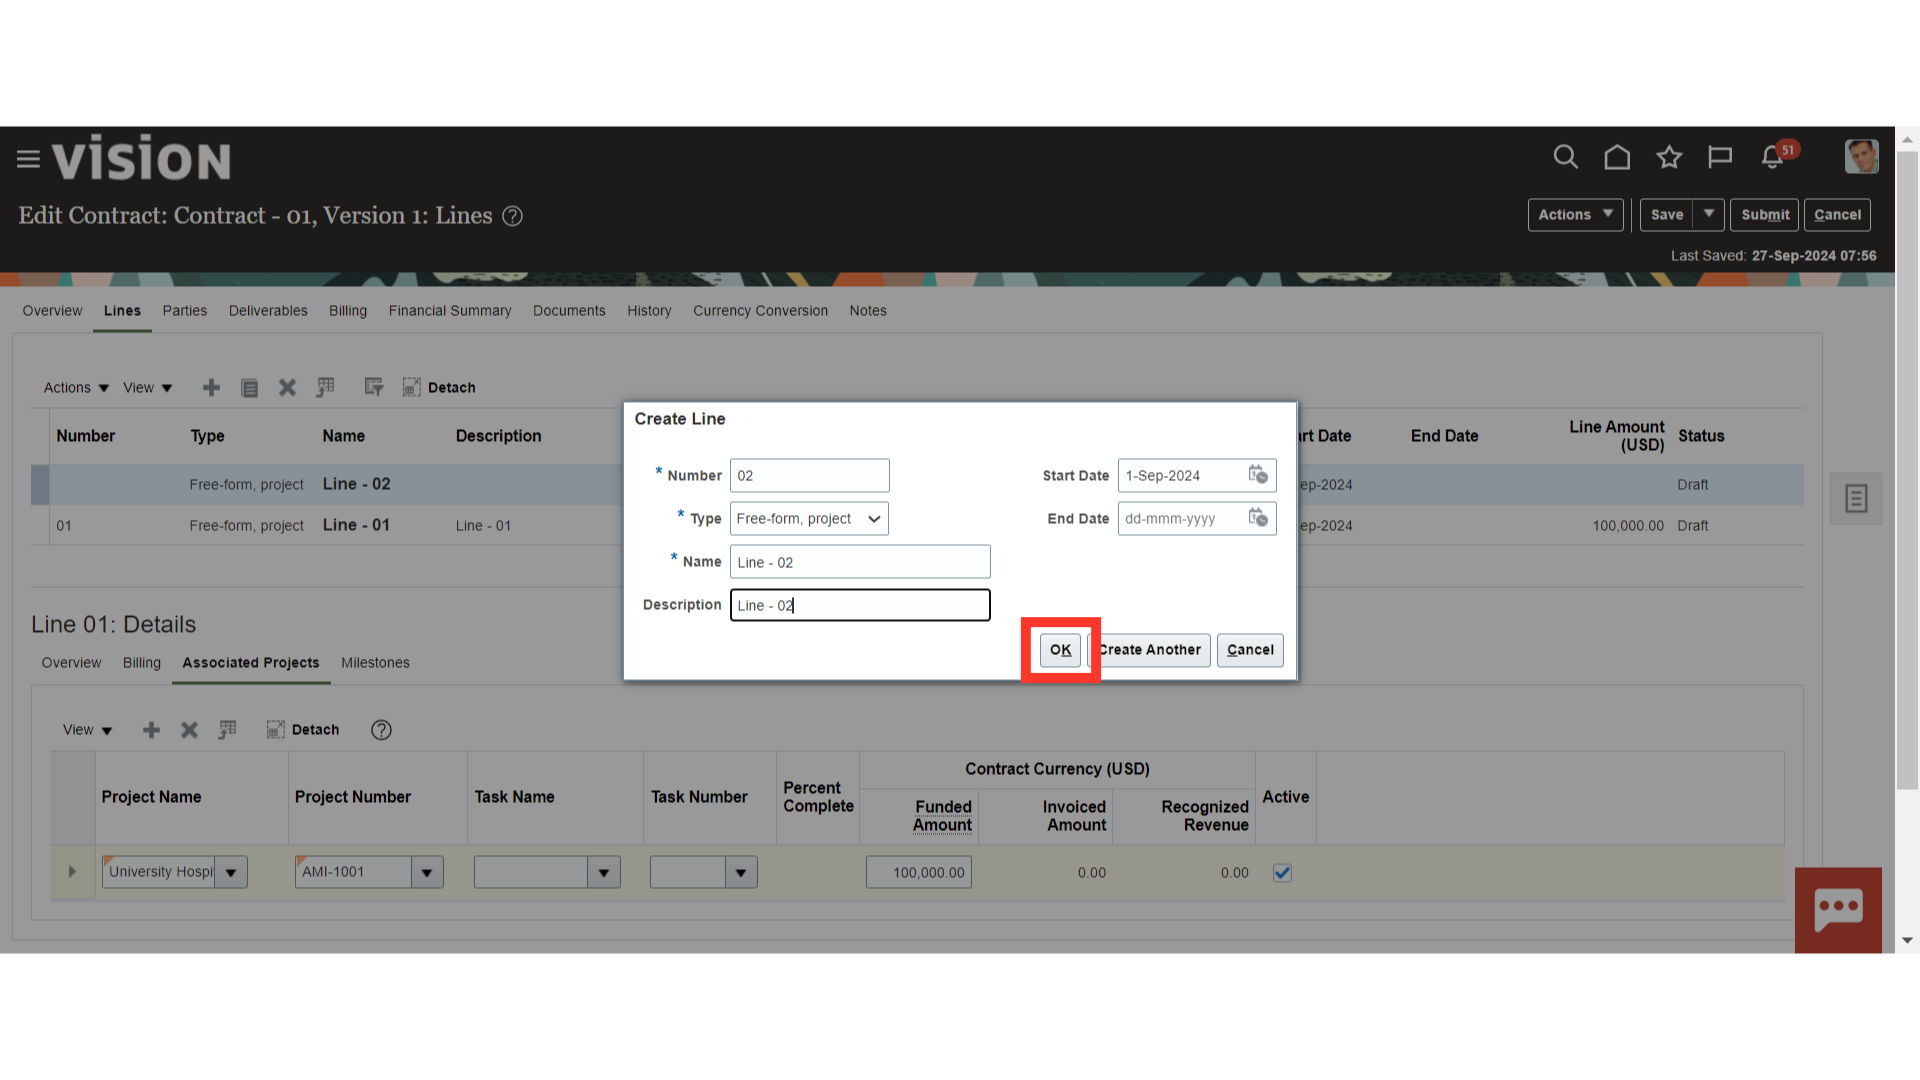
Provide Contract Line details such as Number, Name and Description and click on ‘OK’.
Follow the same steps to update the line details in the Overview, Billing and Associate Project tabs.
Click on the ‘Save’ button to complete the process.
 Thank you for reviewing and using our guide; we hope you have found it helpful. If you have any questions on the content included in this guide, please contact our Training & Learning team at learn@camptratech.com