How to create a Sales Order
In this guide, we will see the process of creating a Sales Order in Oracle Order Management. Please follow the detailed steps to create a sales order efficiently.
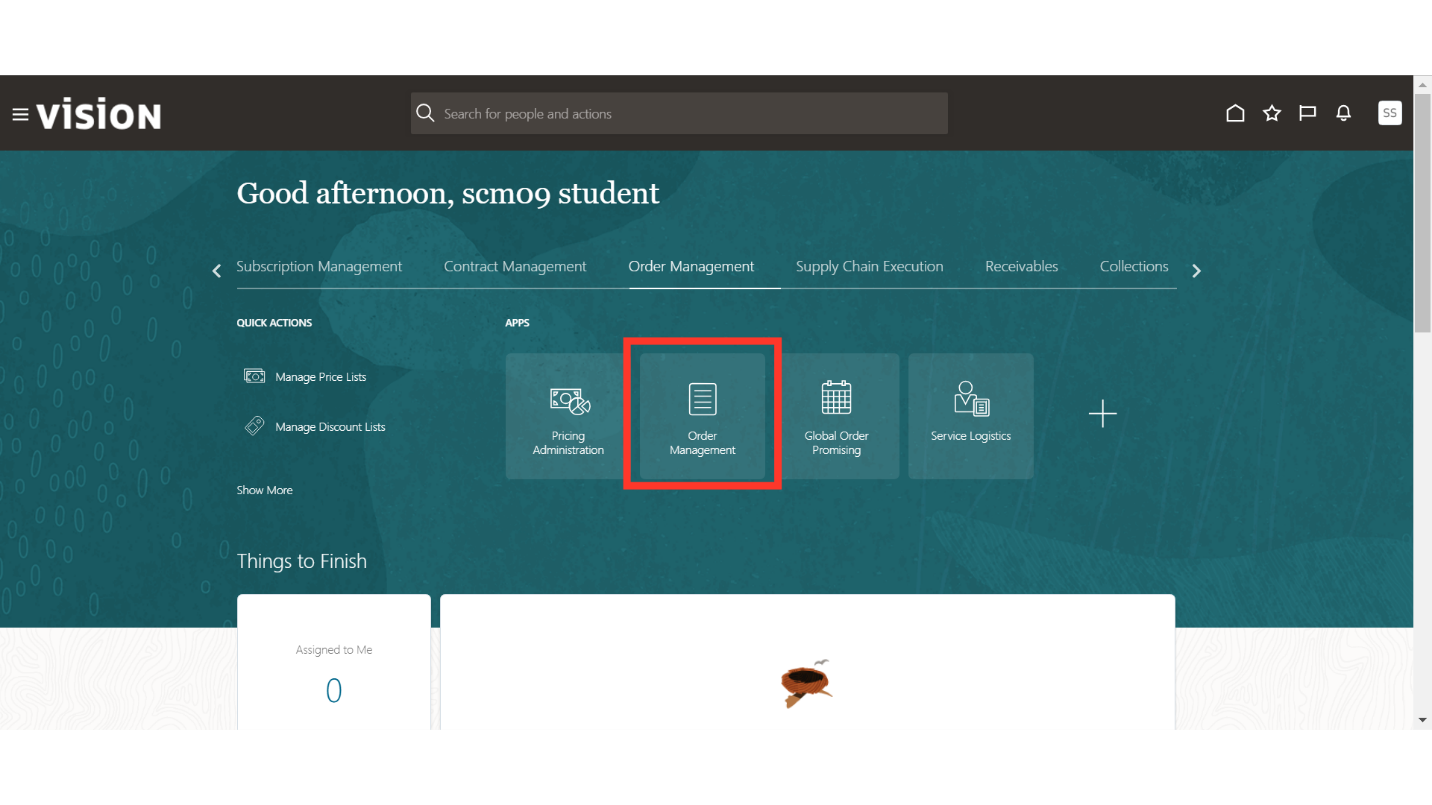
After logging into Oracle Cloud, navigate to the Order Management tab and click on the Order Management infotile.
In the Order Management work area, click on the Create Order button.
In Create Order, provide details in the Order Header such as Customer, Order Type, Business Unit, and other details that will be fetched from the Customer Master and Business Unit.
To add an order line, search for the Item and click on the Add button.
Once the order line is added, provide the Quantity and all other order details will be fetched automatically.
Click on the Shipment Details section. In General details, verify or fill in details such as Ship to Contact, Request Type, Shipping Method, and Requested Date.
In the Shipping section, provide details such as Latest Acceptance Date, Earliest Acceptance Date, FOB, Freight Terms, Shipping Priority, and other details.
In the Supply section, enter the supply details such as Warehouse and Supplier and Supplier Site in the case of a drop ship.
Click on the Billing and Payment Details icon, and here, enter, verify, and edit details such as Bill to Account, Bill to Contact, Payment Terms, and Payment Method.
Click on the Sales Credits icon, and here, you can mention the details of the Salesperson and Credits.
Once all the Sales Order details are filled in, click on the Actions dropdown button and click on the Validate button. This will validate the entered details.
The system will generate a confirmation message about the validation; click OK.
Now, click on the Submit button.
The system will generate a confirmation message about the Sales Order submission; click OK.
This guide covers the process of creating a Sales Order in Oracle Order Management, including accessing order management, entering customer details, selecting products, managing shipping, payment methods, and submitting the order.